Paper helicopter arrow: quick and easy to make
Are you looking for a creative crafting idea that flies, spins, and is lots of fun? Then you’ve come to the right place! In this tutorial, we’ll show you how to make a helicopter arrow out of paper with just a few simple steps.
Such projects promote dexterity, curiosity, and concentration – and provide a wonderful opportunity to spend time together. The implementation is child’s play, requires hardly any materials, and is sure to excite when your arrow twirls through the air for the first time. If you’ve always wanted to make a simple paper plane, this spinning flying toy is the perfect addition!
This entire tutorial is accompanied by a photo and video tutorial that we produced ourselves. In it, we guide you through each step in detail so you can follow along right away! Check out the video tutorial here:
On our learning platform, you will find over 500 creative crafting ideas waiting for you – each with clear explanations, illustrative photos, and a helpful video. This way, you can learn step by step how simple paper can turn into real little works of art. While folding paper, you will discover new things, foster your imagination, and practice patience. And the best part: You can experience all this together with friends or your family – it’s twice as much fun together!
Instructions: How to make your helicopter arrow
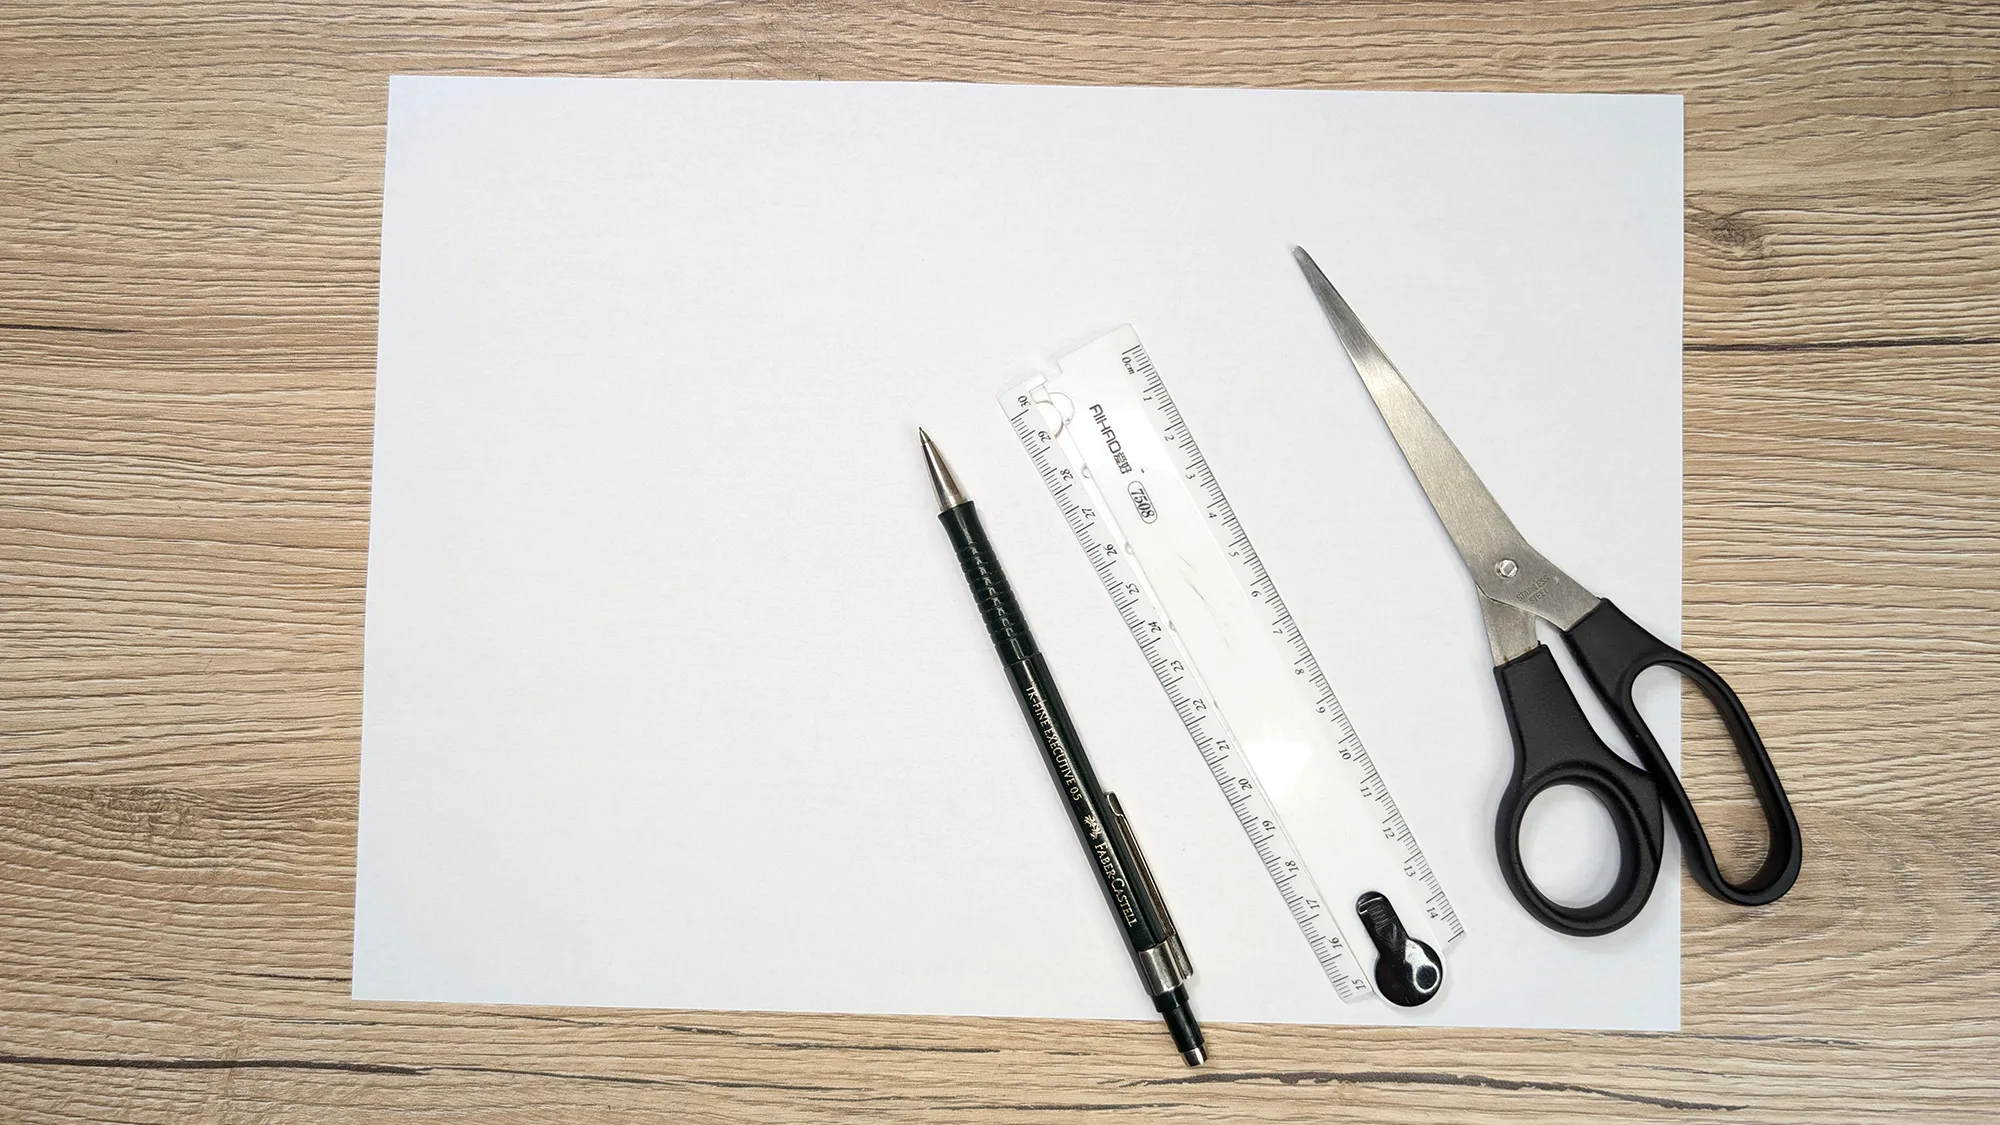
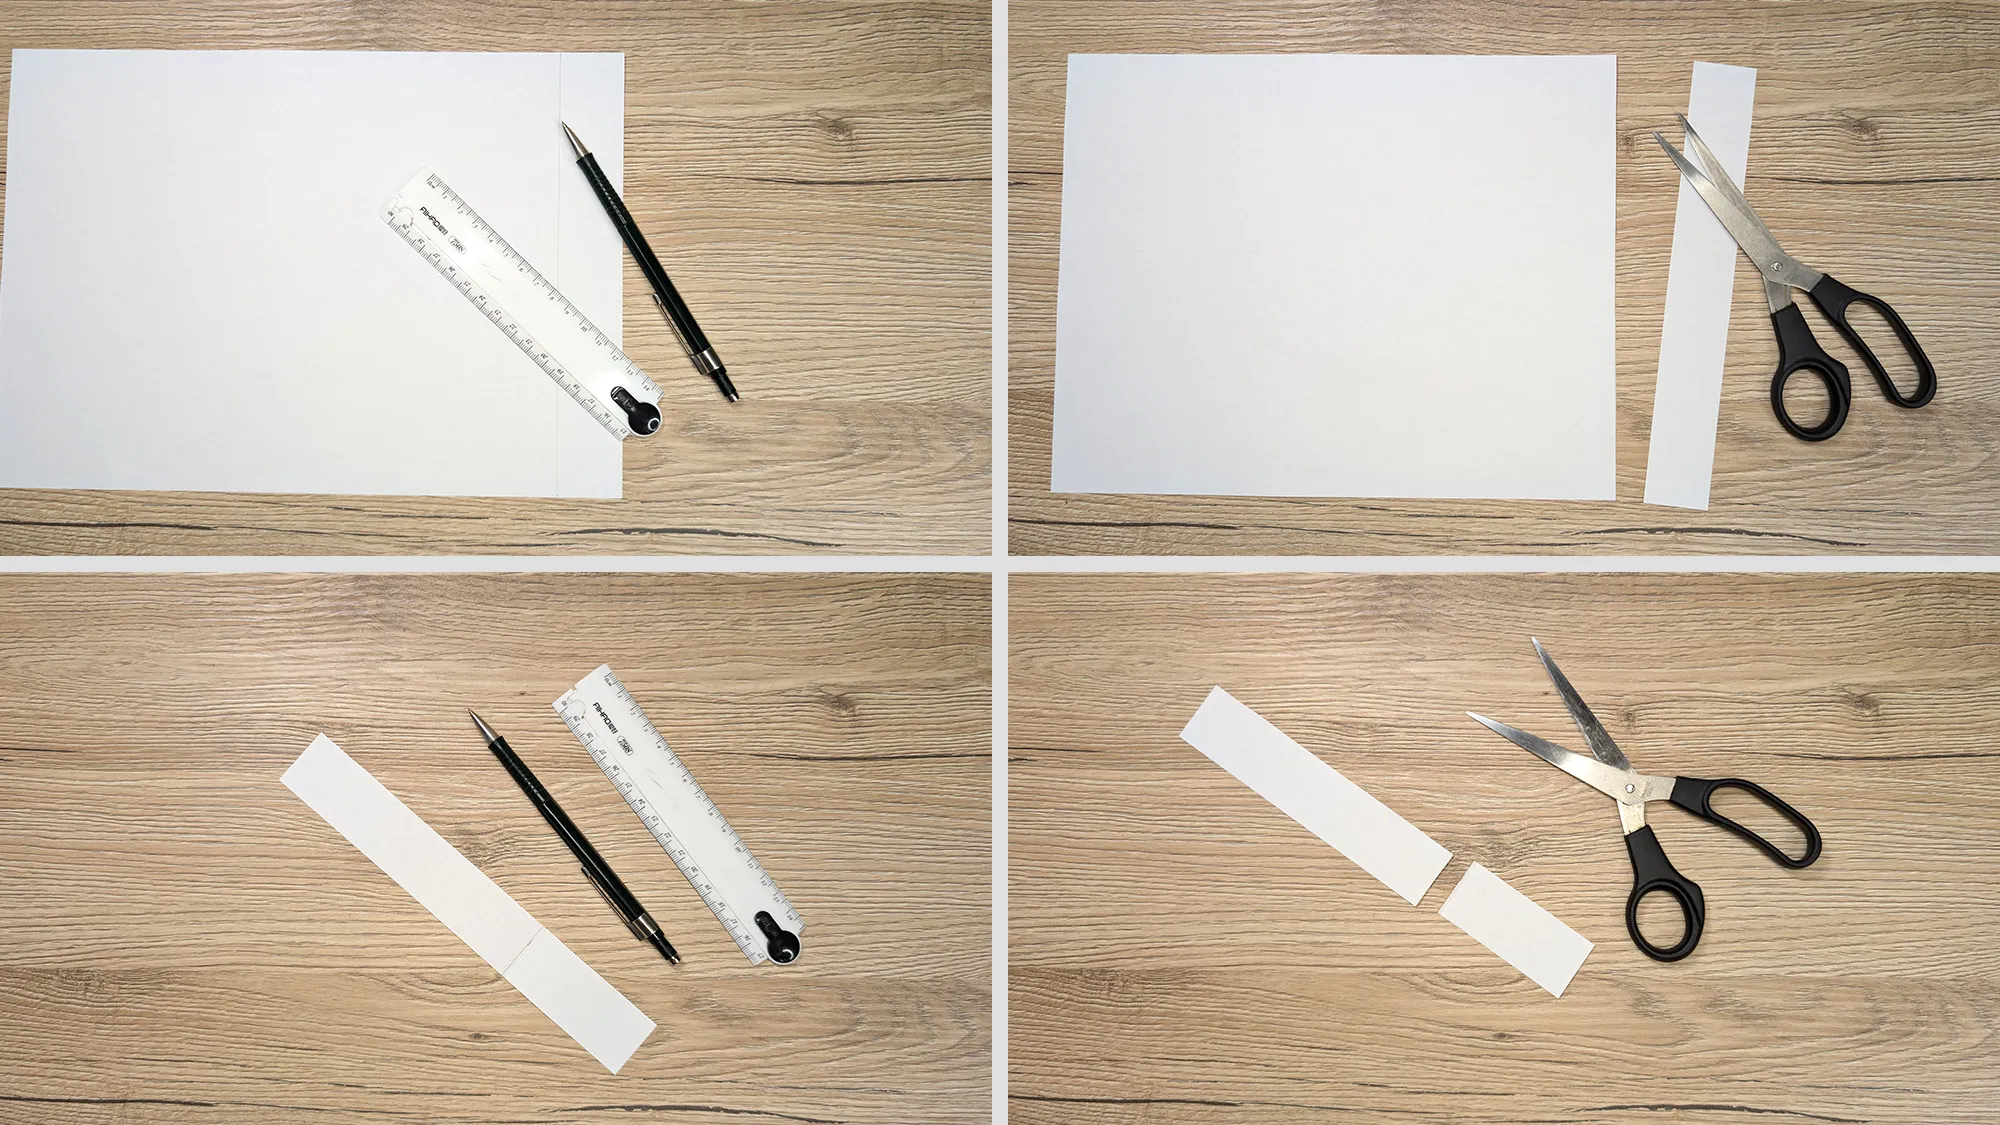
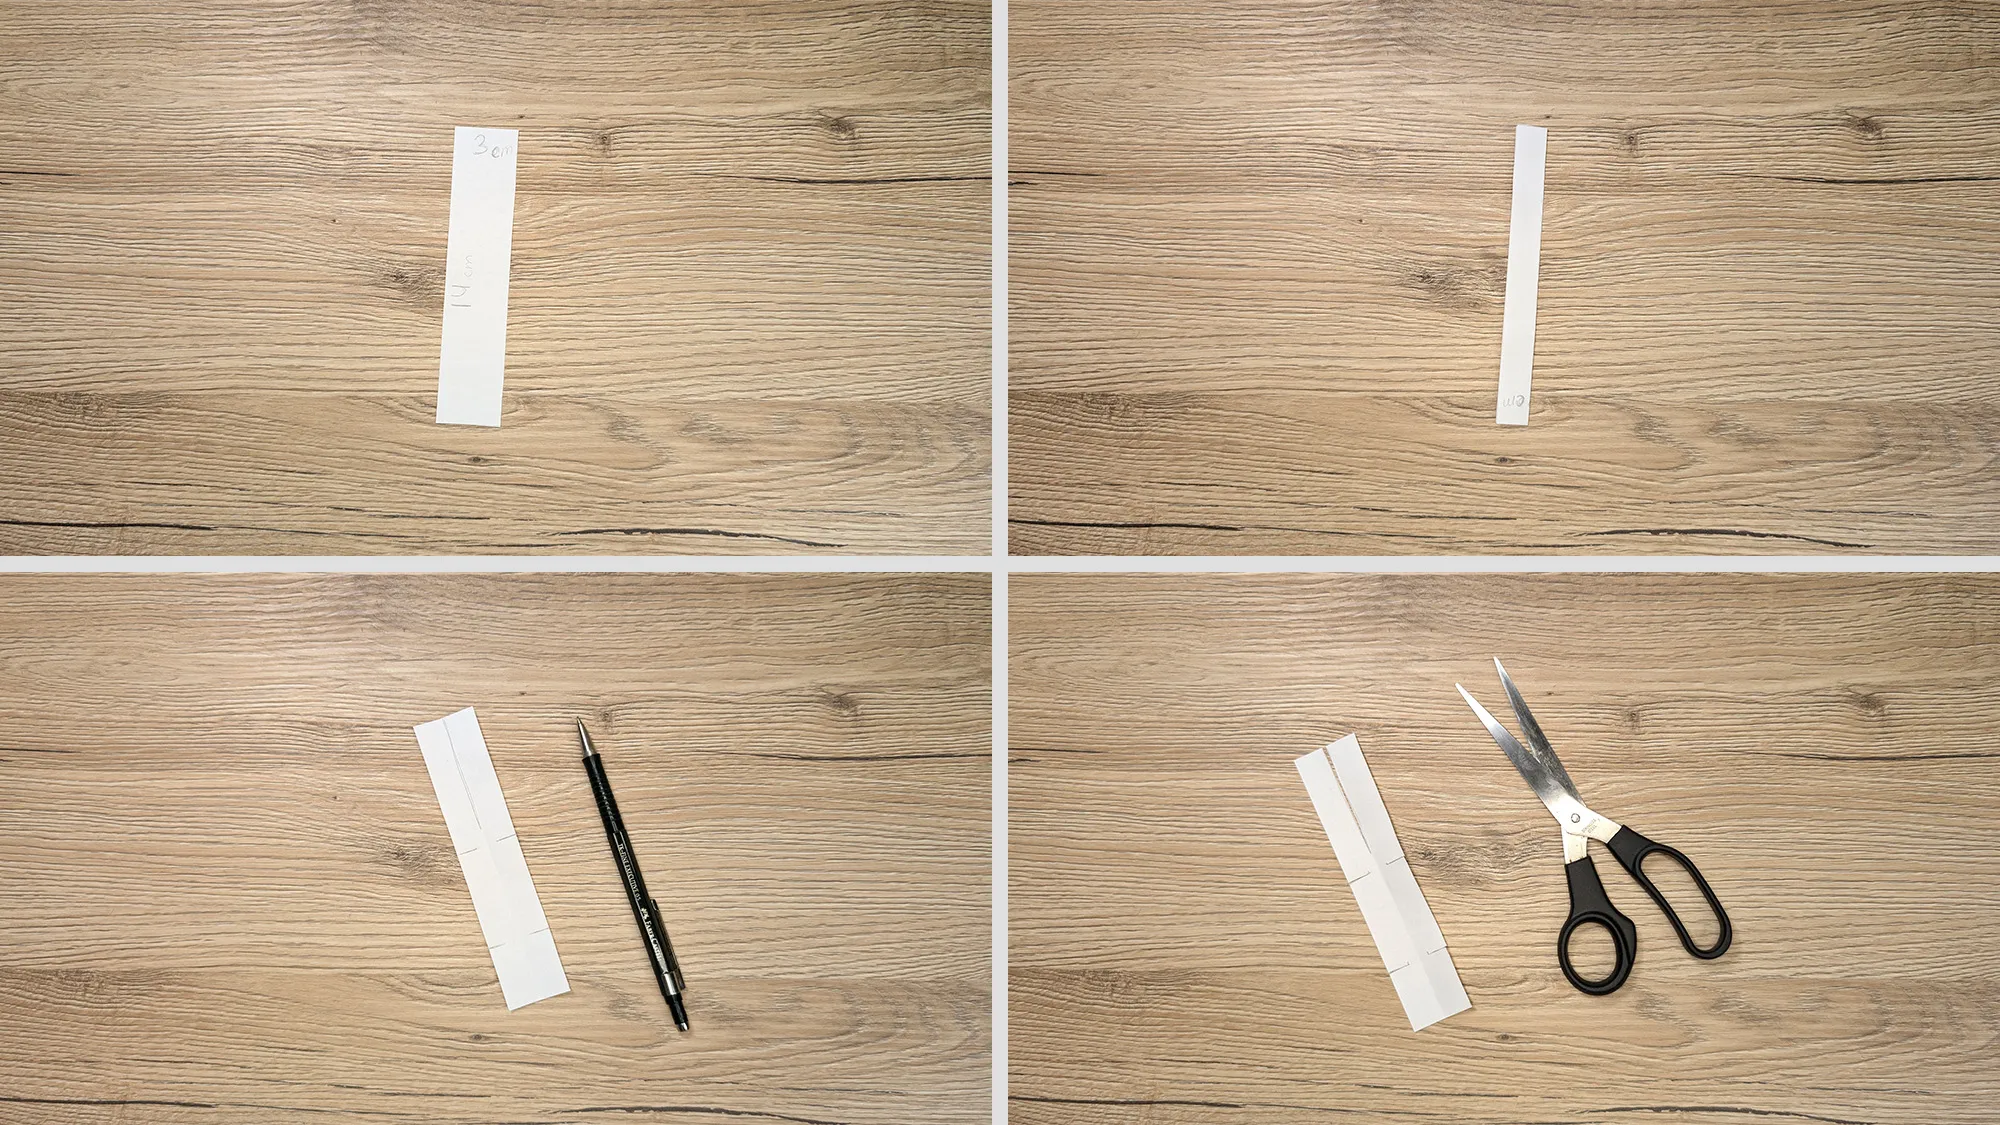
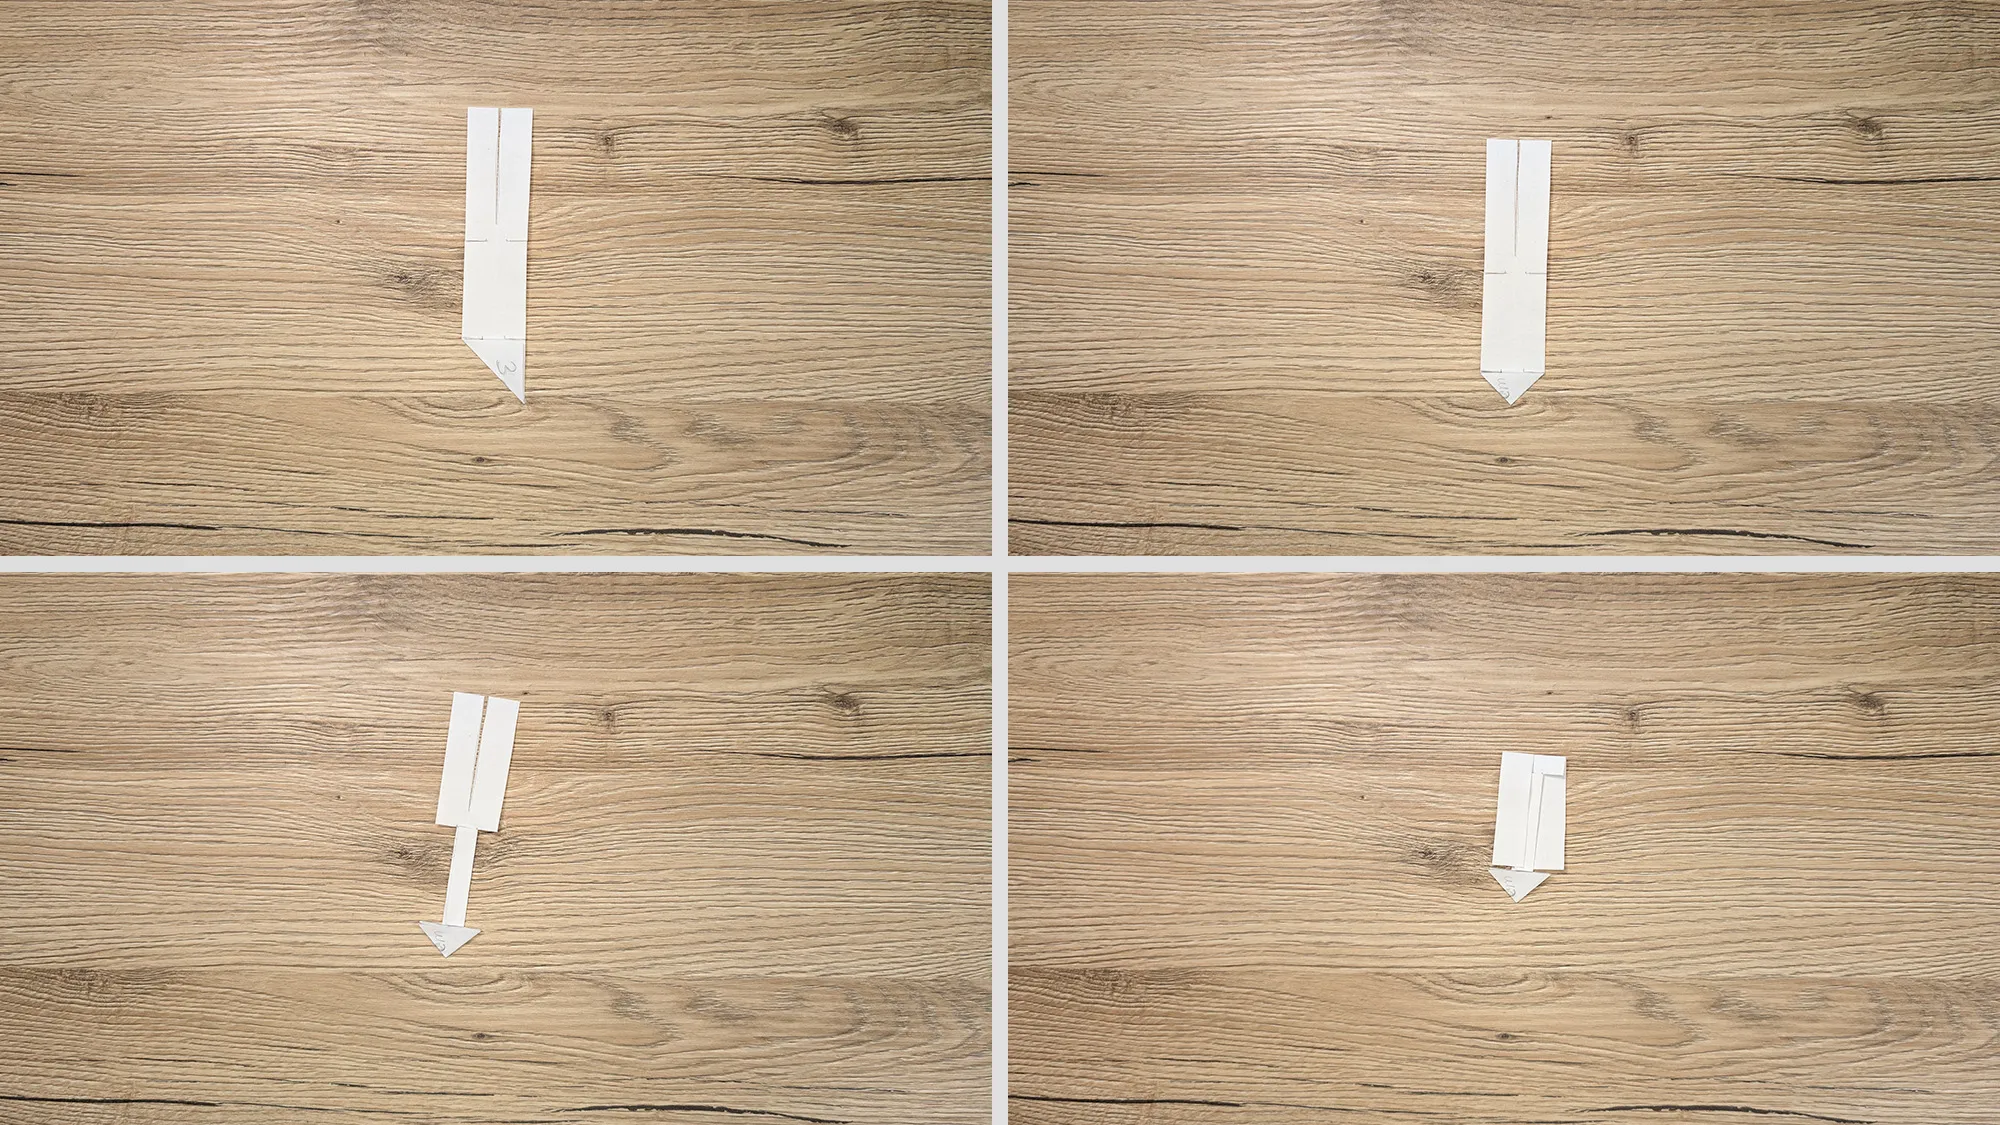
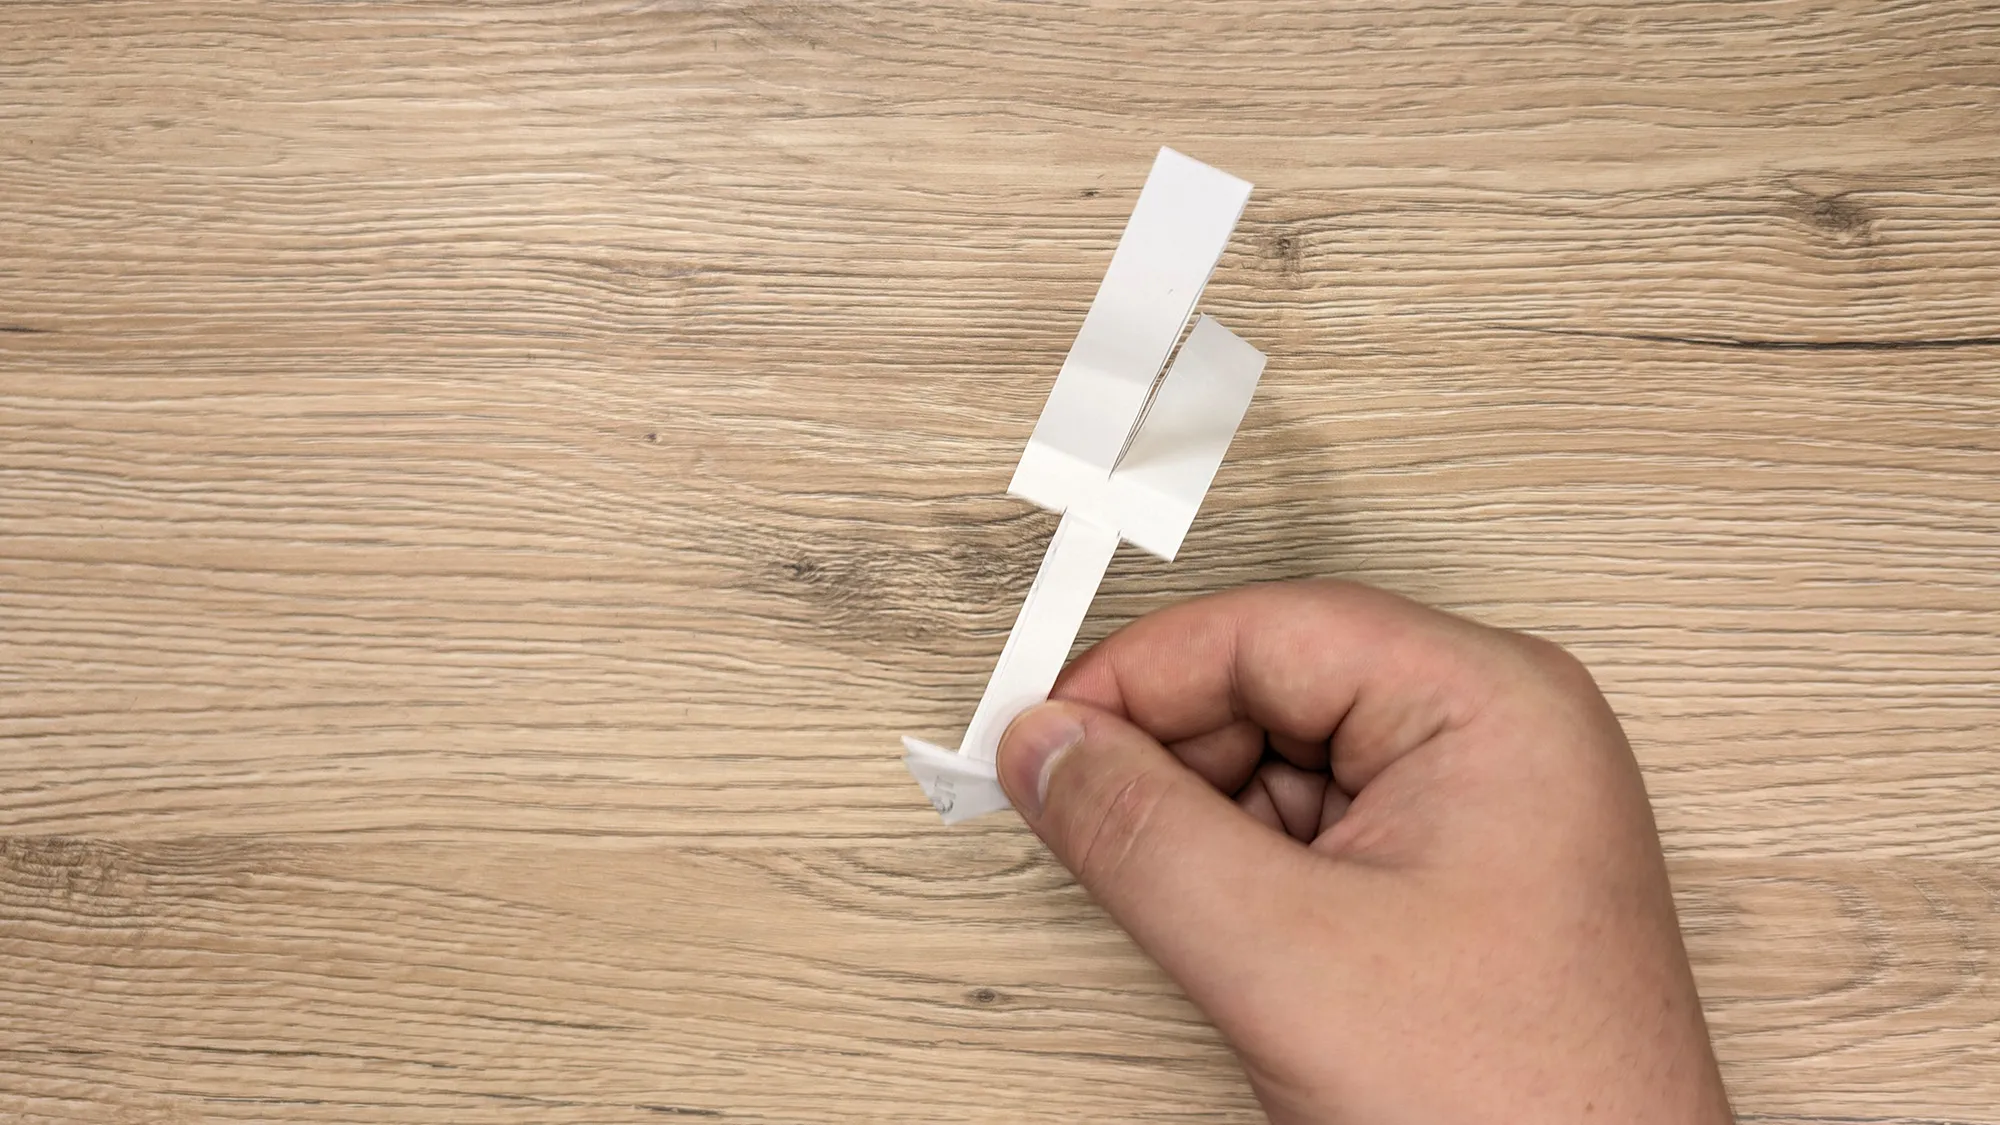
At the bottom (at 3 cm), fold the corners so that they overlap to create a small arrowhead.
In the middle, fold both sides inward – they should overlap.
At the top, fold both wings outward – in opposite directions.
Conclusion
Well done – your helicopter arrow is finished and ready for takeoff! We hope you had as much fun crafting as we did preparing this tutorial. Thank you for taking the time to craft with us – your attention truly means a lot to us!
If you enjoyed this project, check out our other ideas – for example, Link1 or Link2. Get inspired and discover new creative projects that allow you to craft, learn, or spend time with your child playfully. Have fun with the next folding!
From Vitalii Shynakov
