Crafting a Minecraft Creeper figure: Photo & Video tutorial
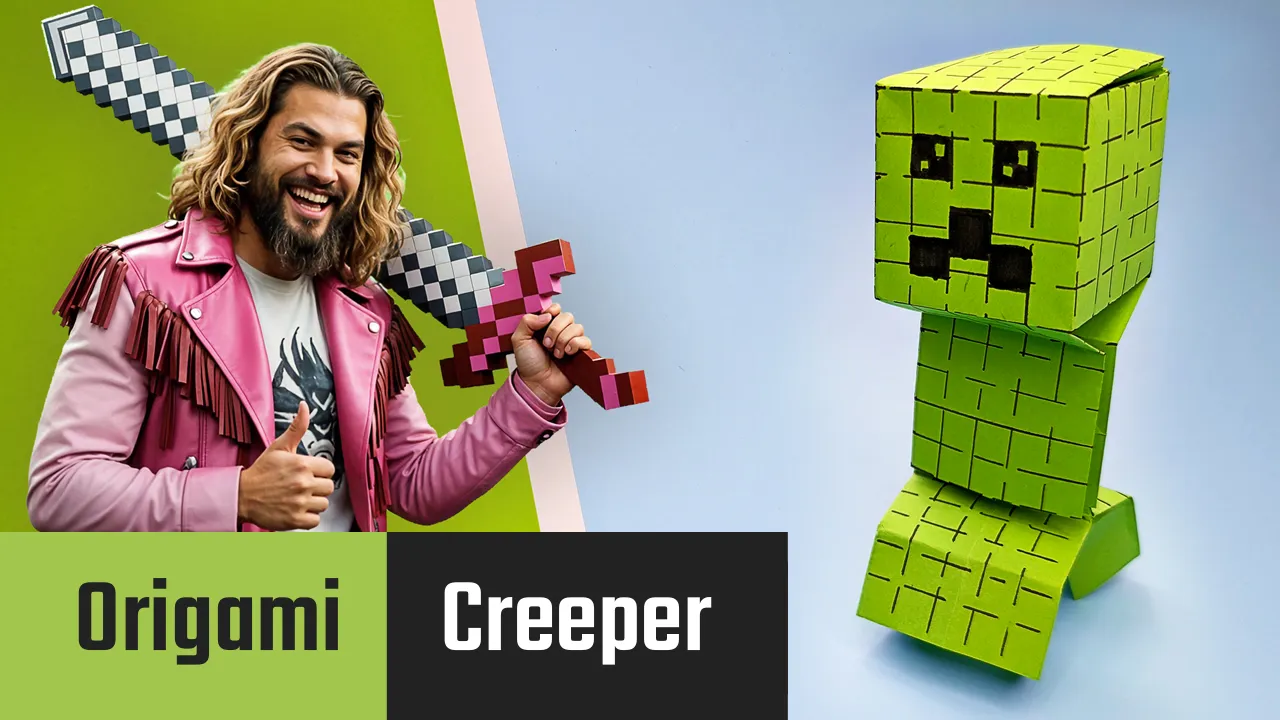
Are you looking for a creative DIY idea for your Minecraft-enthusiastic child? Then you are exactly right here! Our guide to crafting a three-dimensional Minecraft Creeper is guaranteed to put a radiant smile on your child's face. This iconic figure is not only a real eye-catcher in the children's room but also an exciting craft project for shared hours.
The world of Minecraft fascinates children with its unique block aesthetic and endless creative possibilities. The Creeper is one of the most well-known figures in the game and, with its distinctive green appearance, is a perfect motif for crafting. All our guides consist of detailed videos, meaningful photos, and helpful text comments for each step. So recreating it becomes child's play!
First, watch the video to get an overview of the materials needed and to assess whether the difficulty level is suitable for your child.
All the videos and photos you find on our portal are created by us with great attention to detail. Each individual crafting guide in the DIY guides and craft ideas for children section has been personally tested and photographed by us. This way, you can be sure that the guides work and that the result looks exactly as promised. Visit our section for more great ideas that we have specially put together for you and your child!
Minecraft Creeper: Step-by-step guide with photos and explanations
Preparation and Materials
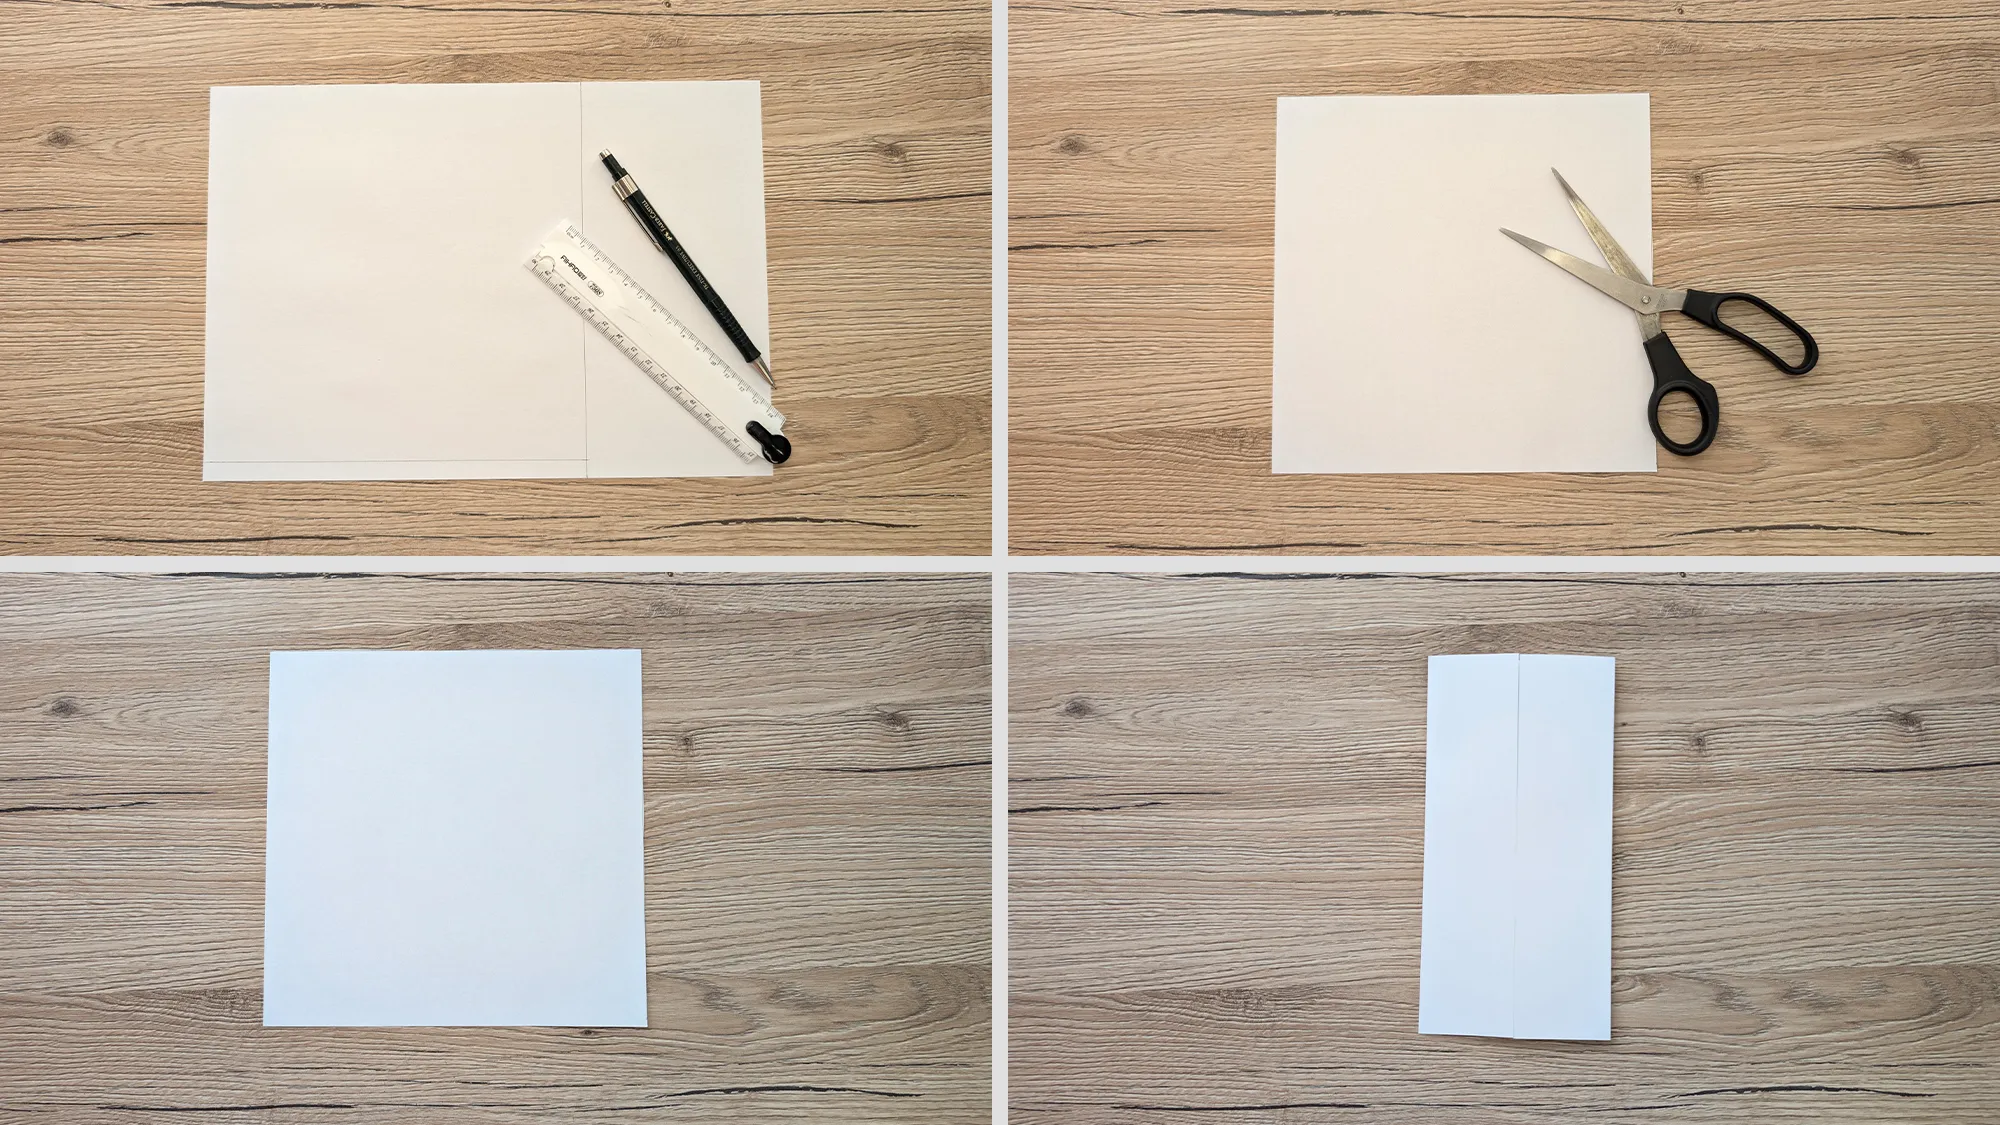
Before you start, you should have all the materials ready. We generally only use materials that are easily available and that you probably already have at home or can buy at the nearest supermarket or stationery store.
For the Minecraft Creeper, you will need:
- 2 sheets of green A4 paper (for the body)
- Black fineliner or thin marker
- Pencil
- Ruler
- Scissors
- Glue stick or transparent tape
- Optional: thin cardboard for more stability
Safety Notice
This craft guide is suitable for children aged 7 years and older. Younger children should be assisted by adults when using scissors and folding accurately. Since we are working with paper, the finished figure should be protected from moisture to avoid damage.
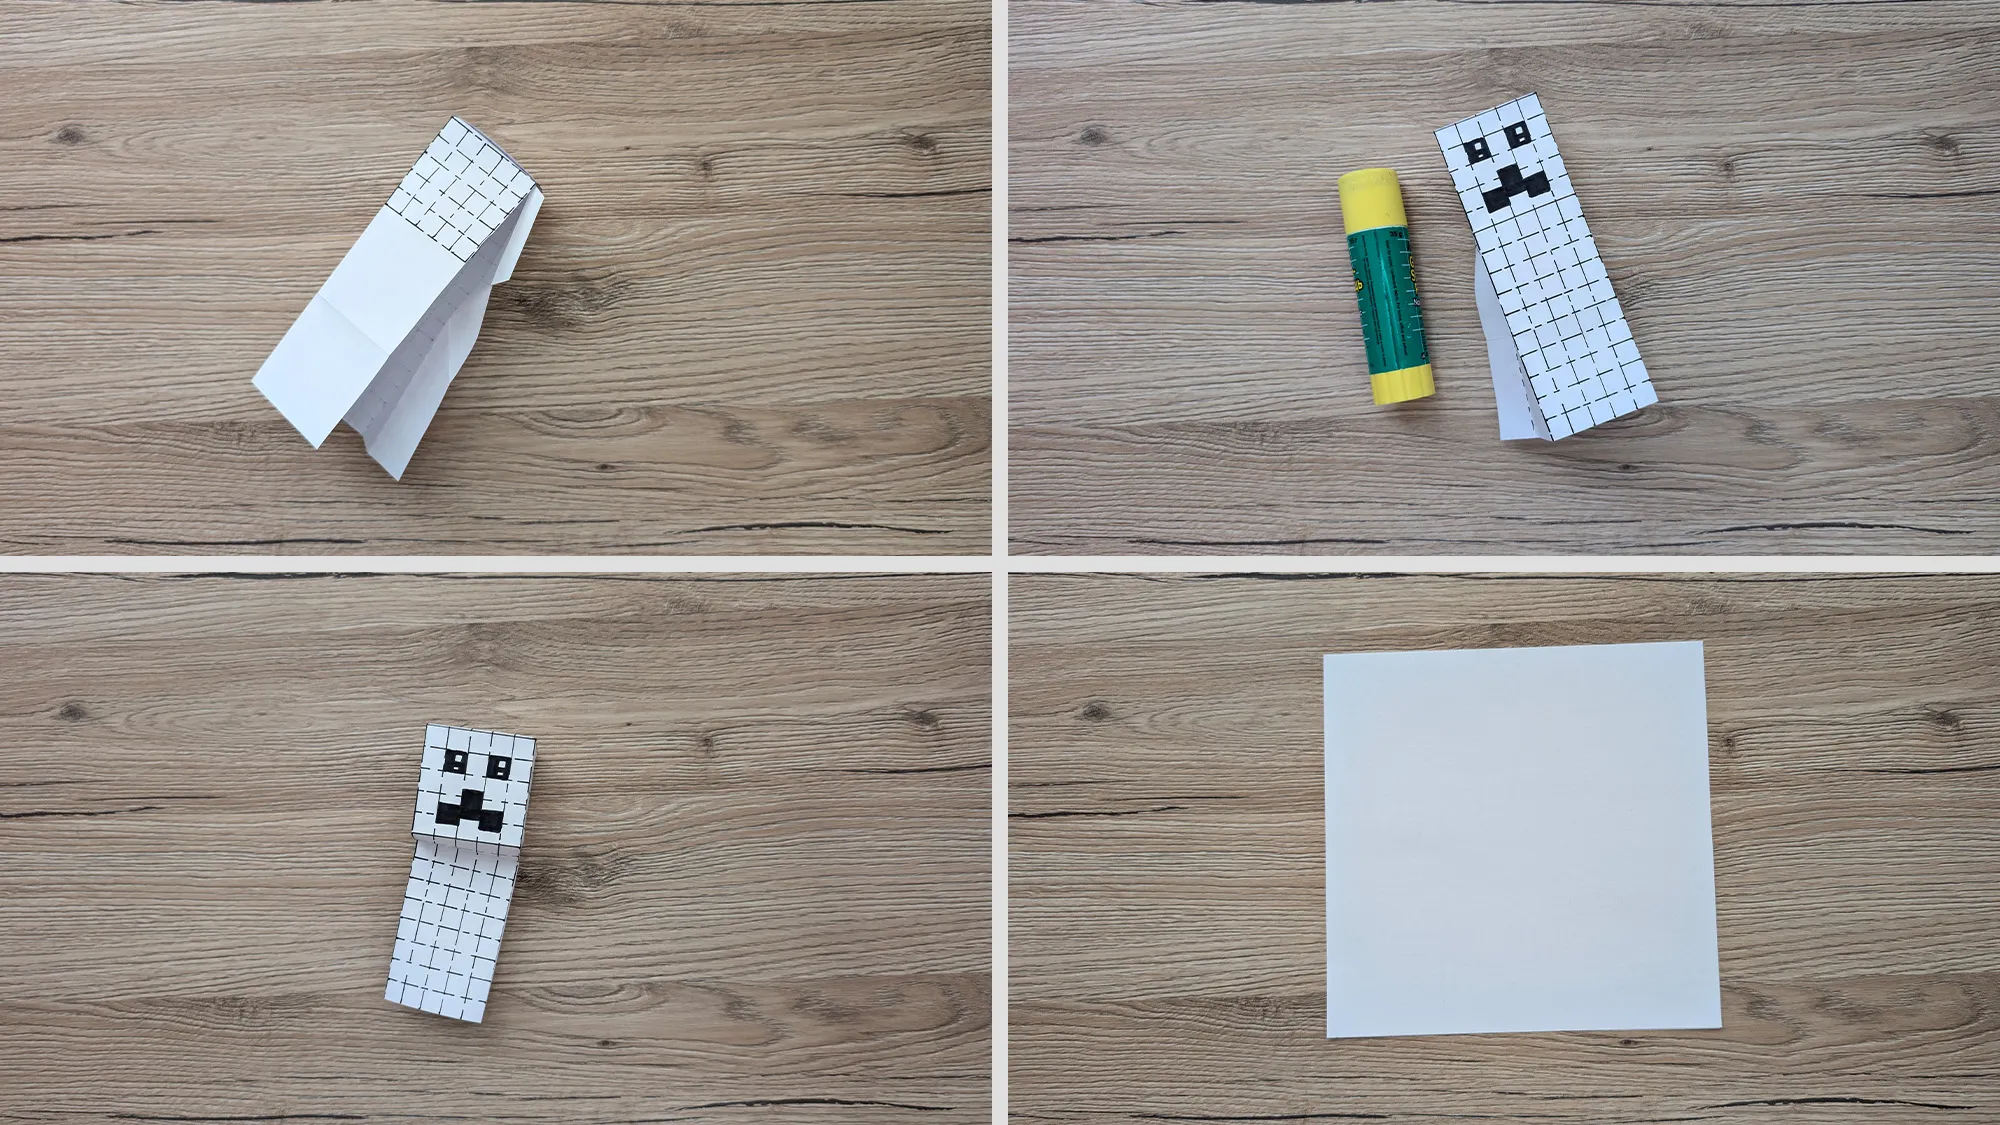
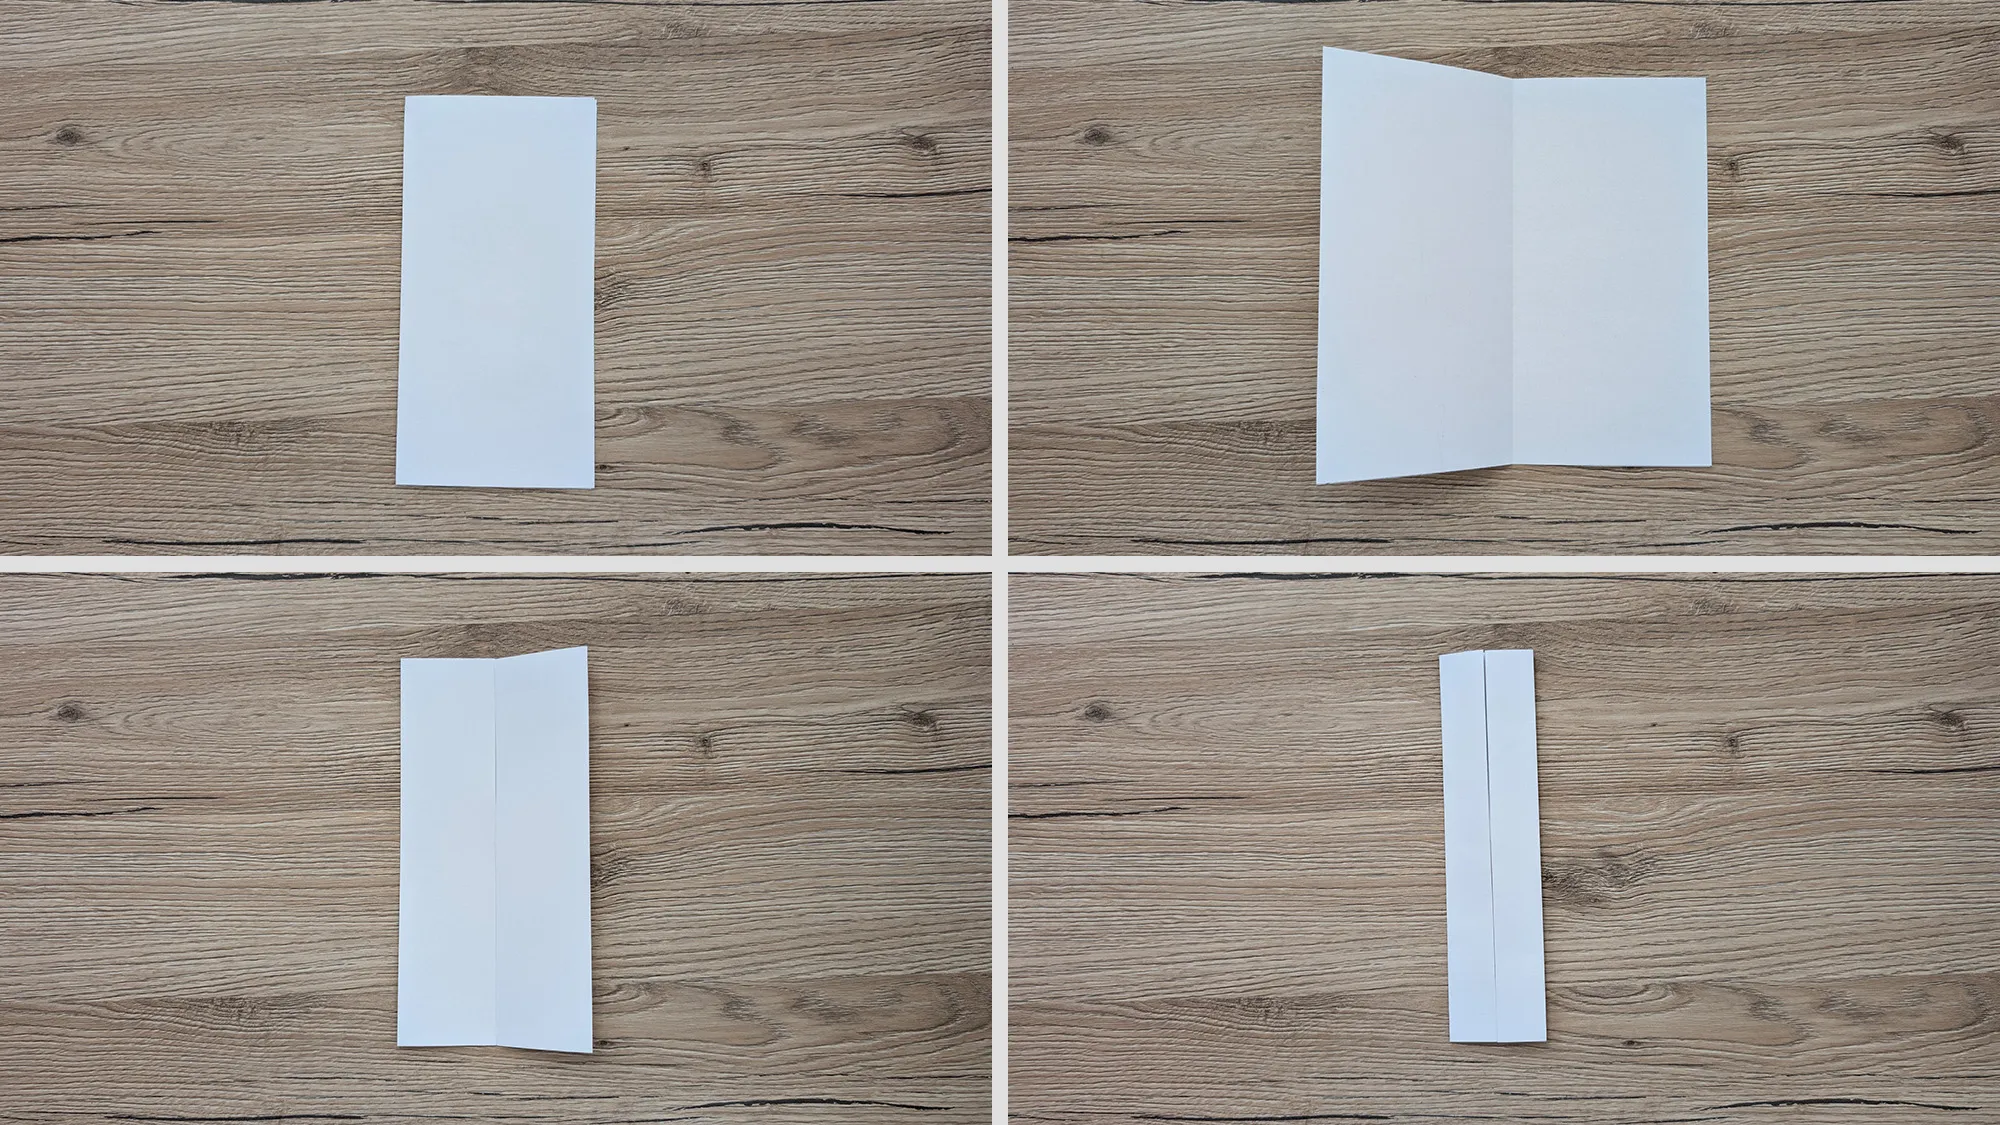
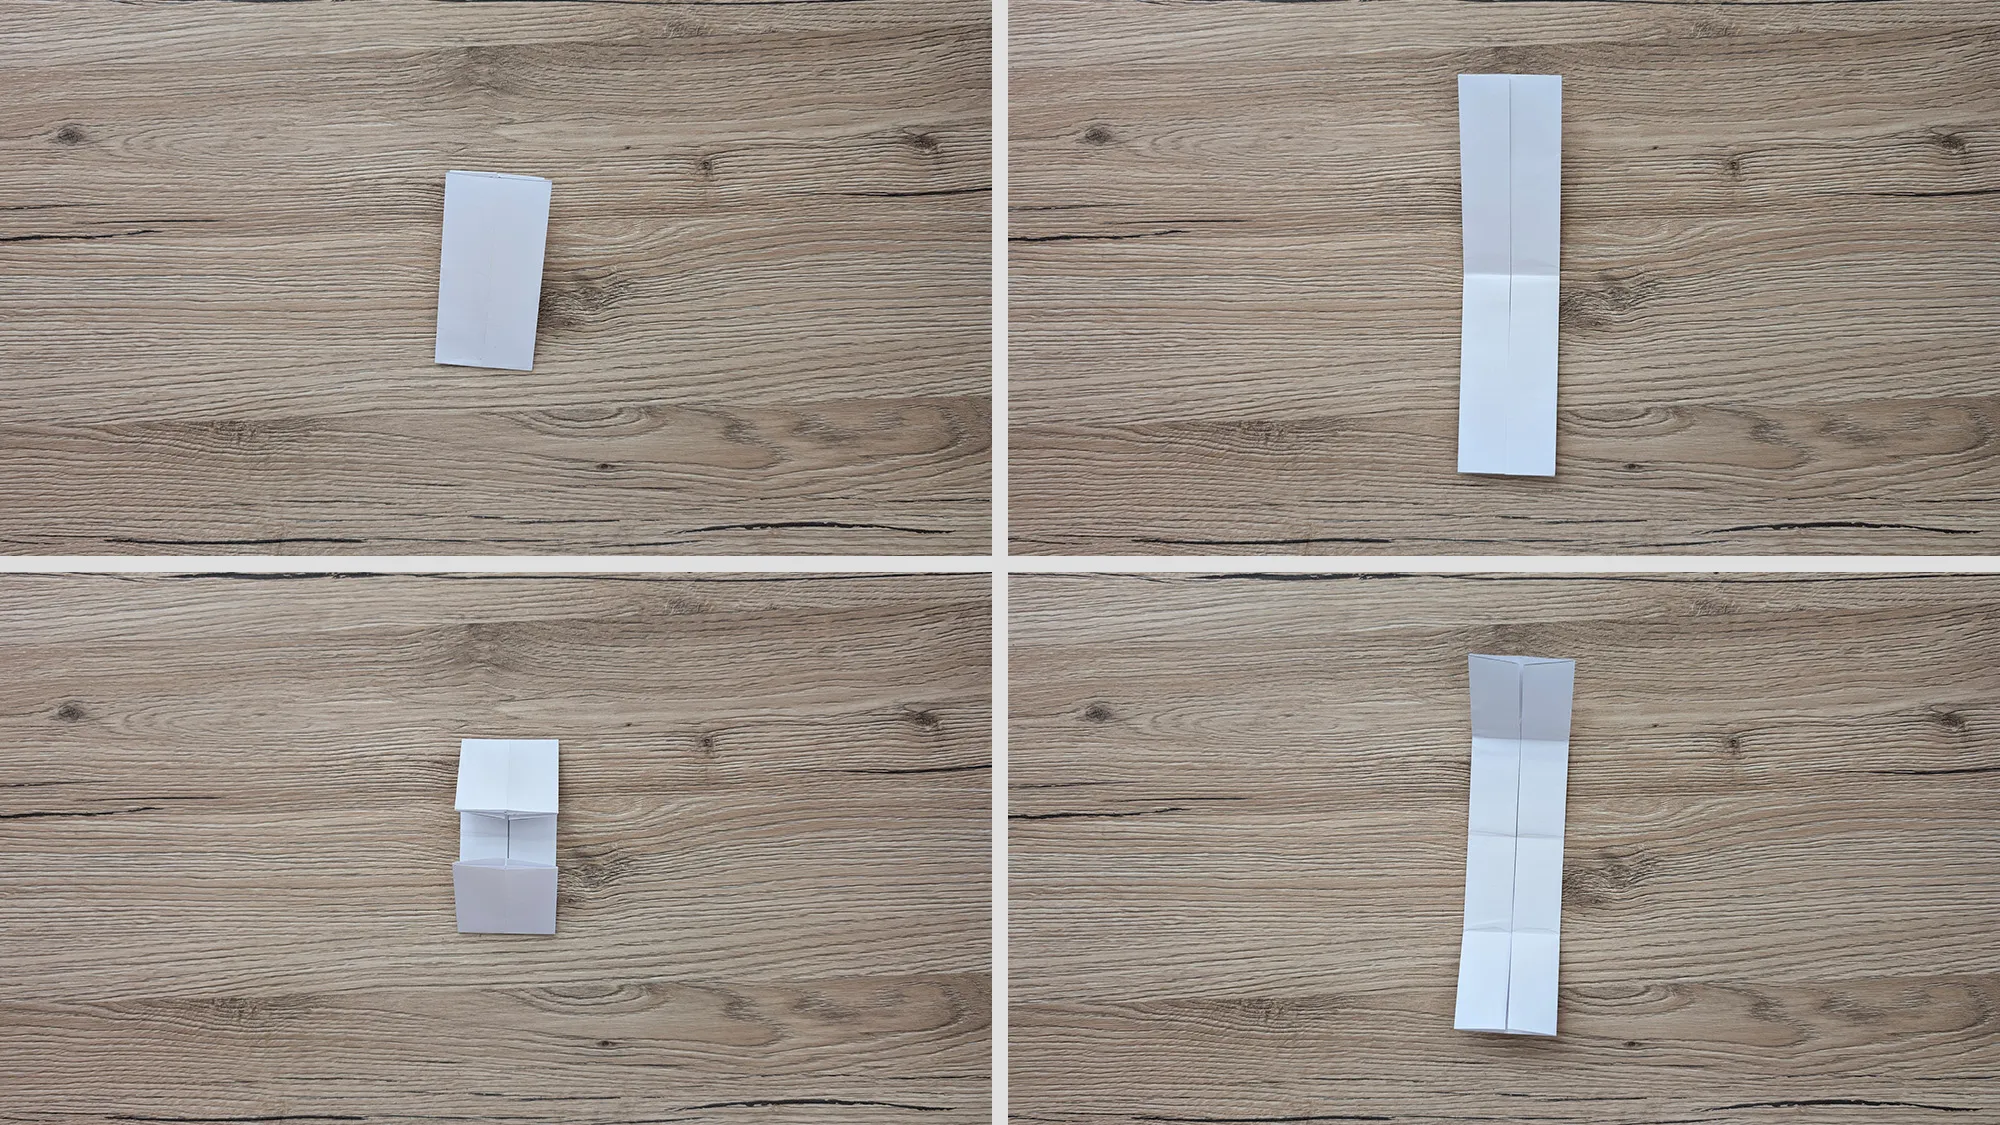
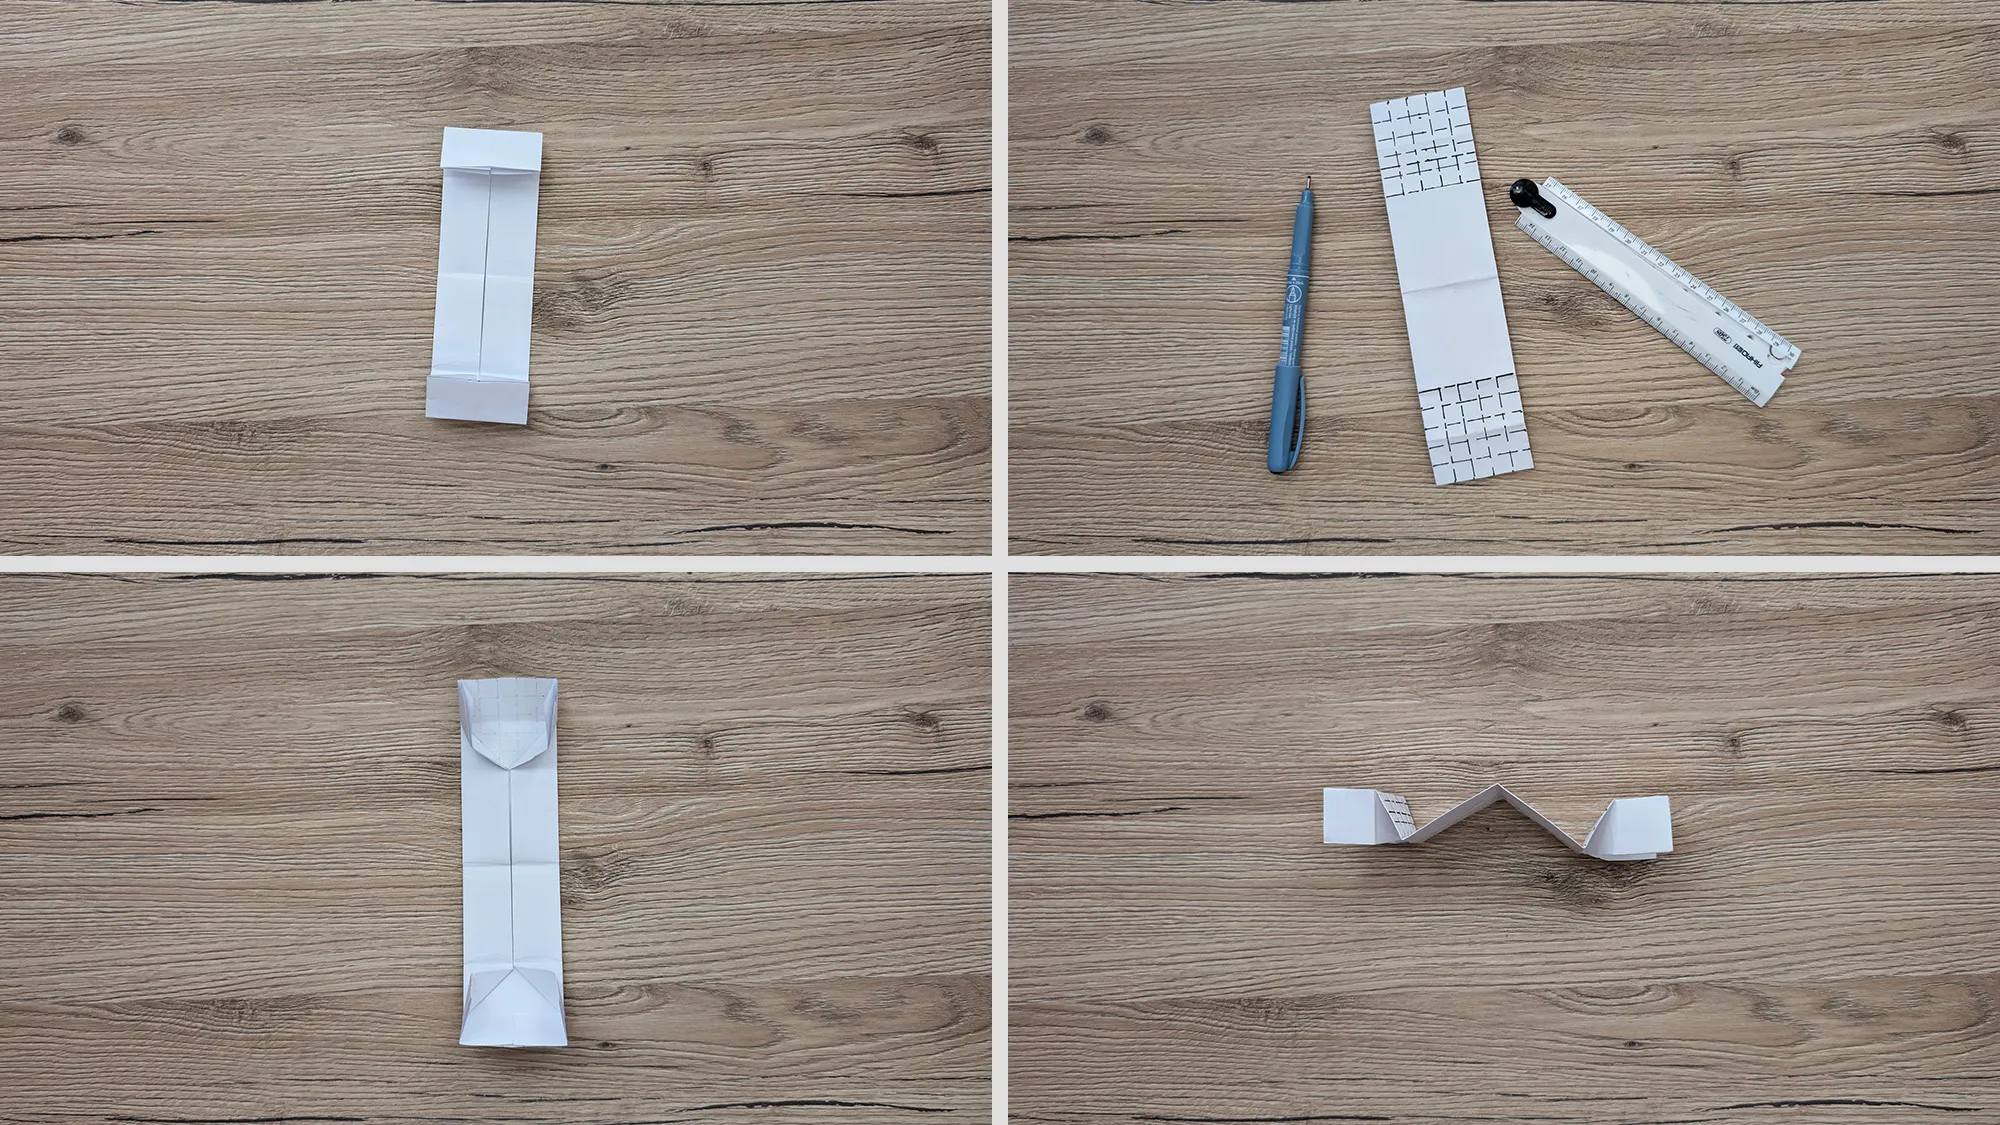

The importance of creative activities for your child's development
Crafting together is far more than just a nice pastime. When your child works on projects like this Minecraft Creeper, it trains important fine motor skills. The precise cutting, folding, and gluing promotes hand-eye coordination and dexterity – skills that are also very important for learning to write and in many other areas of everyday life.
Moreover, crafting strengthens your child's concentration and patience. It teaches them to follow instructions, proceed step by step, and persevere, even if everything doesn’t work out perfectly right away. These experiences build self-confidence and convey important life skills such as perseverance and problem-solving abilities.
Last but not least, you create valuable memories through shared crafting projects. In our fast-paced, digital world, these moments of undivided attention and collaborative creation are especially precious and strengthen your bond sustainably.
Thank you for your interest!
Thank you very much for taking the time to read our guide for the Minecraft Creeper! We sincerely hope that you liked this DIY idea and that you will soon embark on this fantastic project together with your child. Your child's enthusiasm when it can place its self-crafted Creeper on the shelf will be the greatest reward!
Are you interested in more creative projects? Then be sure to check out our Origami section! There you will find over 200 different guides for enchanting paper folding projects. Our collection of guides for paper airplanes is particularly popular – from simple models to amazing flyers with special flying characteristics.
Creativity knows no bounds, and with each craft project, your child discovers new skills and talents. We look forward to accompanying you and your child on this exciting journey of discovery and are already excited about your next adventure in the world of creative design!
From Vitalii Shynakov
