Make simple paper hens - Creative crafting idea for children
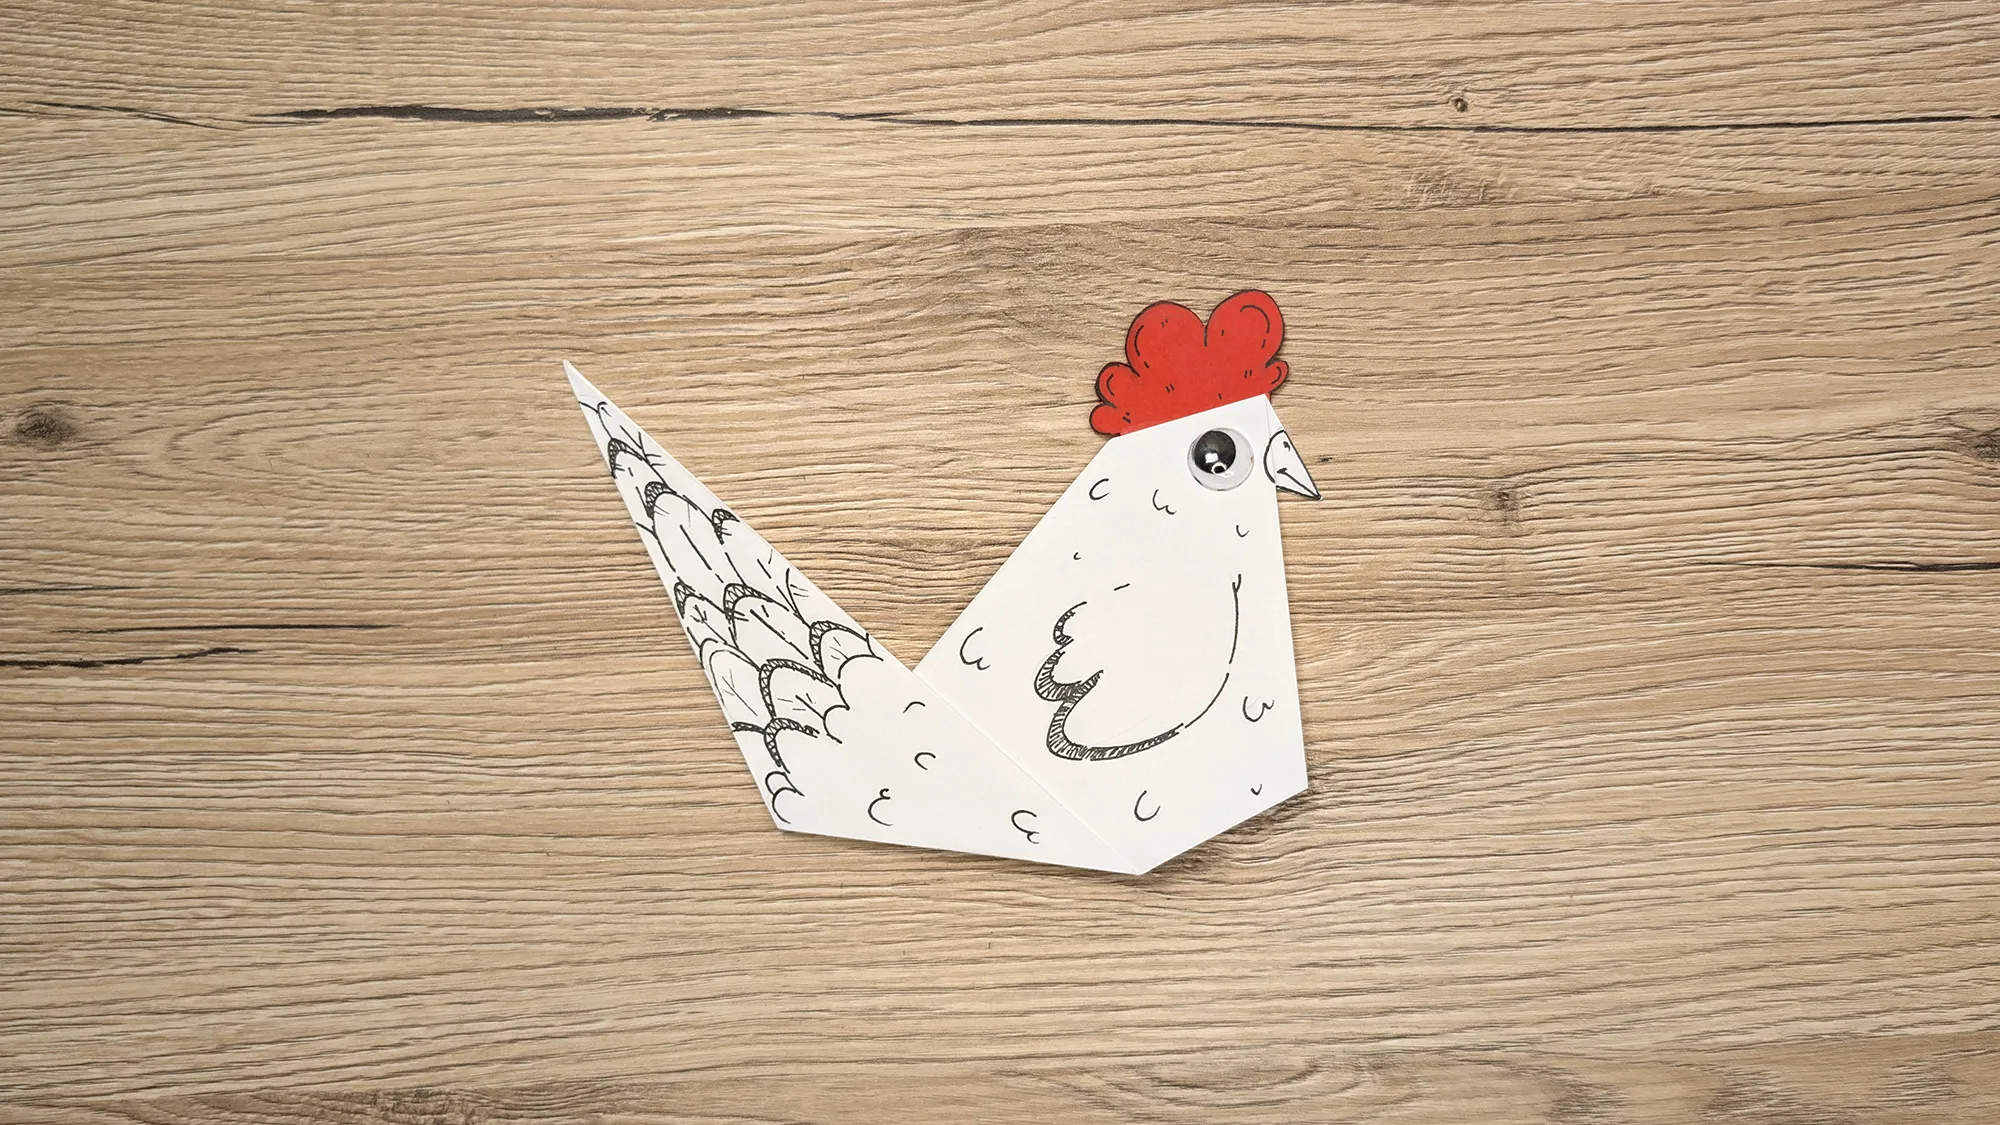
Hello! Are you looking for a simple DIY idea that you can implement together with your child? Then we are glad you found us. In this article, I will show you how you can make a cute paper hen - a project that brings great joy to preschool children!
All the videos and photos that you find here have been specially created by us just for you. Each of our instructions consists of a video tutorial, photos, and a detailed description of each step. This way, you have no chance of not understanding what to do. It’s best to watch our video first before starting to craft to get an overview.
If you like how we present this crafting idea, feel free to visit our channel and subscribe to us. We add new instructions for interesting DIY ideas daily.
Paper Hen: Step-by-step guide with photos and description
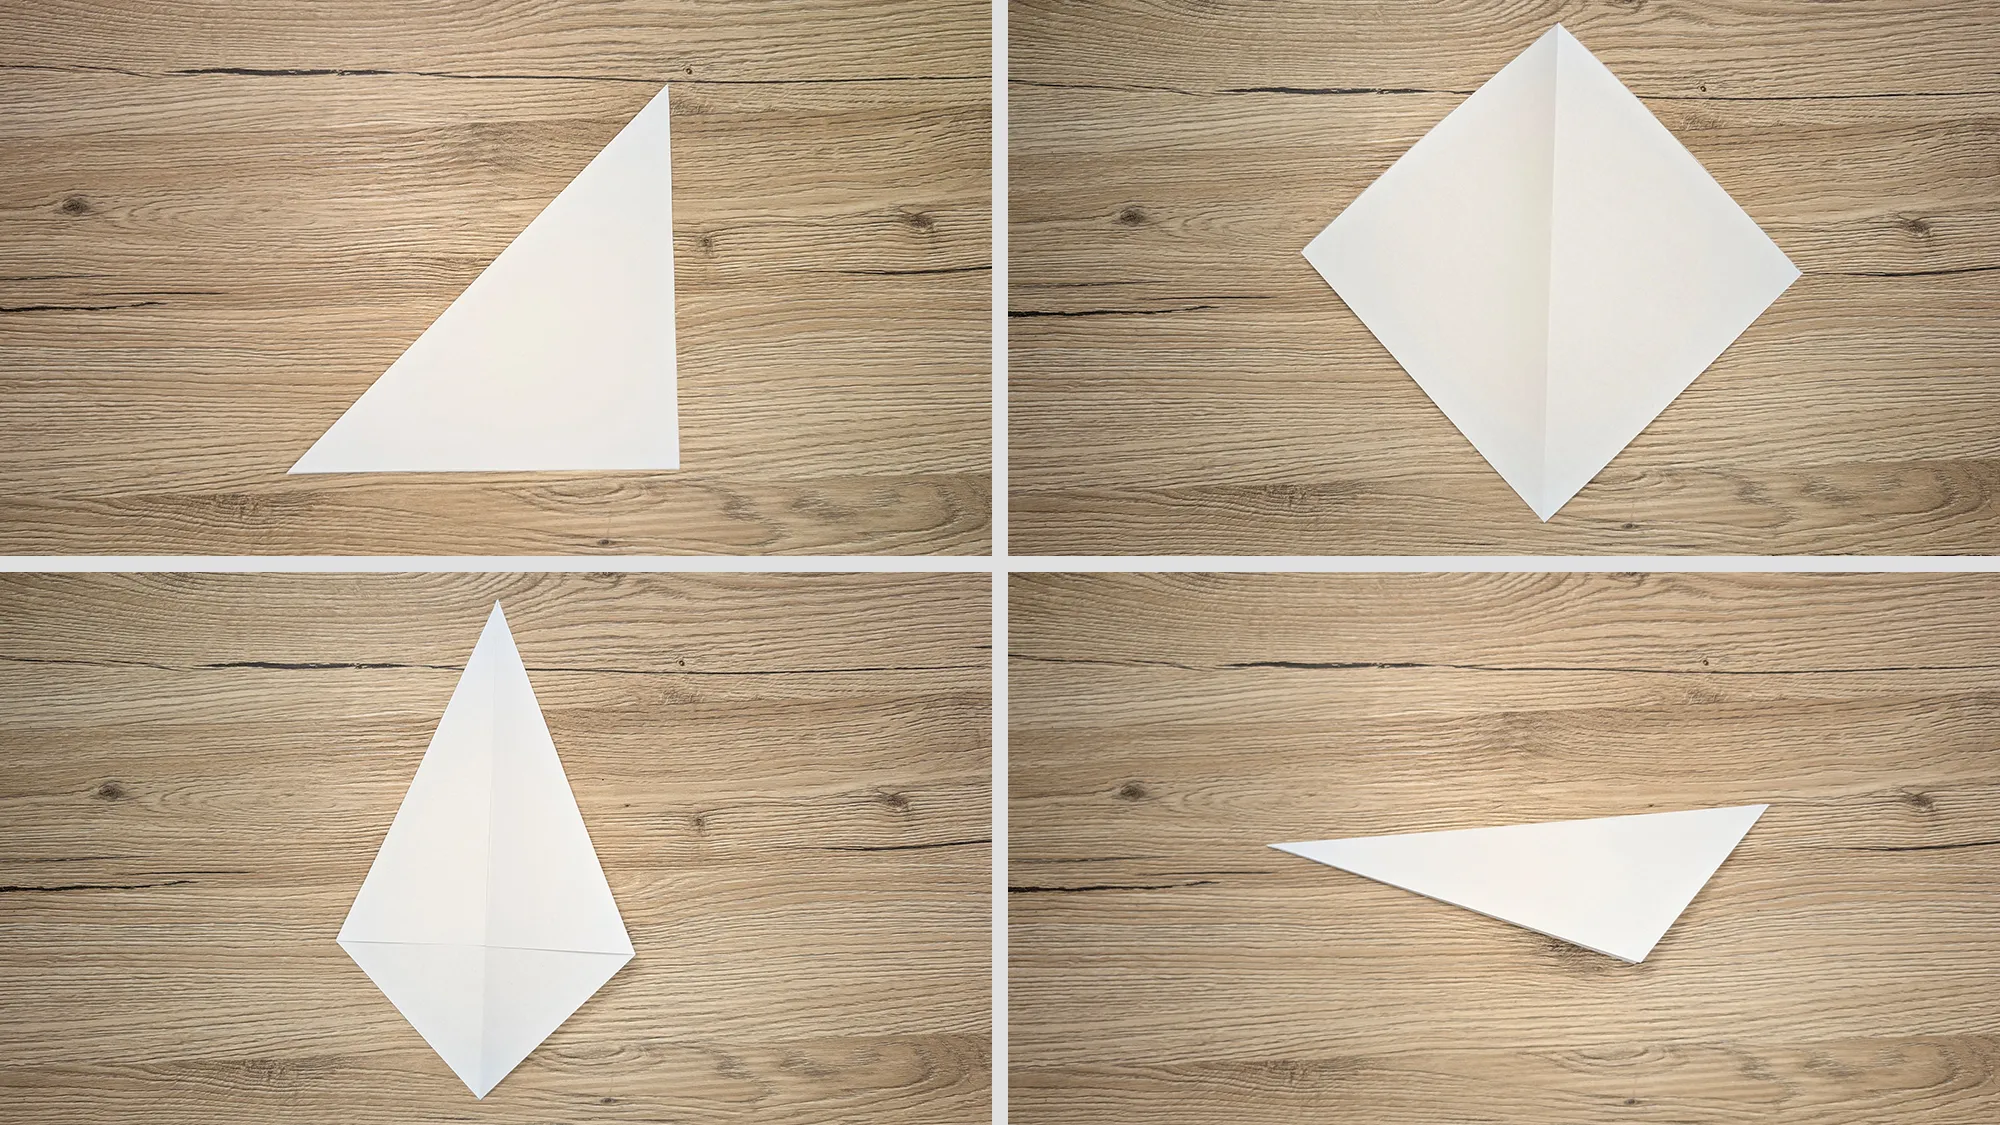
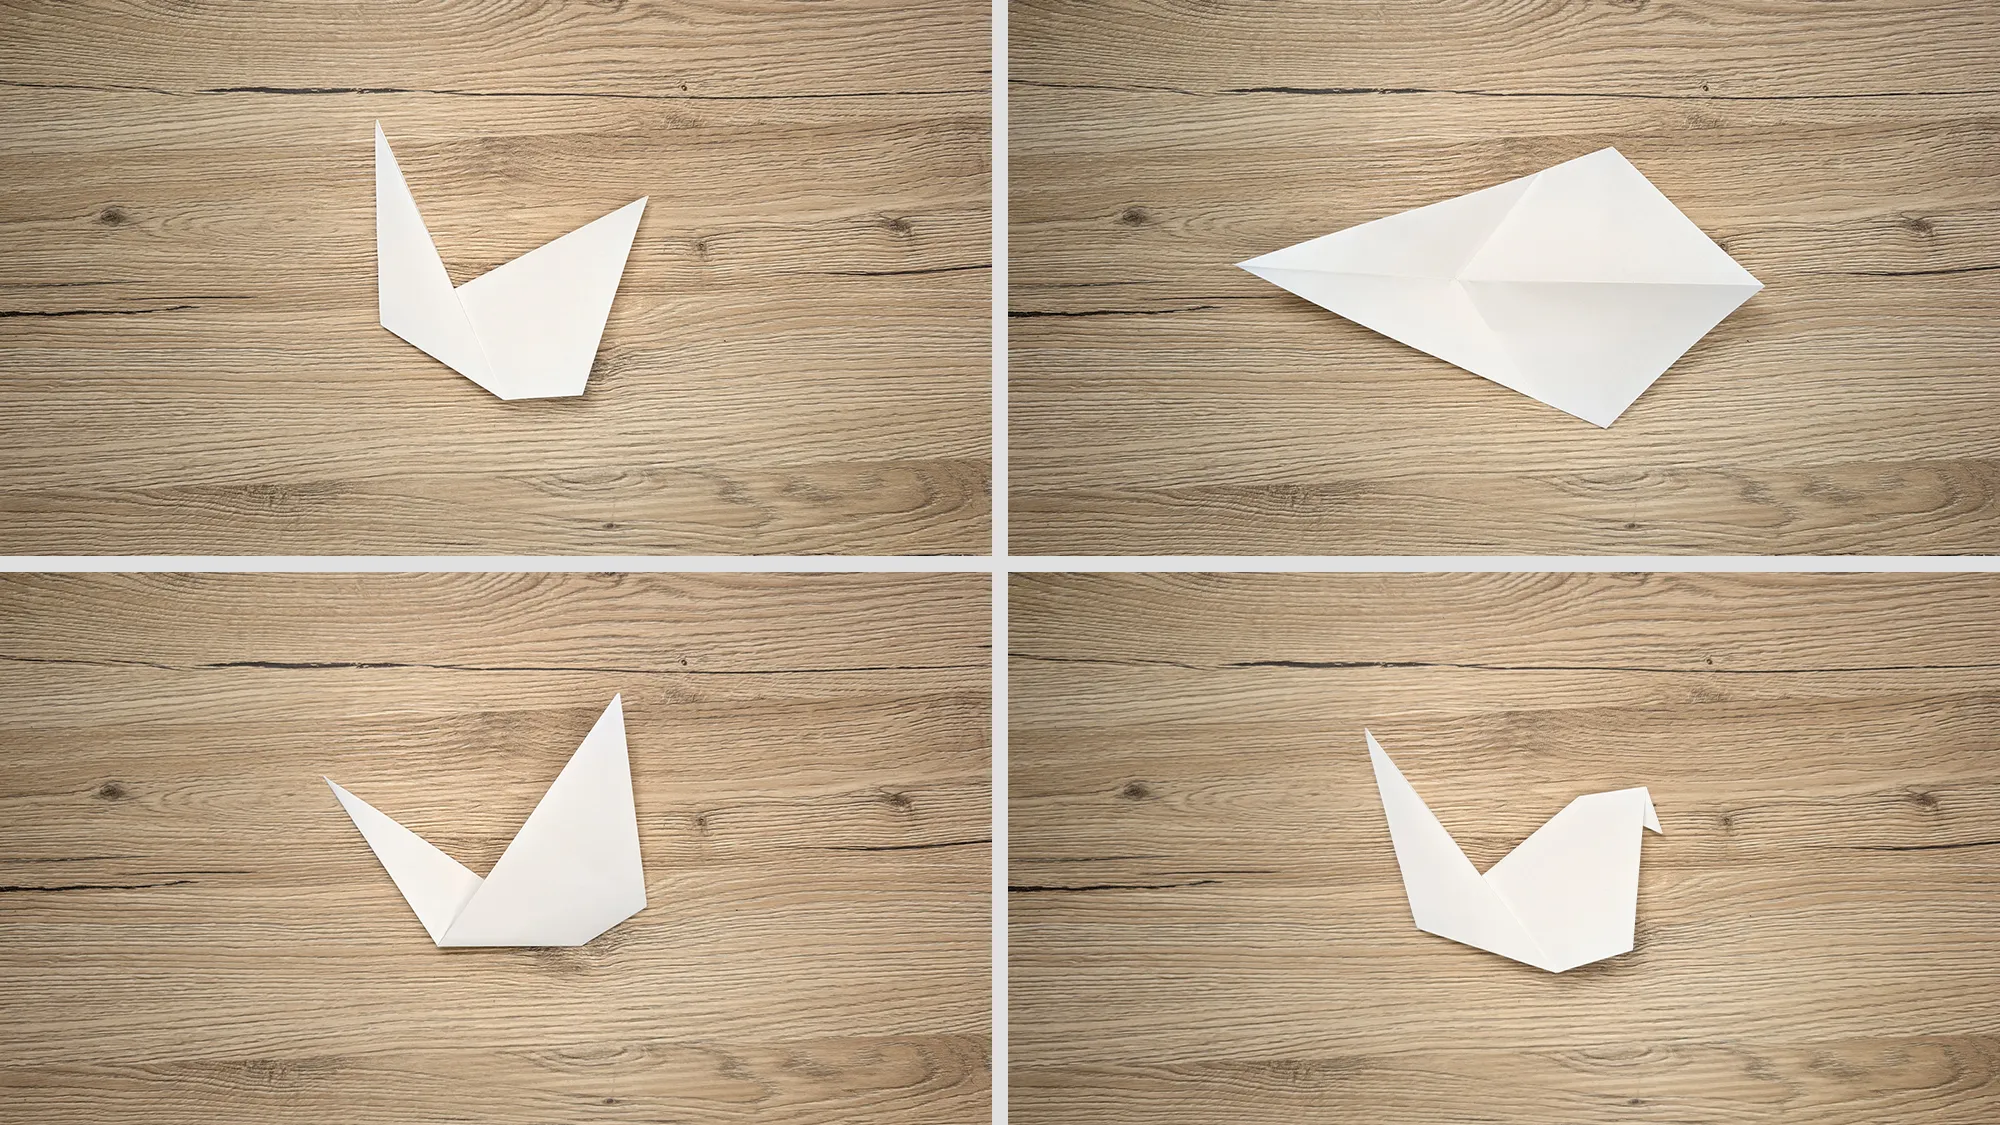
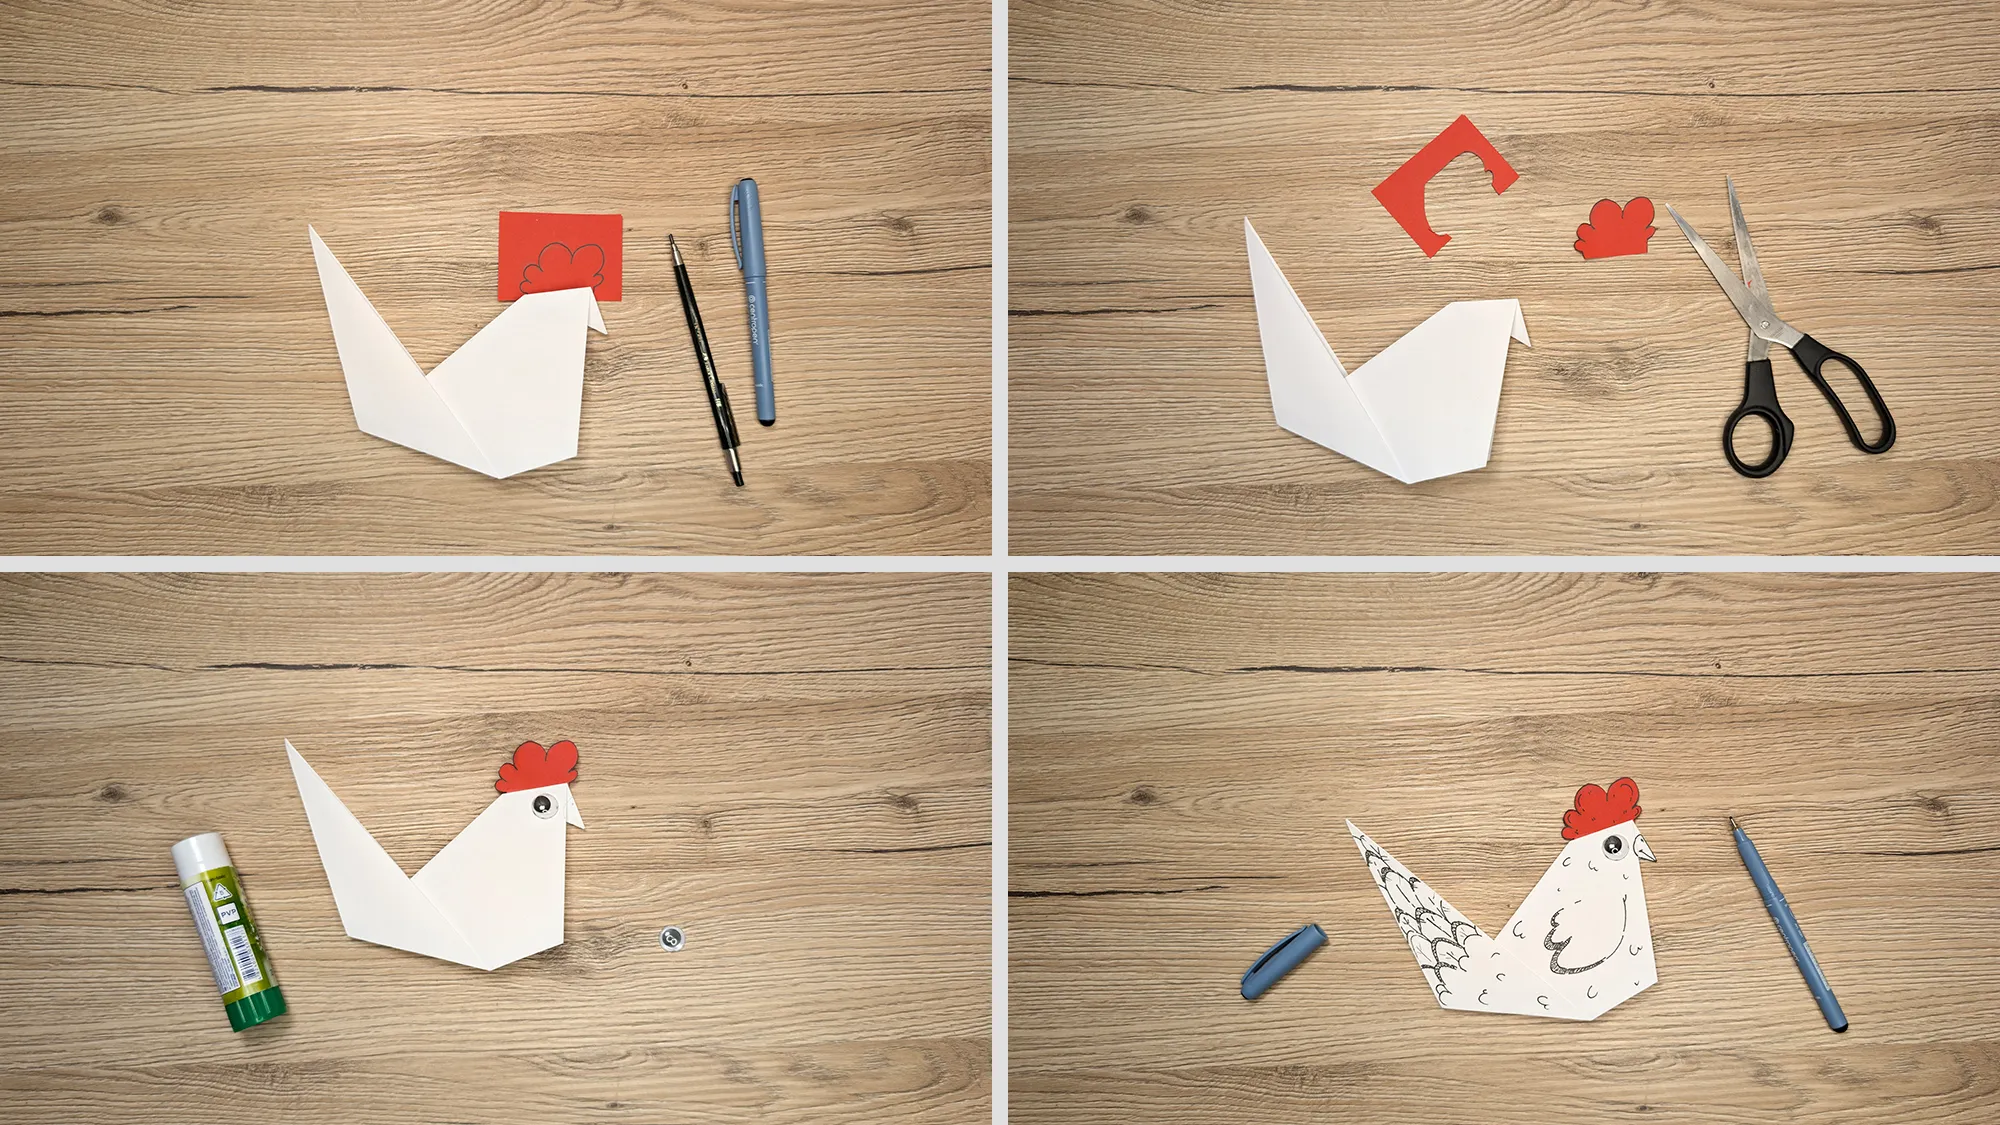
This adorable paper hen is not only easy to make, but it also combines different crafting techniques that are important for the development of your child’s fine motor skills. The best part? You only need a few simple materials!
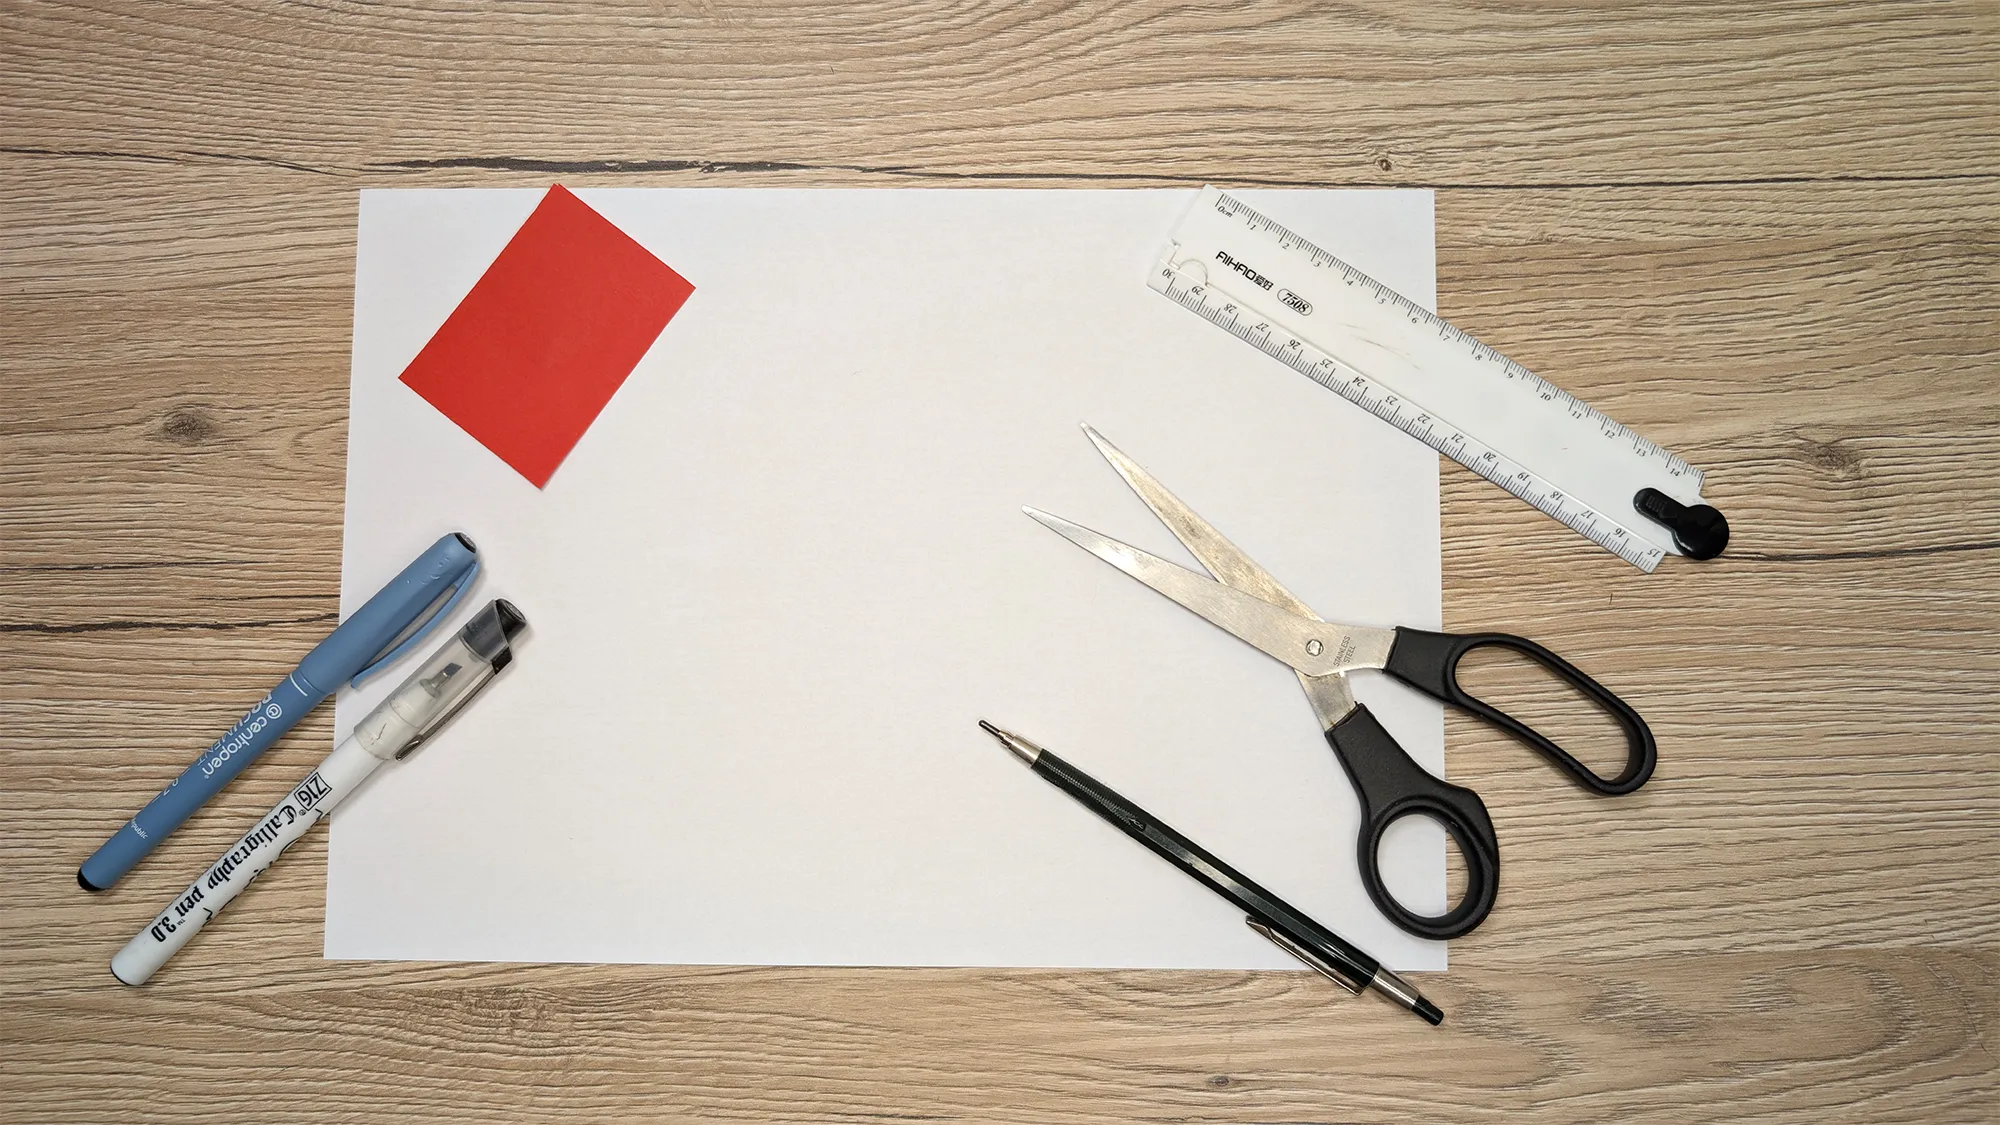
Materials you will need:
- White paper or crafting cardboard
- Red paper or crafting cardboard (for the comb)
- Scissors
- Pencil
- Black marker or fineliner
- Ruler
- Glue
- Optional: additional colored markers for decorating
The importance of promoting fine motor skills in children
Making this paper hen is not only a fun activity but also promotes the development of your child's fine motor skills. When children fold, cut, glue, and draw, they are training the small muscles in their hands and fingers, which is crucial for learning to write later on.
The coordination between eyes and hands is also enhanced when children try to cut along lines or glue precisely. These motor skills are fundamental for many everyday activities and school tasks.
Furthermore, crafting together provides a wonderful opportunity for quality time with your child. It creates memories that last a lifetime. Children grow up so quickly, and these shared creative moments are precious. While you craft together, you can talk to your child about their day, listen to them, and build a special bond.
The finished paper hen can serve as a decoration for the child's room or be used as a toy. Your child will be proud to have created something handmade. These small successes boost self-esteem and encourage further creative projects.
Creative extensions of this crafting idea
Here are some ideas on how you can expand this project:
- Make several chickens in different colors
- Add more details, like legs or more feathers
- Create a small farm with additional paper animals
- Use the hen as part of a self-created story
- Make a mobile from several paper chickens
Thank you for your interest!
We would like to sincerely thank you for taking the time to read our instructions. Creating crafting guides, videos, photos, and writing this article takes a lot of time, and we truly hope that you enjoyed this crafting idea.
Maybe you would also like to check out our other instructions? We have great instructions for origami or just take a look in our area DIY ideas and crafting ideas for children. You might find more inspiring projects there.
Overall, we already have over 400 different instructions on our portal, and new ones are added every week. We look forward to accompanying you on your creative journey with your child!
From Vitalii Shynakov
