Make an emoji pencil topper - Funny DIY idea for kids
Hello! Are you looking for a quick and creative DIY idea that you can implement together with your child? Then we are glad you found us. In this article, I will show you how to make a fun emoji spoon - a project that brings great joy to children!
All the videos and photos you find here have been created specifically for you by us. Each of our instructions consists of a video guide, photos, and a detailed description of the individual steps. This way, you have no chance of not understanding what to do. It’s best to watch our video first before you start crafting to get an overview.
If you like how we present this craft idea, feel free to visit our channel and subscribe to us. We add new guides for interesting DIY ideas every day.
Emoji Spoon: Step-by-Step Guide with Photos and Description
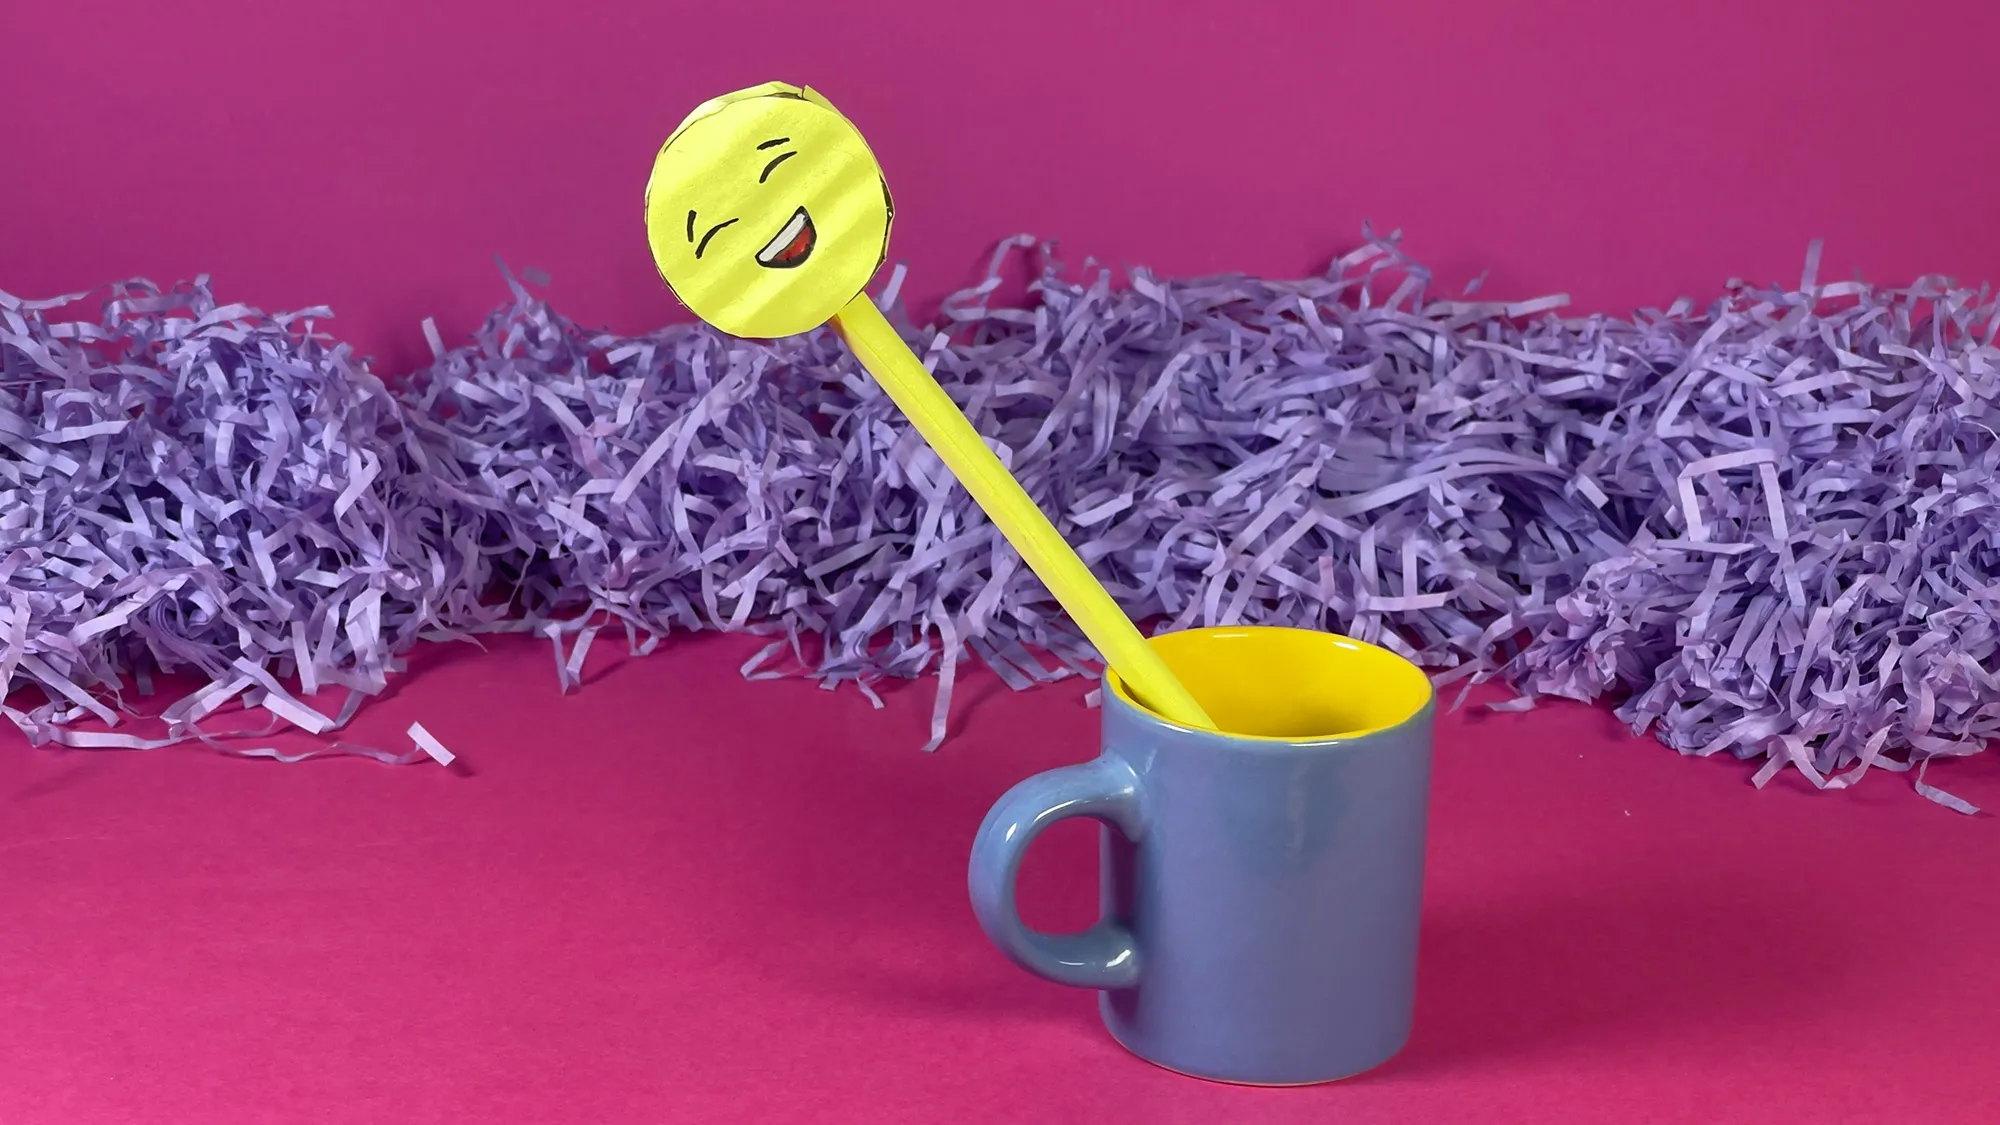
This cute emoji pen topper is not only a great crafting project but also turns any ordinary pen or pencil into a fun accessory. It is easy to make and brings a lot of joy to children!
Materials you will need:
- Cardboard (e.g., from an old packaging)
- Yellow paper
- White glue
- Scissors
- Pencil
- Black marker and other colored pens
- Craft knife (for adults only)
- Ruler or measuring tape
Step 1: Prepare materials
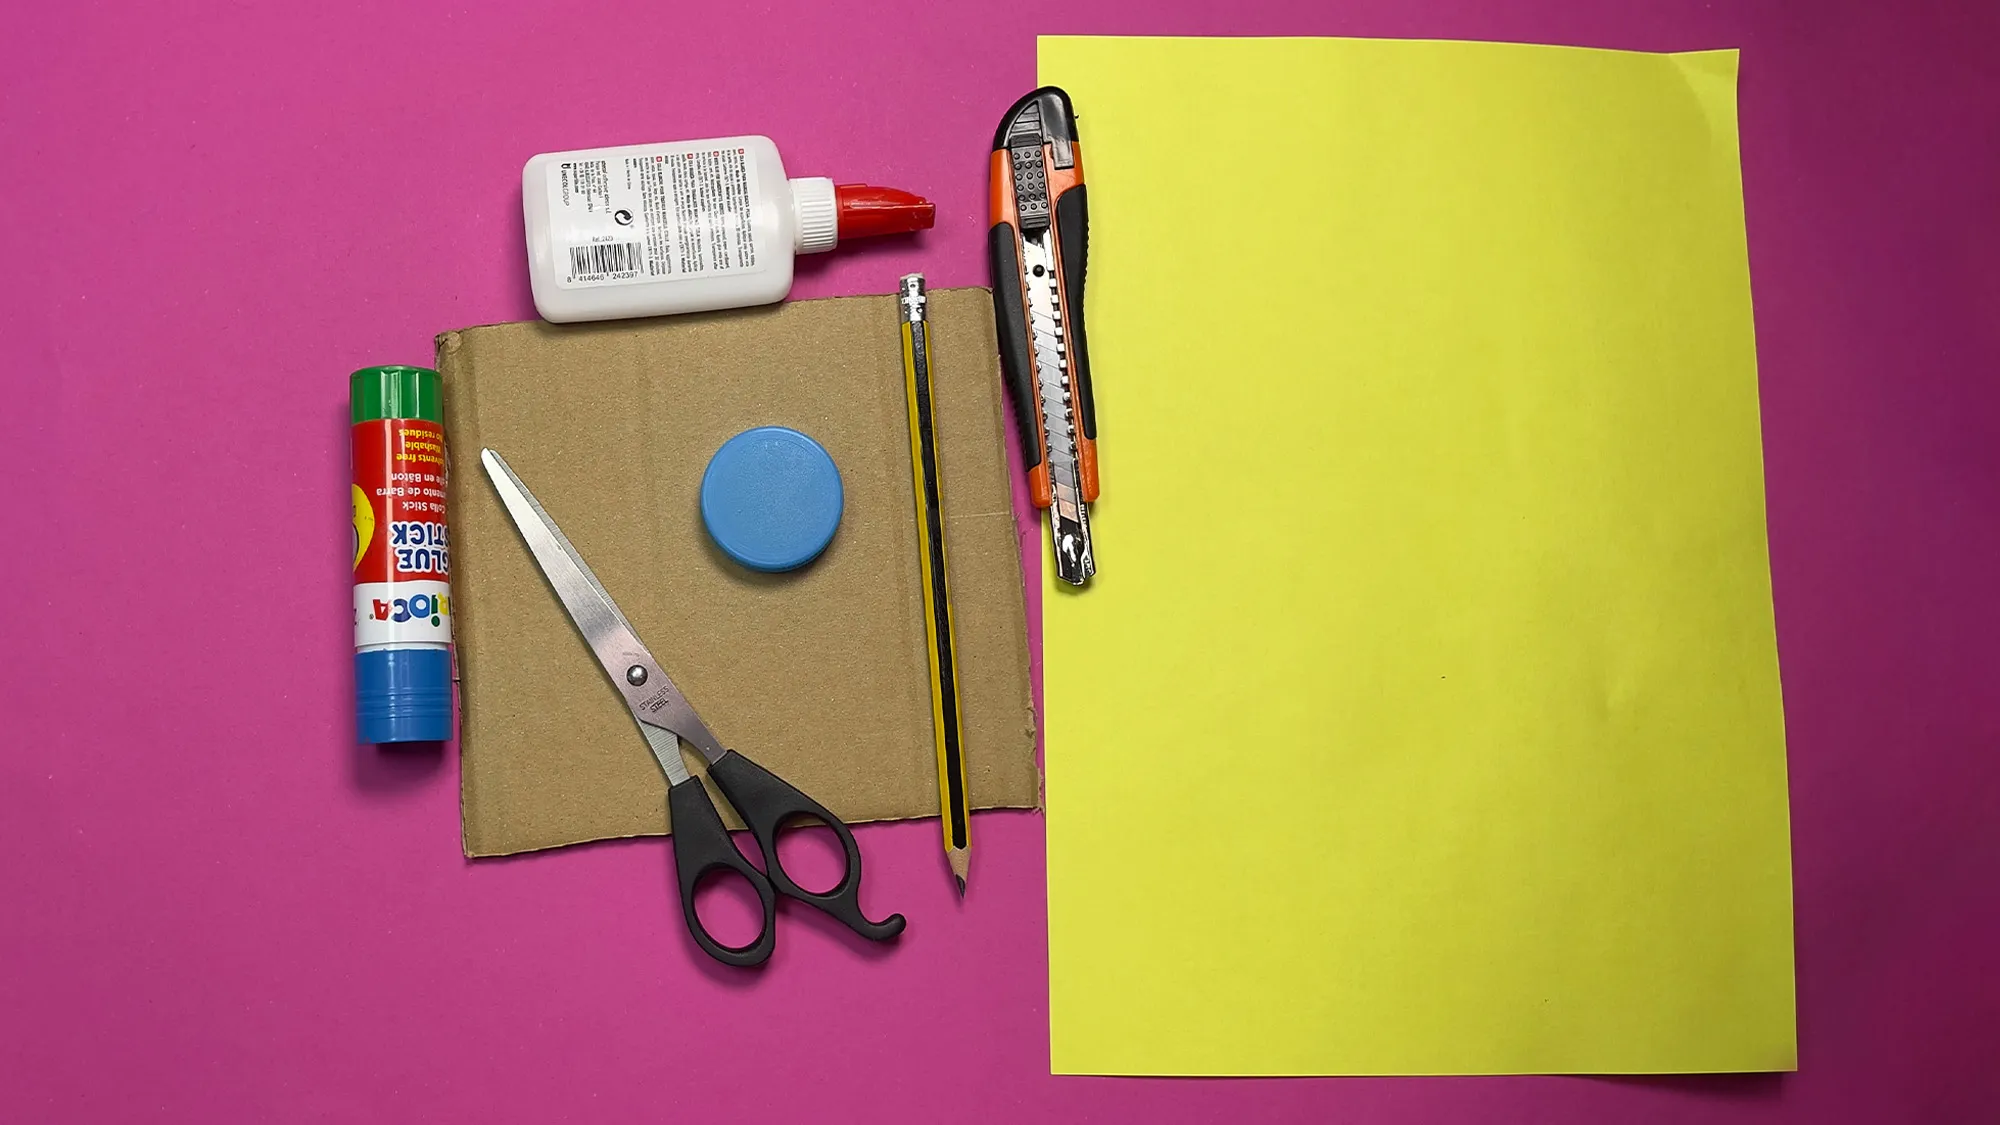
Step 1: Lay out all the materials you need for the project. In the photo, you can see cardboard, yellow paper, scissors, pencil, glue, and a craft knife. Check if you have everything on hand before you start crafting.
Step 2: Cut out circles
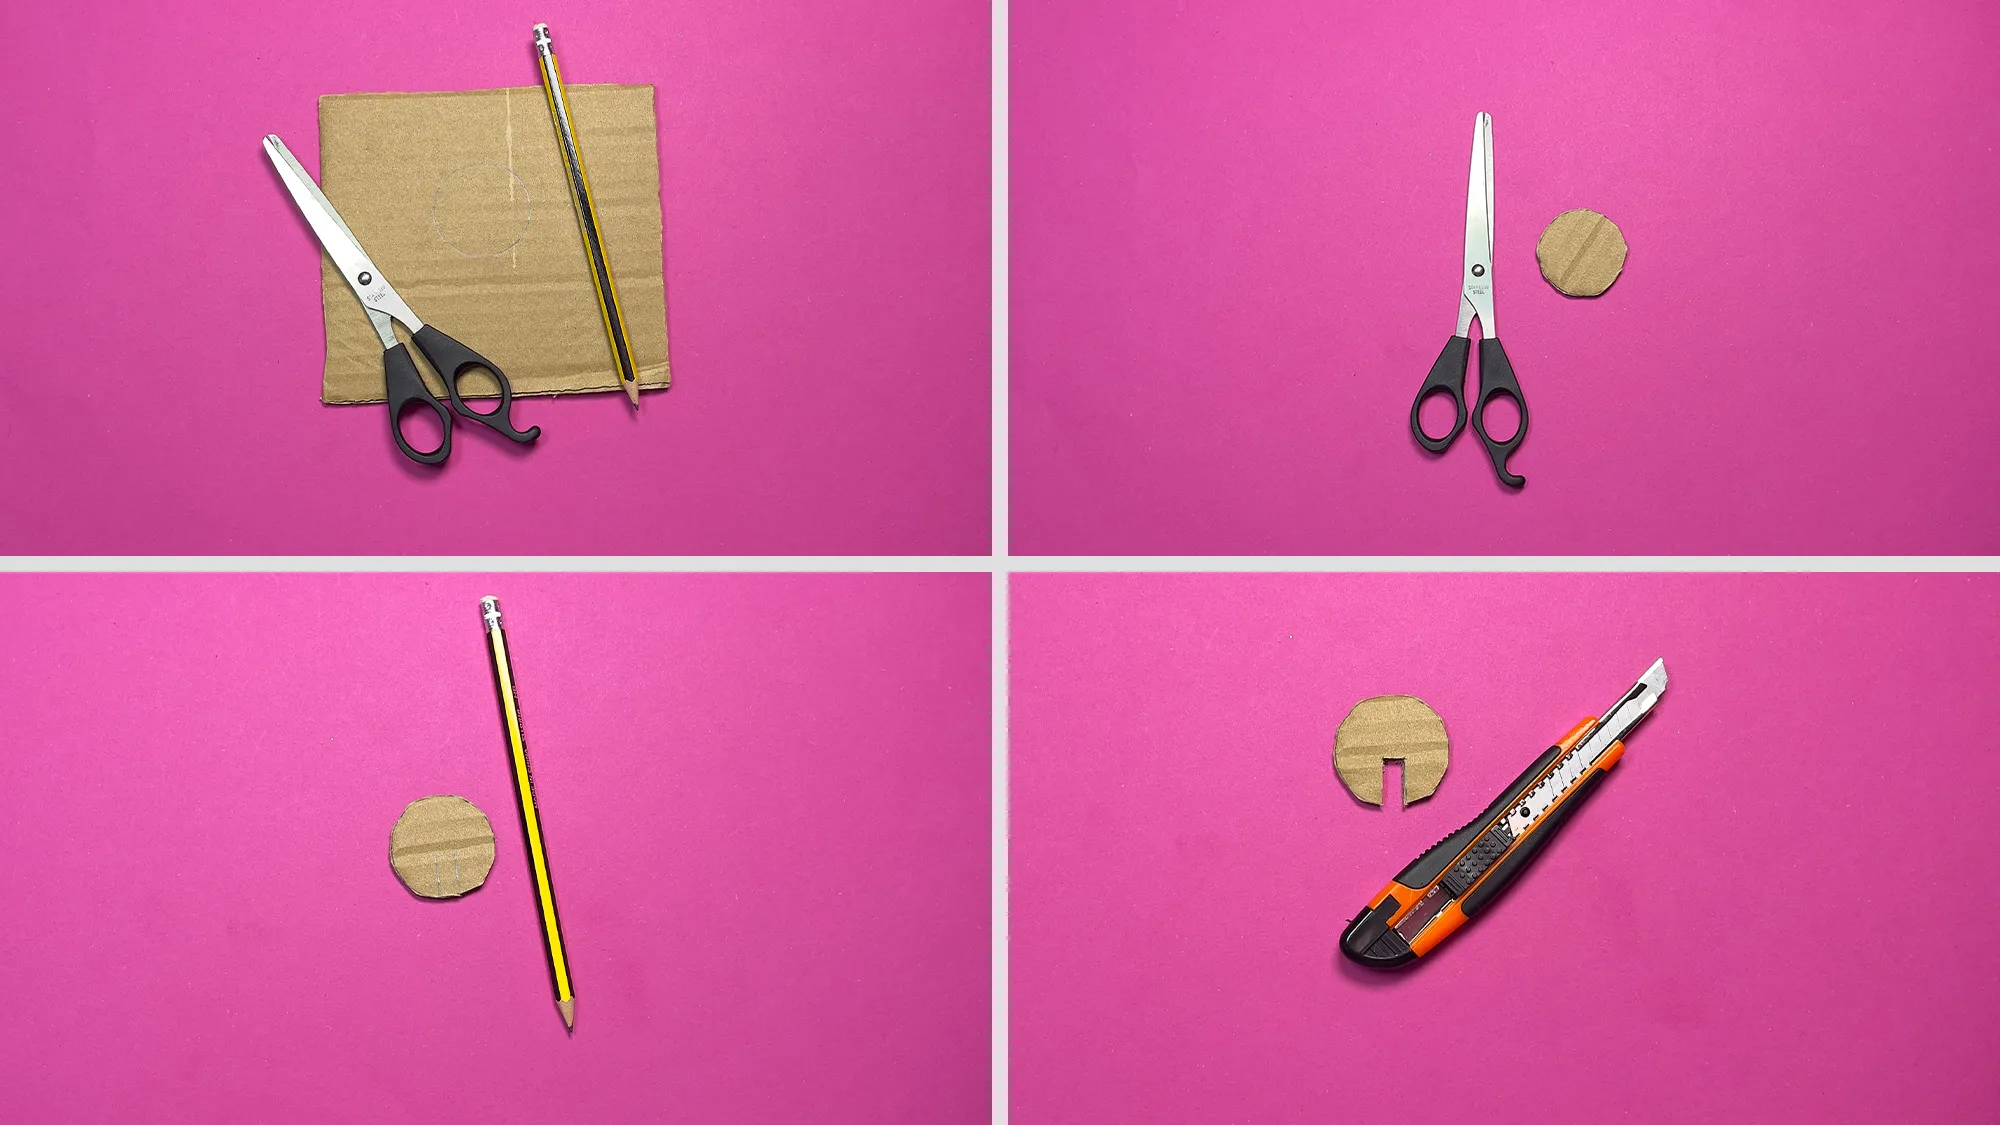
Step 2: Draw a small circle on the cardboard for the head of the emoji. You can use a round object as a template, like a coin or a small lid. Cut out the circle. Then draw a narrow slit in the circle, as shown in the photo. Cut this out with the craft knife (children should do this step together with an adult).
Step 3: Prepare the slit
Step 3: To ensure the pen topper fits well on a pen or pencil later, you need to cut a slit in the cardboard circle.
Step 4: Prepare yellow paper
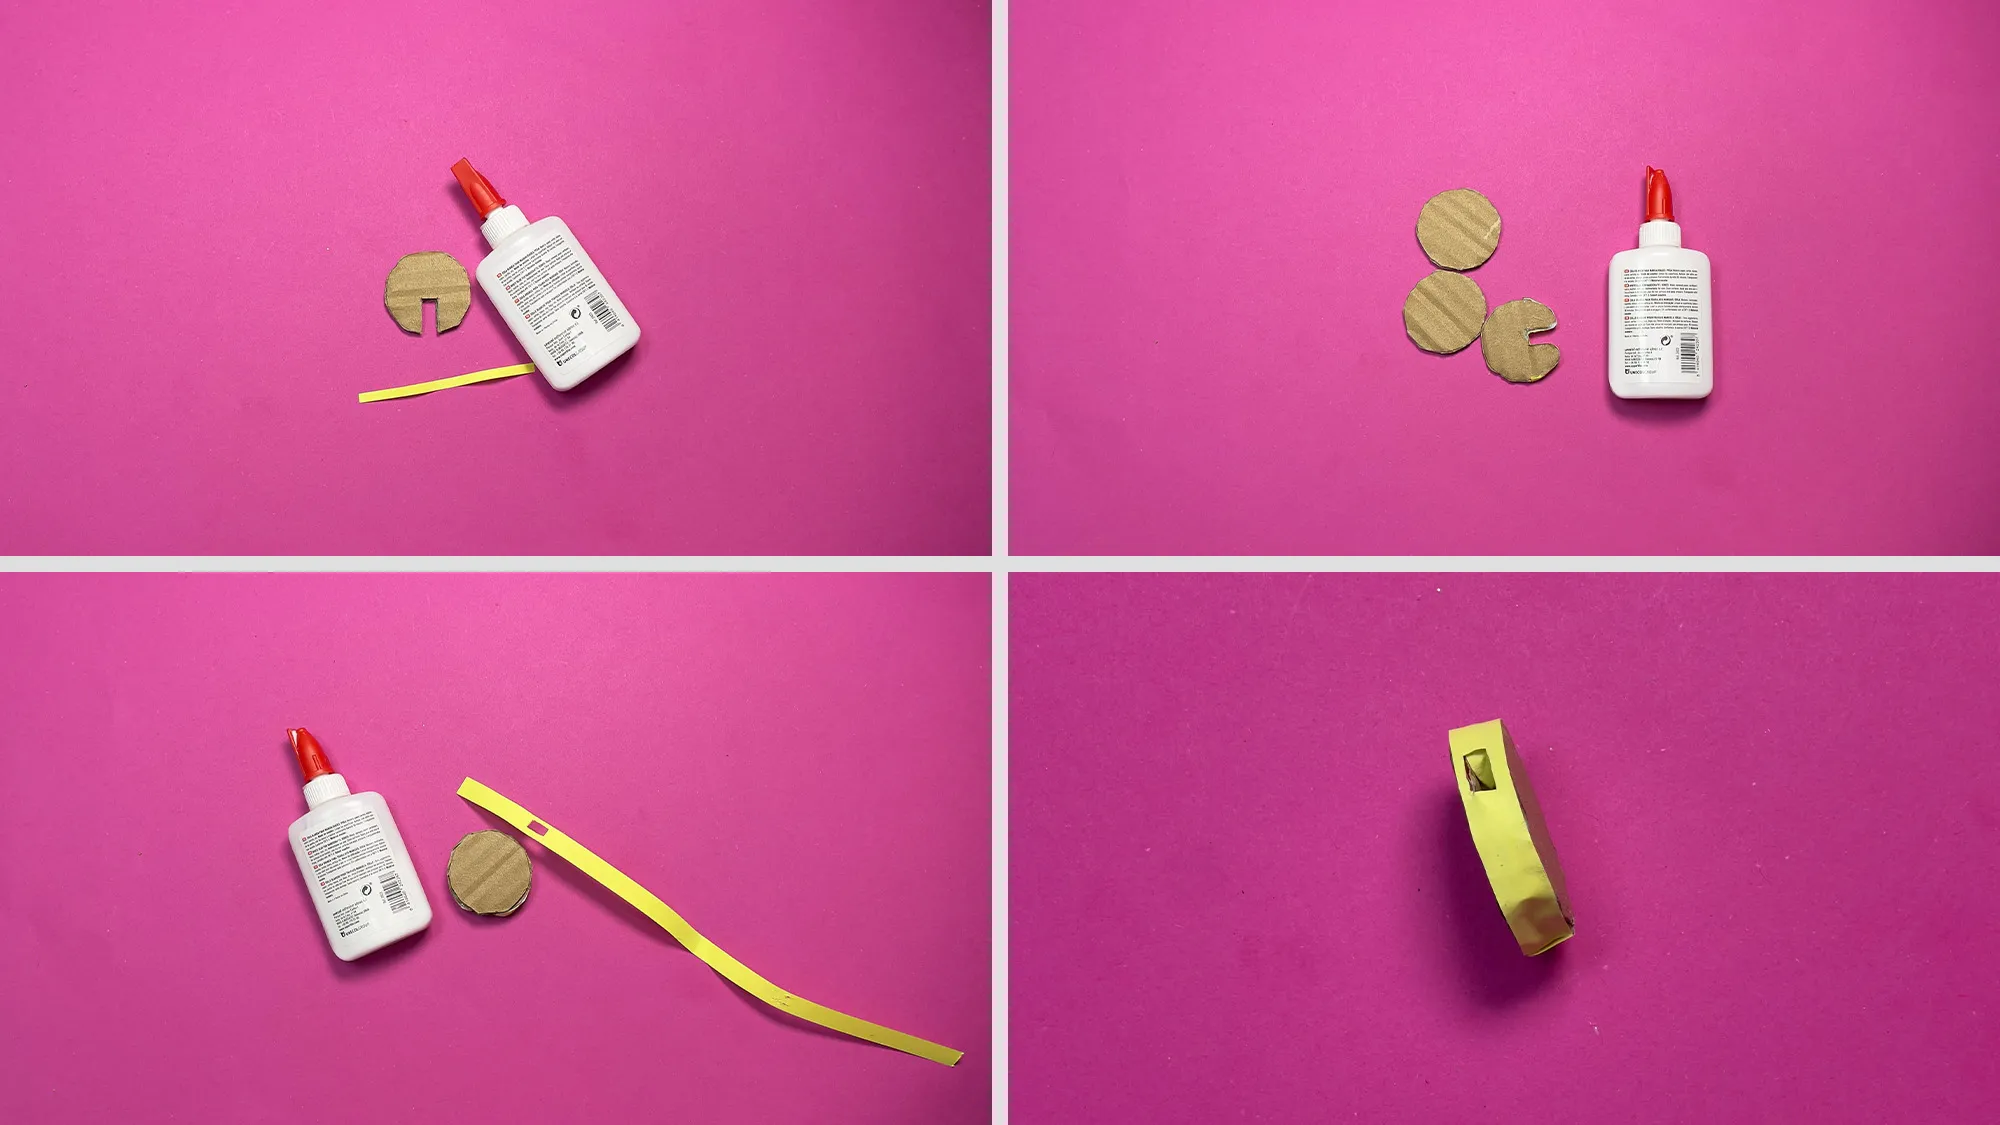
Step 4: Cut out two circles from the yellow paper - one for the front of the emoji head and one for the back. The circles should be slightly larger than the cardboard circle. Glue one of the yellow circles onto the front of the cardboard circle and the other onto the back, so the pen topper looks nice from both sides.
Step 5: Create the face
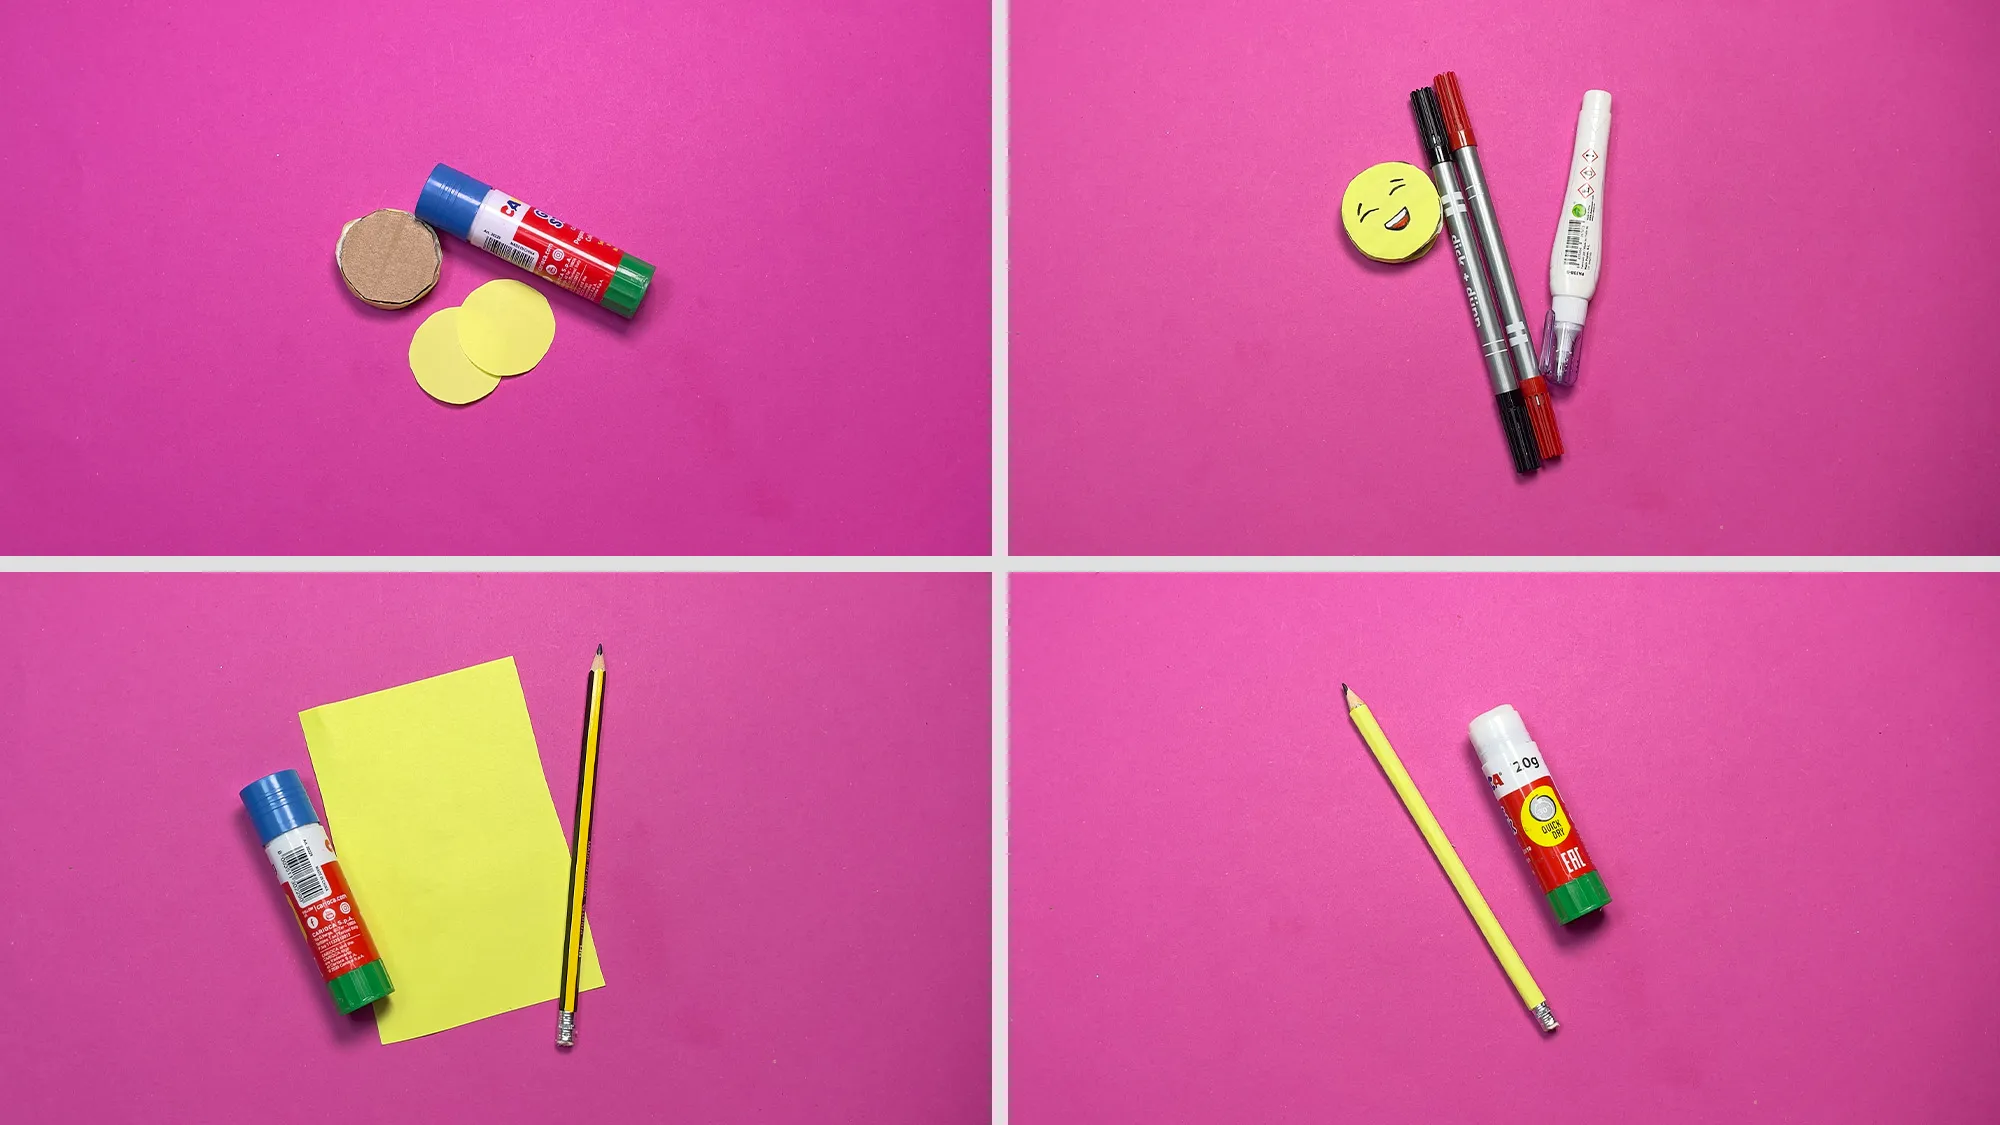
Step 5: Now comes the creative part! Draw an emoji face on the yellow circle with black and colored pens. In our example, we drew a smiling face with closed eyes. But you can choose any emoji you like - whether happy, surprised, in love, or cool with sunglasses! Finally, you insert your emoji pen topper onto a pencil or pen. As seen in the last photo, the topper looks particularly cute and transforms any ordinary pen into a cheerful writing instrument. You can also use the pen topper as decoration in a pencil holder.
Creative usage ideas for your emoji pen topper
There are many ways for you and your child to use the finished emoji pen topper:
- As a fun accessory for favorite pens
- As a small gift for school friends
- As decoration for the desk
- As a creative addition to a gift
- As part of a homemade invitation card
- To find different pens in the pencil case more easily
The importance of creative activities for children
Craft projects like this emoji spoon not only foster your child's creativity but also their fine motor skills and patience. While drawing, cutting, and gluing, various motor skills are practiced that are important for development.
In addition, crafting together provides a wonderful opportunity for conversations and quality time. While you craft together, you can talk about the different emotions that emojis express and how to show feelings in different ways.
The joy and pride that children feel when they complete a self-made artwork strengthen their self-esteem and motivate them to try more creative projects.
Thank you for your interest!
We would like to sincerely thank you for taking the time to read our guide. Creating craft instructions, videos, photos, and writing this article takes a lot of time, and we really hope you enjoyed this craft idea.
Maybe you would like to check out our other guides as well? We have great guides for different age groups, or just take a look in our section DIY Ideas and Craft Ideas for Kids. You might find more inspiring projects there.
Overall, we already have over 400 different guides on our portal, and new ones are added every week. We look forward to accompanying you on your creative journey with your child!
From Vitalii Shynakov
