Kawaii Pineapple Paper Squishy crafting: Simple DIY instructions with photos and video
Hello! Are you looking for a cool idea on how to make a trendy toy yourself? Then you are exactly in the right place! In this tutorial, I will show you how to create a cute Pineapple Paper Squishy. These soft, squishy paper toys are not only super popular among kids and teenagers but are also easy to make and a lot of fun! All our tutorials consist of videos and photos with detailed text descriptions and helpful tips. This way, you can be sure that your crafting will be successful.
All the videos and photos you find here are created by us. They can also be found on our YouTube channel. If you click on the video title, you can go directly to our channel and subscribe. That would be awesome!
Pineapple Paper Squishy: Step-by-Step Tutorial with Photos and Comments
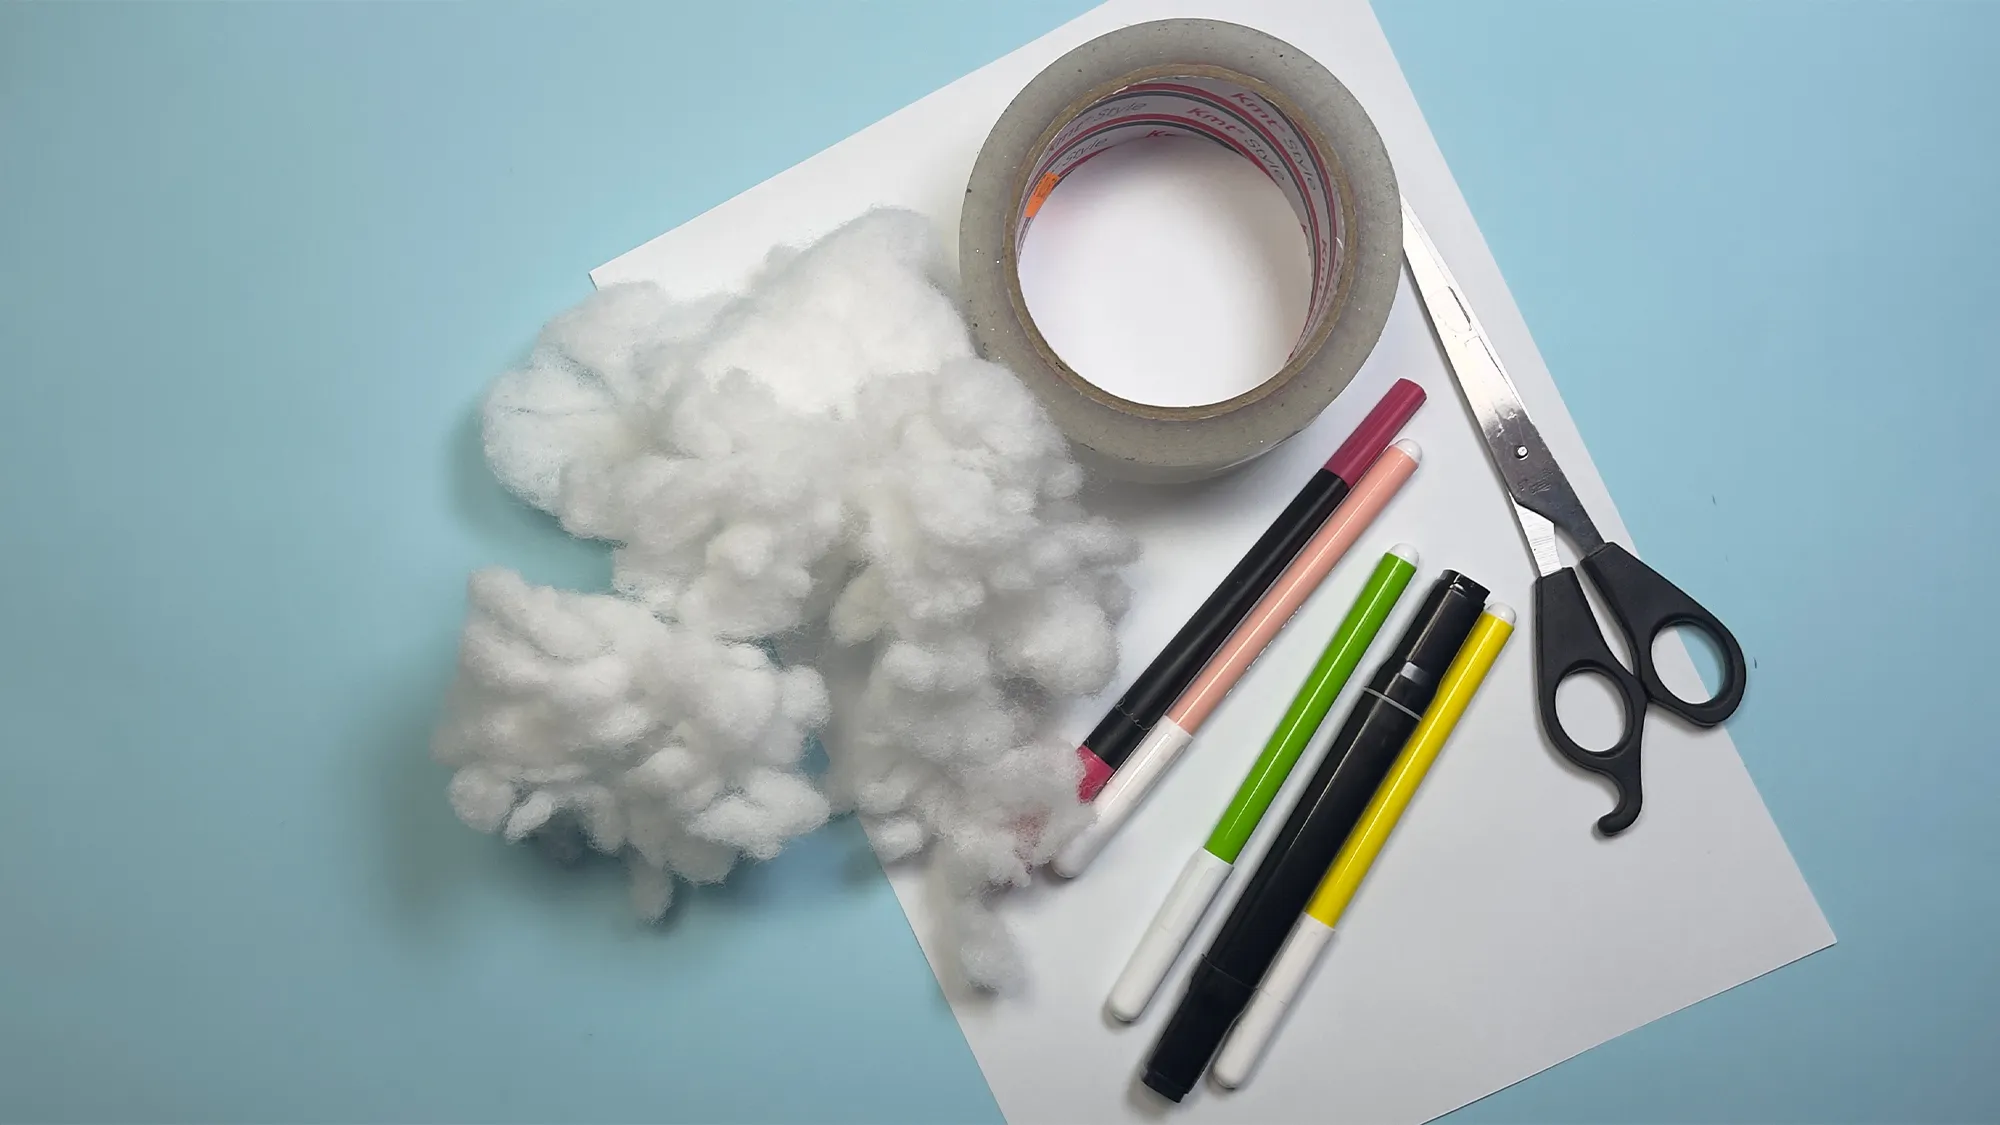
In this crafting idea, just like all others on our portal, we exclusively use materials that you can easily find at the nearest supermarket or craft store. For our Pineapple Paper Squishy, you only need a few items that are commonly found in almost every household.
Required Materials:
- White paper
- Colored pencils or markers (yellow, green, black)
- Adhesive tape (transparent packaging tape works best)
- Scissors
- Cotton or filling material
- Optional: black fine liner for details
A practical tip: Use thicker paper for your squishy to make it more stable and durable. If you only have regular printer paper on hand, you can also glue two layers together to increase stability.
Photo 1 (Materials):
Gather all the materials you need for your Pineapple Paper Squishy: white paper as the base, colorful tape (best if transparent), fluffy cotton as filling, various colored pencils or markers in yellow, green, black, and red for the typical pineapple colors, as well as a sharp pair of scissors for precise cutting of the shape.

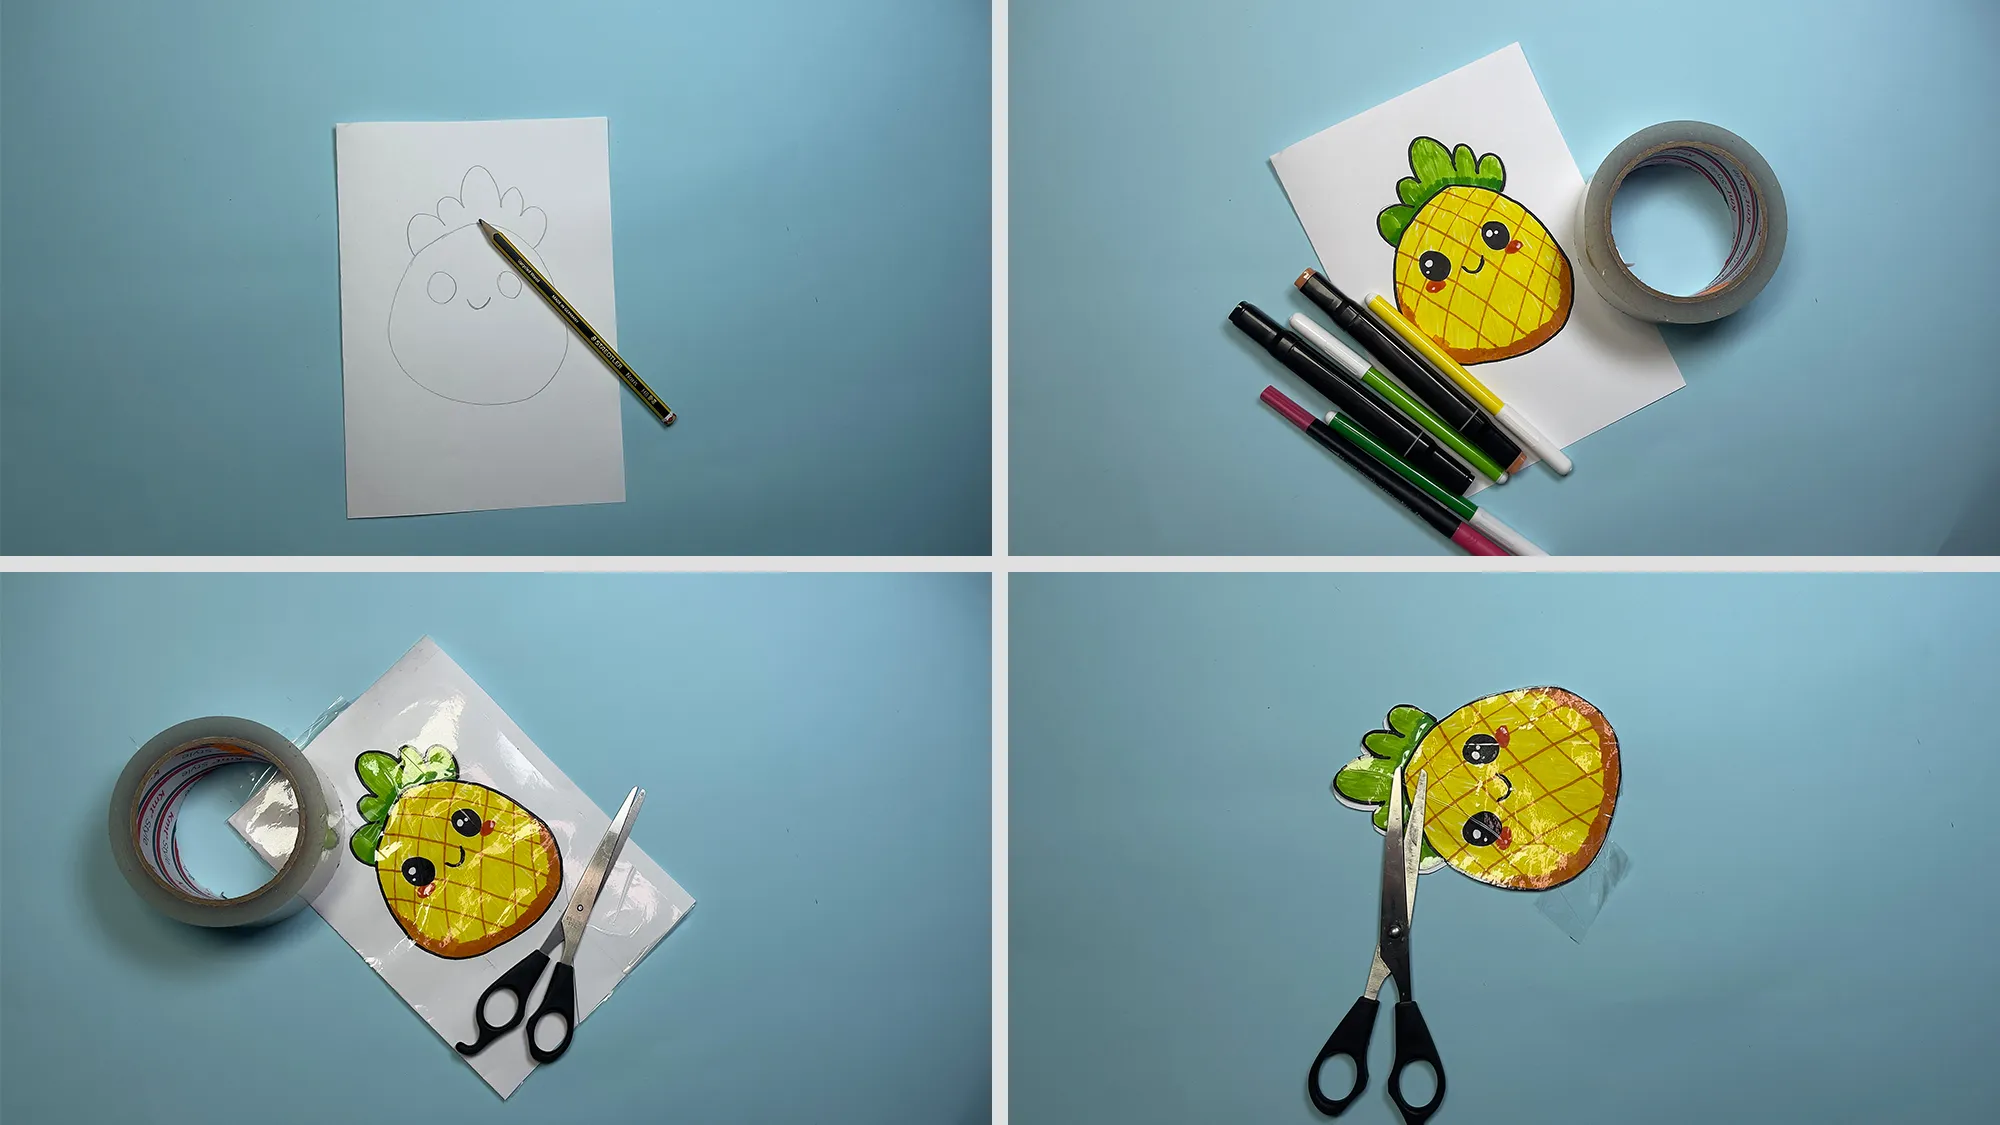
Photo 2 (Collage of 4 Steps):
First, draw the outline of your pineapple on white paper – the shape should be pear-like, with a jagged crown at the top. Then color your pineapple with vibrant colors: yellow for the fruit and green for the leaves. Draw a diagonal grid pattern on the yellow part and add cute Kawaii eyes and a smiling mouth to give your squishy personality. Next, seal the painted pineapple with transparent tape by carefully applying the tape over the entire surface – this gives your squishy stability and a nice shiny effect. Finally, carefully cut out the pineapple shape along the outlines, making sure to achieve clean cuts so that the shape remains well-defined.

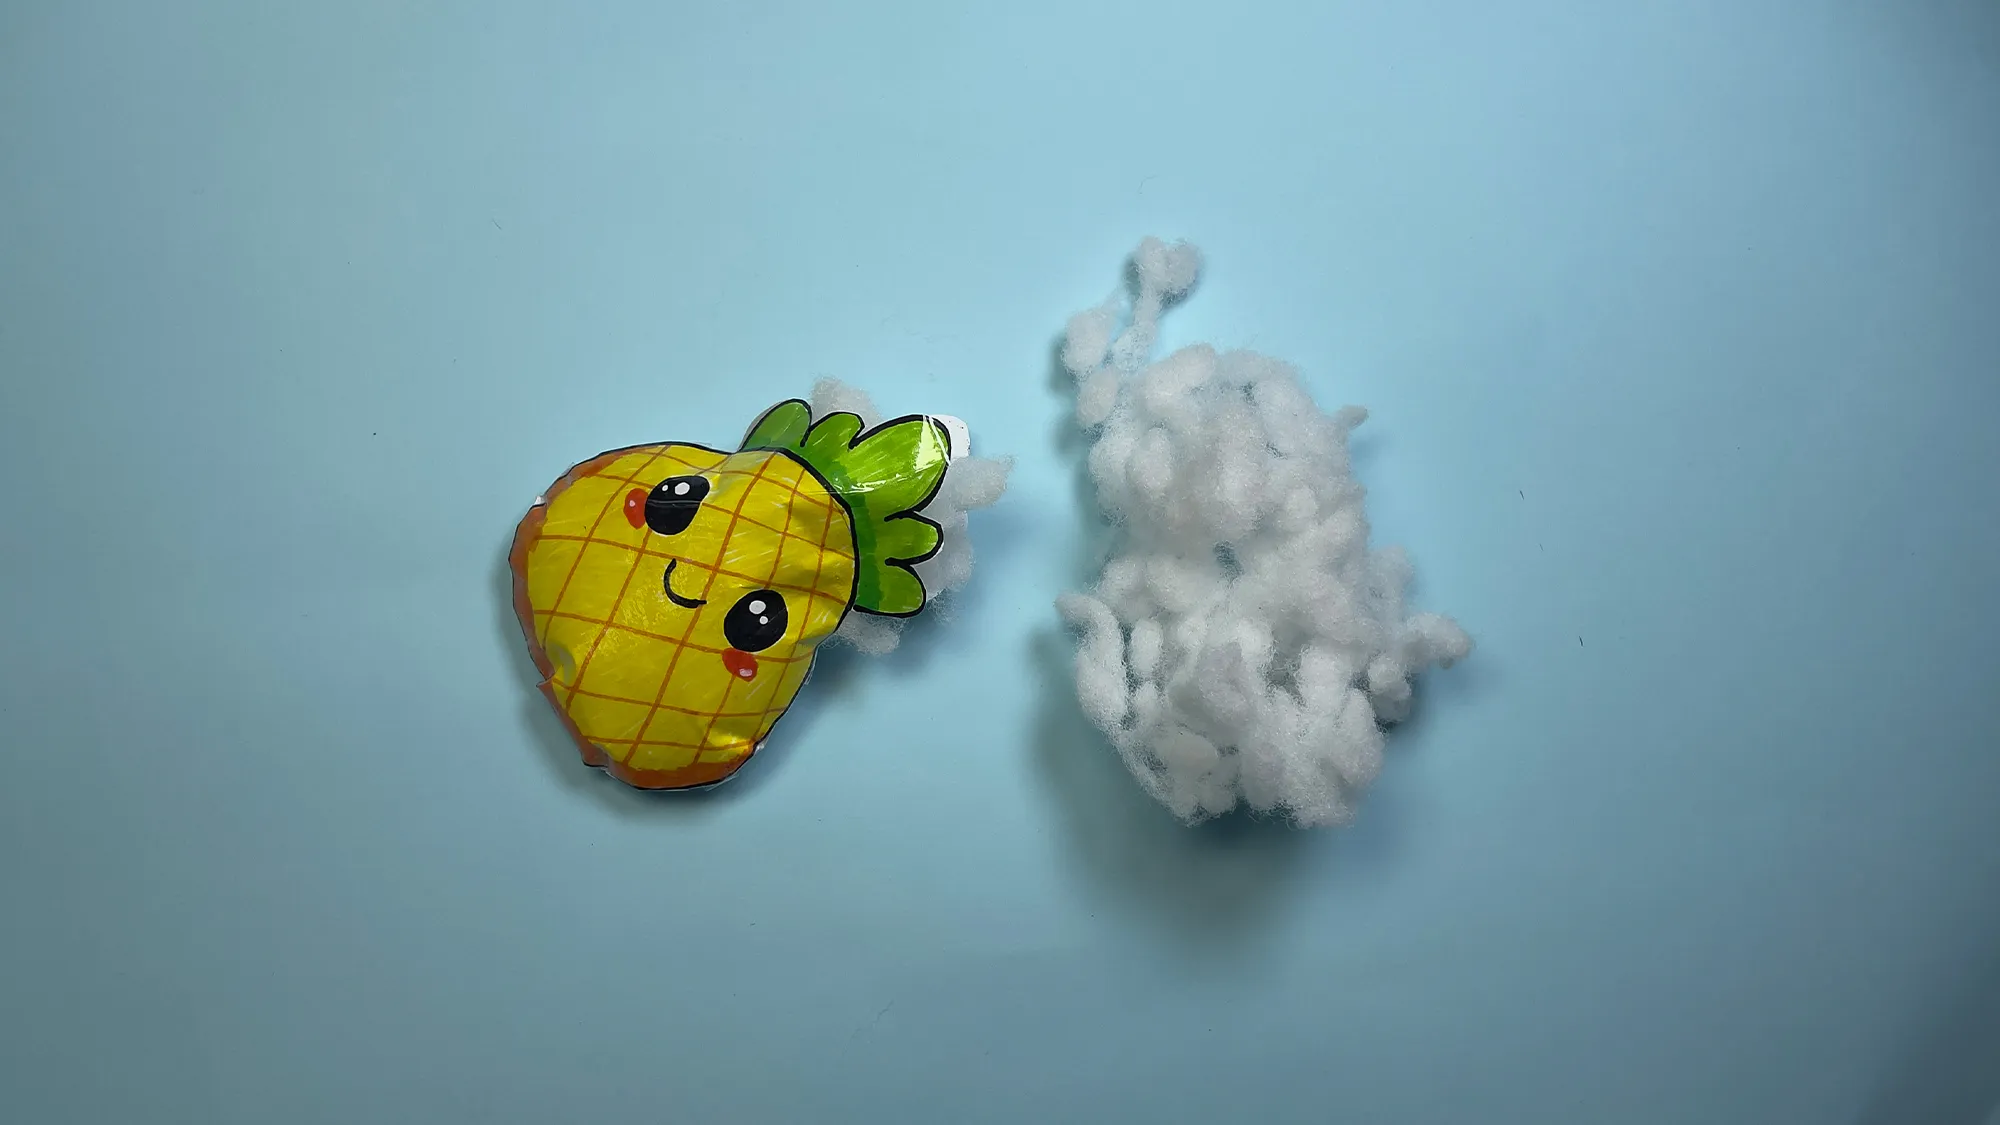
Photo 3 (Filling):
After preparing the front and back of your pineapple squishy, place both cut-out shapes side by side with a slight gap. Use tape to attach the edges of both parts together, but leave a small opening for filling. Gently stuff the cotton into your squishy through this opening until it is nicely plump – be careful not to use too much filling material so that your squishy retains its squishy properties.

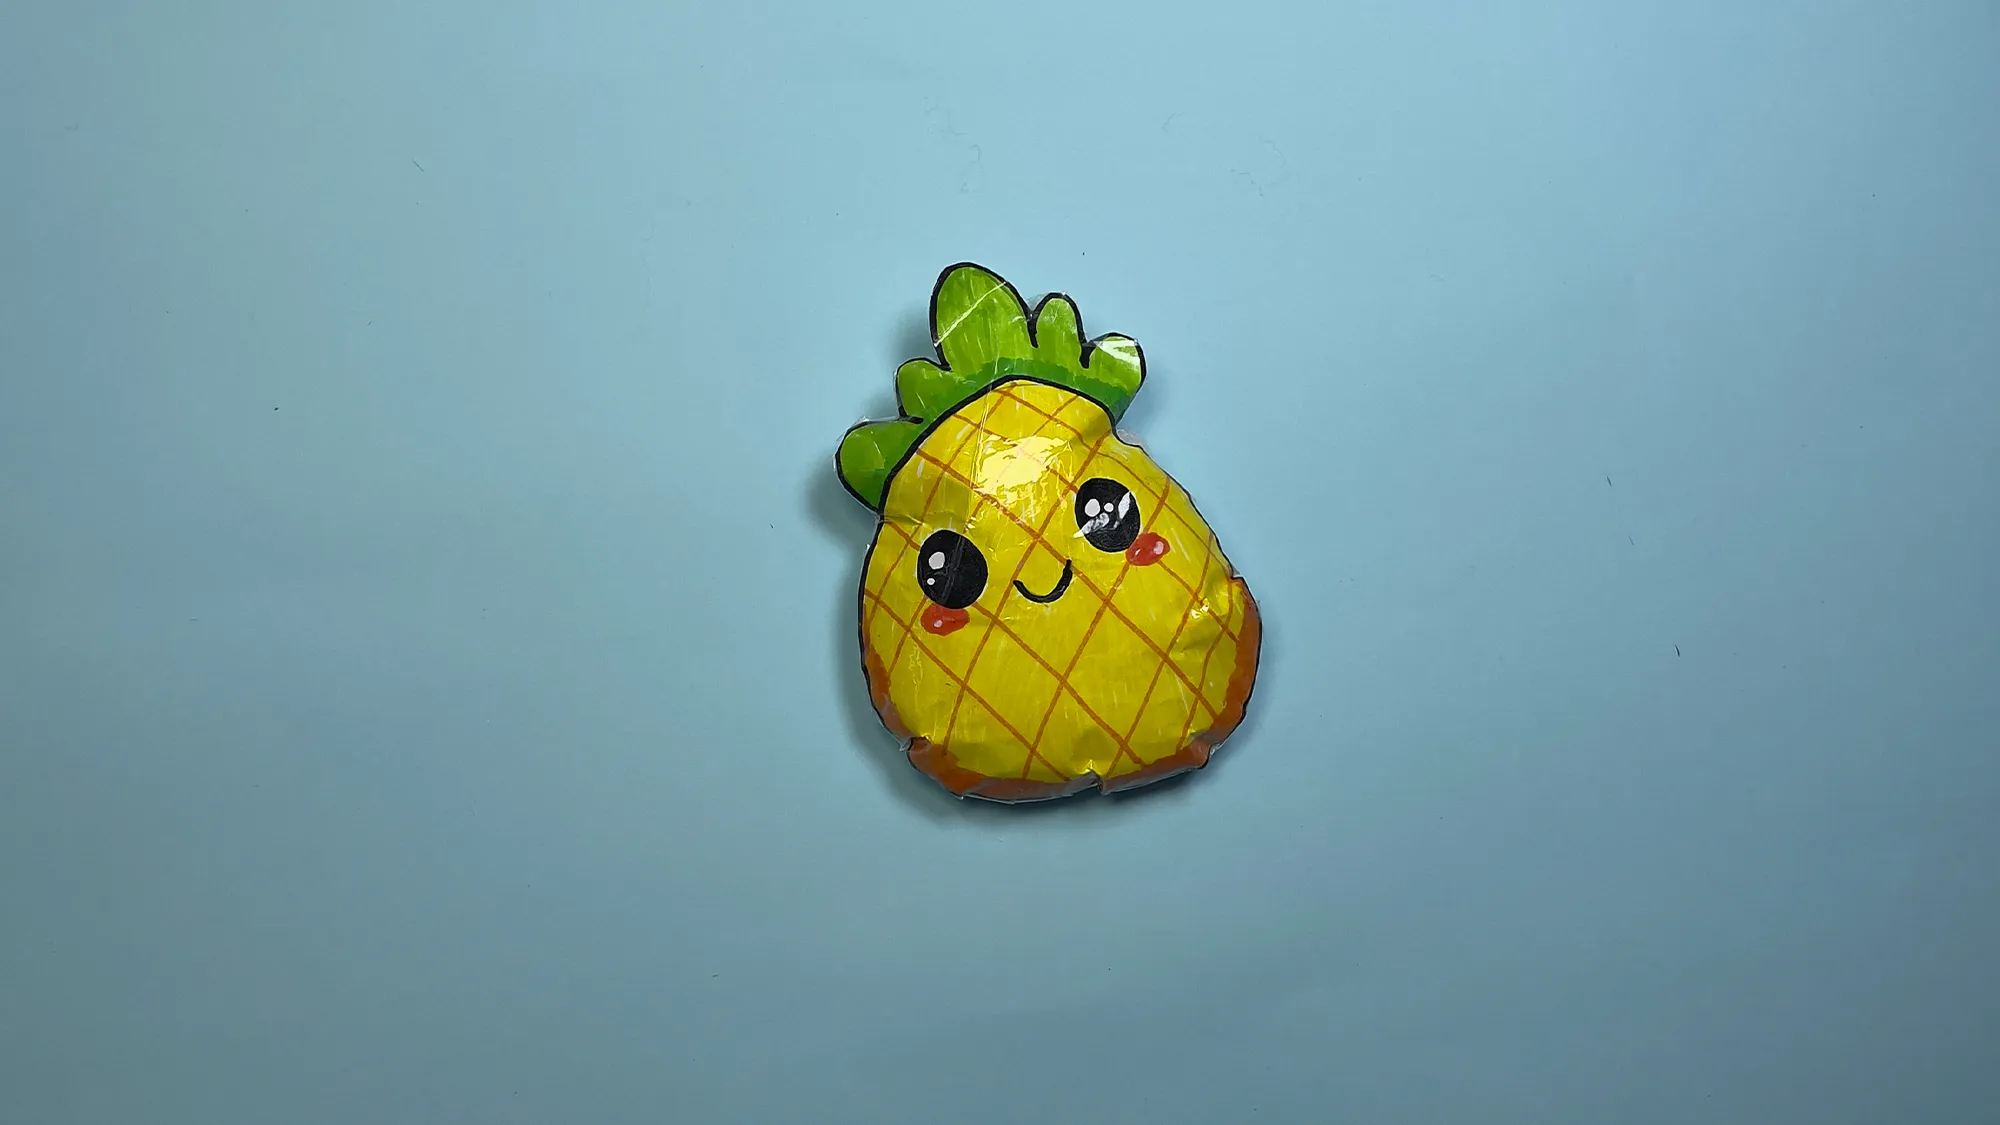
Photo 4 (Finished Squishy):
Your finished Pineapple Paper Squishy is now ready to play! The shiny surface makes the bright colors stand out beautifully. The typical grid pattern and the green leafy crown make your squishy a realistic yet cute representation of a pineapple. The Kawaii eyes and the sweet smile give your squishy its unique character. Squeeze it and feel how it slowly returns to its original shape – a perfect homemade anti-stress toy!

Pineapple Paper Squishy and the Development of Children's Fine Motor Skills
Crafting paper squishies like our cute pineapple model is not only entertaining but also offers numerous benefits for your child's development. While creating a Paper Squishy toy, children inadvertently train their fine motor skills. The precise drawing, careful coloring, accurate cutting, and skilled gluing enhance coordination between eyes and hands as well as control over small muscle movements.
This creative activity also supports cognitive development by teaching children how to plan and execute a multi-step process. Furthermore, the finished squishy serves as a stress-relief toy that can have a calming effect and help with concentration difficulties.
Thank You and More Craft Ideas
Creating crafting instructions, videos, photos, and writing this tutorial takes a lot of time, and we have put in a lot of work and passion into our section on Paper Squishy toys and DIY ideas for kids. If you enjoyed this tutorial, that is already a wonderful reward for us.
If you want to discover more creative projects, be sure to check out our other categories. Our Craft Ideas for Kids with seasonal projects and creative activities, and our Minecraft DIY Craft Ideas, where fans of the popular game can recreate their favorite characters, are particularly recommended. For nature lovers, our section Crafting with Natural Materials offers great ideas to create beautiful decorations from leaves, twigs, and other natural treasures.
Thank you for taking the time to read our tutorial. We hope you had a lot of fun crafting your own Pineapple Paper Squishy!
From Vitalii Shynakov
