Advanced Origami Airplane: Simple Step-by-Step Instructions with Photos and Video
Hello! Are you looking for a cool idea for a somewhat more advanced but super impressive craft project? Then our tutorial for the advanced origami airplane is just right for you! This paper airplane flies especially far and stable and is perfect for competitions or if you want to impress your friends. All our tutorials consist of videos and photographs with detailed text comments and tips. This way, you'll find it very easy to fold this great airplane.
All videos and photos you see here are shot by us. They’re also all available on our YouTube channel. If you click the video title link, you can go straight to our channel and subscribe. That would be awesome!
Advanced Origami Airplane: Step-by-Step Tutorial with Photos and Commentary
In this tutorial and all our other tutorials, we strive to use only materials that are found in every household or are easily available at the nearest store. For our advanced origami airplane, you only need a few basic craft supplies.
What you need for the advanced paper airplane:
- One sheet of paper (A4 size)
- Scissors
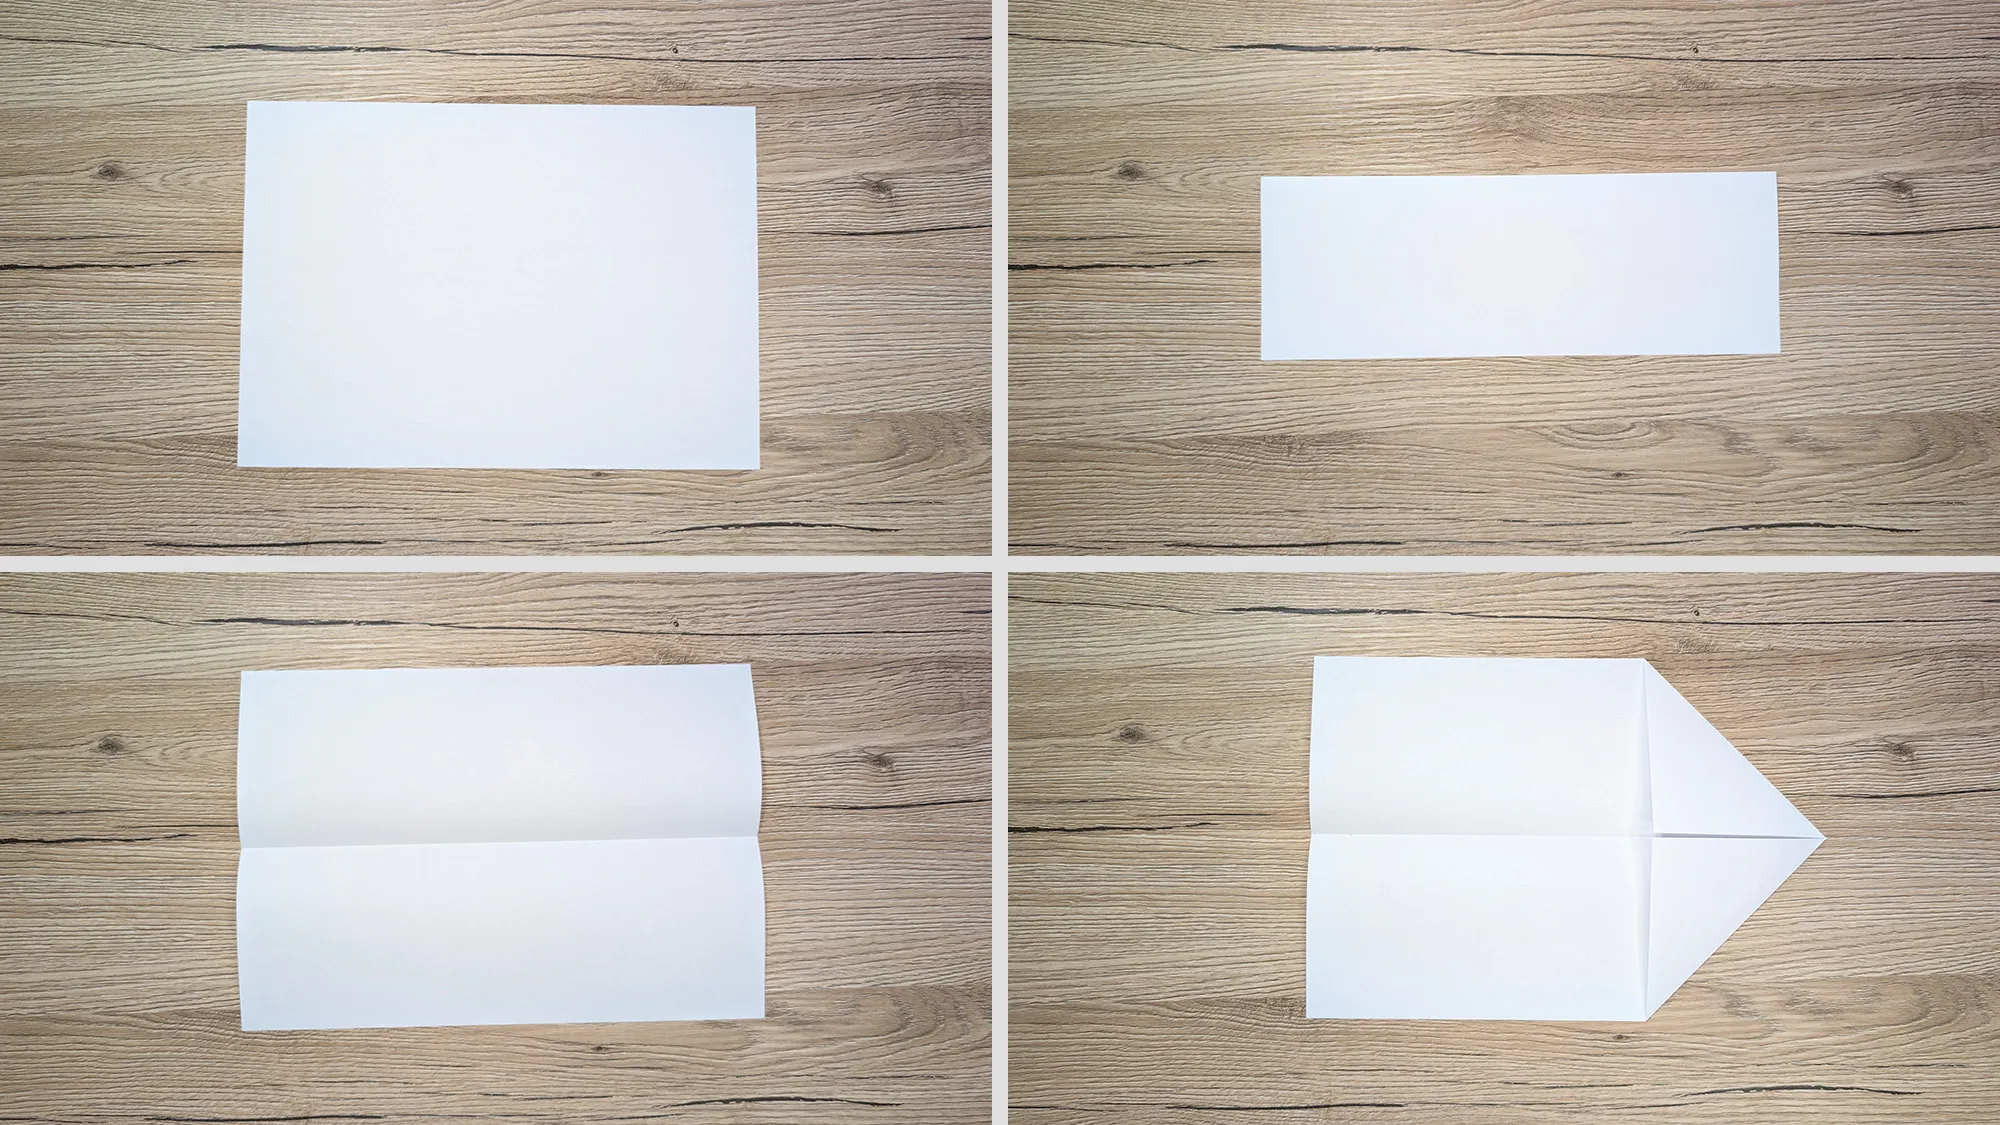
Step 1: Create the Base Fold
Let's start as usual. Fold the two edges toward the center.
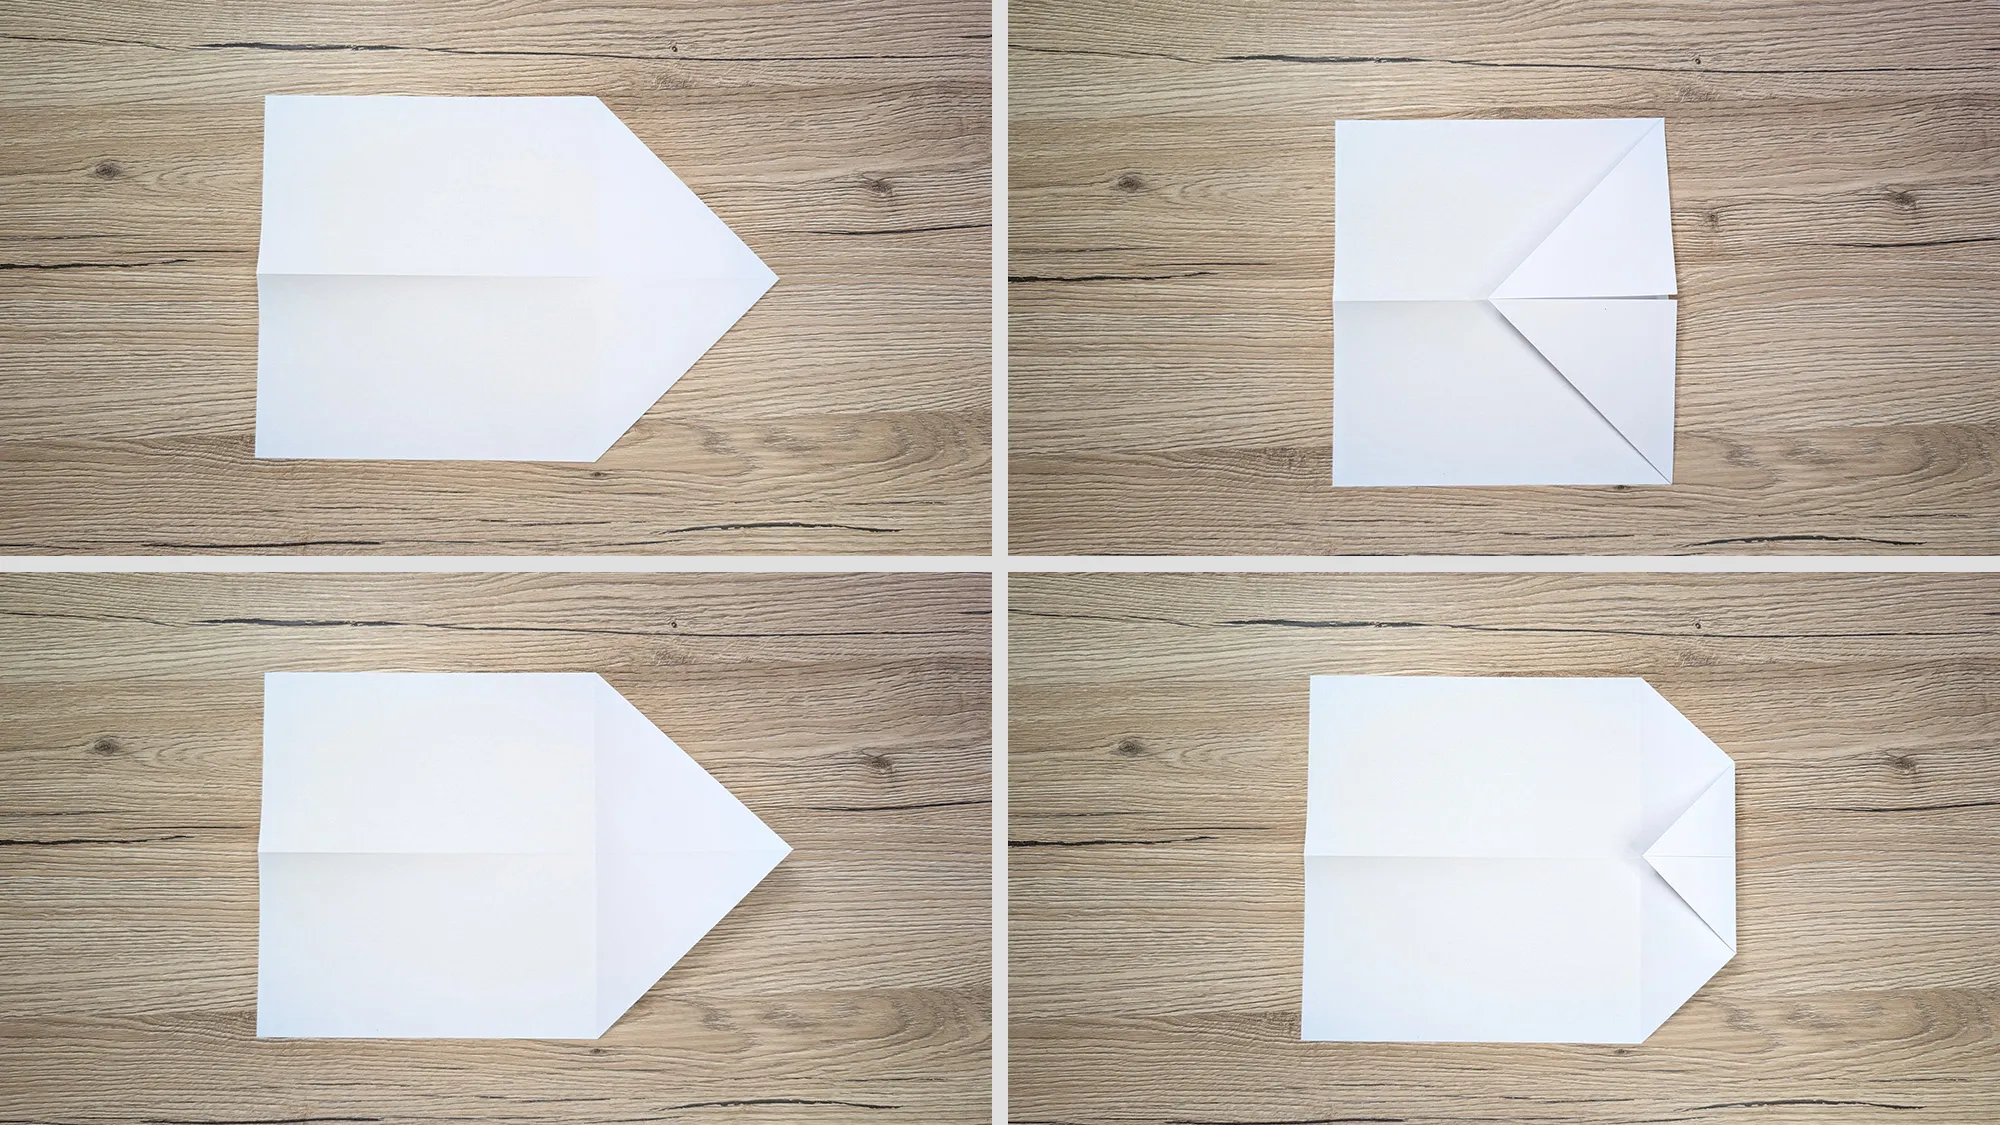
Step 2: Forming the Nose
The newly formed corner needs to be folded in the opposite direction. Then turn the sheet over and fold the airplane’s nose in the middle.
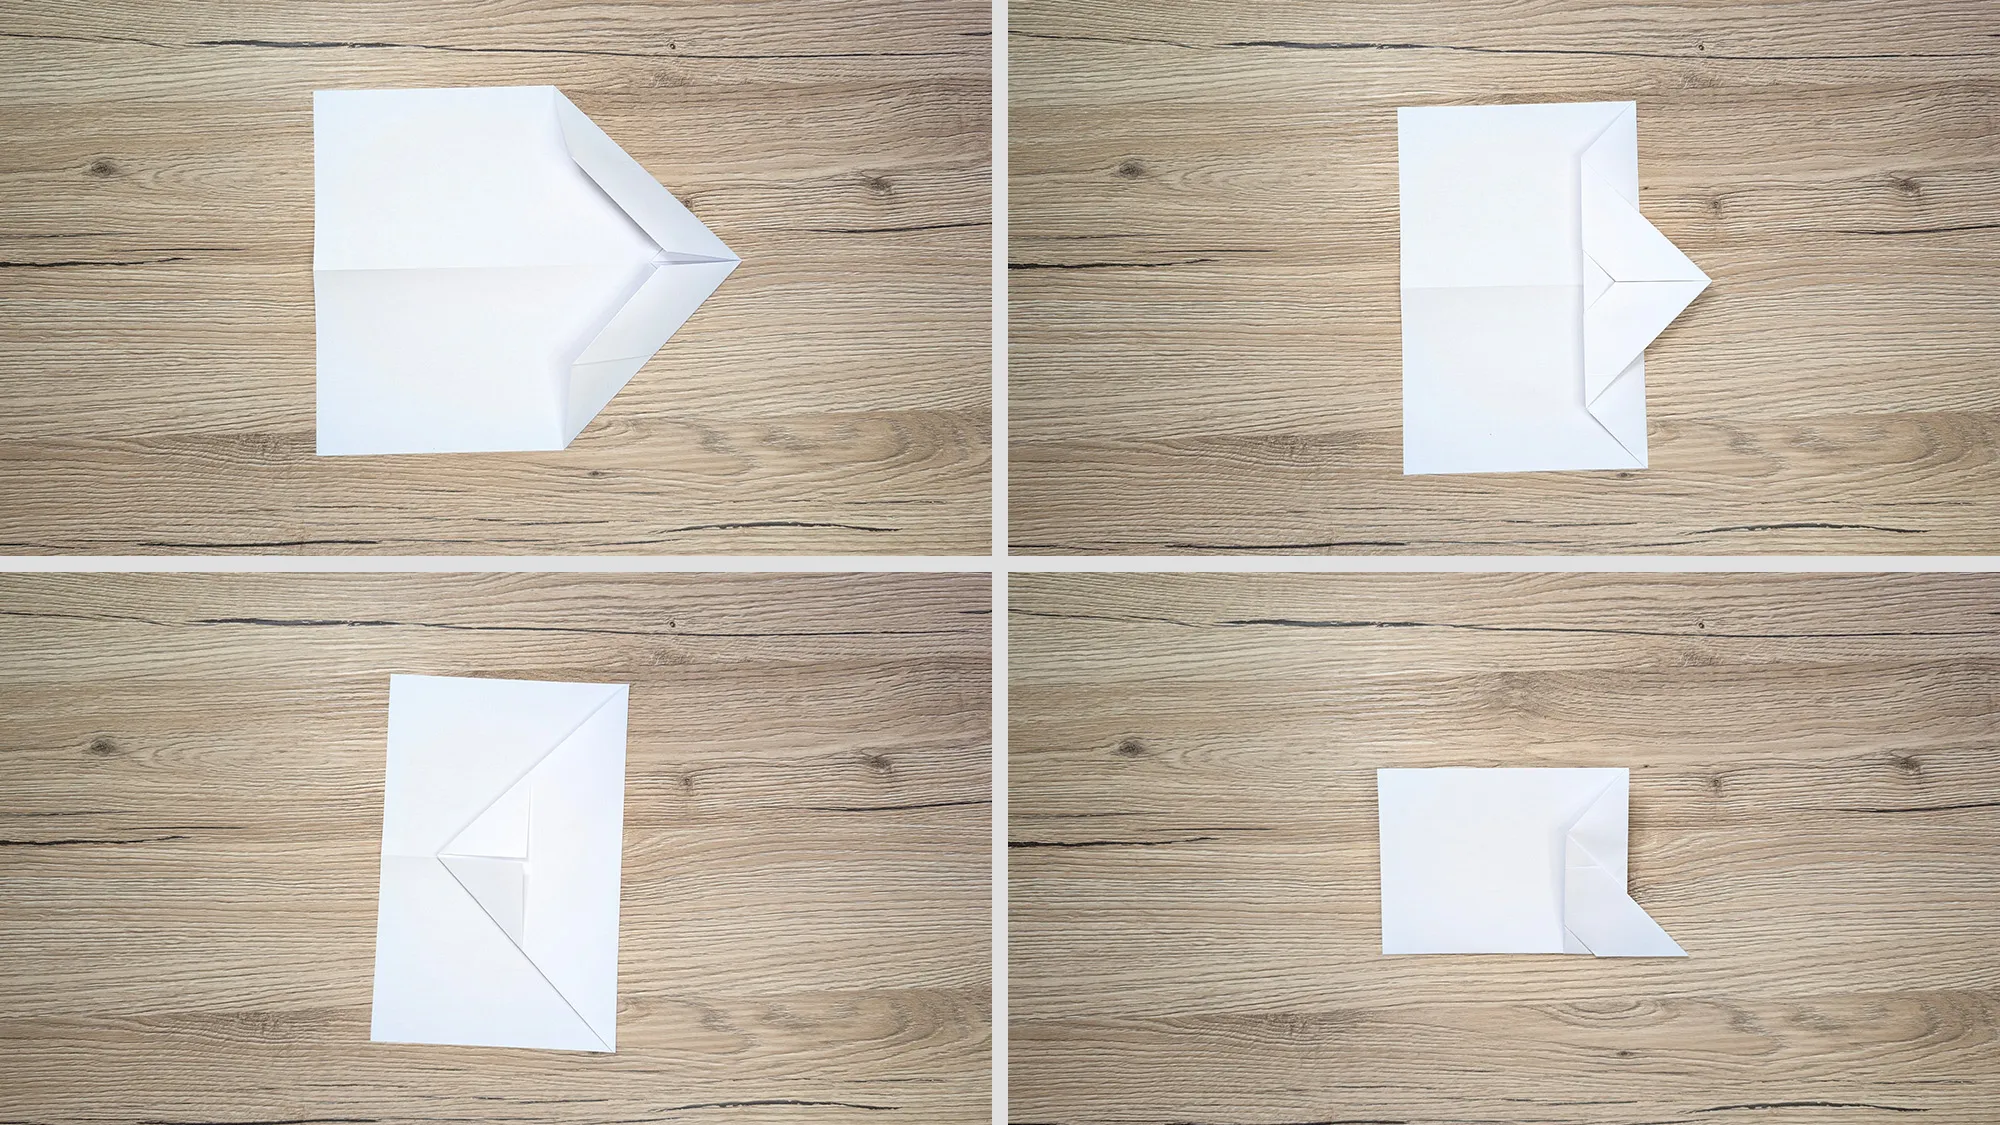
Step 3: Pre-shaping the Wings
Next, fold the left and right sides toward the middle. Then fold the nose in a zigzag. Afterwards, fold the airplane along the center line to start shaping the wings.
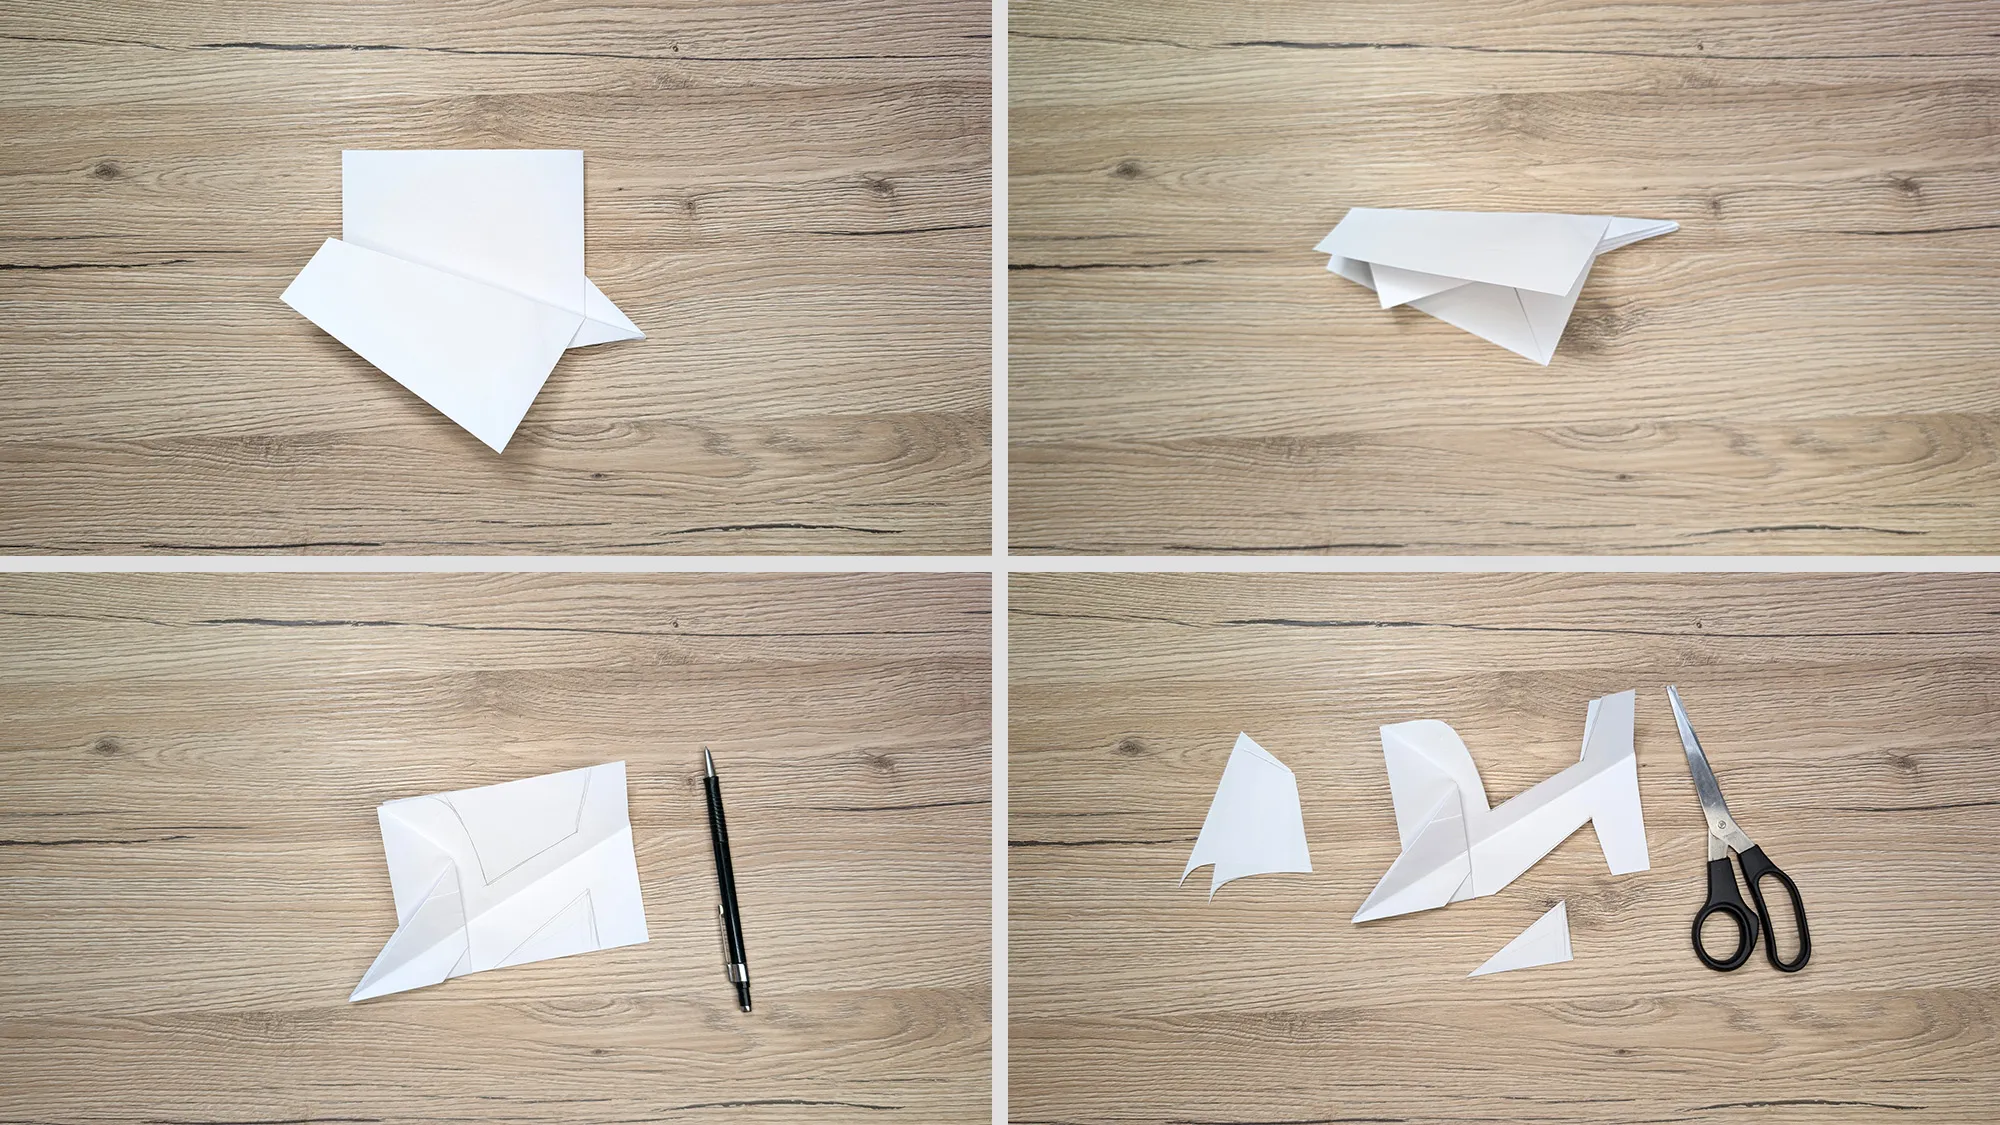
Step 4: Shaping the Wings and Tail
Fold the wings on the airplane. Take scissors and cut off the excess so that the airplane gets a tail and the wings look neater.
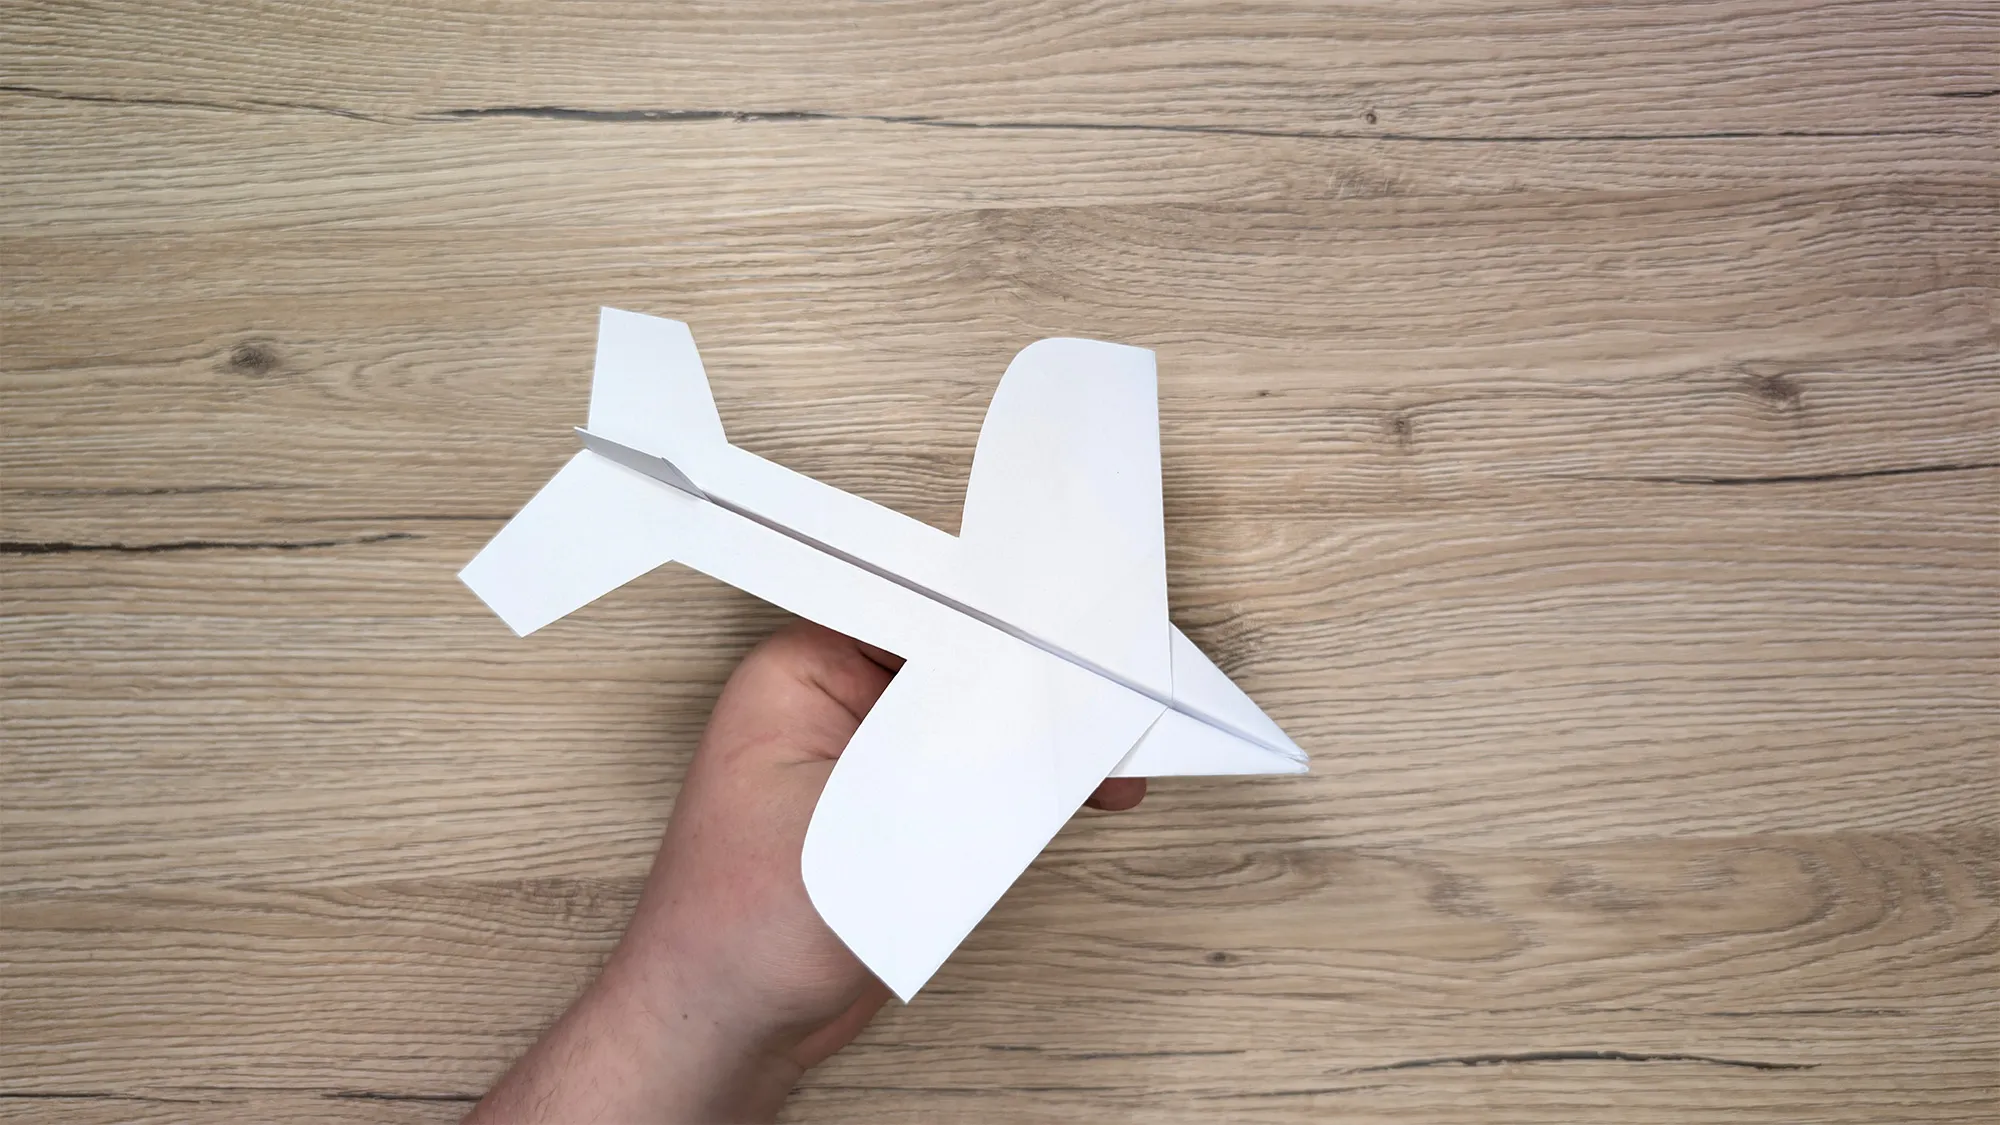
Step 5: Finishing Touches
Done! Look how cool it looks!
Origami Airplane and the Development of Children's Fine Motor Skills
Folding advanced origami airplanes is not only entertaining but also a great way to train various skills. This more complex version promotes fine motor skills, spatial thinking, and concentration in both children and adults. The more complicated folding steps train patience and precision, which is also advantageous in other areas of life.
Paper crafting also stimulates creativity and makes it possible to discover basic physical principles like aerodynamics in a playful way. You can experiment by slightly changing the wing position or adjusting the weight with small paperclips to optimize the flight characteristics.
In Conclusion
We have invested a lot of time and effort into making our section on craft tutorials and DIY ideas as comprehensive as possible. If this tutorial has been even a little interesting to you, that is already a reward for us. If you've come to enjoy this type of creative projects, why not also take a look at our Origami and DIY Ideas for Kids sections? Maybe you'll find even more inspiring projects there.
We wish you much success folding your own advanced paper airplane and lots of fun testing its flight characteristics!
From Vitalii Shynakov
