Paper Airplane Launcher with Rubber Band: Easy Guide with Photos and Video
Hello! Are you looking for a cool idea on how to make your paper airplanes fly even farther and faster? Then our guide to the rubber band paper airplane launcher is just the thing for you! With this simple yet ingenious launcher, your planes can fly twice as far. This combination of a great paper airplane and catapult launcher is guaranteed to provide hours of fun outdoors or indoors. All our tutorials consist of videos and photographs with detailed text comments and tips. That way, you'll have no trouble recreating this awesome launcher.
All the videos and photos you find here are recorded by us. They are all available on our YouTube channel as well. If you click the link in the video title, you can go directly to our channel and subscribe. That would be awesome!
Rubber Band Paper Airplane Launcher: Step-by-Step Guide with Photos and Comments
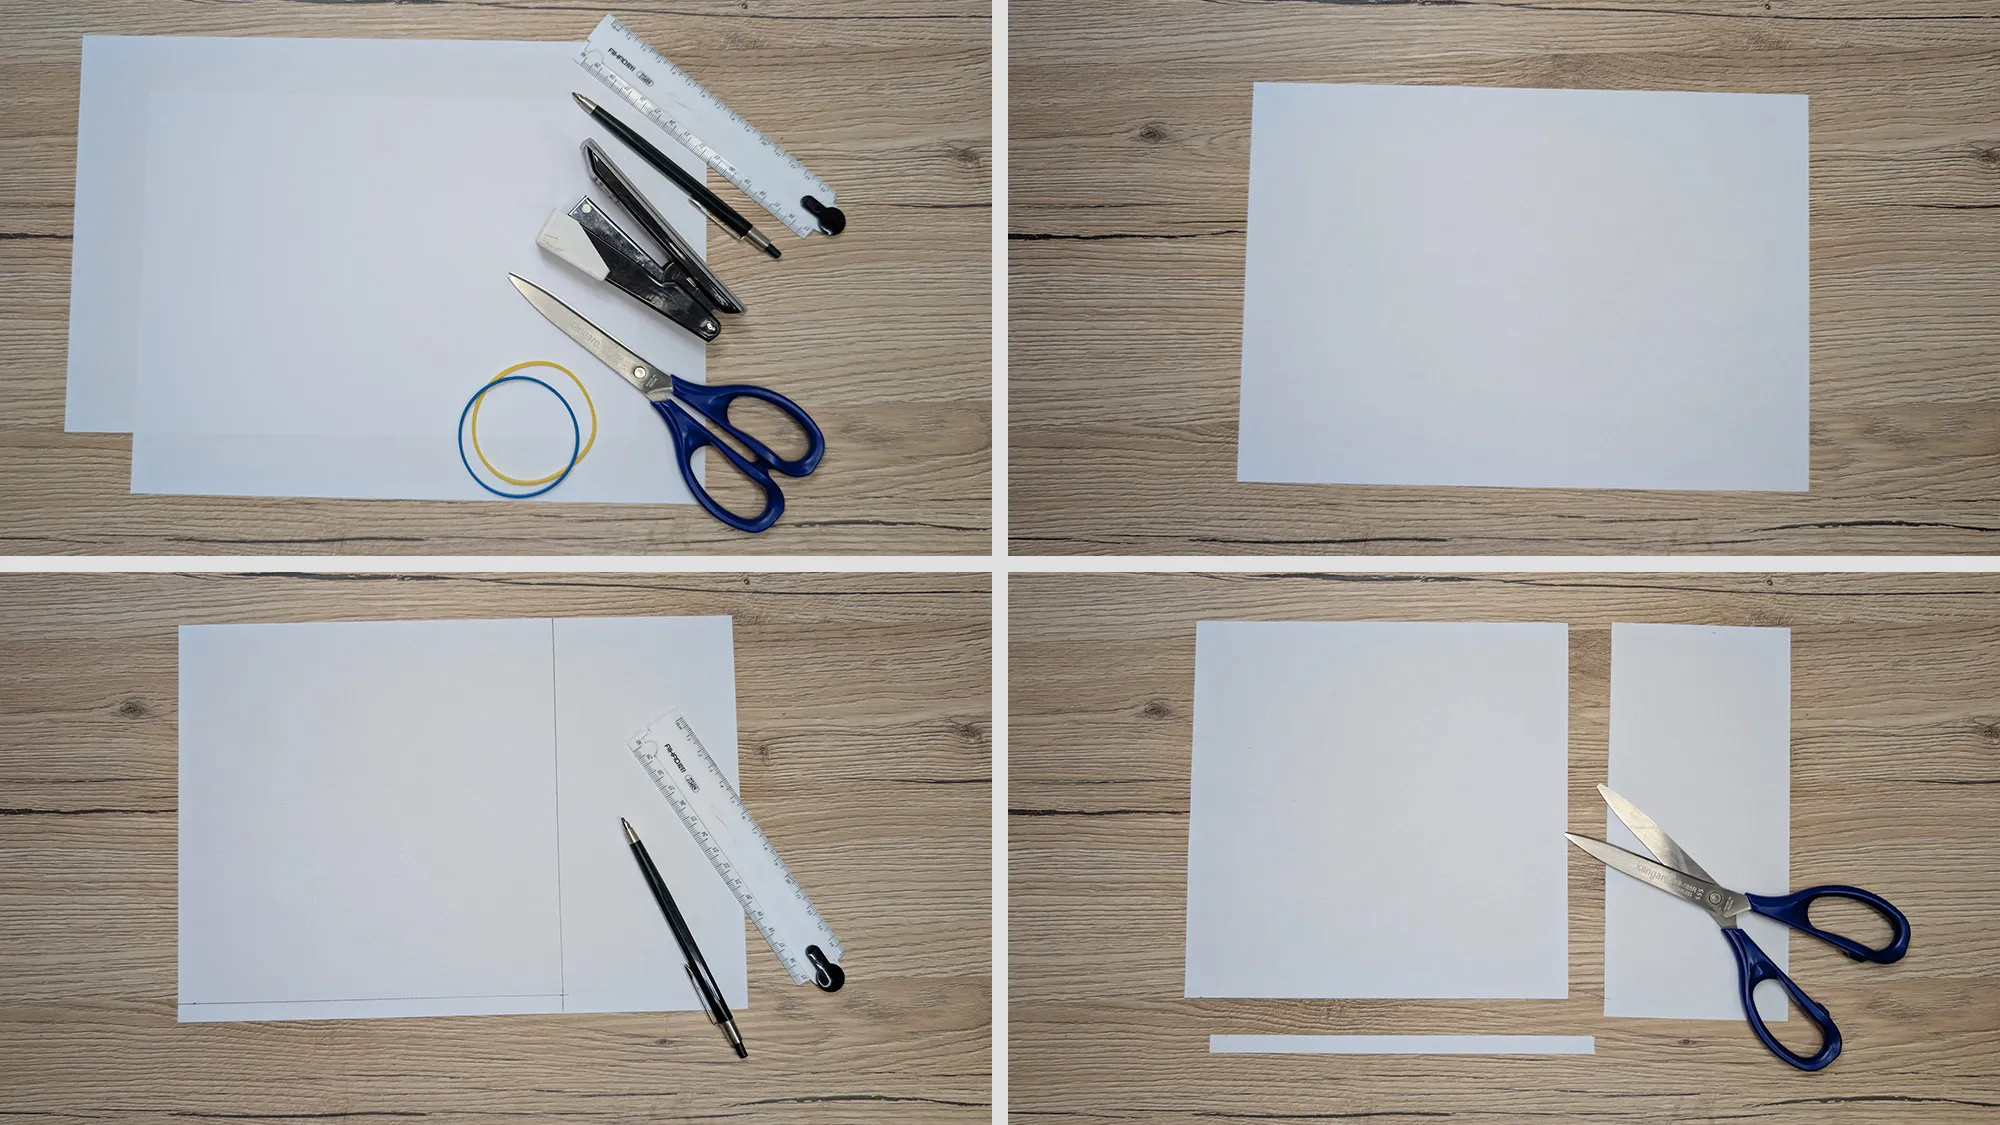
In this craft tutorial and all our other tutorials, we strive to use only materials that are available in every household or easily obtainable at the nearest store. For our paper airplane launcher, you only need a few basic craft materials.
What you need for the rubber band paper airplane launcher:
- White paper (A4 size)
- Scissors
- Ruler
- Pencil
- Stapler
- Rubber bands
- Optional: Colored pens for decorating
In this tutorial, I’ll first show you how to fold an aerodynamic paper airplane that flies especially fast and far. Then we’ll build the rubber band launcher that catapults your plane into the air with extra force.
Step 1: Prepare the paper
Divide a sheet of paper into two pieces. You need a square sheet to fold the airplane.
Step 2: Create the center line
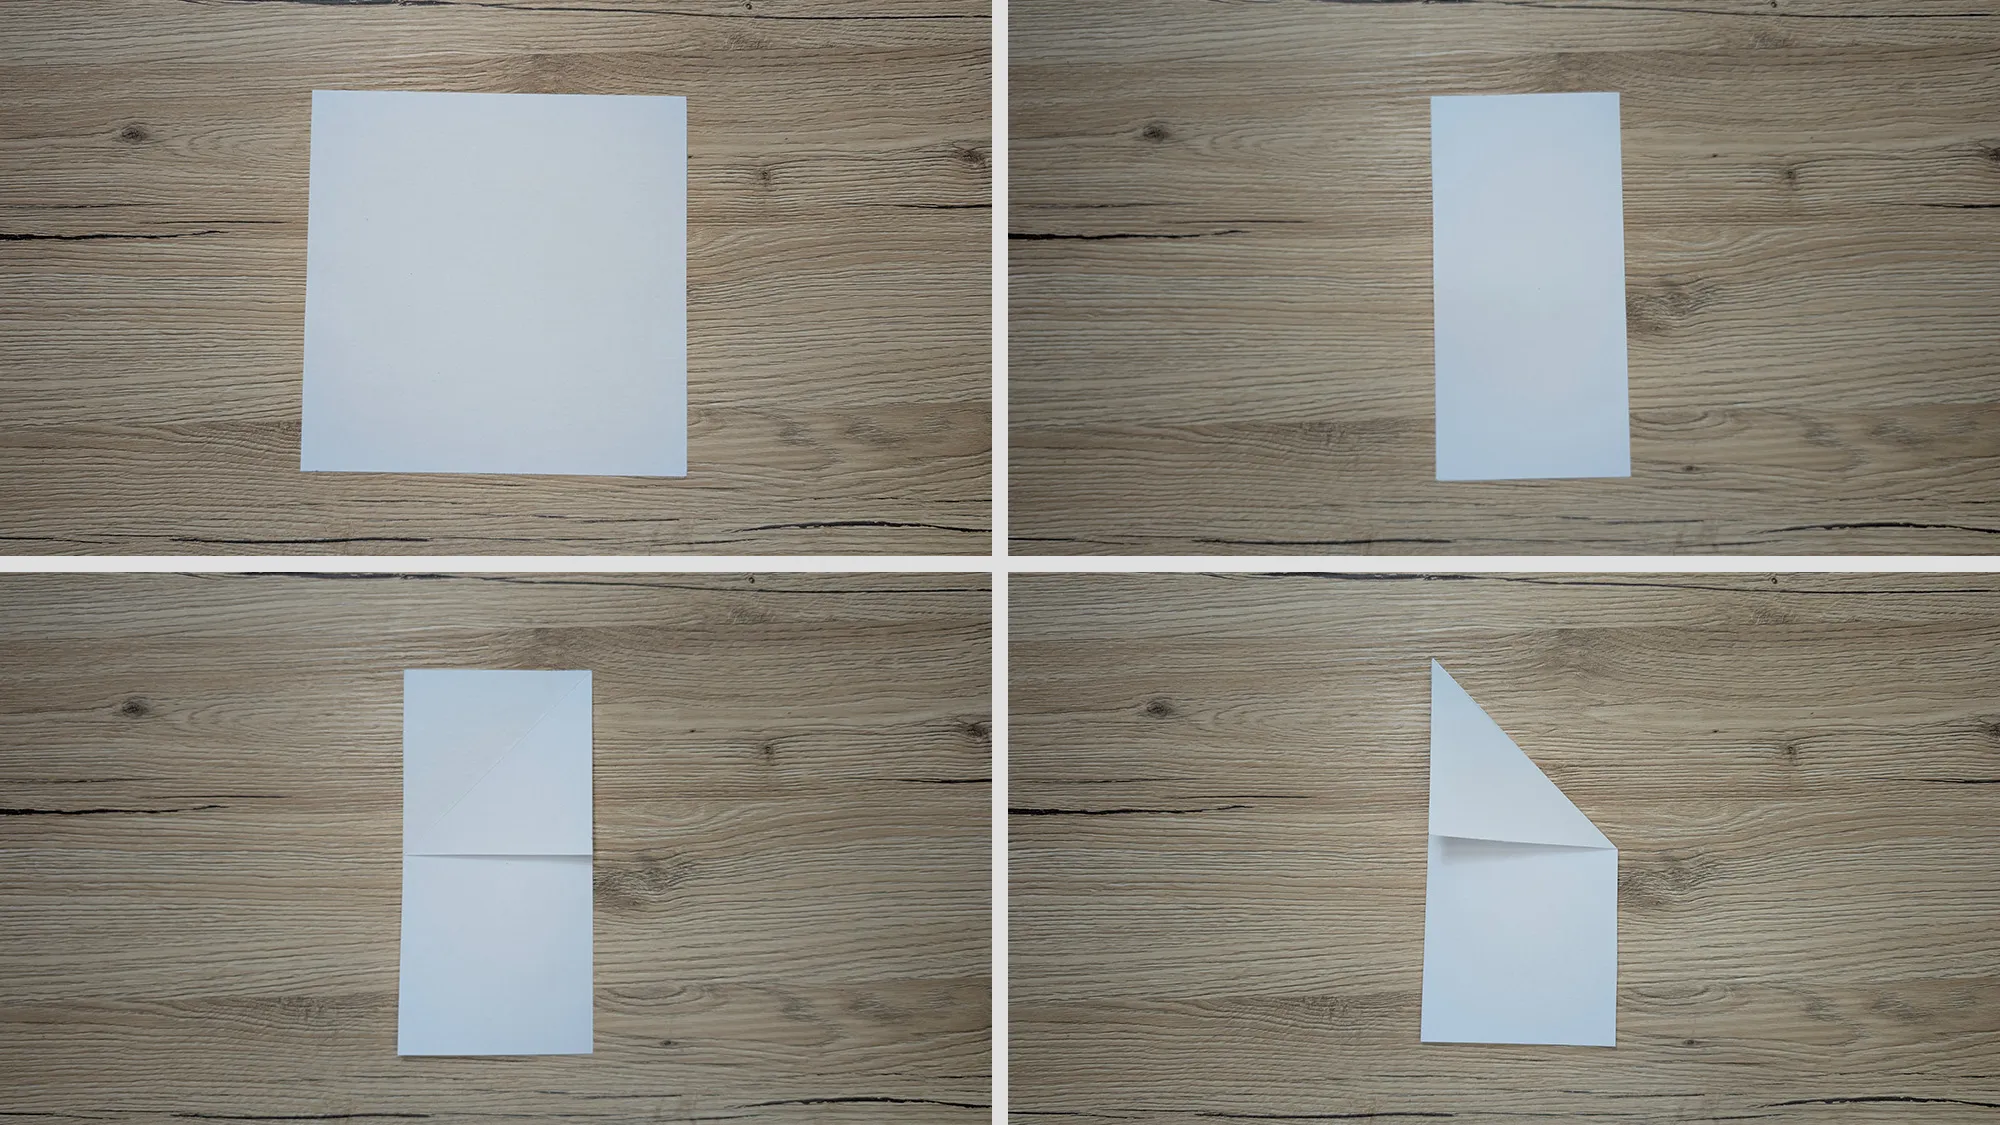
Fold the square sheet in half to get a clear crease exactly in the middle.
Step 3: Shape the airplane
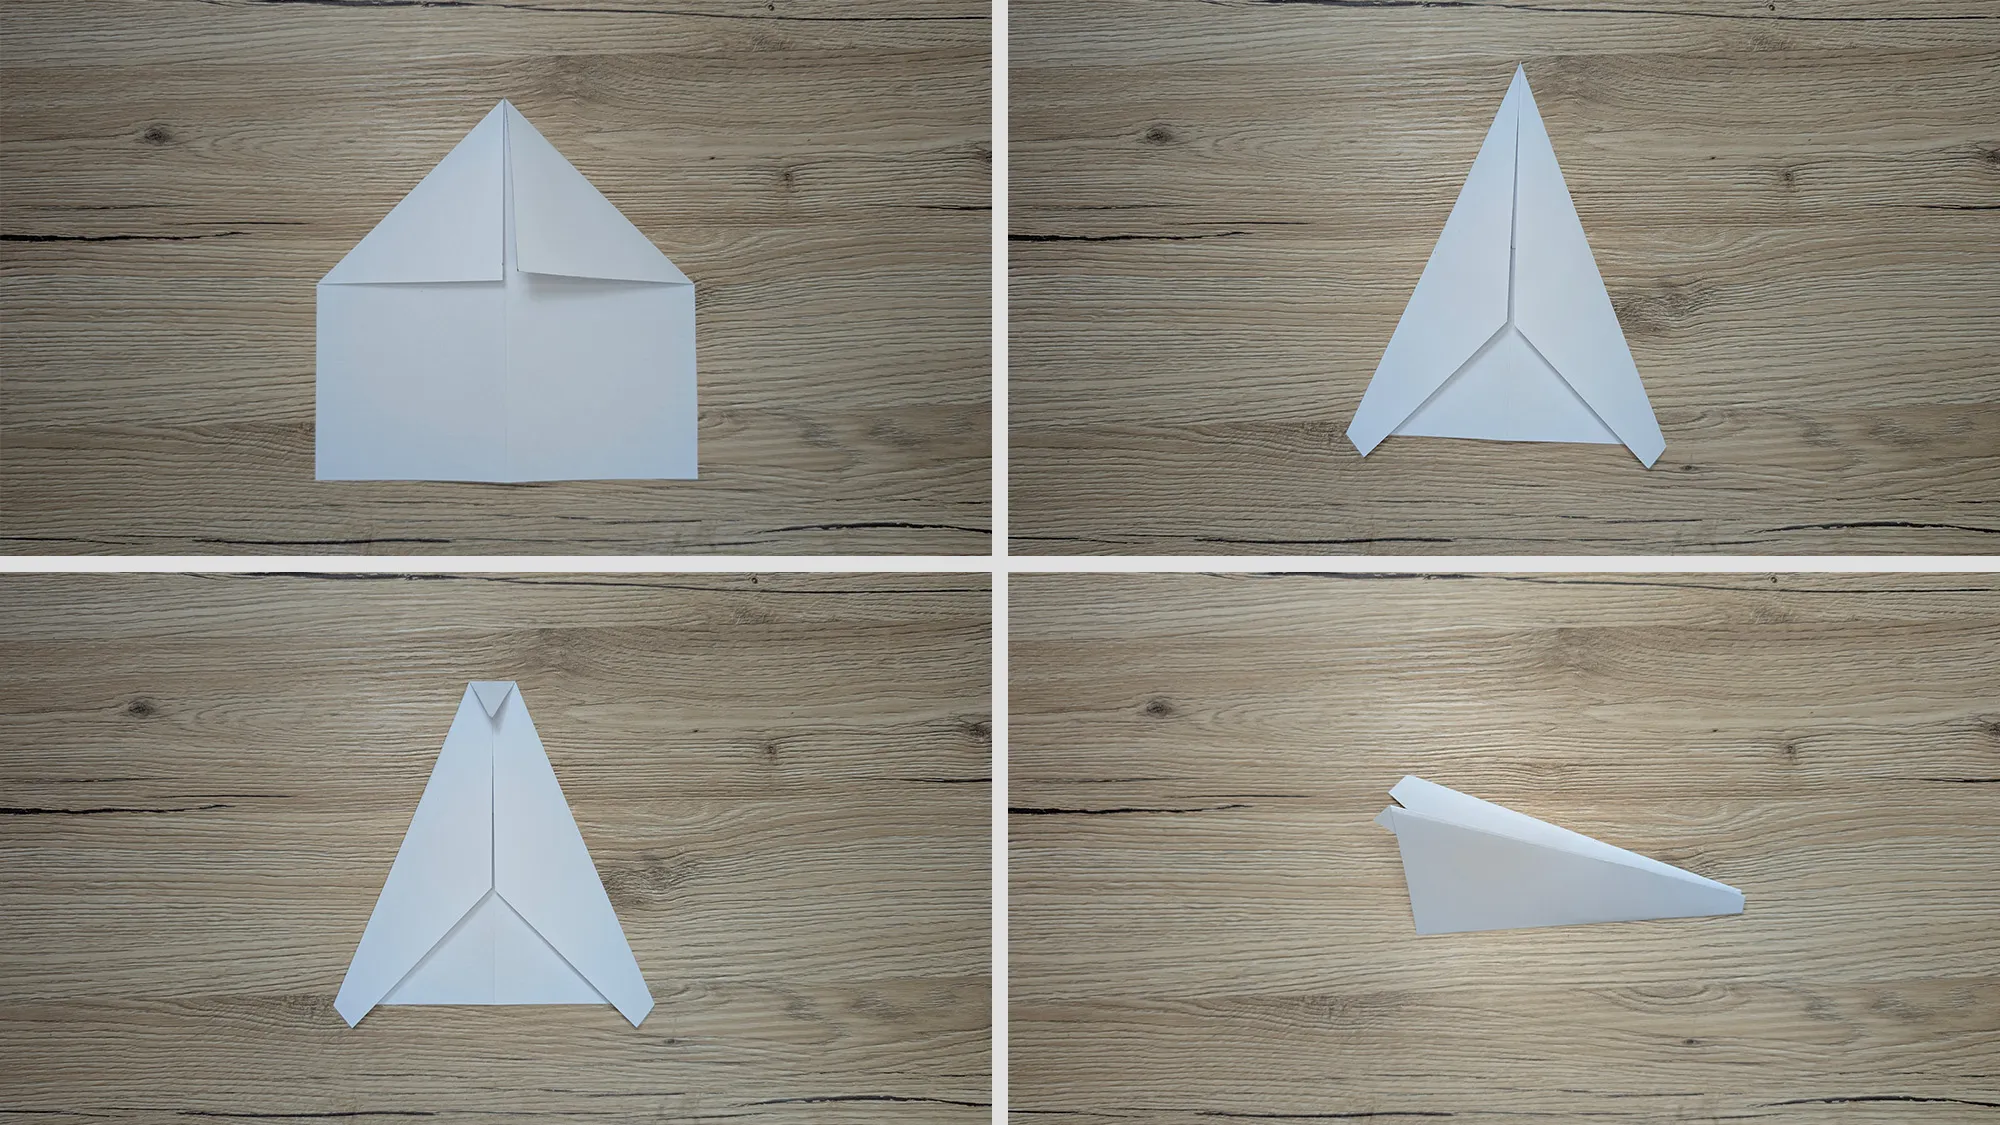
Fold the two corners toward the center. Then form the wings.
Step 4: Prepare the launcher
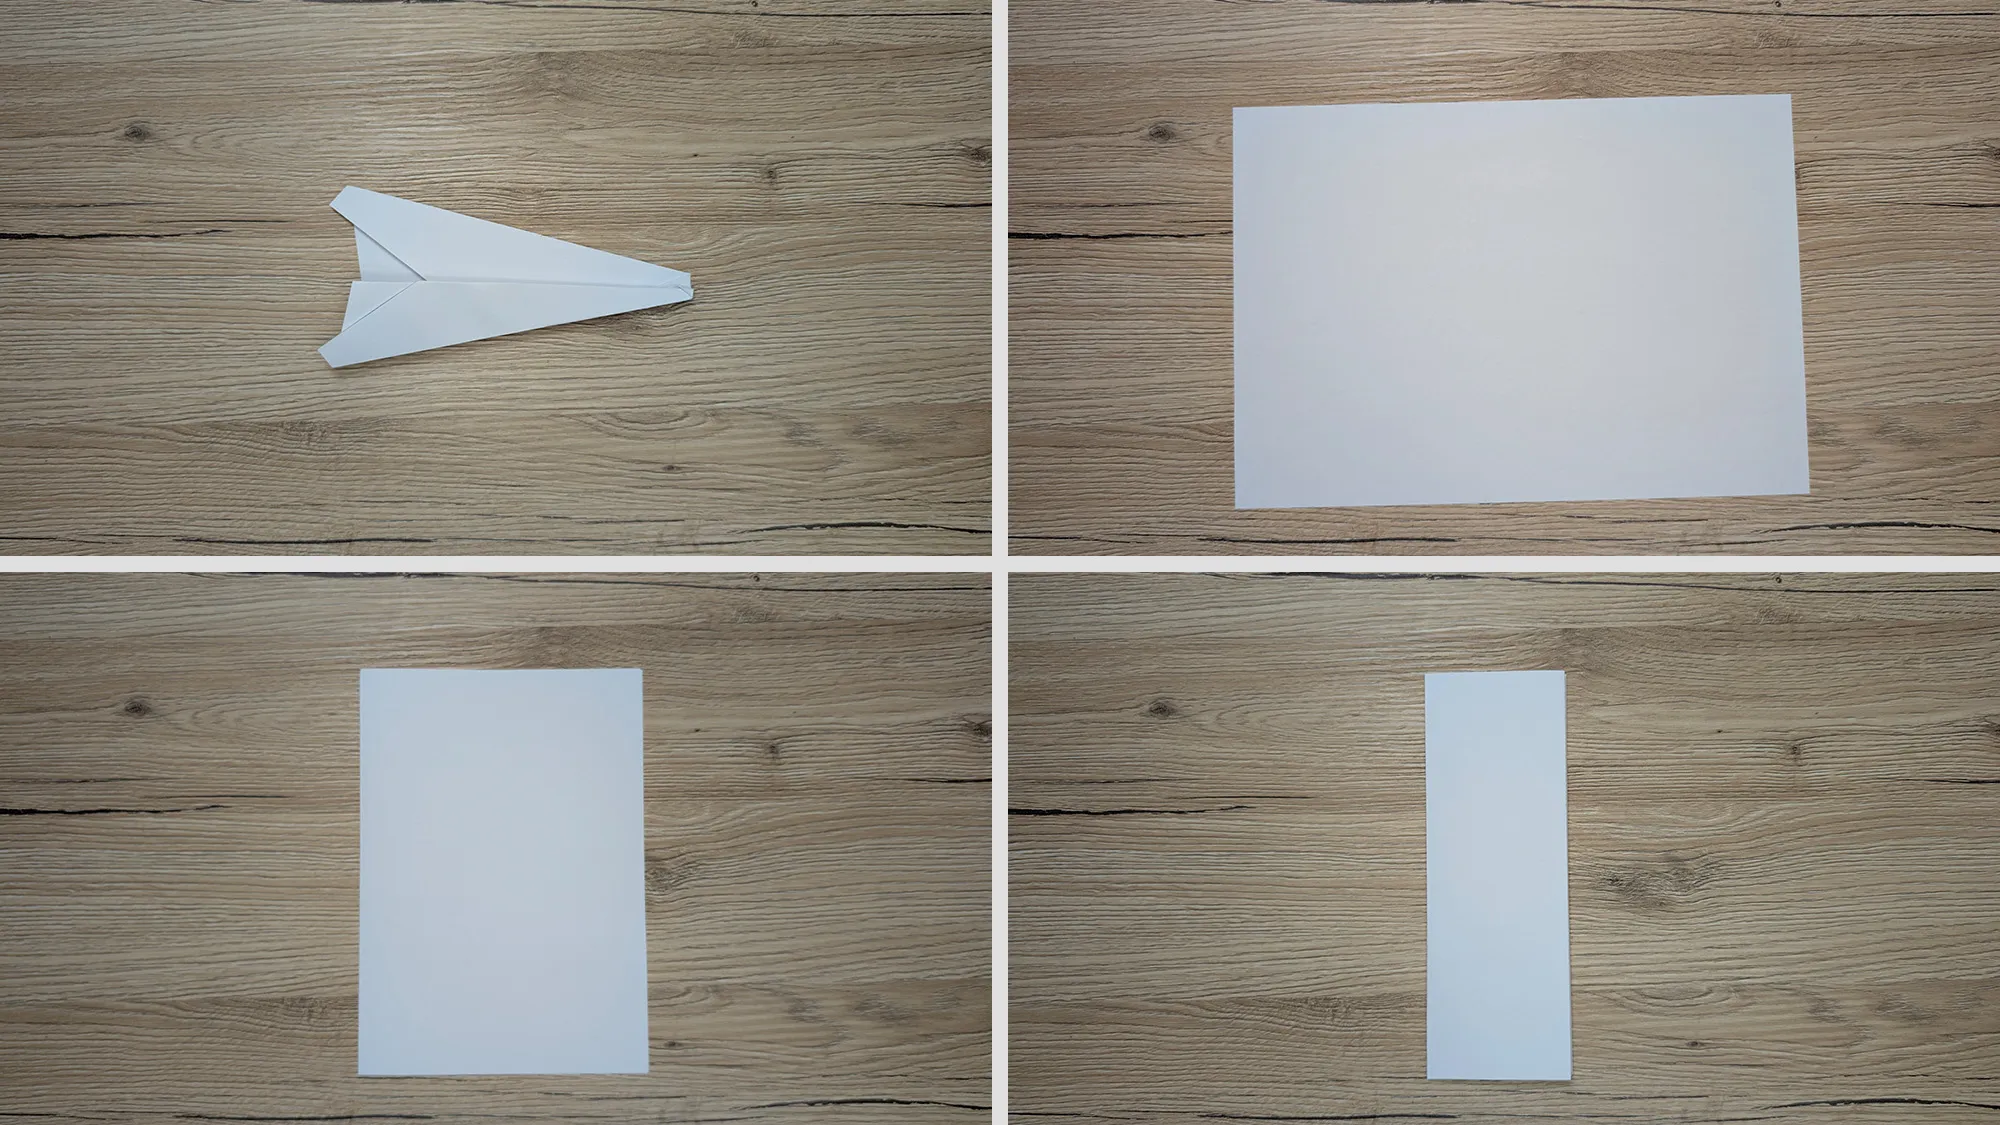
Take another sheet of paper and fold it several times so that the sides become thicker and more stable.
Step 5: Attach the rubber band
Attach a rubber band to one side of the folded paper using the stapler.
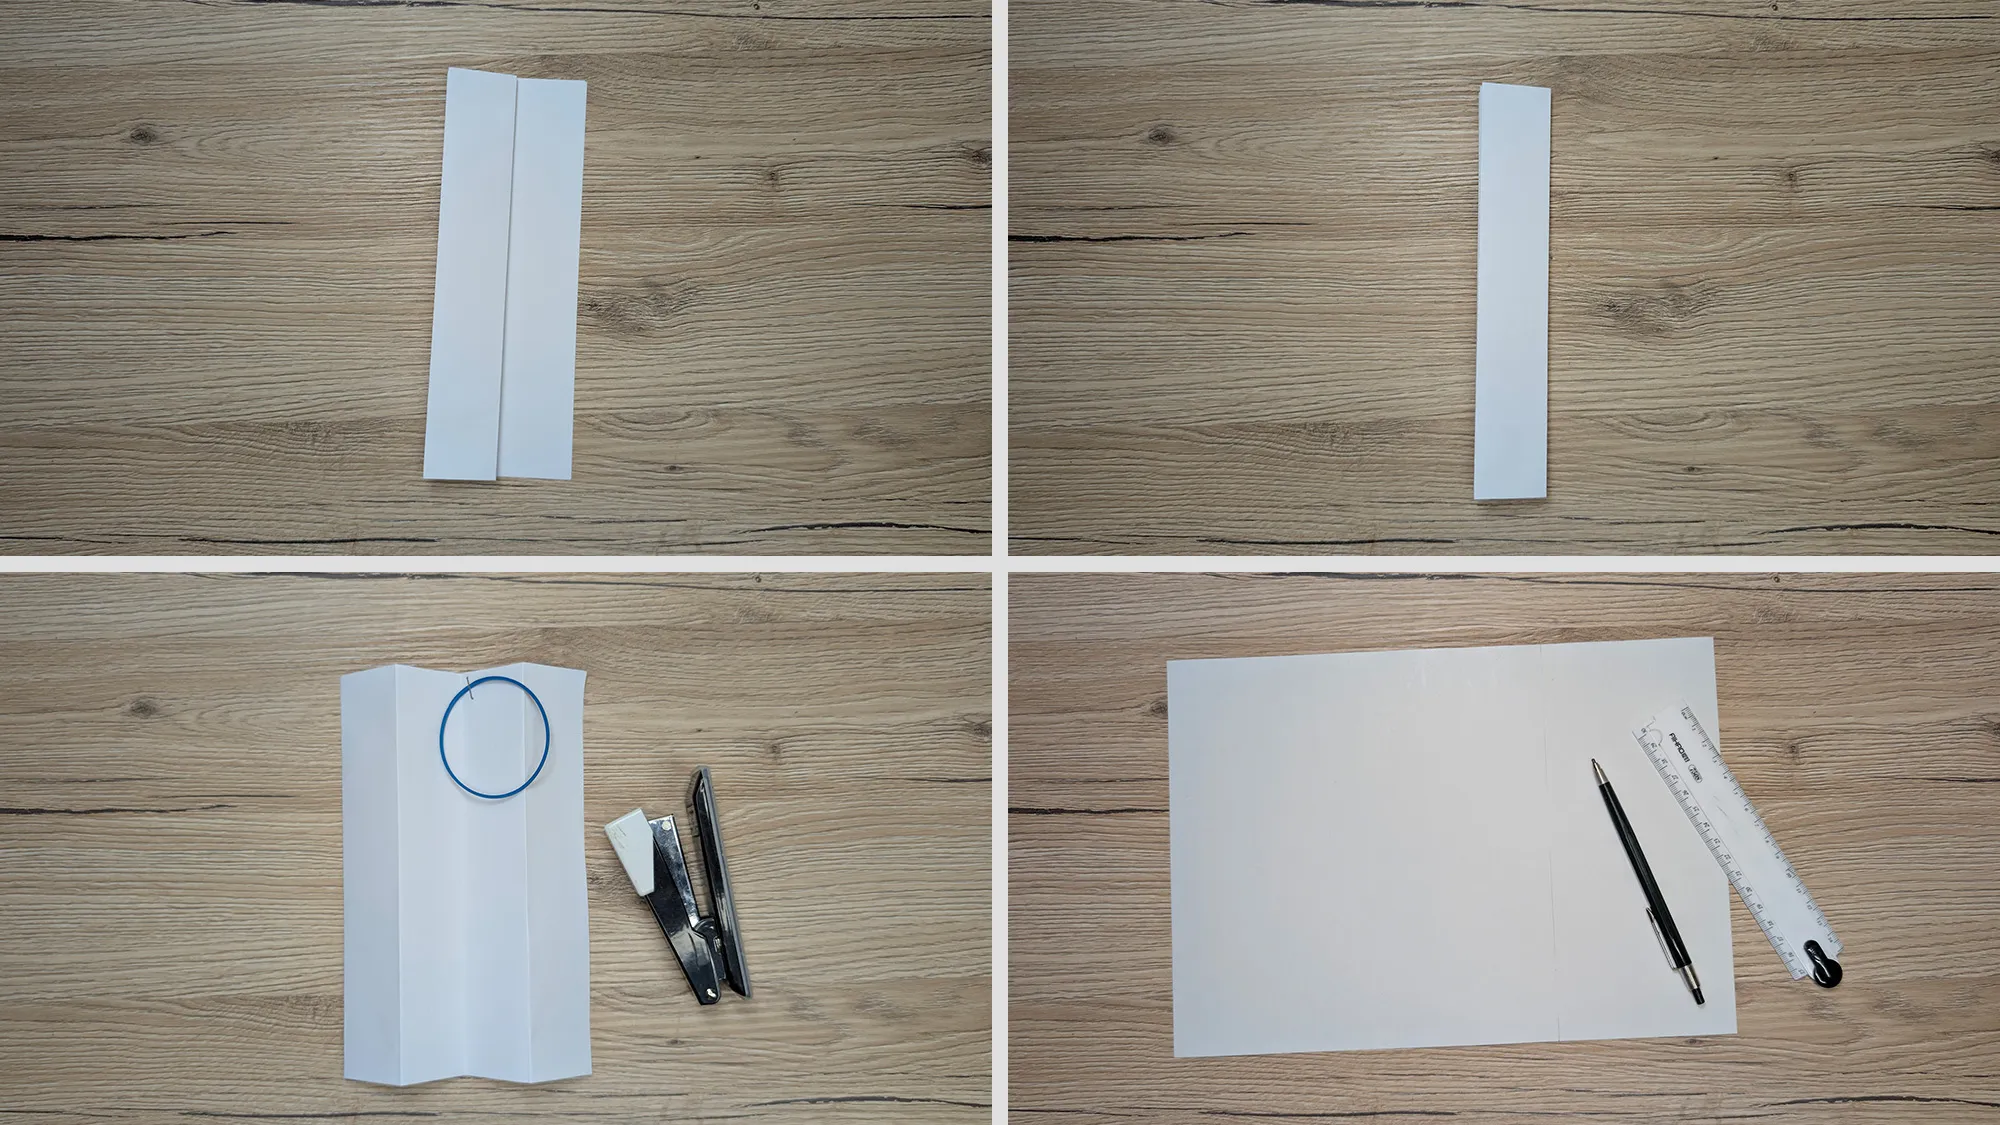
Step 6: Launch the airplane
Place the airplane on the launcher, stretch the rubber band, and release. Launch your airplane!
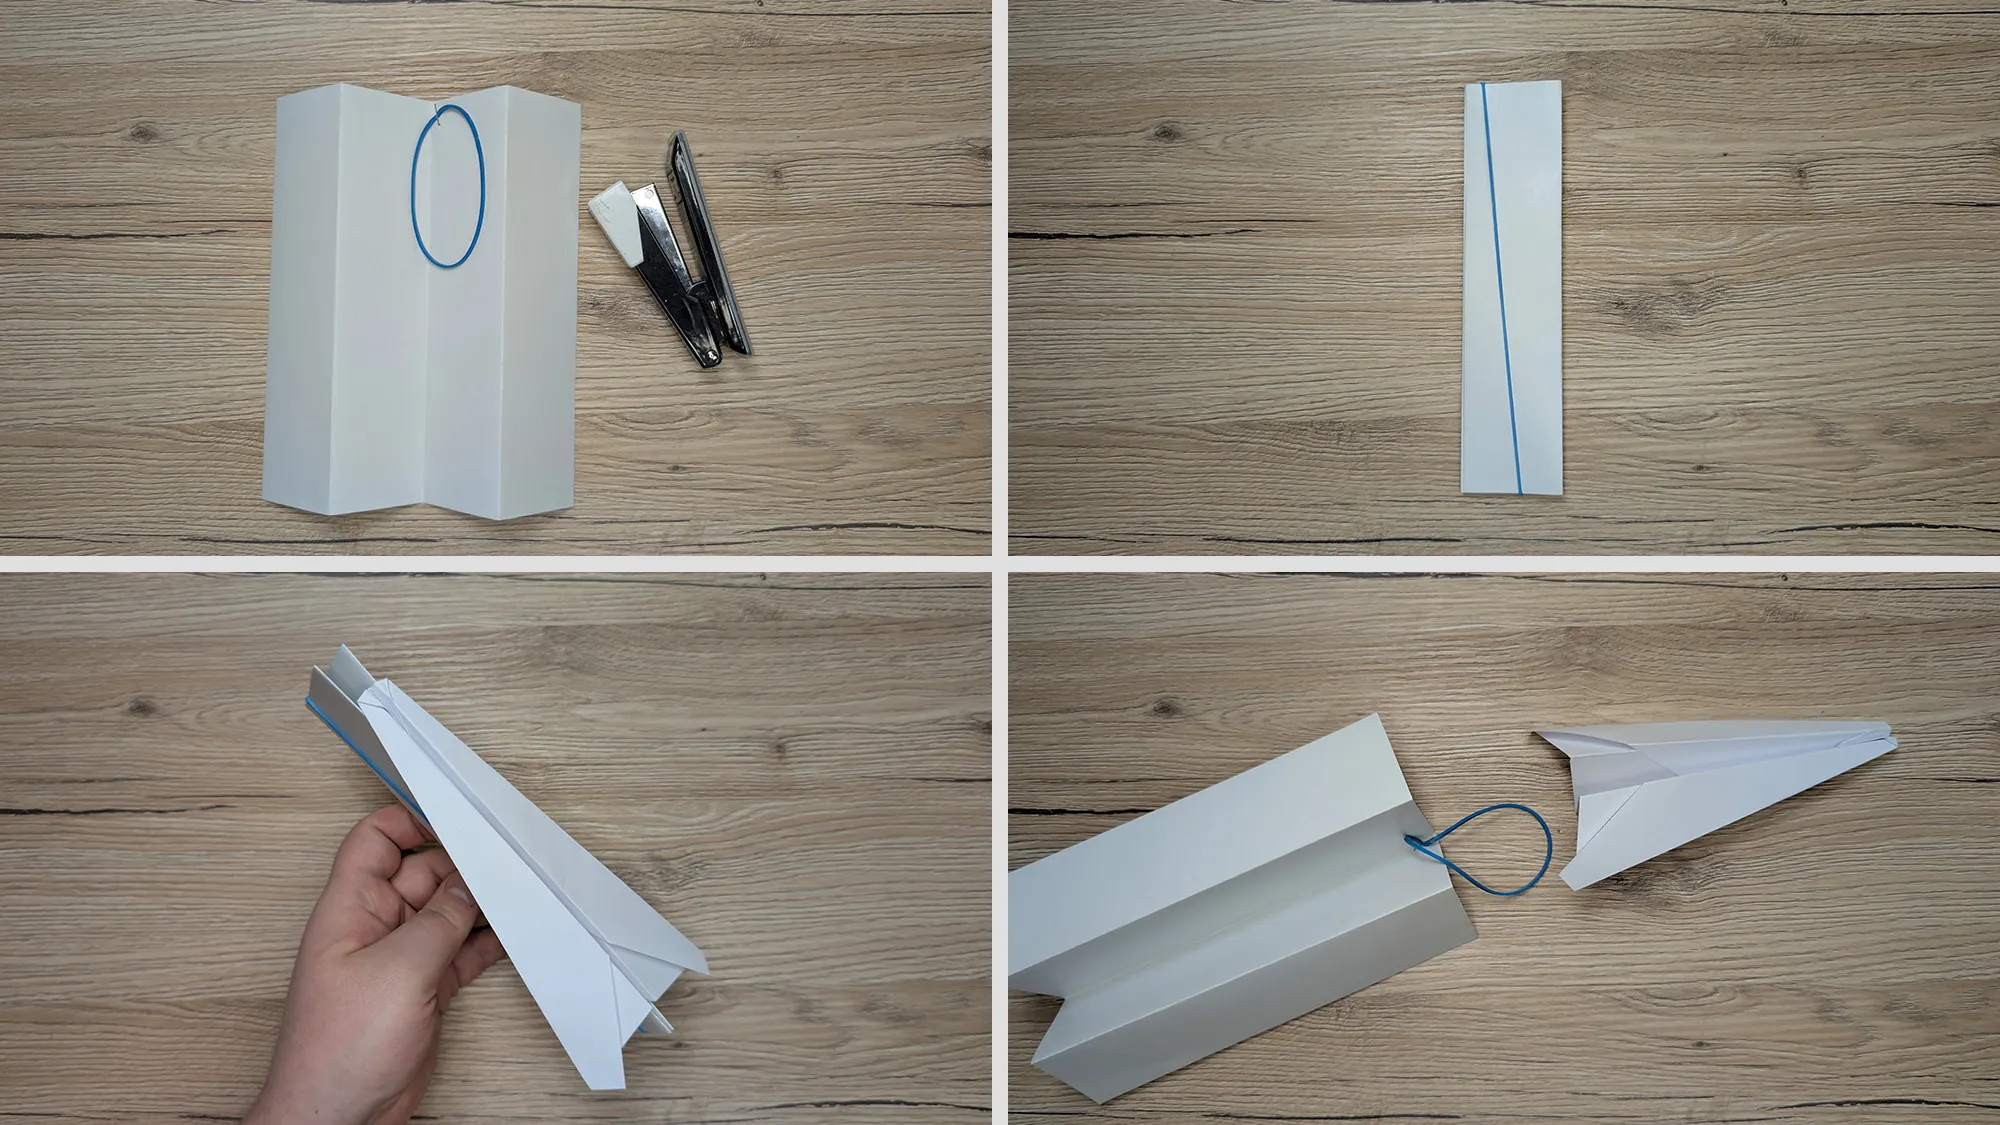
Tips for the perfect flight:
- Hold the launcher steady with one hand and stretch the rubber band with the other.
- Position the airplane on the launcher so that the nose points forward and the rubber band sits centered under the plane.
- Pull the rubber band back and let go to launch the airplane.
- Experiment with different angles for different flight paths.
- When flying outdoors, you can increase the tension on the rubber band for longer flights.
- For indoor activities, use less tension so the airplane doesn’t fly too far or too high.
Paper Airplane Launcher and Playful Learning with Kids
Crafting and playing with the paper airplane launcher is not only entertaining but also educational for children. In the process, they learn fundamental physical principles like potential and kinetic energy, aerodynamics, and gravity in a playful way. By experimenting with different airplanes and launch methods, children develop an intuitive understanding of how objects behave in the air.
This activity also promotes fine motor skills, spatial thinking, and creativity. Children can customize their airplanes and influence flight characteristics through small changes to the wings or weight. Measuring and comparing flight distances also offers a great way to apply mathematical concepts in play.
You can expand the project by organizing a family competition where everyone builds and tests their own launcher system to see whose flies the farthest.
In Conclusion
We have invested a lot of time and effort to make our craft tutorials and DIY ideas section as comprehensive as possible. If you found this guide even a little interesting, that’s already a reward for us. If you enjoyed this type of creative project, check out our sections on origami and DIY ideas for kids. You might find even more inspiring projects there.
We wish you great success in crafting your own paper airplane launcher and lots of fun experimenting with different airplanes and flight paths!
From Vitalii Shynakov
