Paper Plane Stingray: Simple Instructions with Photos and Video for Kids
Hello! Are you looking for a cool idea for a special paper plane? Our Paper Plane Ray is just right for you! This unique paper folding not only looks like a ray, but it also flies really well! All our instructions consist of videos and photos with detailed text comments and tips. So you can be sure that you will succeed in folding this great flyer.
Folding paper planes is not only fun, but it also promotes concentration and fine motor skills in children. With our step-by-step instructions, crafting becomes a piece of cake. The ray flyer is particularly easy to fold and is therefore also suitable for younger children or beginners in paper folding.
All the videos and photos you find here are recorded by us. They are also all available on our YouTube channel. By clicking on the link of the video title, you can visit our channel and subscribe to us. That would really mean a lot to us!
Paper Plane Ray: Step-by-Step Instructions with Photos and Comments
In this craft project, as in all others, we try to use only materials that are available in every household or can be found in the nearest store. For our ray paper plane, you only need a sheet of A4 paper. You can use regular printer paper, but for better flying results, we recommend using lighter paper.
A practical tip: Make sure to smooth out all the folds well. The more precise the folds are, the better your plane will fly. Also experiment with different throwing styles – sometimes a paper plane flies better when you throw it gently rather than flicking it with force.
Required materials:
- A sheet of paper (A4)
- A flat surface to work on
- Some patience and concentration
Paper Plane Ray, Step 1: The Basic Fold
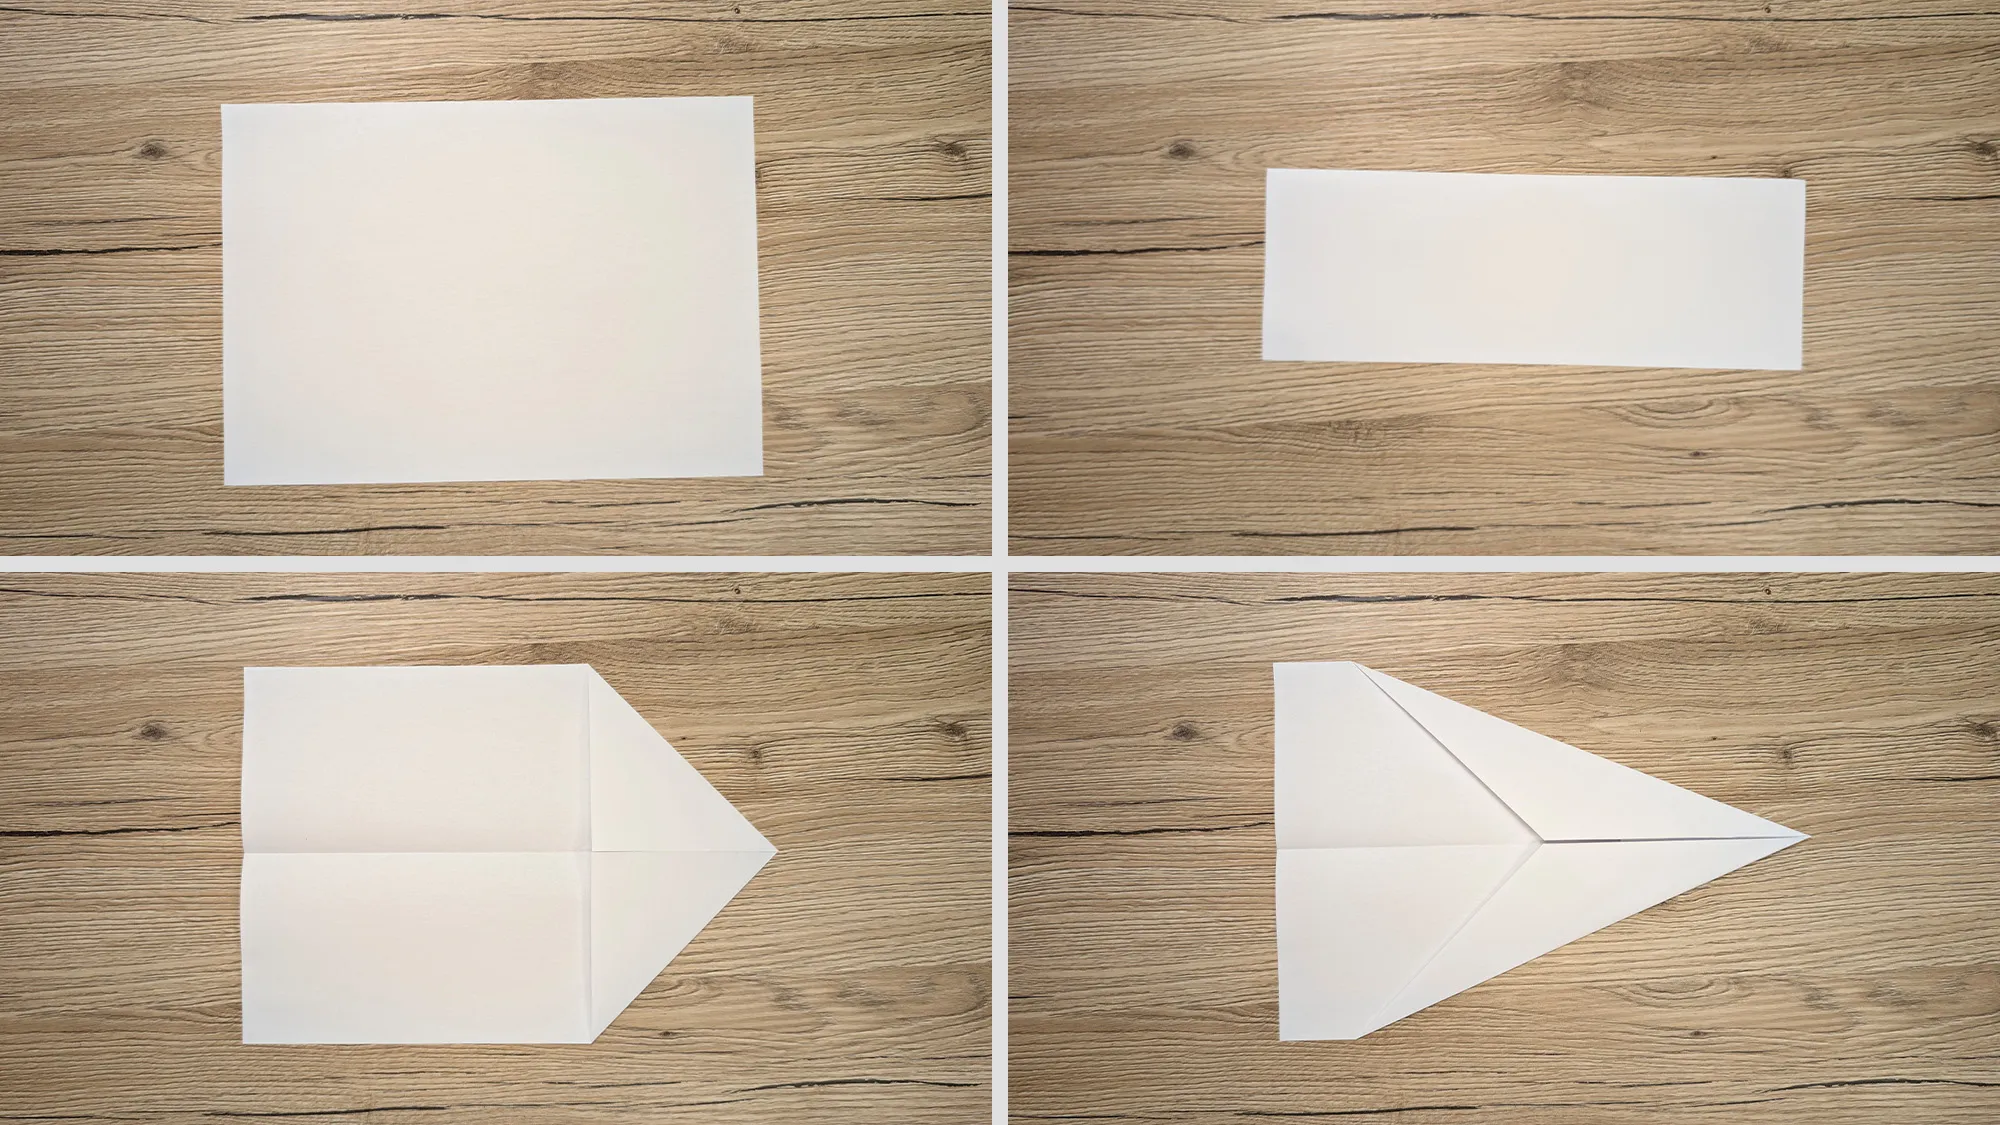
Take an A4 sheet and fold it in half. Then fold both sides towards the center twice. This is the standard beginning for most paper planes.

Paper Plane Ray, Step 2: Shaping the Nose
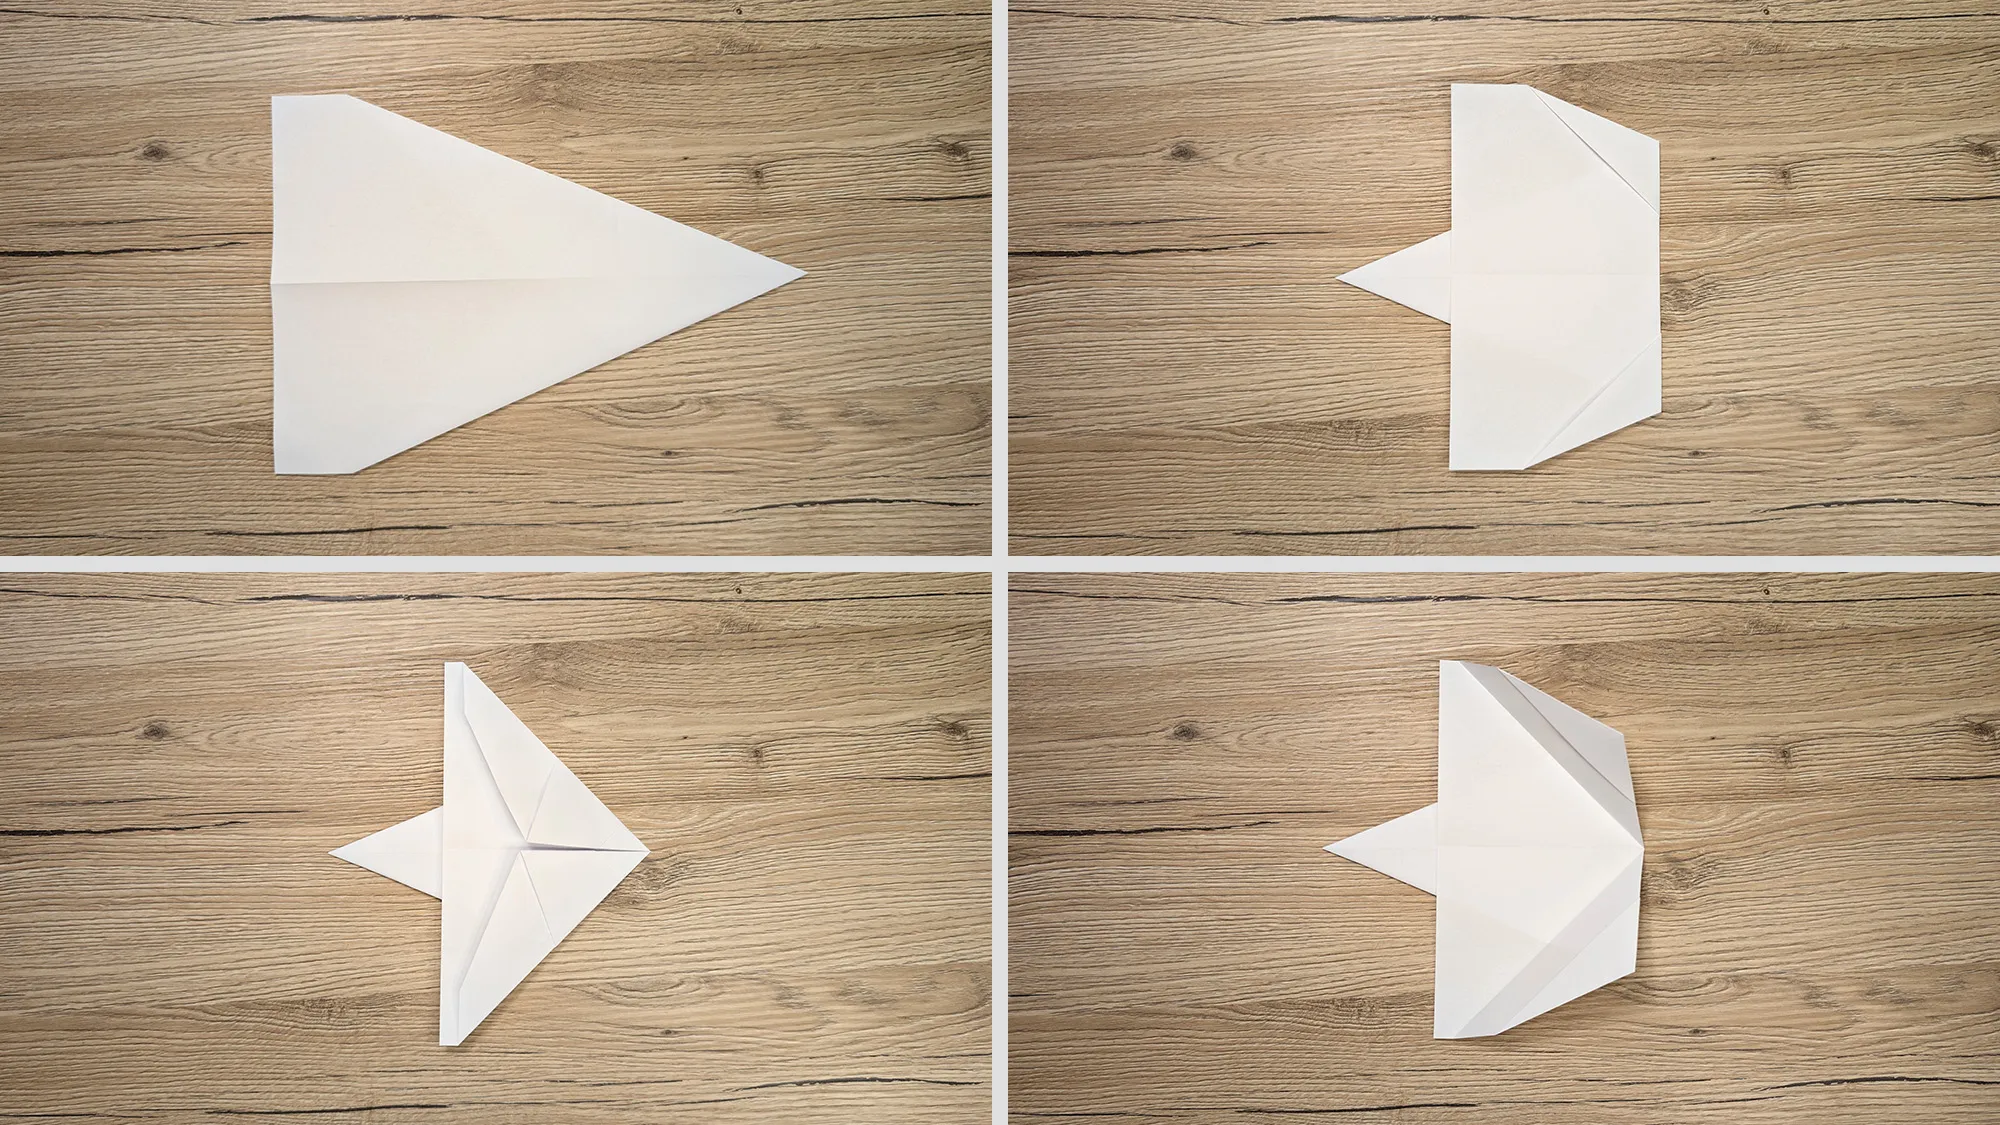
Now turn the sheet over and fold the nose towards the tail. Then make two more folds. We are now starting to shape the wings.

Paper Plane Ray, Step 3: Designing the Wings
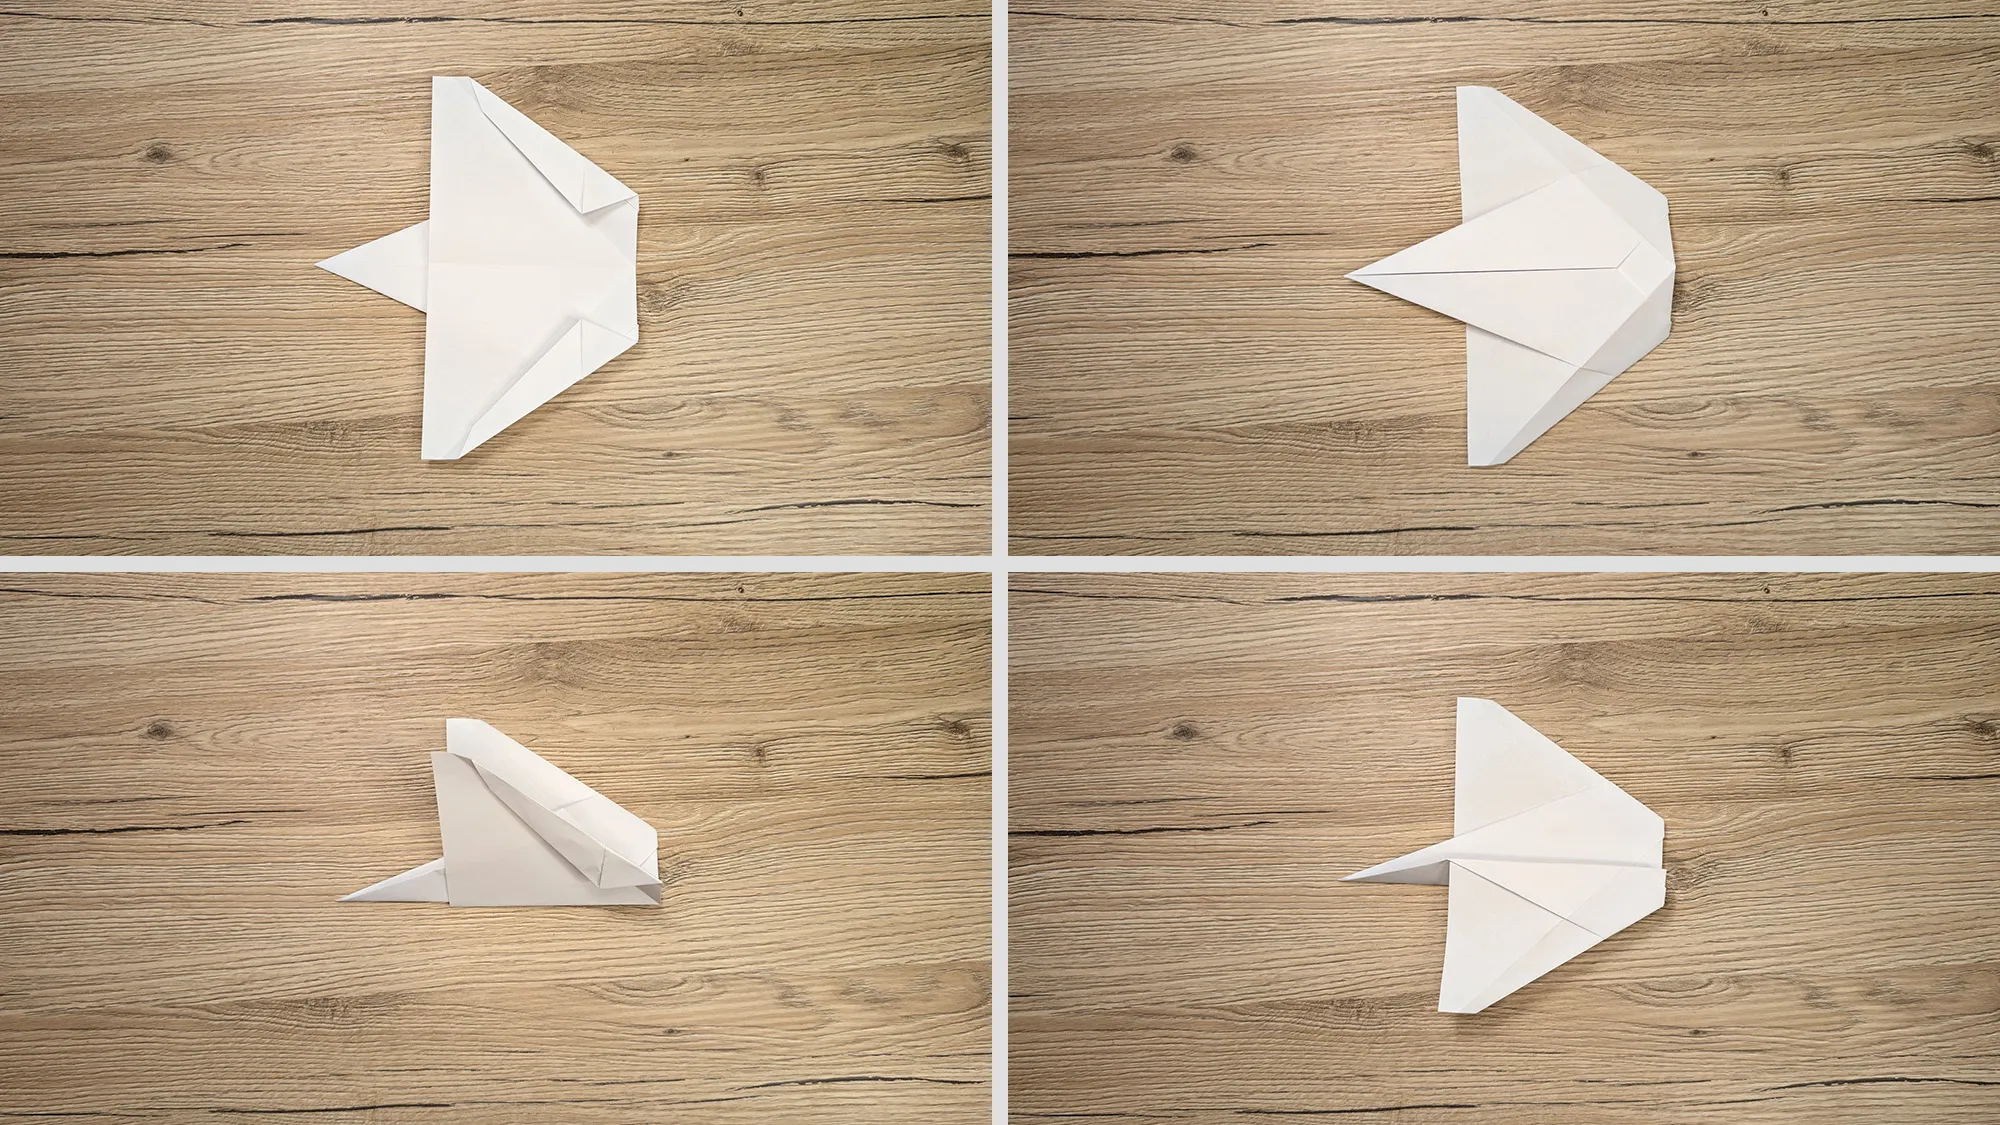
Add additional folds to the wings, then fold the plane in half and bend the wings into the right position.

Paper Plane Ray, Step 4: The Final Touch
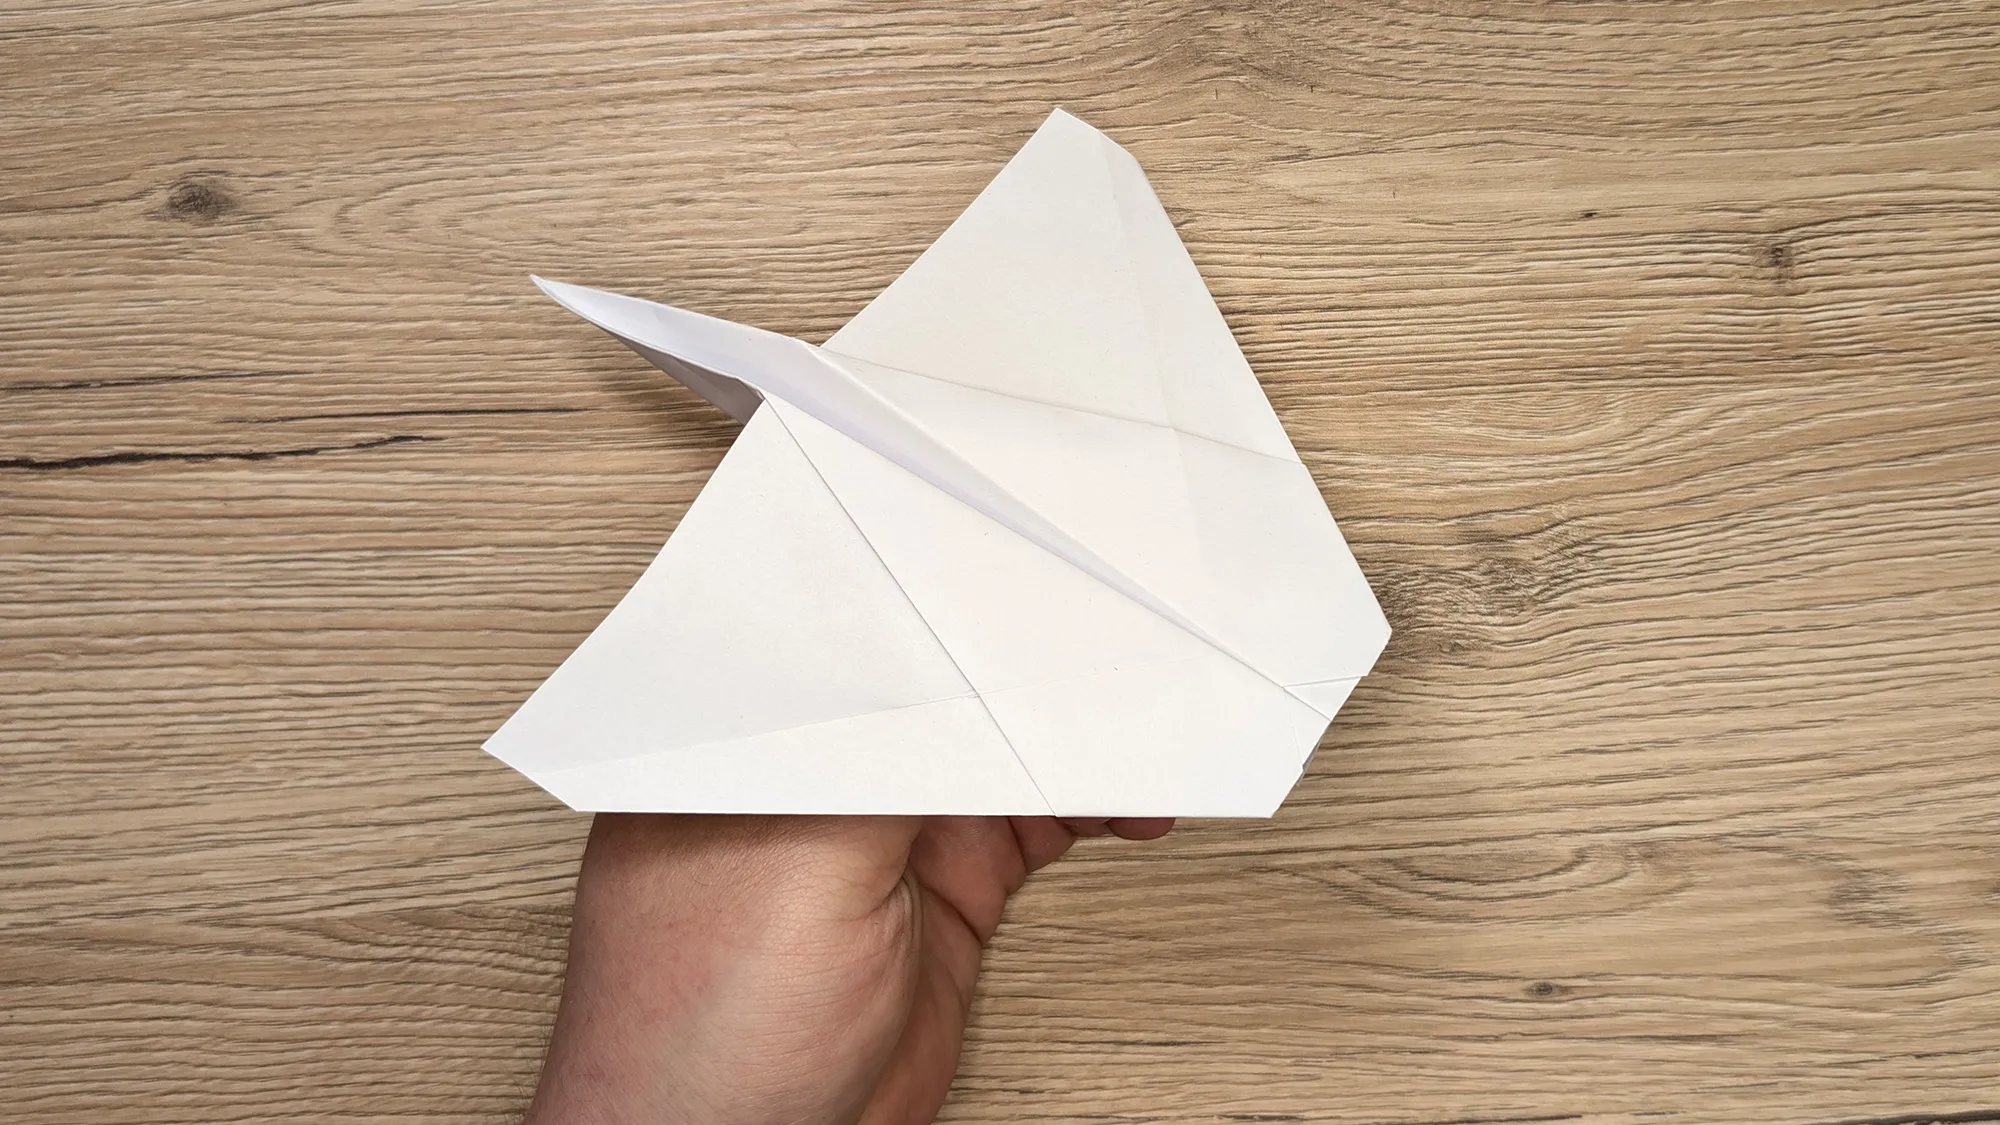
Done! This model is characterized by its simplicity. Moreover, it flies really well. Try it out and watch your ray glide through the air!

Paper Plane Ray and the Development of Fine Motor Skills in Children
Folding a paper plane in the shape of a ray is not only a fun pastime but also offers numerous benefits for your child's development. When folding paper, children train their finger skills and fine motor skills, which in turn improves their handwriting and general dexterity. In addition, precise folding promotes concentration and spatial thinking.
Furthermore, children can playfully discover basic principles of physics such as aerodynamics, air resistance, and gravity when flying their self-built plane. They learn through experimentation how small changes to the wings or throwing style can affect flight behavior.
A Word of Thanks
We have invested a lot of time and effort to make this area rich in children's crafts and DIY ideas. If this guide was even a little interesting to you, that is already a reward for us. If you liked it, check out our sections Paper Weapons & Ninja Origami and Making Paper Planes. You may find additional exciting projects that interest you there.
We wish you lots of fun folding and great flights with your new ray paper plane!
From Vitalii Shynakov
