Making a Paper Snake: Simple Instructions with Photos and Video for Kids
Hello! Are you looking for a cool idea on how to create something creative with children? Our Paper Snake is just the right project for you! This simple craft is perfect for kids aged 5 and up and promotes fine motor skills. All our guides consist of videos and photos with detailed text comments and tips. Therefore, you can be sure that you will succeed in making this cute snake.
All the videos and photos you find here are recorded by us. They are also all available on our YouTube channel. If you click on the link of the video title, you can visit our channel and subscribe to us. That would be really great for us!
Paper Snake: Step-by-Step Guide with Photos and Comments
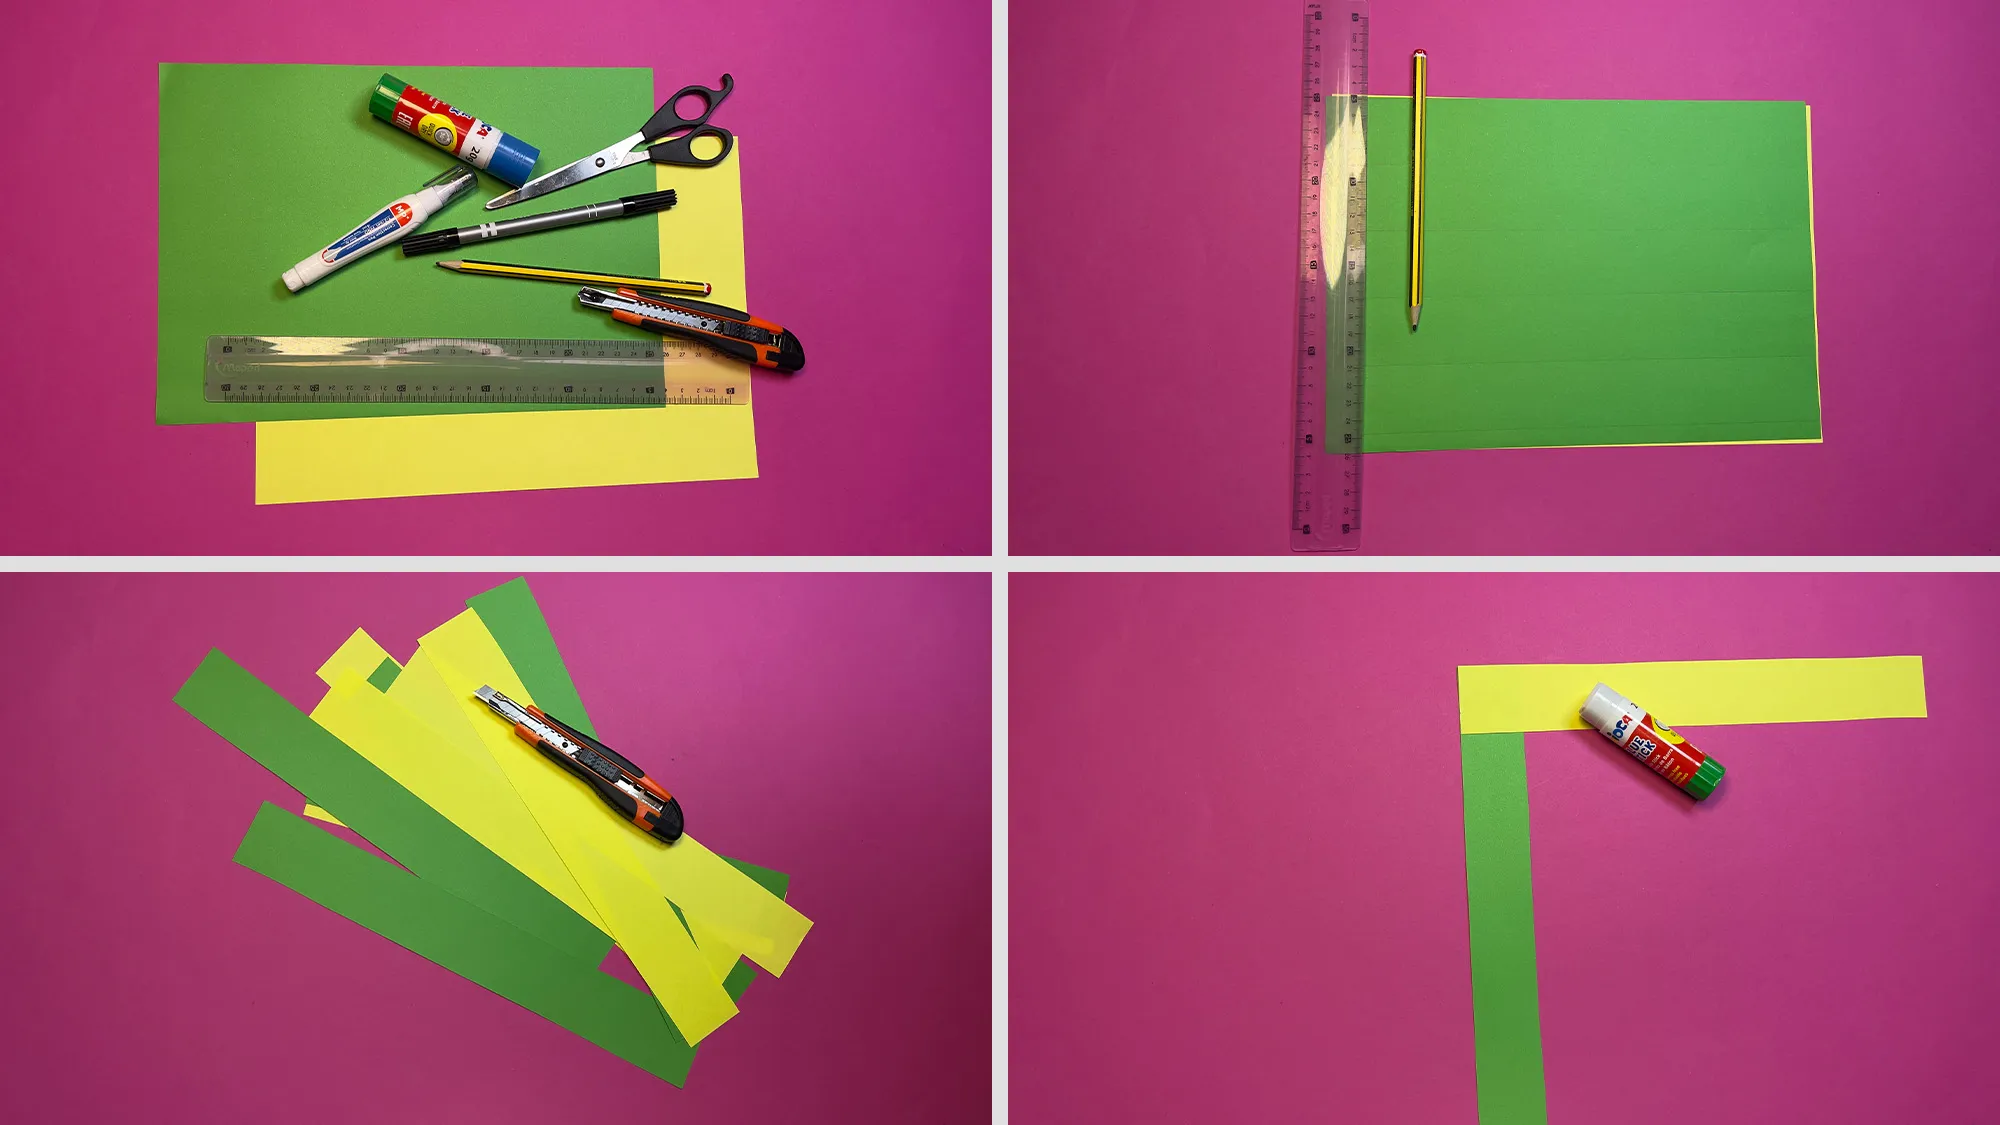
For this craft, as with all others, we try to use only materials that are available in every household or can be found at the nearest store. For our Paper Snake, you only need colored paper, scissors, a glue stick, markers, and a pencil.
A handy tip: This craft is great for kids aged 5 and older, as it trains their fine motor skills while being fun. The finished snakes can also be used as decoration or for a children's room mobile.
Materials Needed:
- Colored paper (e.g., green, yellow, or other colors of your choice)
- Scissors
- Glue stick
- Markers or felt pens
- Pencil
- Ruler
Paper Snake, Step 1: Prepare and Cut the Materials
Prepare all the materials you need: green and yellow paper (or other colors of your choice), scissors, markers, pencil, ruler, and glue stick. Cut several long strips from the colored paper using the scissors. Make sure all the strips are the same width. Glue the first two strips together at a 90-degree angle.

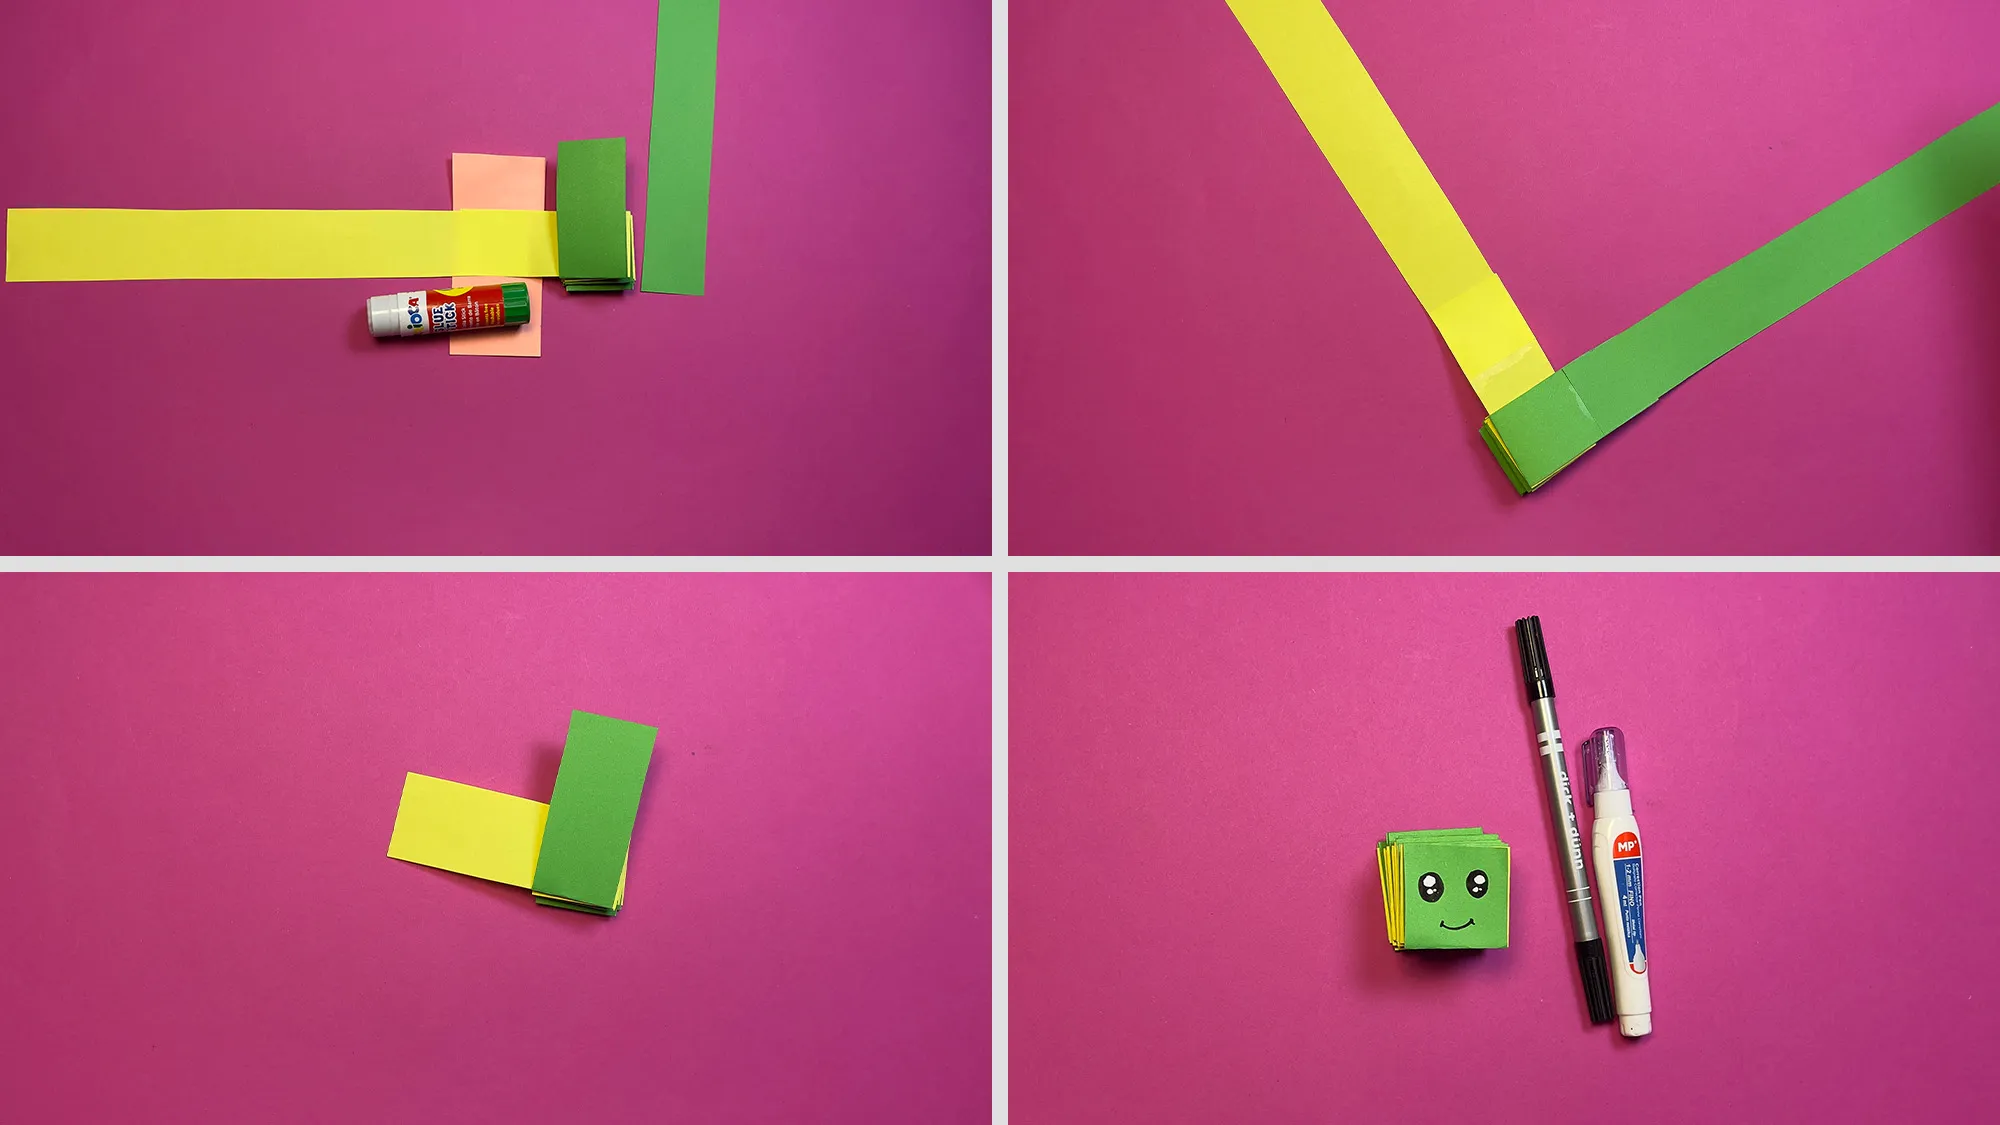
Paper Snake, Step 2: Shape the Snake
Now start folding the body of the snake. Fold the body of the snake by bending the strips alternately. Make sure the folds are even. When one strip ends, glue a new strip to the end of that strip. The more strips you glue together, the longer your snake will be.

Paper Snake, Step 3: Design the Face and Finalize
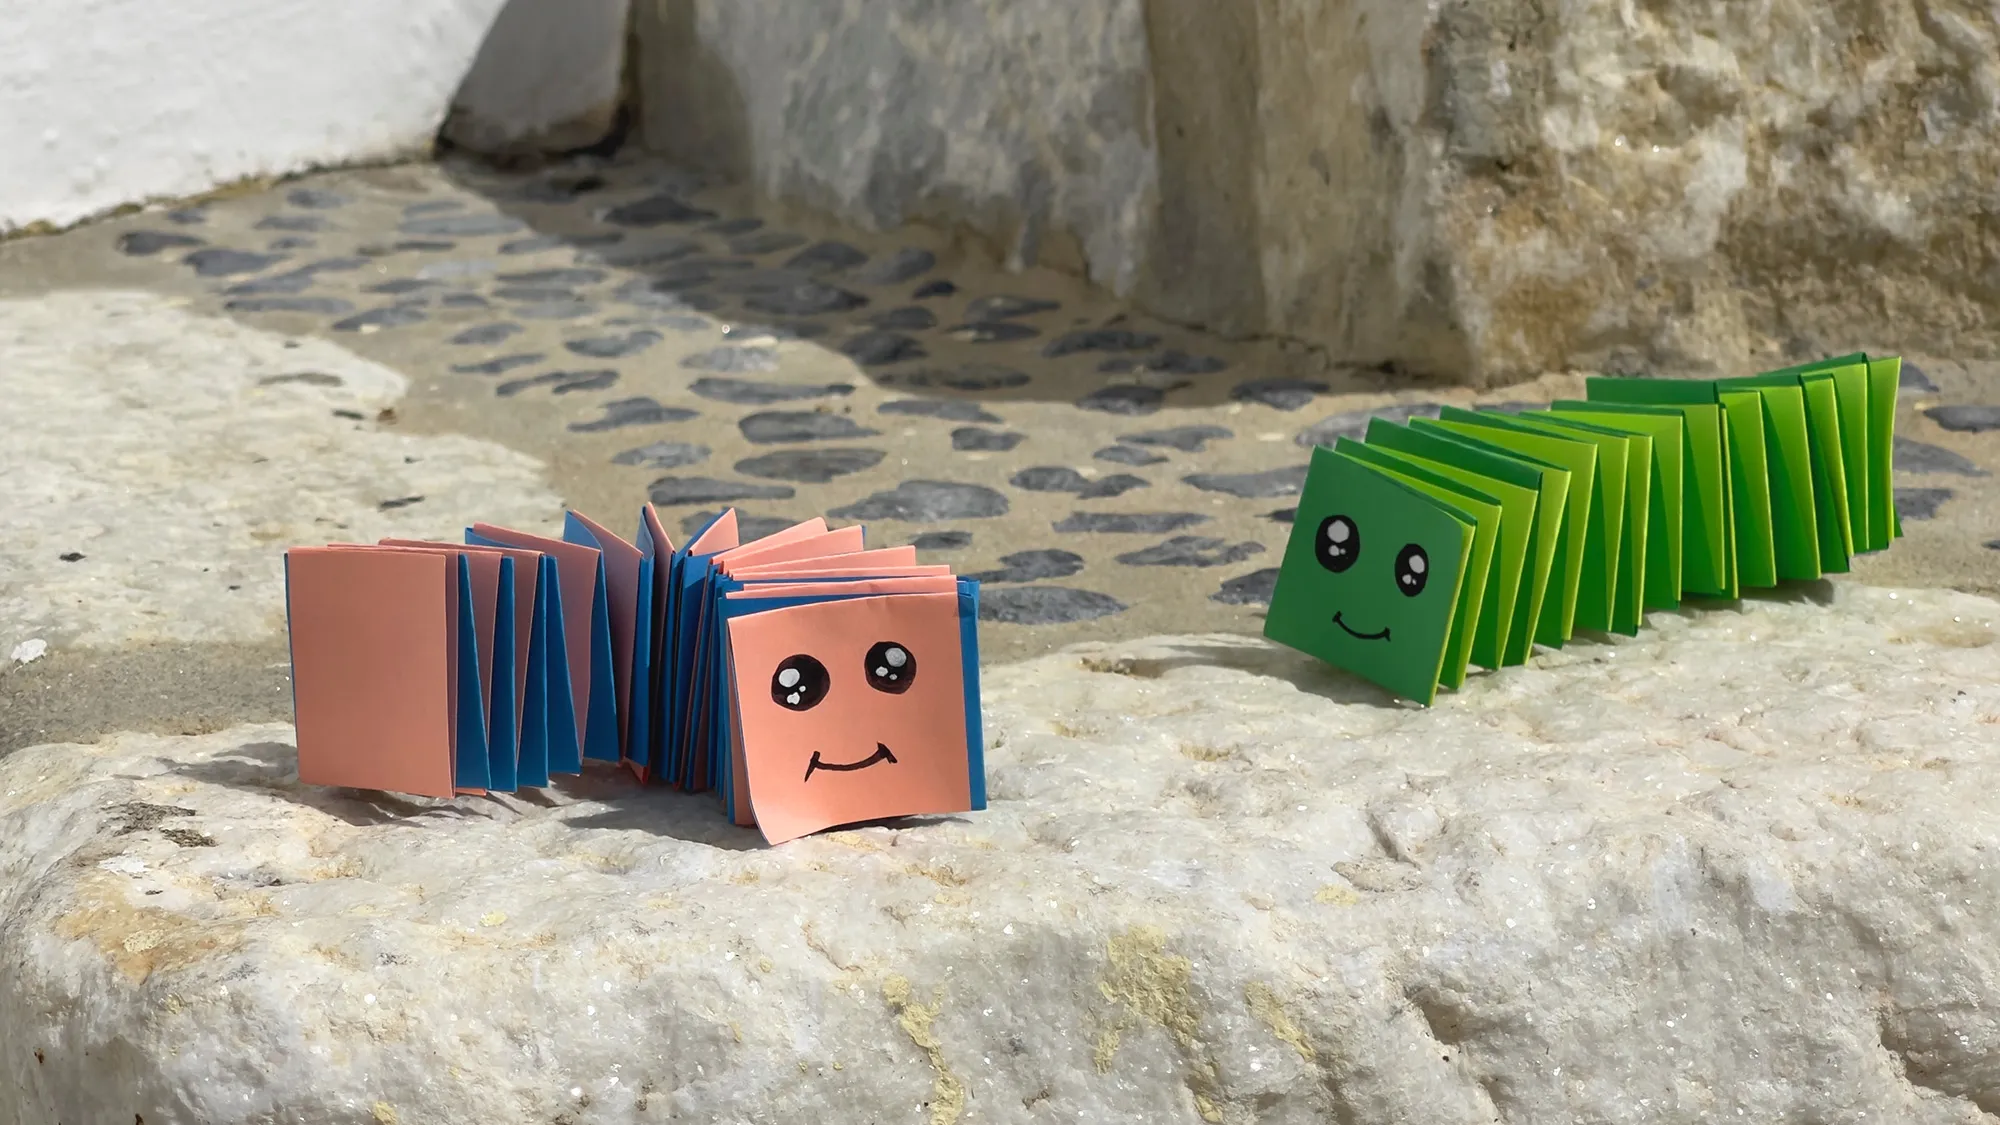
Now take your markers and draw a face on the head of the snake. You can draw eyes and a smile to give your snake a friendly expression. Your Paper Snake is now finished! You can create it in various colors, as you can see in the photo - one green and one pink-blue snake. They not only look great but can also be used for playing!

Paper Snake and the Development of Fine Motor Skills in Children
Creating a Paper Snake is not only a fun pastime, but it also offers numerous benefits for the development of your child. By cutting, folding, and gluing, children train their dexterity and fine motor skills, which in turn improves their handwriting and overall agility. Moreover, precise folding enhances concentration and patience.
This craft also allows children to express their creativity by choosing different colors and designing individual faces for their snakes. The finished product additionally provides opportunities for imaginative play and storytelling.
A Word of Thanks
We have invested a lot of time and effort to create this area filled with children's crafts and DIY ideas. If this guide was even a little interesting to you, that is already a reward for us. If you liked it, check out our sections Simple DIY Ideas for Kids, Origami, and Crafting with Kids for Easter. Maybe you will find more exciting projects there that interest you.
We wish you a lot of fun crafting and playing with your new Paper Snake!
From Vitalii Shynakov
