Paper Ball for Gift Wrapping: Simple Instructions with Photos and Video
Hello! Are you looking for a creative idea to spice up your gift wrapping? Our paper ball for gift wrapping is just what you need! This pretty decoration gives every gift a special touch and is surprisingly easy to make. All our tutorials consist of videos and photos with detailed text comments and tips. So you can be sure you will succeed in making this beautiful 3D ball.
All the videos and photos you find here are recorded by us. They are also all available on our YouTube channel. If you click on the link of the video title, you can go to our channel and subscribe to us. That would really mean a lot to us!
Paper Ball for Gift Wrapping: Step by Step Instructions with Photos and Comments
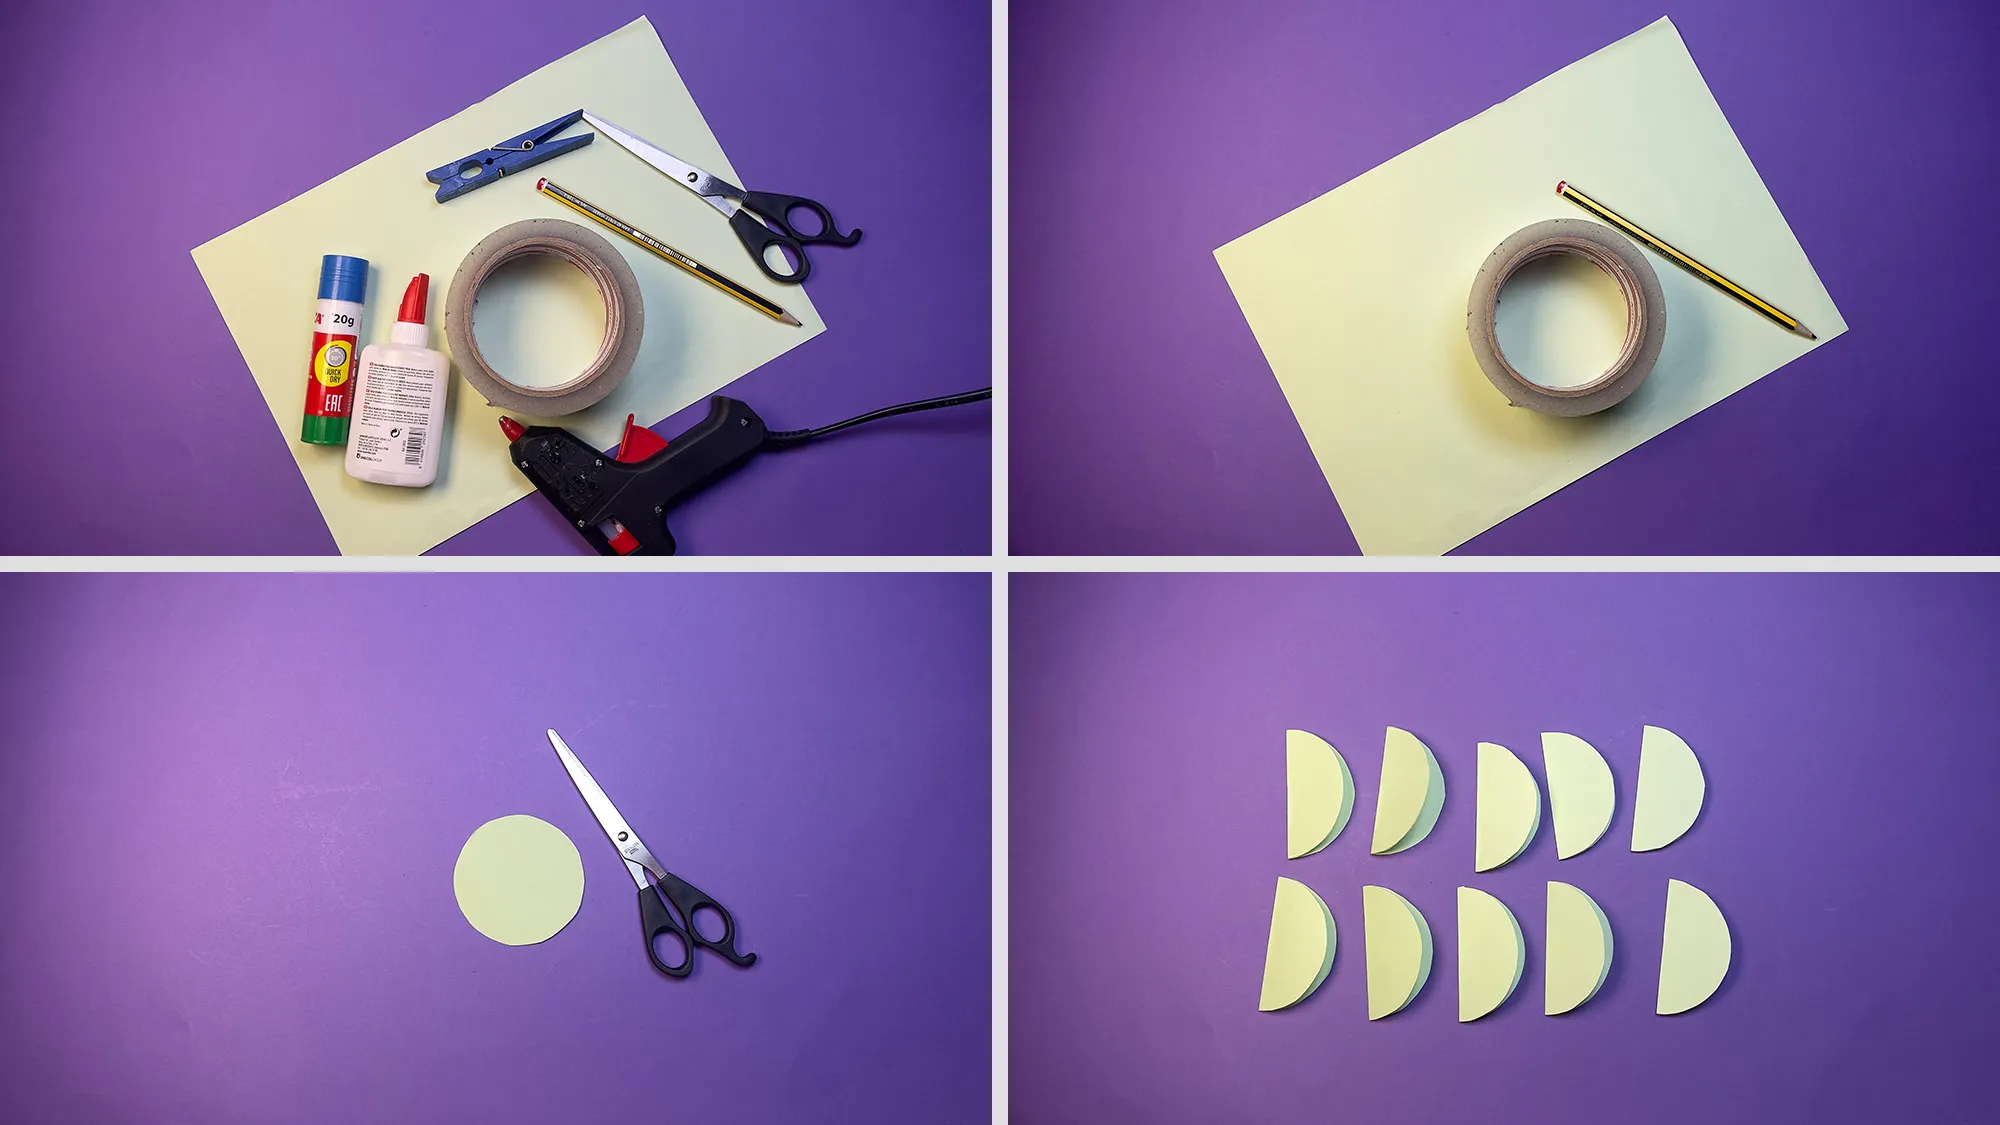
In this crafting project, as well as in all others, we try to use only materials that are available in every household or at the nearest store. For our paper ball for gift decoration, you only need a few materials, which you can see in the second photo.
A practical tip: You can use paper in different colors to create different effects. For Christmas gifts, red, green, or gold are suitable, while for birthdays, you can choose cheerful, colorful colors. If you don't have hot glue, regular craft glue works too, but the drying time will be longer.
Required Materials:
- Colored paper (or several colors for a colorful effect)
- Scissors
- Pencil
- Glue or hot glue gun
- Small clothespins
- Ribbon or bow for decoration
- Optional: Ruler and compass
Paper Ball for Gift Wrapping, Step 1: Prepare the Materials and Cut Out Circles
Prepare all the necessary materials: colored paper, scissors, pencil, glue or hot glue gun, and tape. Draw a circle on the colored paper with the pencil and cut it out. Then, divide the circle in half to obtain semicircles. Cut out about 10 semicircles, as shown in the picture.

Paper Ball for Gift Wrapping, Step 2: Glue the Semicircles Together
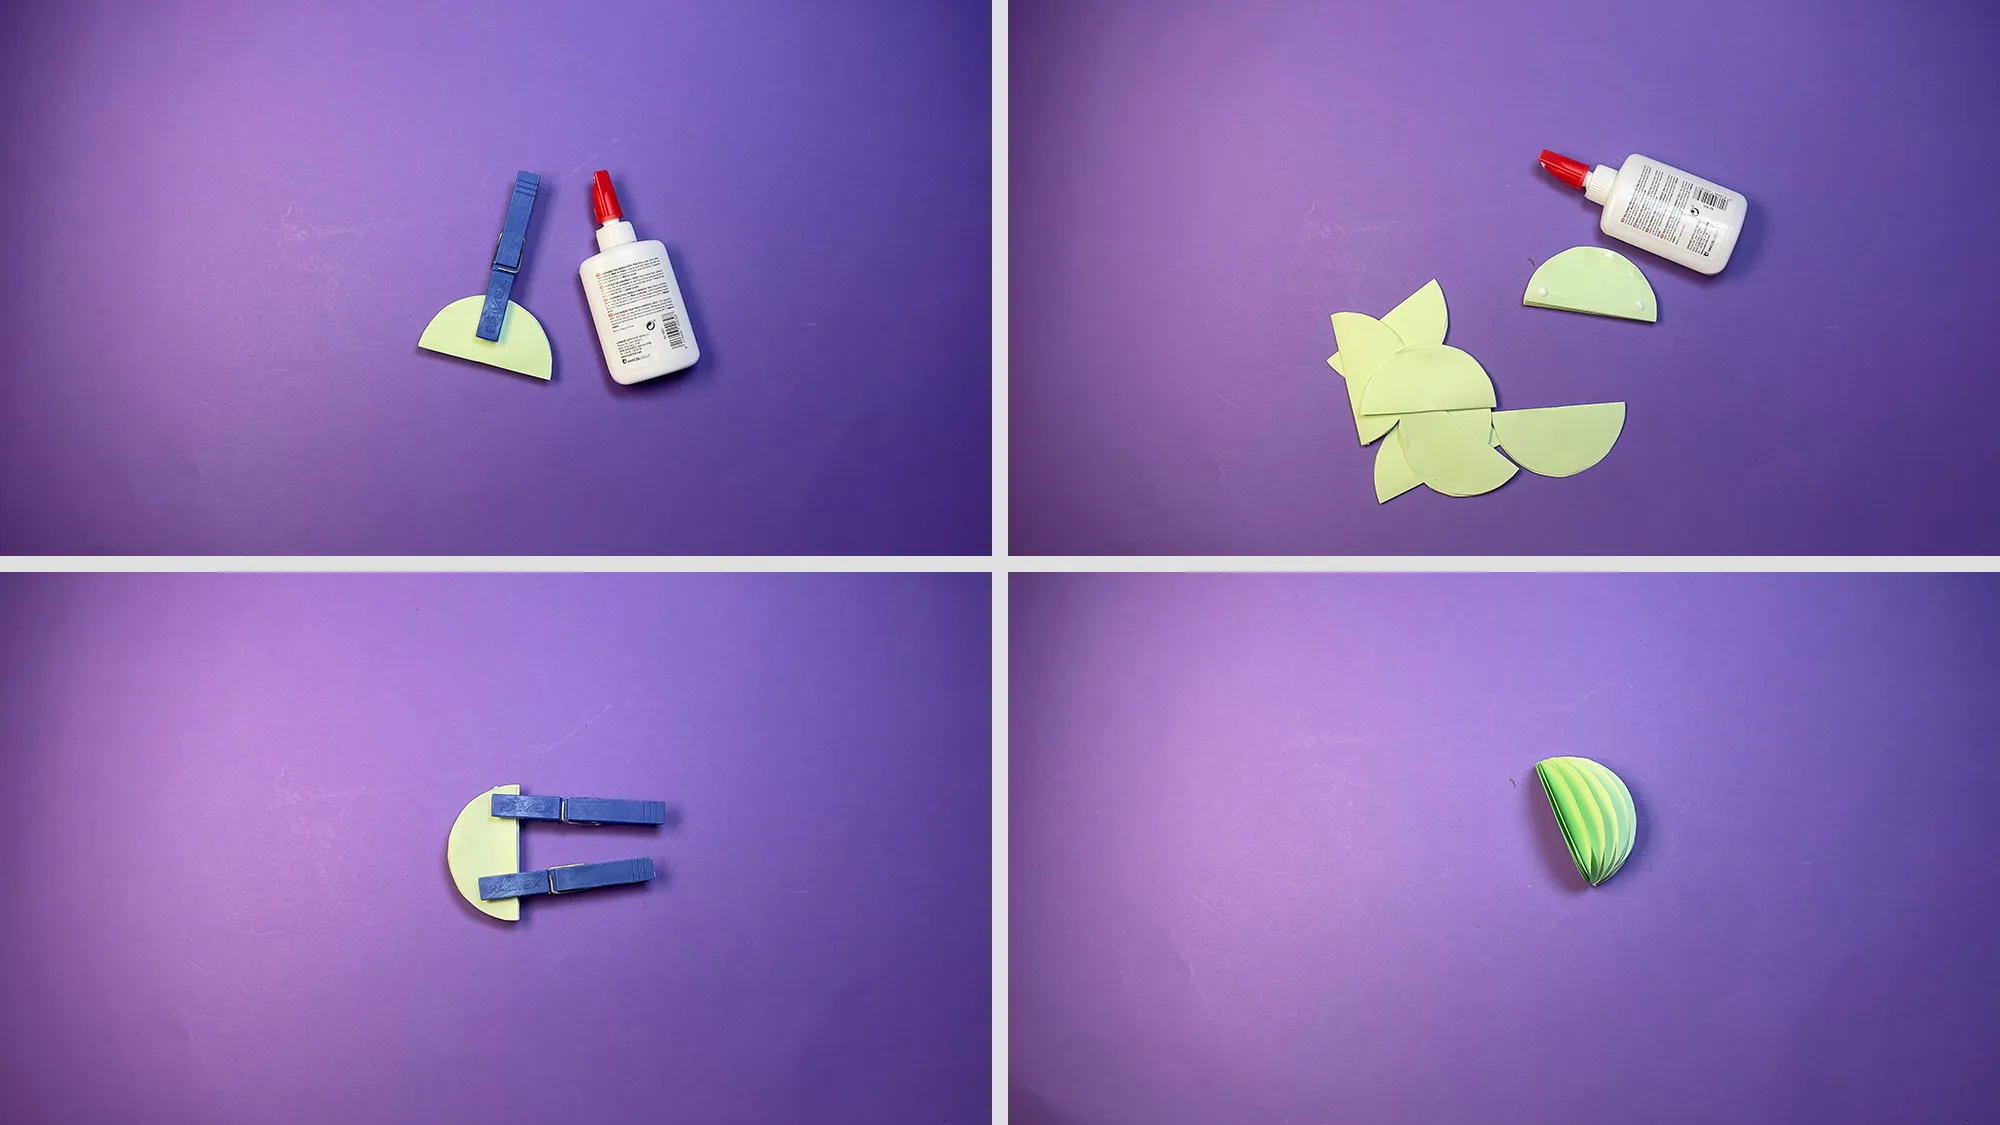
Glue the semicircles together. As a practical tip: Use a few clothespins to hold the pieces better. Take one semicircle and attach it with a clothespin. Apply glue to the straight edge of the semicircle. Add another semicircle by placing its straight edge against the glued edge of the first semicircle. Continue until all semicircles are glued together. The clothespins are excellent for holding the pieces together while the glue dries.

Paper Ball for Gift Wrapping, Step 3: Finish the Ball and Attach It to the Gift
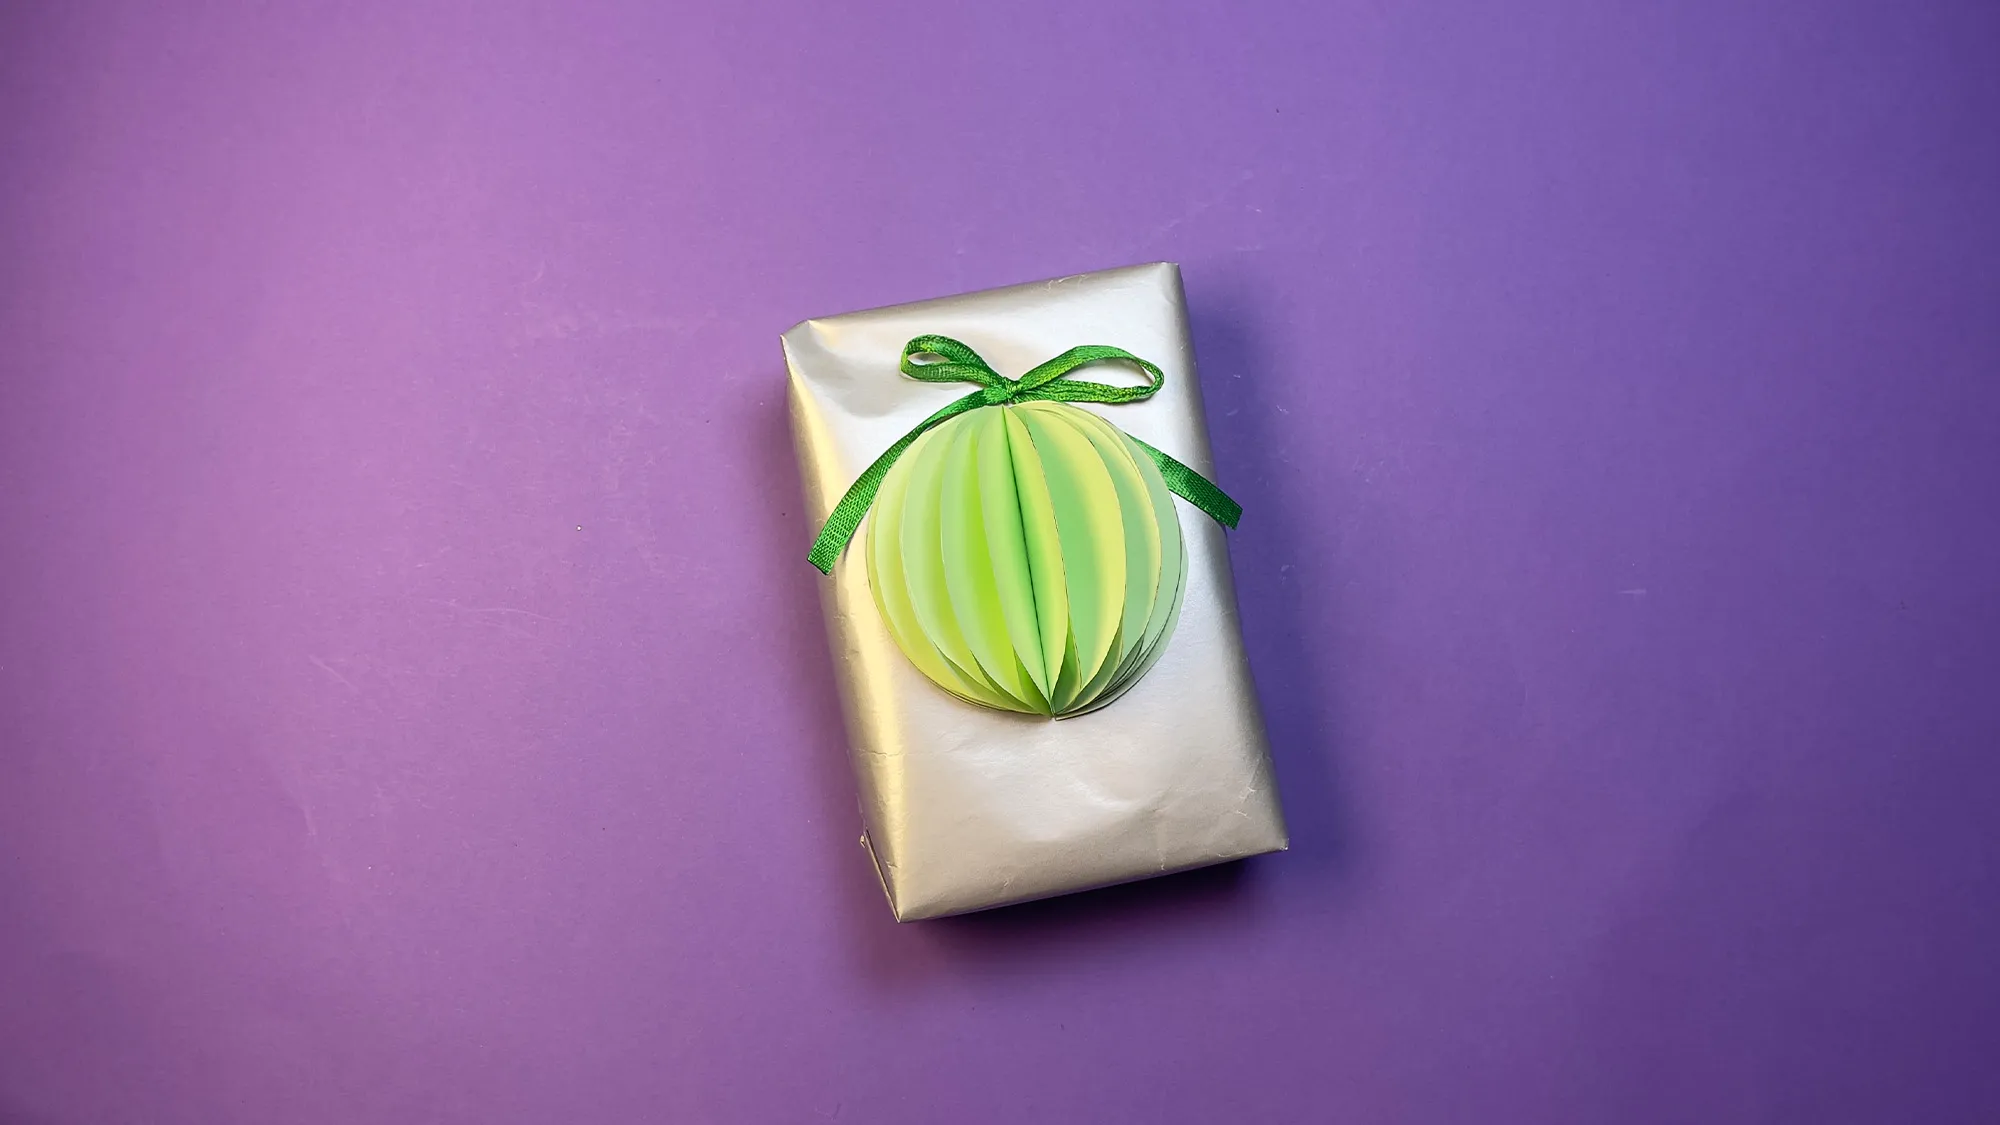
Continue gluing the semicircles until a complete 3D ball is formed. We recommend attaching the finished ball to the gift with glue and completing the wrapping with a ribbon. As you can see in the picture, we used a green ribbon and a light green paper ball on silver wrapping paper. The result is an elegant and personal gift decoration.

Paper Ball and Creative Gift Wrapping
The art of creative gift wrapping is a wonderful way to give your gifts a personal touch. The handmade paper ball is not only a nice decoration but also shows that you have put special effort into it. This little gesture can make a big difference and show the recipient how important they are to you.
You can adapt this technique for various occasions: use shiny paper for festive occasions, natural paper for a rustic look, or colorful paper for children's birthday parties. The possibilities are endless, and you can let your creativity flow.
A Word of Thanks
We have invested a lot of time and effort to make this area with DIY ideas for gift wrapping so extensive. If this tutorial was even a little interesting to you, that is already a reward for us. If you liked it, also check out our sections DIY gift ideas for Valentine's Day and simple DIY ideas for kids. You might find more exciting projects that interest you there.
We wish you lots of fun crafting and giving your creatively wrapped gifts!
From Vitalii Shynakov
