Making a Paper Airplane – Instructions with Video, Photos & Tips
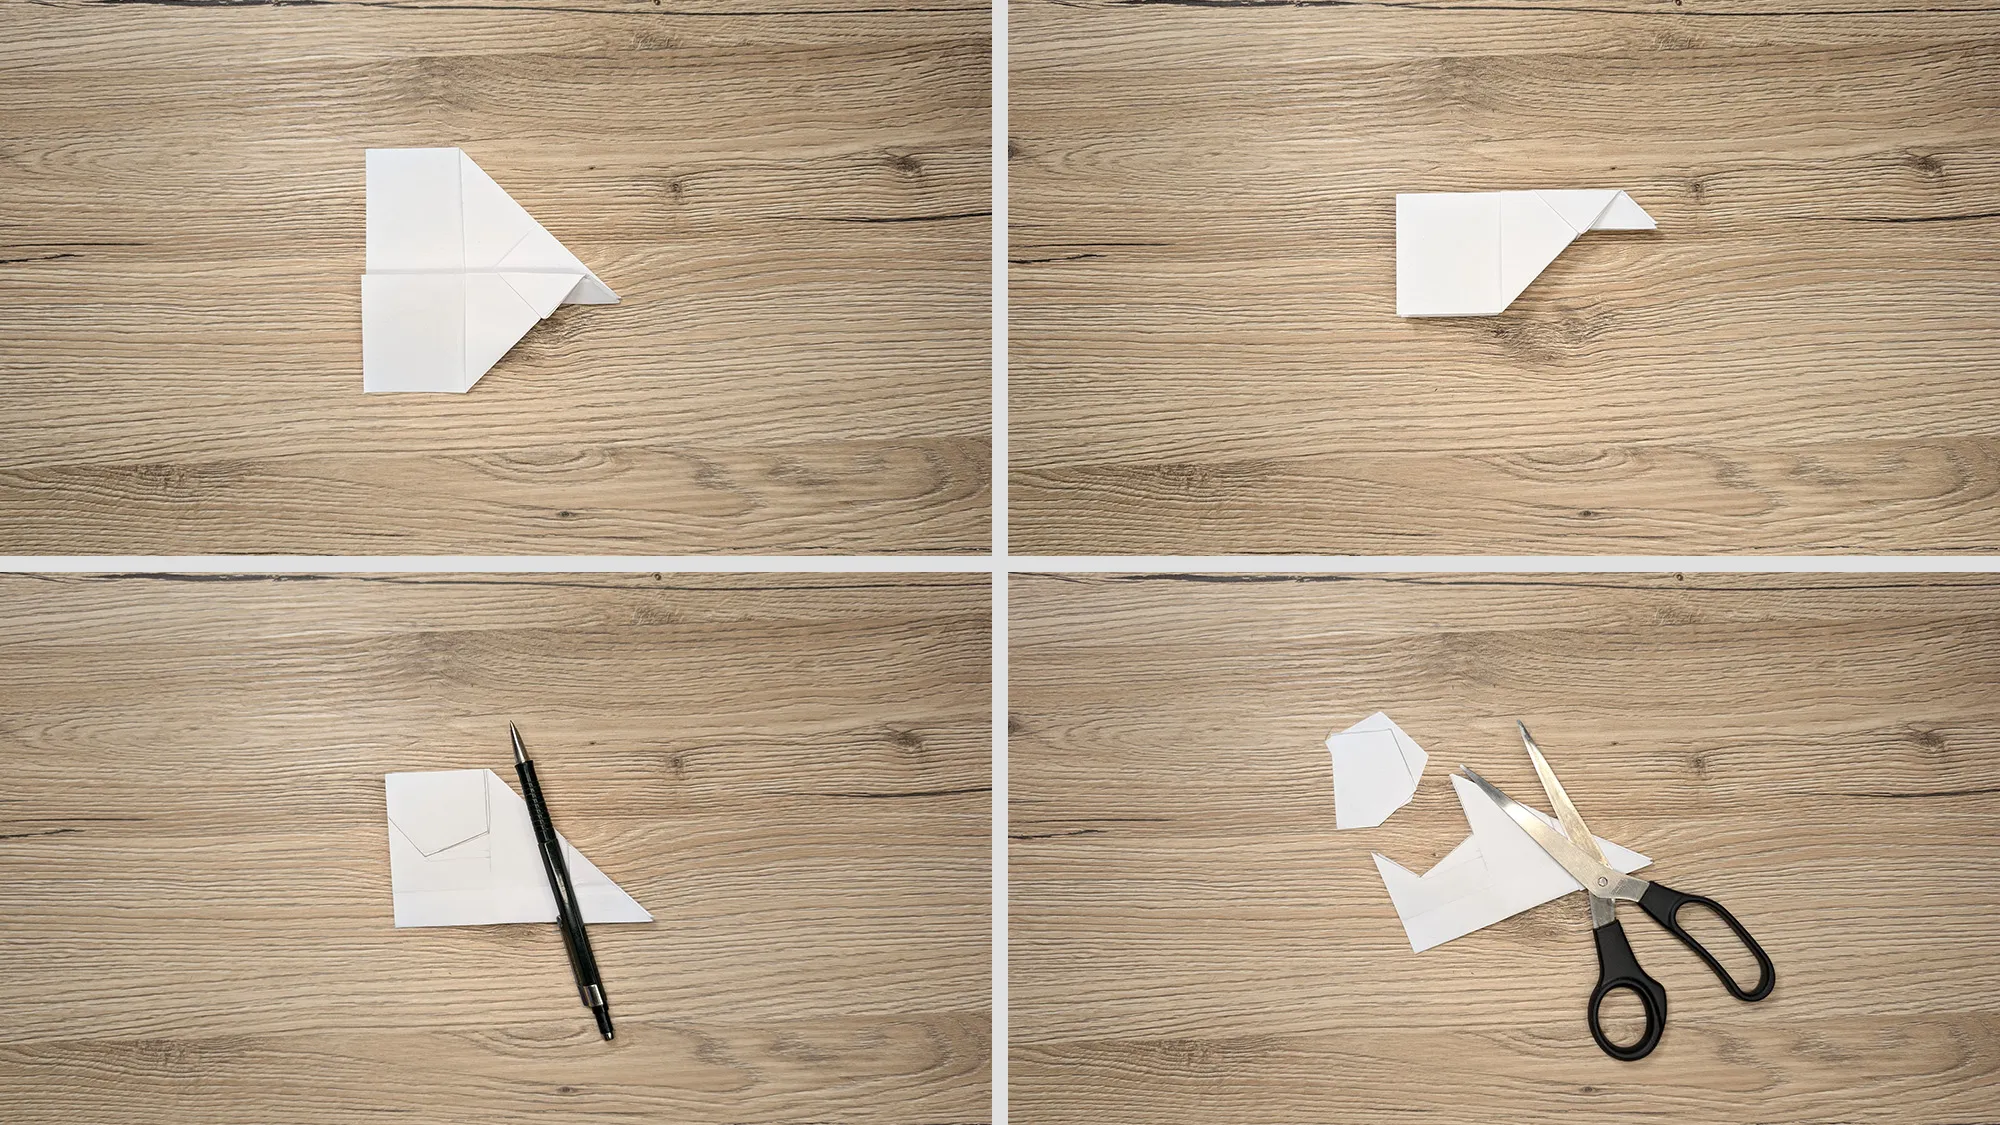
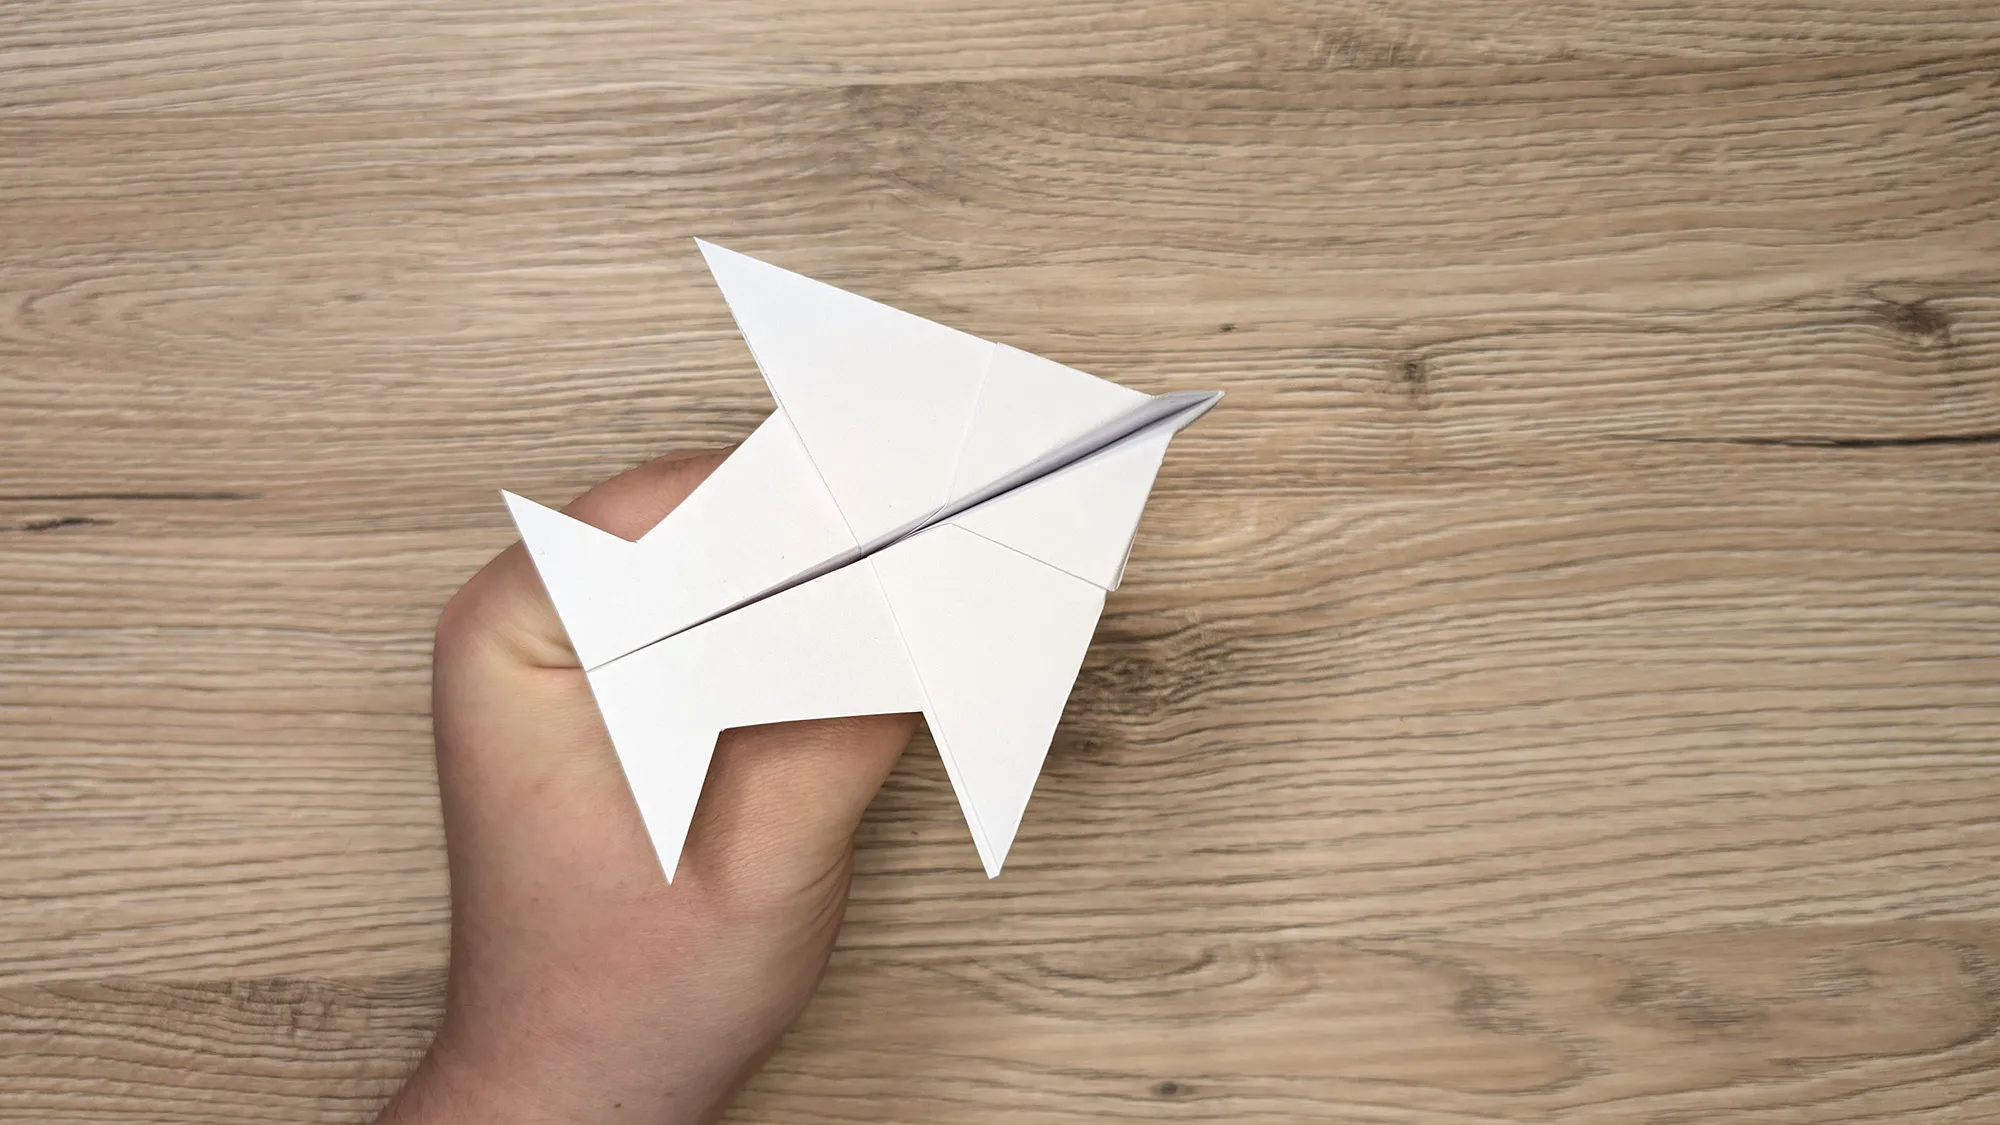
Hello! Are you looking for a cool idea on how to make a paper airplane? Then you’re in the right place! In this guide, we’ll show you step by step how to make a paper airplane – it's really easy with just one sheet of paper. Our craft instructions include video tutorials, clear photos, and helpful comments, so you’re sure to achieve a great result.
You can find this and over 400 other guides on our portal – from origami to children's crafts to decorations for parties or gift ideas with banknotes or towels. Our projects are particularly popular with parents who want to playfully promote fine motor skills with their children.
Here’s the video for you:
All the videos and photos you find here are produced by us, with great attention to detail. You can watch them right here or on our YouTube channel. Just click on the link in the video title – and if you like, subscribe to us there! That way, you won’t miss any new craft ideas.
✂️ Paper Airplane: Step-by-Step Guide with Photos and Comments
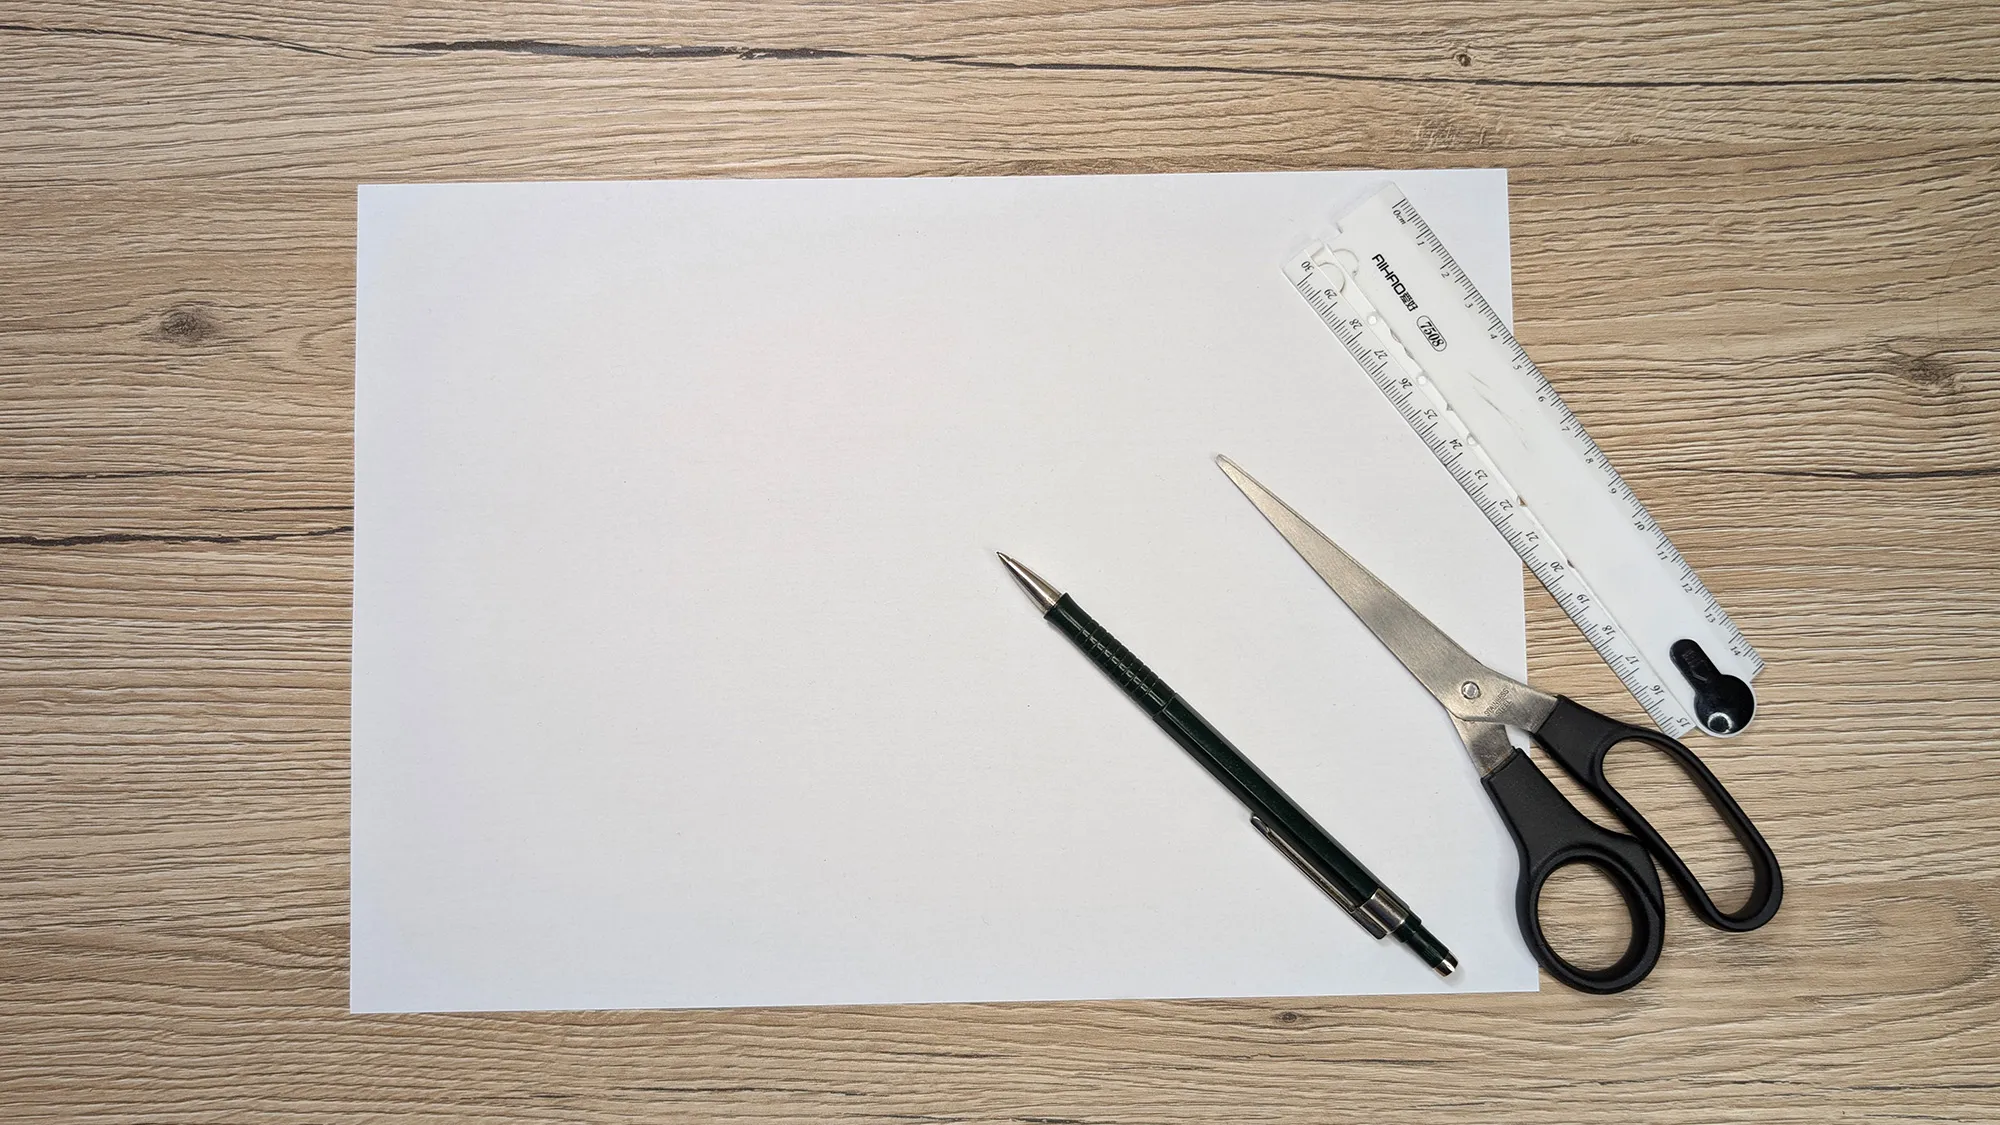
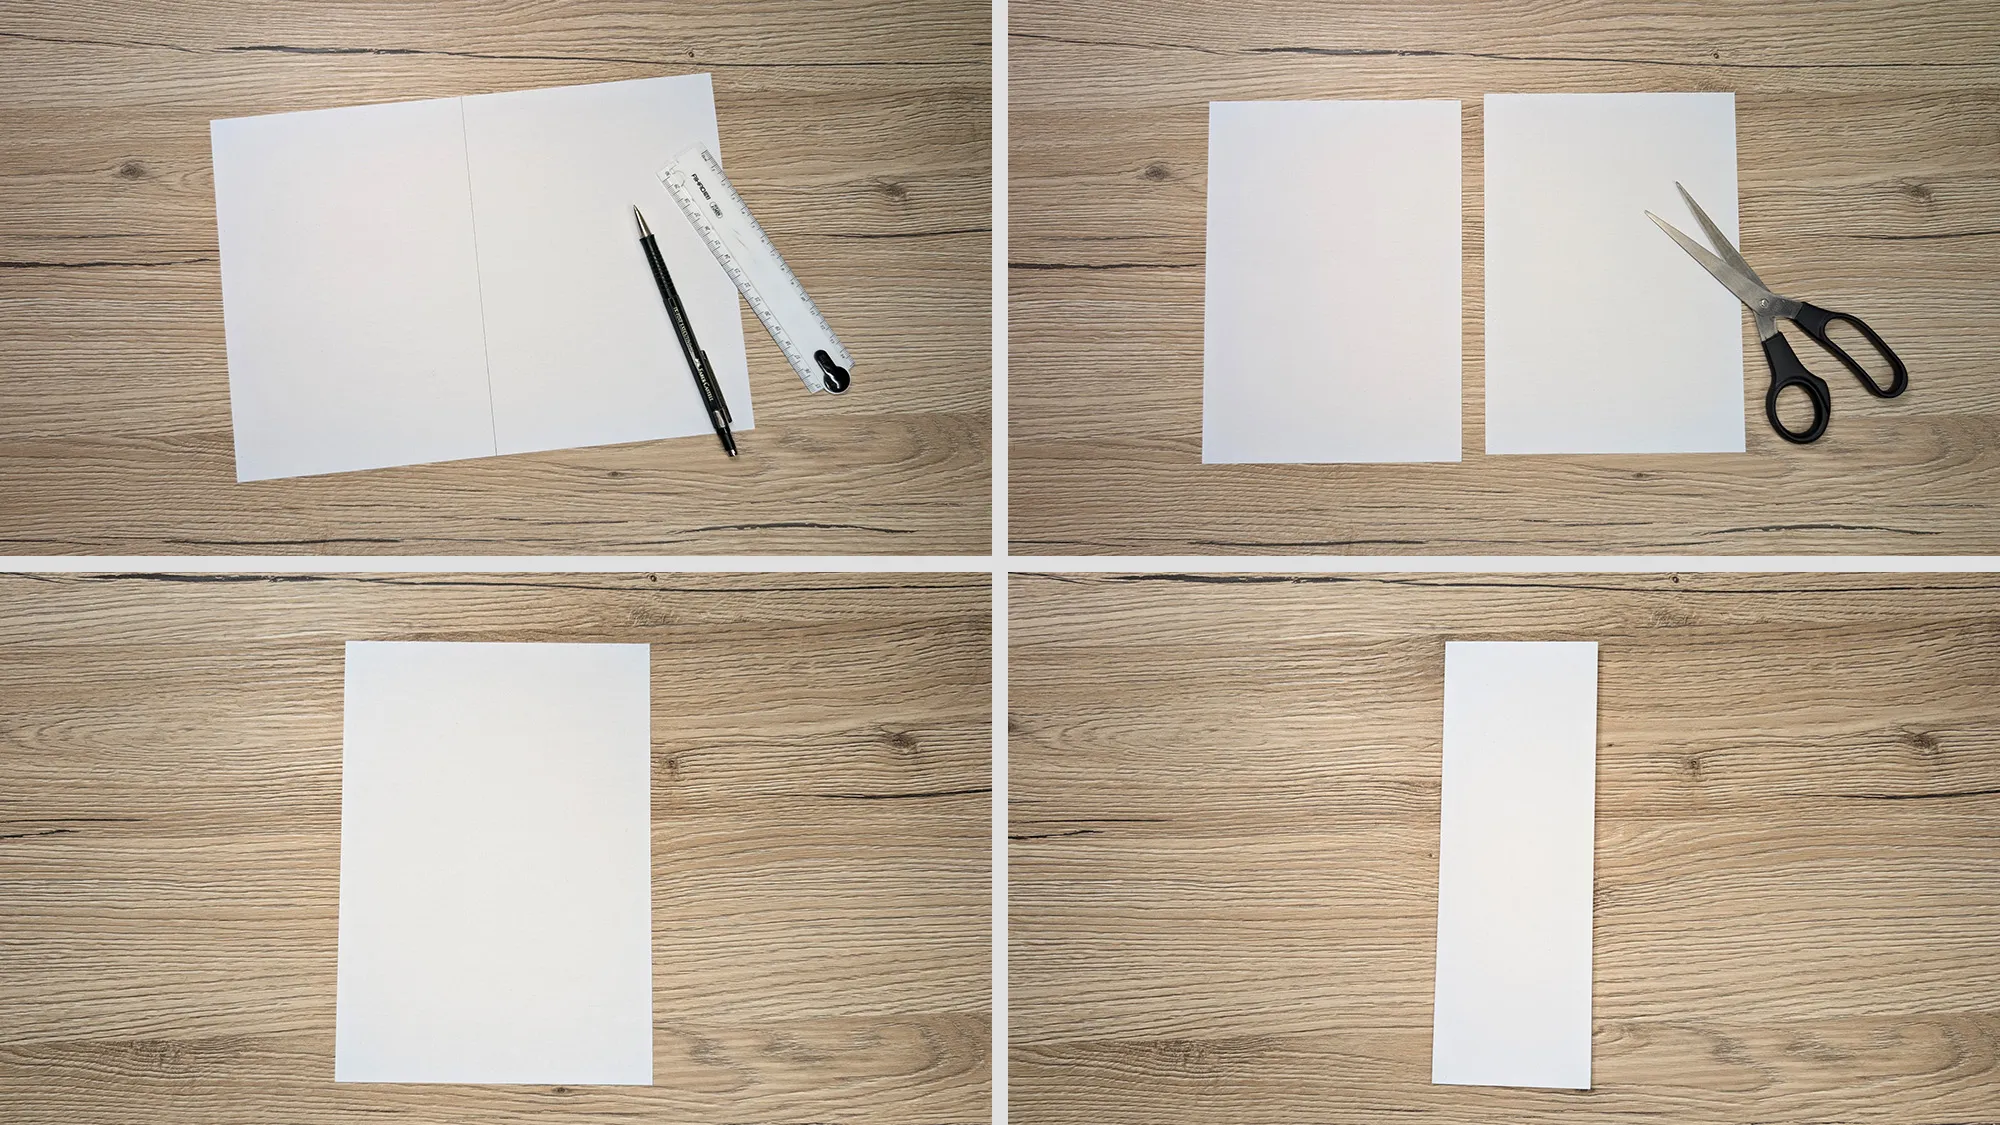
For this craft idea – as for all our projects – we use materials that you can easily find at the nearest supermarket, office supply store or even at home. For this paper airplane, you only need a simple sheet of paper in A4 format. Important: The thinner and smoother the paper, the easier it is to fold – ideal for little hands.
If you are crafting with small children, please make sure they don’t tear too wildly on the sharp edges of the paper. It may be helpful to fold together the first time.
🧾 You will need:
- 1 sheet of paper (A4, e.g. printer paper)
- Optional: colorful pens for decoration
🧠 Paper Airplane and the Development of Fine Motor Skills in Children
Making a paper airplane playfully trains hand-eye coordination, concentration, and fine gripping and folding – exactly the skills that are particularly important for the development of a child’s motor skills. In our category Children's Crafts, you’ll find many more ideas that are perfect for crafting sessions with your child.
🙏 Thank you for being here!
We invest a lot of time and love into every craft guide, so you can be creative with your children and achieve beautiful results easily. If this paper airplane guide was helpful or entertaining for you, that’s already a small reward for us.
👉 Also browse through our categories Origami and DIY Ideas for Kids – maybe you’ll find the next craft idea for a cozy afternoon there.
Have fun crafting and best wishes from the team!
From Vitalii Shynakov
