Crafting an Infinity Cube – Colorful DIY Guide with Video & Photos
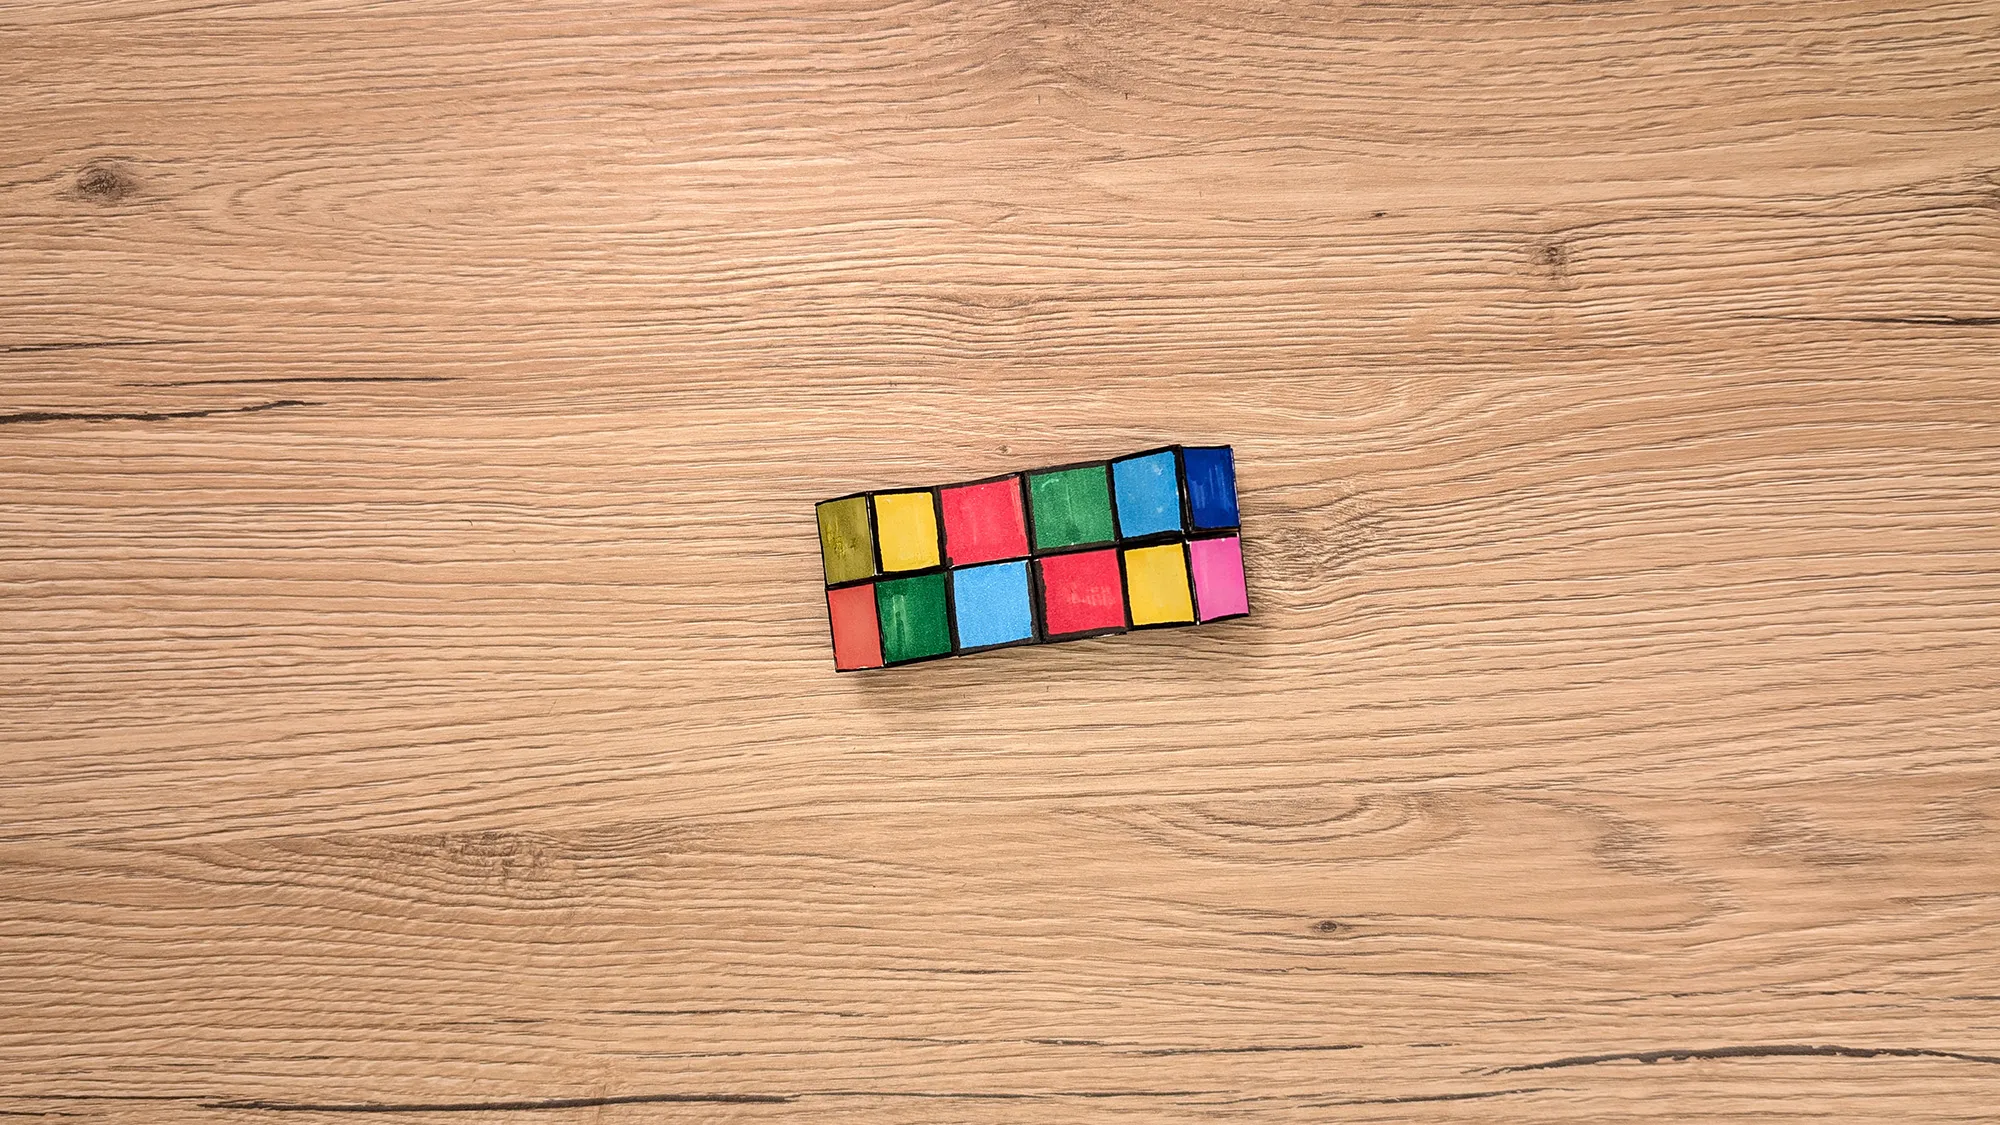
Hey! Are you looking for a colorful idea on how to make a cool anti-stress toy yourself? Then try our handmade Infinity Cube made of paper! This creative DIY idea is a real eye-catcher and works like a fidget toy: You can fold it open and closed infinitely – perfect for playing, concentrating, or just having fun.
As always, you will find a video, many photos, and helpful tips in this guide, making it easy for you to recreate it. By the way, on our portal, you can find over 400 crafting ideas – from origami to creative children's projects, decorations, and gift ideas. We design everything so that children (and parents) can participate with joy!
All images and videos were created by us – so you can see every step up close. You can watch the video here or directly on our YouTube channel. If you feel like it, just click the link in the title and subscribe to us. We are looking forward to it!
✂️ Infinity Cube: Step-by-step instructions with photos and comments
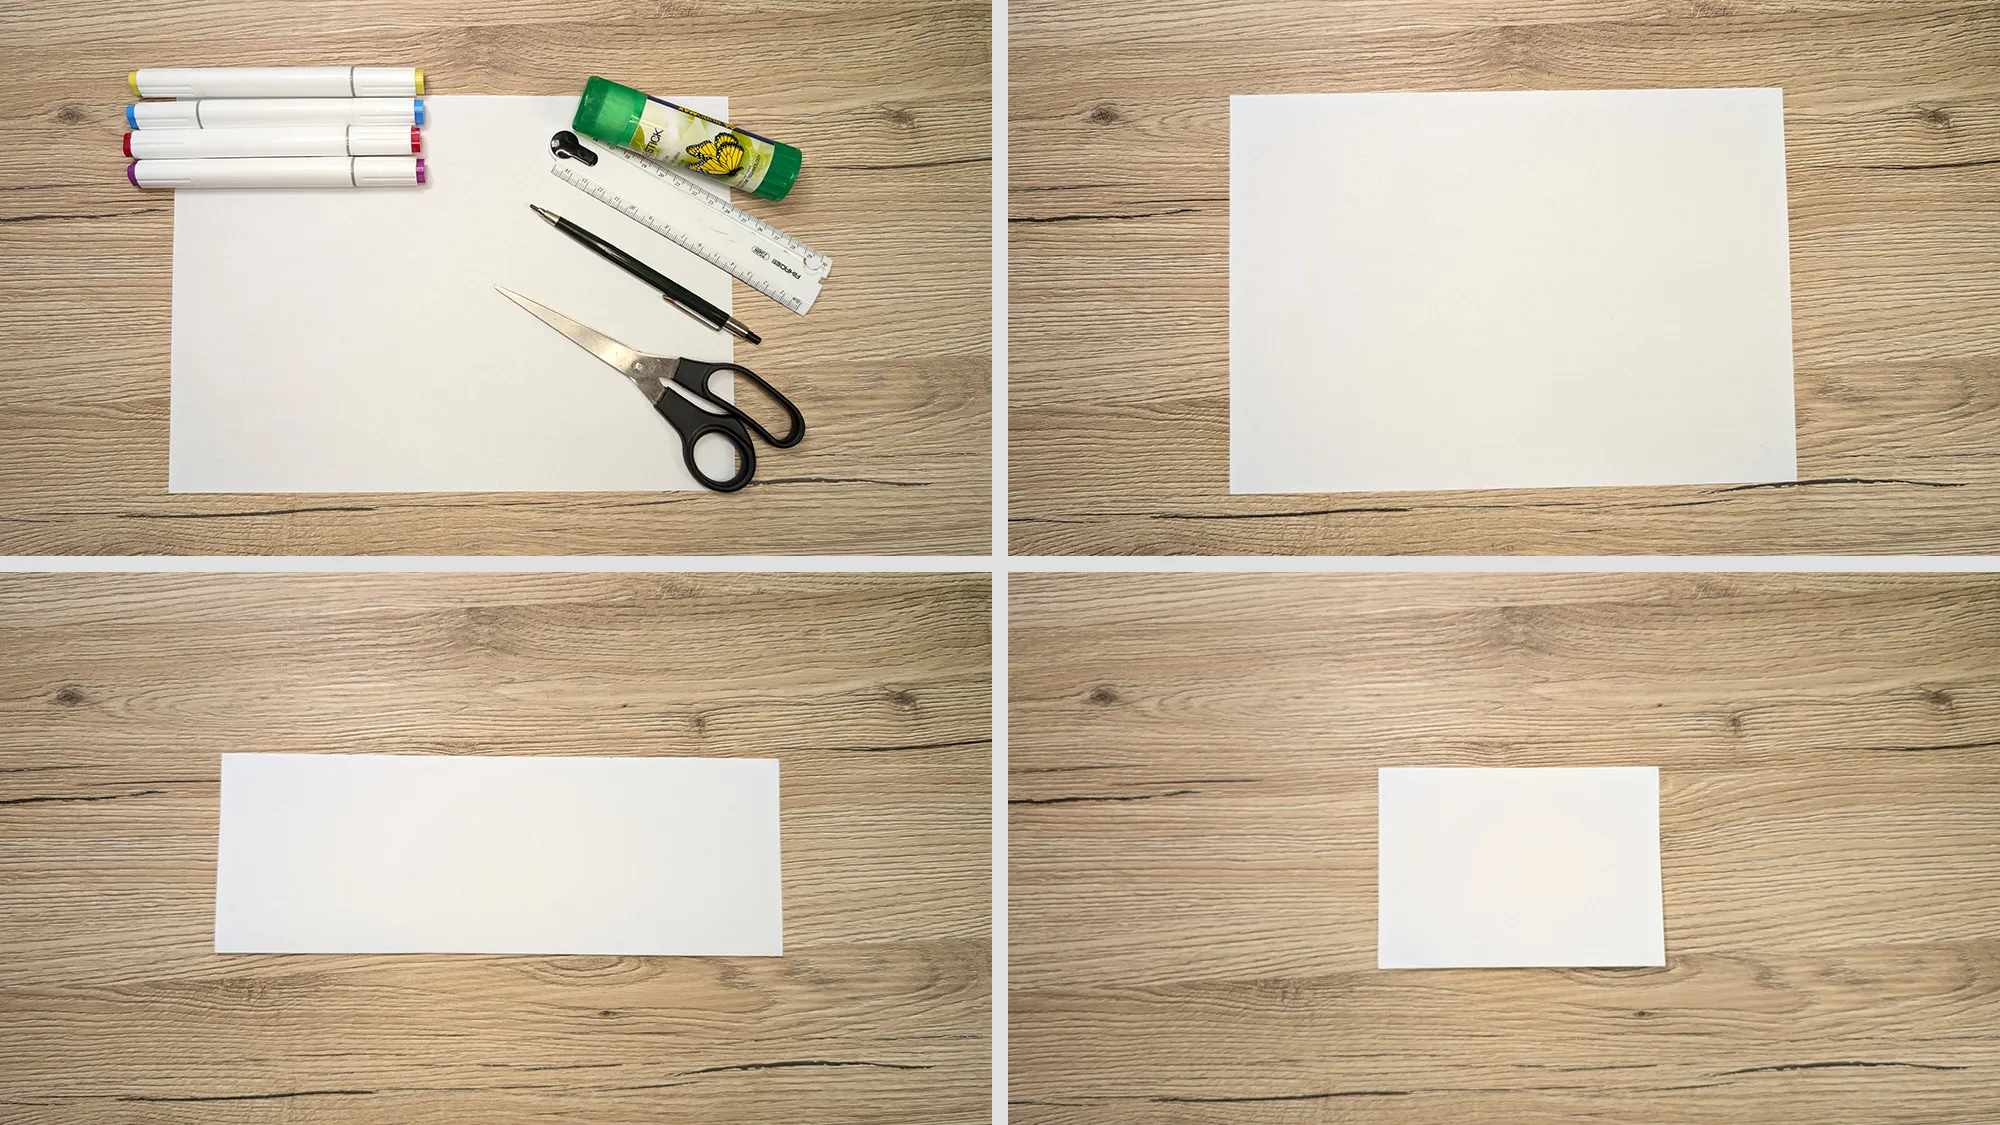
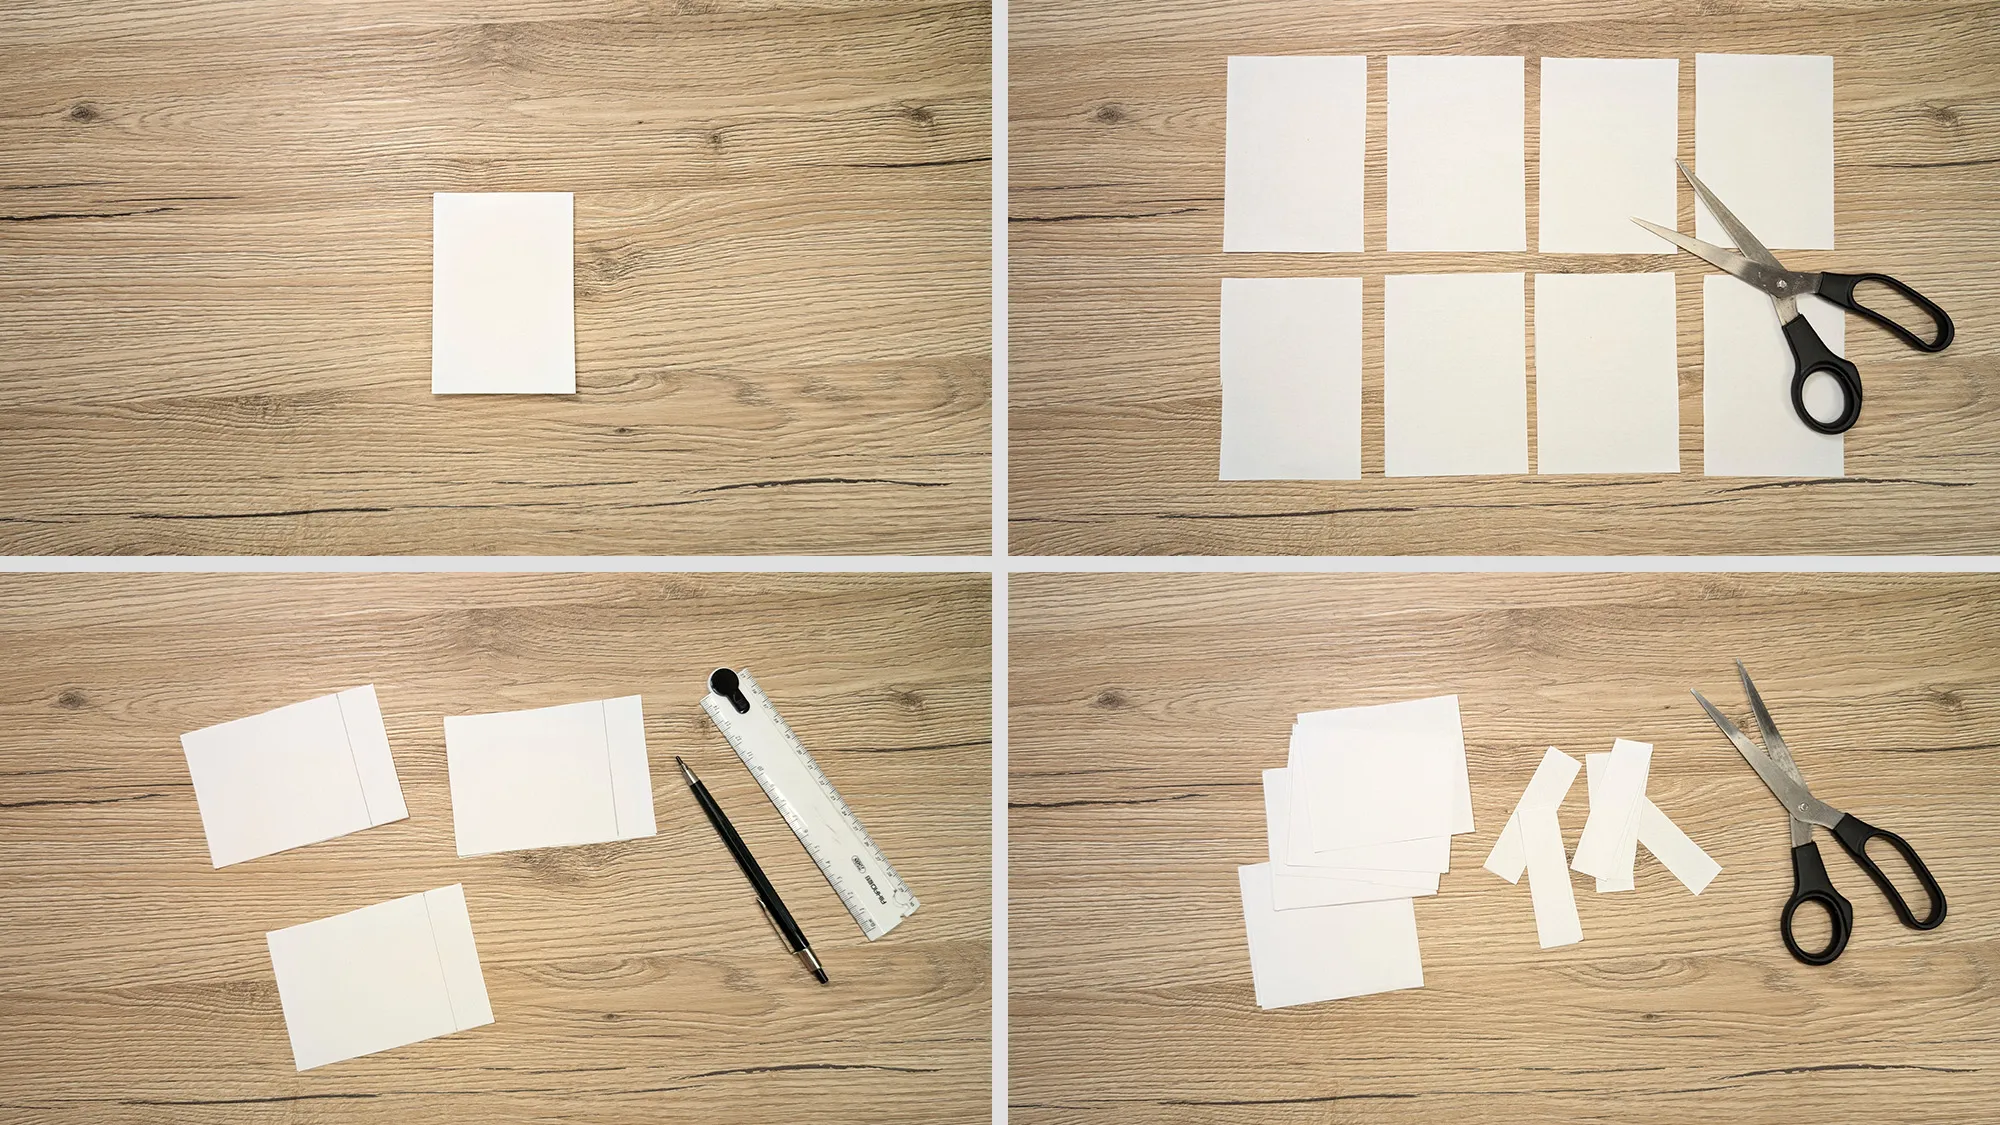
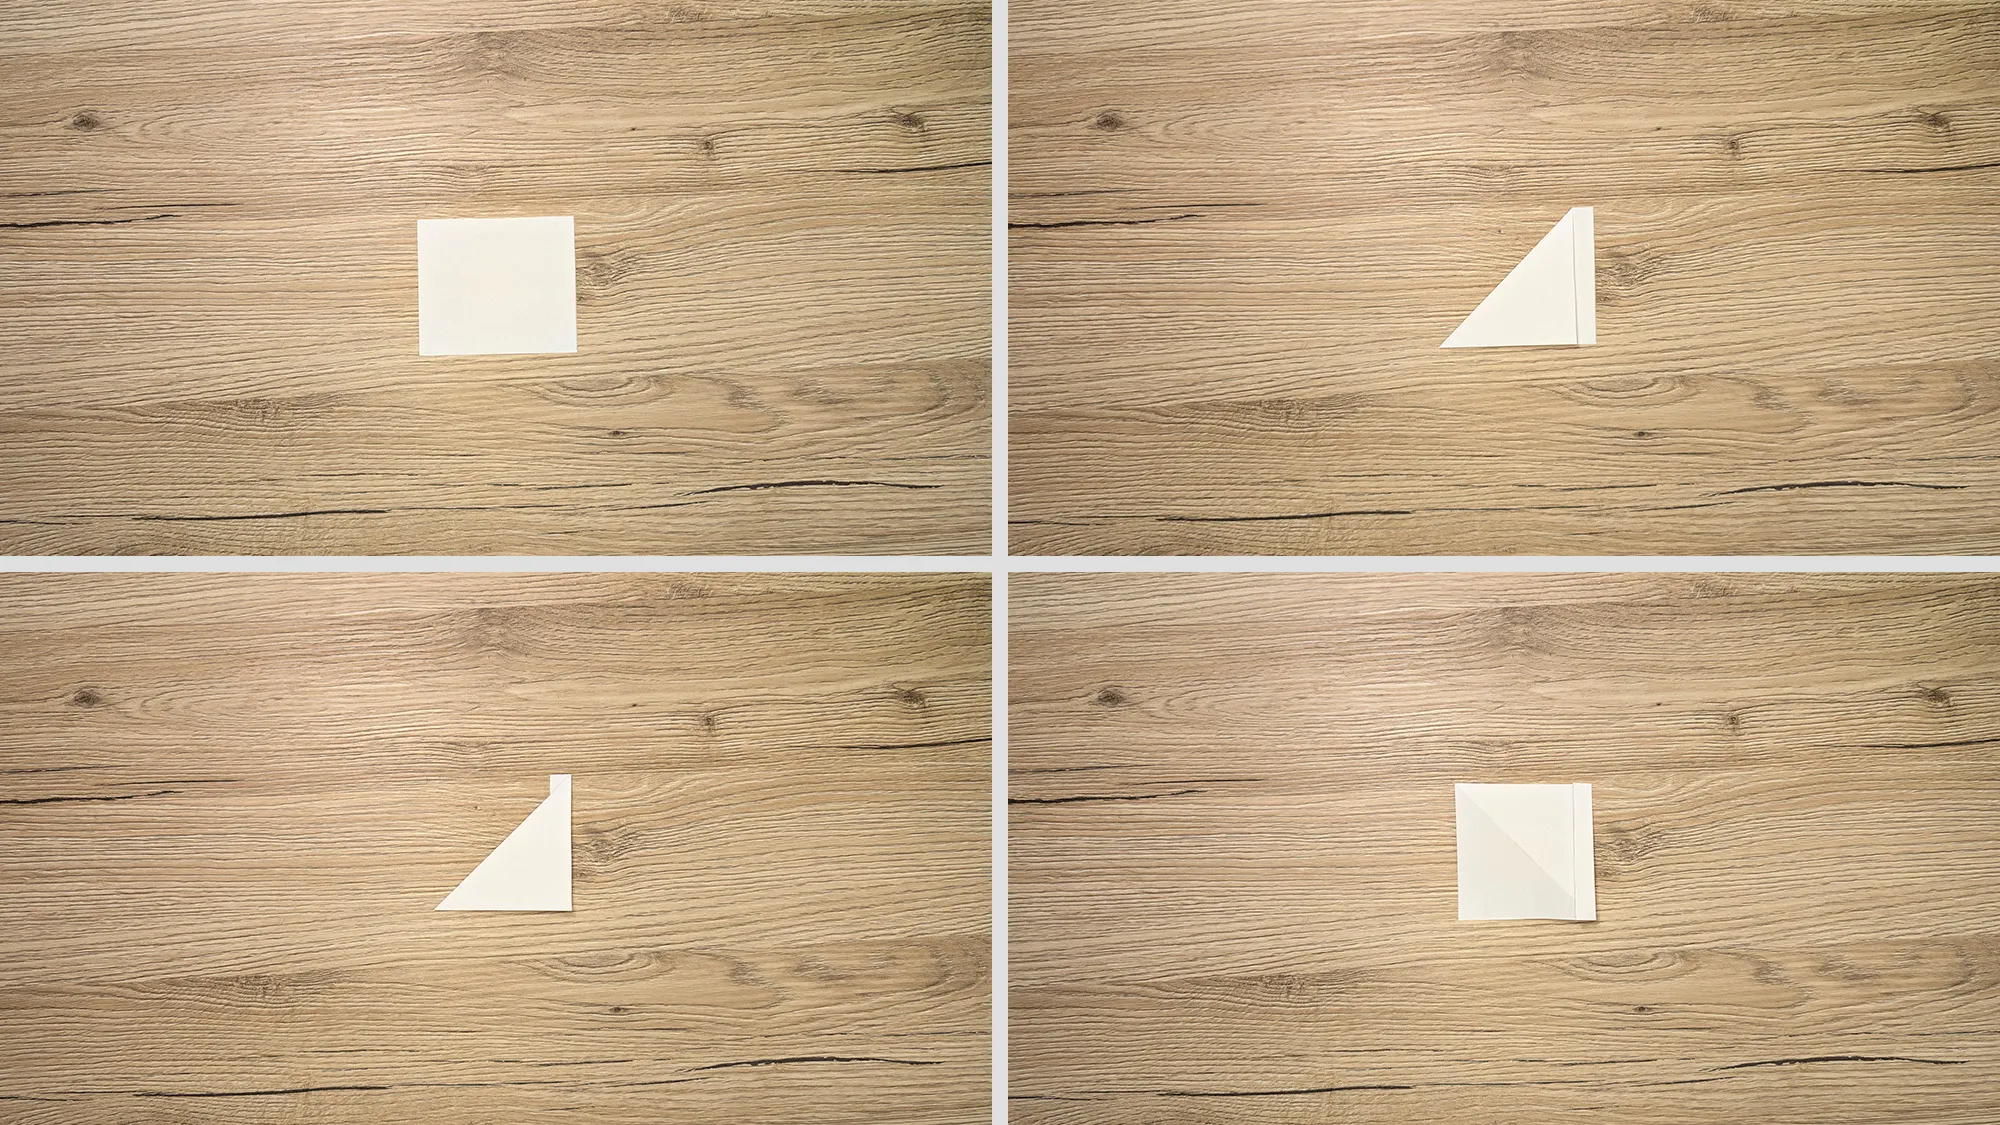
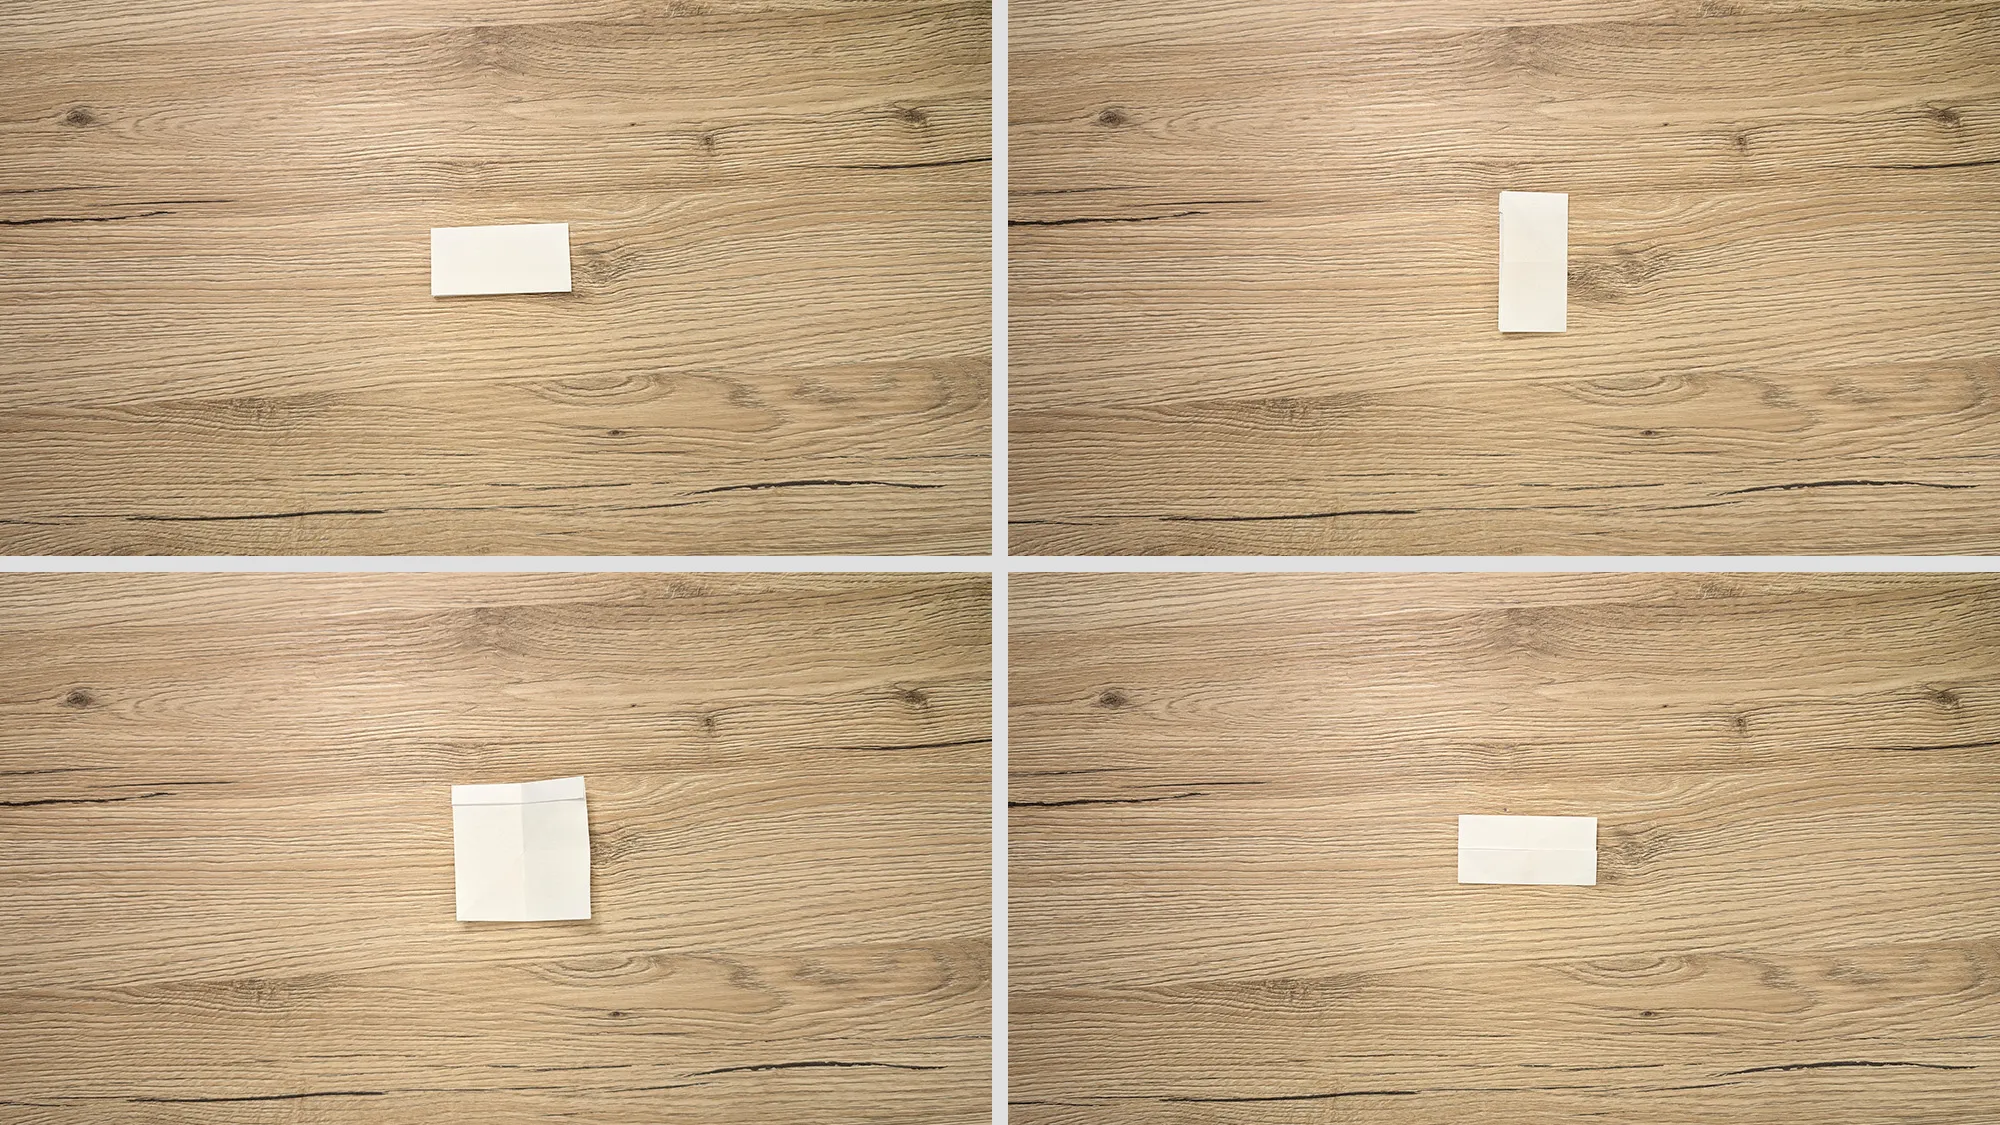
For this Infinity Cube made of paper, you need a few materials that you probably already have at home. Sturdier paper or cardstock works best – this gives the cube stability later. For gluing, simple craft glue or a glue stick is sufficient. And if you want, you can personalize your cube later with colorful pens.
Tip: If you are crafting with younger children, help with cutting and folding – especially if the paper is thicker.
🧾 You need:
- White or colored paper (e.g., 120 g/m² cardstock)
- Glue stick
- Scissors
- Ruler & pencil
- Colored pens or markers (for decoration)
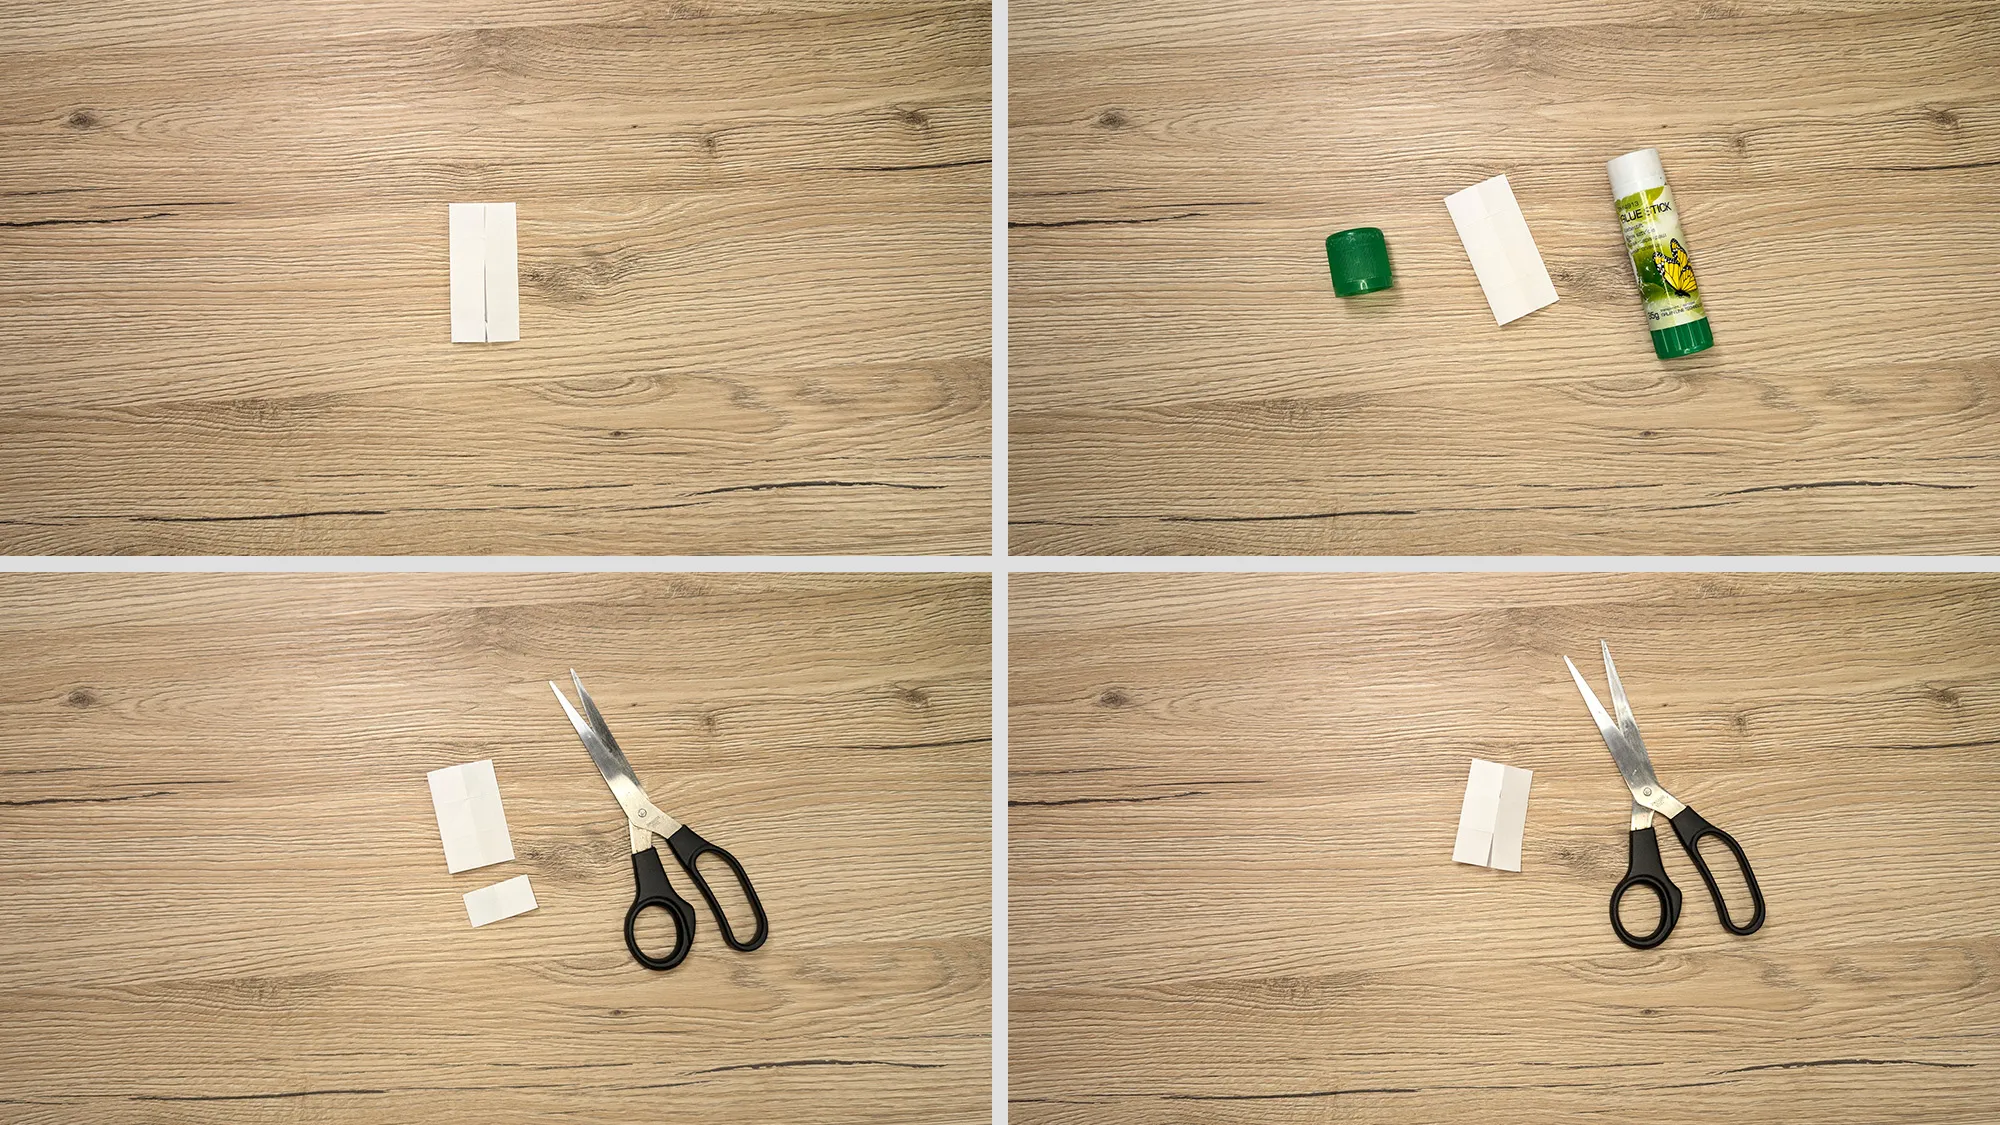
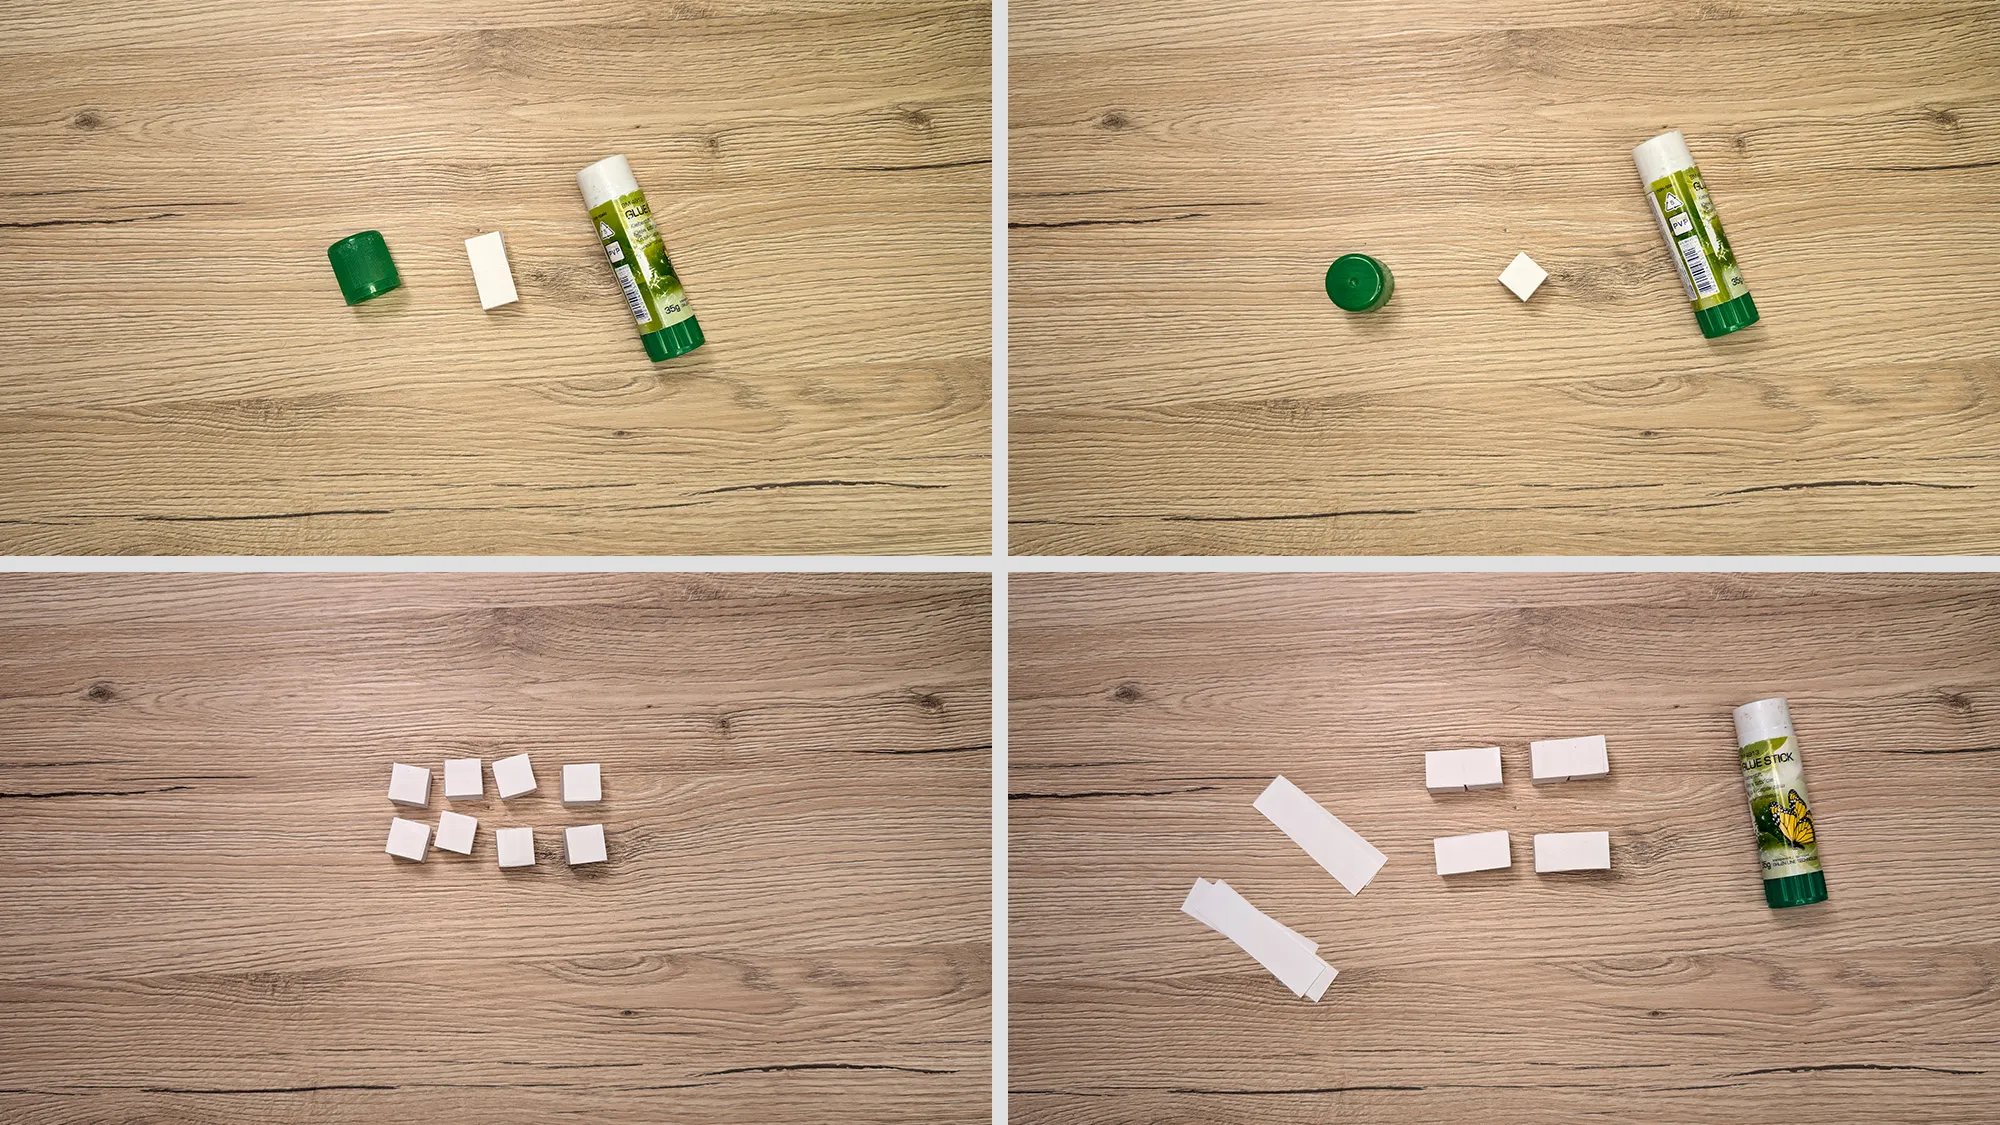
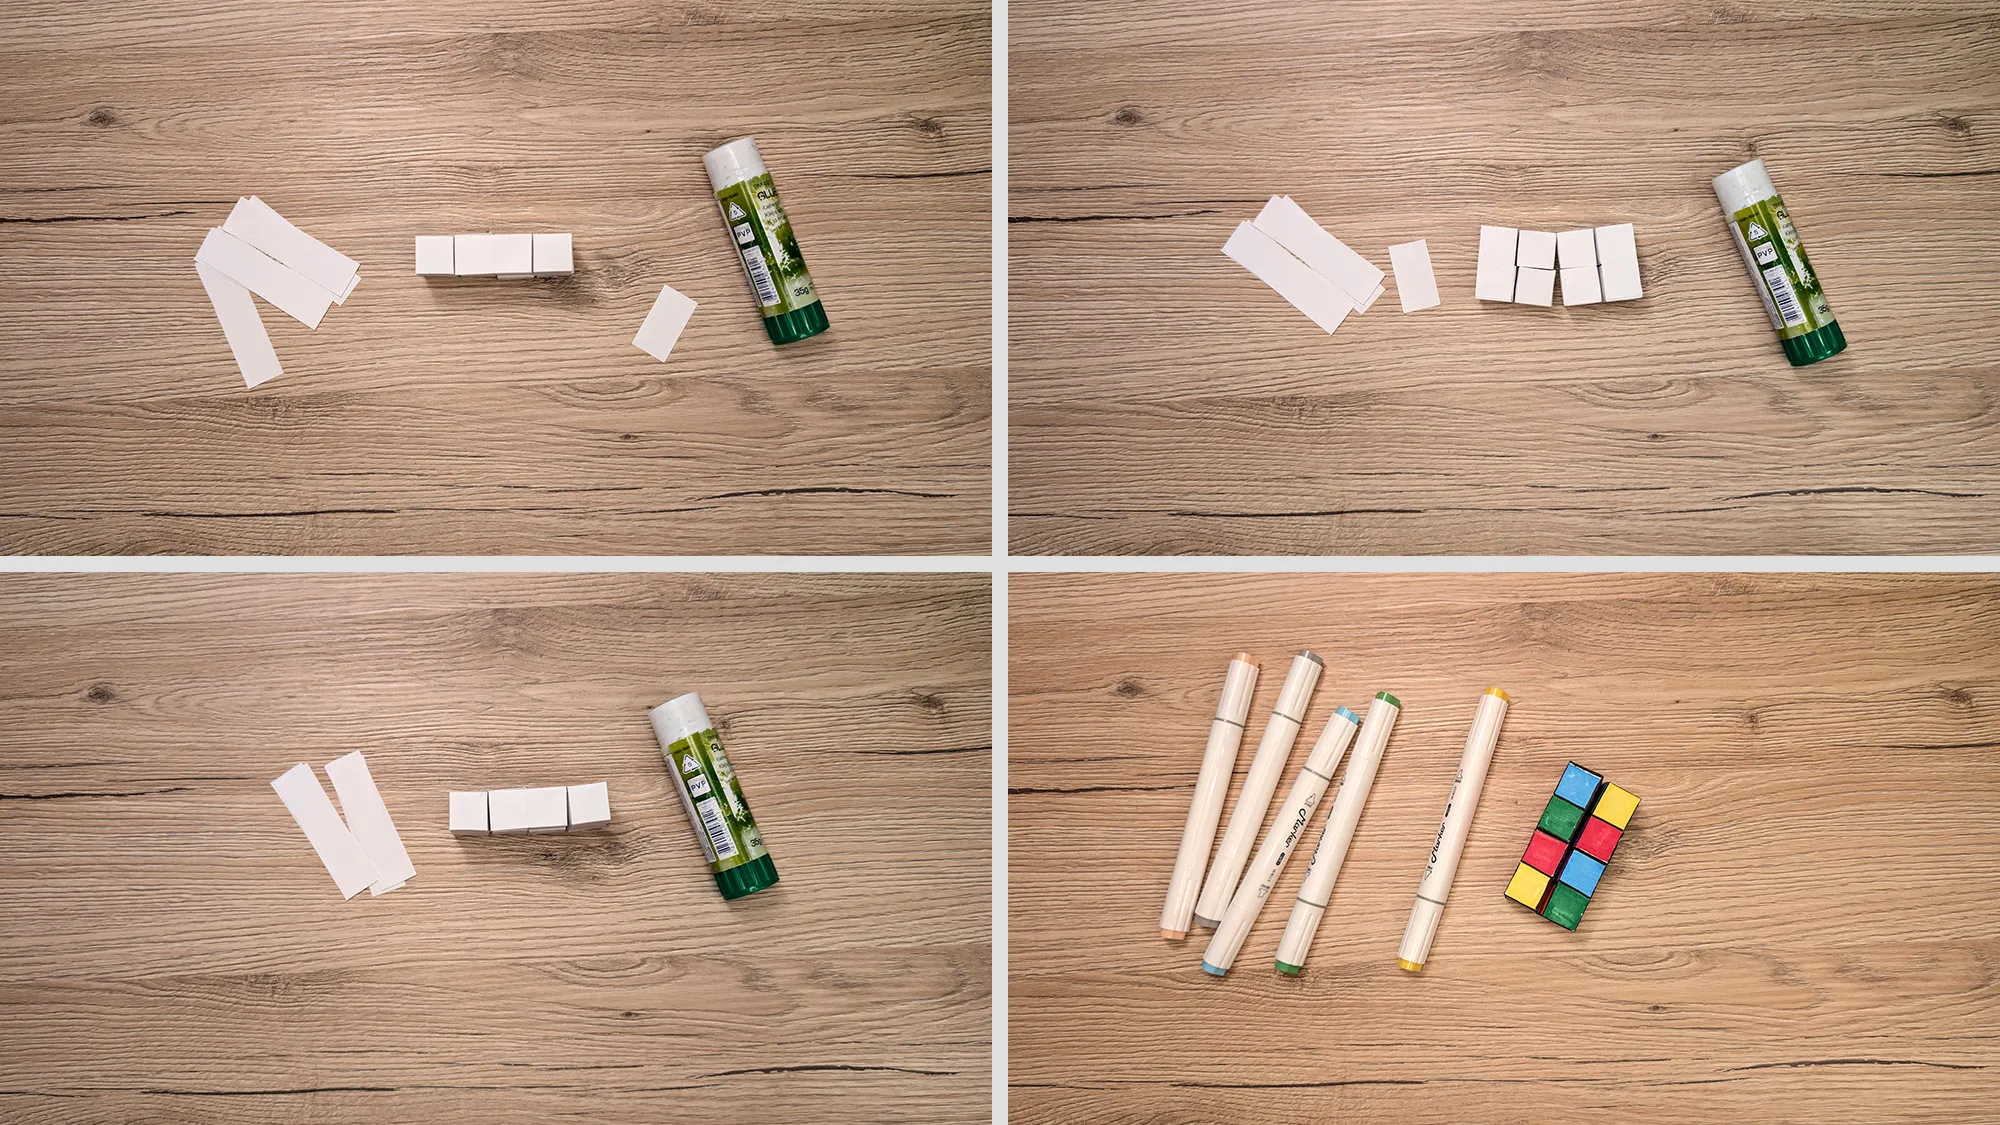
🧠 Infinity Cube and Creative Play for Kids
The handmade Infinity Cube not only promotes creativity but also provides children with a great toy that they built themselves. It stimulates fine motor skills, patience, and spatial thinking – and is a lot of fun! In the category Simple DIY Ideas for Kids, you will find many more projects with play value and learning effects.
🙏 Thank you for being here!
This guide for the Infinity Cube is part of our extensive DIY offering. If you liked it, feel free to browse further: In the category Minecraft DIY Craft Ideas you will find exciting projects for fans of block worlds – and in Paper Squishy Toys, there are even more creative ideas to replicate!
Thank you for your trust and have fun crafting! 🎨🧩
From Vitalii Shynakov
