Origami Frog with Movable Mouth - Instructions with Photos and Video
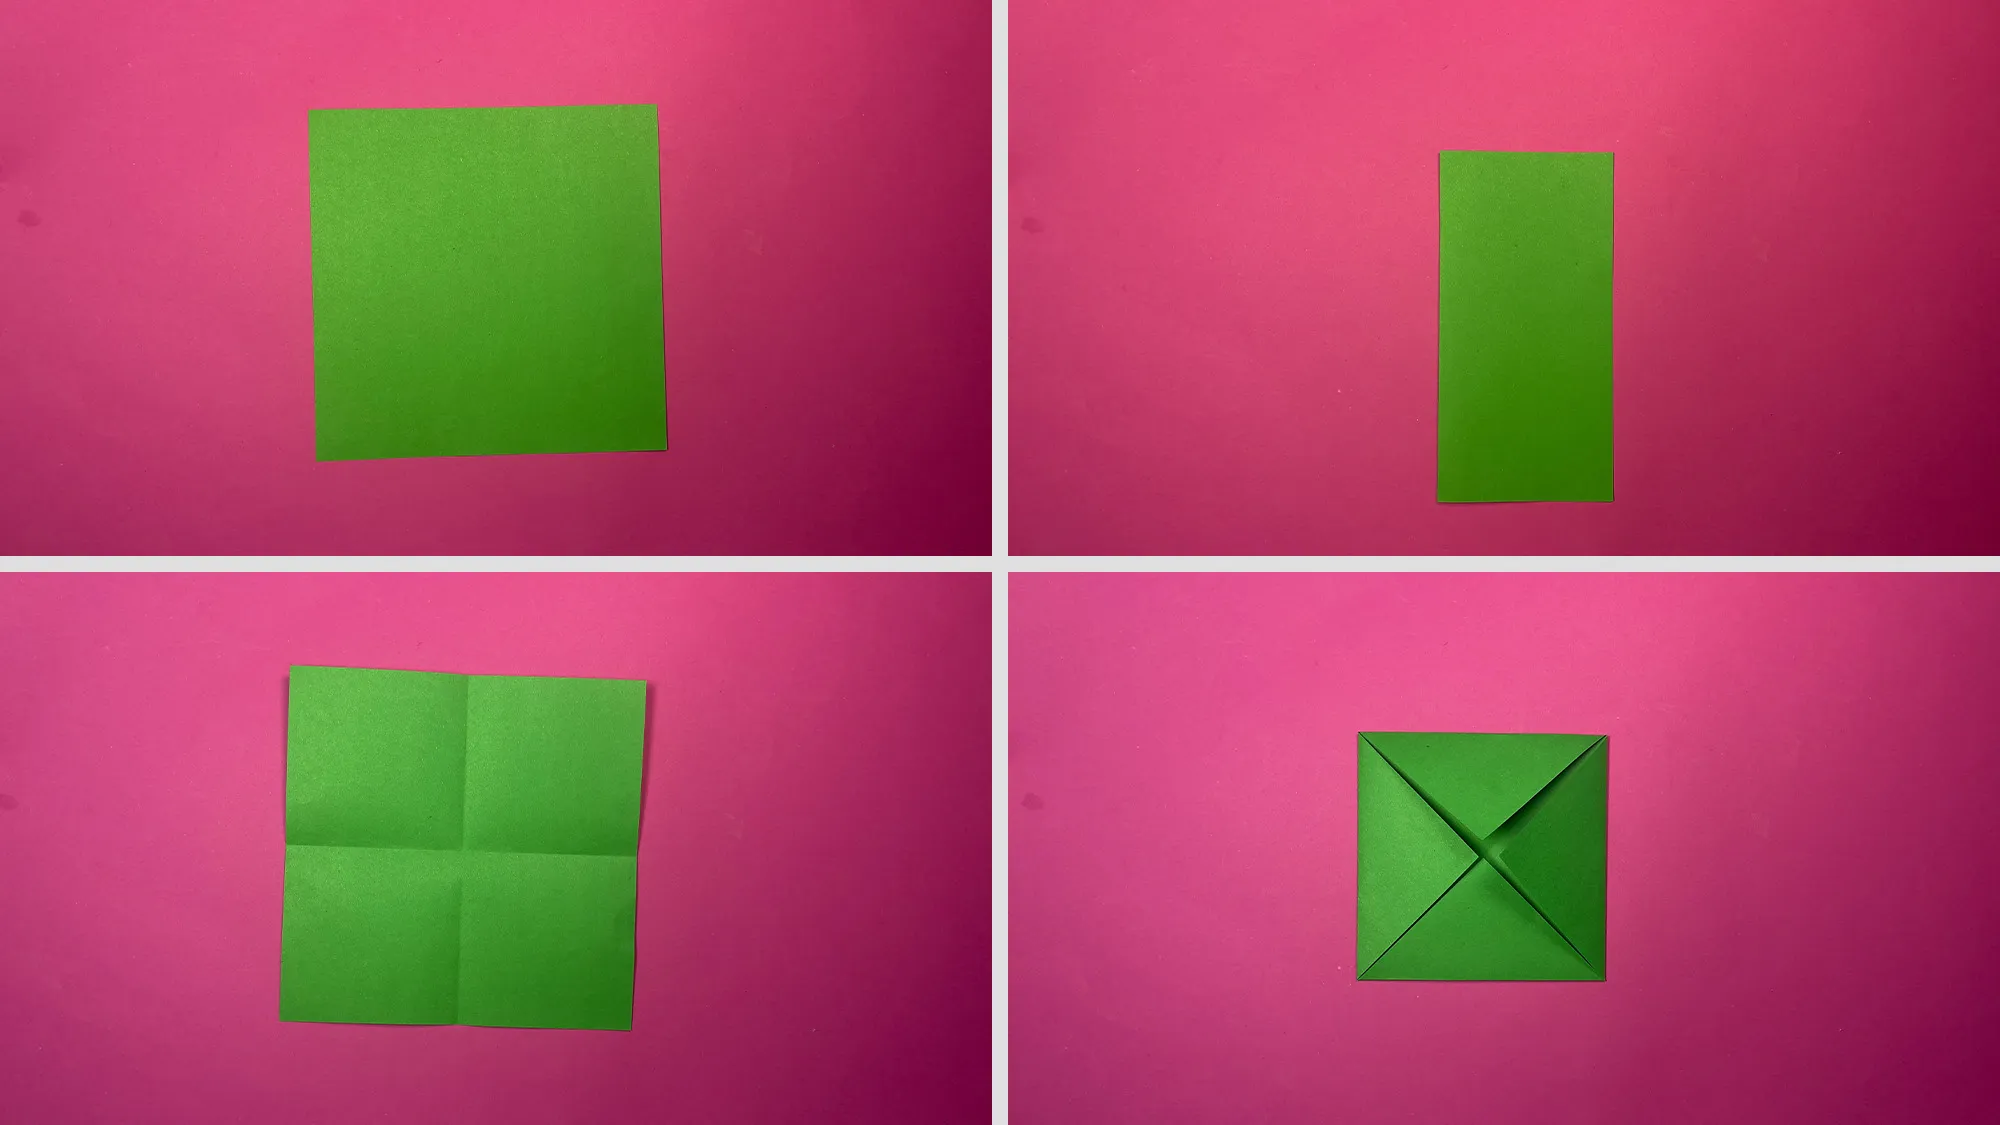
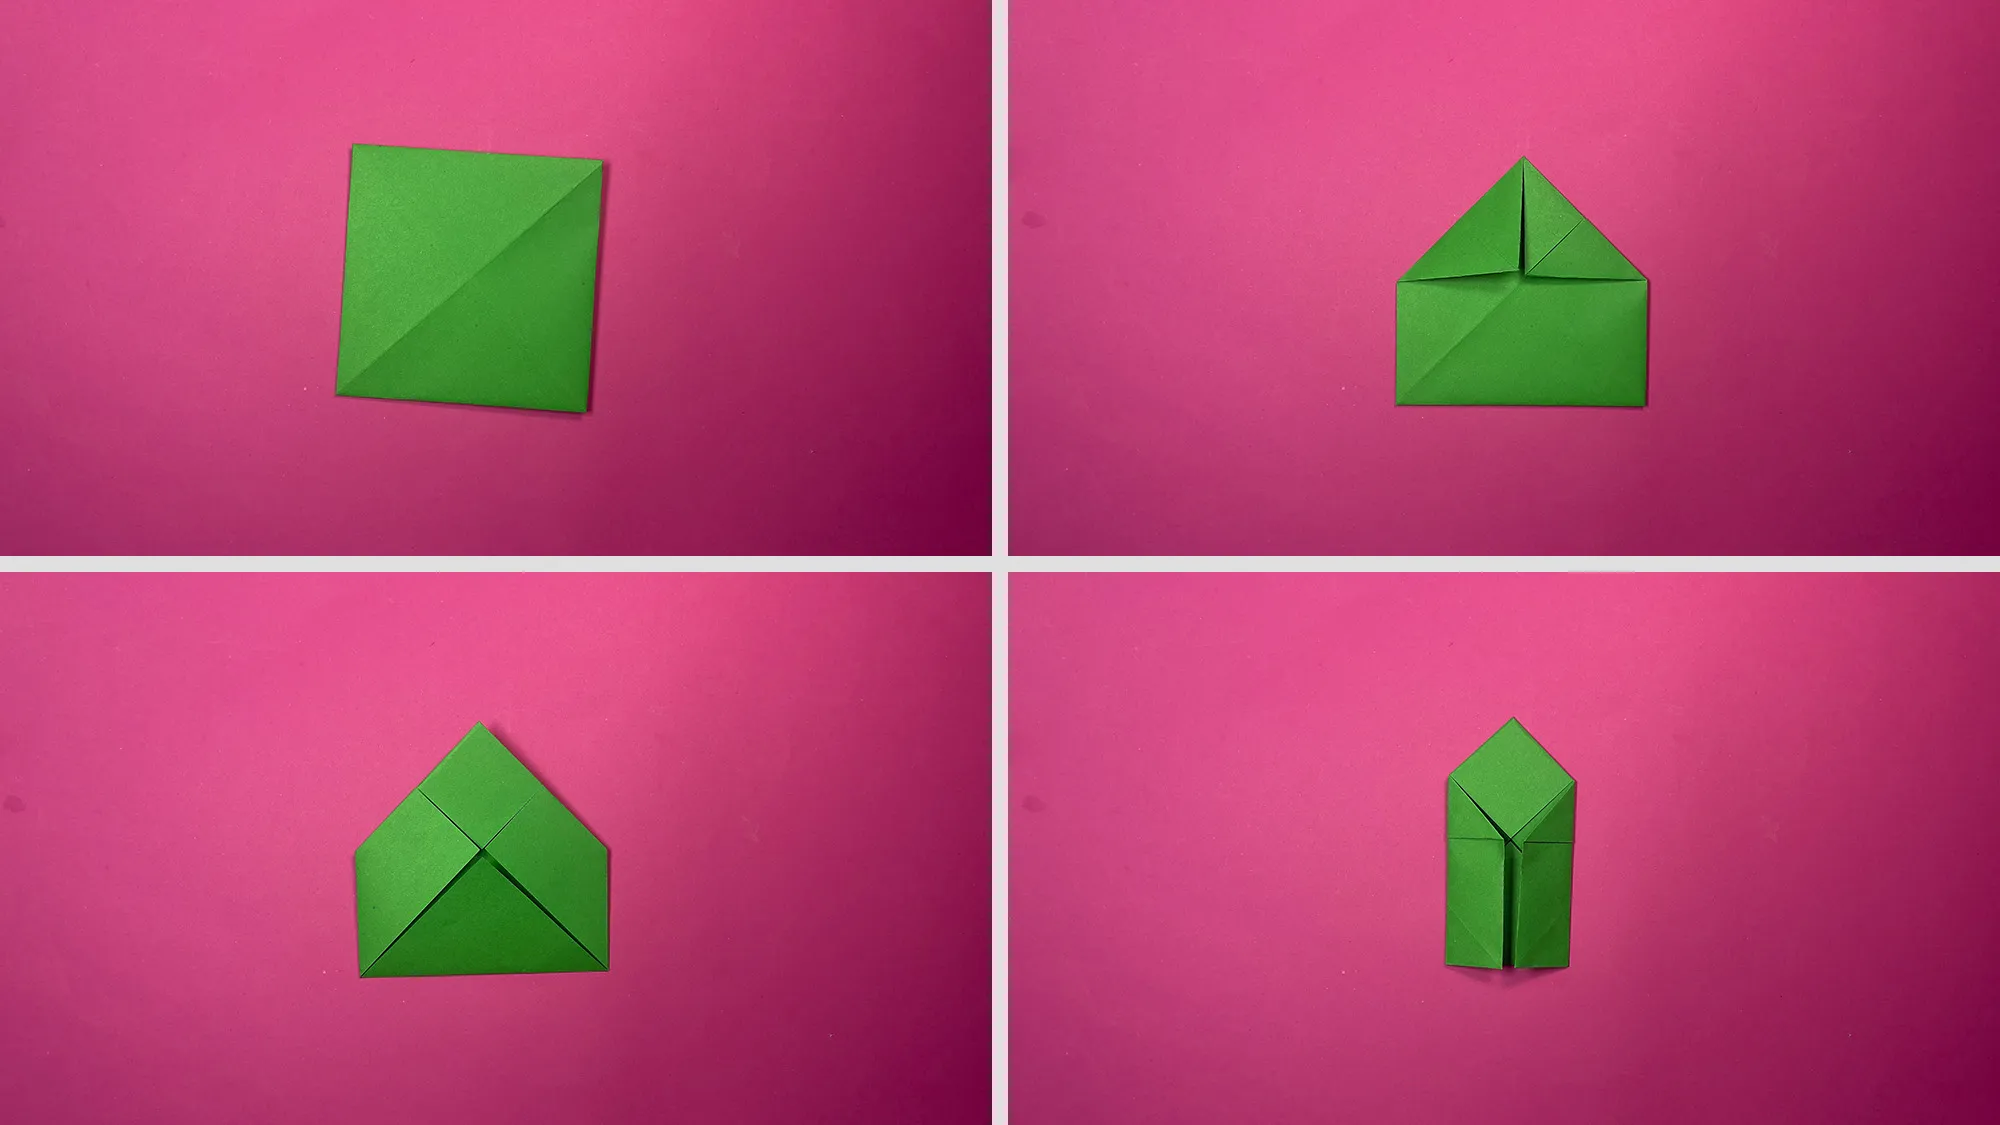
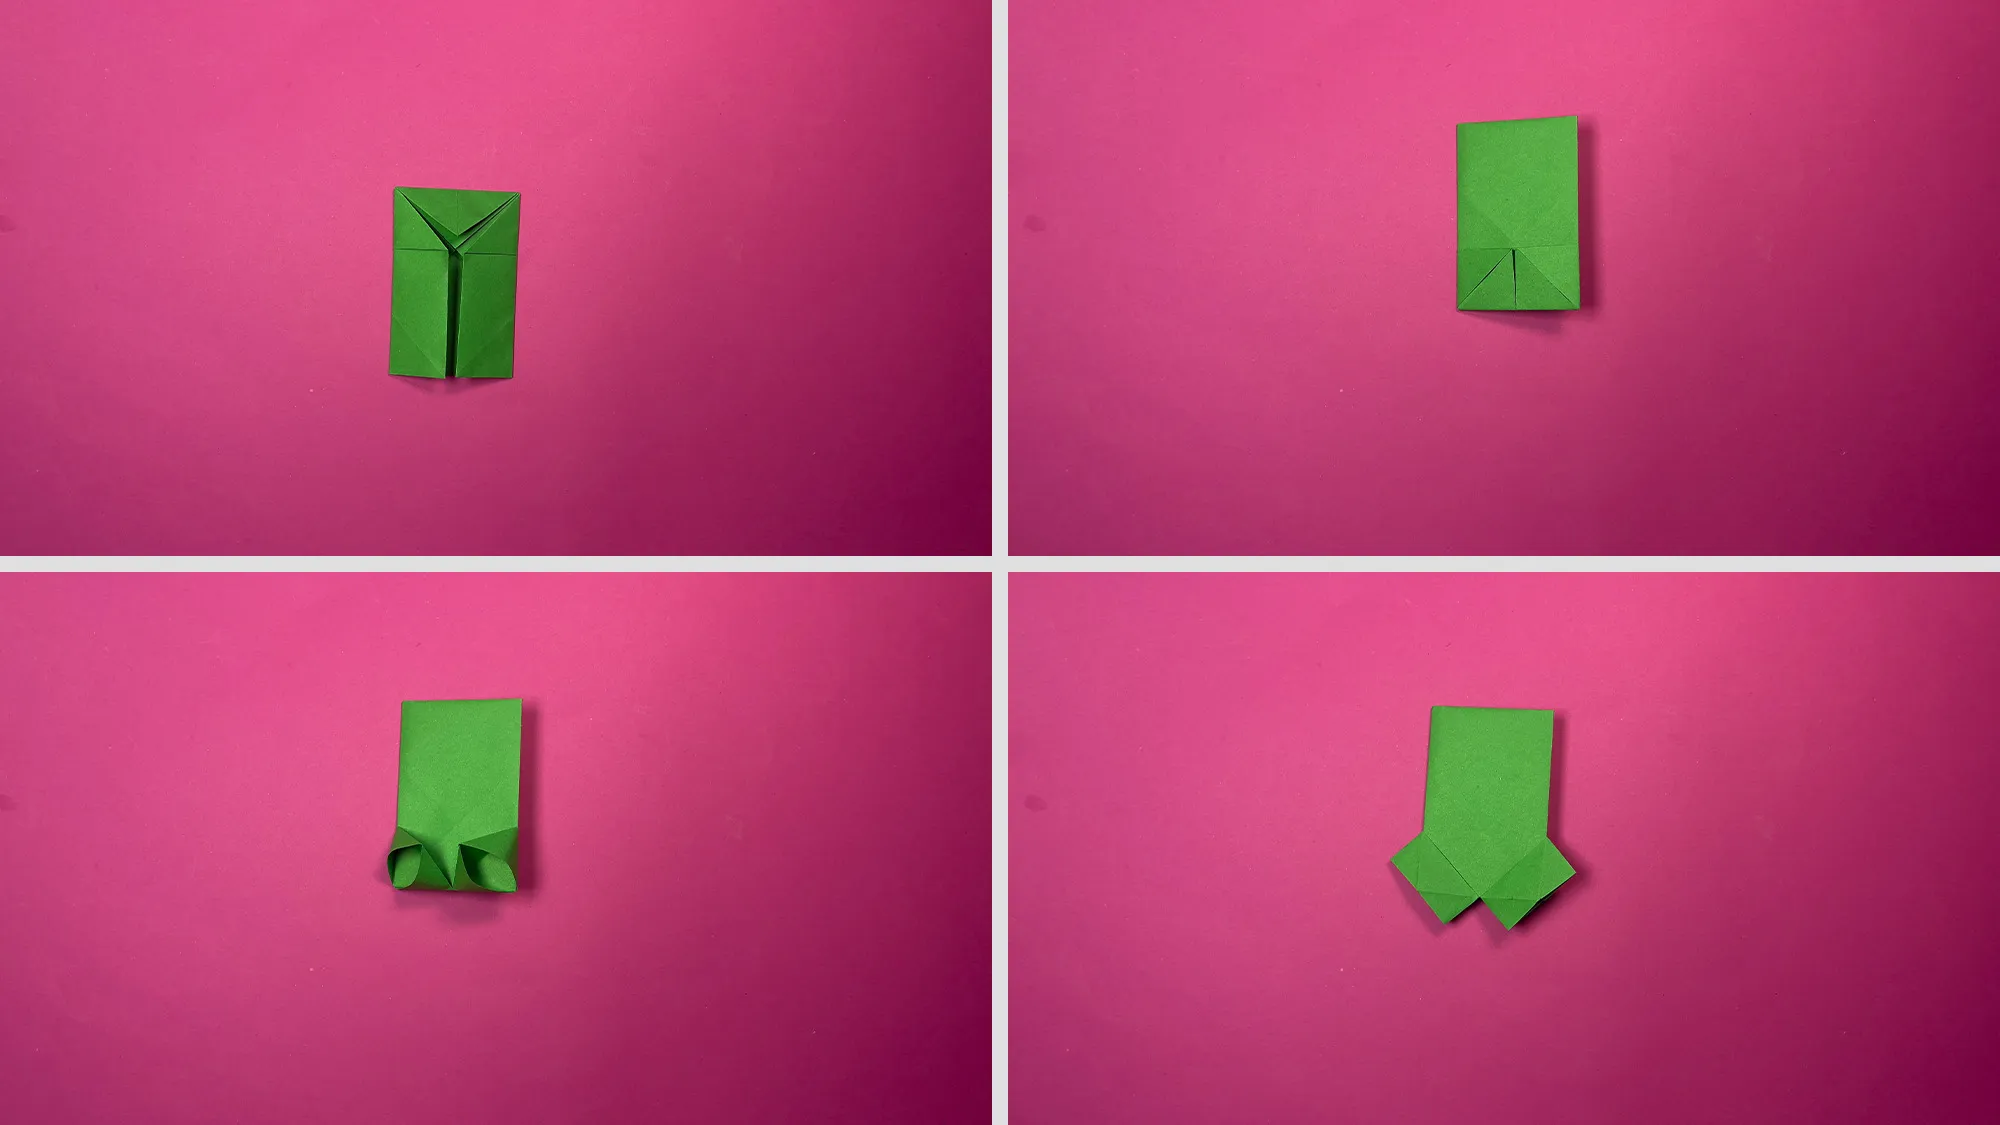
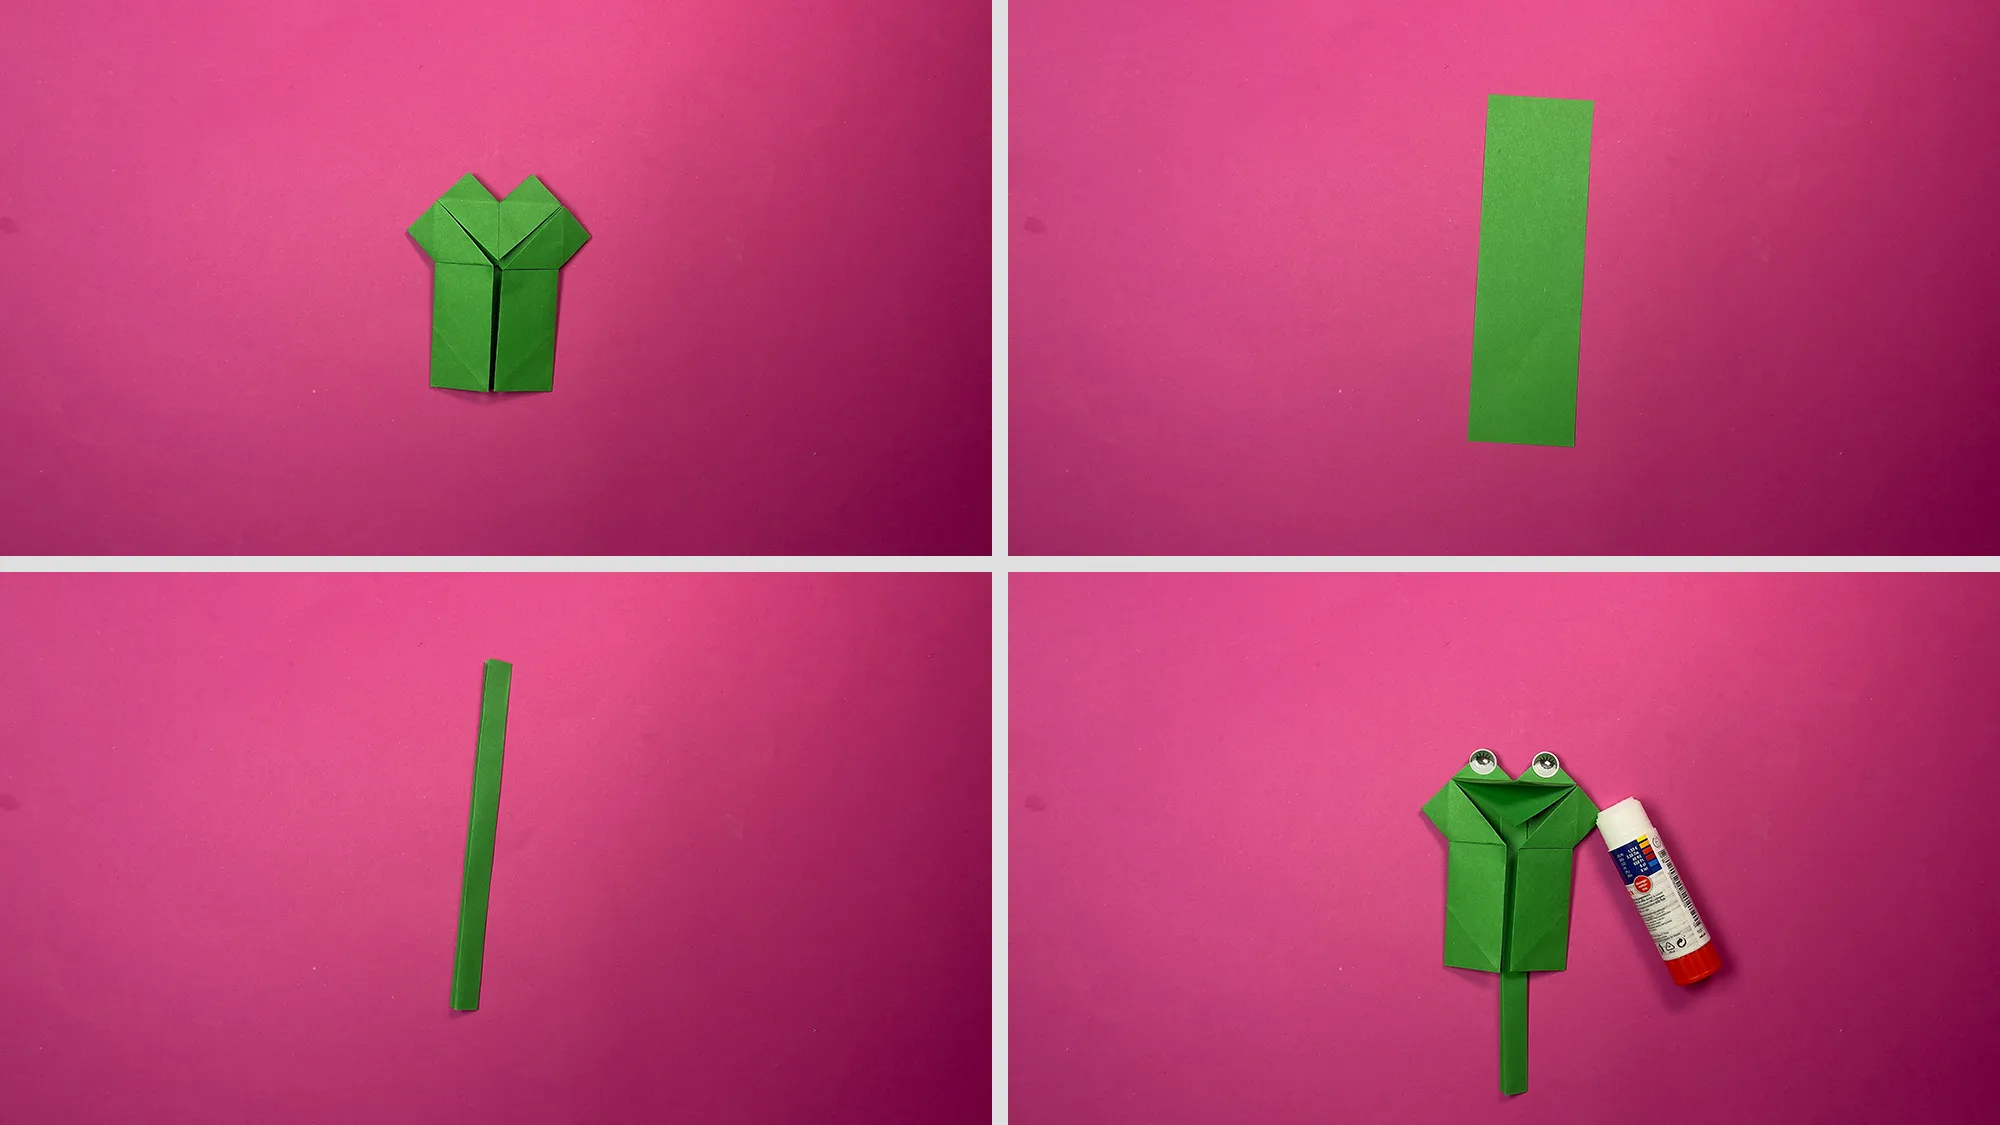
Hello! Are you looking for a cool idea on how to create an entertaining crafting project with your children? Then this Origami Frog with movable mouth is just right for you! This simple yet fun folding guide will delight your children - when you pull on the tail, the frog opens its mouth and shows its red tongue! A perfect project for rainy days or as a creative activity for children's birthdays.
All our instructions consist of videos and photographs with textual comments and tips. Therefore, you will definitely succeed in folding this cute interactive frog. The frog is not only a great toy but also a wonderful way to promote your child's fine motor skills.
All videos and photos that you find here are recorded by us. They are also all available on our YouTube channel. If you click on the link of the video title, you can go to our channel and subscribe. That would be great!
Origami Frog: Step-by-Step Instructions with Photos and Comments
For this crafting idea and all others, we try to use only materials that are available in every household or easily obtainable in the nearest store. For this movable origami frog, you don’t need much - mainly green paper for the frog's body and some red paper for the tongue.
For best results, we recommend origami paper or at least paper of medium thickness (80-120g/m²). Paper that is too thin won't hold the folds well, while paper that is too thick can be difficult to fold and may affect the movement mechanism. If you are crafting the frog with younger children, you can also use somewhat larger paper to make folding easier.
Materials:
- Green paper (square, for the frog's body)
- A small piece of red paper (for the tongue)
- Googly eyes or white paper and black pen for the eyes
- Scissors
- Glue (if you want to stick the eyes on)
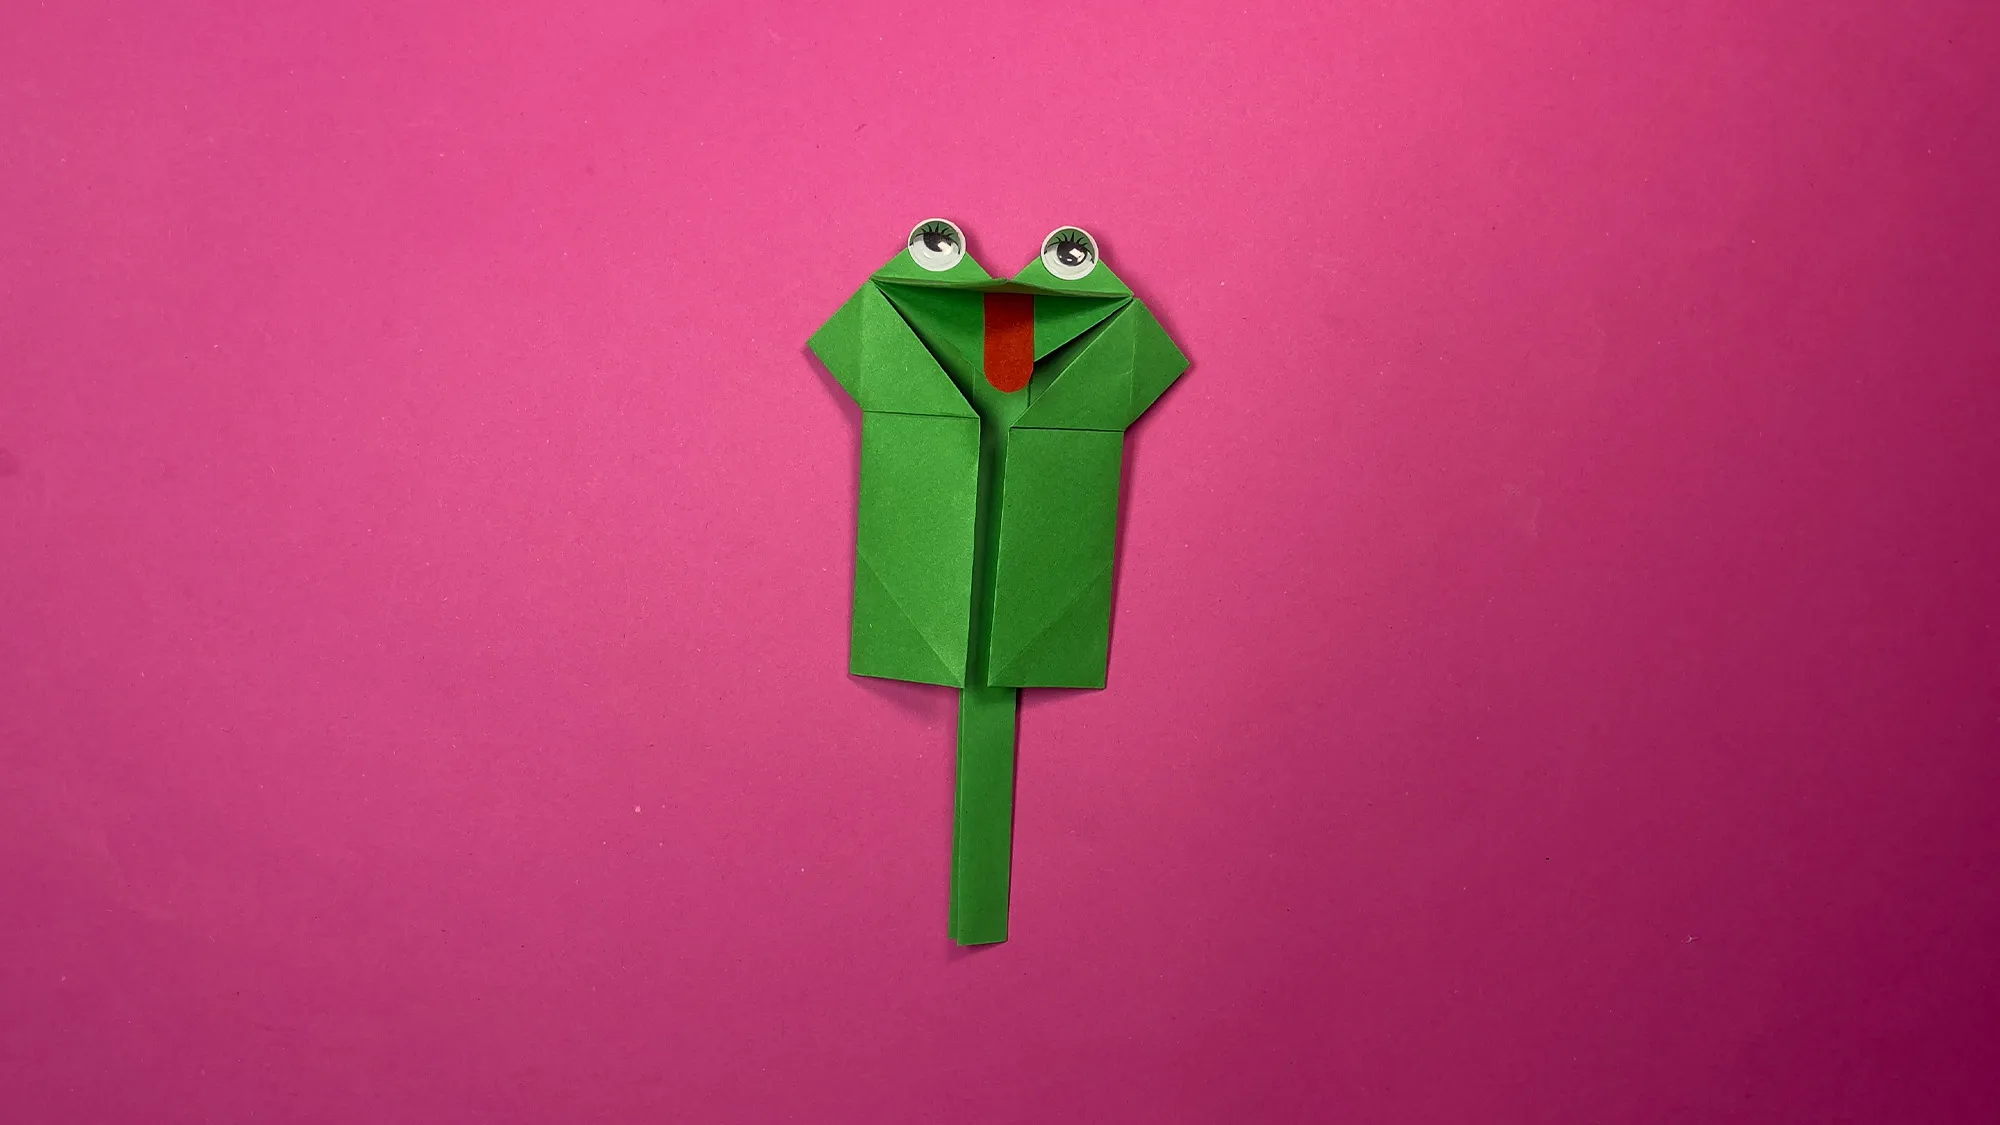
Origami Frog and the Development of Children's Fine Motor Skills
Making this Origami Frog is not only a fun crafting project, but it also promotes important developmental skills in children. The precise folding of the paper supports the development of fine motor skills and hand-eye coordination. Children learn to create accurate fold lines and work carefully to achieve the desired result.
Moreover, folding origami enhances concentration skills and spatial imagination. It teaches children to follow instructions and improves their understanding of geometric shapes. The interactive aspect of the frog - pulling on the tail to open the mouth - makes this project particularly appealing and will motivate the children to proudly showcase their own creations.
Thank you very much for your interest!
We have invested a lot of time and effort into making this section comprehensive with crafting ideas for children and DIY projects. If this guide has brought you even a little joy, that is already a reward for us.
If you are interested in more creative projects, feel free to check out our sections Origami and DIY Ideas for Kids. Perhaps you will find more exciting inspirations for joint crafting sessions with your children there.
We wish you lots of fun with recreating and continued joy with your creative projects!
From Vitalii Shynakov
