Origami flying cube with wings - instructions with photos and video
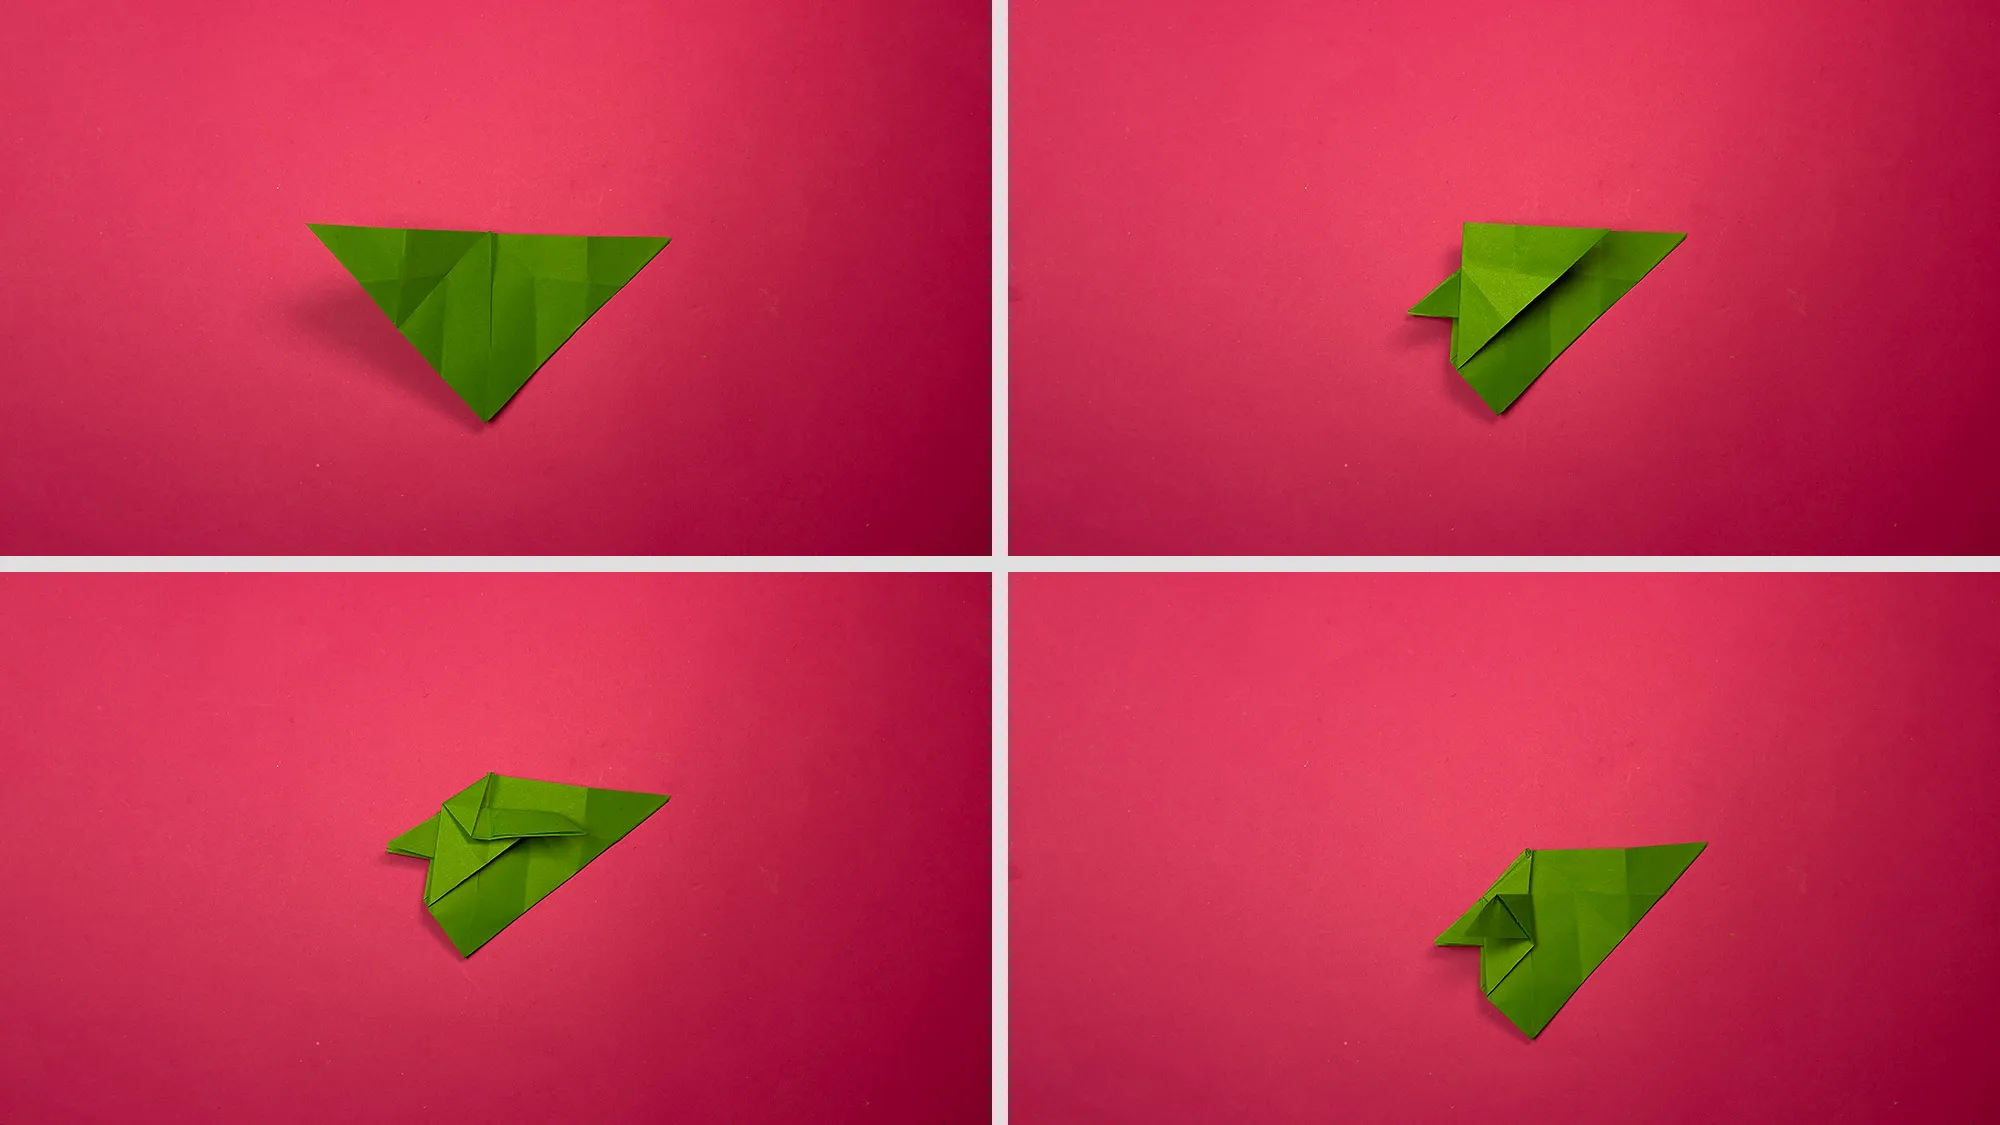
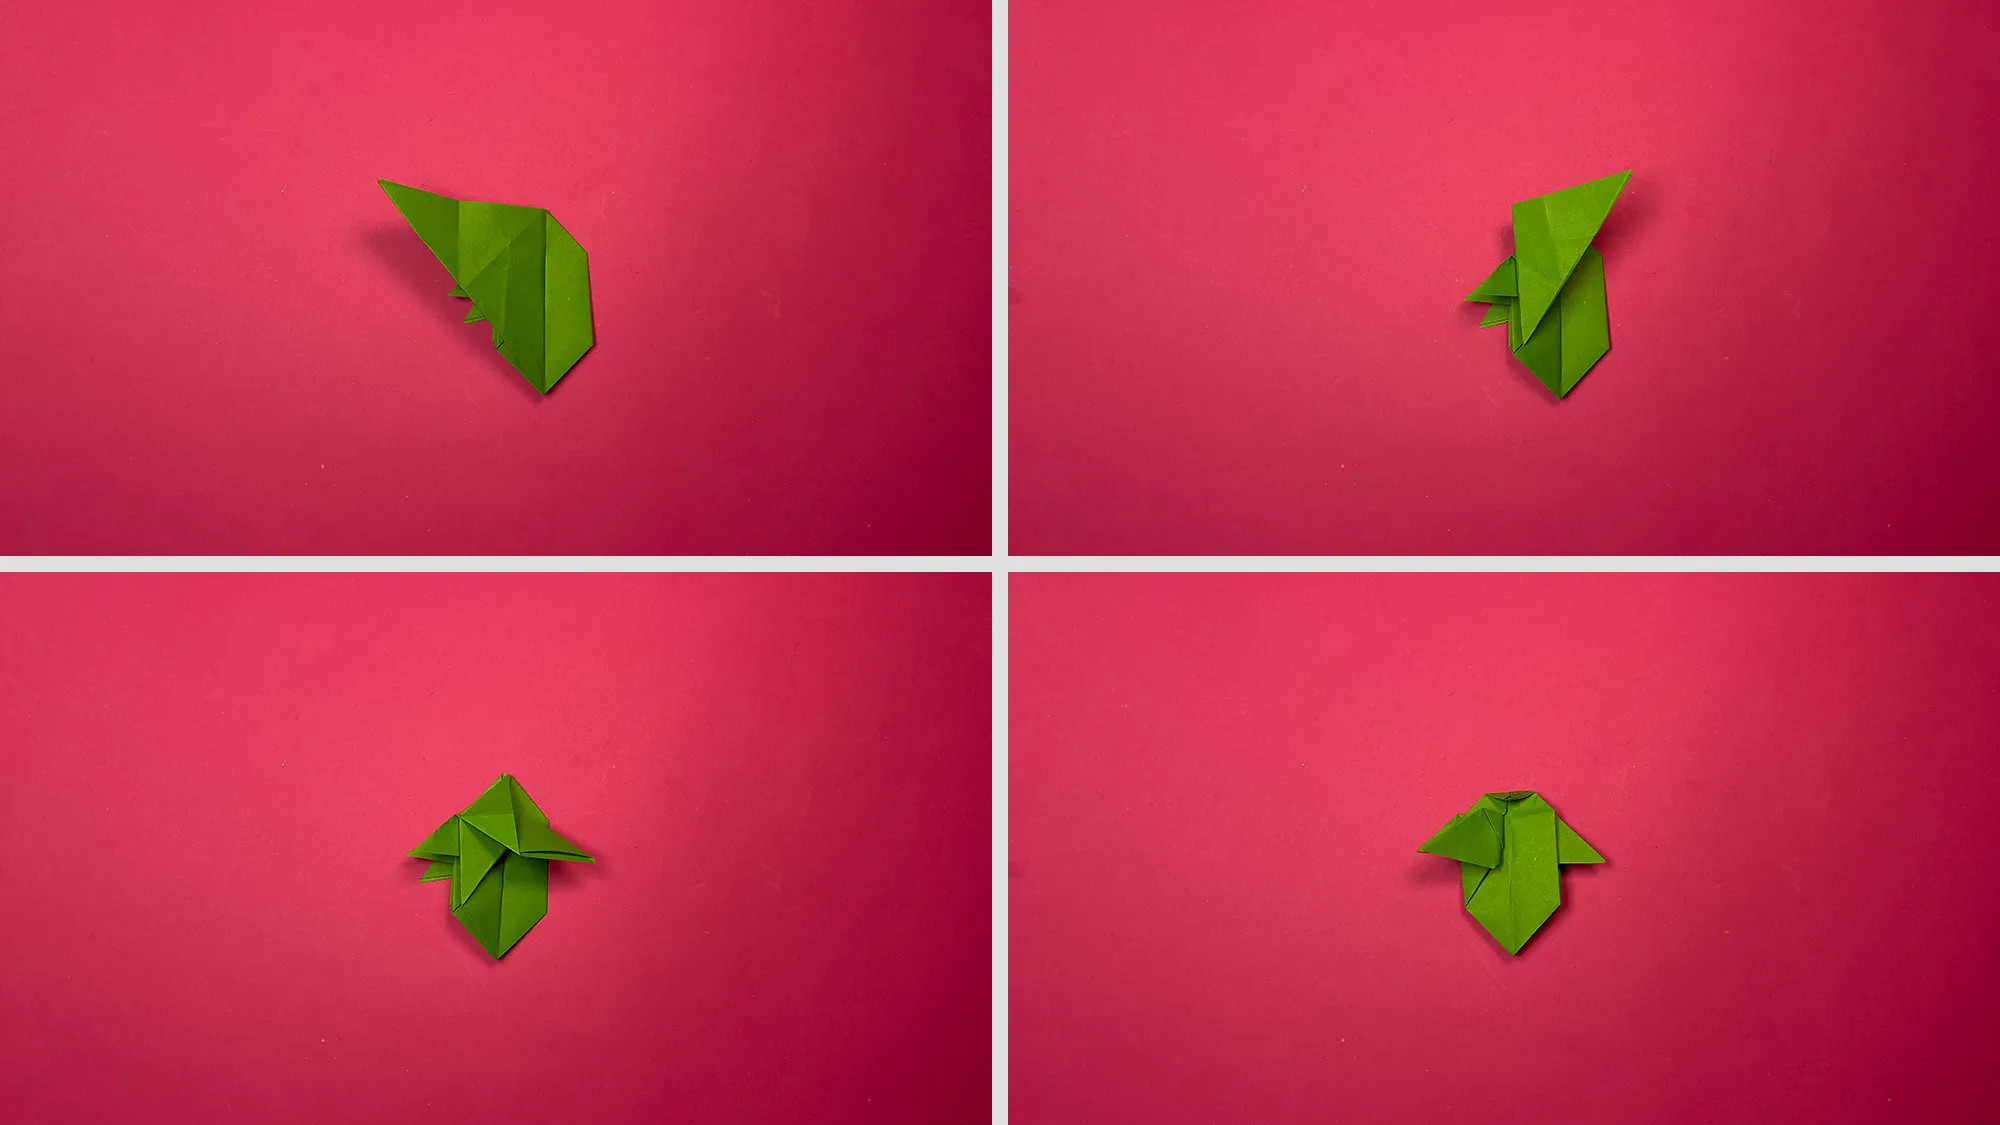
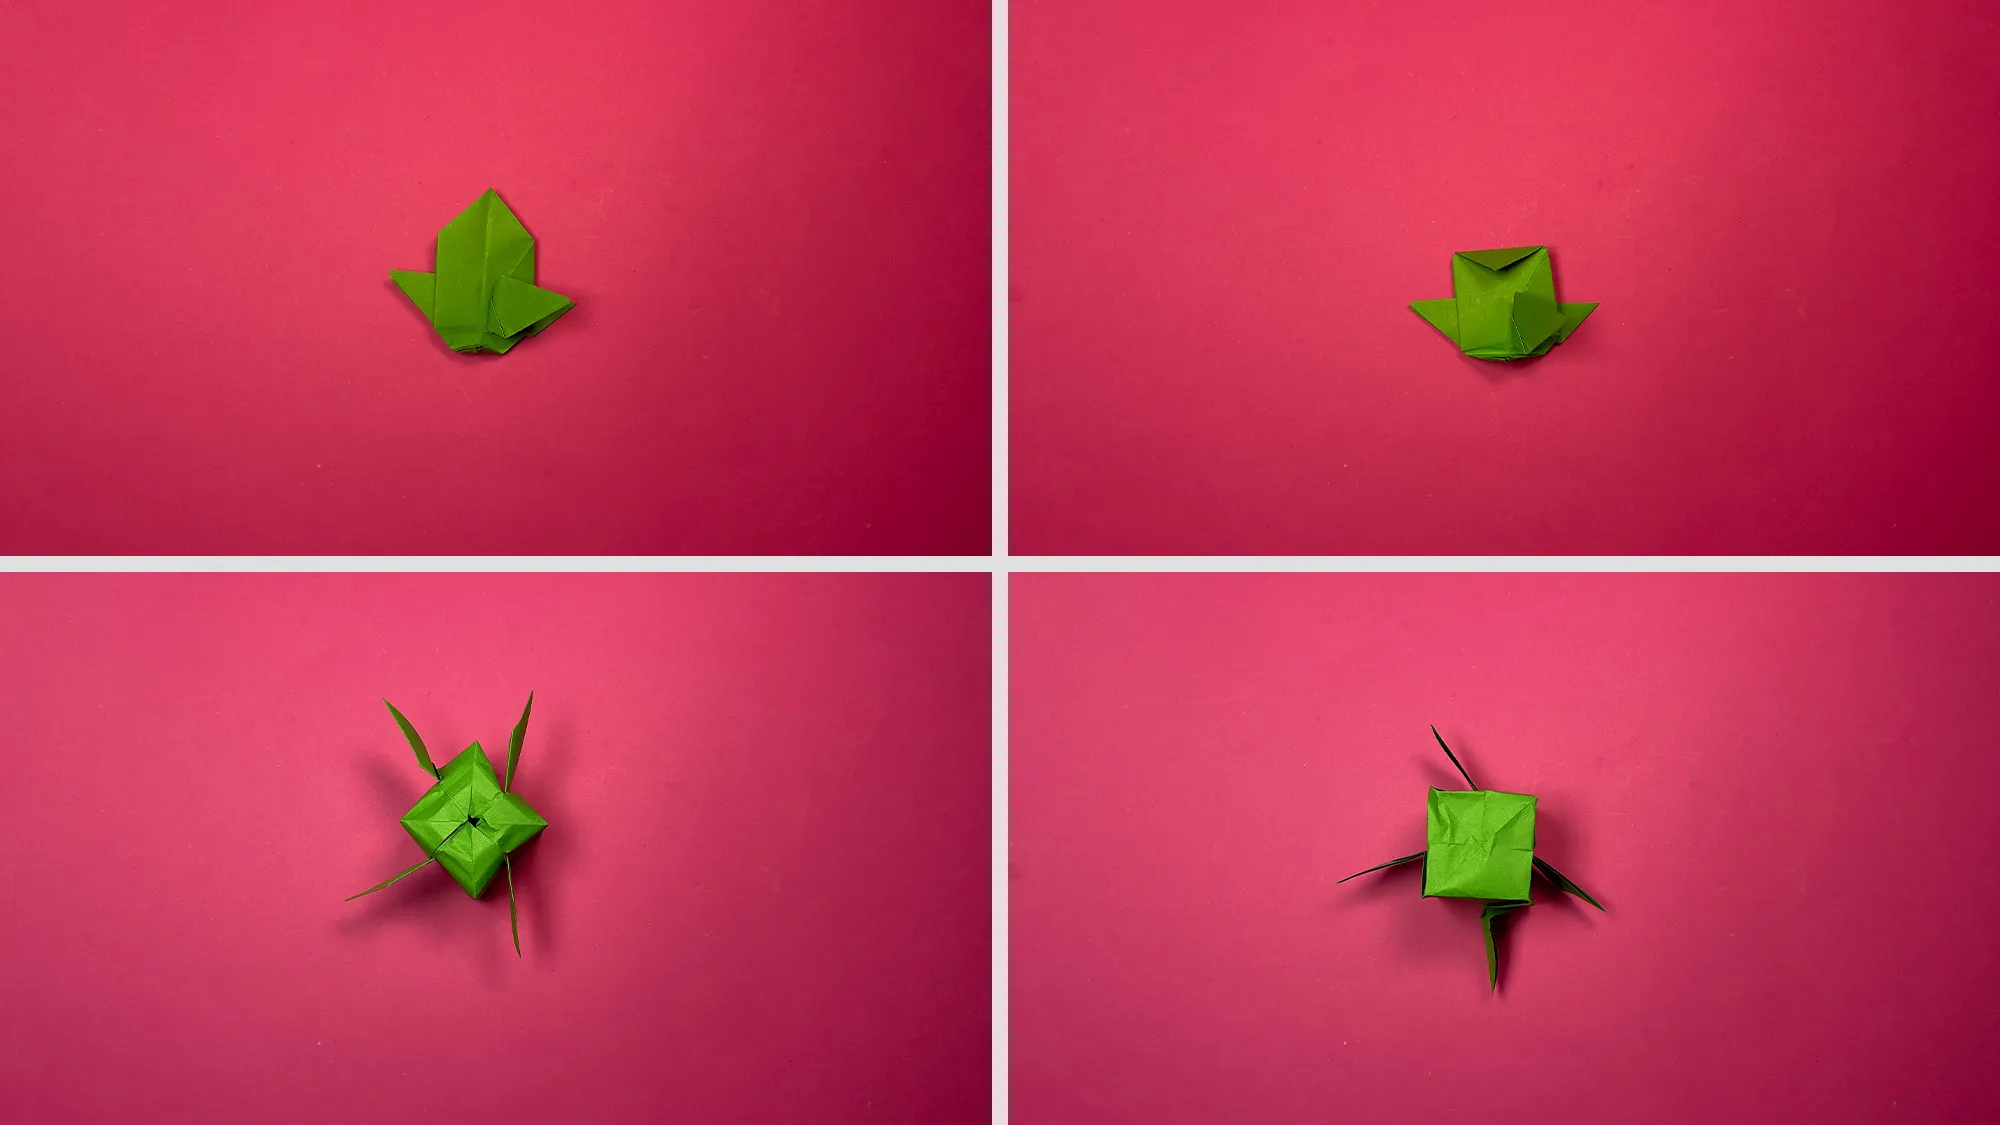
Hello! Are you looking for a cool idea on how to make a fascinating paper flying toy? Then this Origami flying cube with wings is just right for you! This simple yet impressive folding guide will delight you and your children. The special thing about this origami: When you drop it from a certain height, it glides down in circles and spins while doing so! A perfect project for children who want to learn more than just paper airplanes.
All our guides consist of videos and photographs with written comments and tips. Therefore, you are guaranteed to succeed in folding this interesting flying cube. It is not only a great toy for indoors and outdoors but also a wonderful way to playfully learn about aerodynamics.
All videos and photos that you find here are recorded by us. They are all also available on our YouTube channel. If you click on the link of the video title, you can visit our channel and subscribe to us. That would be great!
Origami flying cube: Step-by-step guide with photos and comments
In this crafting idea and all others, we try to use only materials that are available in every household or easily obtainable at the nearest store. For this flying origami cube, you only need a square sheet of paper - no scissors, no glue, just the art of folding!
For the best flying characteristics, we recommend using regular printer paper or lightweight origami paper (60-80g/m??). Paper that is too heavy does not fly well, while paper that is too thin may not be stable enough. We suggest starting with a square sheet of about 15 x 15 cm. Once you get the hang of it, you can also experiment with different paper sizes to see how it affects the flying characteristics.
Materials:
- A square sheet of paper (ideally 15 x 15 cm)
- That's all!
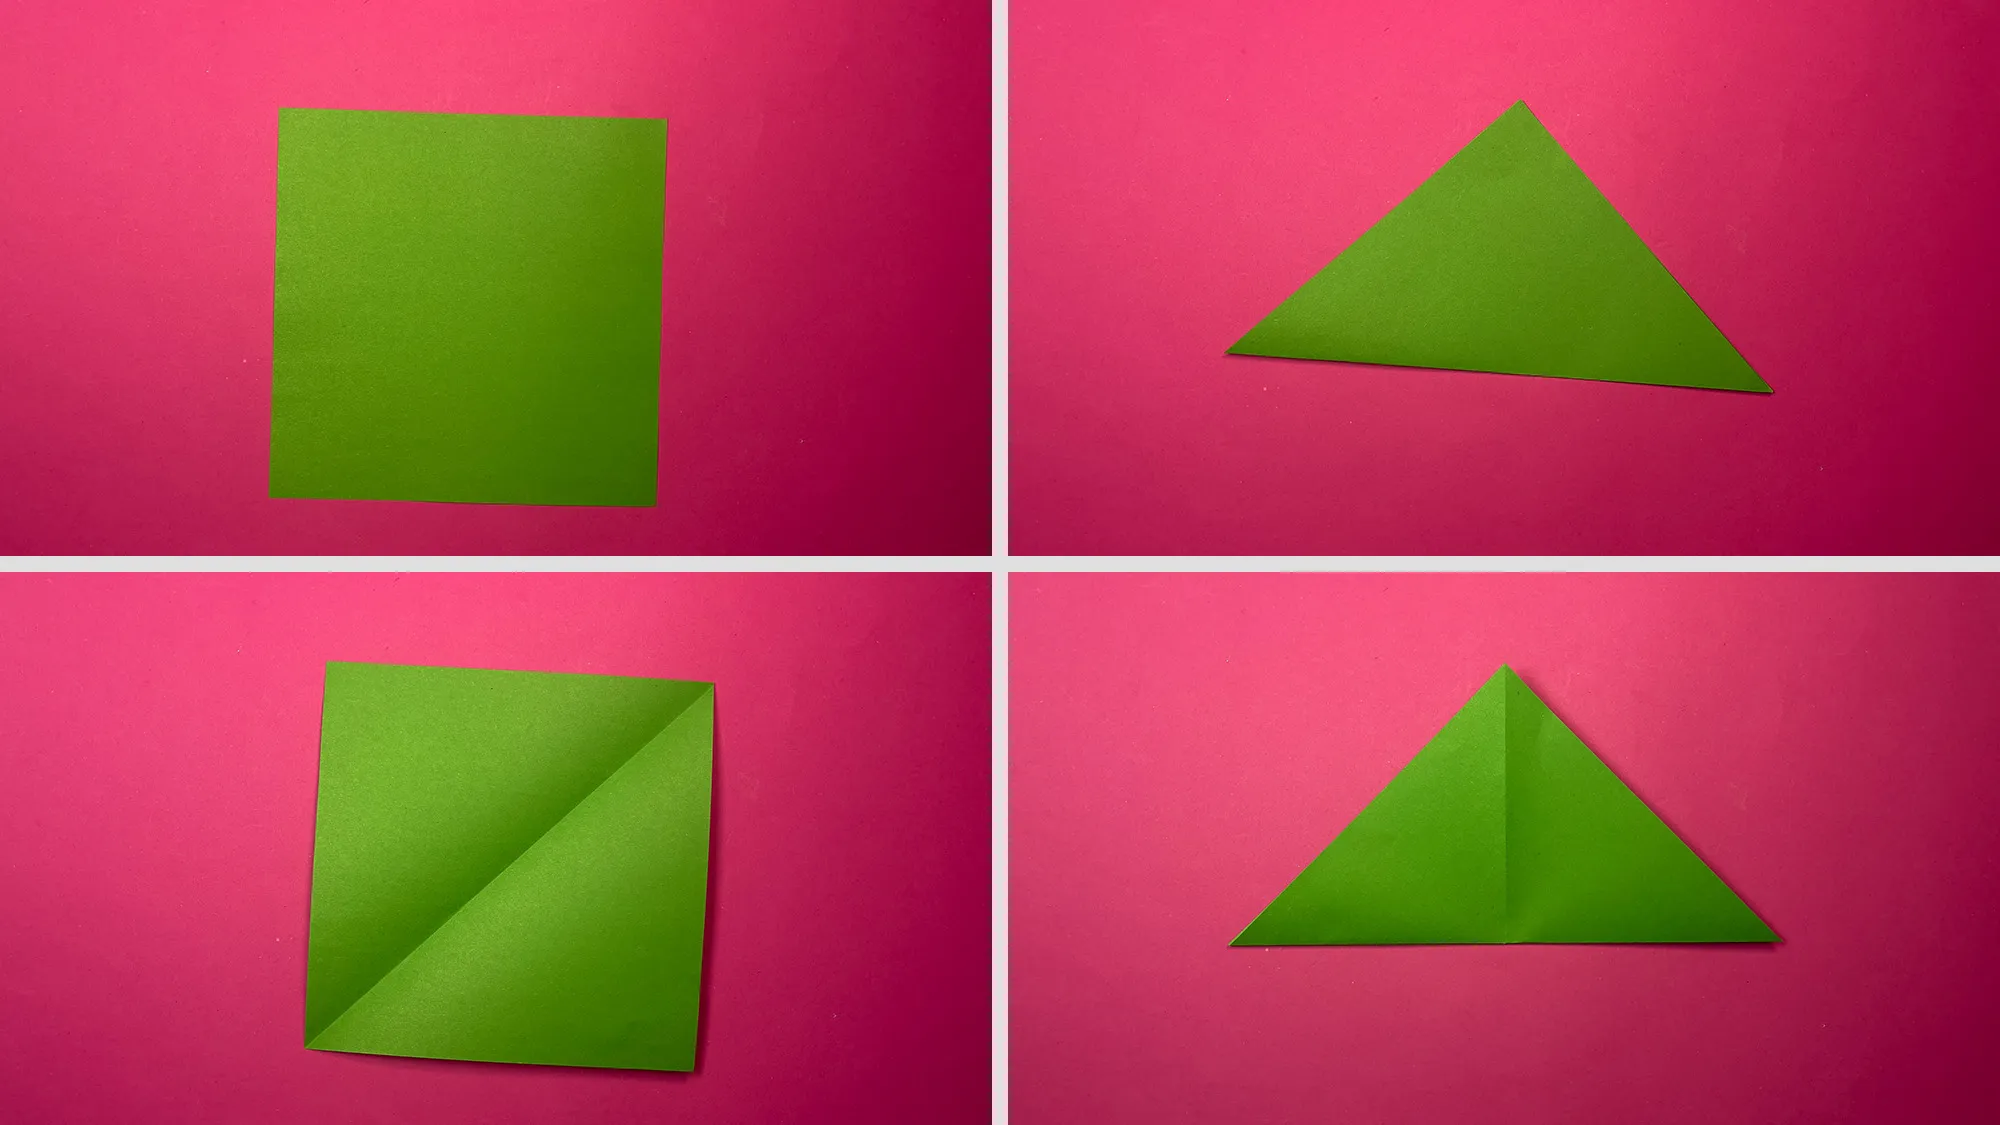
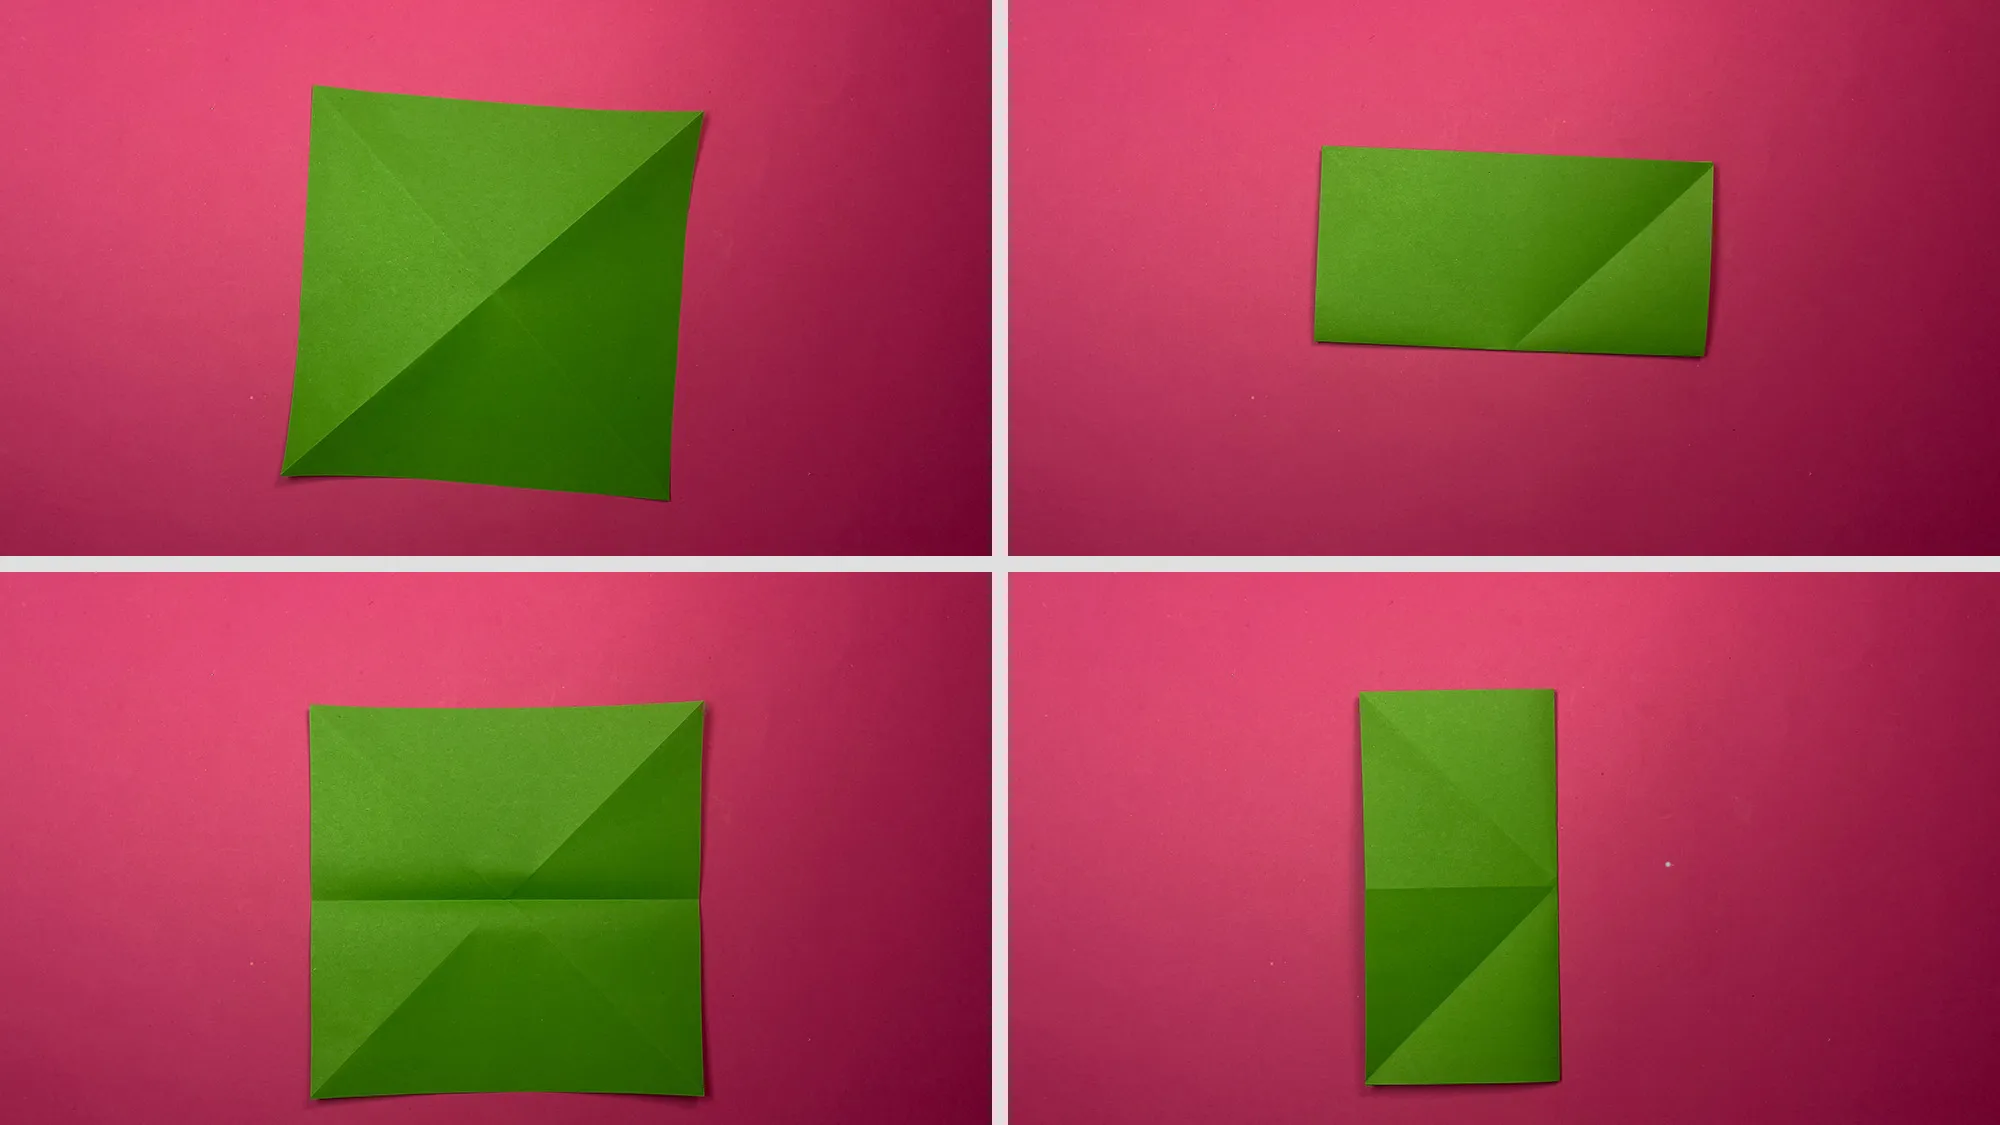
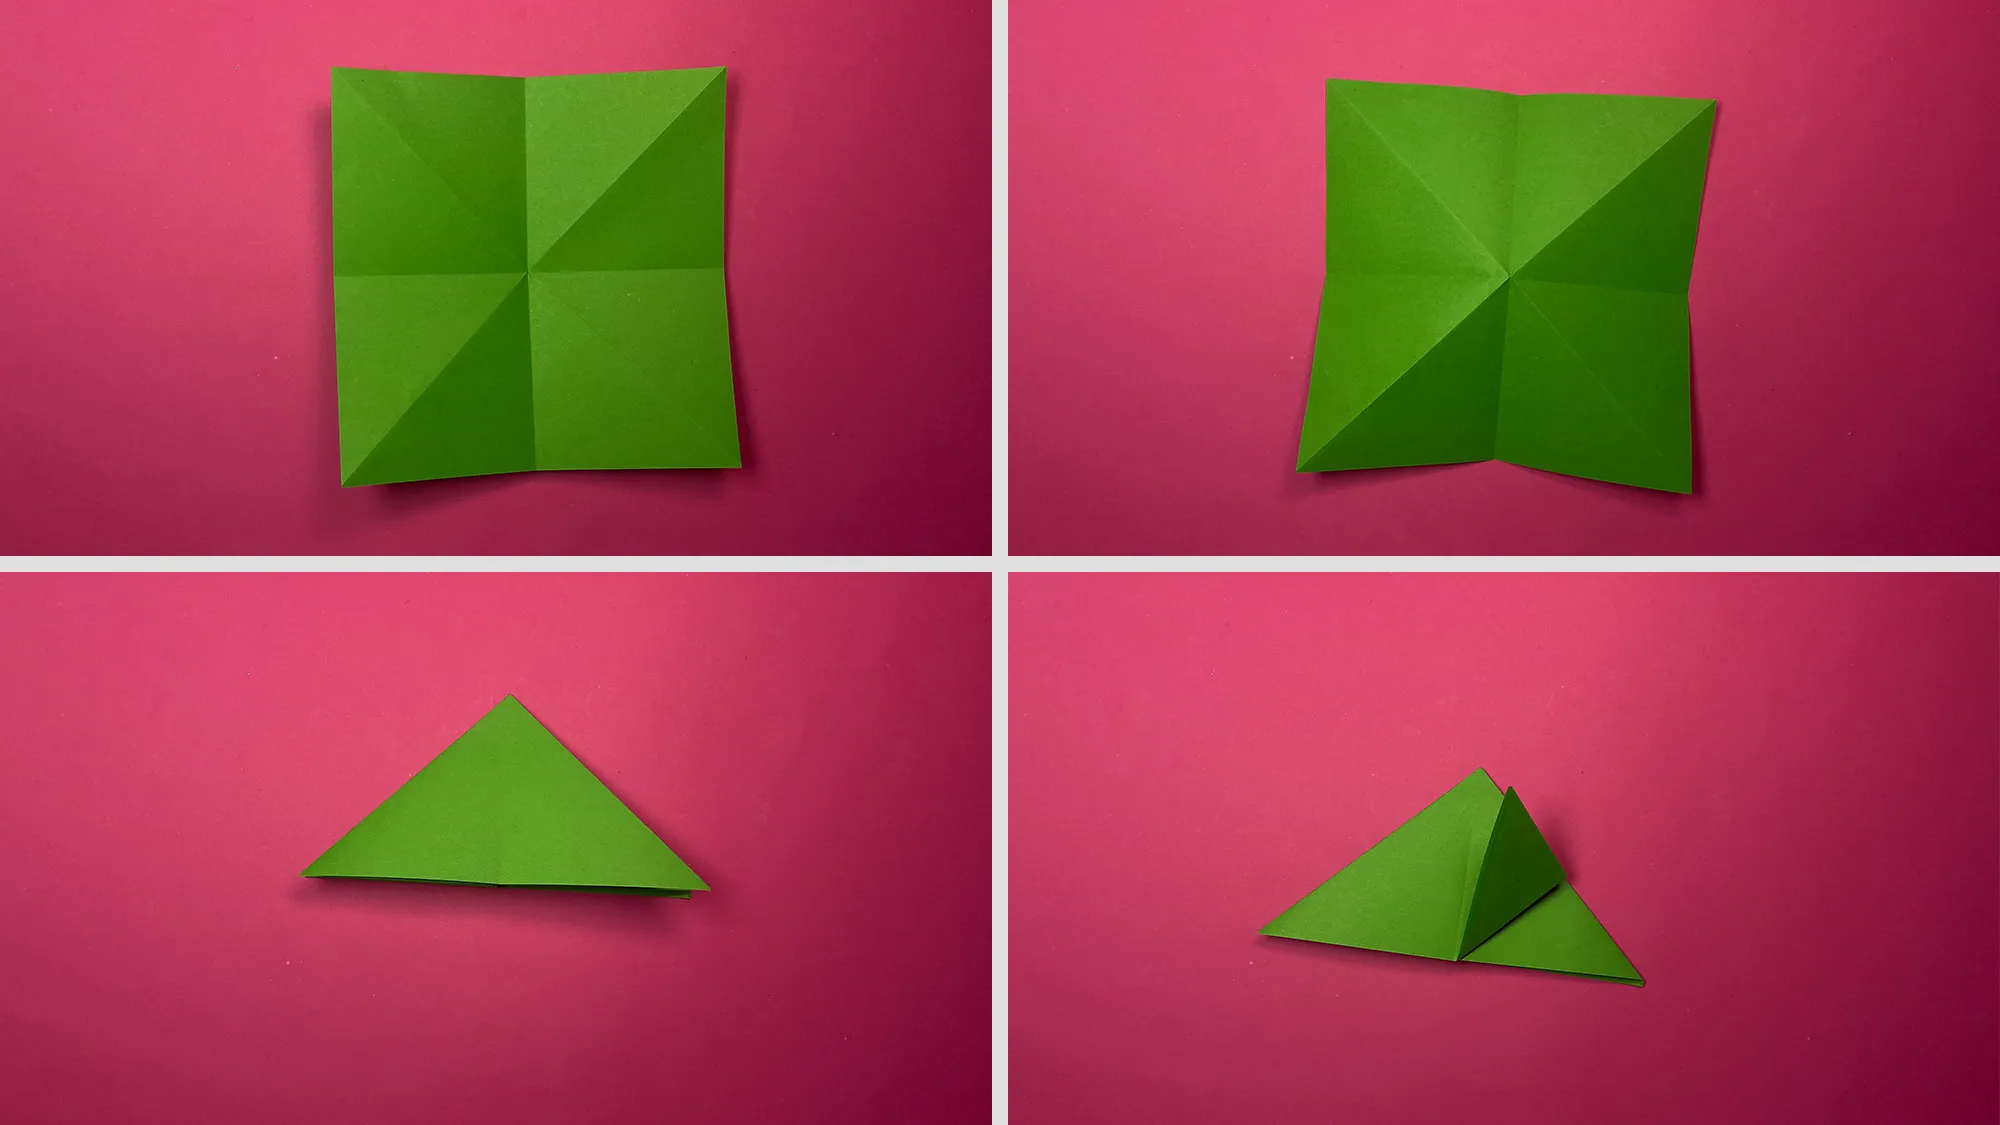
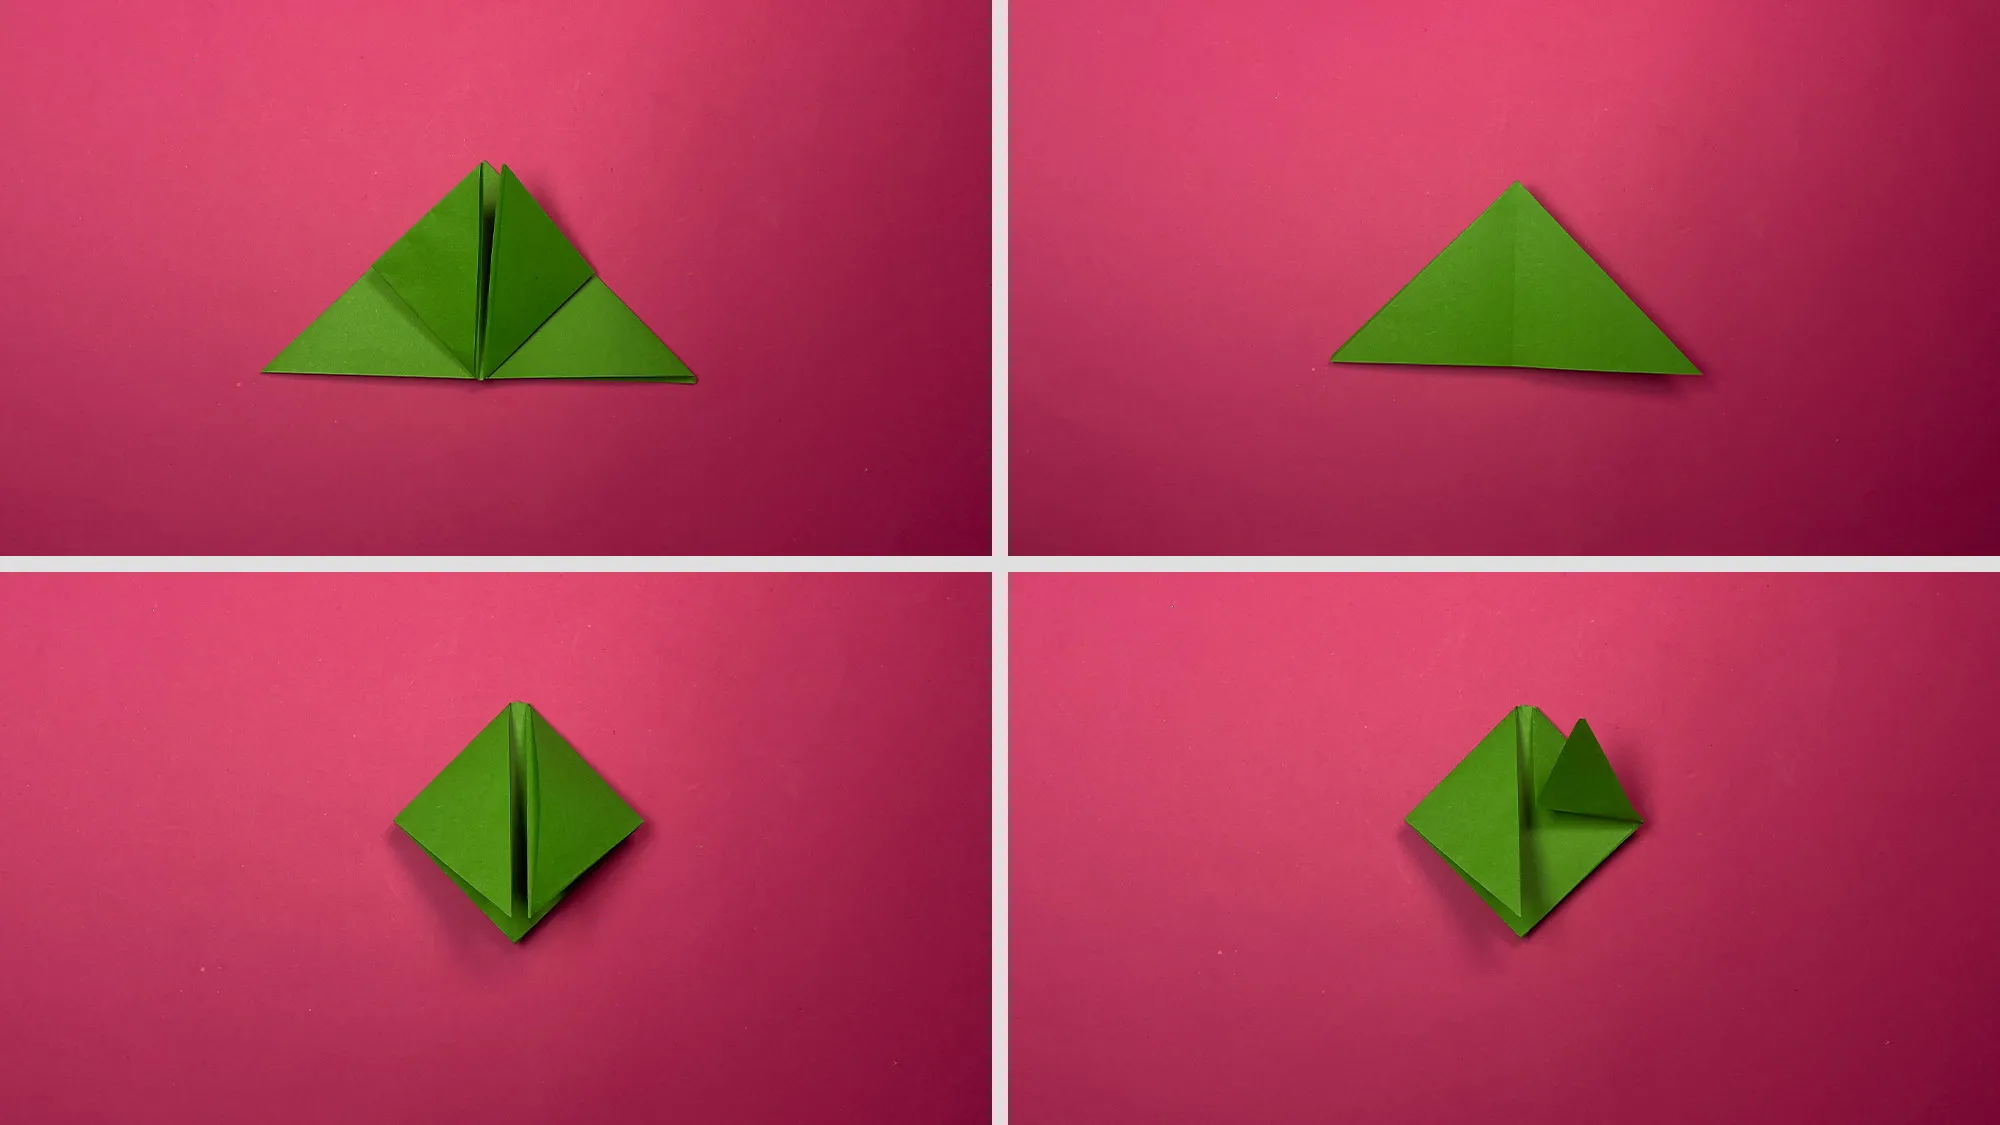
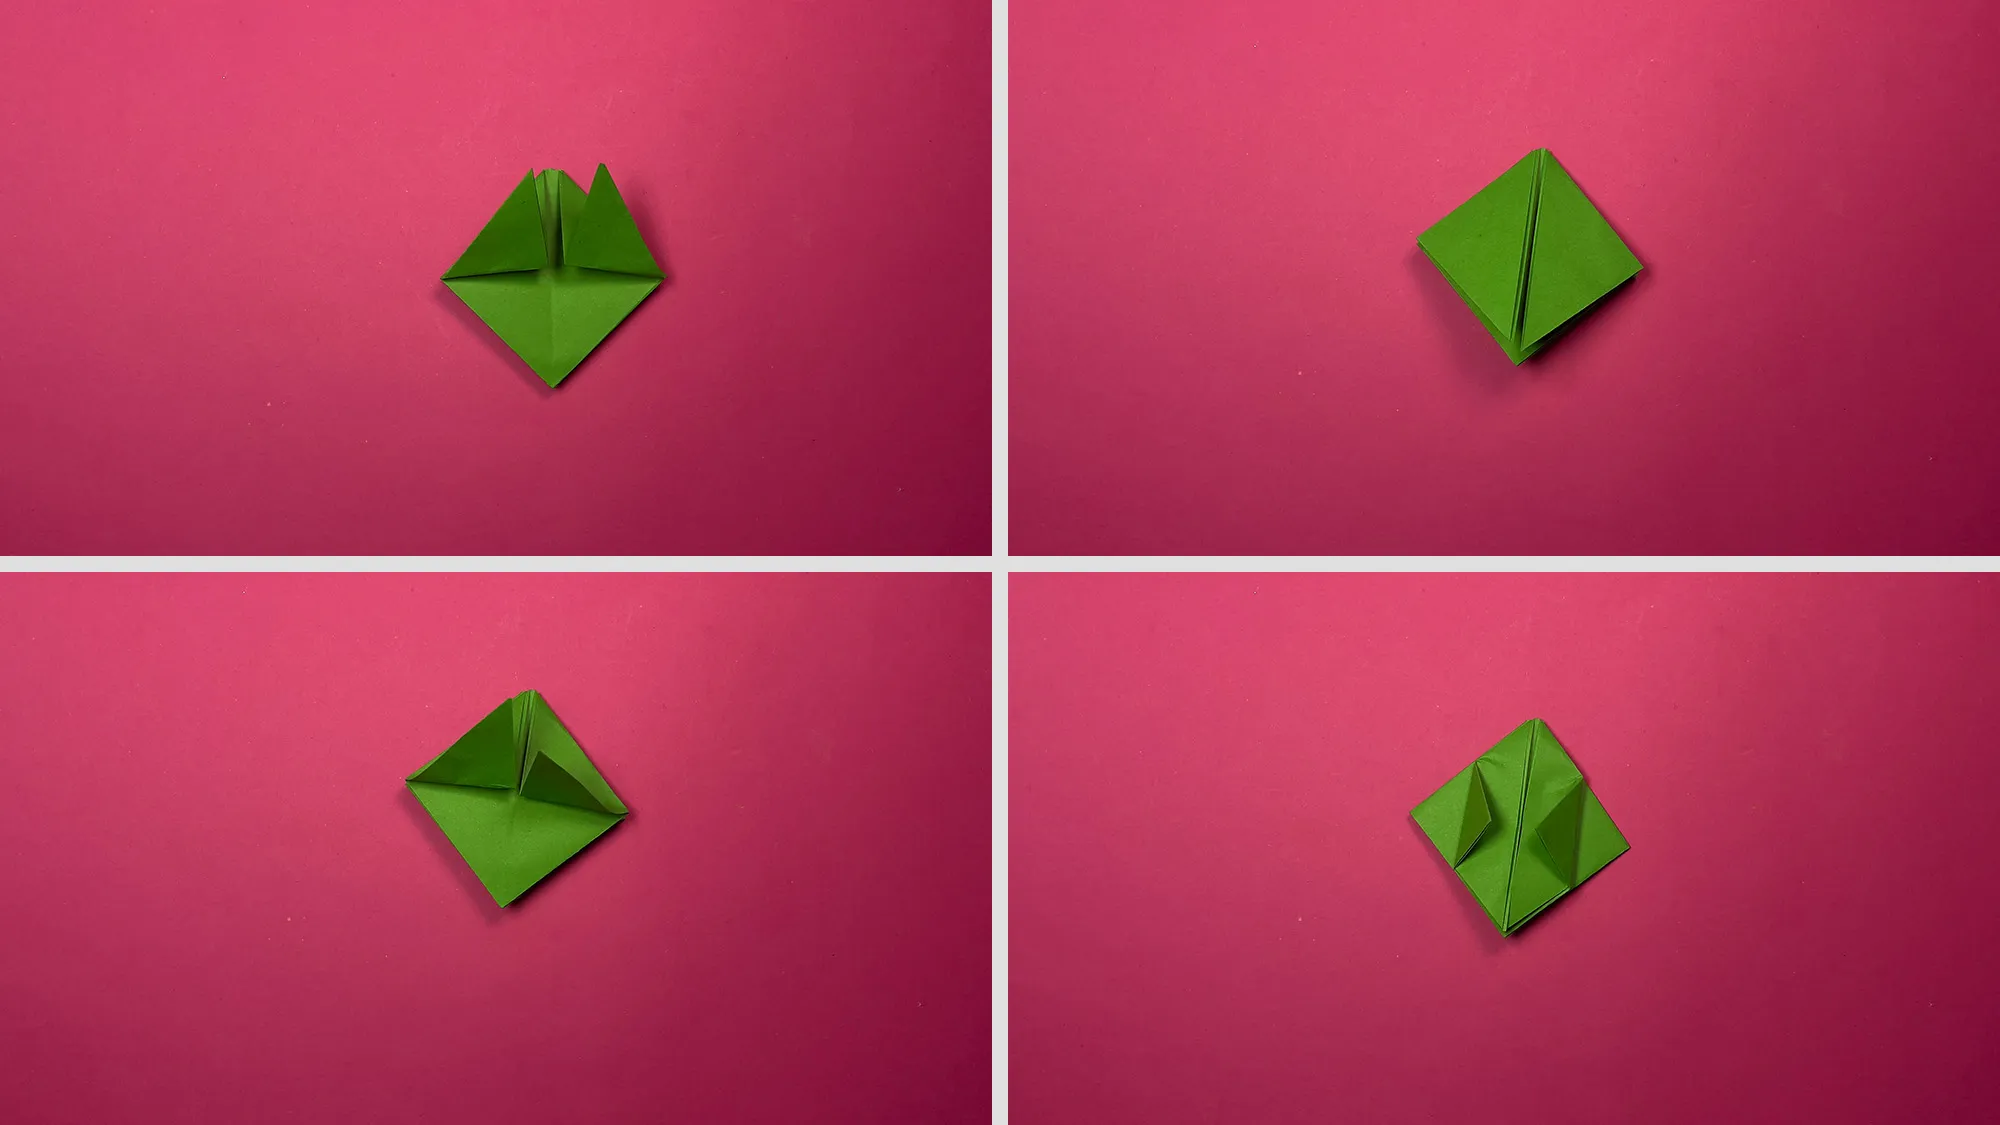
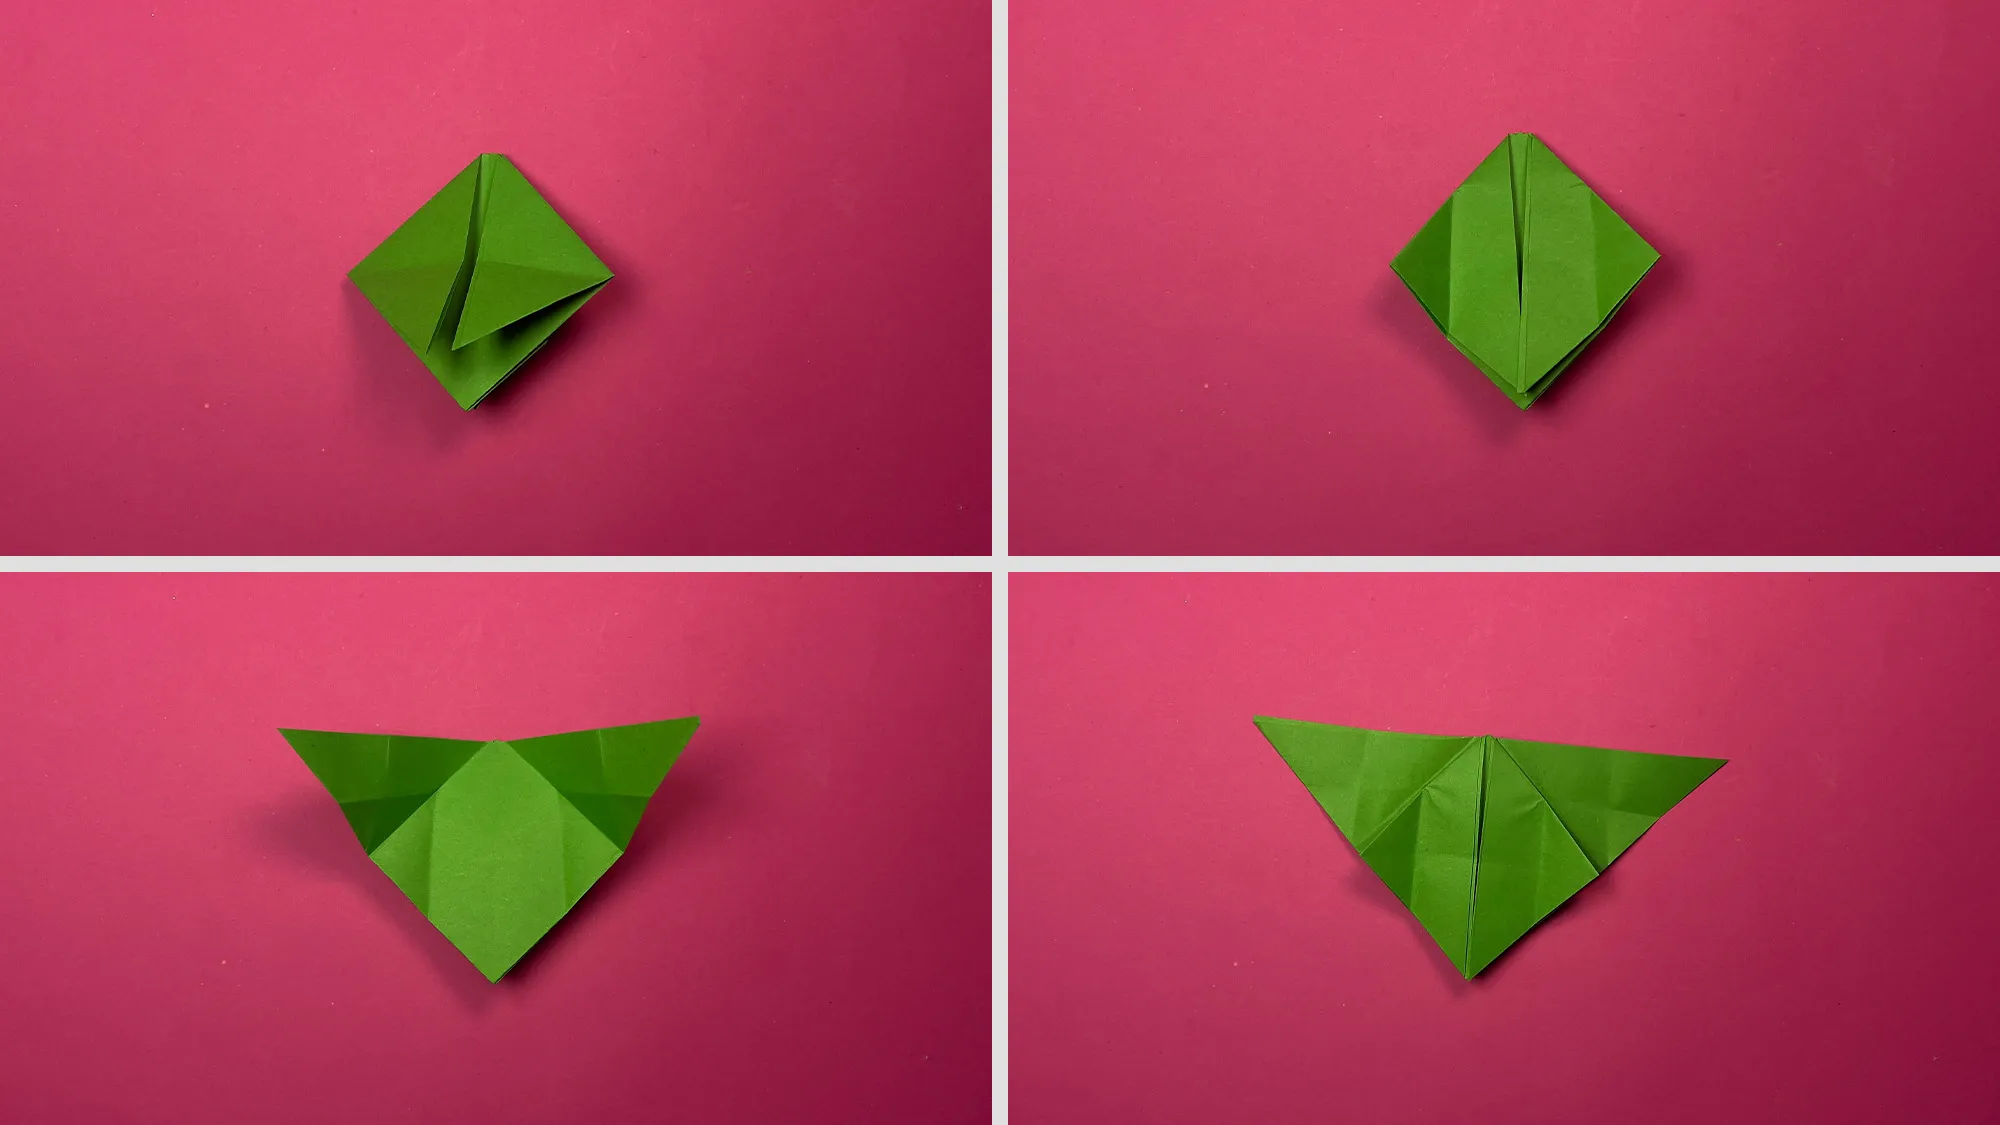
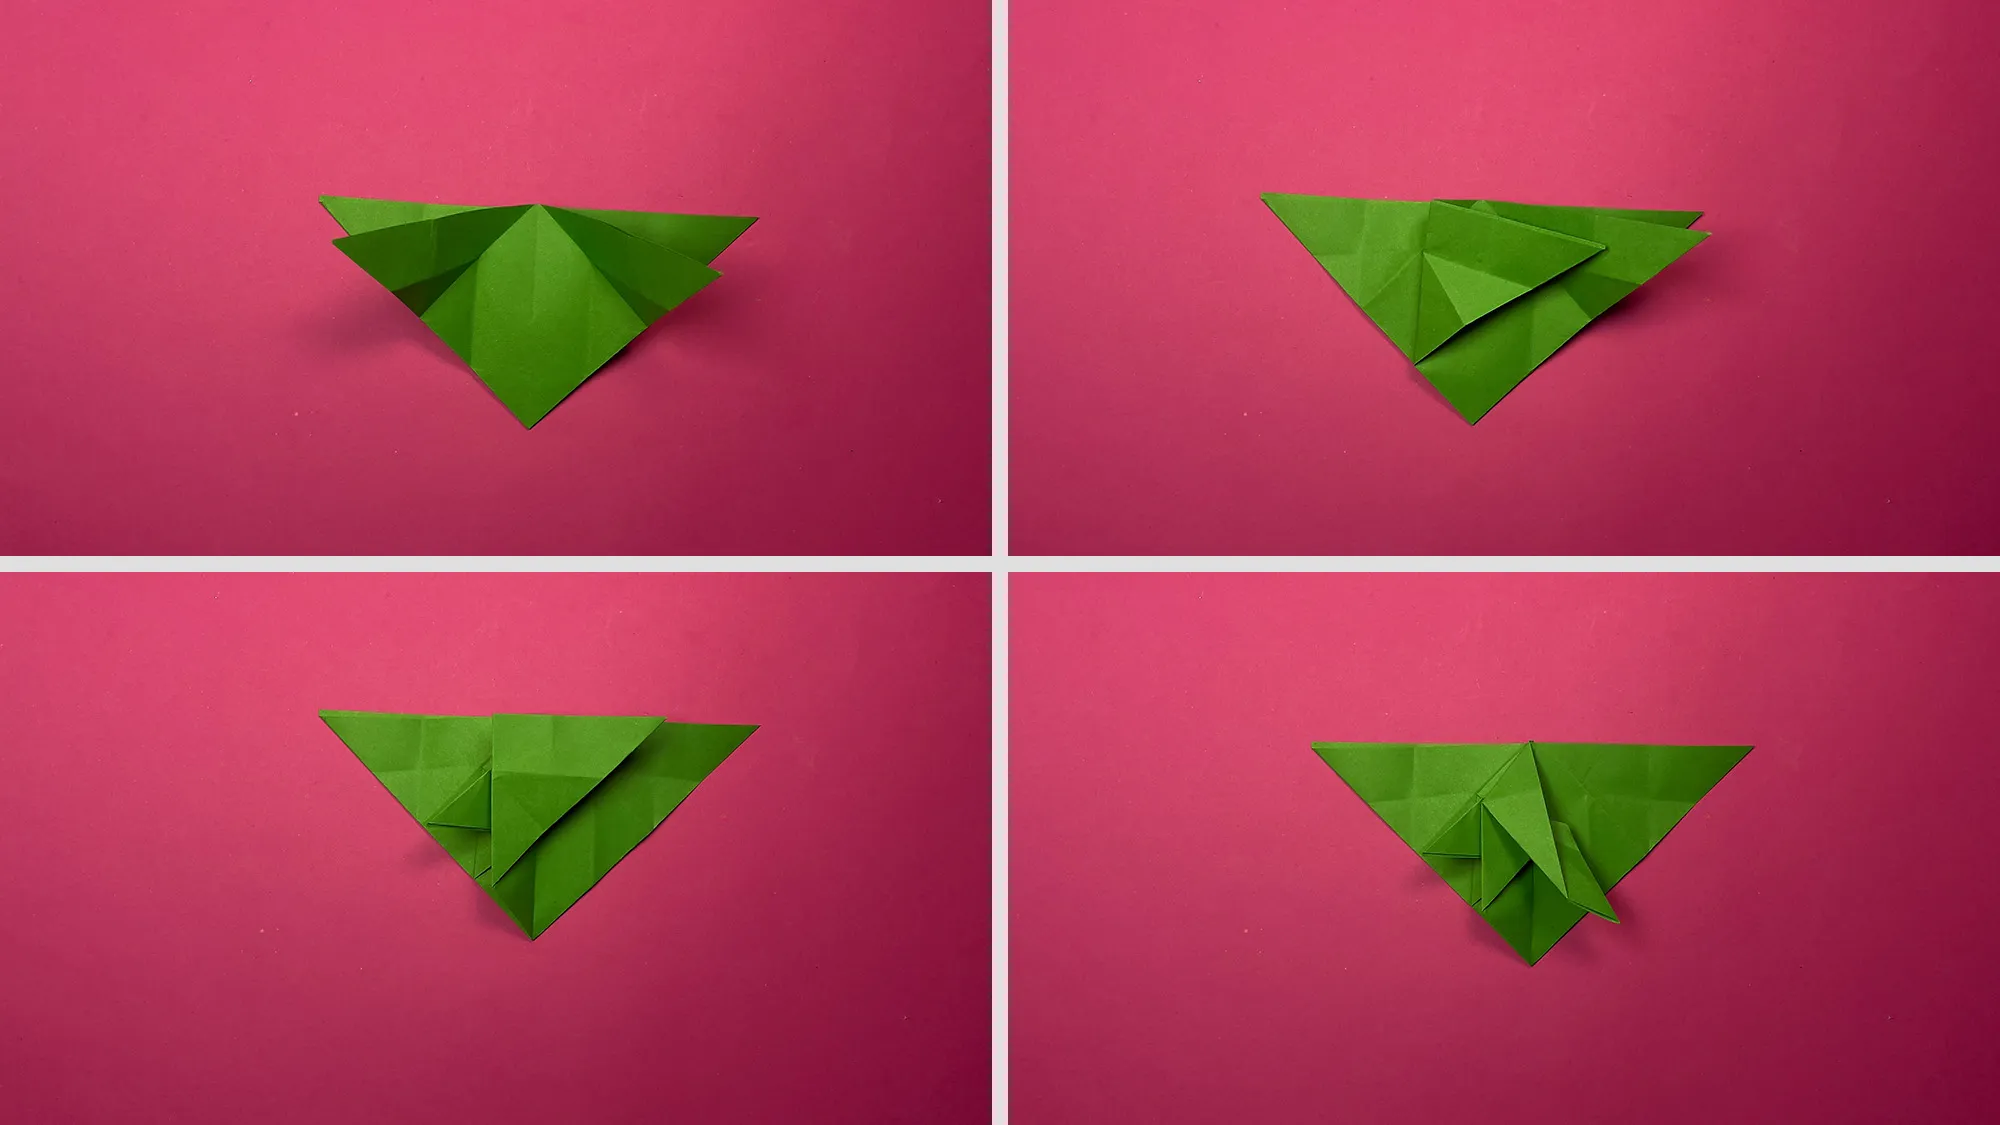
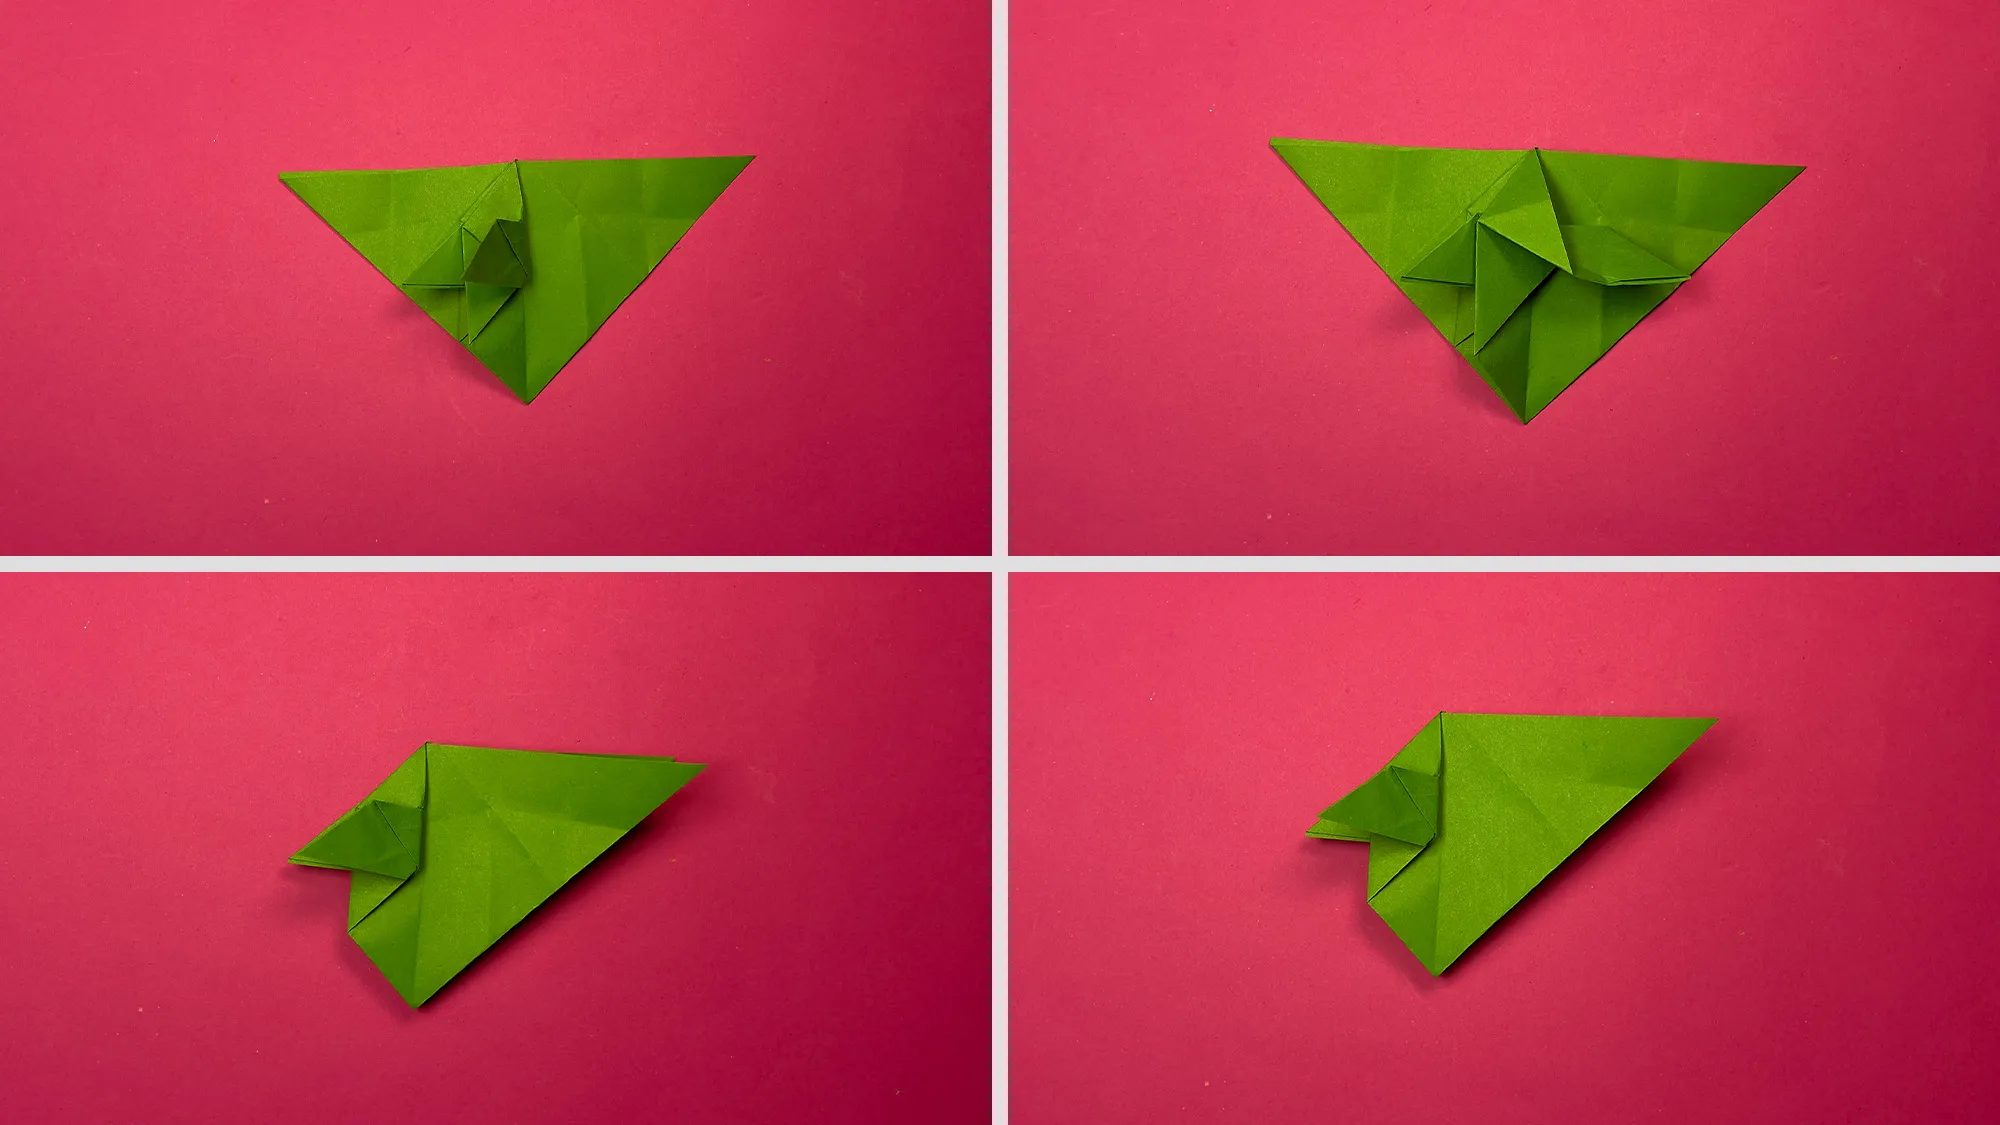
Origami flying cube and the joy of discovery in children
Folding and playing with this flying origami cube provides children not only with creative engagement but also valuable learning experiences. Folding develops fine motor skills and spatial thinking. The subsequent experimenting with the flying object playfully sparks interest in physical principles like gravity, air resistance, and rotation.
Children can try different launch heights and techniques and observe how their folded artwork behaves. This type of exploratory learning fosters scientific thinking and curiosity. You could even host a small competition: Whose cube flies the longest or makes the most spins?
Thank you very much for your interest!
We have invested a lot of time and effort to make this area rich in crafting ideas for children and DIY projects. Our collection now includes over 400 different guides on origami, children's crafts, home and table decorations for holidays, and much more!
If this guide has brought you even a little joy, that is already a reward for us. If you are interested in more creative projects, feel free to check out our sections Origami and DIY ideas for children. Perhaps you will find more exciting inspirations for shared crafting hours with your children there.
We wish you lots of fun recreating and successful flying attempts with your origami cube!
From Vitalii Shynakov
