
Affinity Photo training: over 30 best-of hacks for photo editing

- Over 30 best-of hacks for photo editing and targeted work with Affinity Photo
- Effects and styles: how to create pencil, halftone screen and painting looks, among others
- Simply more beautiful: make improvements to resolution, perspective and depth of field
- Get rid of it: How to flawlessly remove distracting objects from even complex scenes
- For those who like it faster: Tips and tricks for everyday use of Affinity Photo
- A two-hour training by Stefan Petri - made for more efficiency in your workflow!
Bright effects, stunning looks and helpful shortcuts: Stop going through tedious editing processes and head straight to the Affinity Photo training center!
18 Videos, 122 minutes
Affinity Photo training with best-of tips
Affinity Photo (Best-of-Hacks): 00 | What to expect in this Affinity Photo training course
2 minWatch the intro to see what tips and tricks await you in this two-hour Affinity Photo training course.
Affinity Photo (best-of hacks): 01 | Remove objects such as grids quickly and easily
5 minIn this tutorial, I'll show you a super-fast way to quickly remove objects that get in the way - in this example, a grid with a cat of prey behind it.
Affinity Photo (best-of hacks): 02 | Pencil drawing in a few steps (with macro for the one-click solution)
3 minIn this short video, I'll show you how to turn a photo into a pencil drawing in just a few steps. There's also a mega trick to help you turn other photos into pencil drawings with just one click. Stay tuned!
Affinity Photo (best-of hacks): 03 | Halftone screen effect with just a few clicks
4 minIn this video I show how to create a really great halftone screen effect to make photos look really old.
Affinity Photo (best-of hacks): 04 | Quickly optimize images with poor resolution or blurring
6 minI'm sure you're all familiar with the problem of receiving photos via WhatsApp, preferably with a note that you should print them out. And the photo itself has far too low a resolution or is blurred (maybe even both together). There are a few ways to get more out of bad photos. I'll show you how in this video!
Affinity Photo (Best-of-Hacks): 05 | Create a photo with the look of a painting - as if painted!
4 minAs if painted! If you want to give your photos a painted look quickly and easily, take a look at this video.
Affinity Photo (Best-of-Hacks): 06 | Color Key effect: Remove color areas to highlight certain objects
3 minHere I show a technique with which you can very quickly highlight certain areas in color. In this example, everything is black and white - except for the ladybug.
Affinity Photo (best-of hacks): 07 | Transfer the color look of another image to your own
7 minDo you also know the situation: I have taken several photos at different times and would now like to give them all a uniform color look? This is relatively easy to do in Affinity Photo - if you know how!
Affinity Photo (Best-of-Hacks): 08 | Remove distracting objects with ease
3 minIf you want to remove distracting objects from an image, this is really extremely easy in Affinity Photo. Here I show the approach with two different images.
Affinity Photo (best-of hacks): 09 | Spice up boring photos with just a few clicks
13 minYou're probably familiar with the situation: a photo is taken quickly, but it doesn't really blow you away. Then this video is just the thing! Here I show you how to make a boring picture look much more lively with just a few simple steps.
Affinity Photo (best-of hacks): 10 | Mystical forest effect with just a few clicks
8 minHave you always wanted to know how a photo (especially a forest shot) can look very mystical? It only takes a few steps!
Affinity Photo (best-of hacks): 11 | Two ways to add a vignette to a photo (the latter is much smarter)
5 minIf you want to give a photo a little more pizzazz, you can do this with a vignette (dark areas at the edge create a focus on the center of the image). There is a one-click solution, but this is not necessarily the best option. So be sure to watch this video so that you can take a much smarter approach in future.
Affinity Photo (best-of hacks): 12 | Distort photos quickly and correctly in perspective
4 minIt is often the case that the perspective in a photo is not quite right. This is exactly when you need to use a specific tool in Affinity Photo and then make a few small optimizations.
Affinity Photo (best-of hacks): 13 | Quickly add realistic depth of field to a photo
8 minWe've all been there: a photo is taken quickly, but it only looks really good when it has a depth of field. This is really easy to do in Affintiy Photo. However, there is something you should bear in mind!
Affinity Photo (best-of hacks): 14 | Remove or restore extremely difficult distracting image areas with the help of AI DALL-E 2
10 minIn the past, it took me a lot of time to remove certain distracting objects from a photo without the editing being visible. It's now super easy thanks to DALL-E 2 in collaboration with Affinity Photo.
Affinity Photo (best-of hacks): 15 | Remove watermarks in 2 ways (with one-click solution thanks to AI)
9 minSometimes it happens that an original photo has been lost and only the photo with a watermark remains. Now the watermarks need to be removed quickly. This works quite well with Affinity Photo, but involves a lot of effort. That's why I'm also going to show you a second way of doing this with a click and how you can quickly upscale photos at the same time (if the photo is also available in a low resolution).
Affinity Photo (best-of hacks): 16 | Another 16 helpful quick tips (part one)
11 minThis two-part series is all about the best tips and tricks that I've learned over the years in my day-to-day work with Affinity Photo. You'll be surprised, because even advanced users will certainly appreciate one or two tricks. As one tip is specifically for users of Affinity Photo version 1, I have also recorded this training with the latest 1.9 version. However, all other tips can be used with all versions.
Affinity Photo (best-of hacks): 17 | 16 more helpful quick tips (part two)
17 minThe second part contains eight really crisp tips. There should be at least one tip for everyone that will save you time in your day-to-day work. Stay tuned to see what comes next!
You might also like
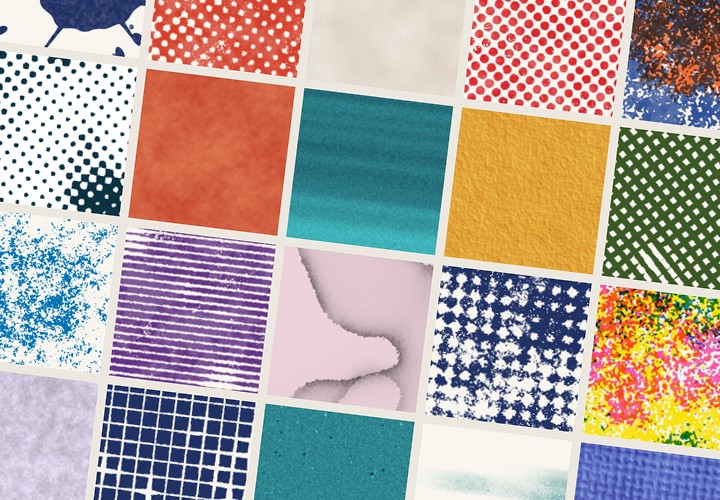
20 sets in 4K (4096 × 4096 px, 300 DPI) as JPG plus Photoshop patterns, calibrated to the fill method

More style, more power, more templates!

Full power, more inspirations, maximum WOW effect!

Save time with artificial intelligence
Comment now „Affinity Photo training: over 30 best-of hacks for photo editing“