
FL Studio 21 (Tutorial): new features & getting started with beat production

- Producing your own beats with FL Studio 21: Practical guide for beginners
- Get to know the interface, settings and most important tools
- New functions in version 21: including audio clip fades and themes
- A tutorial by Peter Leopold lasting over five hours
FL Studio 21 - how to get started and what's new. Press play and use the tutorial to roll out your own soundscapes!
23 Videos, 324 minutes
Overview
FL Studio 21 Tutorial: 1.1 | What is FL Studio 21?
In this lesson you will get to know FL Studio 21 and learn what this software is all about and what you can do with it.
FL Studio 21-Tutorial: 1.2 | The new features of version 21 at a glance
FL Studio 21 comes with many new functions. This lesson is a must for software connoisseurs. It contains everything you need to know about the new features that await you with the version jump from 20 to 21.
New features explained in detail (major innovations)
FL Studio 21 Tutorial: 2.1 | Audio Clip Fades
This new function allows you to manipulate your audio clips directly from the playlist. You can find out how to do this in this lesson.
FL Studio 21-Tutorial: 2.2 | User Interface Themes
With version 21, FL Studio offers you a new themes areathat allows you to color the interface to your liking. More details in this tutorial.
New plugins explained in detail
FL Studio 21-Tutorial: 3.1 | New Plugin LuxeVerb
LuxeVerb, a new plugin that you get with FL Studio 21, offers you various interesting reverb effects. You can find out more about this in this lesson.
FL Studio 21-Tutorial: 3.2 | New Plugin Vintage Phaser
The Vintage Phaser offers you the opportunity to use phaser effects and much more. You can find out more about this in this tutorial.
FL Studio 21-Tutorial: 3.3 | New Plugin Multiband Delay
Using multiband delay, you have the option of applying delays within the frequency spectrum. You can find out more about this in this lesson.
FL Studio 21-Tutorial: 3.4 | New Plugin VFX Sequencer
The VFX Sequencer allows you to influence your linear sounds using Patcherize.
FL Studio 21-Tutorial: 3.5 | Plugin Upgrades
Many other plugins have been improved. You can find out what these are in this lesson.
Summary of innovations (many small innovations)
FL Studio 21-Tutorial: 4 | Further innovations summarized
There are many other smaller innovations hidden under the hood of FL Studio 21. You can find out what these are in this tutorial.
Introduction to FL Studio 21 (interface, tools, settings)
FL Studio 21-Tutorial: 5.1 | Introduction - the interface
Get to know the FL Studio 21 interface. Find out how the software is put together and how it can be operated.
FL Studio 21-Tutorial: 5.2 | Introduction - the settings
There are a few settings to consider, which I will explain to you in this lesson.
FL Studio 21-Tutorial: 5.4 | Introduction - Step Sequencer & Playlist
Find out what's behind Step Sequencer and Playlist in FL Studio 21.
FL Studio 21-Tutorial: 5.5 | Introduction - Browser & Pattern
The Browser is an essential tool with which you should operate FL Studio 21. This lesson also explains how patterns work.
FL Studio 21 Tutorial: 5.7 | Introduction - Edison, Slicing & Recording
Edison is a sound editor that can be called up within the FL Studio 21 environment. Slicing describes a method used to cut music into parts. In this lesson you will also learn how a recording works.
FL Studio 21-Tutorial: 5.8 | Introduction - the mixer
The mixer allows you to mix individual channels and much more. You can find out how it works in this lesson.
The production of an own track
FL Studio 21-Tutorial: 6.1 | Producing tracks - the preparation
How do I prepare myself properly? We get to the bottom of this question in this tutorial.
FL Studio 21 Tutorial: 6.2 | Produce Track - Arrange Drumset
To get the beat right, you also need to arrange the drums, hi-hats, snares and percussion. This is exactly what we will do step by step in this lesson.
FL Studio 21 Tutorial: 6.3 | Produce Track - Melody (Part One)
The next step is to compose a melody and arrange it in harmony with the drumsets.
FL Studio 21 Tutorial: 6.4 | Produce Track - Melody (Part Two)
In this lesson, we add two more arrangements to extend the depth of the track.
FL Studio 21 Tutorial: 6.5 | Produce Track - Automation Clips & Effects
Automation clips are used to explain an effect and the volume by using envelopes.
FL Studio 21 Tutorial: 6.6 | Produce Track - Sidechain
The sidechain is a powerful tool, which in this case should give priority to the kick in the frequency spectrum. We will automate this in this lesson.
FL Studio 21-Tutorial: 6.7 | Produce Track - Export & Structure
Finally, there are a few stumbling blocks to watch out for. The project should also be structured and saved.
Examples of use
-
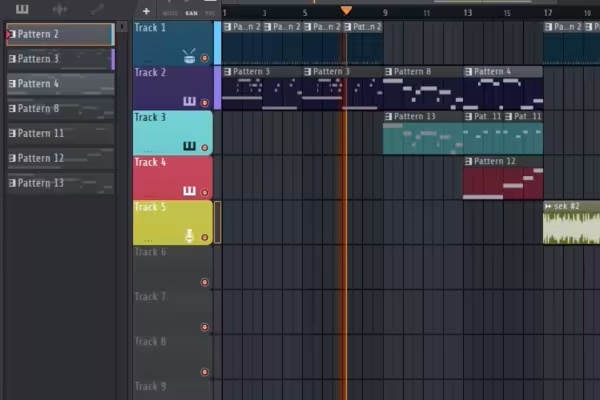 FL Studio 21 - the basics: Use this tutorial to get started with beat production.
 -
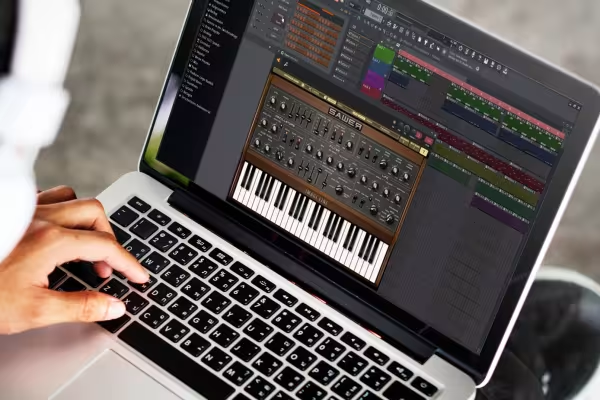 From the user interface to your own track - explained step by step.
 -
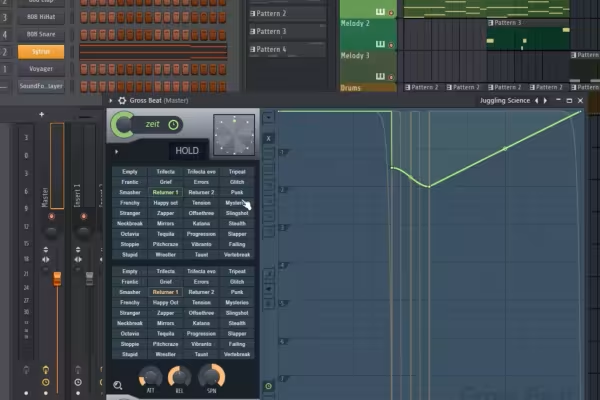 Get to know all the important new features of version 21.
 -
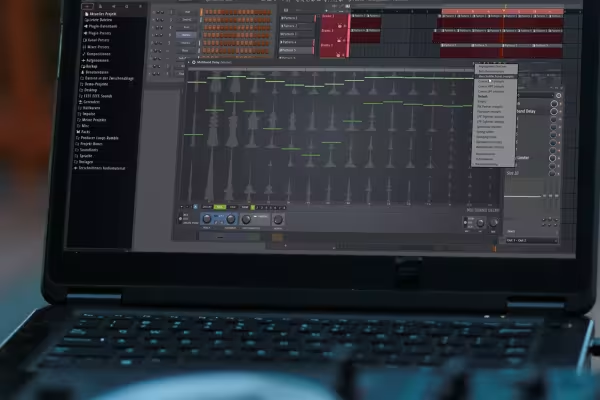 At the end of the tutorial, you will be able to produce your own songs with FL Studio.
You might also like

How it works. What options exist.

Edit films, transitions, animations, and more

Practical applications for companies
Produce high-quality videos
Comment now „FL Studio 21 (Tutorial): new features & getting started with beat production“