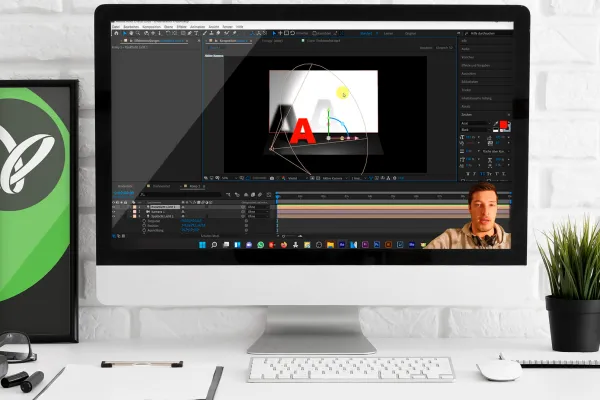
Know what's for what! Understand After Effects CC and put yourself in a position to master future video challenges in a solution-oriented way. Just start the tutorial ... and action!
Welcome to this training course on Adobe After Effects. Your trainer will explain what you can expect in the course in this intro.
In this video, I give an introduction to the course and an overview of upcoming project examples. I also touch on the general structure of the course.
In this video, I explain how I got into Adobe After Effects and how I built up expertise in the subject.
In this video I discuss the general structure and organization of the course and I explain at which point which parts of After Effects are introduced.
In this video I refer to the course materials for download as a bundled zip file.
In this video, I'll show you how to get After Effects, both as a standalone product and through the Creative Cloud.
In this video I show you the view of After Effects when it is opened for the first time. We also discuss the initial presets and in particular the auto-save function.
In this video I explain the hierarchy structure within After Effects and continue with the header area and the individual tabs there.
In this video, I discuss the project area on the left-hand side. Here you can store imported media, introduce folder structures, view effects and more.
In this video, I introduce the preview area that displays the video. Here I talk about the composition tab and the layers tab and show you the individual buttons below the preview.
This video is about the first tabs of the accordion on the right side of the user interface. I discuss the Info and Audio tabs.
This video is about the next tabs of the accordion on the right side of the user interface. I discuss the preview taband the options there.
This video is about the remaining tabs of the accordion on the right side of the user interface. I discuss the Effects, Paragraph and Character tabs.
In this video, I introduce the composition panel in After Effects. I show how to browse layers, how to display different columns, how to solo layers and more.
This video continues with the composition area. I show how to lock or hide layers, how to activate 3D layers and more.
This final introductory video is about the timeline. I show how to customize the workspace, how to set markers and more.
In this video, I discuss basic text and transformation options. I discuss properties such as run width, scaling, anchor point and more.
In this video, I introduce the first keyframes to animate the created text. We let the text move from left to right and I also discuss various interpolation options.
In this video, I animate further parameters of the text and then add motion blur to the text.
In this video, I add a color gradient within the text as well as the glow effect. I also use a mask to add a color gradient to the background of the image.
In this video, I create a fly-in text effect with audio. To do this, I use 3D layers, animate the Z position and synchronize this with the audio file from the course materials.
In this video, I show you how to export created compositions as an AVI file. I also discuss the advantages and disadvantages of this file format.
In this video, I show you how to export created compositions as MOV files. I also discuss the advantages and disadvantages of this file format.
In this video, I talk about the Adobe Media Encoder, an additional Adobe software that allows you to offload renders from After Effects.
In this video I discuss an additional way to create MP4 files using the Any Video Converter.
In this video I show you the different import options in After Effects: importing files via drag-and-drop or directly from the program, importing image sequences and more.
In this video I show the final result of the following section: We create a 3-dimensional cell phone purely from 2-dimensional elements and layers.
In this video, we create the top layer of the phone, which is ultimately responsible for the front view.
This video is about the front of the cell phone. I discuss an alternative option for which we render the generated front view.
In this video, I create the back of the cell phone. Again, I use a mask and a still image of the underlying video.
In this video, I adjust the front and back of the phone so that they are perfectly aligned.
In this video, I create the optical 3-dimensionality of the cell phone, i.e. the side part of the cell phone. To do this, I use numerous duplicates of the 2-dimensional layers and move them in the Z position.
In this video, I put together the front, middle and back views of the phone to create a flush overall model.
In this video, I make further adjustments to make the overall model more realistic. The main focus is on darkening the outer parts of the cell phone, but this is not a trivial modification.
In this video, we move the generated cell phone model in space. We work in the final composition and animate the position and rotation of the cell phone model for a vivid overall effect.
In this video, we add an individual screen to the cell phone screen. To do this, we work in the cell phone front composition and import a screencast recording here as an example.
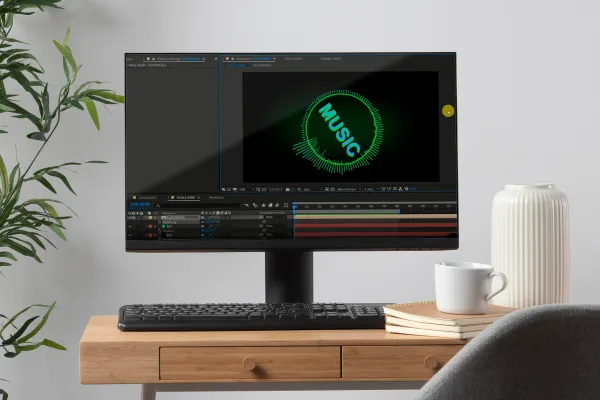
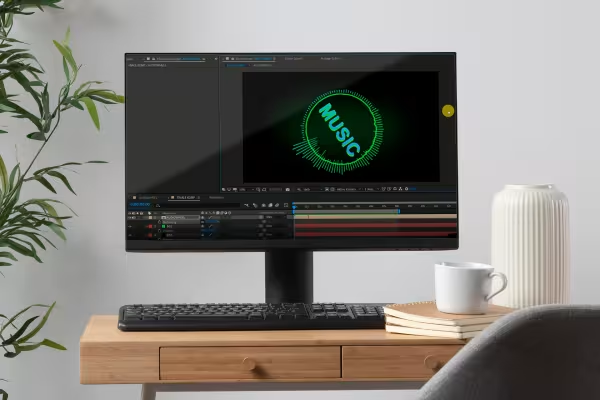
In this video I present the result of the following videos: We animate elements and effects to the beat of an audio file.
In this video I explain the audio spectrum effect, polar coordinates and the alignment of elements on a mask path.
In this video, I introduce the use of expressions. The beats of the audio file are converted into keyframes using a so-called null object. After creating the keyframes, we modify the values by adjusting the expression.
In this video, we further adapt the expression to the goal of the animation to the music. To do this, we use the linear expression to transform value ranges of the amplitude.
In this video, I also adapt the content of the text to the music when there are strong swings.
In this video, we finalize the composition by rotating the music wheel in general and adding randomness via the wiggle expression.
In this video, I use a practical example to show you how you can work with a green screen and corresponding effects in After Effects to crop objects or people.
In this video I give an overview of an alternative way to decouple people from the background without a green screen.
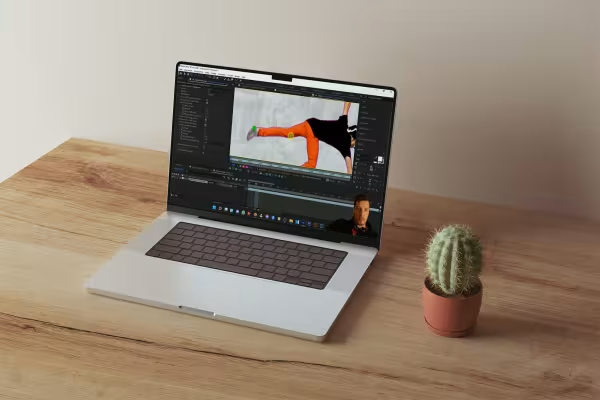
In this video, I discuss the Rotobrush tool in detail to cut out a person from a video. I use a video from the course materials for this.
In this video, I repeat the above effect again in fast-forward and then add duplicates and adjustments to the cropped person.
In this practical example, I create an interview with myself in which I am in the video image twice. I mainly use masks to achieve the desired effect.
In this video, I explain how blending modes and moving masks work using an image example.
This video is about blending modes and how you can use them to combine different layers.
In this practical example, we apply the theory from the last videos and create a cool T-shirt design.
In this video I show how I created an After Effects course image by combining 20 layers. Here are some more insights into the interaction of different layers and structures.
In this video I give a summary of the following section. Sceneries are to be modeled in such a way that objects are integrated into landscapes, objects are removed from existing videos and banknotes are made to float.
In this video, I show the 3D camera tracker tool, which allows us to interpret the example video from the course materials in 3 dimensions. Based on this, I insert a text into the analyzed landscape.
In this video we continue and integrate additional shadows behind our text.
In this video we place a second text in the air and want to fly through a letter of this text in flight.
In this video I give further tips and a useful approach to understanding how to work with light.
In this video, passers-by are to be removed from a video on the beach to make it appear deserted. Content-based filling is used for this.
In this video, the removal of an object becomes more complex, as this is to be done in water. To achieve a good result despite this, several layers, masks and content-based fills are combined.
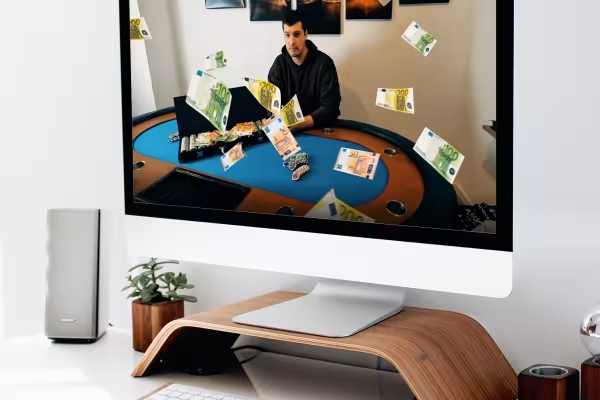
In this video, we start by making banknotes float in space. In this part, we will first look at the alignment of the sound effect and the initial integration of banknotes into the example video.
In this video, further bills are integrated in fast-forward before some of them are animated using various effects as examples.
In this video, we let one of the bills fly through the picture from right to left and then make sure that all the bills fly back into the suitcase at the end.
This video gives a preview of the result of the upcoming parts: a simulated car accident with a broken hood, shattered glass, skid marks and more.
In this video I explain how time distortion works to artificially slow down the car.
In this video we do the basic tuning of the layers for the impact as sound as well as the car and people video.
In this video, we take care of the person who is to be caught by the car. This is cut out and pushed into the right place.
In this video, a null object is introduced as an auxiliary layer and information store and linked to the person's position via an advanced expression.
This video is about realistically placing the person on or behind the hood in the view. To do this, we again work with an additional layer and combine a few tricks.
In this video, we perfect the shadow of the person, which should seamlessly follow on from the shadow of the car.
In this video, we look at other elements of the accident: the car should produce a skid mark and show brake lights.
In this video I introduce the CC Particle World effectand explain the variety of settings and properties of the particles. Finally, we create realistic glass splinters for our accident.
In this video, we also add smoke in the engine area of the car and behind the car to emphasize the braking process. Among other things, we use the effect of fractal noise.
Finally, this video simulates damage to the hood caused by the impact of the accident. Among other things, we use the CC Split effect for this.
Comment now „Adobe After Effects CC - from getting started to brilliant videos (Tutorial)“