In this After Effects tutorial, I will show you how to create a cool t-shirt design with a Bitcoin motif. Based on the knowledge from previous videos, I will explain step by step how to combine the different elements to create a professional design that you can sell online. Get ready to implement creative ideas and improve your design skills.
Key Insights:
- You will learn how to import and adjust a Bitcoin graphic in After Effects.
- You will find out how to create a new composition for your t-shirt design.
- It will be explained how to merge and adjust the different design elements.
- You will know how to correctly export your finished design for use in t-shirt printing.
Step-by-step Guide
Let's start with importing your Bitcoin image file. Open After Effects and drag the image into a new composition. This will give you the flexibility to adjust the image size and settings to meet your needs.
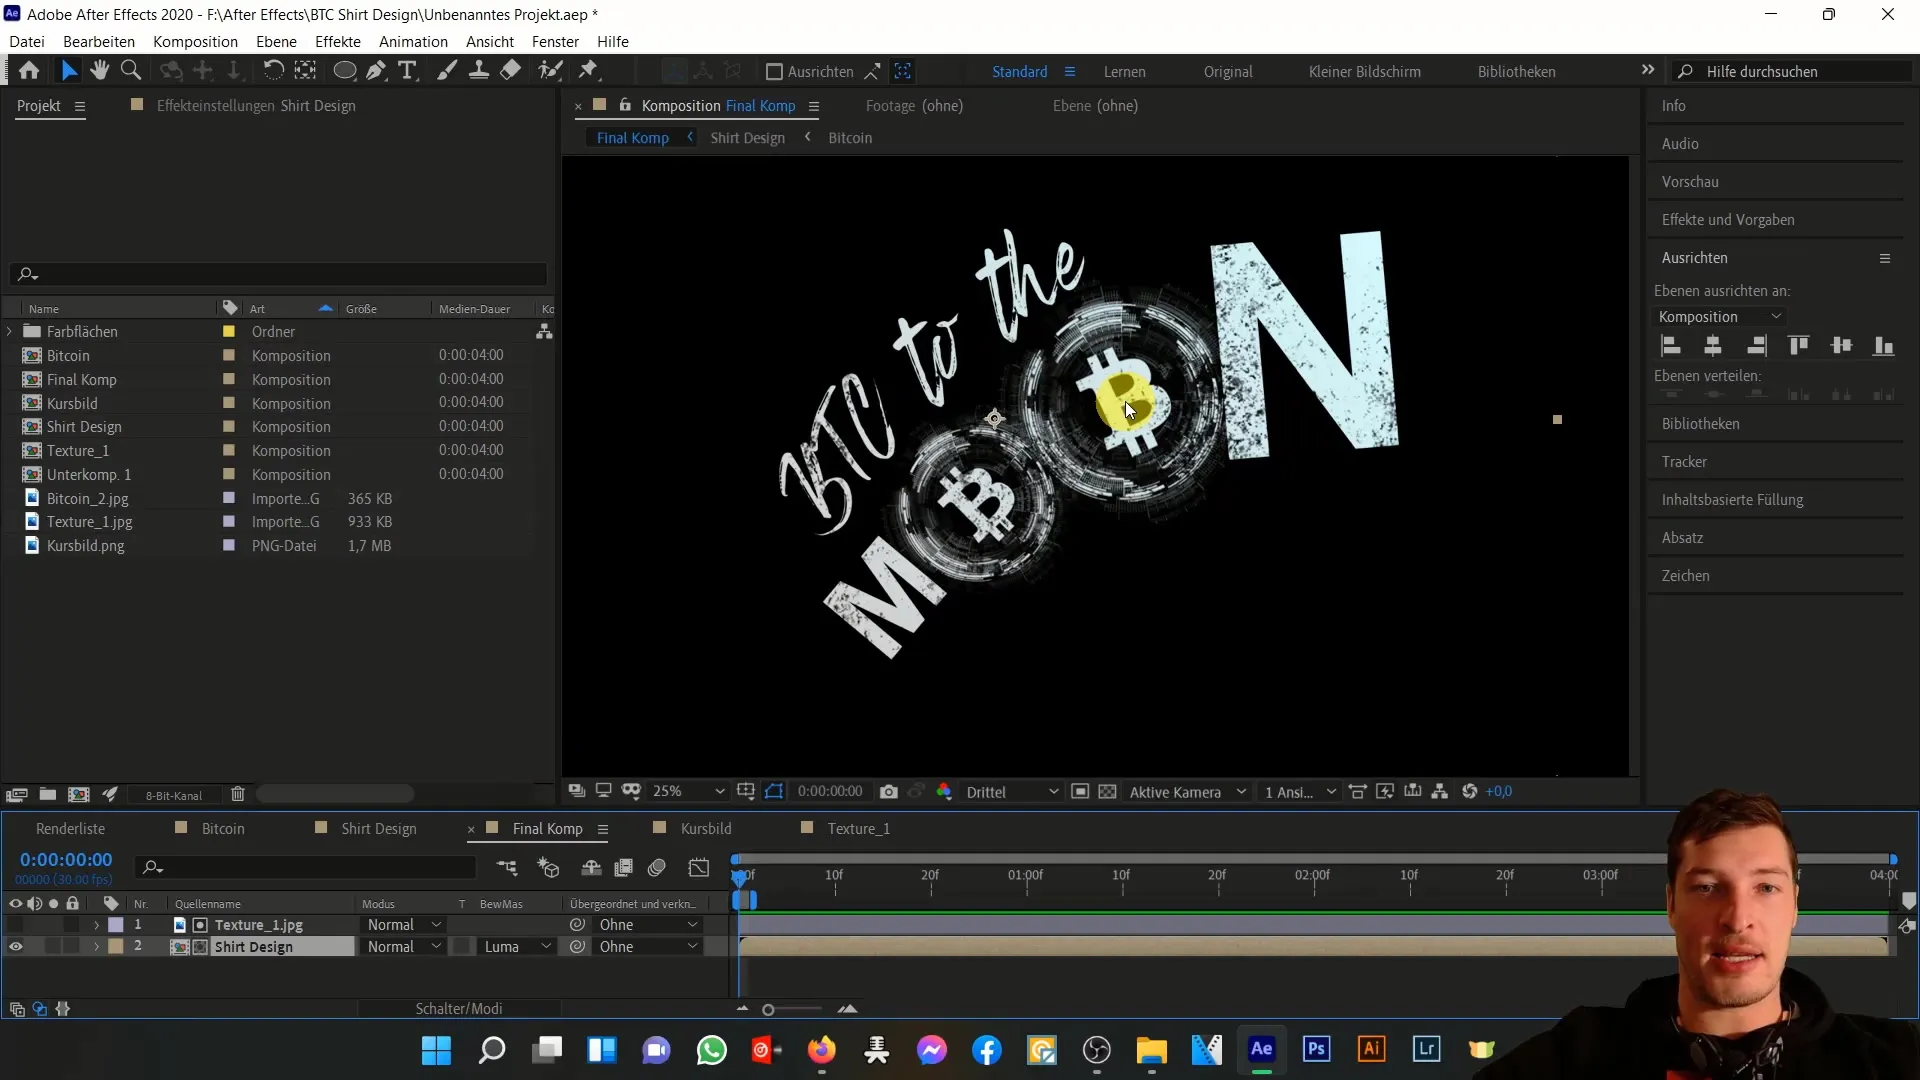
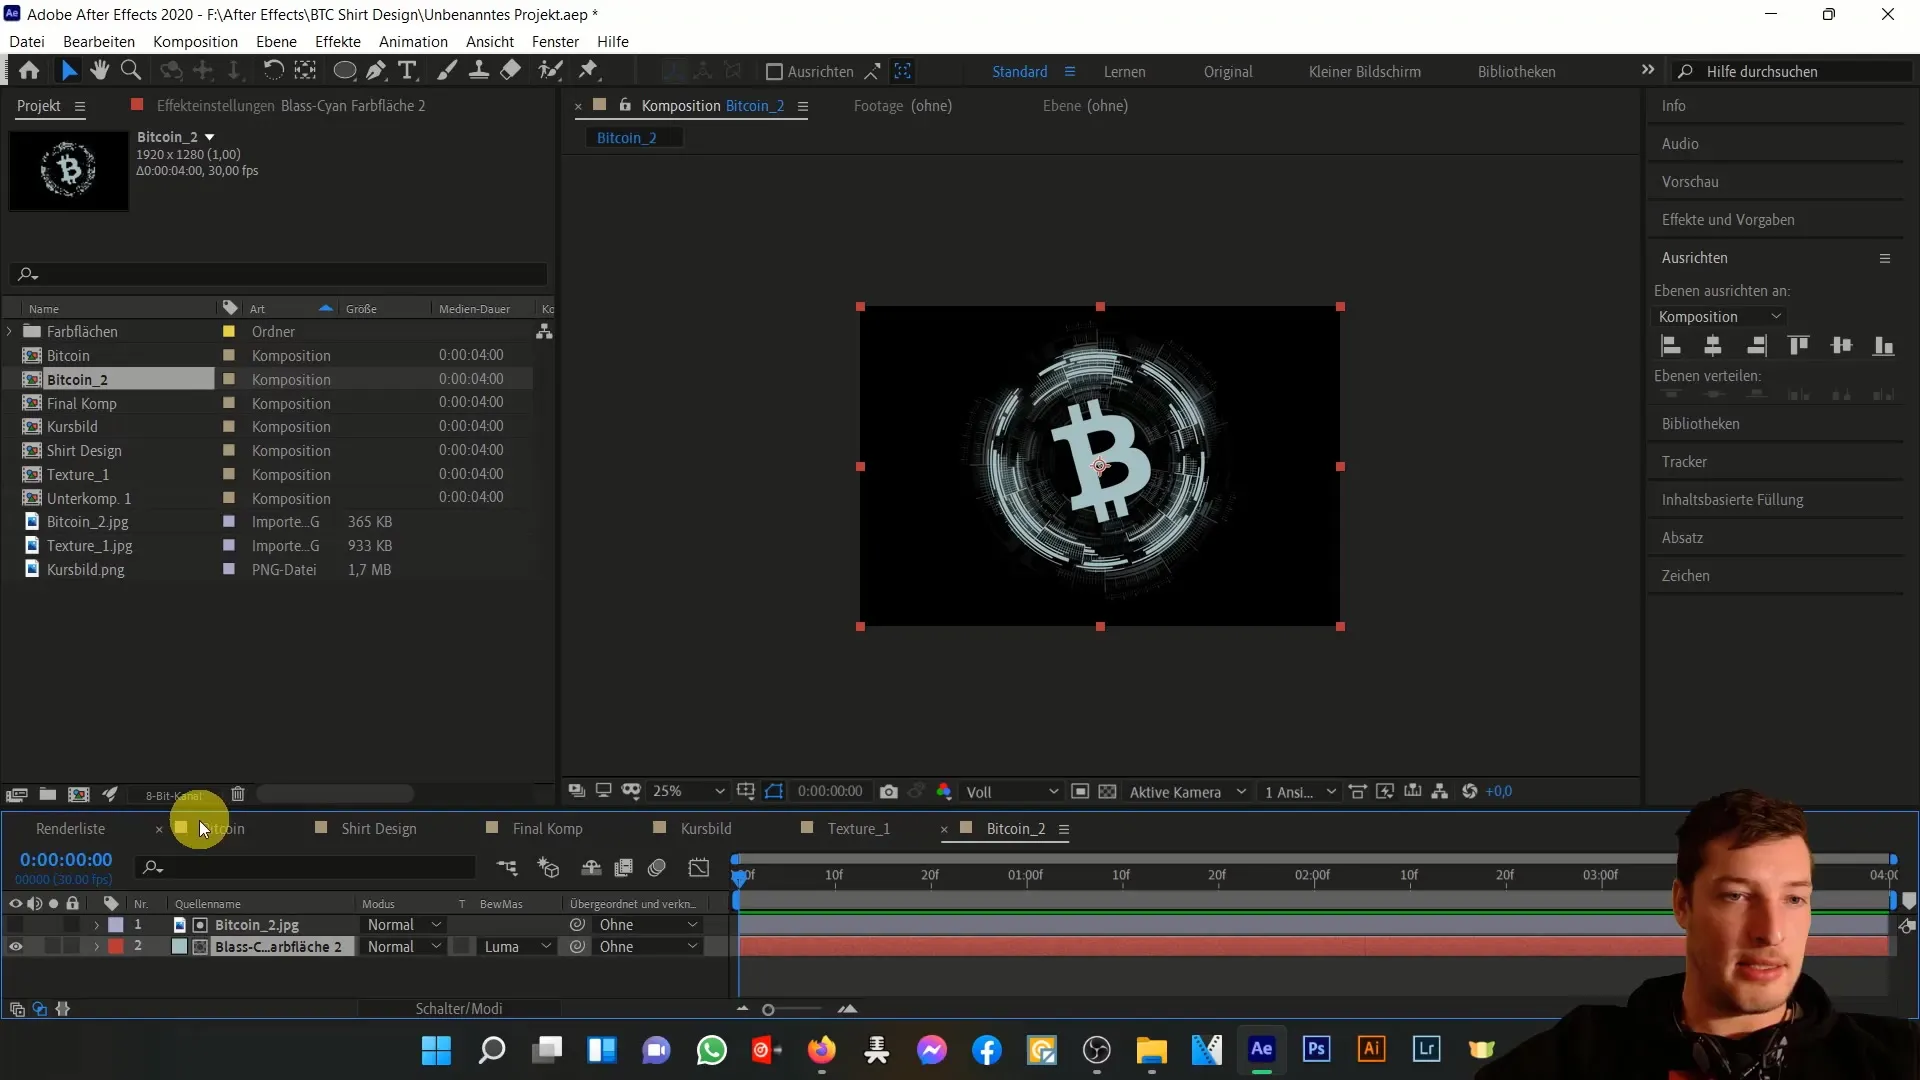
Once you have added the Bitcoin graphic, it is important to ensure that the black areas do not have alpha transparency but are displayed as a solid part of the graphic. This means that if you set a color behind, the black area will not be transparent. To change this, you can set the mode to "Luminance Luma".
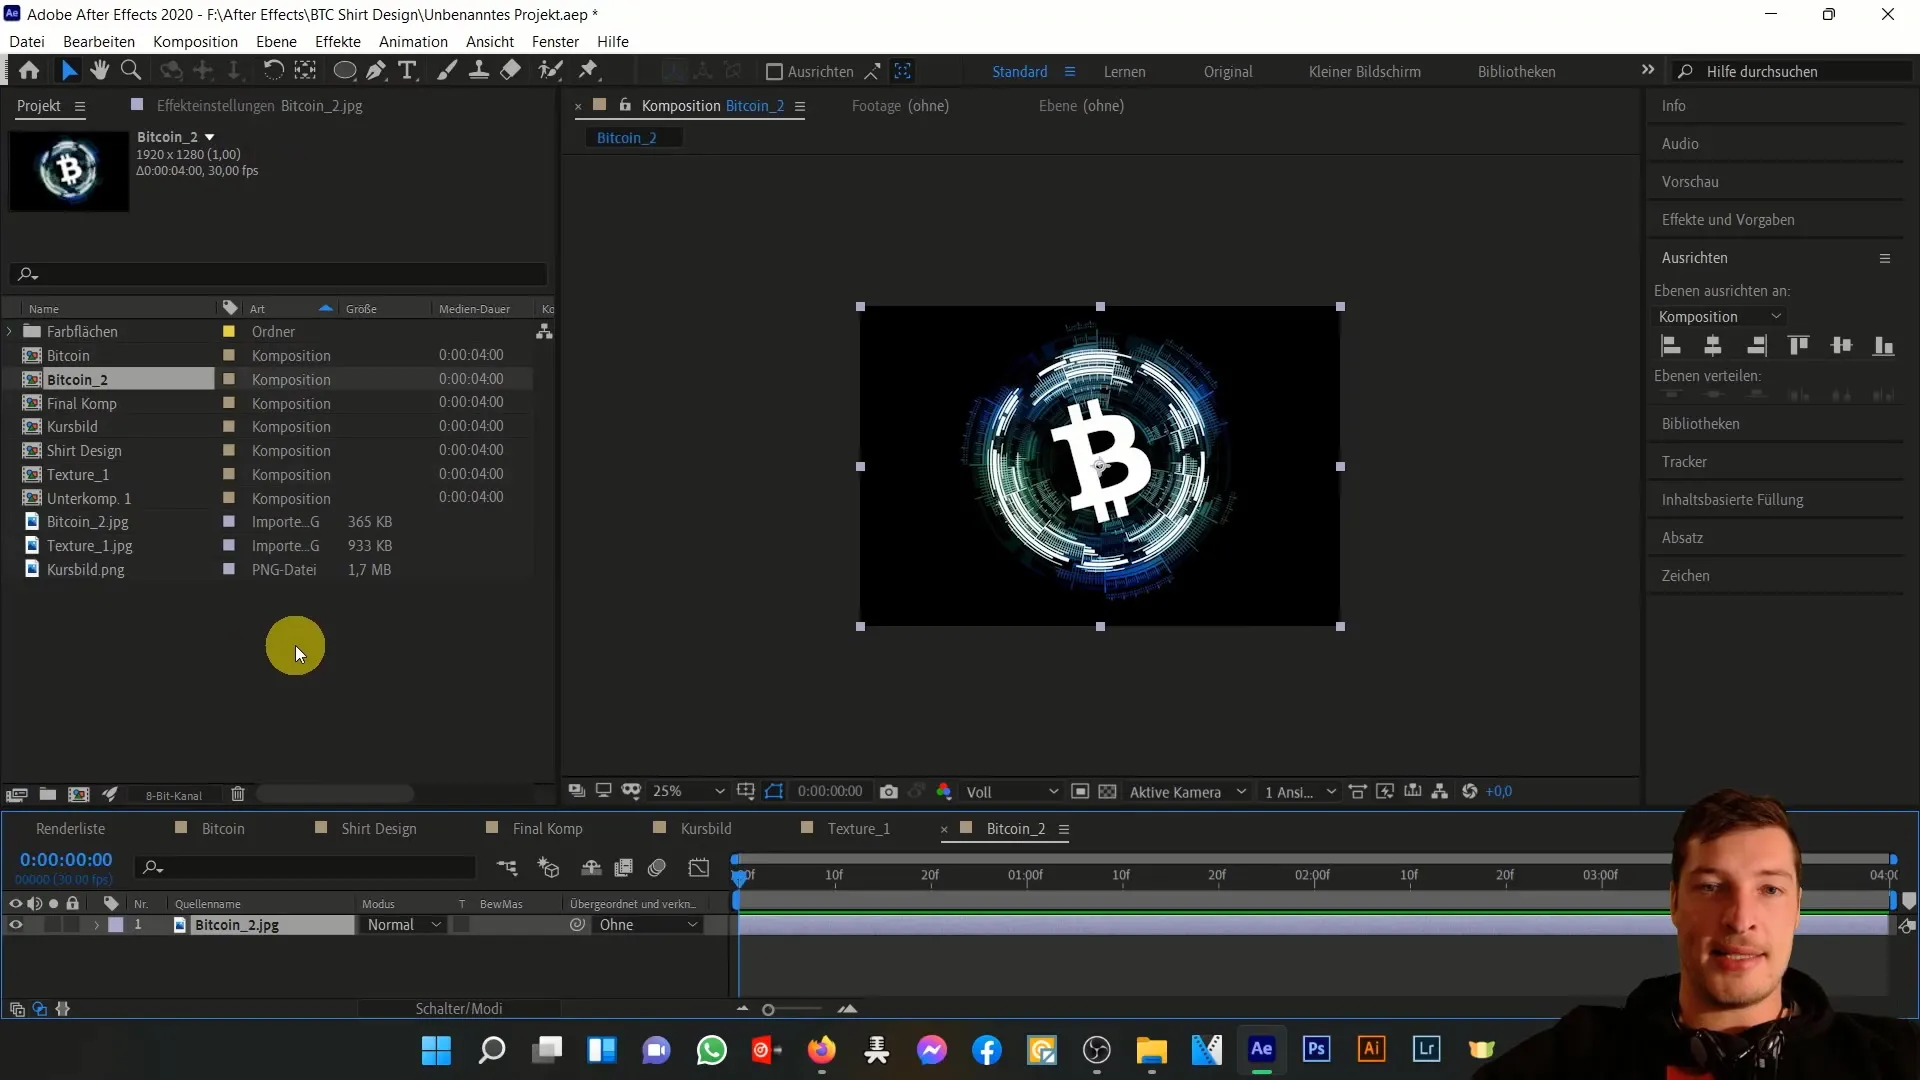
Now you may notice that the result may not look optimal because the dark areas of your design have been transferred to the stencil. To create a mask based only on the luminance values of the Bitcoin image, select the "Luminance Mask Bitcoin 2" option. This will adjust the mask accordingly, allowing you to remove the black areas from the graphic.
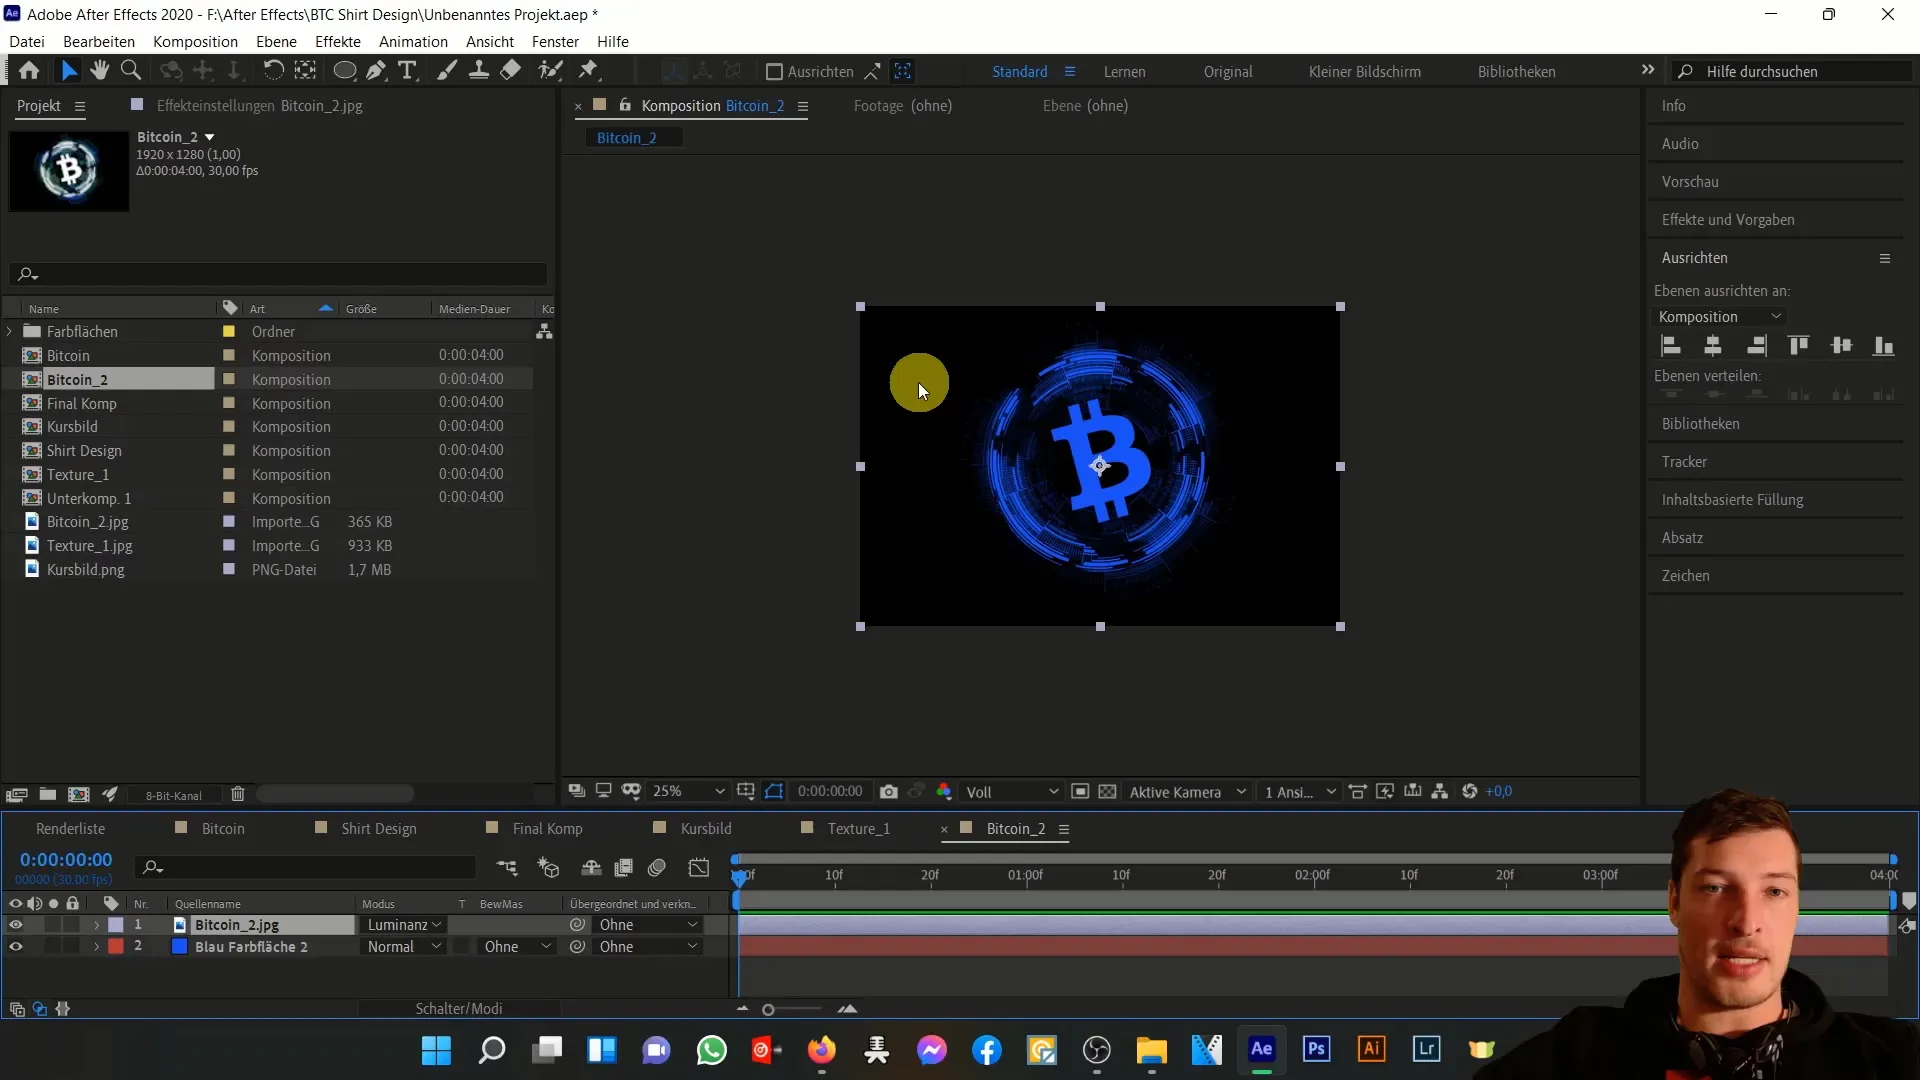
To make the Bitcoin design visually more interesting, you can change the colors. Choose a shade that leans towards the moon and adjust it until you are satisfied with the result. You may want to try out some gray or turquoise.
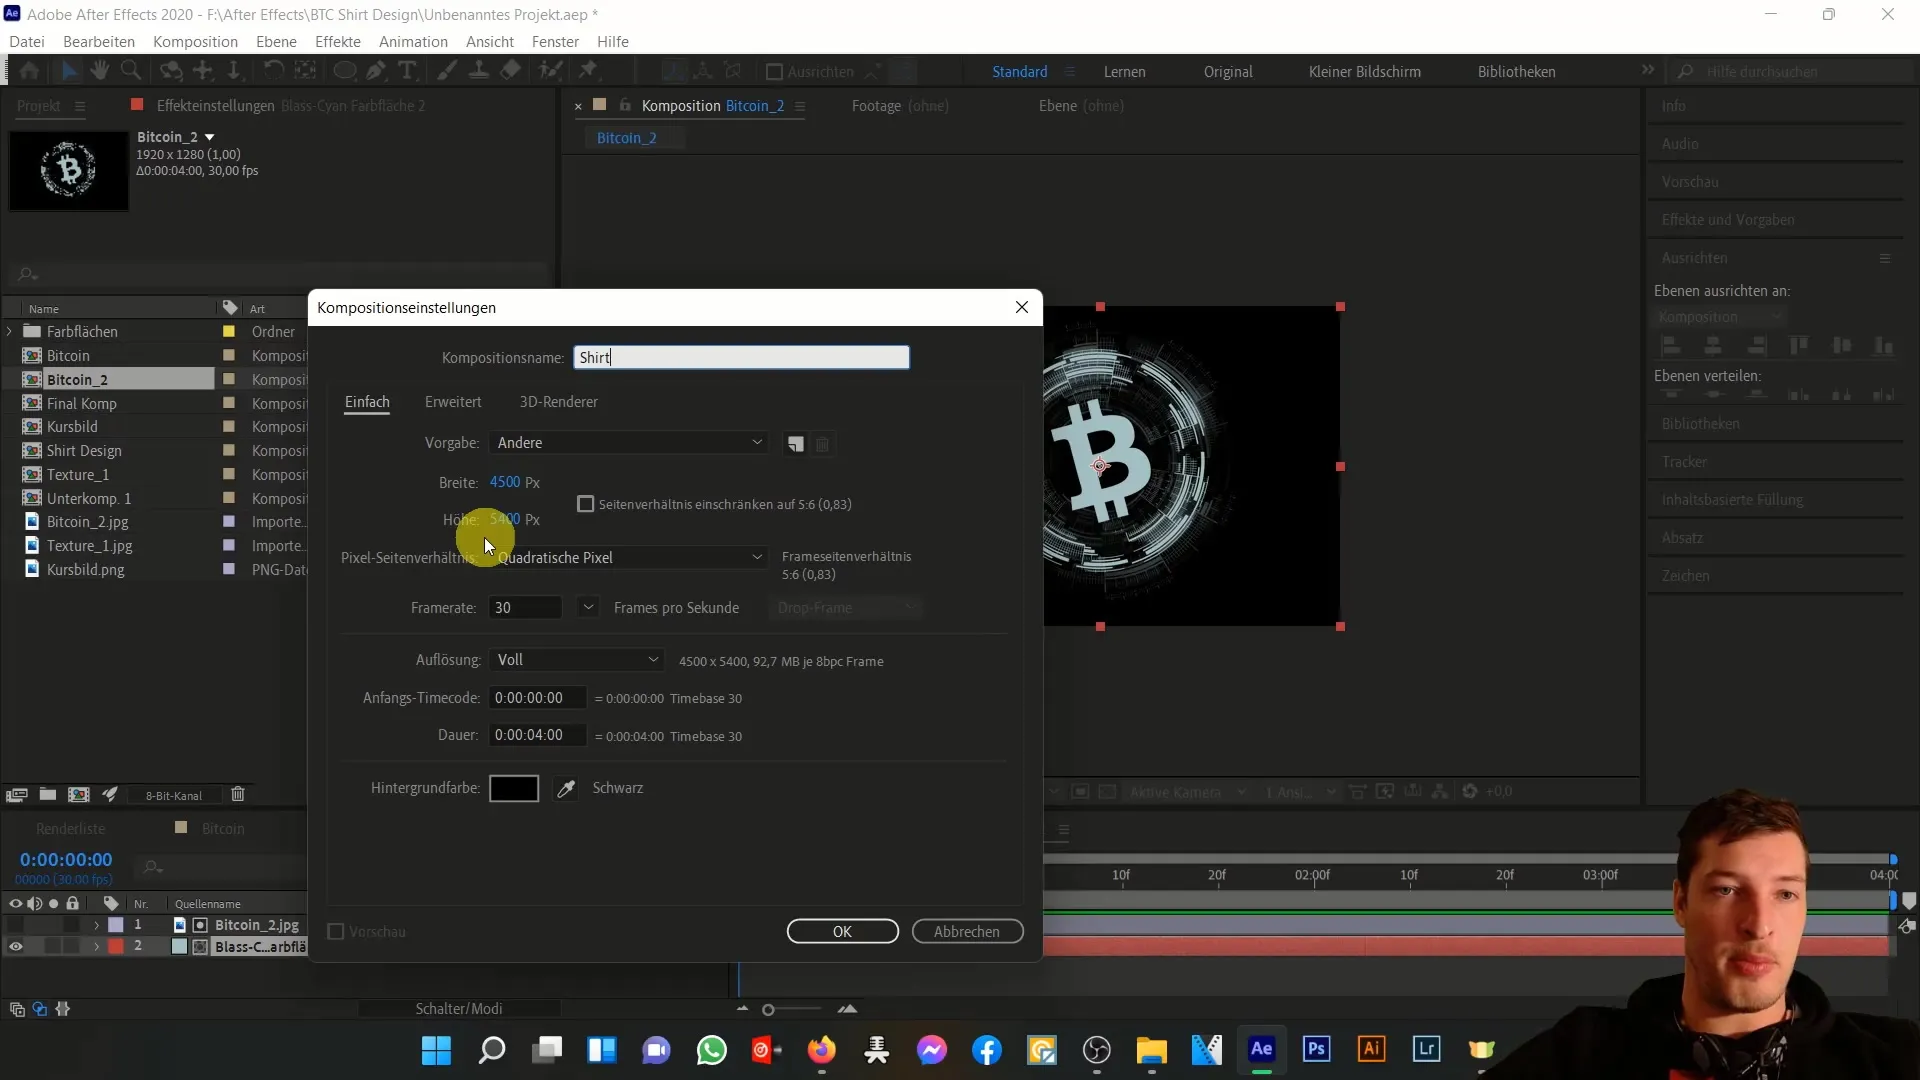
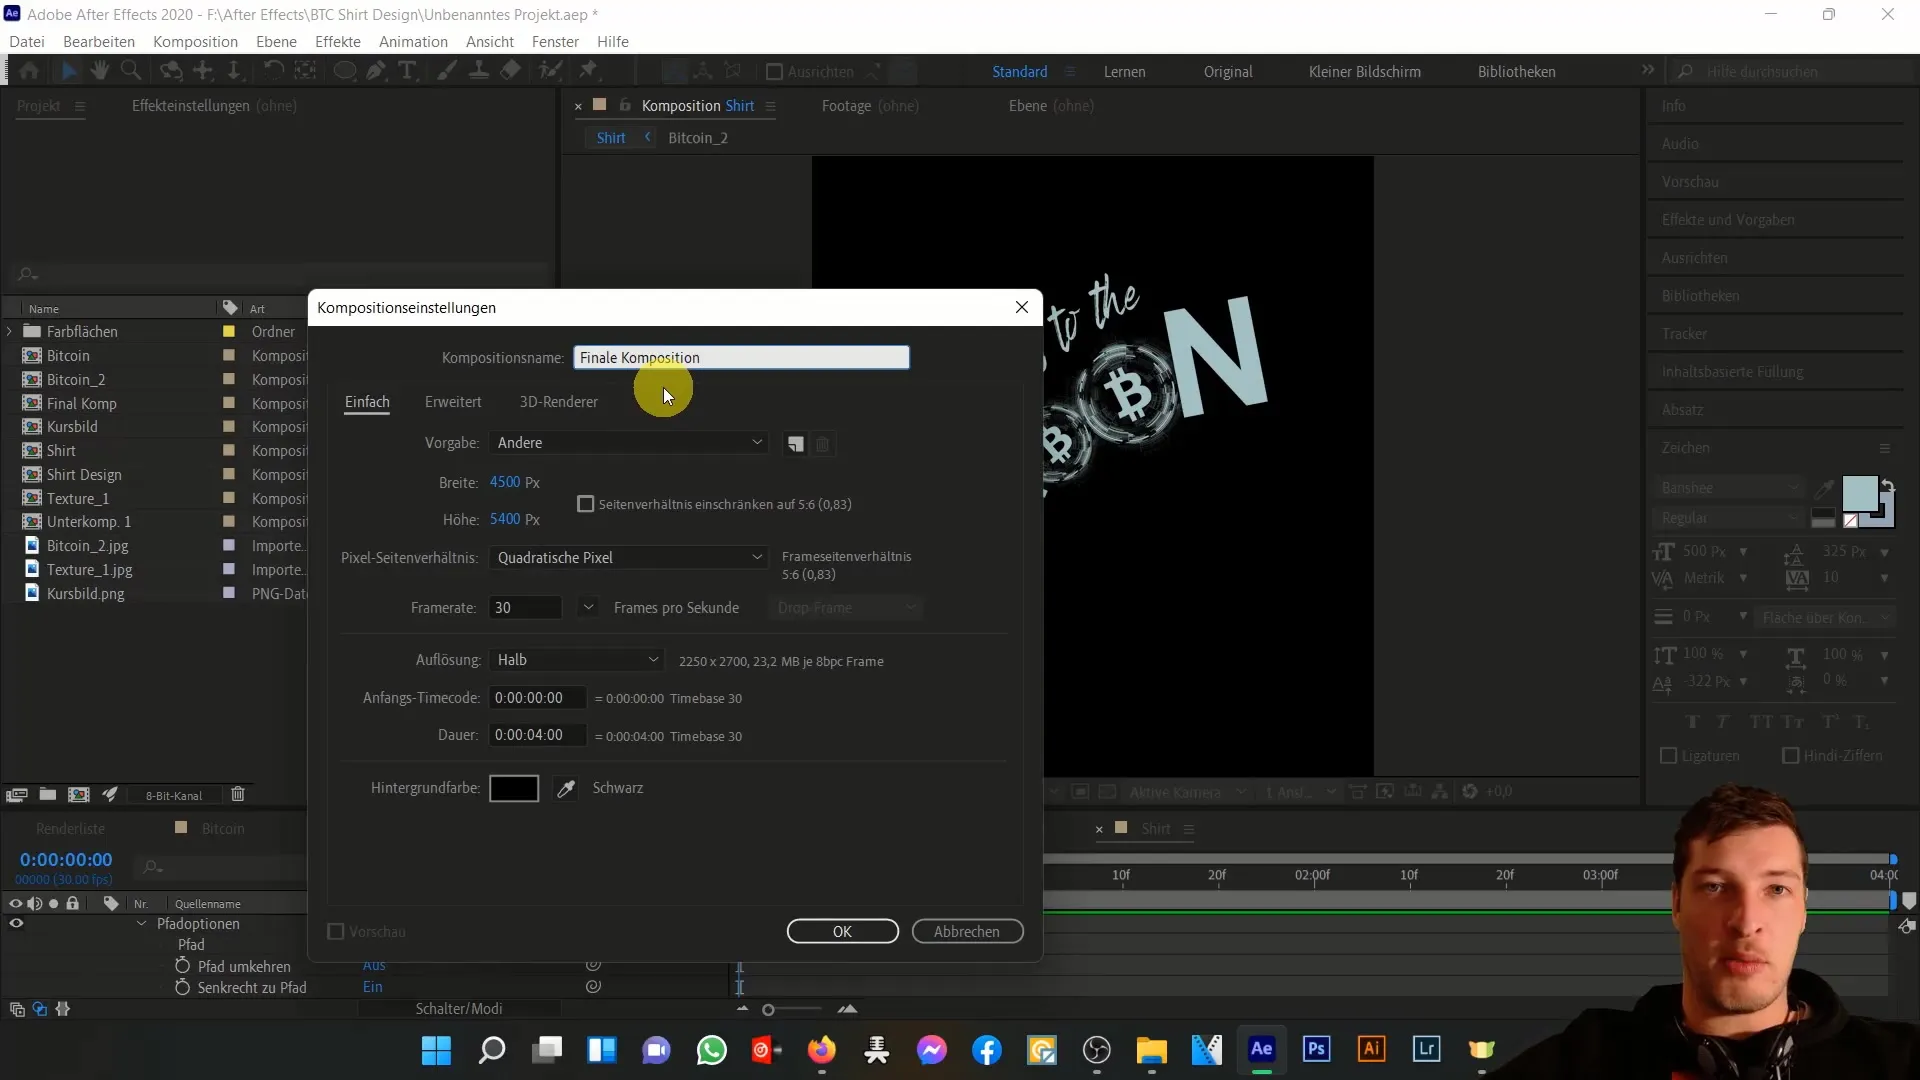
Now, let's create a new composition for the t-shirt design. Make sure it has dimensions of 4500 pixels in width and 5400 pixels in height to meet the requirements for printing on Merch by Amazon.
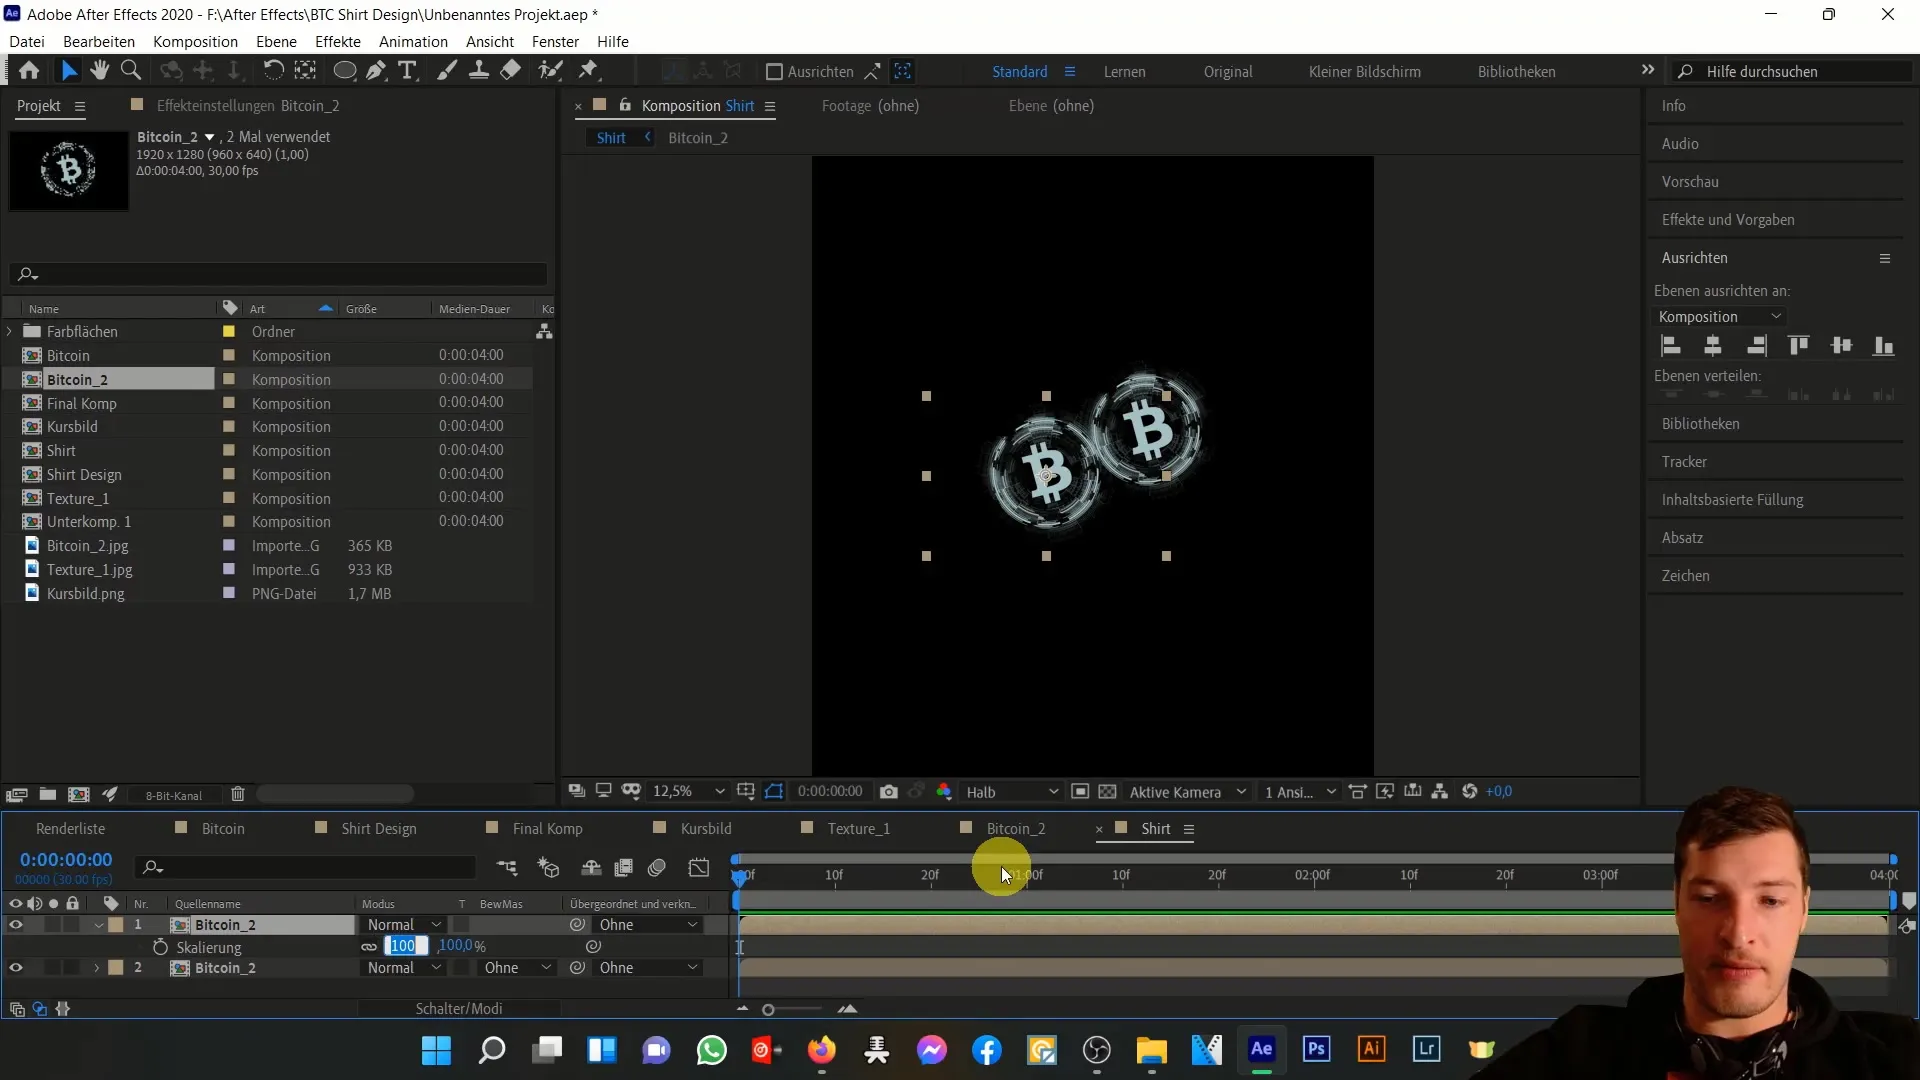
Import your Bitcoin composition into this new t-shirt composition. Duplicate the Bitcoin element and place the different versions side by side. You can adjust the sizes of the graphics, for example, one at 70% and the other at 90%, to create visual depth.
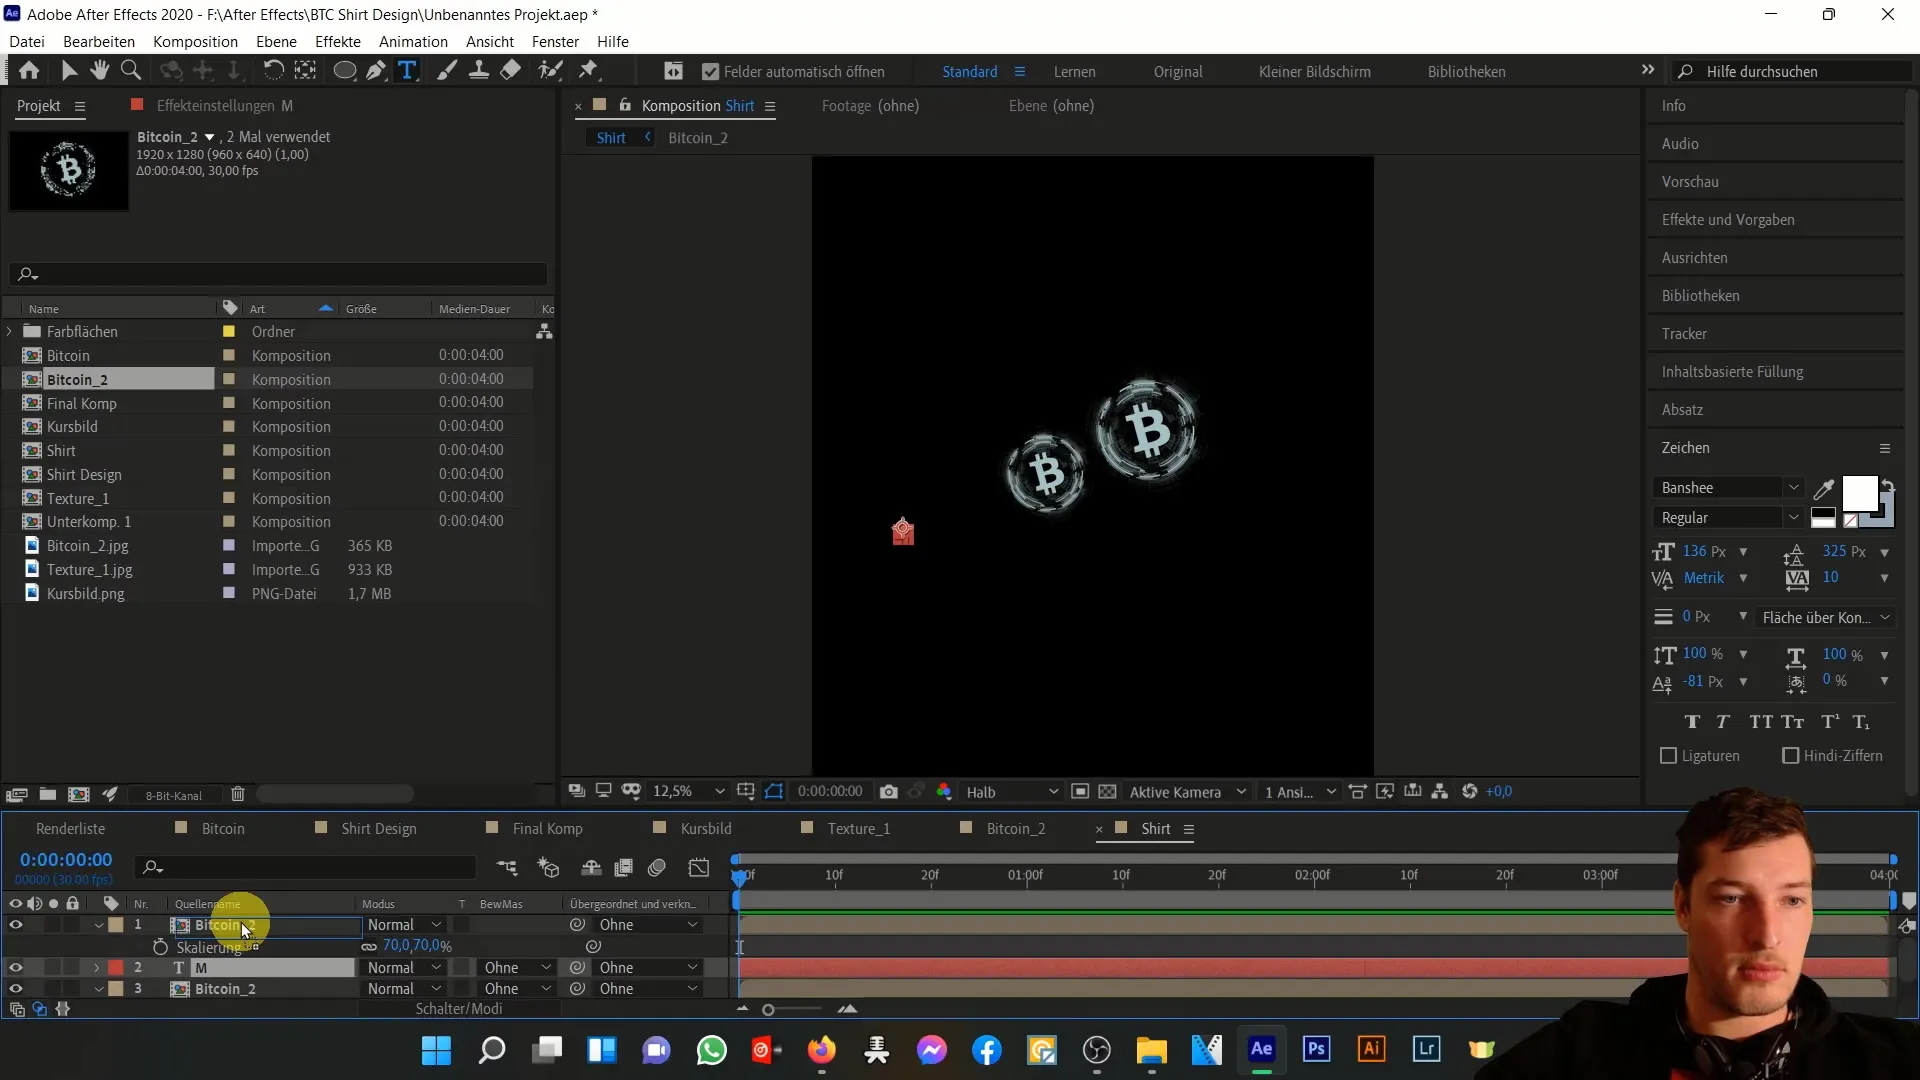
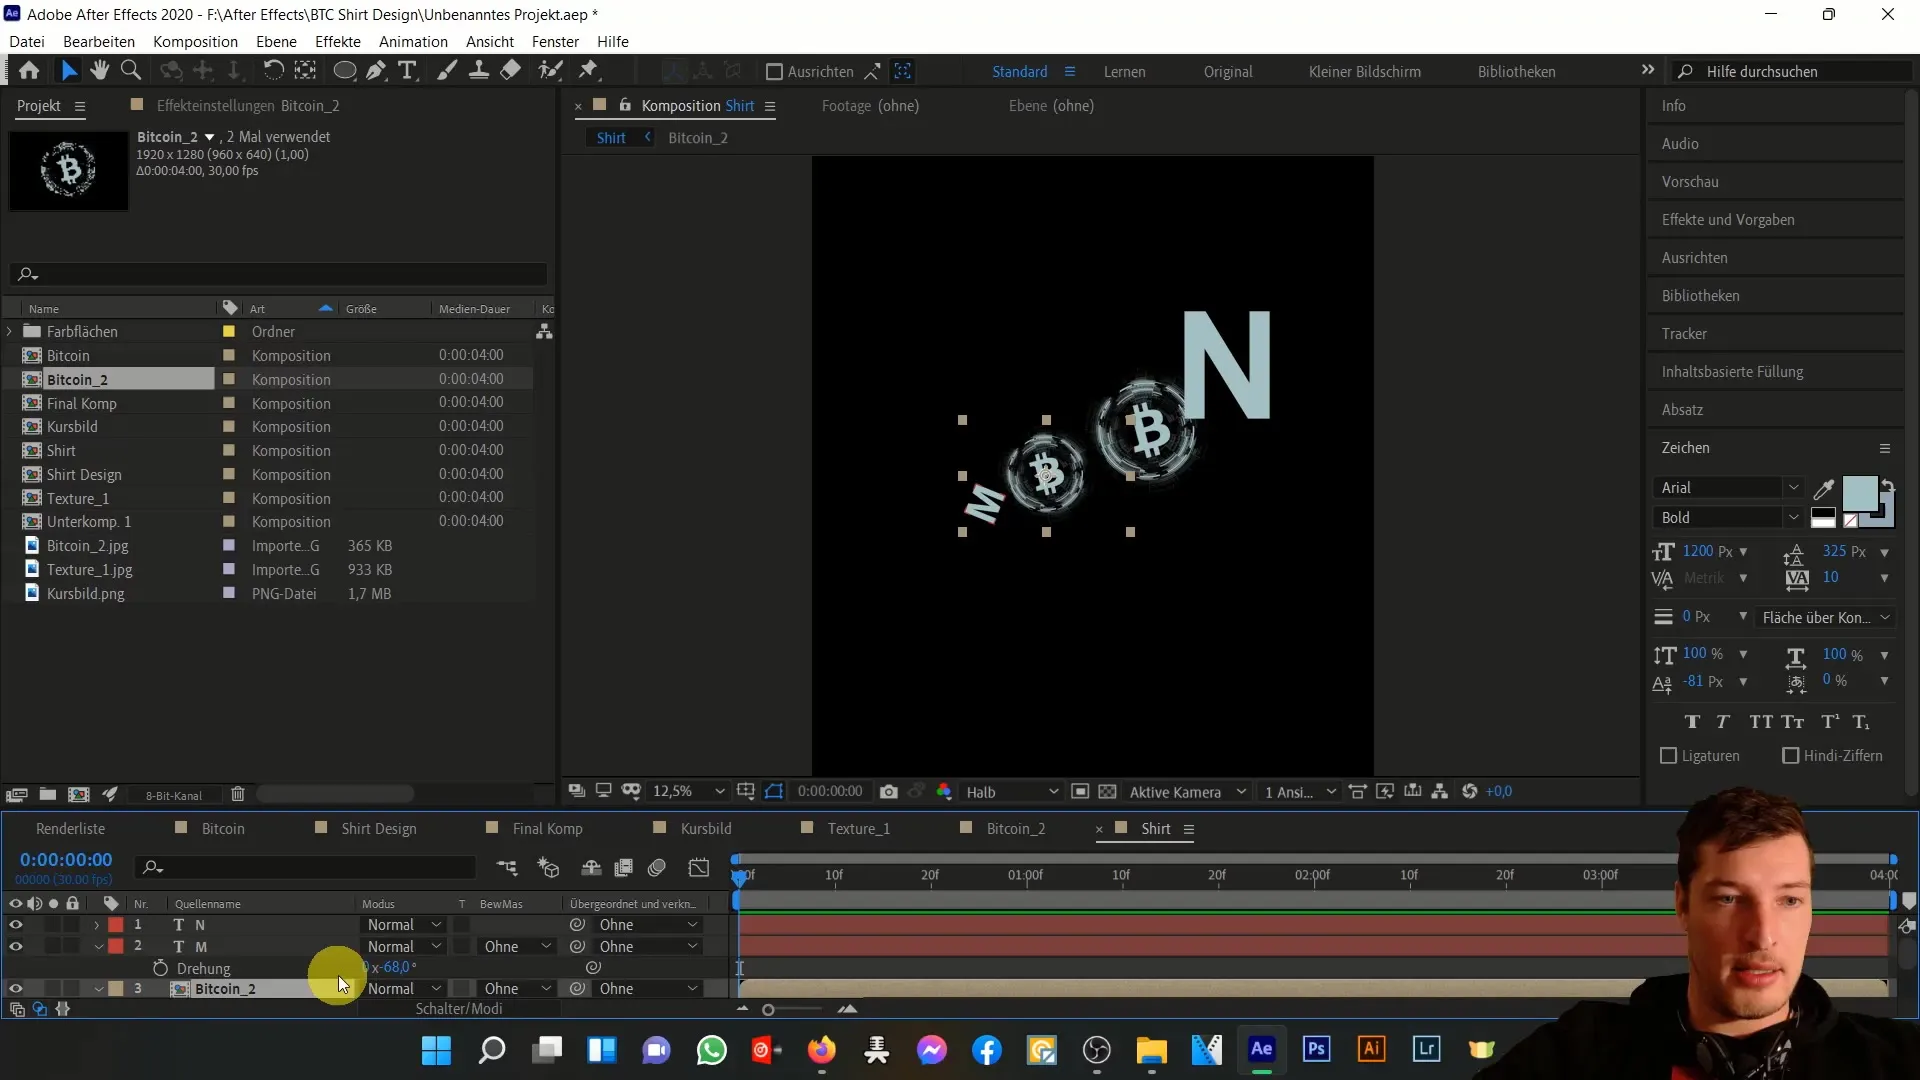
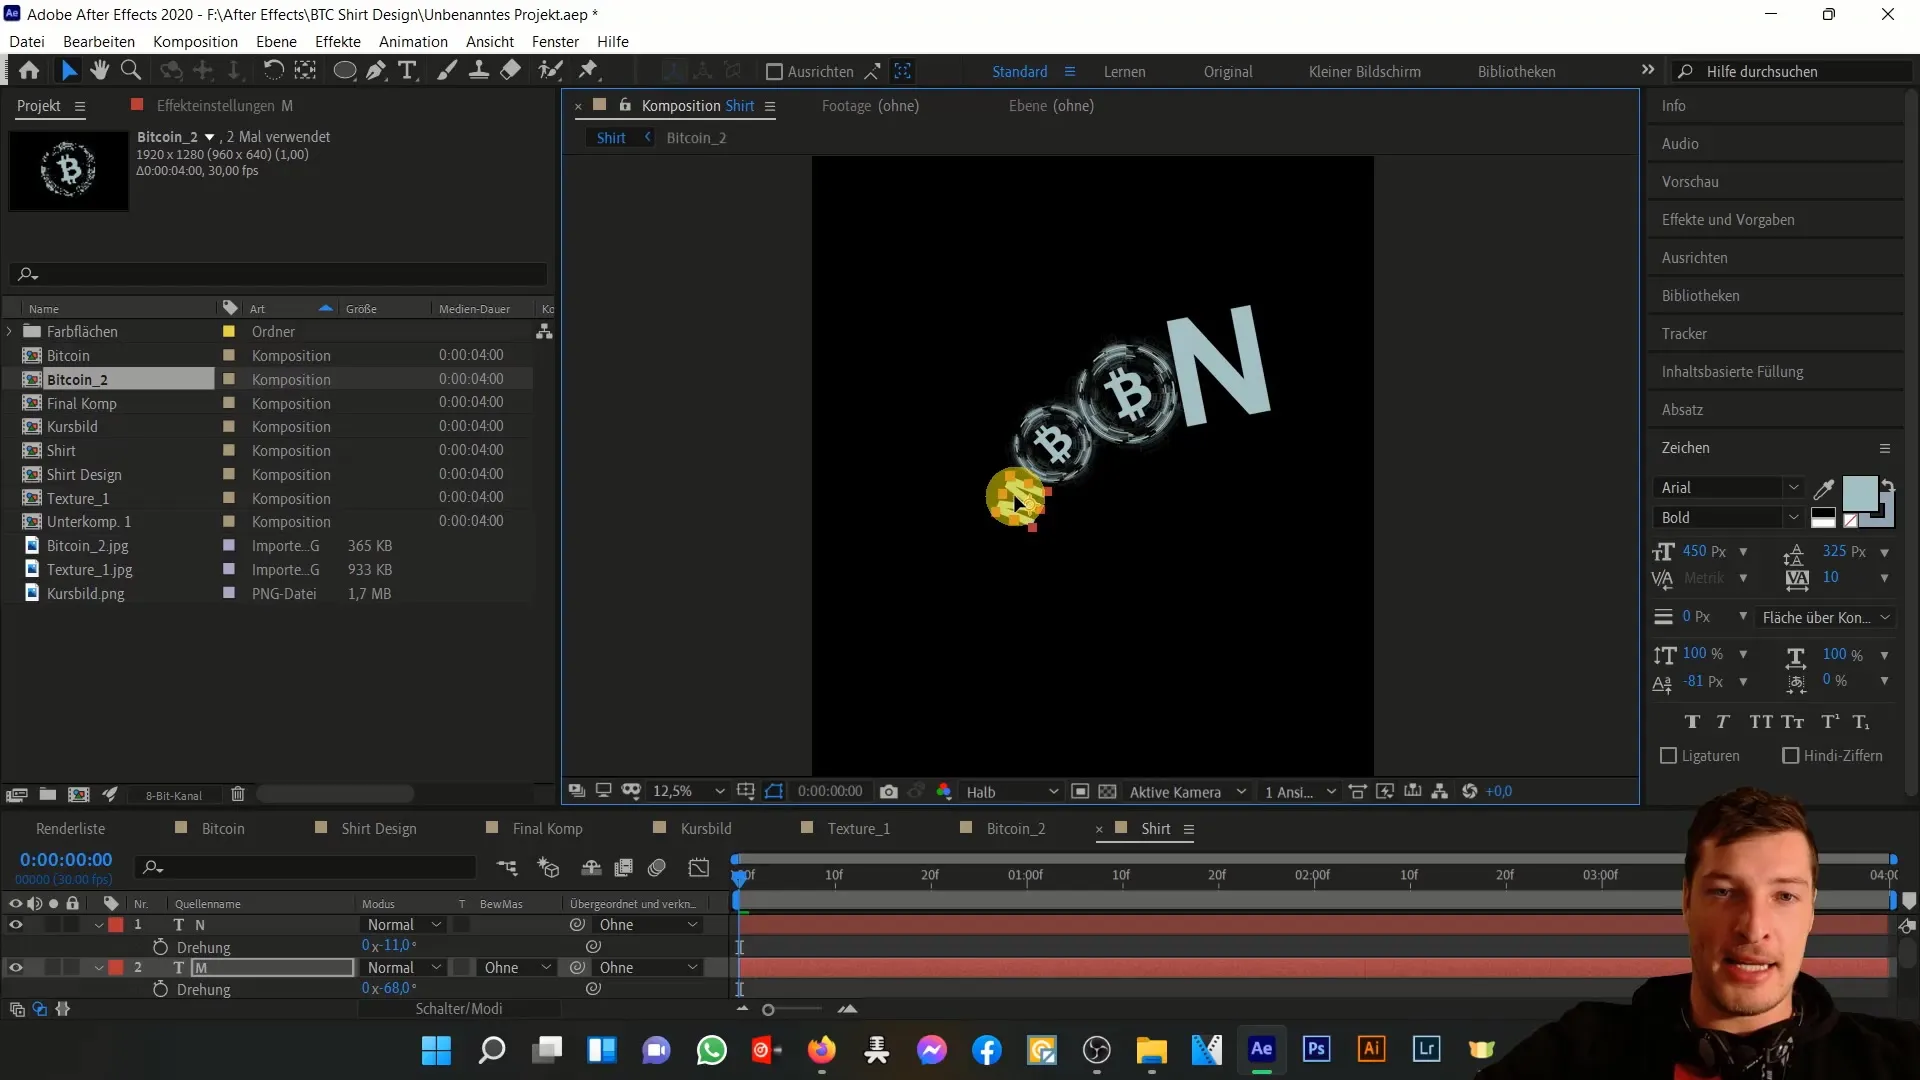
Now add text. For example, the letter "M" that you can enlarge in a suitable font and color to match your Bitcoin design. You can duplicate the letter "N" and place it accordingly.
Give the letters a rotation to better fit into the overall picture. You can rotate them slightly to the left to create a dynamic arrangement.
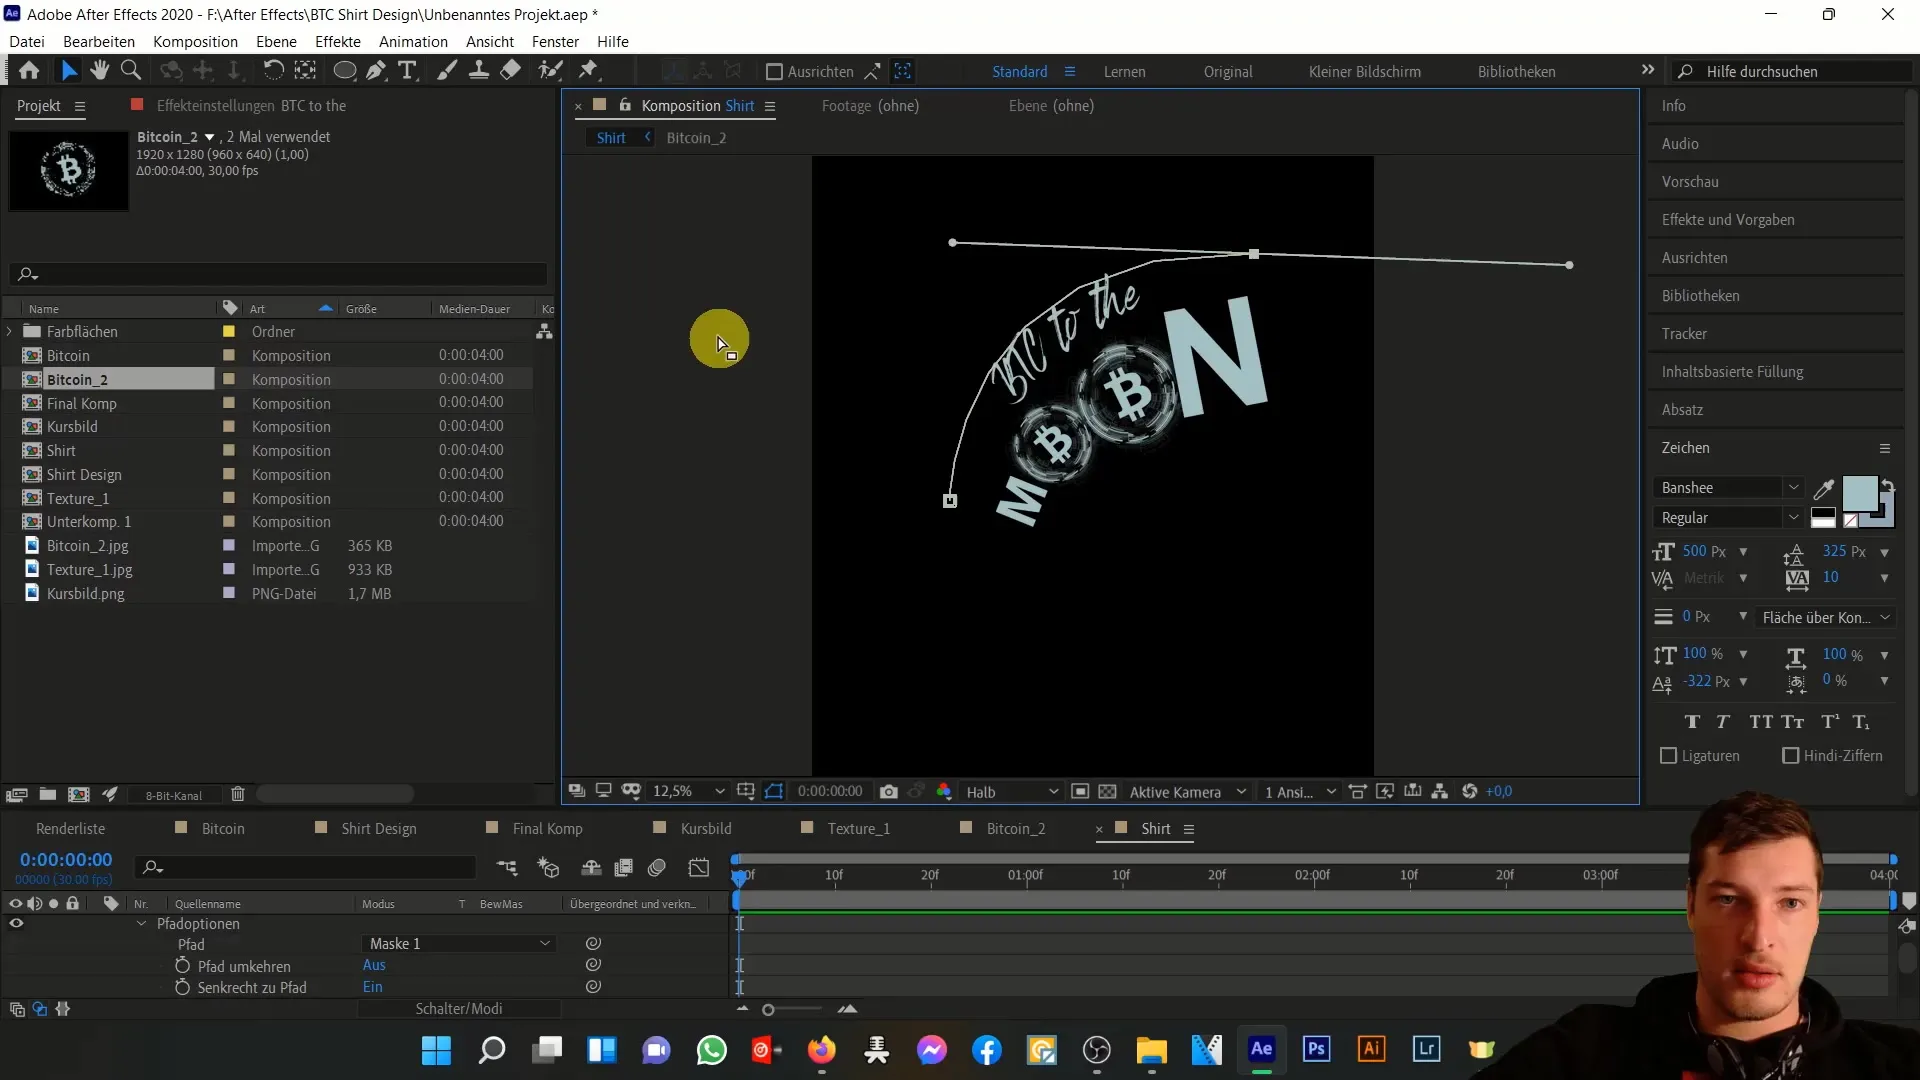
Now add the text "Bitcoin to the" which is a common phrase in the crypto scene. Choose a font and adjust the size until it fits your design.
For better alignment, you can adjust the position of the text to ensure it remains in the viewer's eye and blends well with the other elements. Tilting the mask could add even more dynamic to the design.
To create the final composition, create a new composition with the same dimensions, 4500 pixels in width and 5400 pixels in height. Import the T-shirt composition and position it centrally in the new composition.
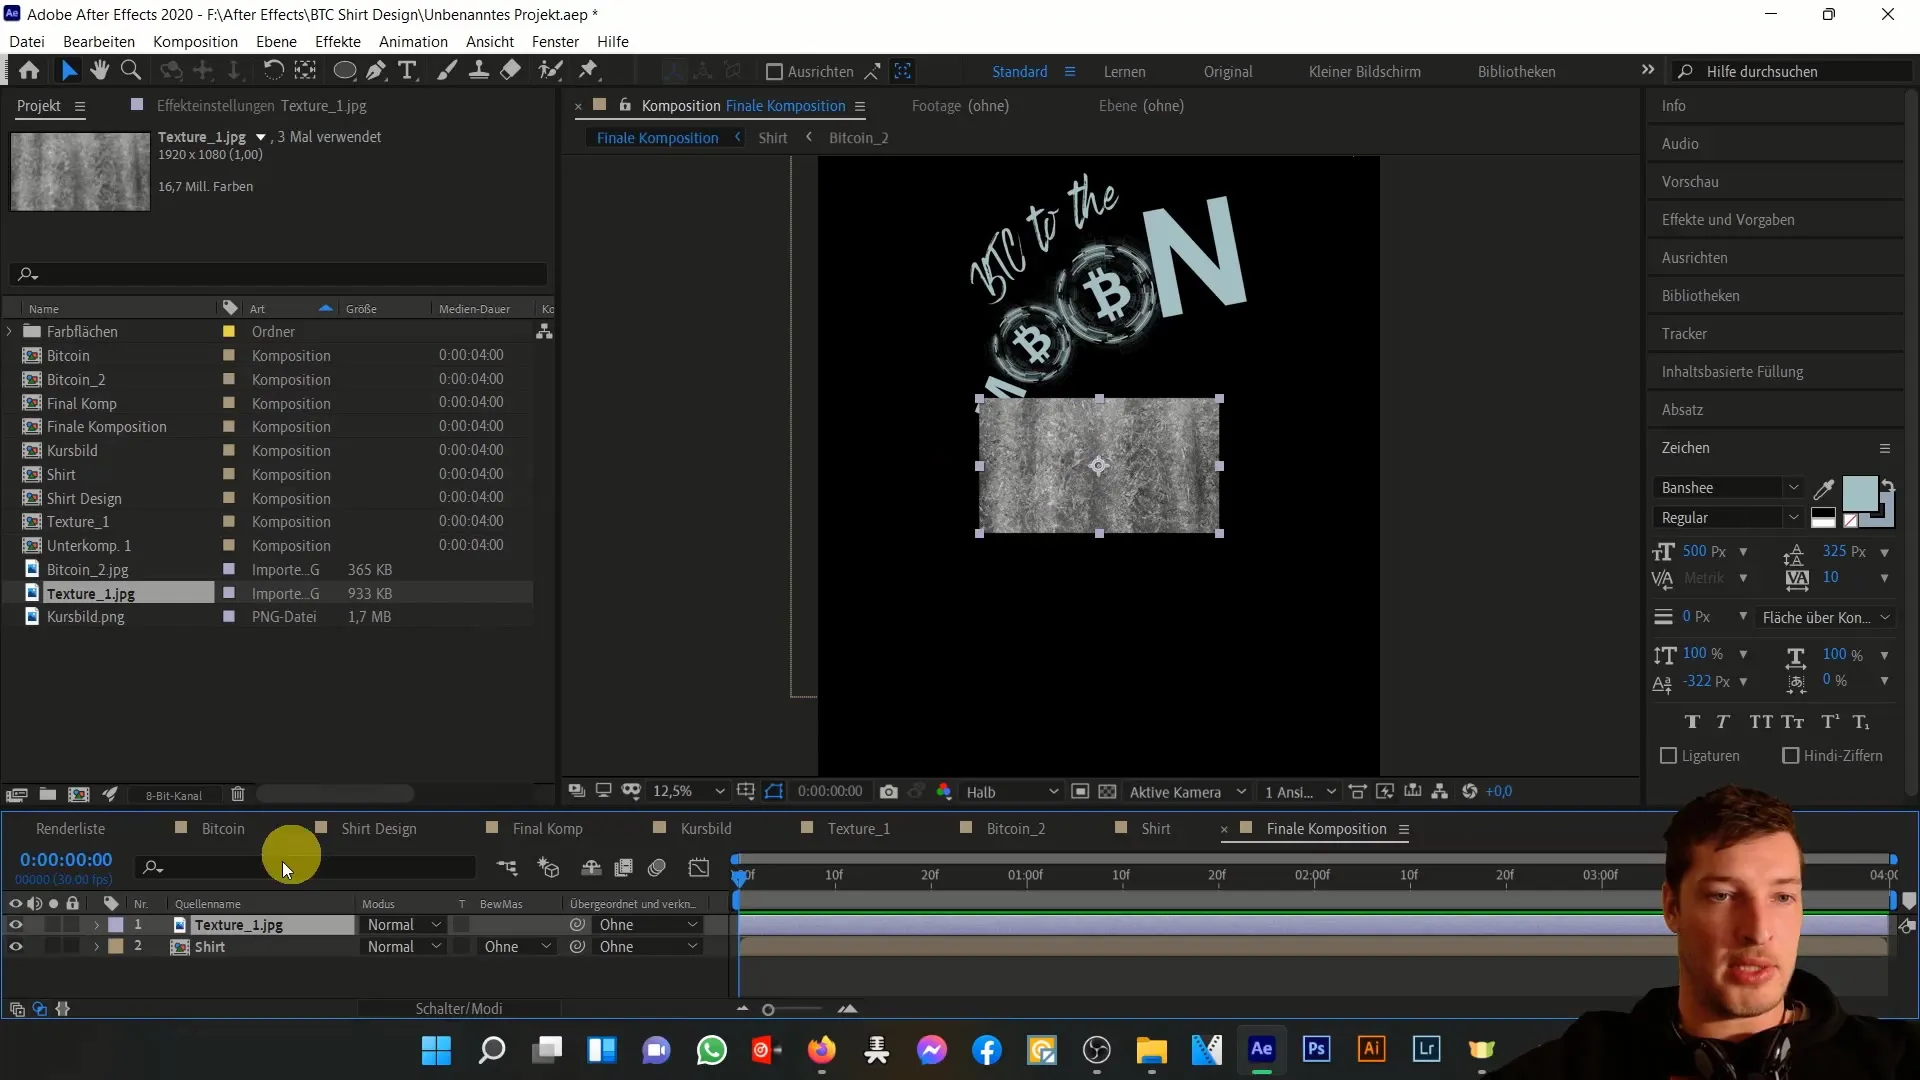
Now add a texture file to give more structure to your design. Make sure to place the texture layer in a way that it overlays the typography.
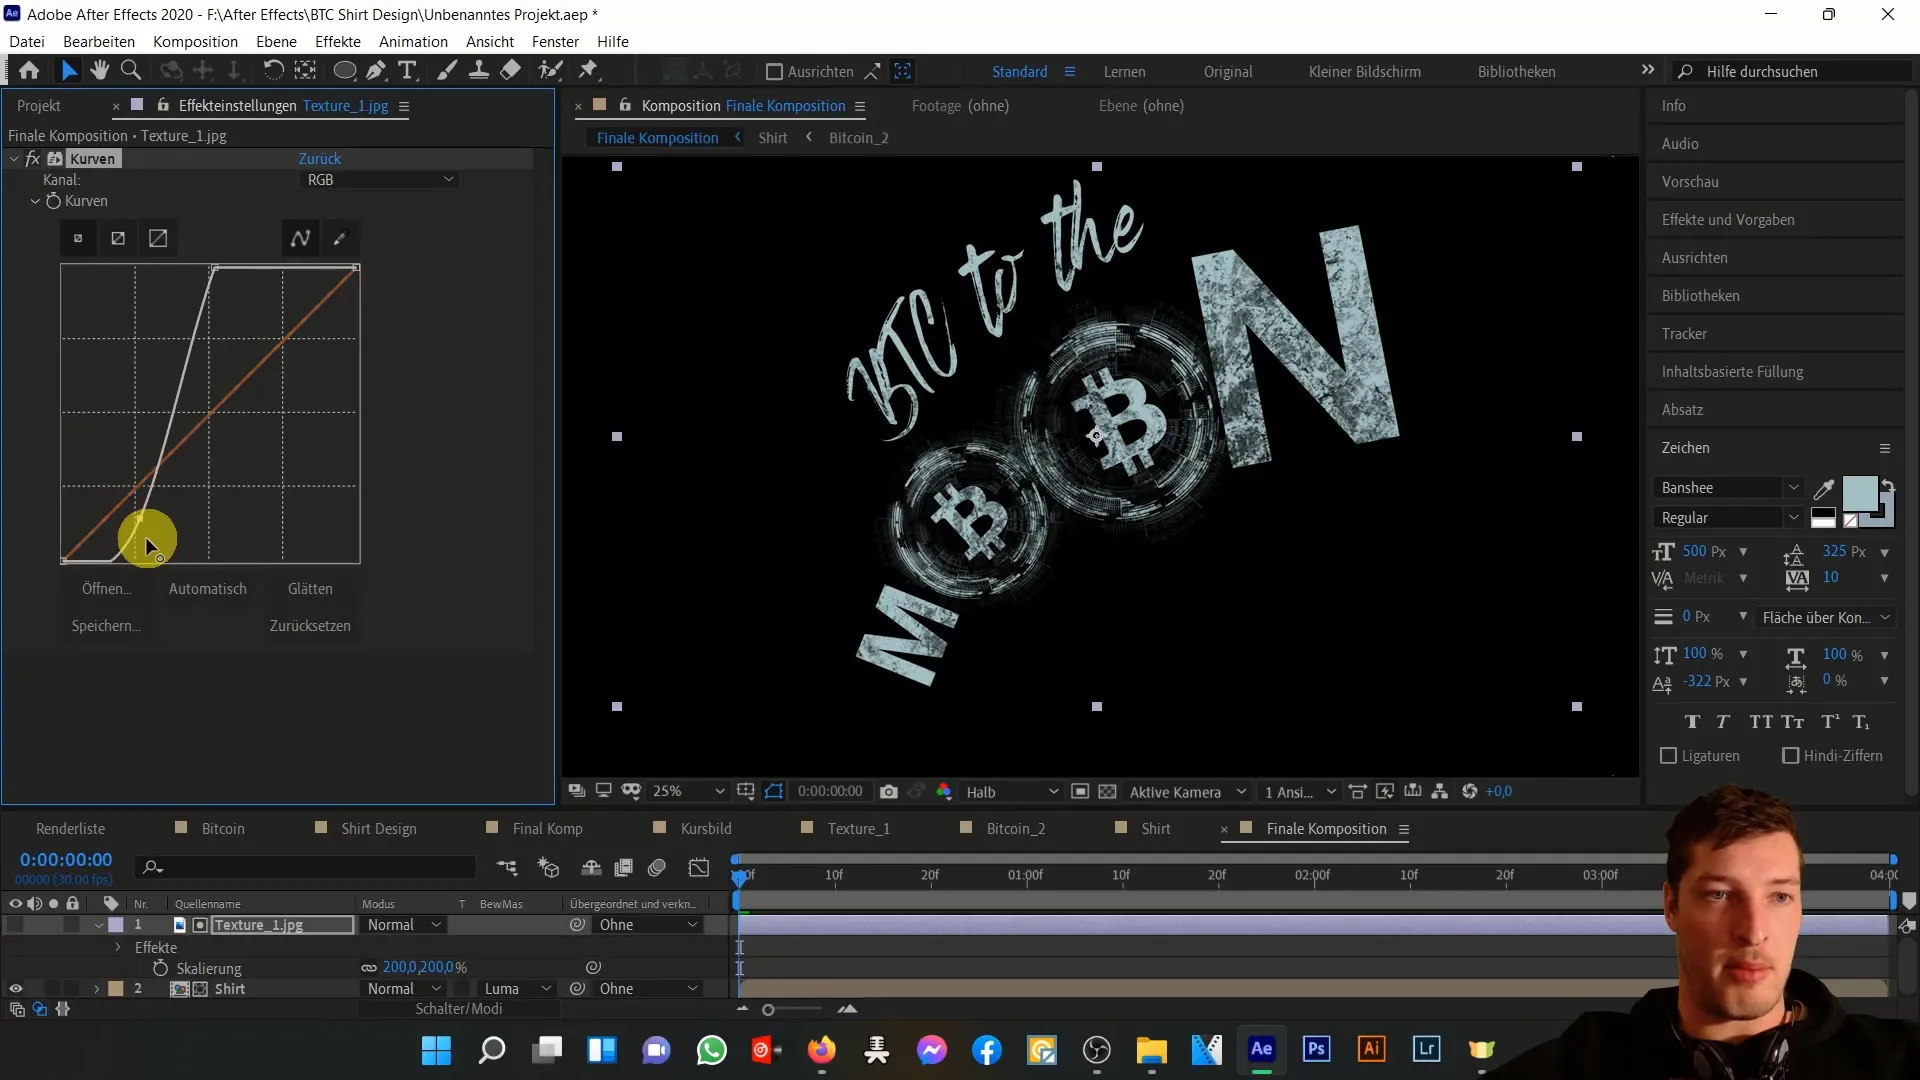
Refine the brightness and contrast of the texture to ensure your design is both vibrant and appealing.
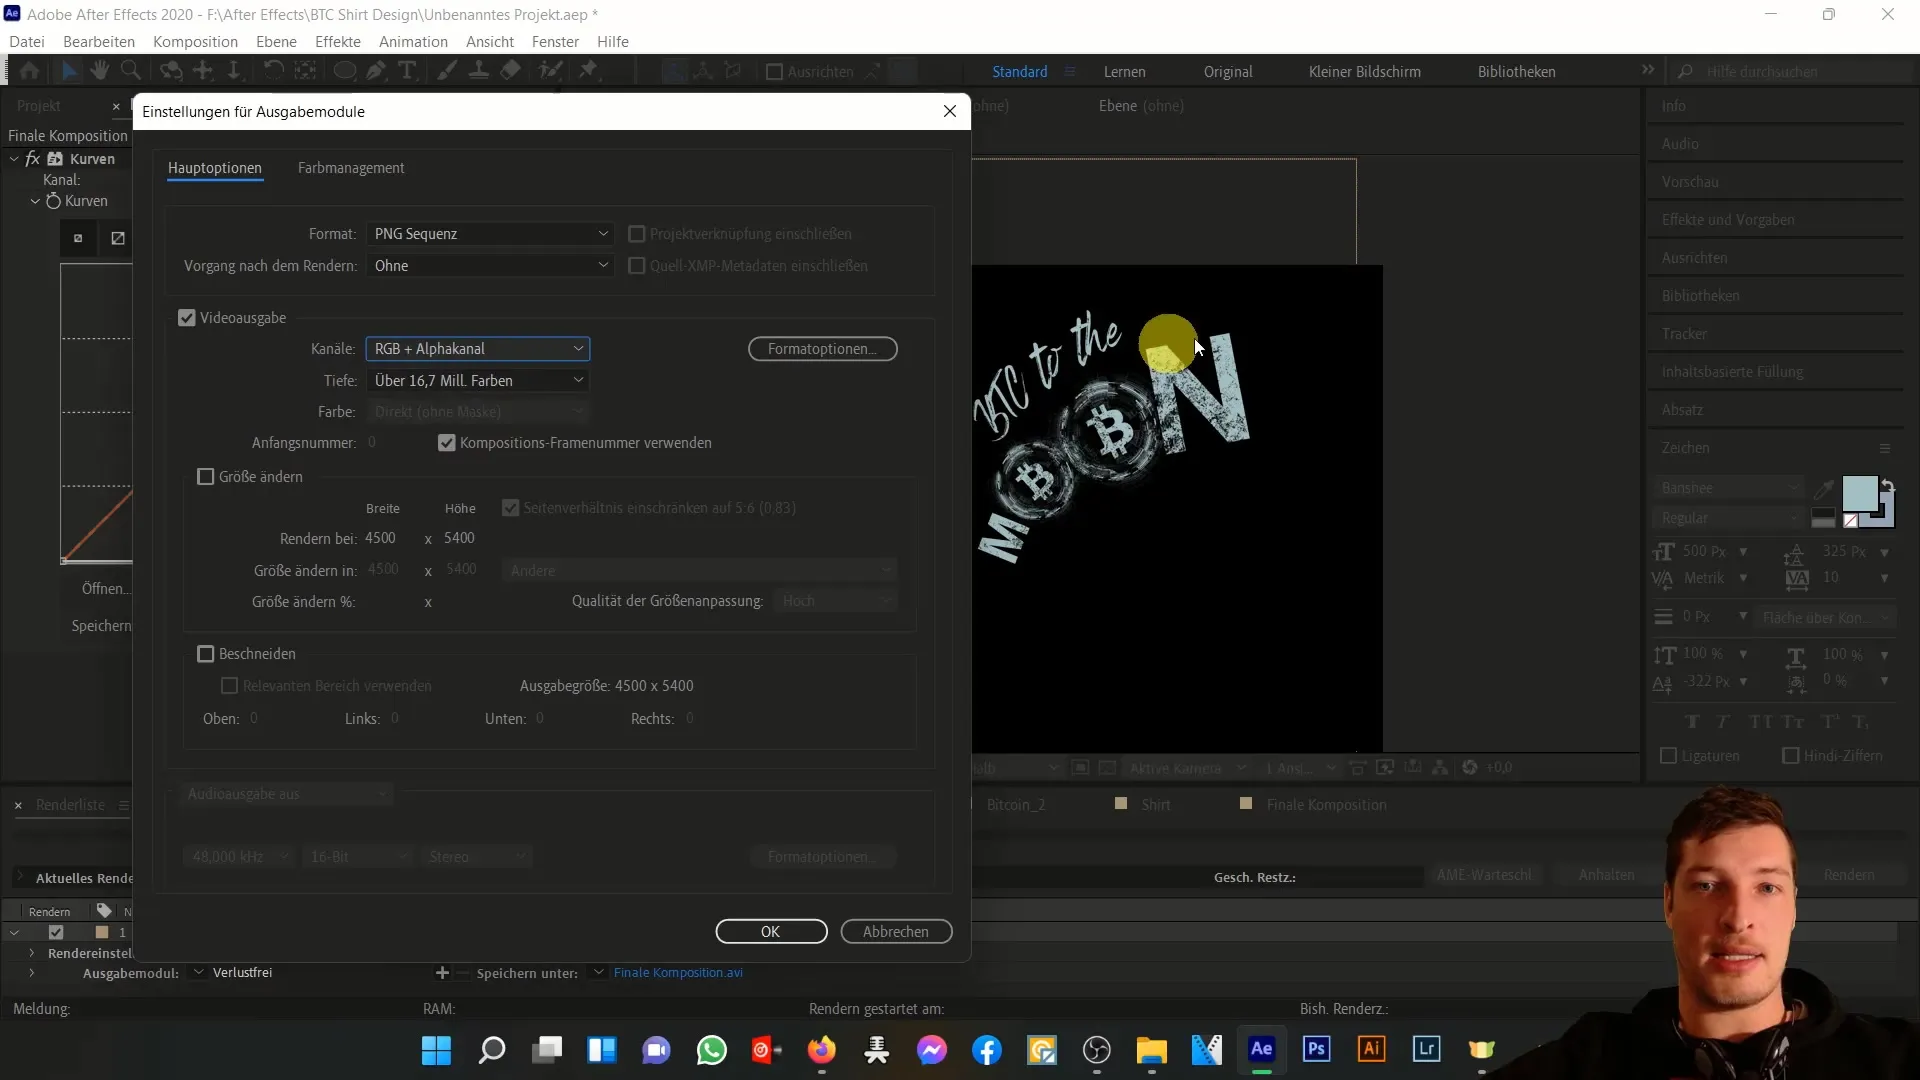
Finally, export your final composition as an image file. Make sure to enable the alpha channel so that the black areas are not outputted, which is especially important if you want to print on different T-shirt colors.
This is how you have successfully created and exported your Bitcoin T-shirt design.
Summary
In this tutorial, you have learned how to create an appealing Bitcoin T-shirt design in After Effects and the techniques required for it. From designing the Bitcoin graphic to arranging the elements and exporting for printing – you are now well-equipped to bring your designs to life.
Frequently Asked Questions
How do I import an image into After Effects?You can import an image into After Effects by dragging it into a new composition.
Why is the black area in my image not transparent?These areas are part of the image and need to be removed by adjusting the luminance masks.
How can I ensure that my design is suitable for printing?Make sure to create a composition with the size 4500 x 5400 pixels and enable the alpha channel during export.
What format should I use to export my design?You should export your design as a PNG image file to ensure an alpha channel.
Can I change the colors of my design later?Yes, you can adjust the colors in the composition at any time as long as you do not damage the original file.
