
The practical tutorial for Blender: 3D for beginners

- Find the easy entry into the latest version of Blender (with many new features) with Konzept
- Problem-oriented - focus on the essential and important functions of Blender for beginners
- incl. shortcut sheet
Shape space according to your wishes. With Blender and this training, you will become the creator of your own cosmos!
16 Videos, 531 minutes
Introduction
The practical training for Blender beginners - 1.1 Introduction to Blender
7 minOver the years, Blender has developed into a versatile software with many interesting features. In this video you will learn general information about this program.
The practical training for Blender beginners - 1.2 Download and install
3 minAs Blender is an open source program, you can easily download it from the homepage and then install it. Watch this video to find out how.
The practical training for Blender beginners - 1.3 Training concept
3 minBehind a seemingly simple beginner's practice training is an effective concept. In this video, you'll find out how to follow it so that you can achieve optimum learning success.
Cubecraft character
The practical training for Blender beginners - 2.1 Cubecraft character: head and body
28 minThe first part of the training is about the Blender user interface. You will get to know it in a practical way while creating the head and body of a Cubecraft character.
The practical training for Blender beginners - 2.2 Cubecraft character: arms and legs
35 minIn this video you will take your first steps in modeling. By completing the character's arms and legs, you will gain your first experience with edit mode and modifiers.
The practical training for Blender beginners - 2.3 Cubecraft character: Preparation for texturing
40 minBefore a 3D object can be given its first coat of material and texture, it must first be prepared. The concept of unwrapping/unwrapping is explained using the Cubecraft character as an example.
The practical training for Blender beginners - 2.4 Cubecraft character: lighting
41 minVarious lamps and settings can be used to bring light into the darkness of the 3D scene. This video is all about the illumination of 3D objects.
Practical training for Blender beginners - 2.5 Cubecraft character: material and texture
29 minTrue to the principle that "clothes make the man", a well-chosen material and texture turn a cold, grey 3D object into a colorful character.
The practical training for Blender beginners - 2.6 Cubecraft character: Rigging
36 minIn order for the created character to be able to move and pose, it needs joints and bones. To do this, we create a so-called rig in Blender.
Landscape
The practical training for Blender beginners - 3.1 Landscape: Mountains and valley
43 minOther Blender functions are put to use by creating a landscape. By staging the 3D character you have created, you will get to know it.
The practical training for Blender beginners - 3.2 Landscape: Lake and jetty
31 minThis video teaches you how to be patient when fine-tuning. More and more details are added and improved to the created landscape.
The practical training for Blender beginners - 3.3 Landscape: Lighting
34 minThe light perfects the mood, the perspective and the image. Optimal use of camera and light completes the composition and staging of the Cubecraft figure in this video.
The practical training for Blender beginners - 3.4 Landscape: Material
28 minIn this video, you will learn how to give the landscape a colorful coat of paint using simple materials.
The practical training for Blender beginners - 3.5 Landscape: Compositing and rendering
38 minIn this video you will learn how to get the last potential out of the created scene with the help of Compositor - an image editing function of Blender. At the end of this video, you will see the result of your first Blender project: the rendered image of the scene you created.
robotic arm
The practical training for Blender beginners - 4.1 Robot arm: Part 1
70 minIn this chapter, you can deepen your modeling skills with a new small project. By creating a robotic arm, you will learn advanced modeling techniques and tools that will improve and speed up your workflow in Blender.
The practical training for Blender beginners - 4.2 Robot arm: Part 2
65 minWorking with curves and text objects, as well as rigging and inserting them into a studio setup is the subject of this chapter.
Examples of use
-
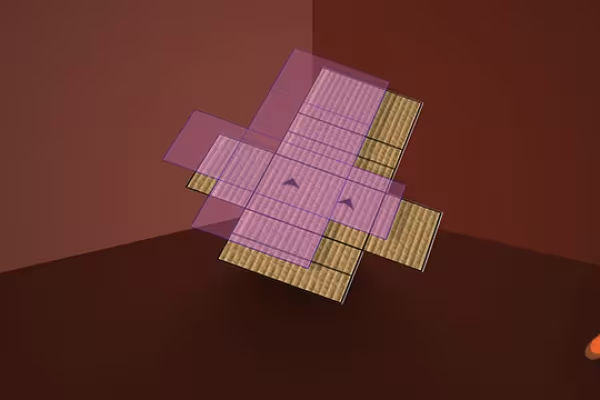 In the tutorial you create your first own 3D character.
 -
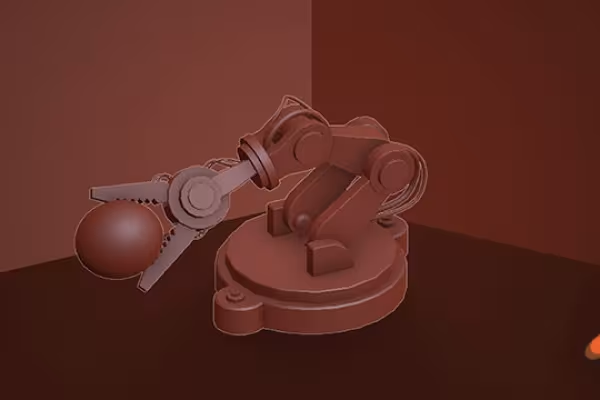 Get to know the functions of Blender and create three-dimensional objects.
You might also like

Edit films, transitions, animations, and more
How it works. What options exist.
Produce high-quality videos

Practical applications for companies
Comment now „The practical tutorial for Blender: 3D for beginners“