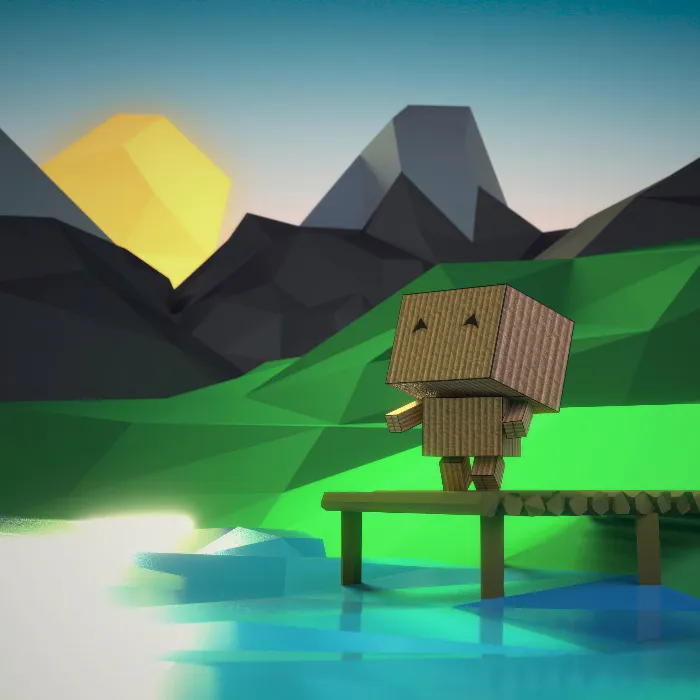
Experience how you can create an impressive landscape in Blender using targeted lighting techniques. In this tutorial, you will learn how to adjust camera settings, optimally place the light, and prepare the materials of your scene. Together, we will work on the composition and staging of your character in this impressive environment.
Key Insights
- The Golden Ratio helps you create harmonious compositions.
- Light sources like the Sun Lamp and Mesh Lights add depth and atmosphere to your scenes.
- Using material emissions enhances the realism of your lighting and objects.
Step-by-Step Guide
Adjusting the Camera
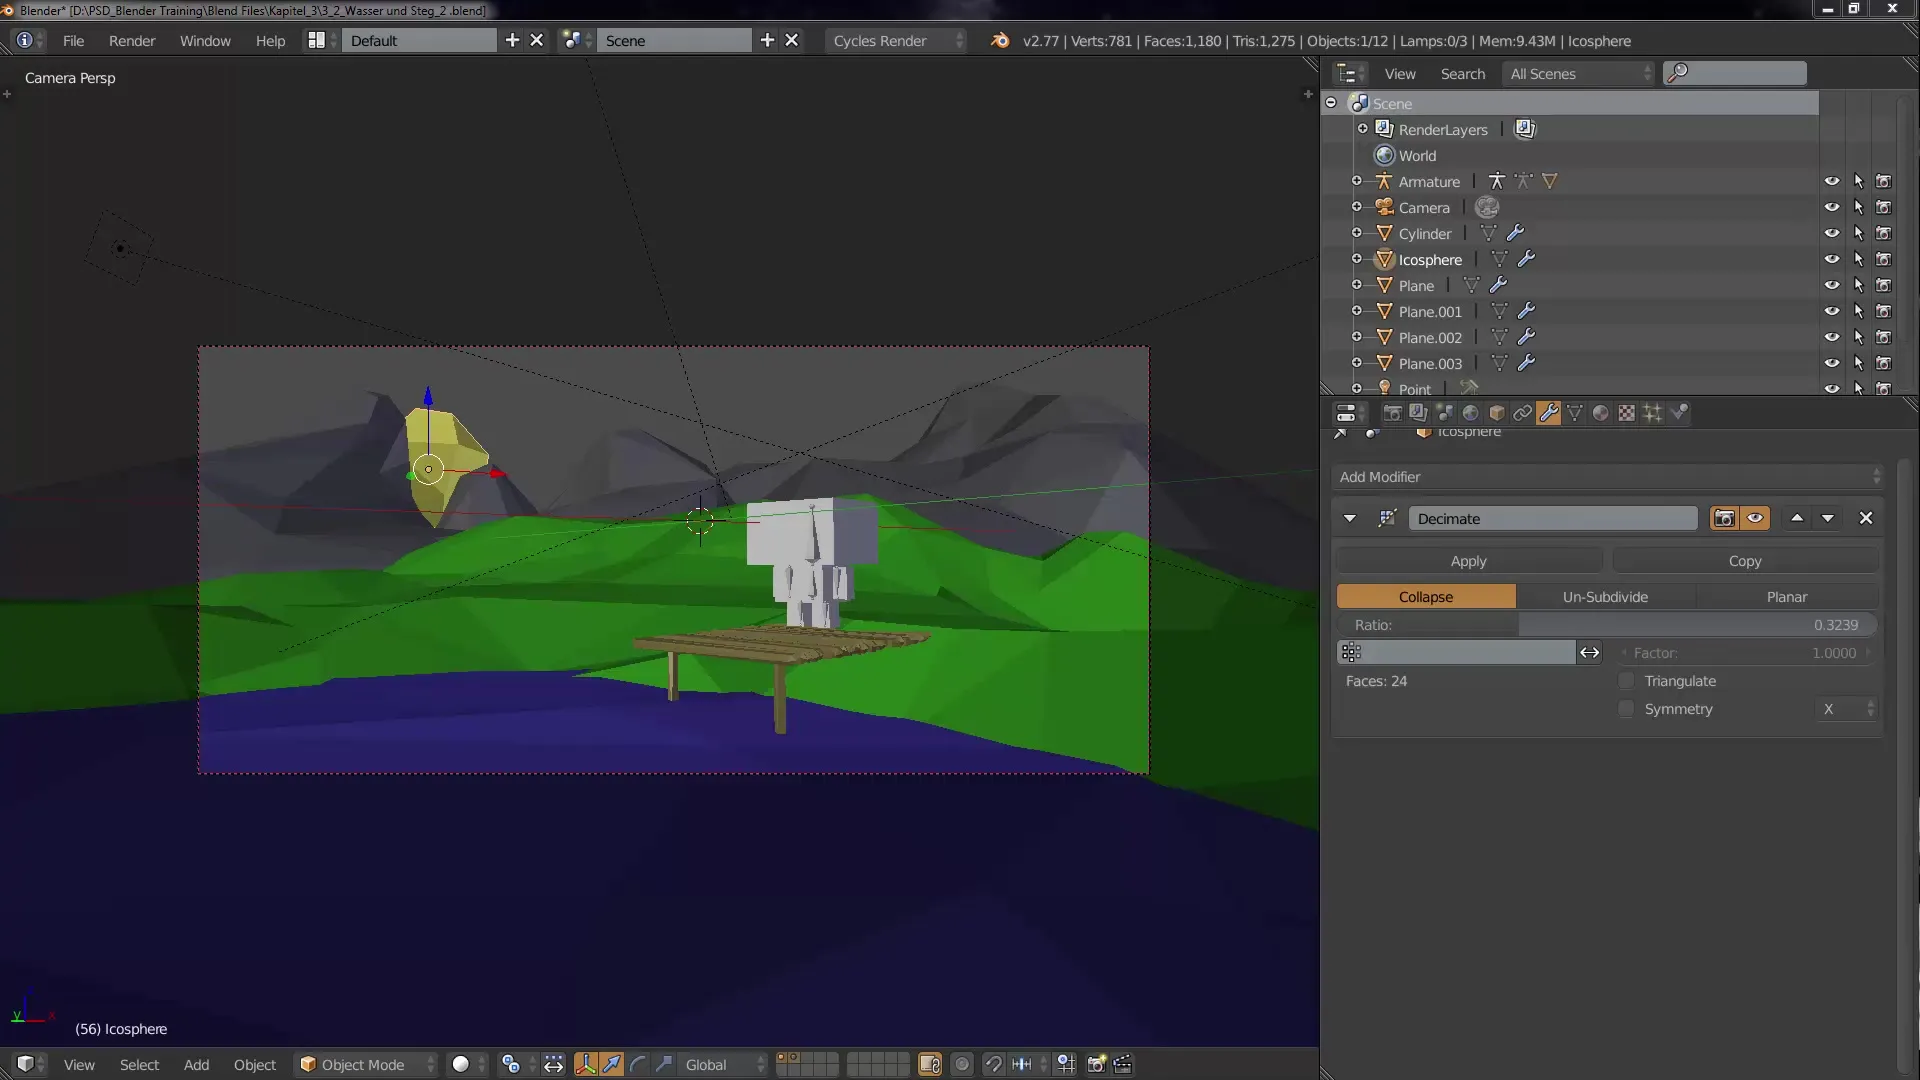
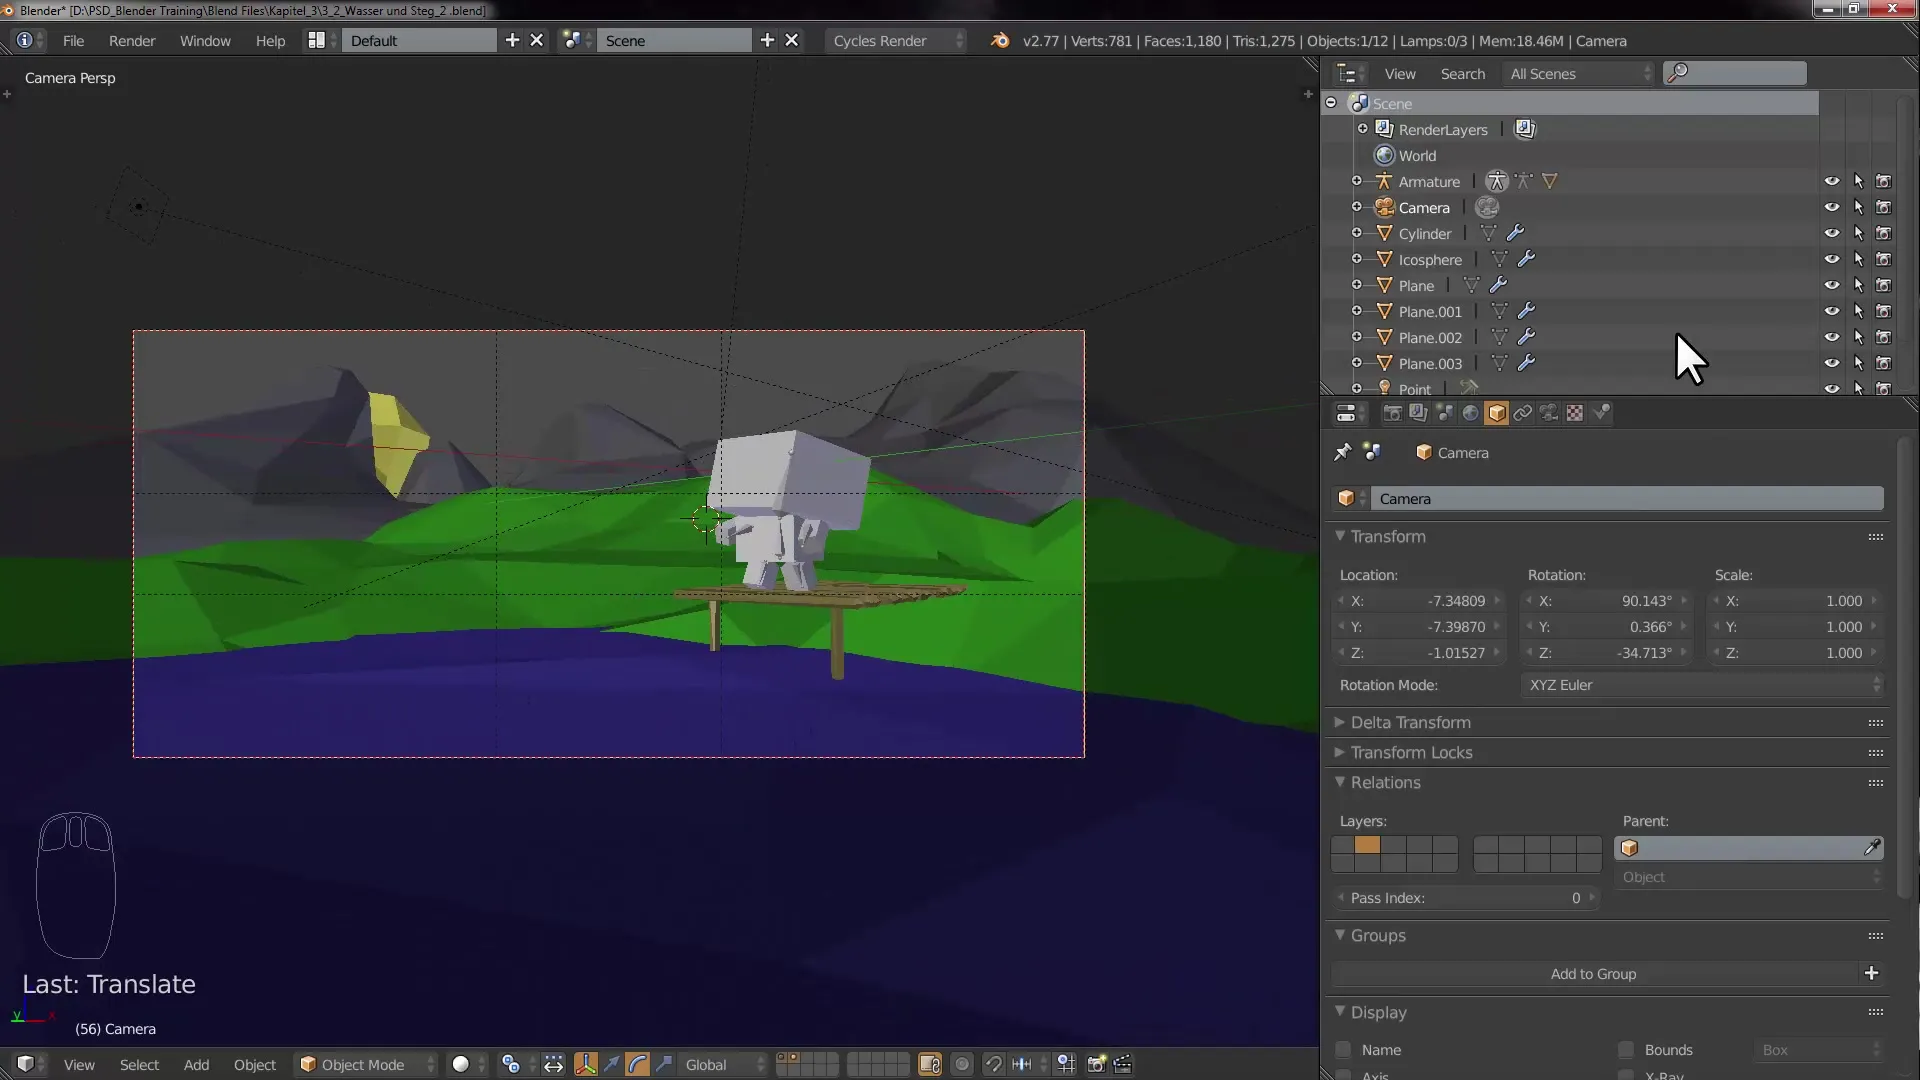
First, select the camera in your scene. If you have multiple layers enabled, ensure that both the first and the second layers are selected. Hold down Shift and select the second layer. Then click on the camera and press the Zero key. Position it a little lower and move it to the side for an optimized view.
Creating the Image Composition
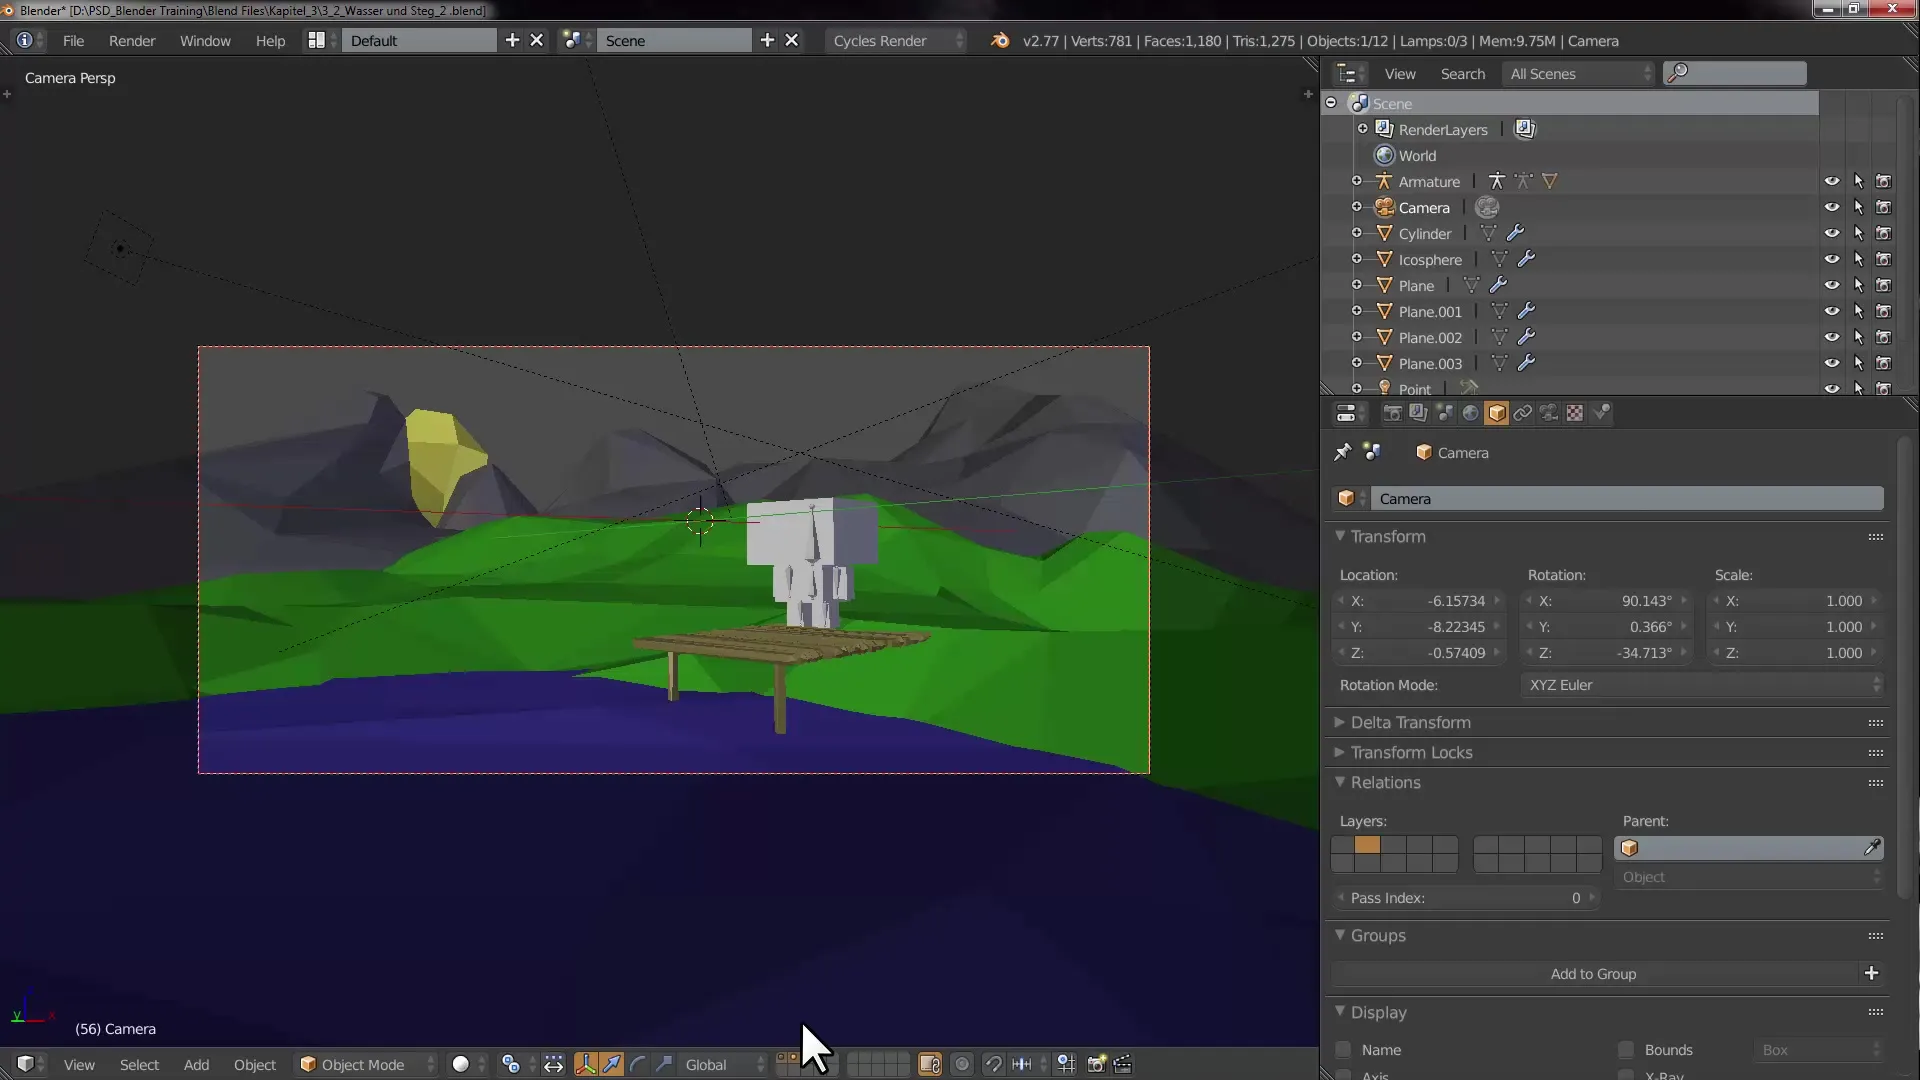
Now work on the image composition. Use the Golden Ratio as a guideline in your composition. Go to the camera settings and scroll to "Composition Guides". Check the box for "Golden Ratio". This will provide you with visual guidelines that help you create a harmonious composition.
Positioning and Orienting the Character
Now select the character and adjust its height so that it fits well within the frame. Move it to the center of the vertical axis so that it is optimally aligned with the camera. The character should be looking into the empty space of the landscape. It is important to plan the pose carefully for later staging.
Adjusting the Character's Pose
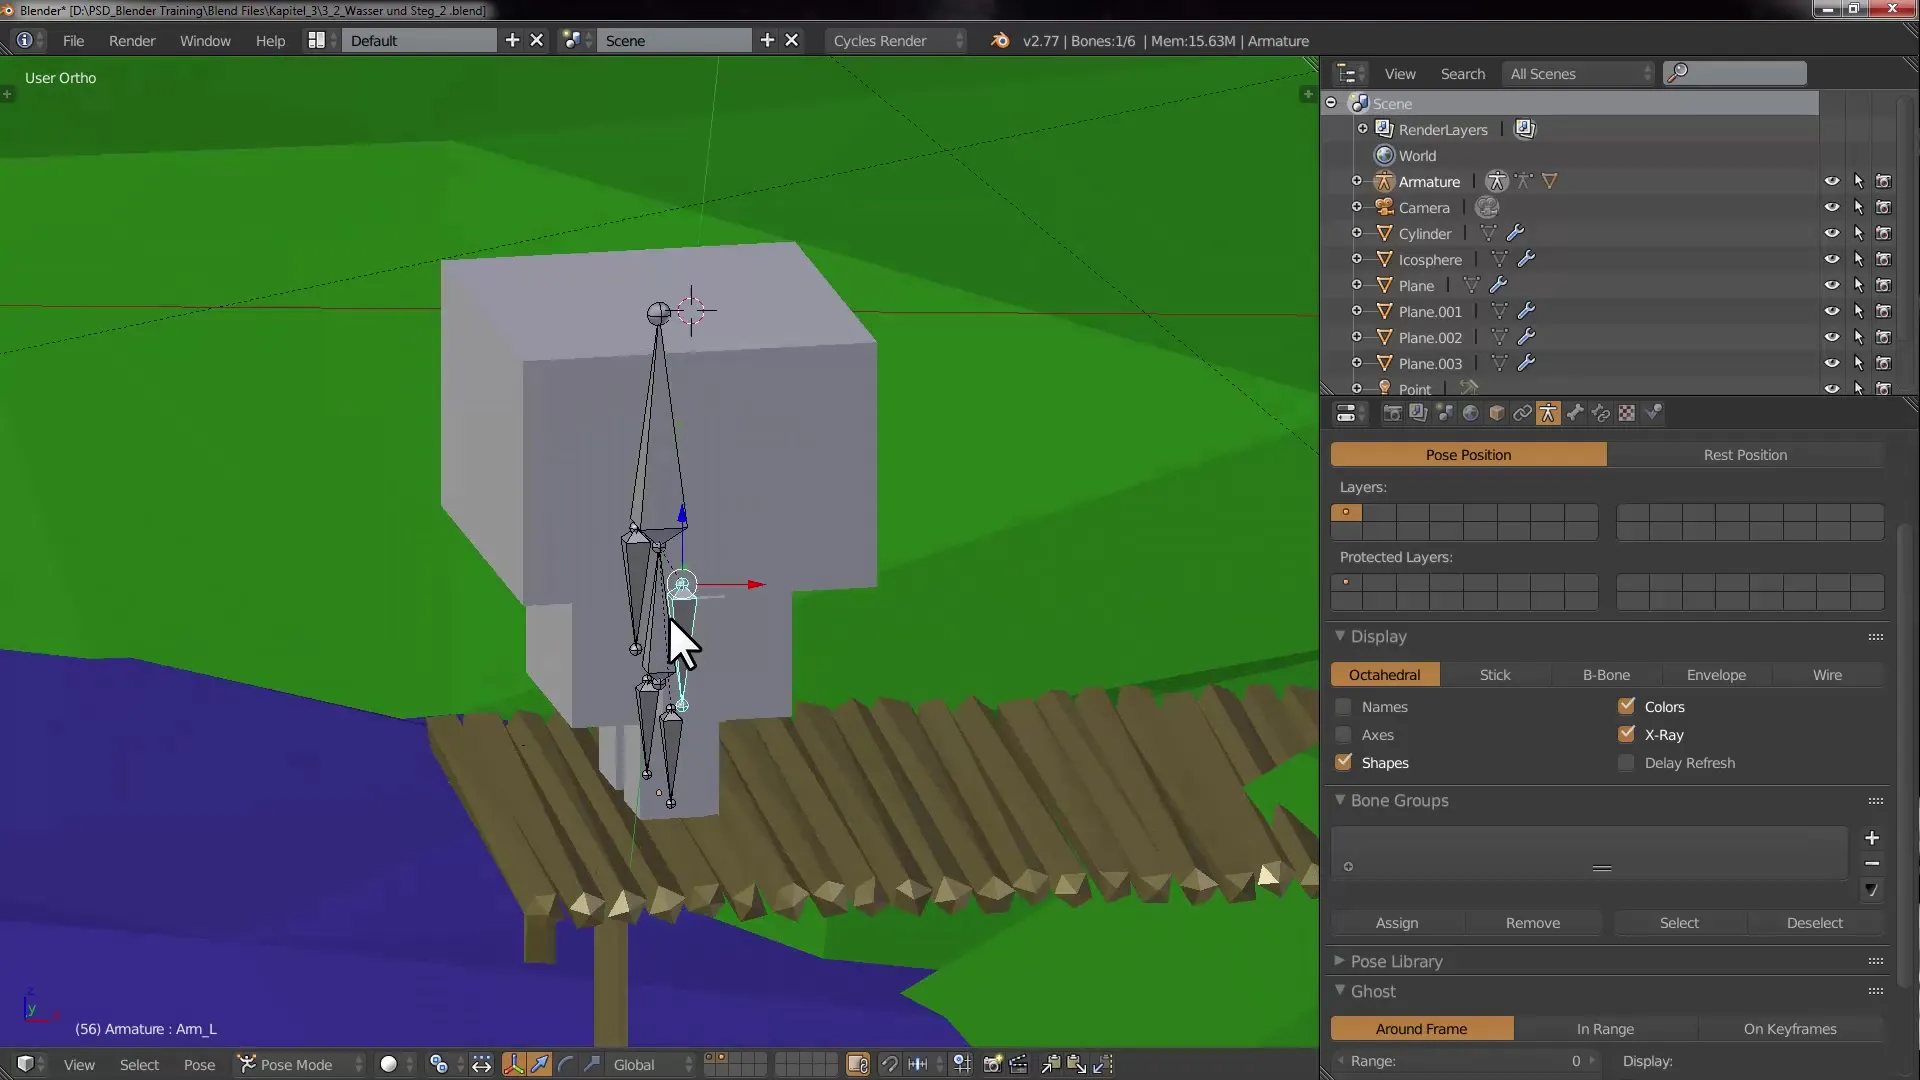
Select the character's rig and enter Pose mode. Here, you can rotate the arms and other body parts. To prevent unwanted movements, you can lock the transformation of certain axes. This is done in the Bone menu under "Transform Locks". Secure the rotation of the arms to prevent them from being pushed into the body.
Aligning the Camera
Now select the camera again and adjust its position so that the character sits in the Golden Ratio within the frame. Ensure that it is harmoniously integrated into the composition. Zoom in slightly by adjusting the "Focal Length". This creates a more appealing view of your character and the surrounding environment.
Creating the Lighting Setup
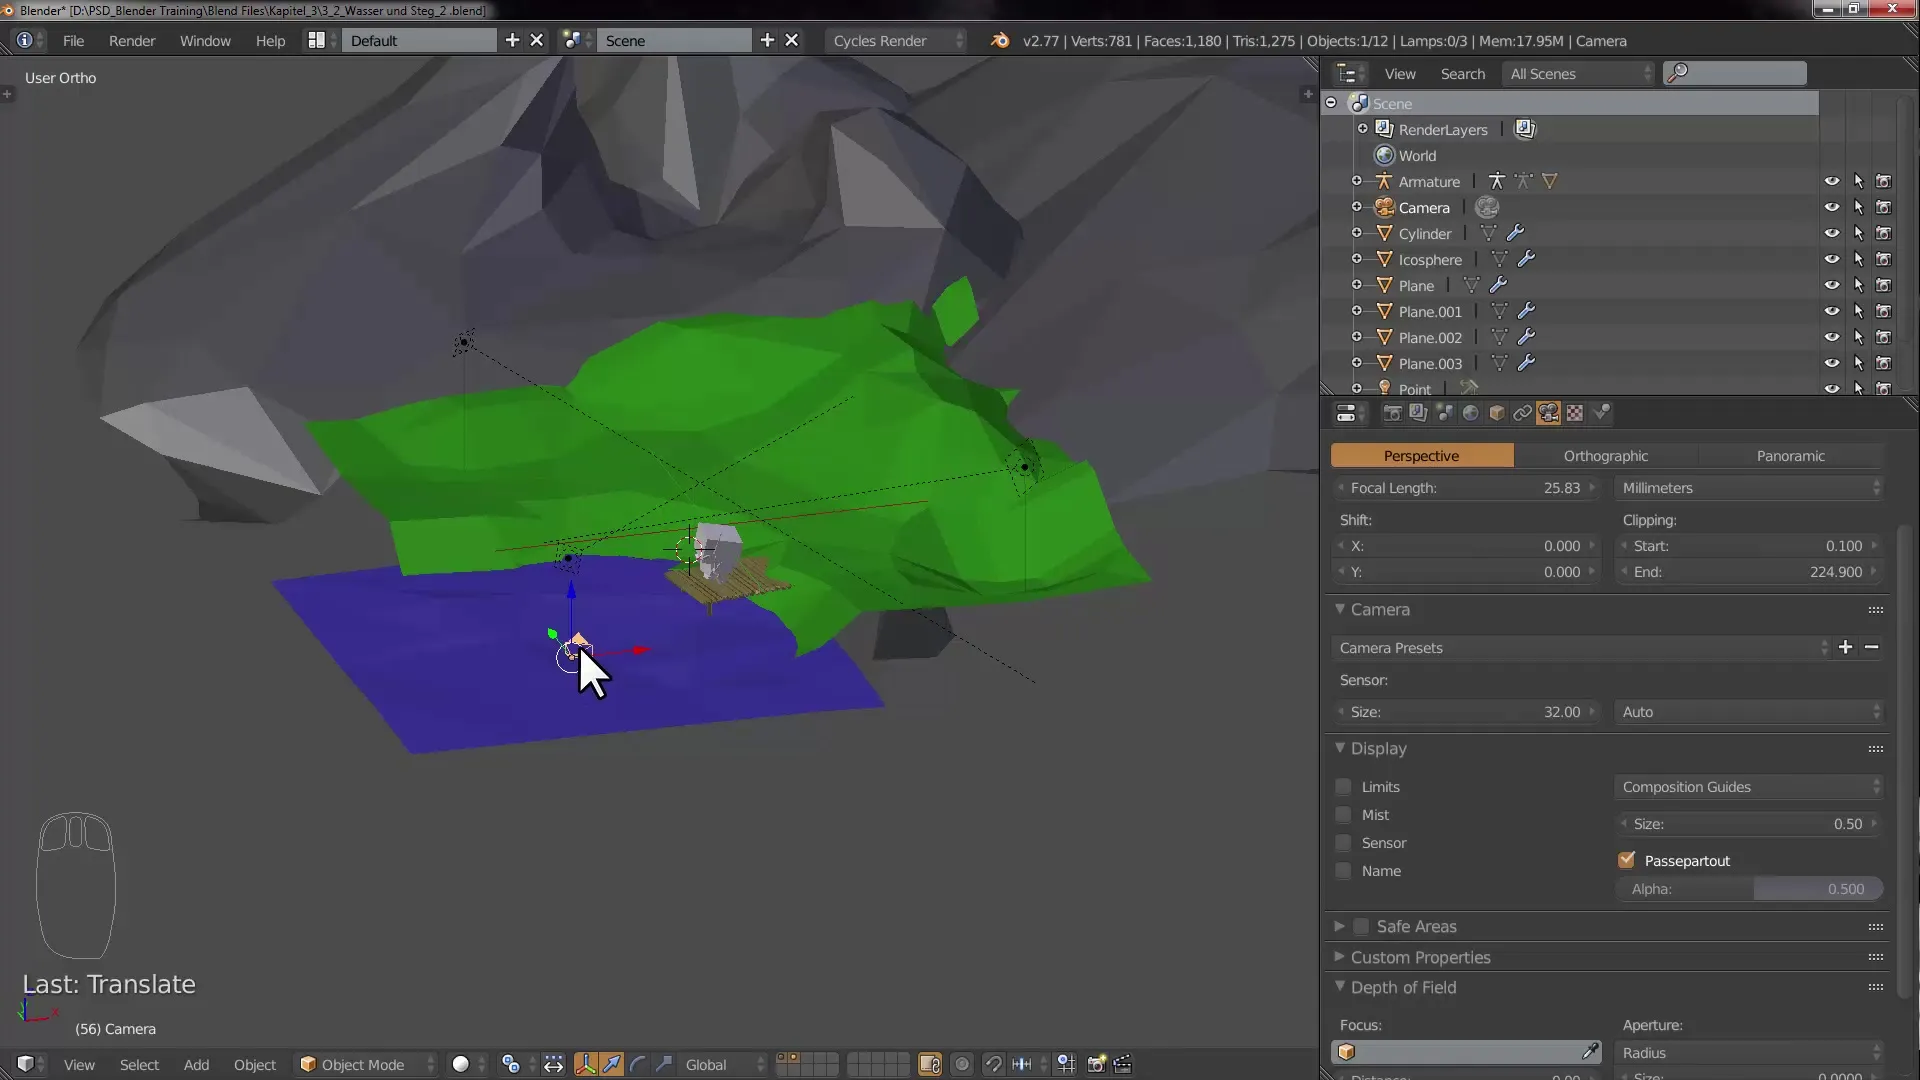
Once the composition is set, it's time to add the light. First, move the camera to the first layer. Save your work (Ctrl + S) and then add a "Sun Lamp" using Shift + A. This will be your main light source. Adjust the angle and strength of the lamp to simulate natural lighting.
Adding Mesh Lights
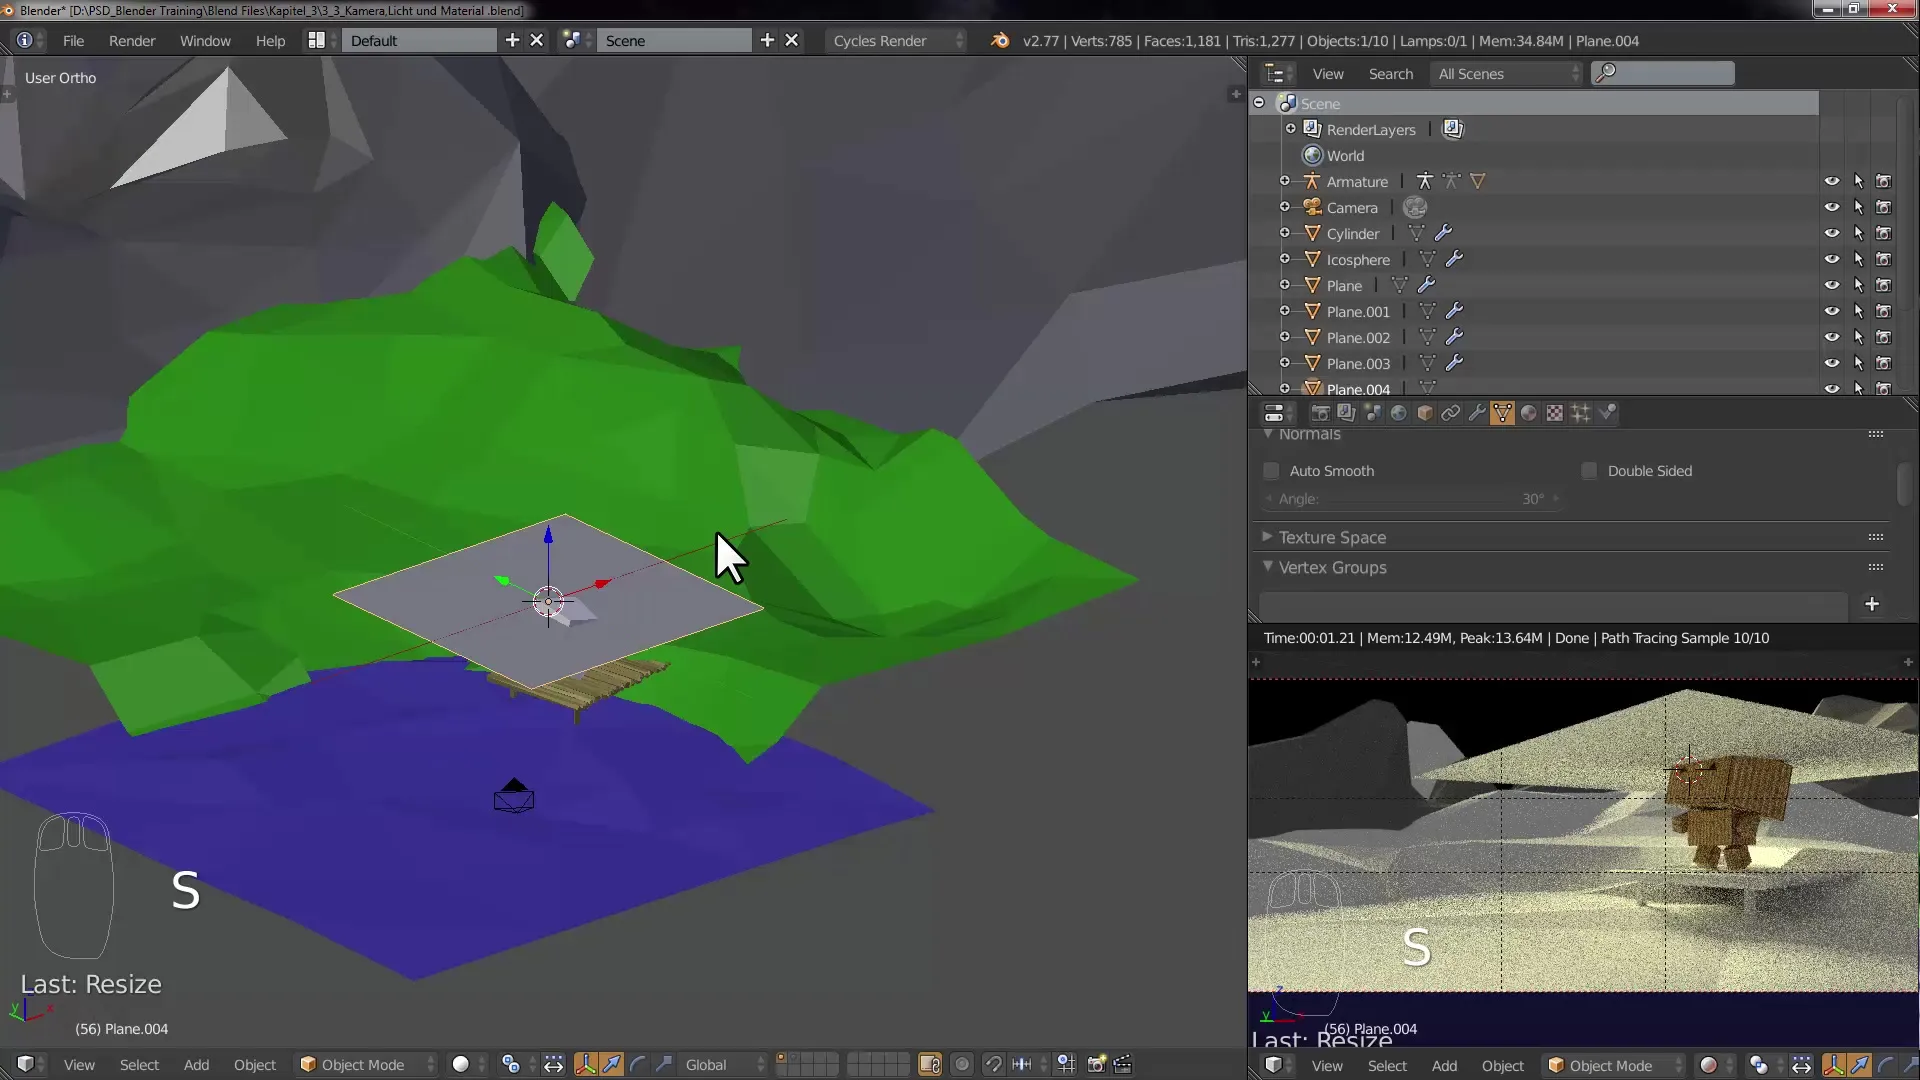
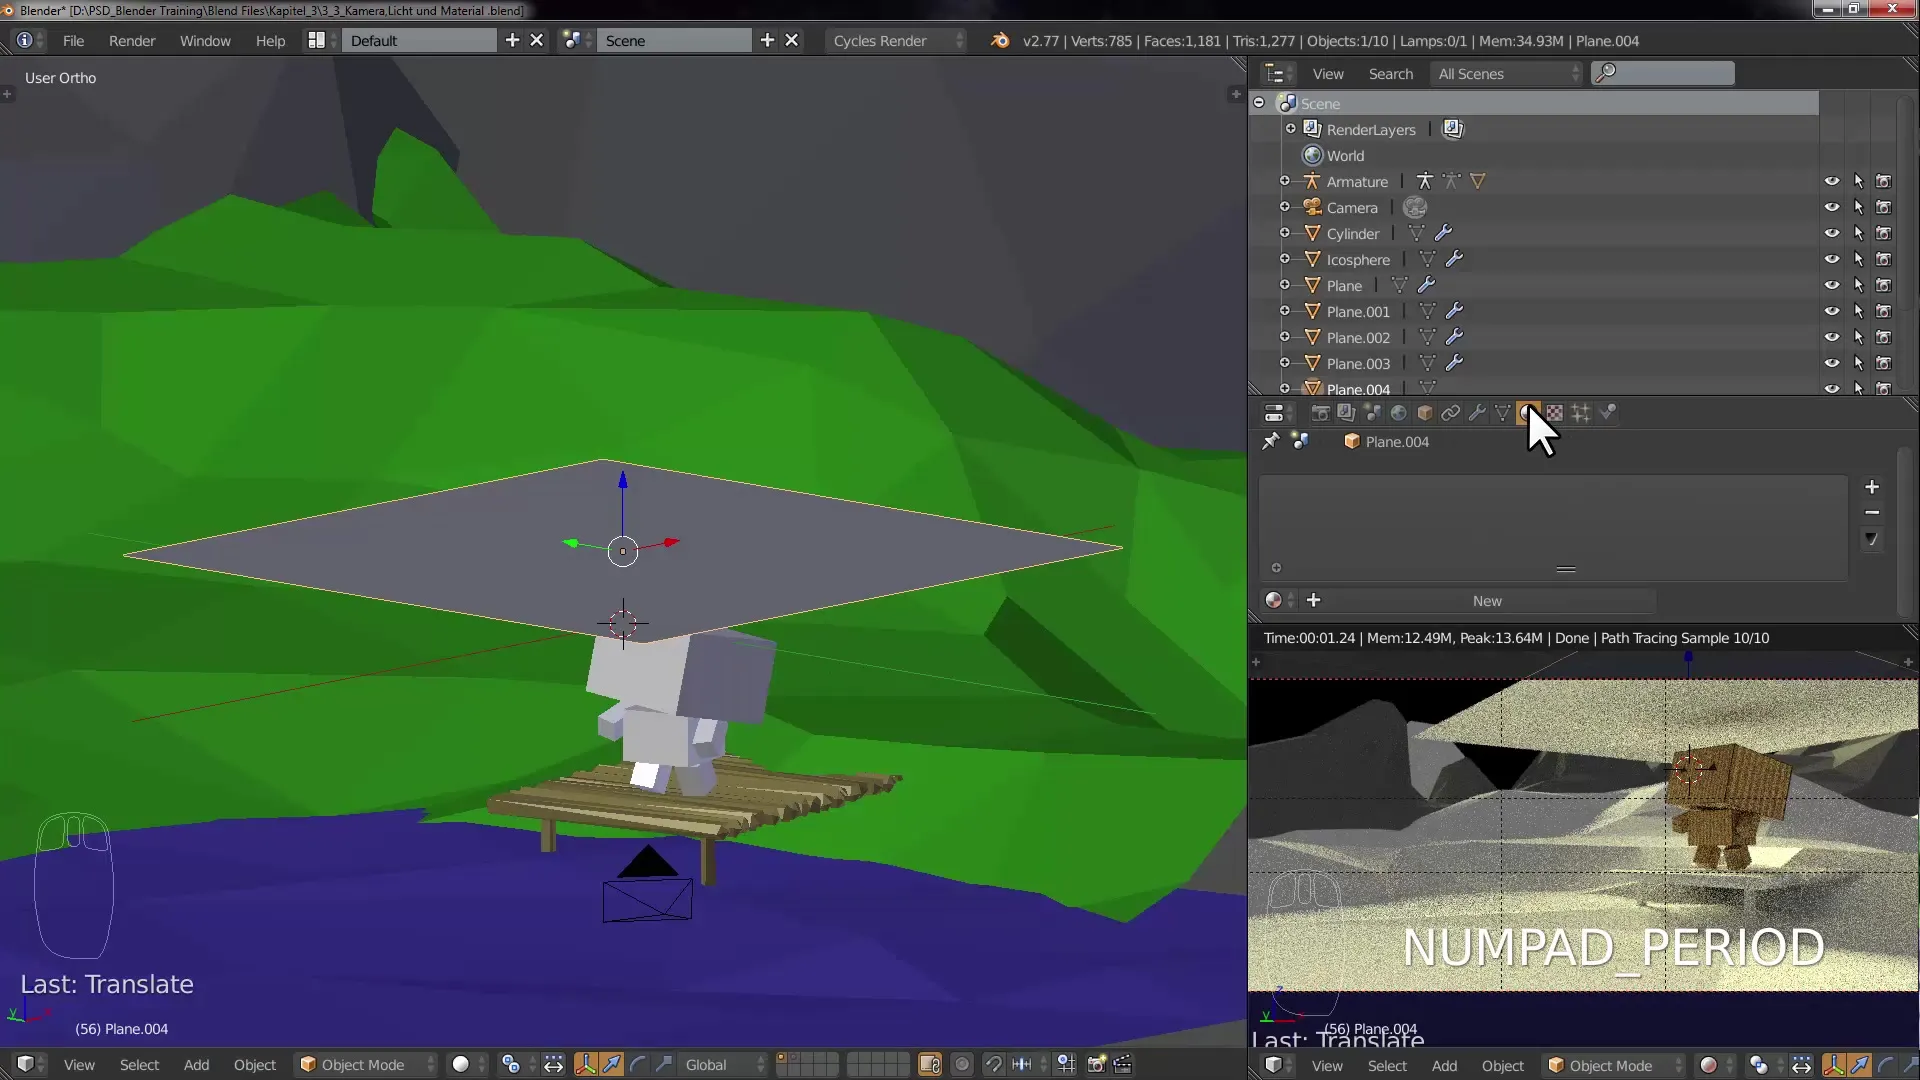
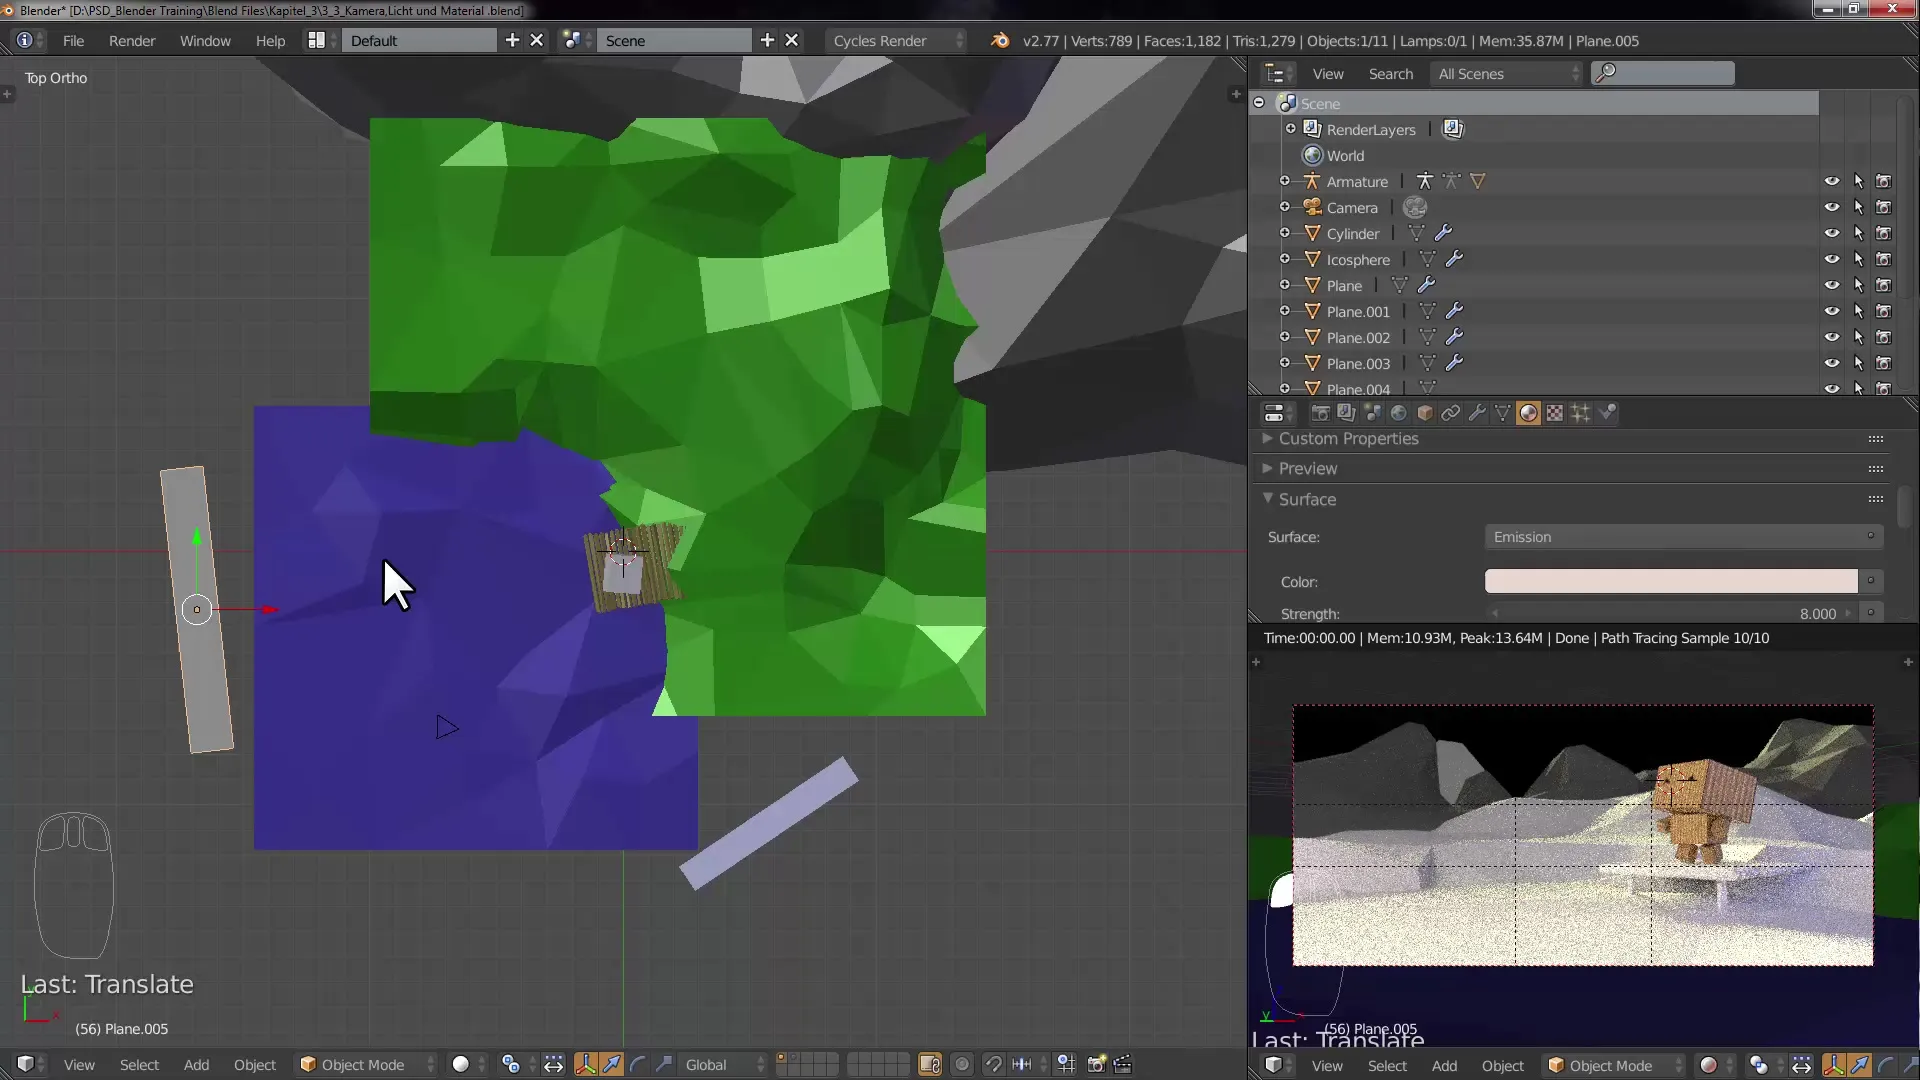
Now add a plane that will function as a Mesh Light. Switch to the Material settings and select "Emission" as the material type. Position the plane above the character to create a soft, diffused light. The emission material effectively simulates a type of soft lighting that provides a more realistic atmosphere.
Adjusting Light Intensity
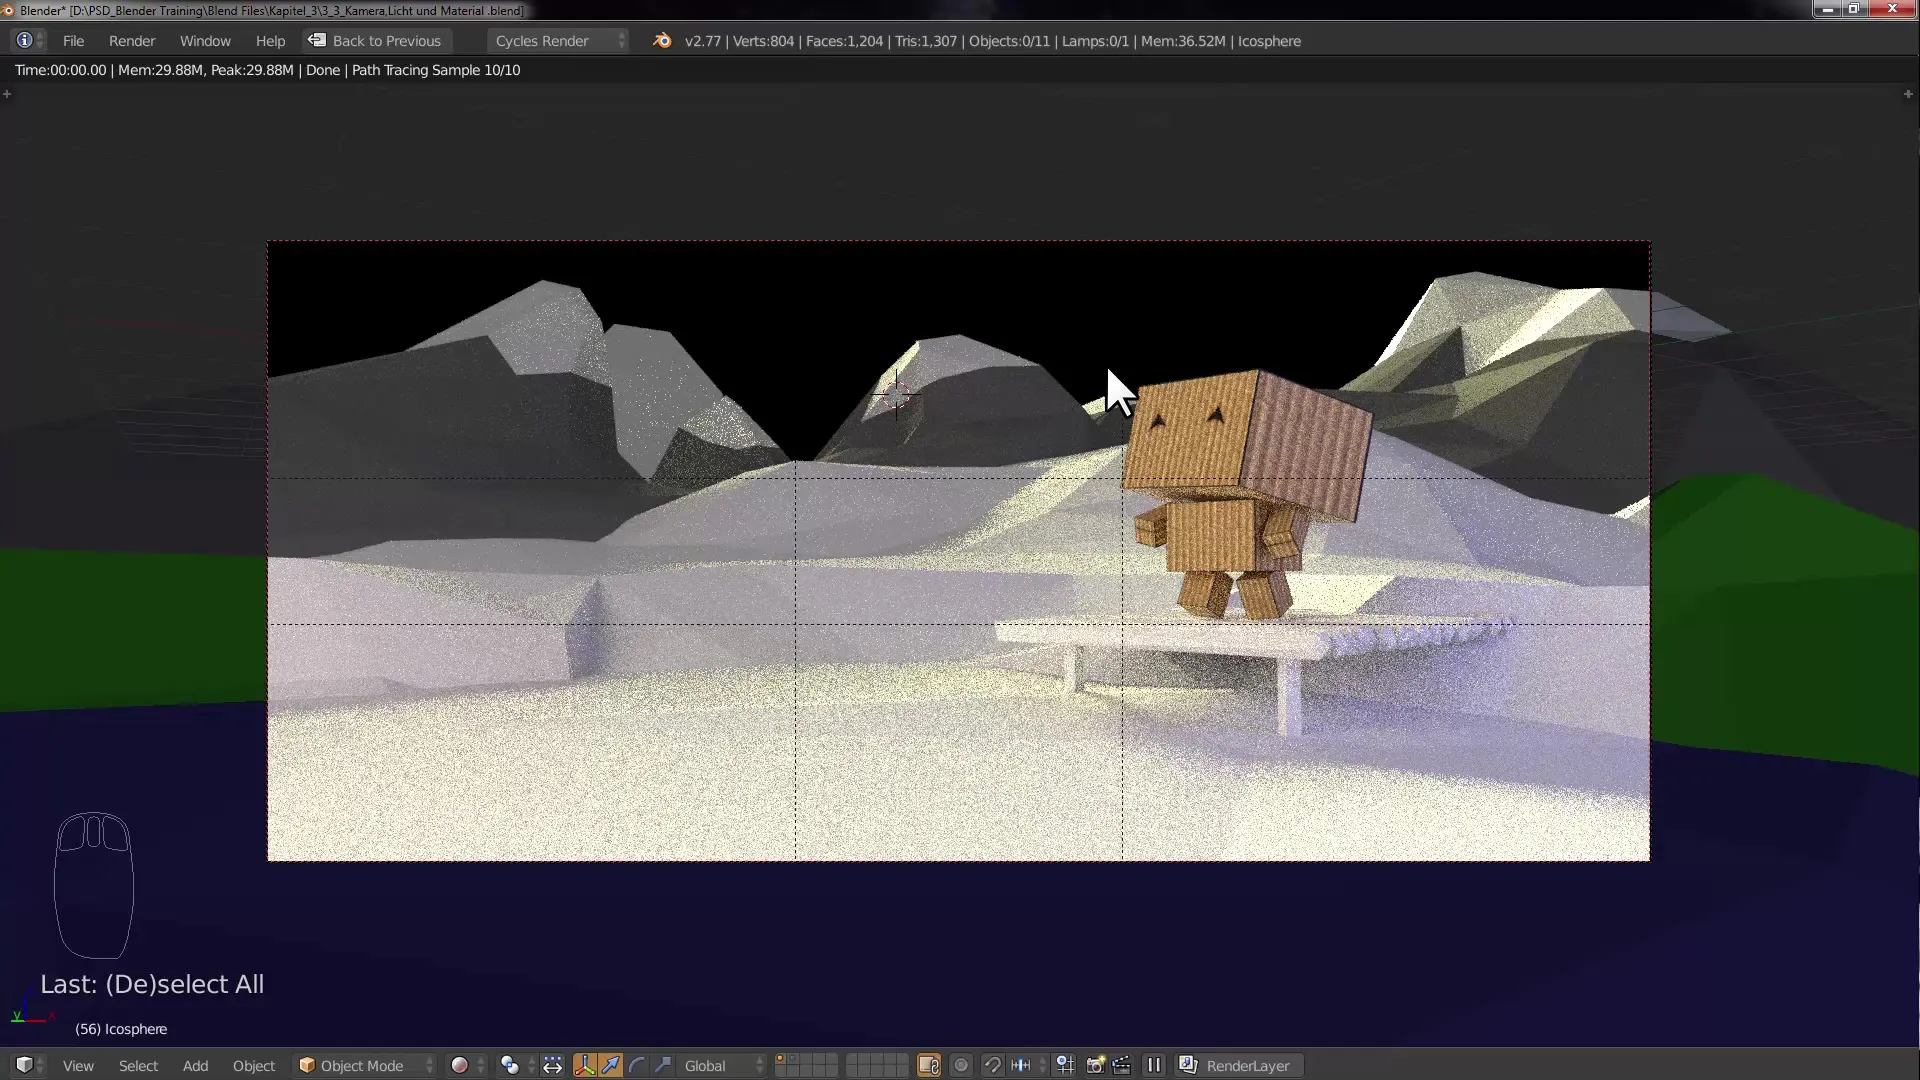
Experiment with the light intensity of the Sun Lamp and the emission of your plane. Adjusting these values will significantly affect the mood of your scene. Make sure your characters are well lit and do not fade into shadows. Regularly check the render view to monitor the presentation of your light.
Adding Materials
Now you can adjust the materials for the various objects in your scene. Select the mountains or other surfaces and add the appropriate materials. Work with different textures and colors as needed to enhance visual depth and achieve a coherent overall impression.
Detail Editing and Finishing Touches
Once the materials are assigned, go back into your scene and optimize the light and material settings. Ensure that the light looks realistic and that the shadows are well placed. Experiment with various rotations and placements of your light sources for the best effect.
Summary - Lighting in Blender: Perfect Light Setup for Landscapes
In this tutorial, you learned how important proper lighting is in a 3D scene. Your knowledge about using the camera, light sources, and their settings will help you create impressive landscapes that appear lively and engaging.
Frequently Asked Questions
What are Composition Guides?Composition Guides are visual guidelines in Blender that help you create harmonious compositions.
How can I adjust the light intensity in Blender?You can adjust the light intensity in the settings of the respective light source, such as the "Sun Lamp".
What is the Golden Ratio?The Golden Ratio is a classic method for image composition that creates harmonious proportions.
How do I add a Mesh Light in Blender?Add an object like a plane and select "Emission" as the material type in the material panel to use it as a light source.
Can I lock the transformation of objects?Yes, you can lock transformations like scaling and rotation of objects in Blender in the Transform Locks menu.
