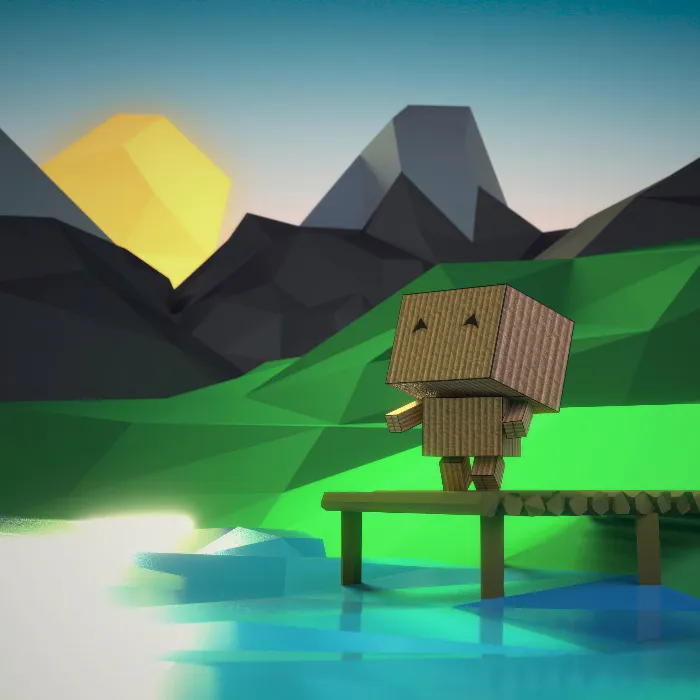
Blender is a versatile and powerful tool for 3D modeling, suitable for both beginners and experienced users. In this tutorial, you will focus on creating the arms and legs of a Cubecraft character. Along the way, you will learn about the Edit Mode and the application of modifiers to efficiently design your models. Let's get started!
Key insights
- You will learn how to model arms and legs in Blender using cubes.
- Usage of keyboard shortcuts to optimize the workflow.
- Understanding the functions in Edit Mode and how modifiers help simplify processes.
Step 1: Creating the first cube for the arm
To start, we will add a cube that will serve as the base for the arm. You can do this in several ways, but we will use the keyboard shortcut that does not disrupt the workflow. Press Shift + A to open the Add menu and then select Mesh > Cube.
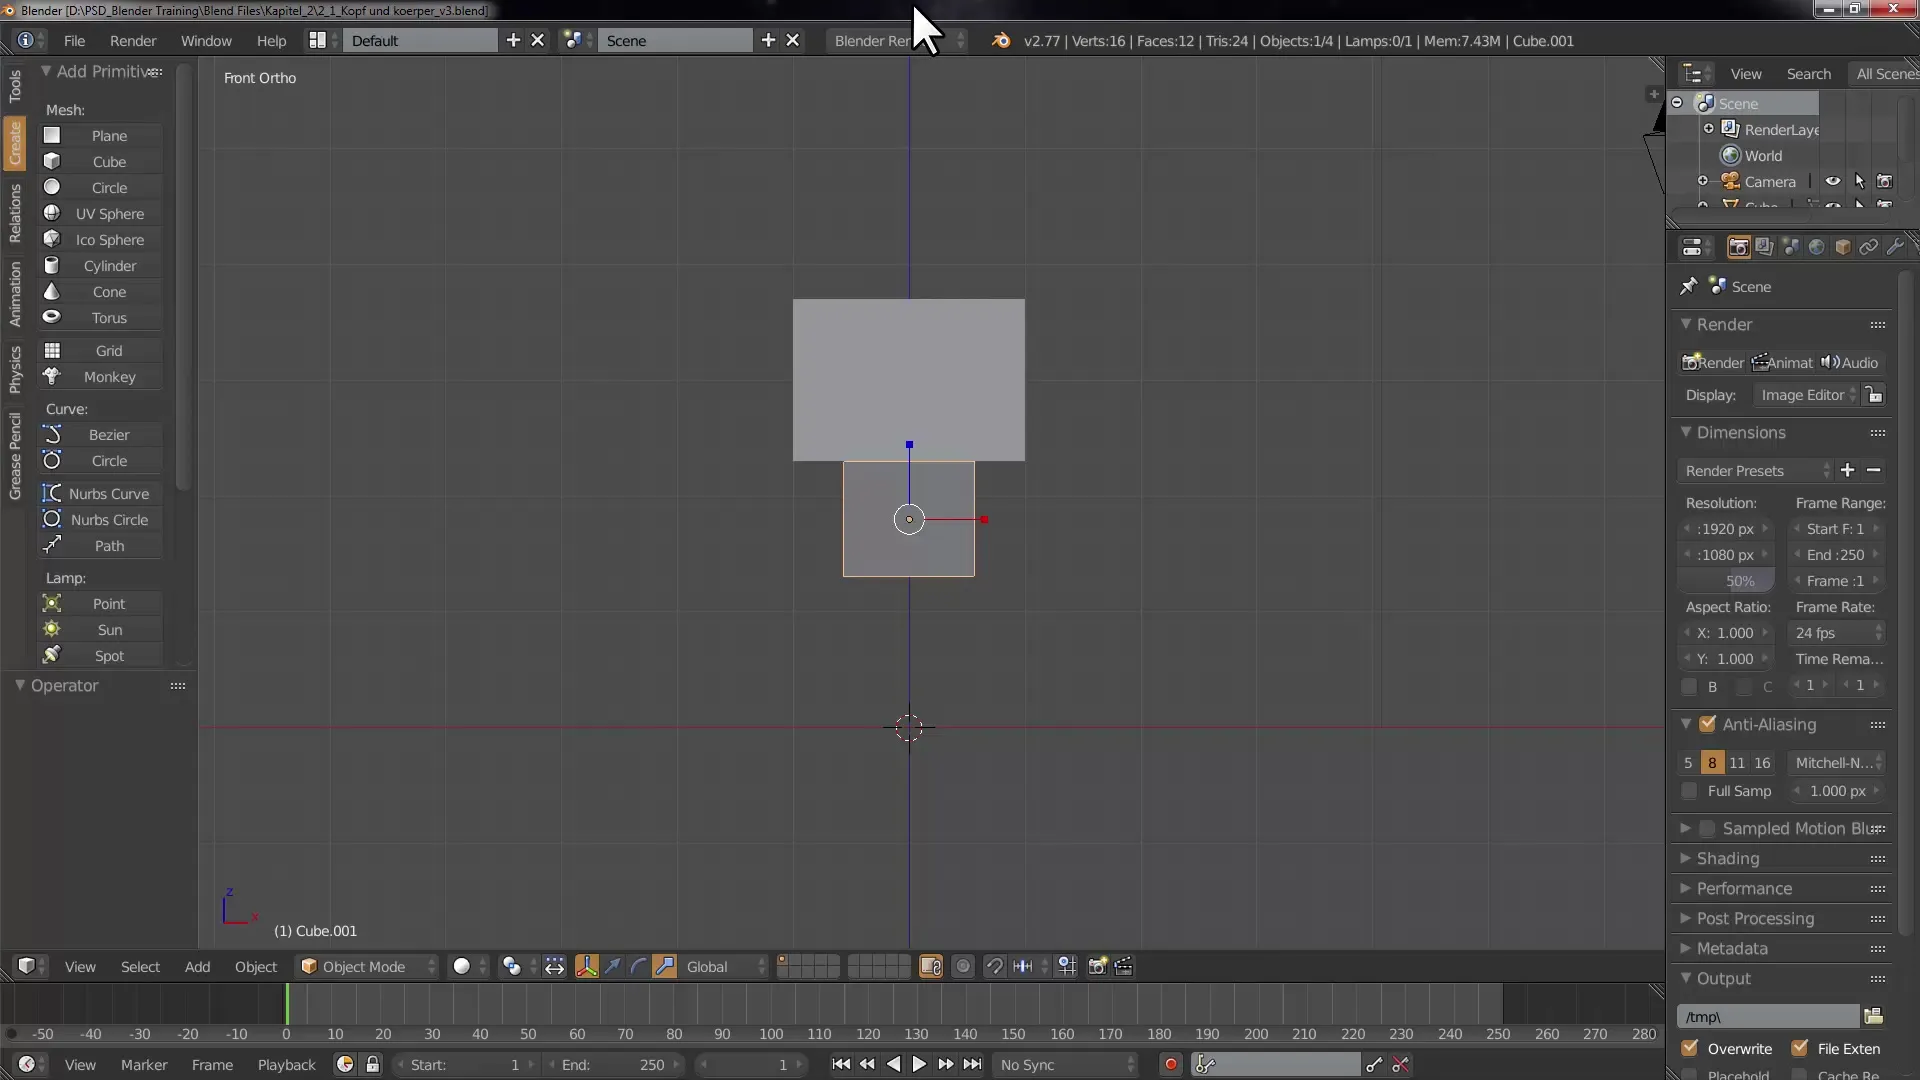
You have now created your first cube and can adjust it further at any time.
Step 2: Adjusting the cube size
Once the cube is placed, you can adjust its size to create the shape of an arm. Click on the cube and go to the properties bar on the right side. Here you can adjust the Location, Rotation, and Size. Set the Size for the arm to 0.2.
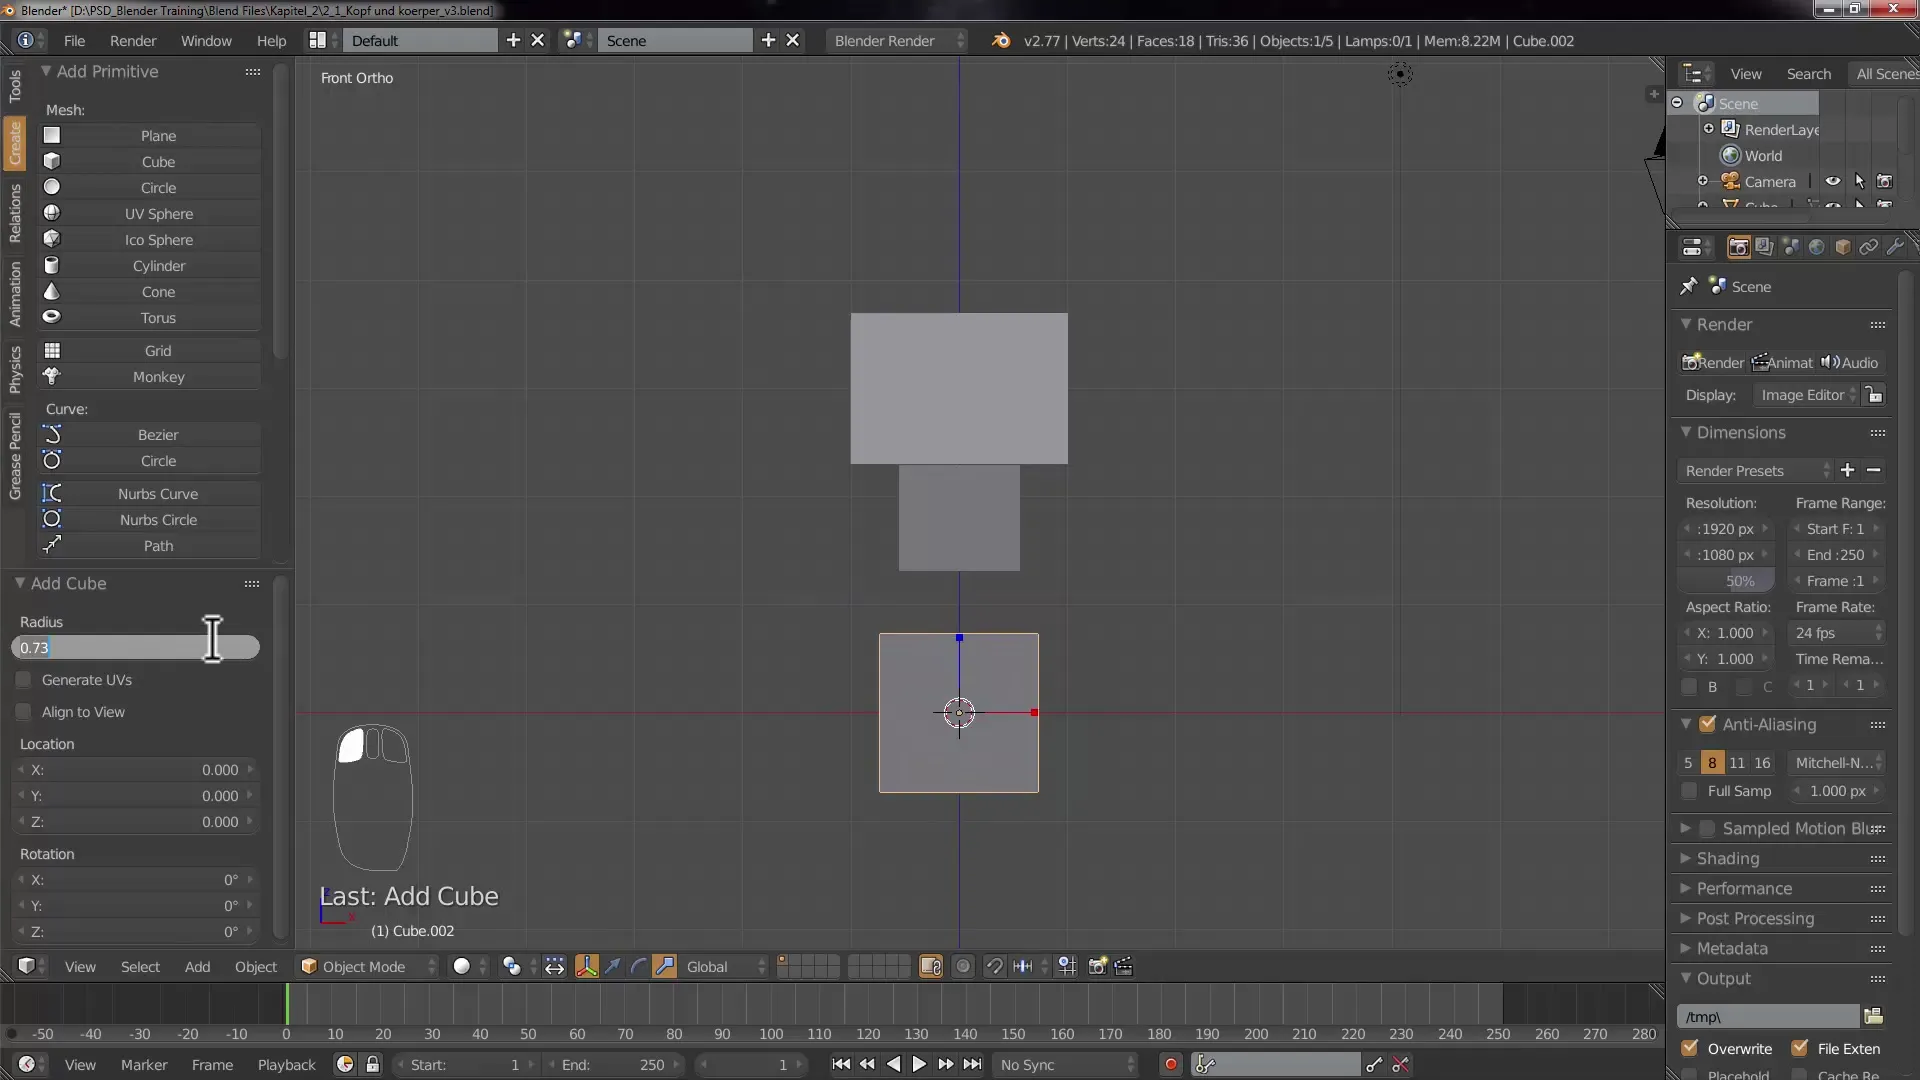
With the mouse wheel, you can adjust the view and by using Shift + middle mouse button, you can pan the view.
Step 3: Extending the arm
Use the transformation manipulator to extend the cube. You can also do this through the transformation menu in the properties. Make sure to extend the cube on the Z-axis by increasing the value, for example to 2.
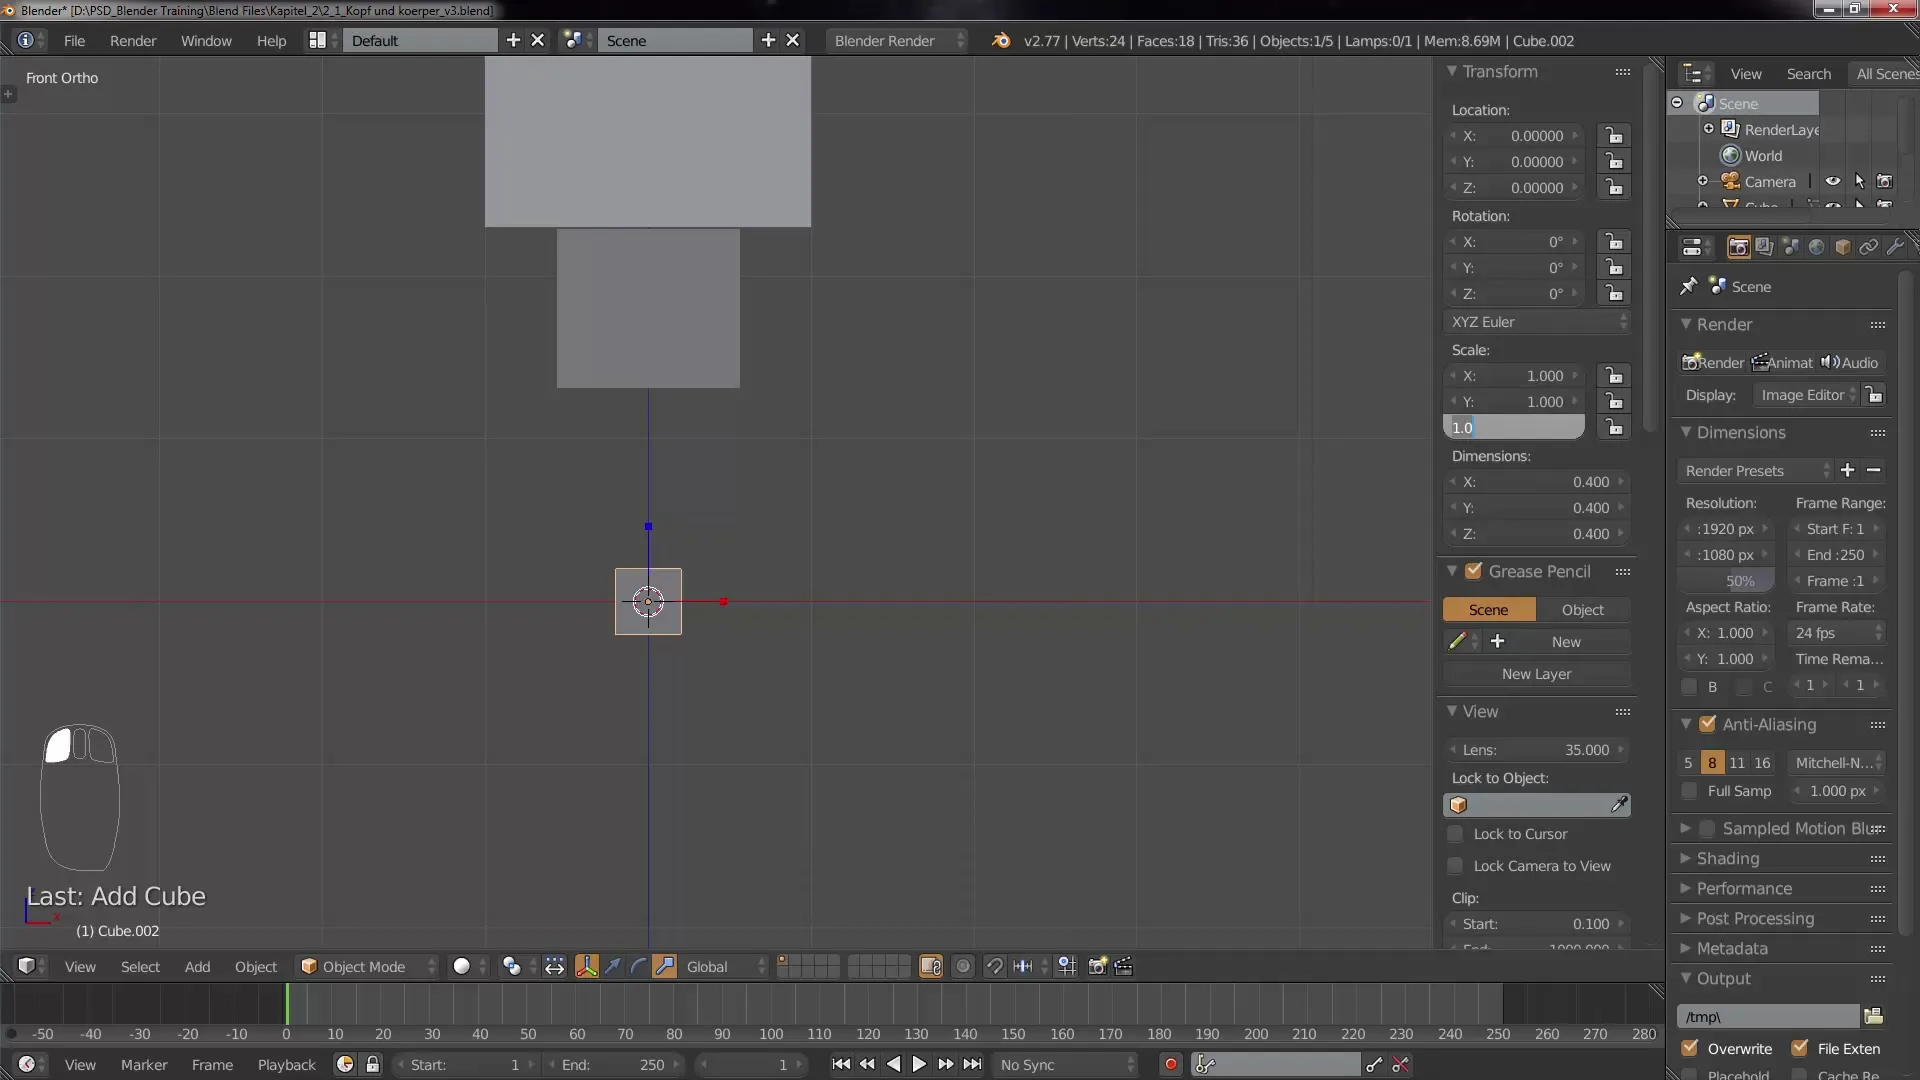
Using the keyboard shortcut G and the Z key, you can move the arm upwards.
Step 4: Creating the second arm
To create the second arm, you can duplicate the previously created cube. You do this by selecting the cube and pressing the keyboard shortcut Shift + D. Then you can use the right mouse button to reset the selection and then use G and X to move the arm to the other side.
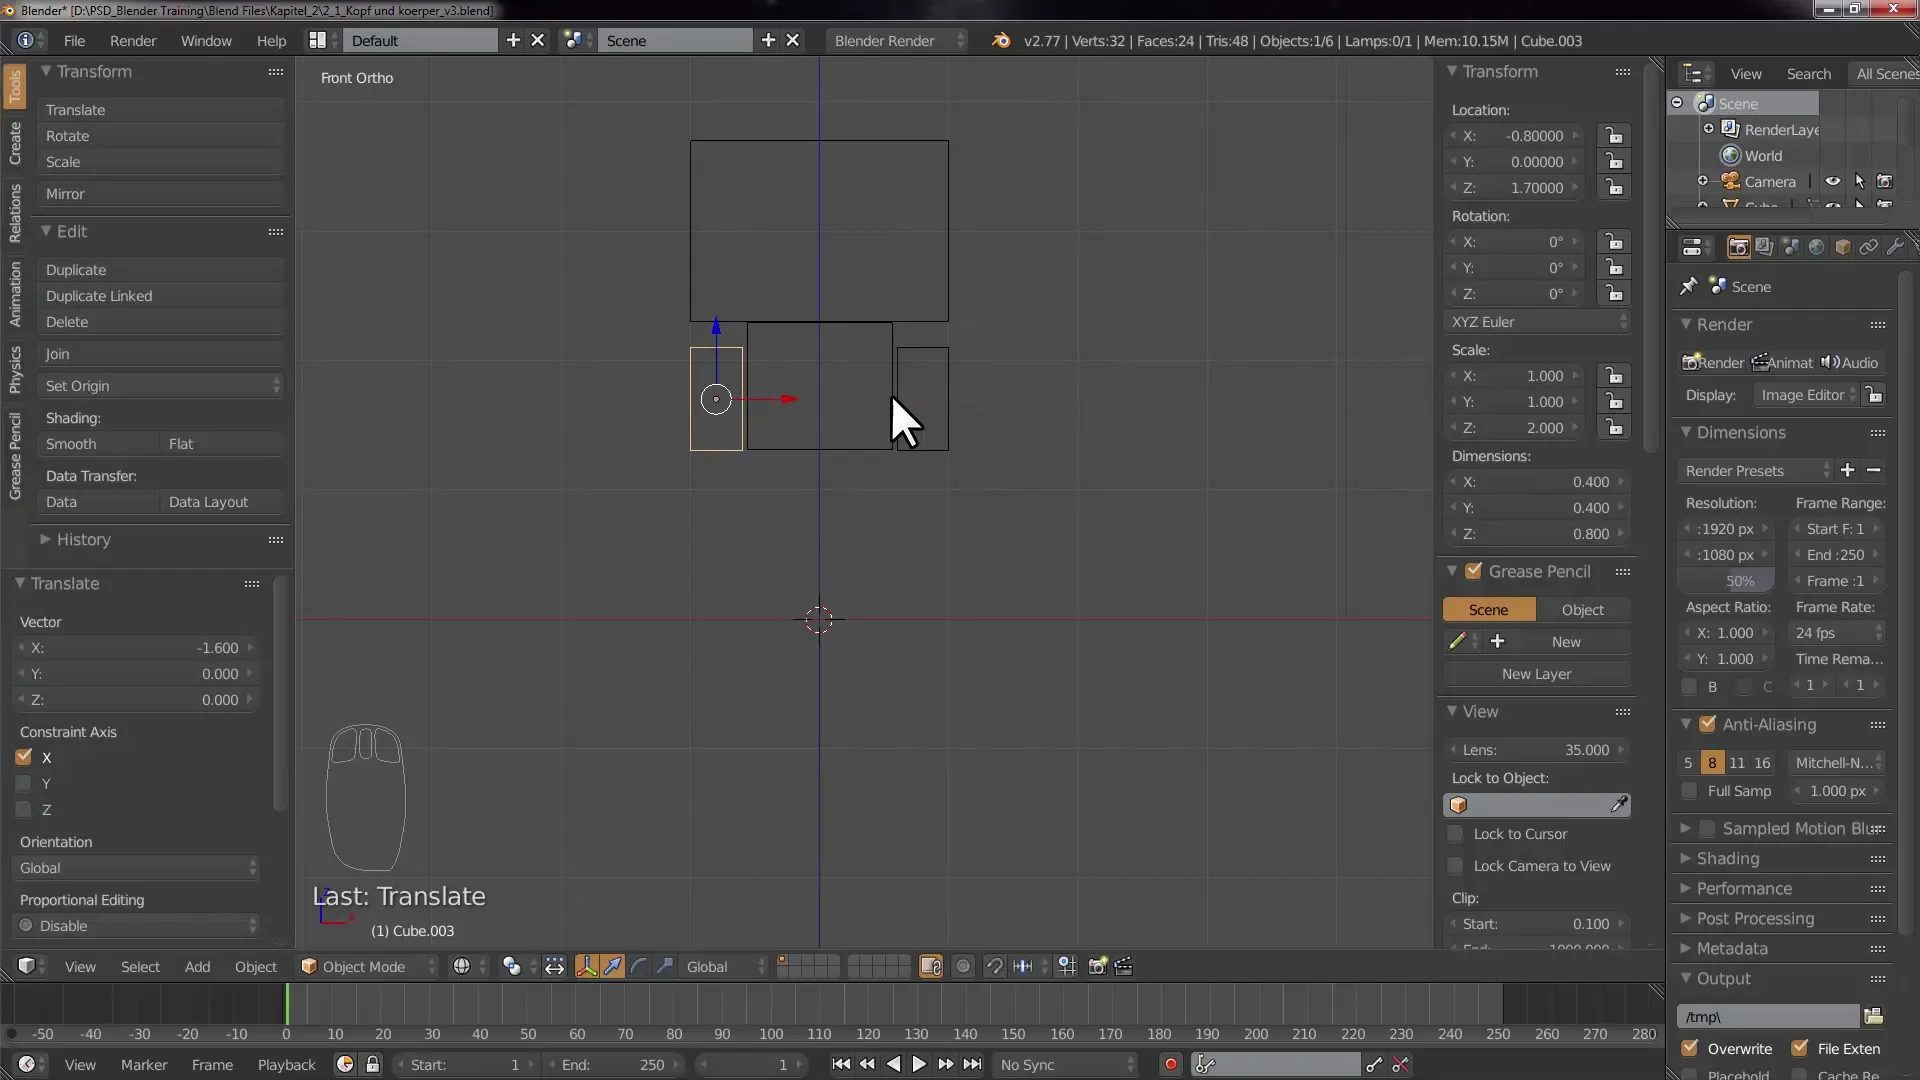
Here you should make sure that the second arm looks proportional to the figure.
Step 5: Adjusting the arm size
After duplicating the arms, you may have made them too large. Select both cubes and go back to the Scale section in the transformation menu to reduce them.
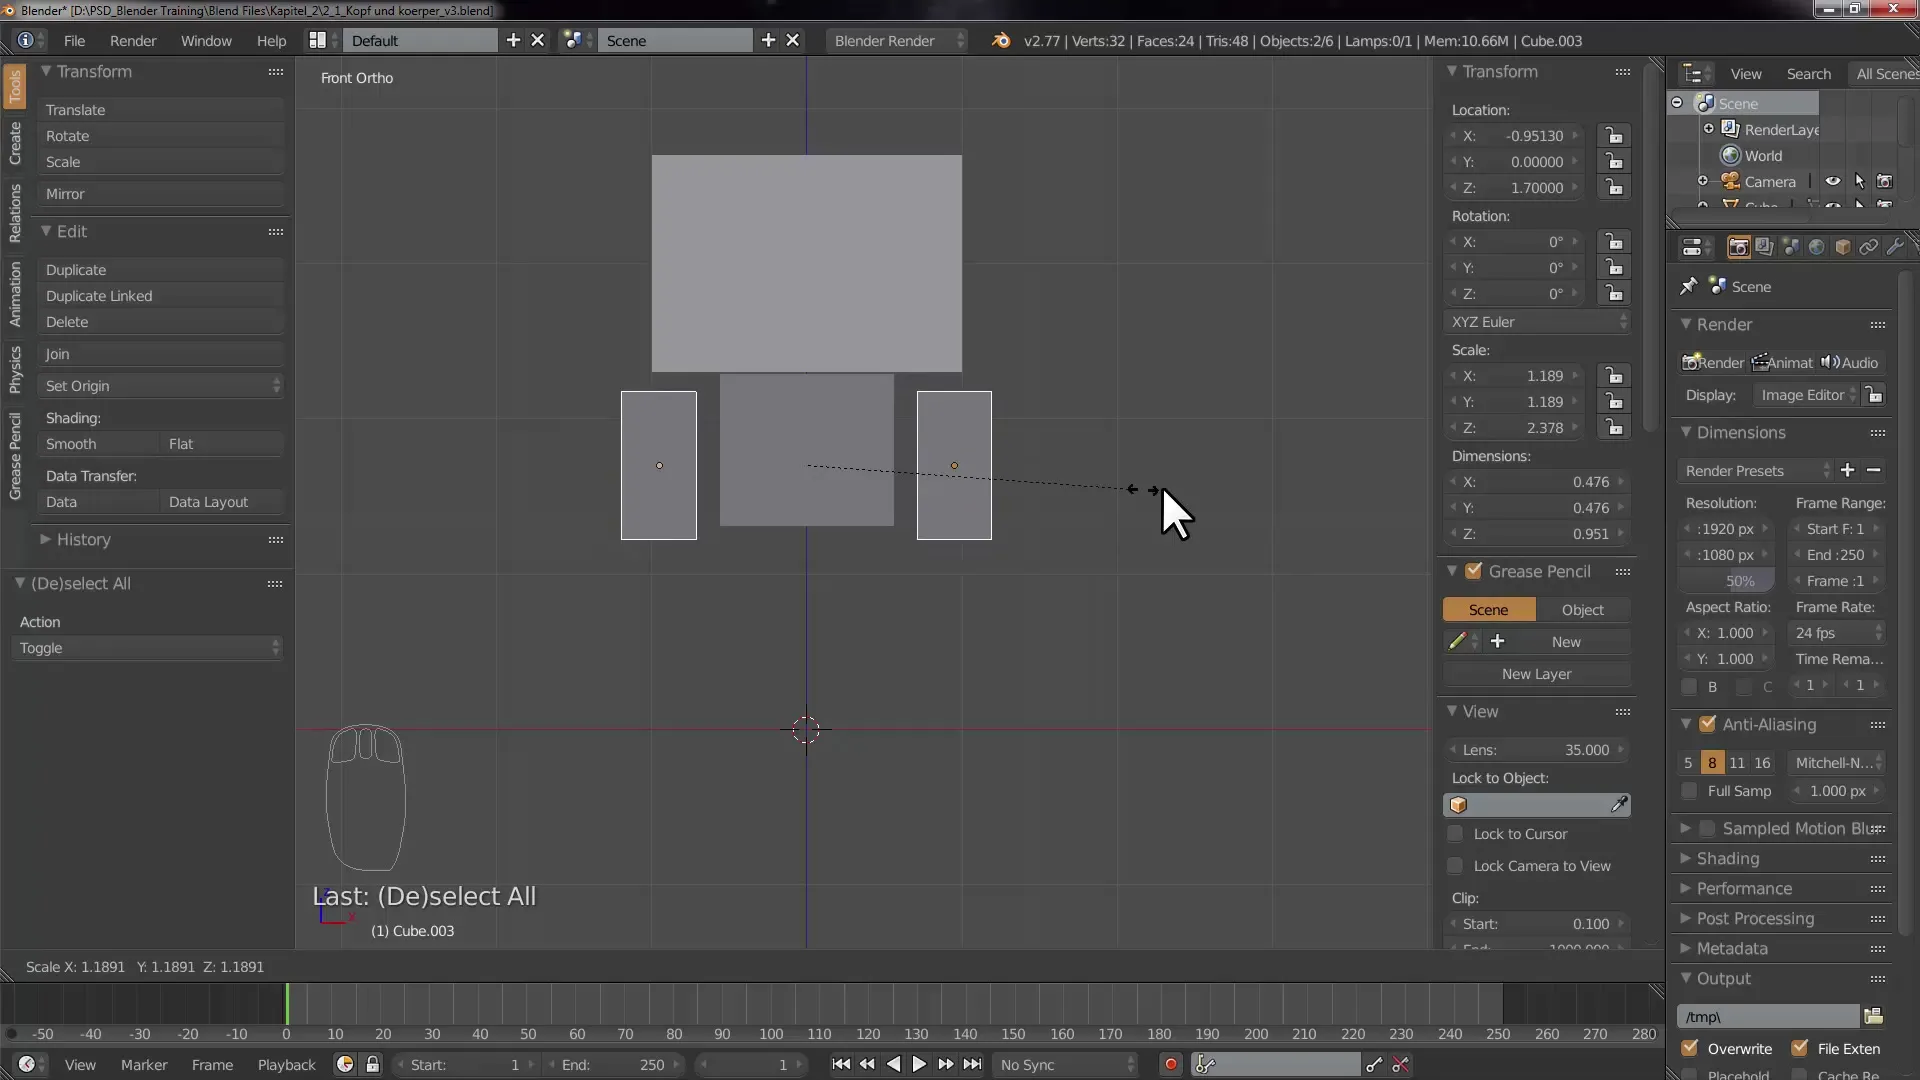
Remember to set the pivot point settings to Individual Origins so that both arms are scaled appropriately.
Step 6: Selecting boxes for the legs
Now we turn our attention to the legs. Again, select everything by pressing B for the box select to ensure all objects in the right area are selected.
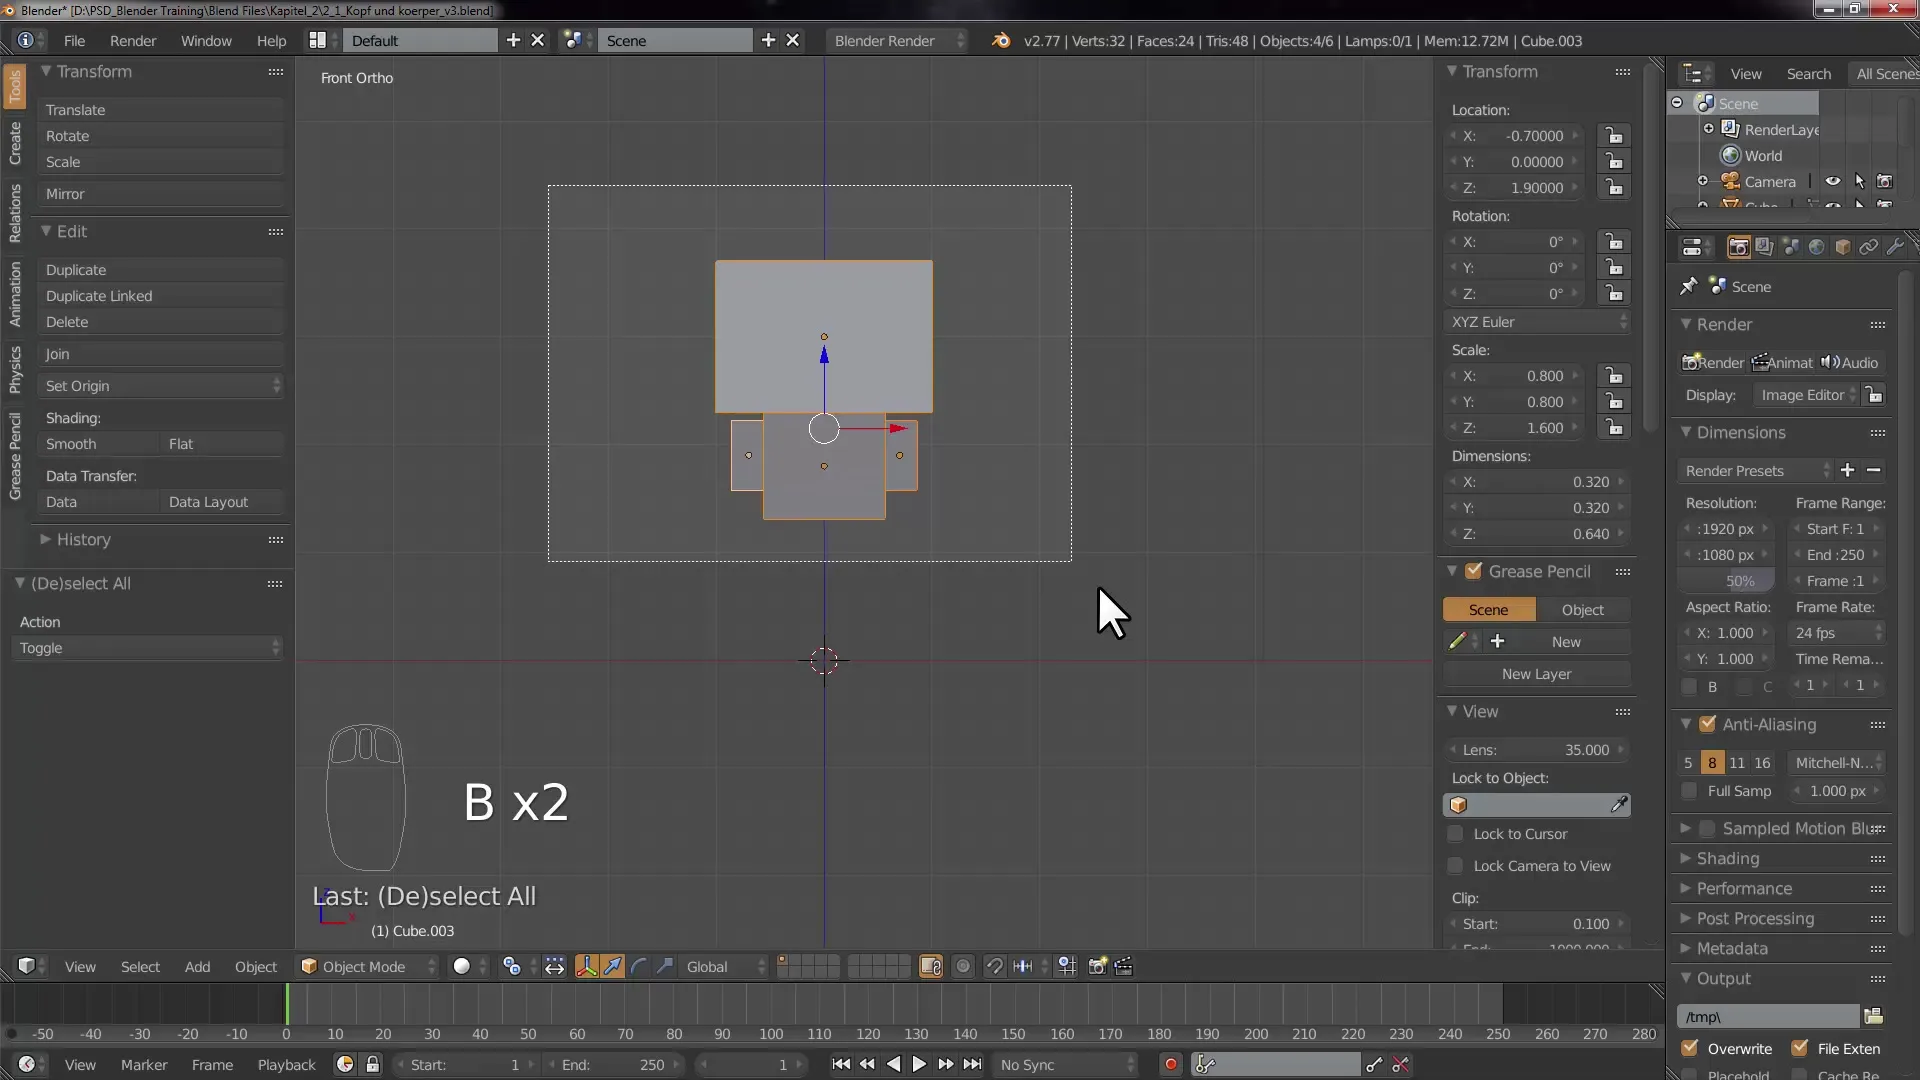
You can then move the legs down with G and Z to achieve the correct proportion.
Step 7: Working in Edit Mode
Now you want to use Edit Mode. Add a new cube to shape the legs. After adding, switch the mode by pressing Tab and you can now edit the geometry of the cube.
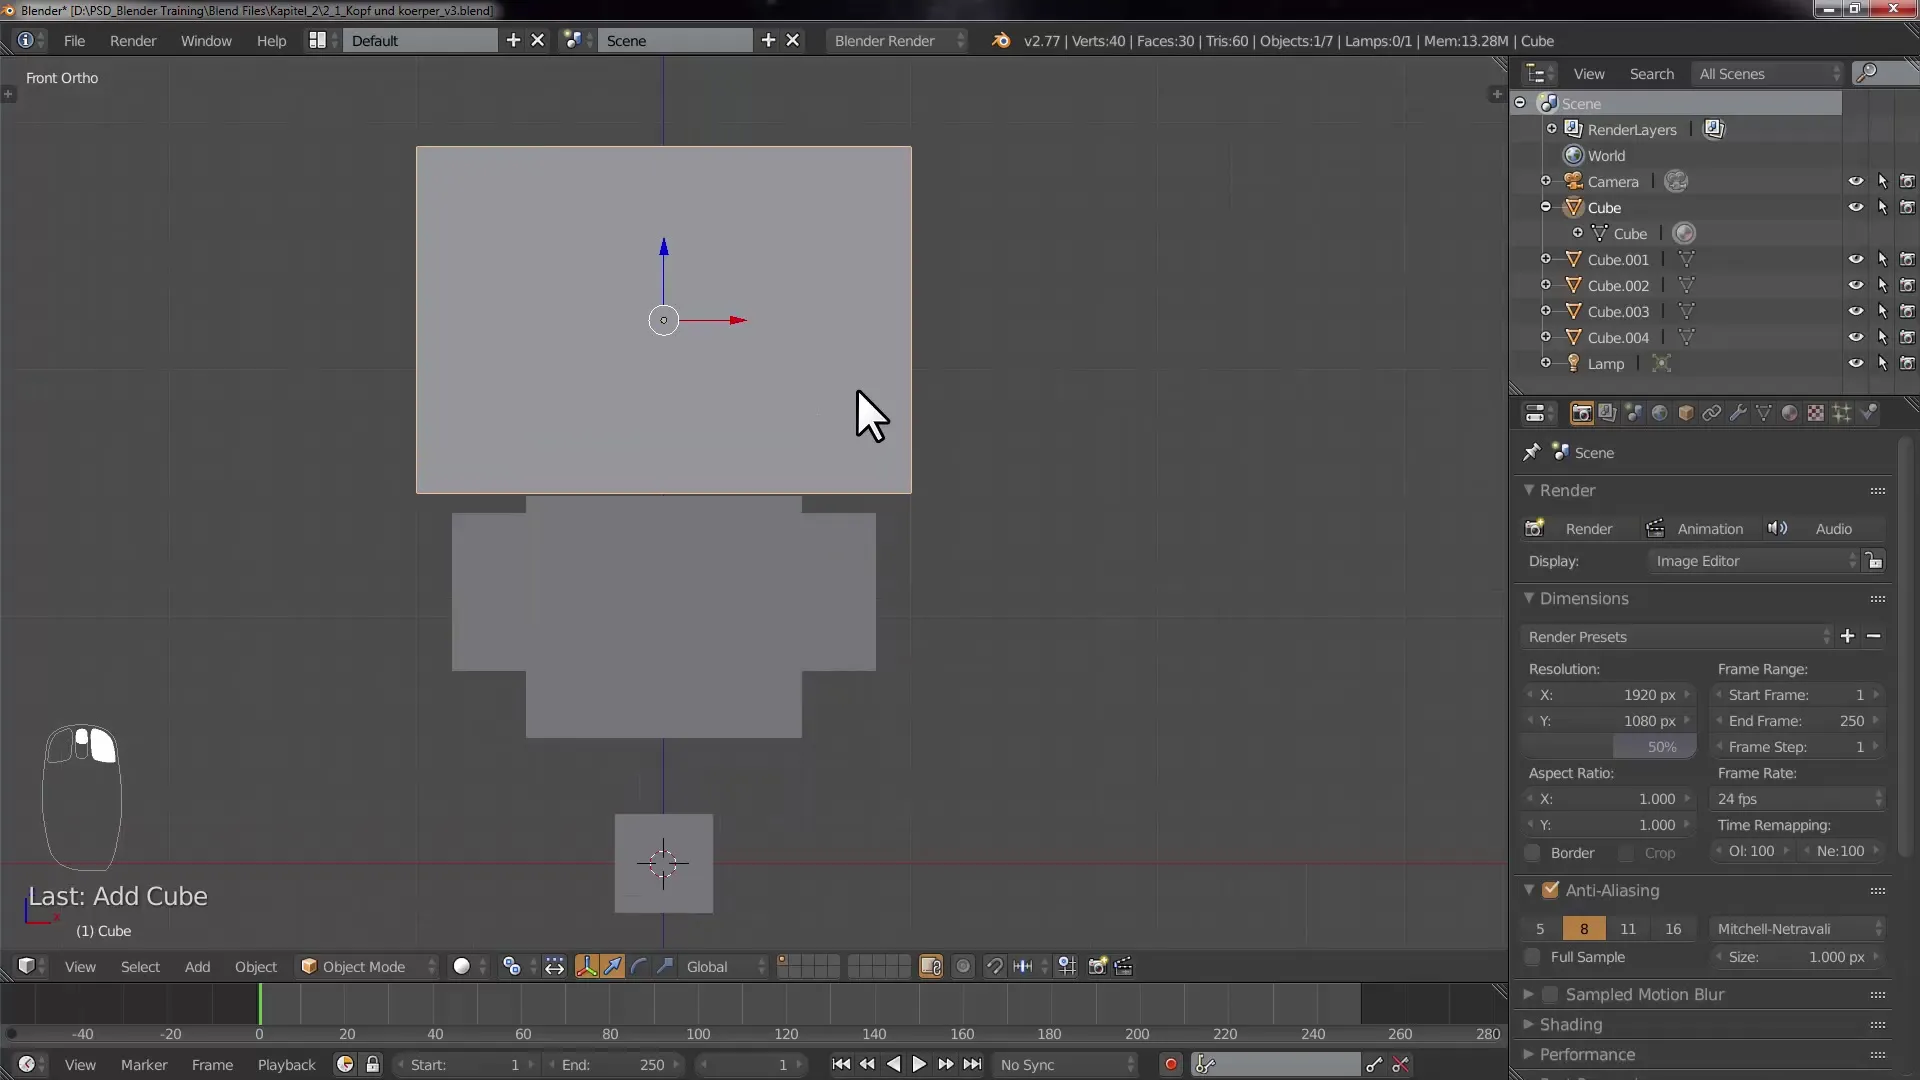
Here it is important to familiarize yourself with the selection modes: Vertex, Edge, and Face select mode are all useful options in Edit Mode.
Step 8: Extruding the leg shape
Select the face of the cube and use the E key to extrude the face and form a leg. This is a fundamental technique for modeling in Blender.
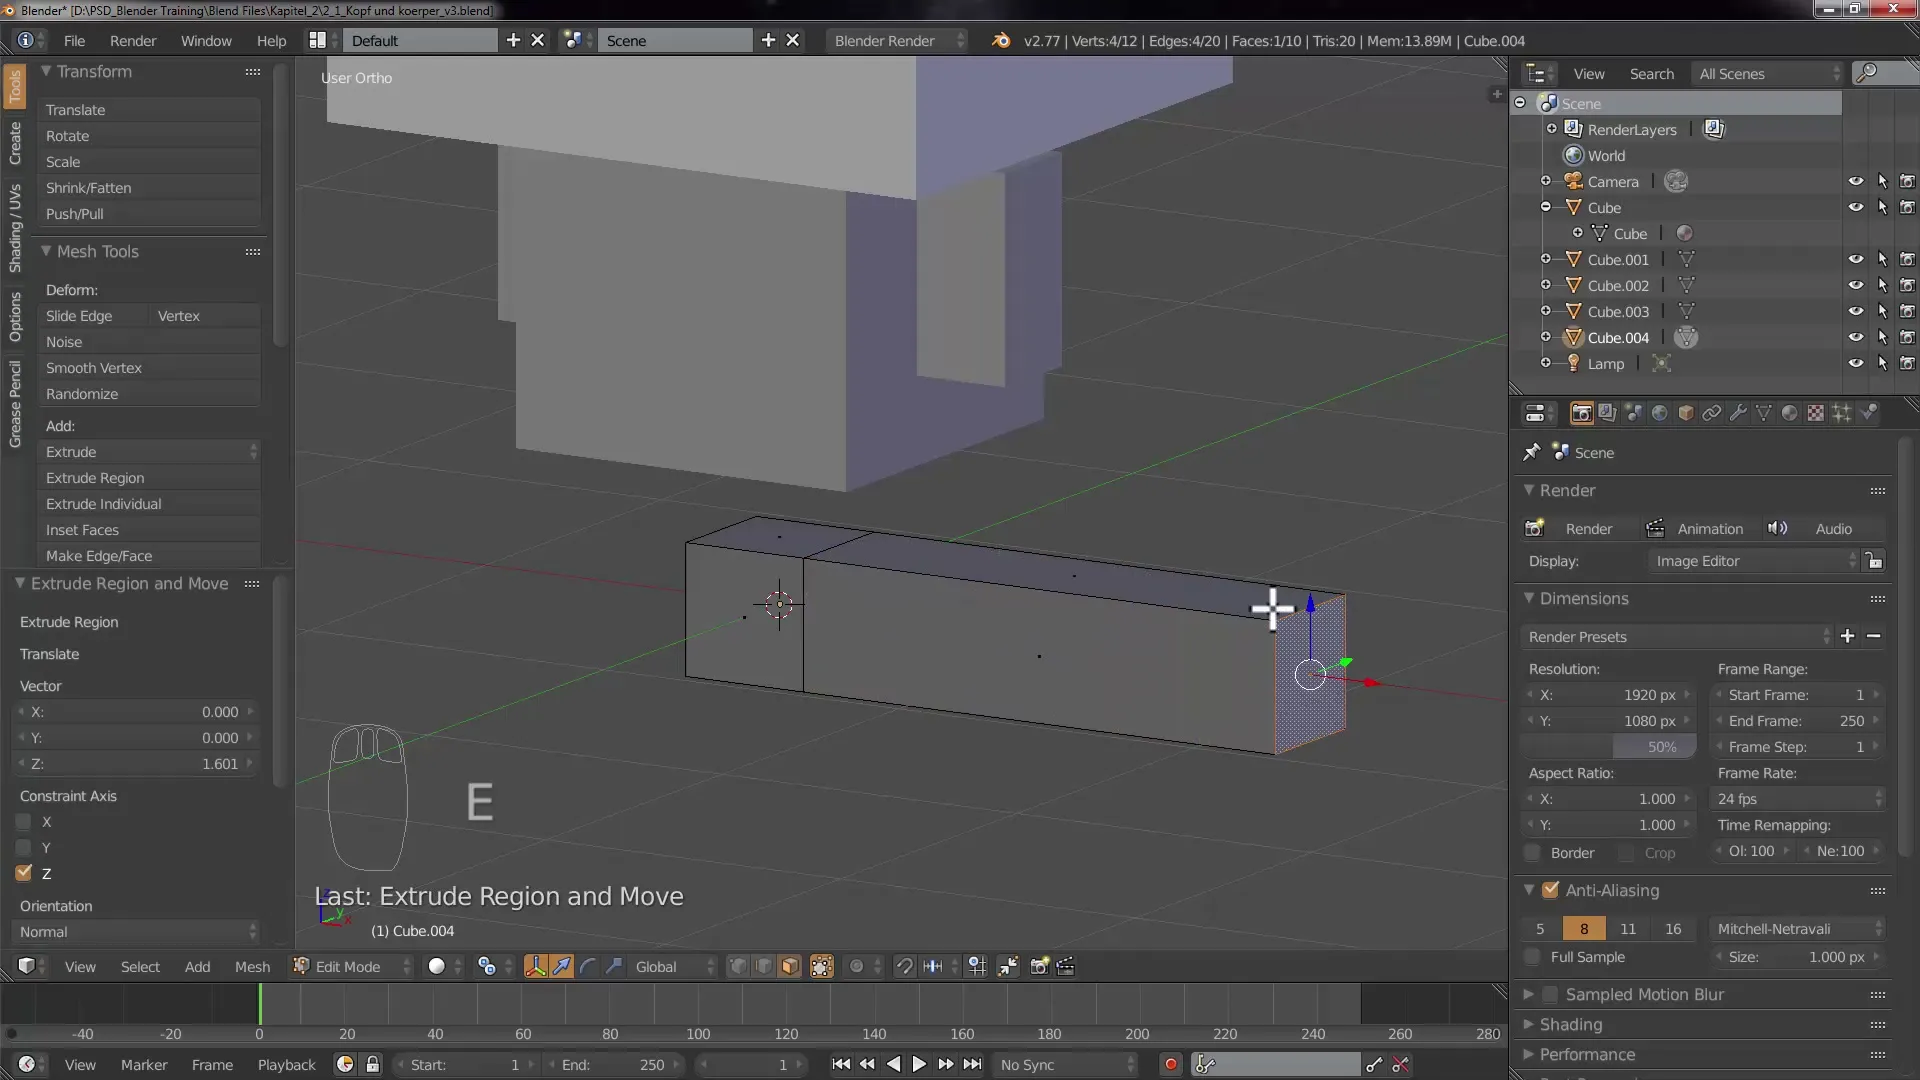
Exit Edit Mode by pressing Tab to check the full view of your character.
Step 9: Applying the Mirror Modifier
To ensure that the legs are symmetrical, apply the mirror modifier. Go to the modifier properties to add the modifier and make sure it is set correctly to facilitate editing.
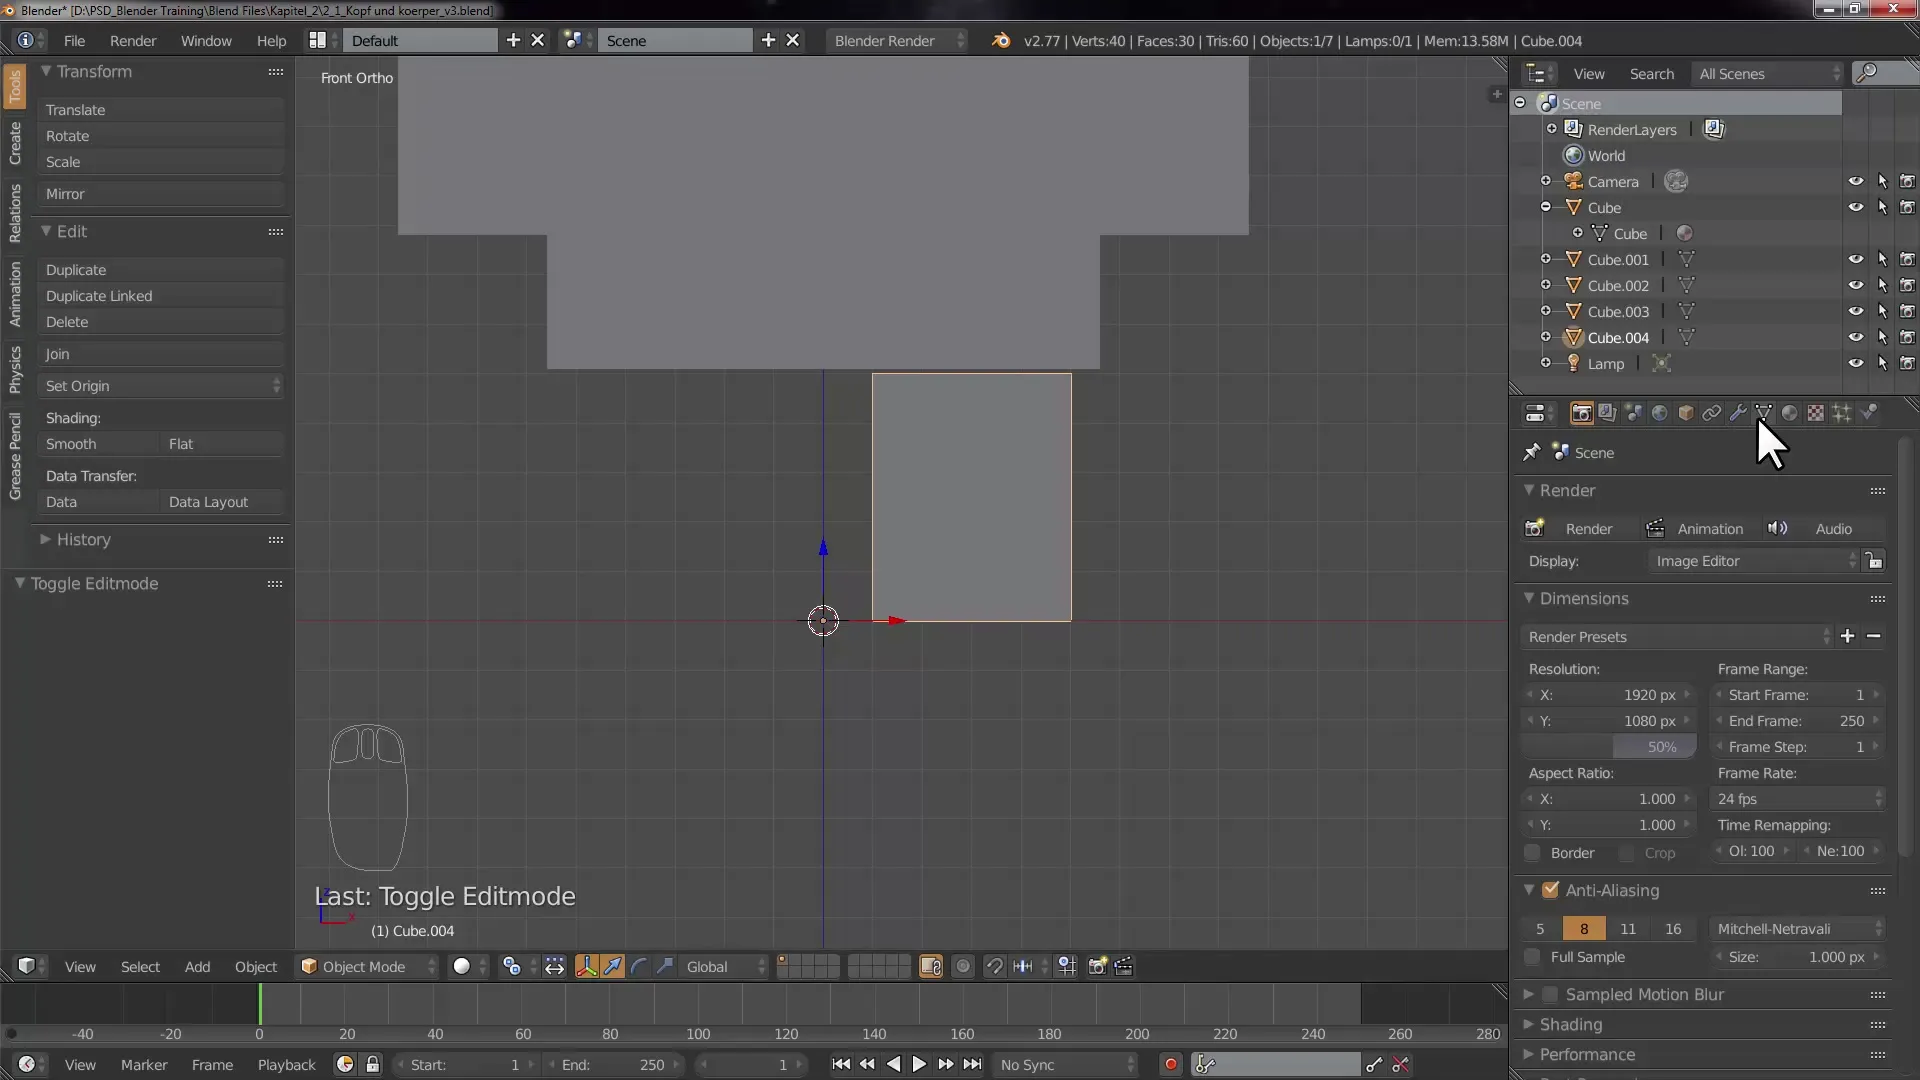
This saves time and allows you to create symmetrical body parts with minimal effort.
Step 10: Saving your project
Do not forget to save your project regularly. Go to File > Save As and choose a location. Name the file to identify it easily, like “Legs and Arms.”
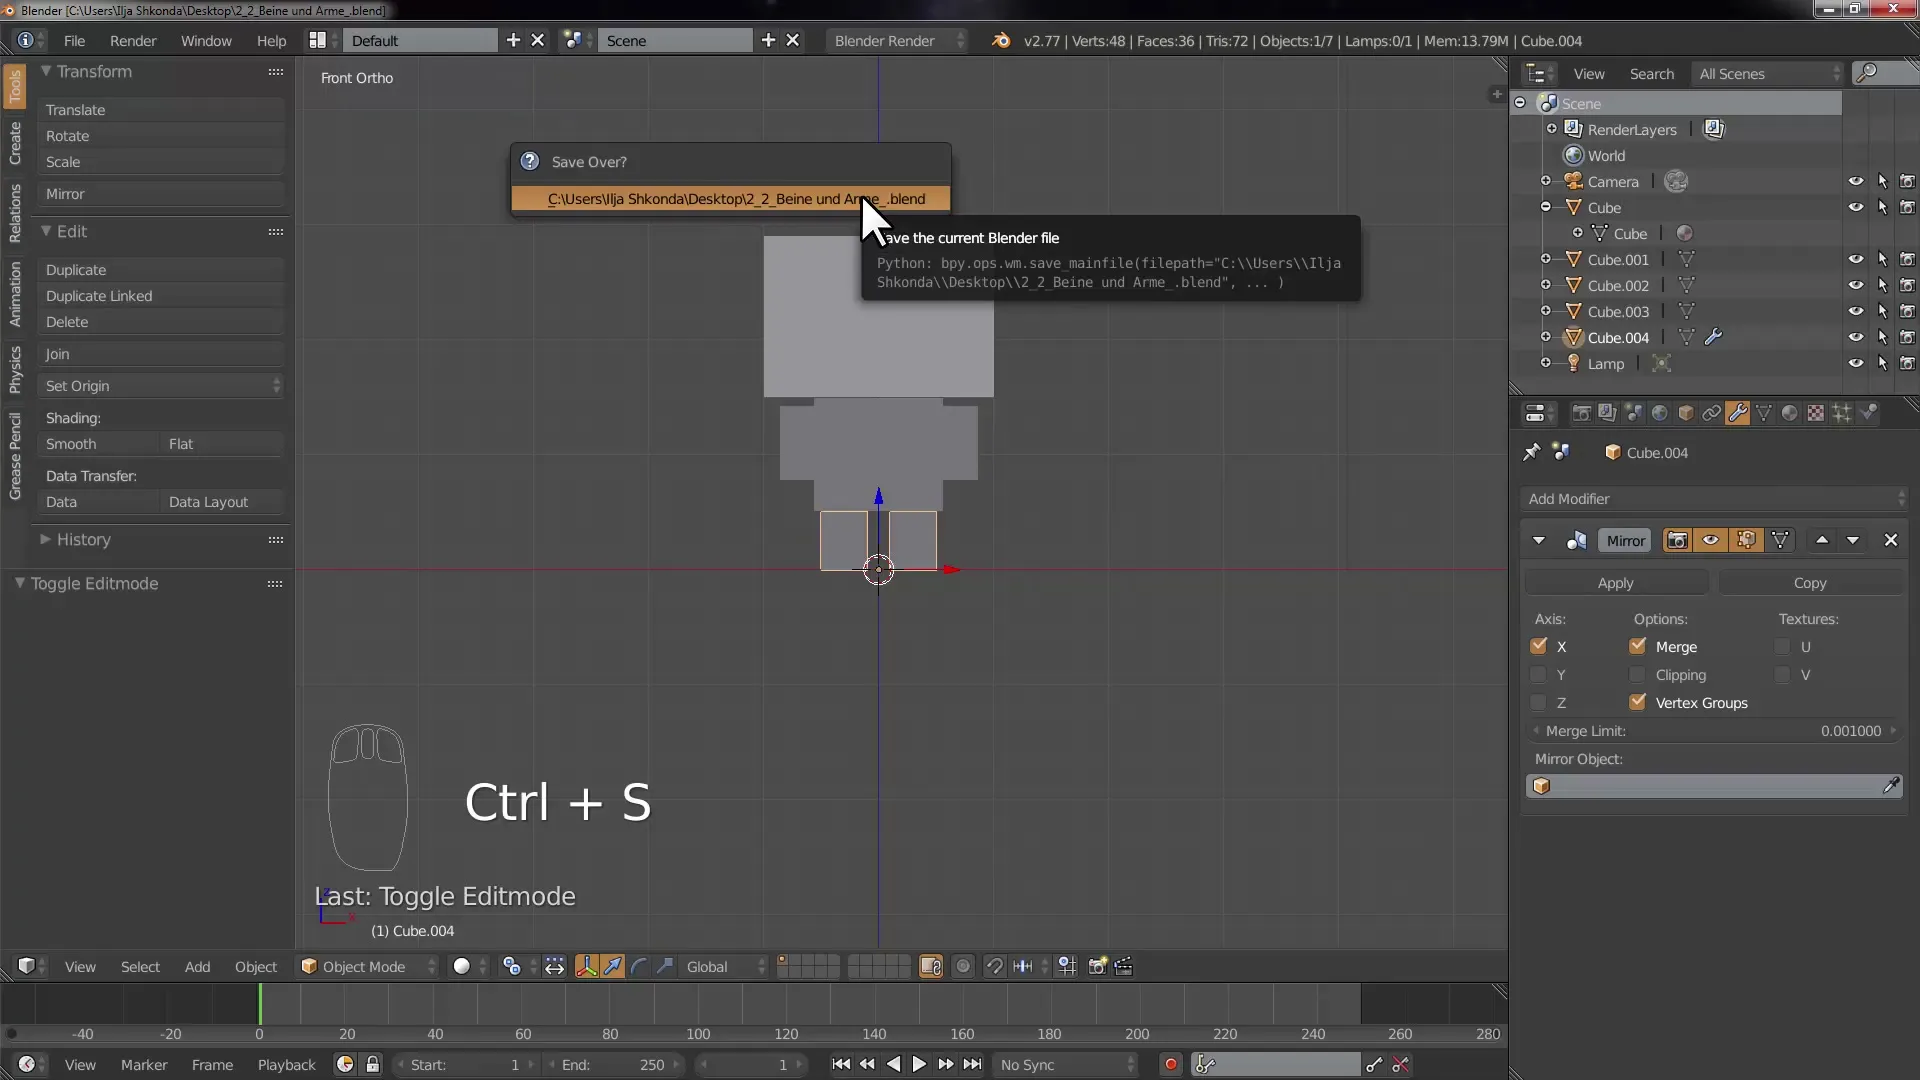
Saving regularly is important to avoid losing your progress.
Summary – Great steps to create arms and legs in Blender
In this tutorial, you learned the steps to model arms and legs for a Cubecraft character in Blender. You learned how to create, adjust cubes and efficiently work with various functions and modifiers.
Frequently Asked Questions
How do I add a new object in Blender?Press Shift + A and choose the desired object under Mesh.
What is the difference between Edit Mode and Object Mode?In Edit Mode, you edit the geometry of an object, while in Object Mode, you move and transform the objects themselves.
How do I save my project in Blender?Go to File > Save As and choose a location to save your project.
How can I change the size of an object?Select the object and go to the transformation menu and adjust the size via the Scale option or use the S key.
What is the Mirror Modifier?The Mirror Modifier allows you to mirror an object across an axis, creating exact symmetrical copies.
