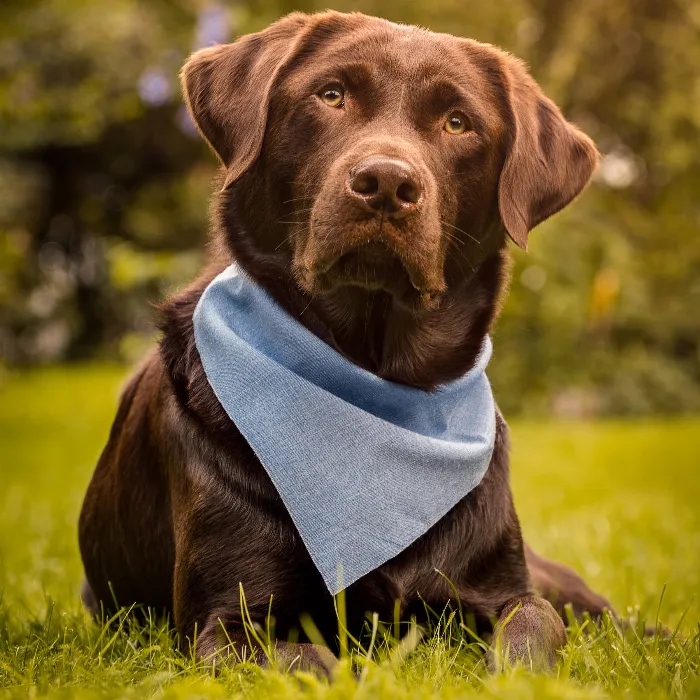
The right camera settings play a crucial role when it comes to capturing the perfect portrait of your dog in the outdoors. Especially when your four-legged friend is still, you can achieve emotional and sharp pictures that reflect your dog's personality with the right settings. Below, I will explain the steps you should follow to take impressive dog photos outdoors.
Key insights
- Use the A/AV mode to set the aperture.
- Set the ISO value to the lowest possible value that allows correct exposure.
- Use continuous shooting mode for quick sequences of images.
- Manually adjust the white balance if conditions are constant.
- Photograph in RAW format for maximum image information.
- Use exposure compensation for easy adjustment of brightness.
Step-by-Step Guide
To make the process easier, here are the steps for the optimal camera settings when photographing your dog:
1. Choose the A/AV mode
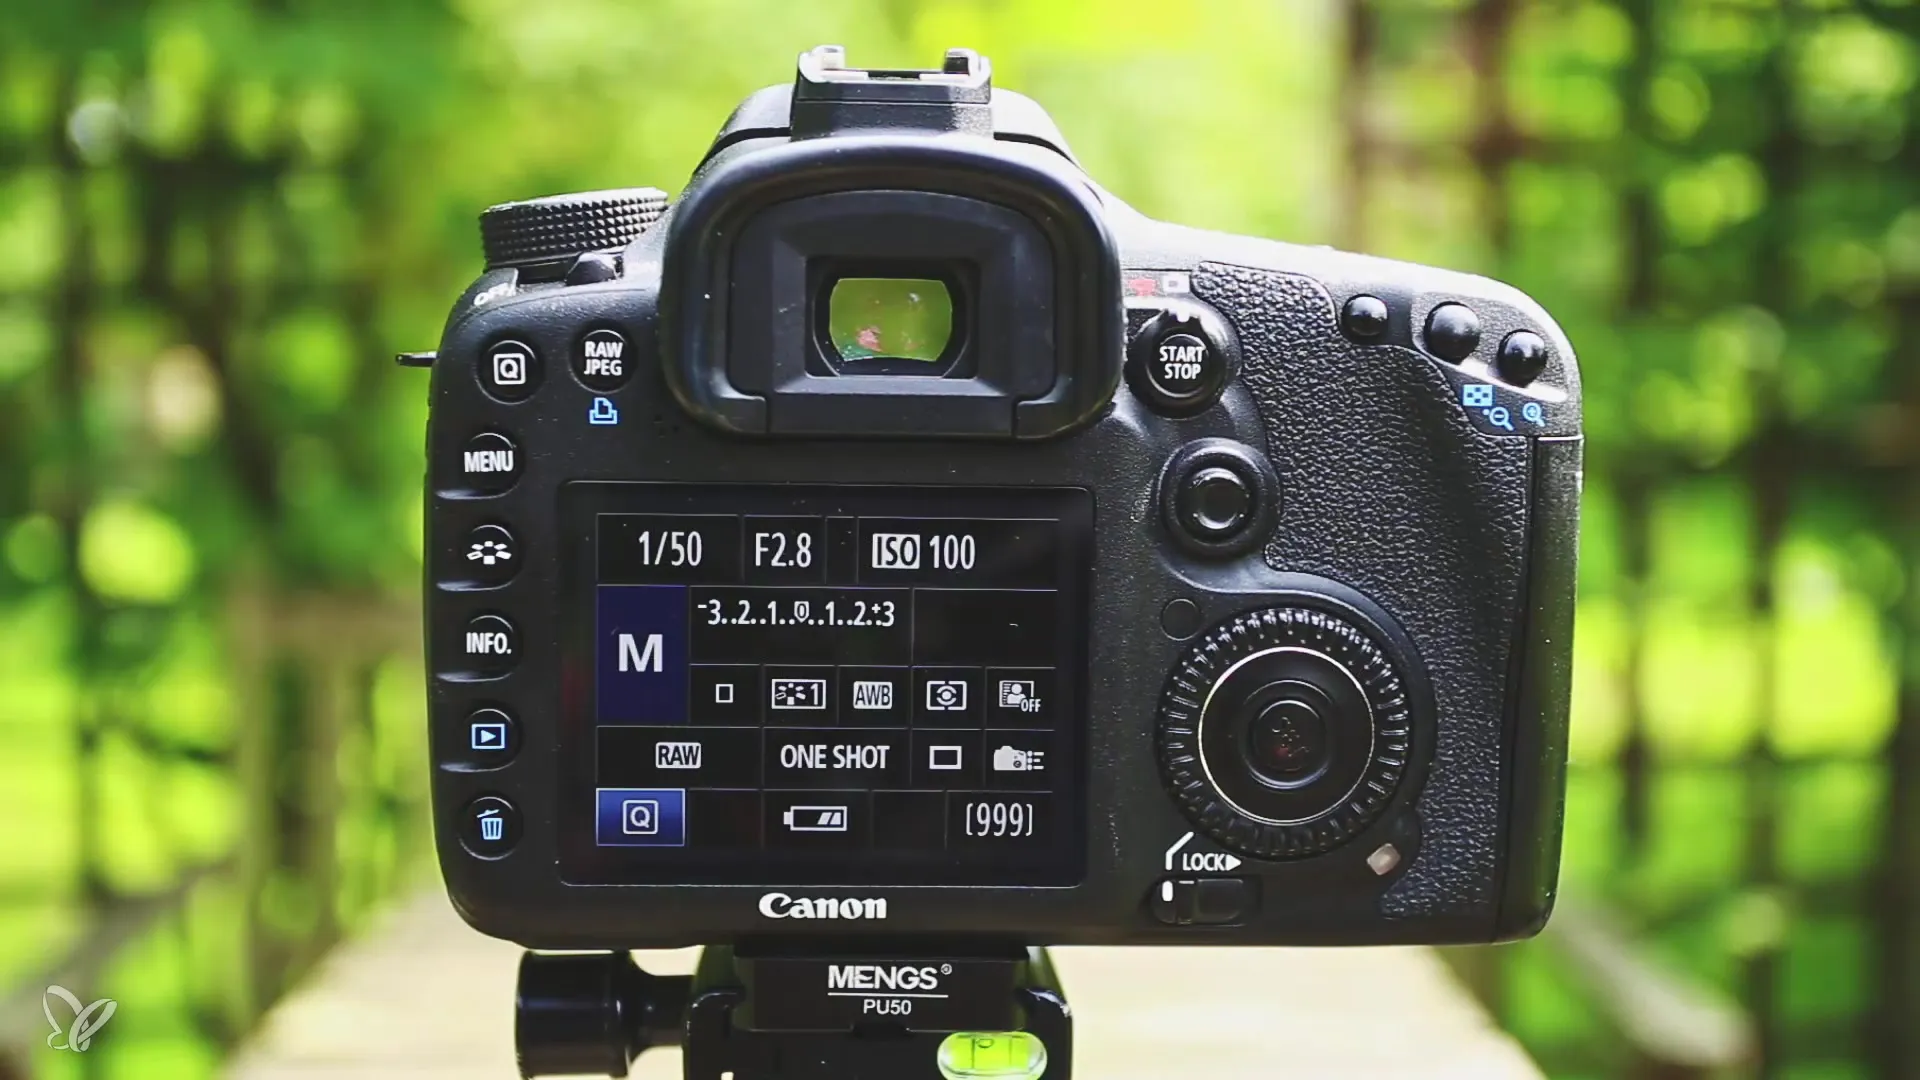
First, you should set your camera to the A or AV mode. In this mode, you set the aperture while the camera chooses the exposure time itself. This allows you to use the aperture flexibly while still achieving good results. Ideally, you should use the widest aperture that your camera allows.
2. Manage the ISO
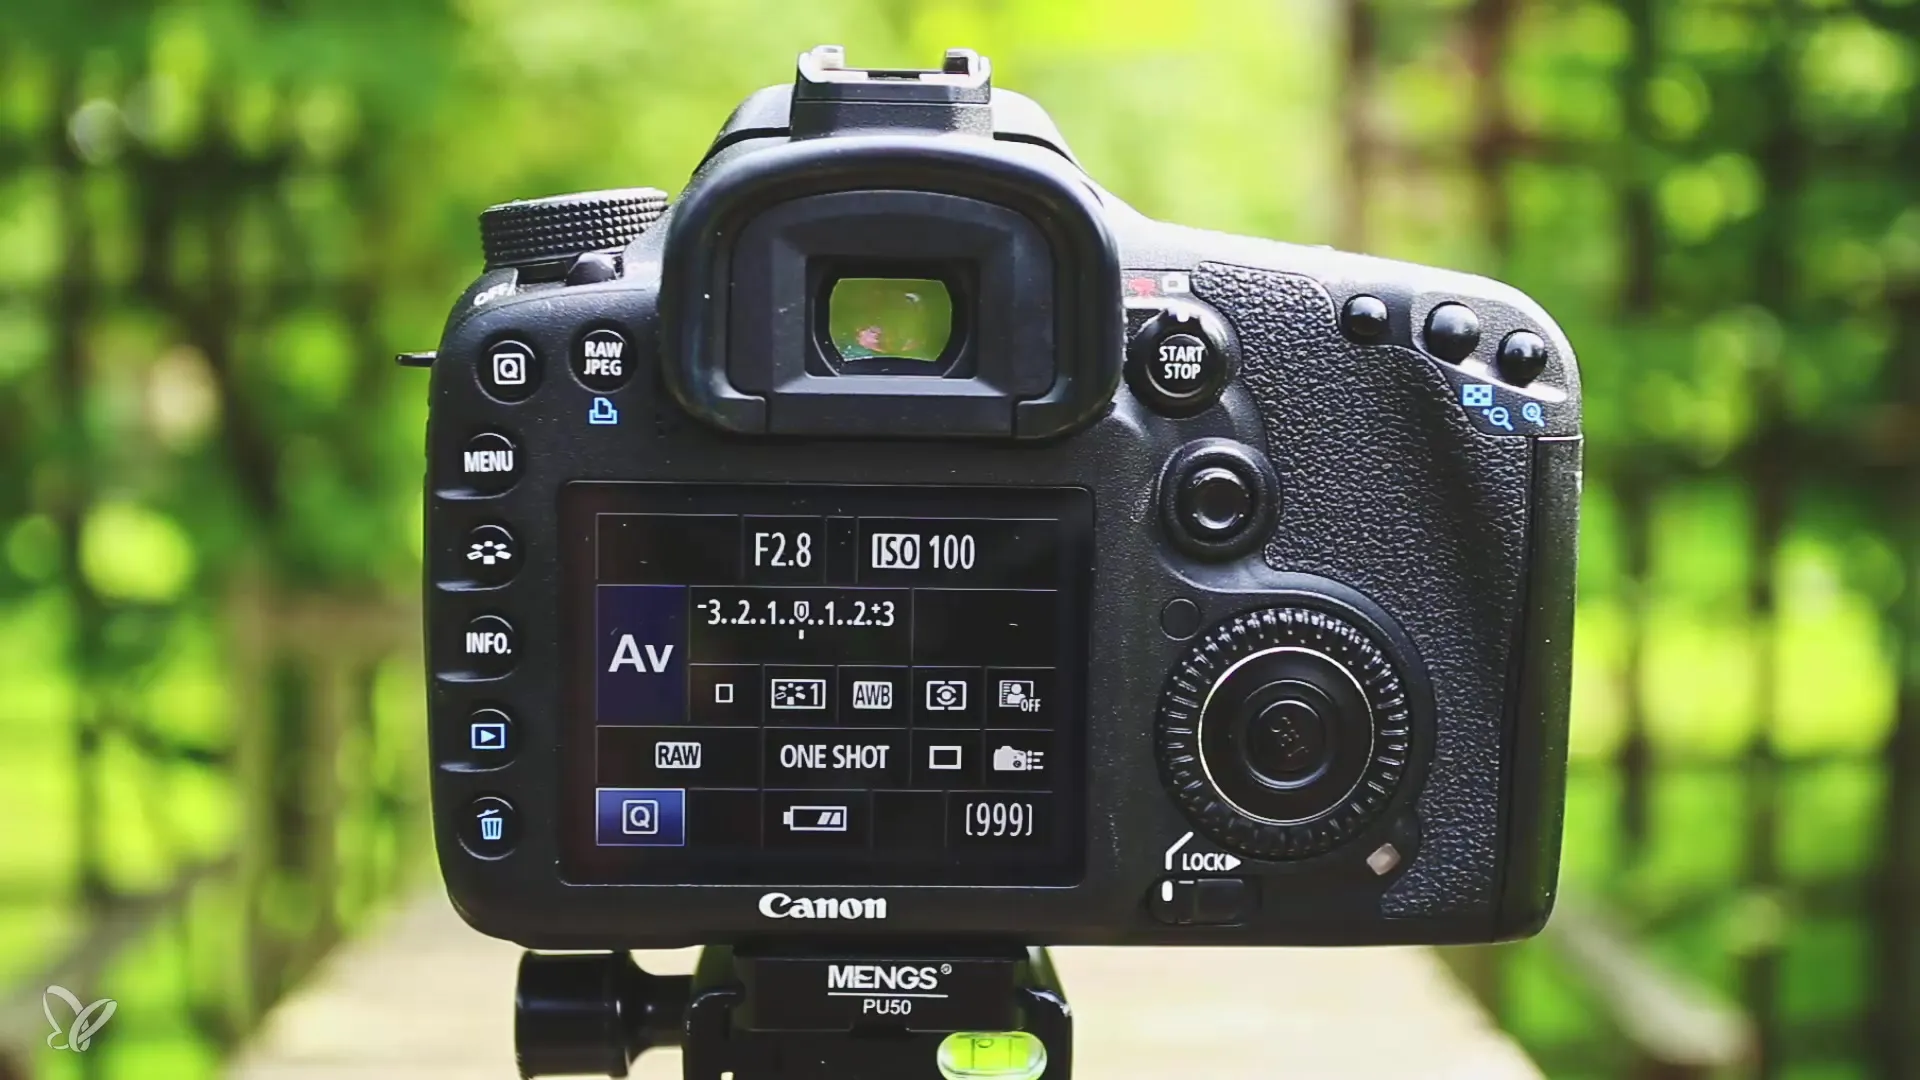
Regarding the ISO value, you should choose the lowest value that allows for correct exposure. I recommend setting the ISO value to "Auto" when shooting outdoors. This way, the camera automatically selects the appropriate ISO value to optimize exposure.
3. Use continuous shooting mode
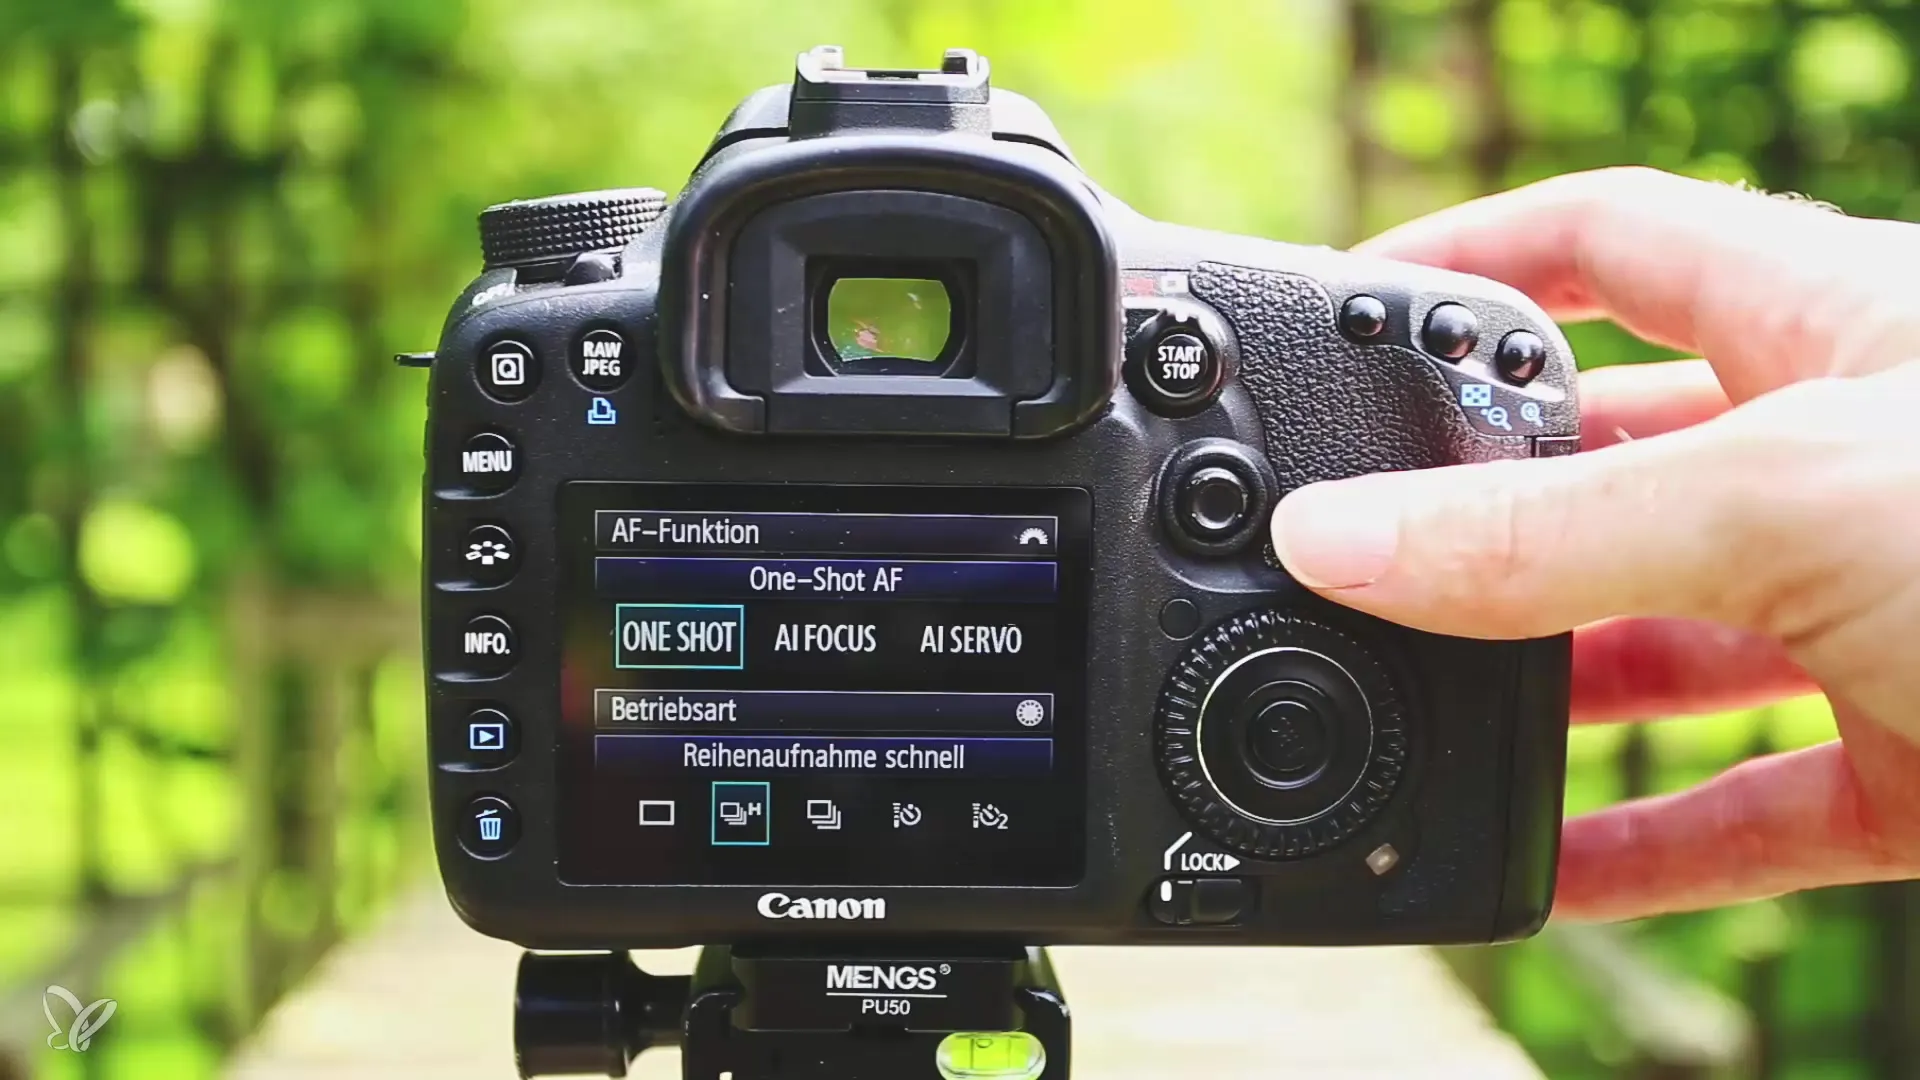
Now it's important to ensure you take enough pictures. Set your camera to continuous shooting mode. This allows you to take multiple photos in quick succession while holding down the shutter button. This way you can quickly capture the different emotions and movements of your dog without the risk of missing the perfect moment.
4. Pay attention to the white balance
The white balance is another important aspect of your camera settings. In most cases, you can leave the white balance on "Auto" as the camera usually delivers good results this way. However, when shooting in RAW format, it is advisable to manually adjust the white balance, especially on sunny days.
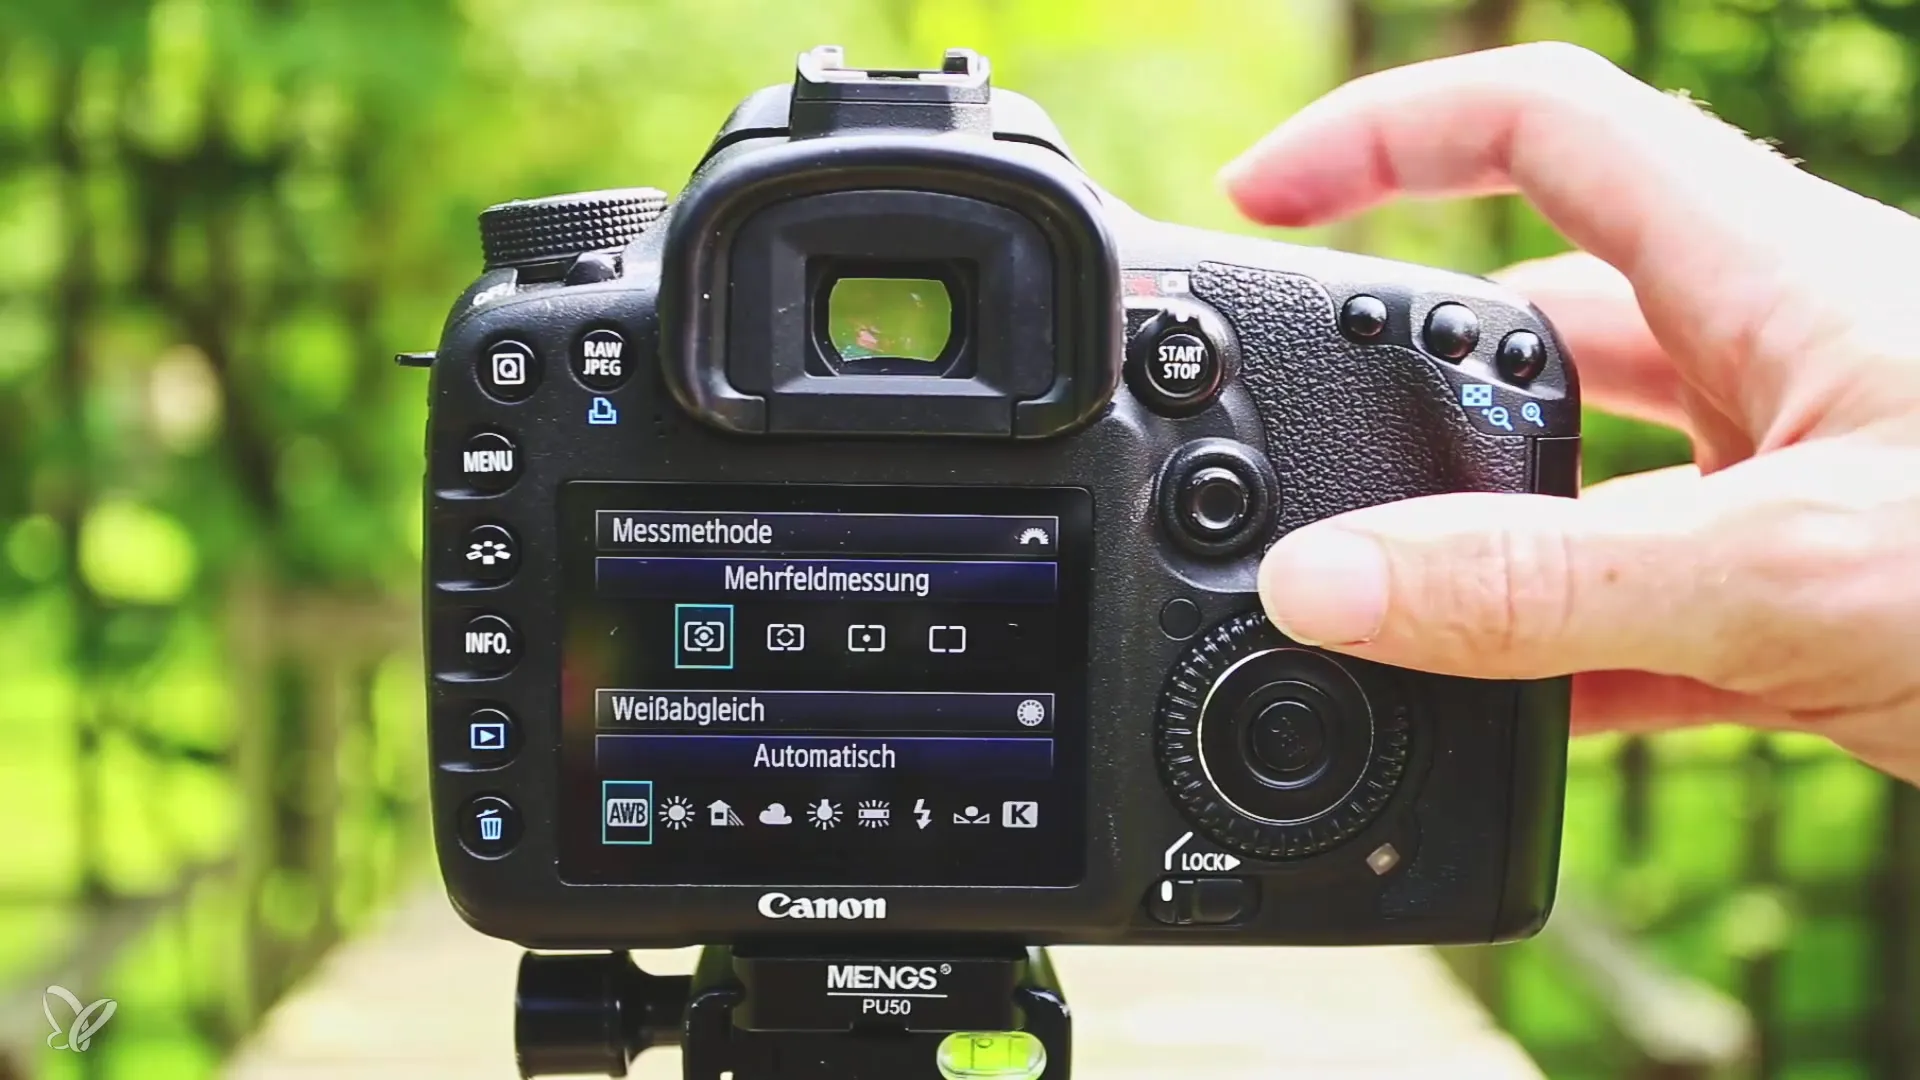
5. Shoot in RAW format
To ensure the best possible image quality and maximum editing options, you should always shoot in RAW format. With RAW files, you will have more image information available during post-processing, which is particularly important for achieving professional results.
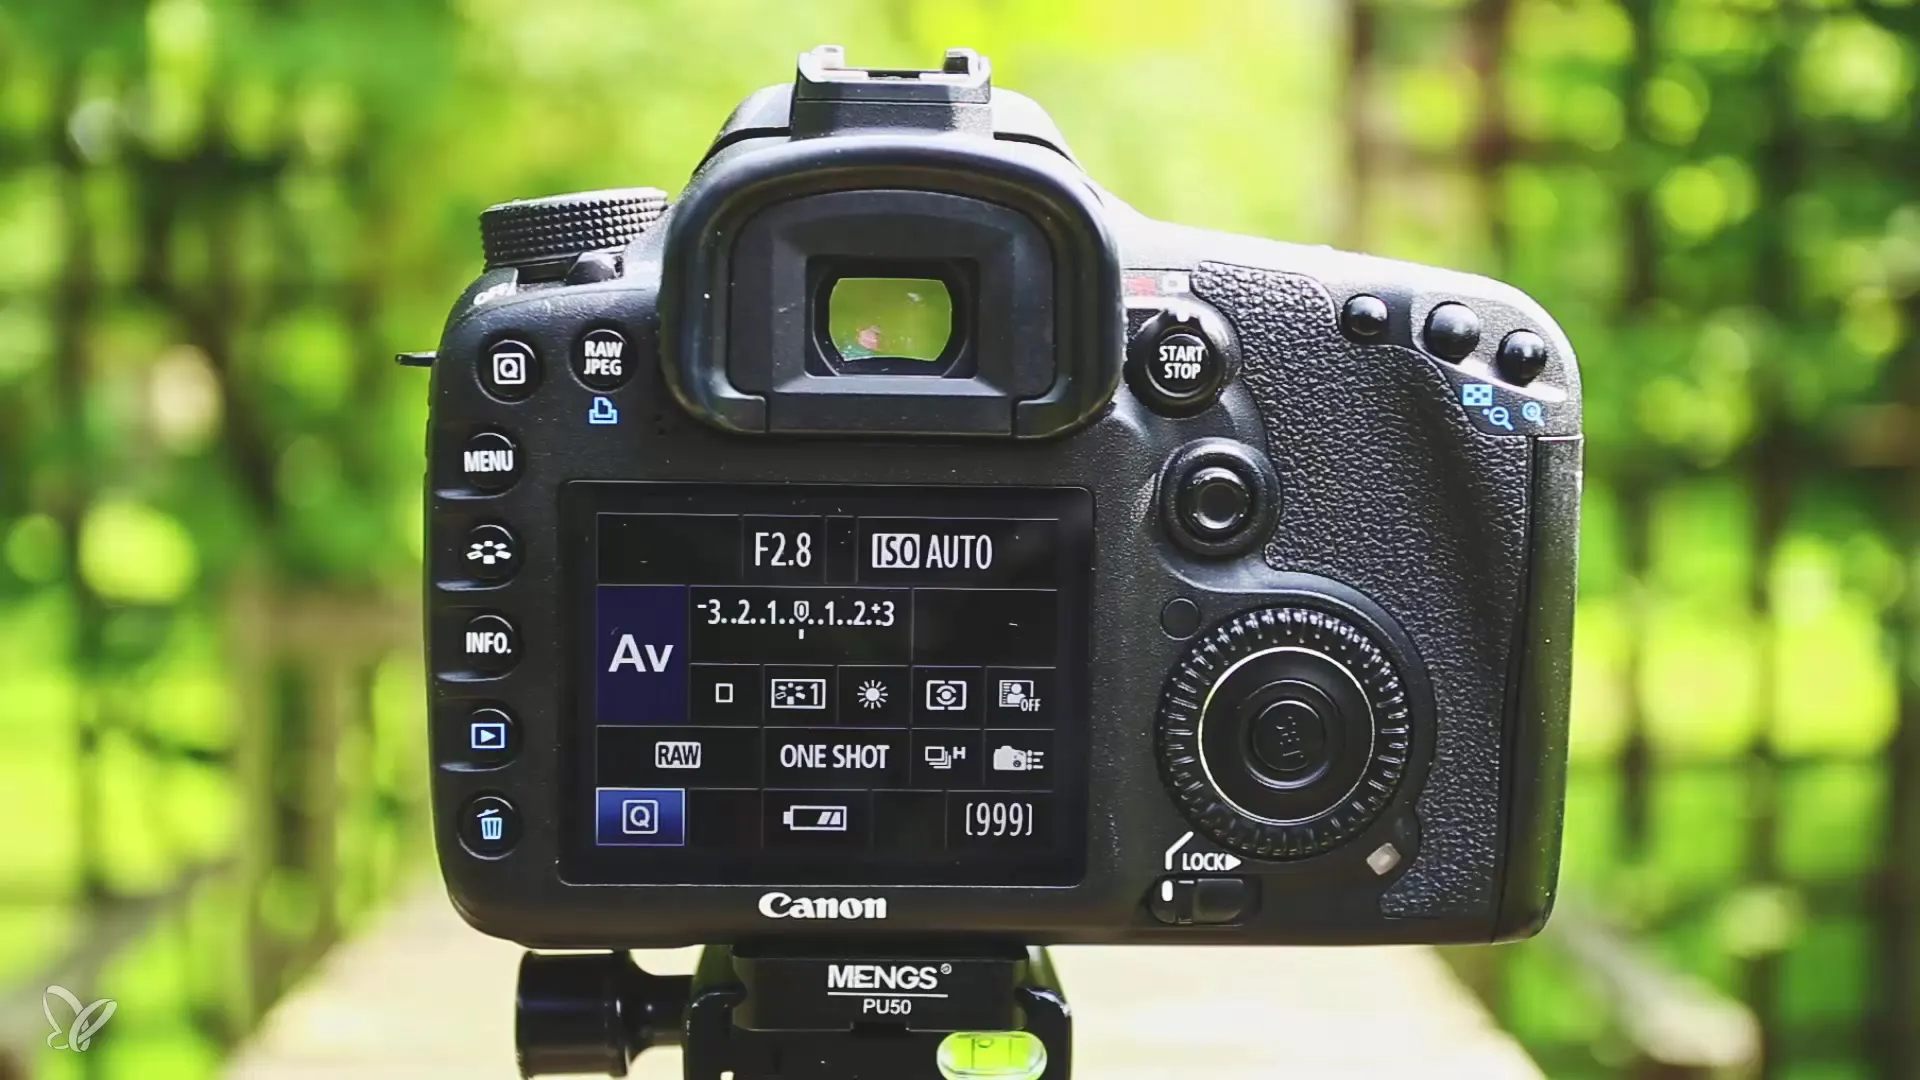
6. Use exposure compensation
If you feel that your shot is too bright or too dark, you can use exposure compensation. This function allows you to adjust the brightness of the image without manually changing aperture or exposure time. This is particularly useful for quickly responding to changes in light.
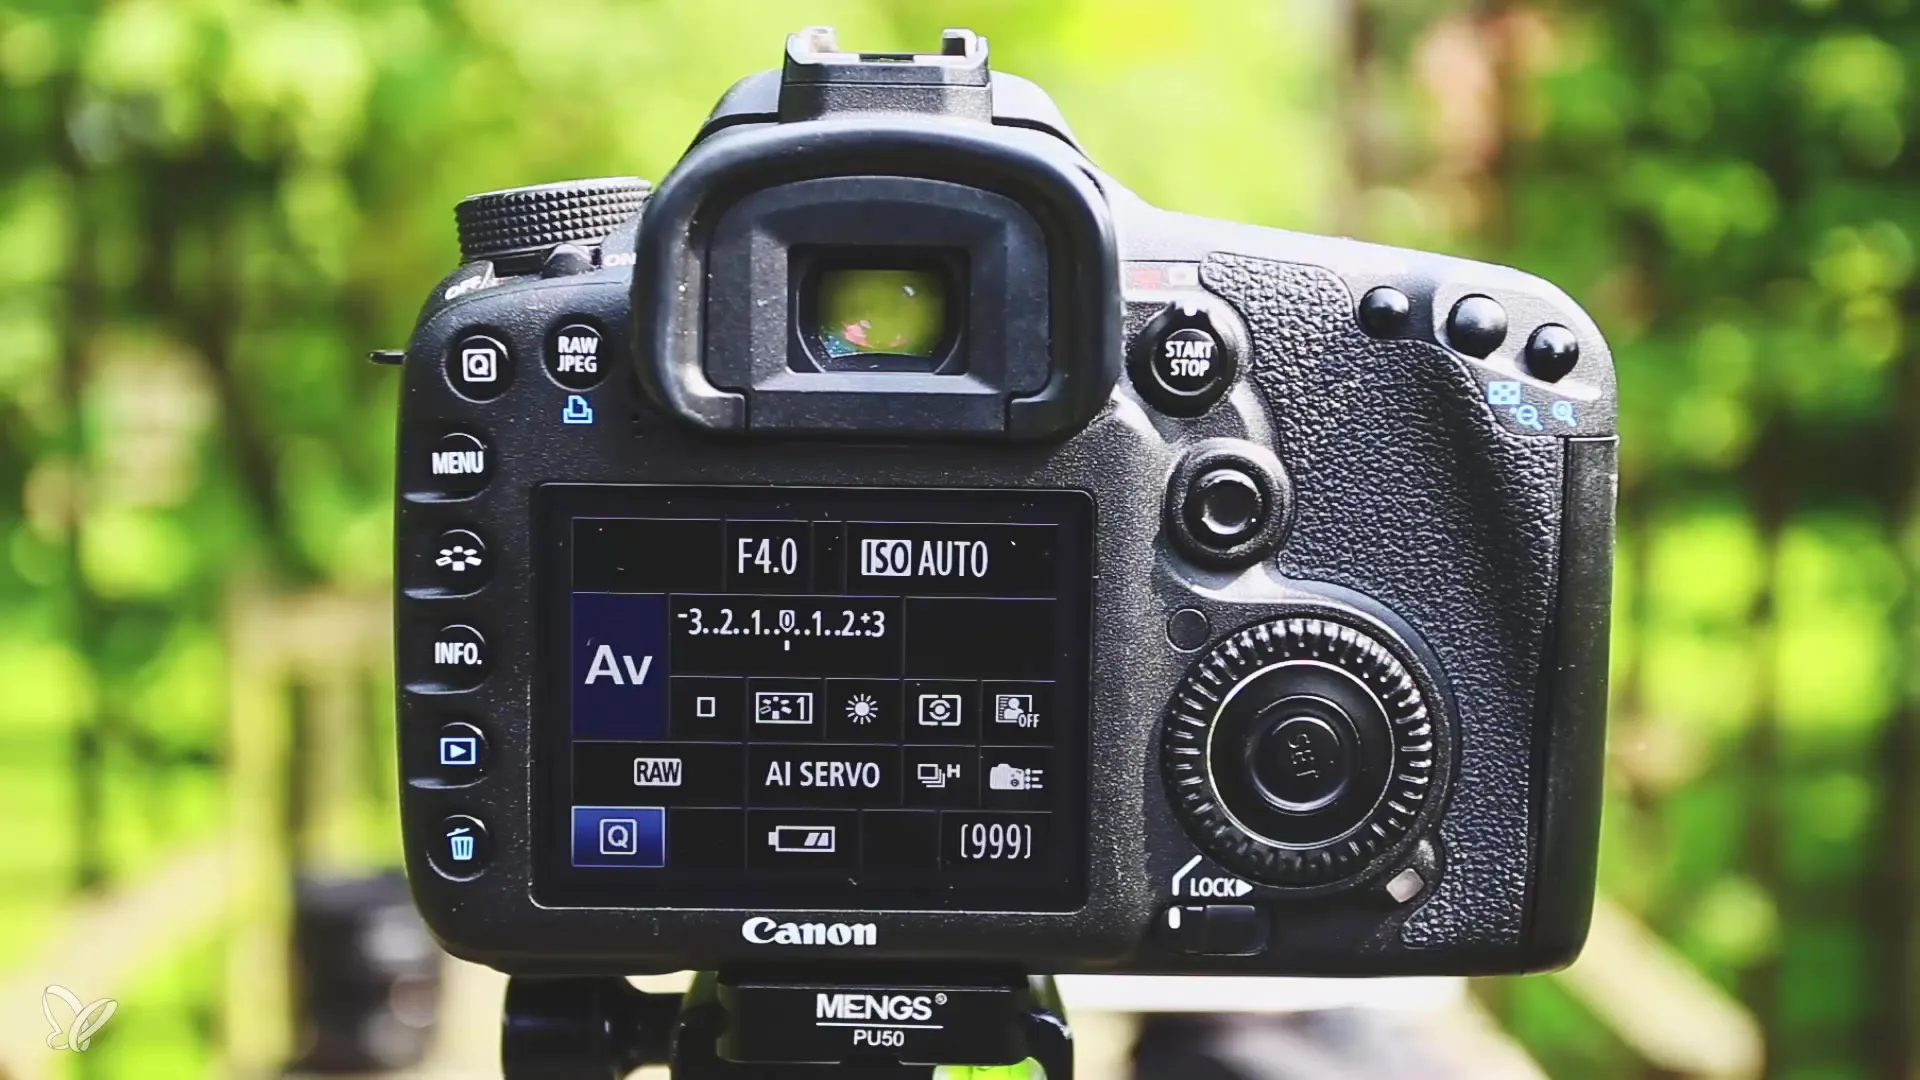
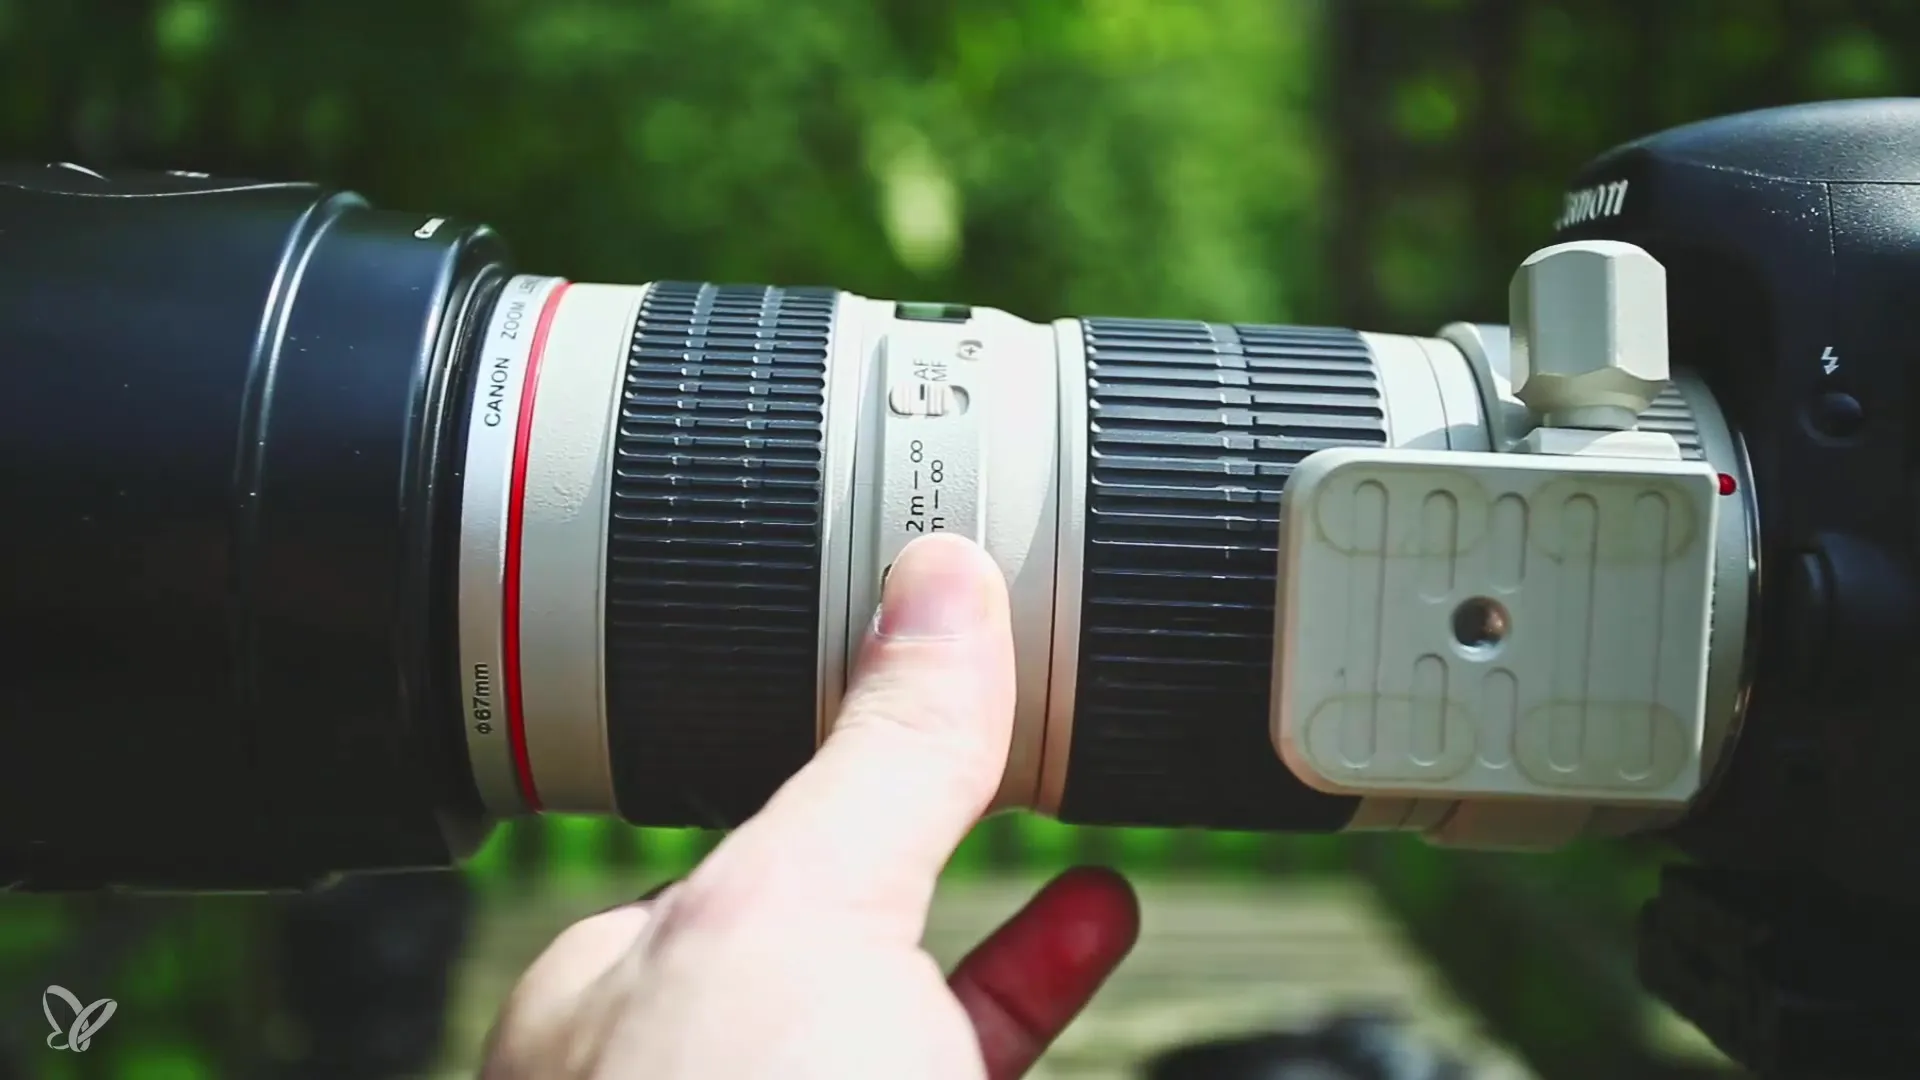
7. Use the focus limiter
If you are using a telephoto lens with a focus limiter, this switch can significantly ease your work. By narrowing the focus range, you ensure that your lens focuses faster when your dog is not moving. Be sure to reset the focus limiter after taking pictures, so you can work within the full focus range again.
Summary – Step by Step: Dog Photos Outdoors – The Camera Settings for Dog Photos without Movement
This guide shows you how to choose the right camera settings to take perfect and emotional photos of your dog outdoors. The A/AV mode, the correct ISO setting, an active continuous shooting mode, and a properly adjusted white balance make a significant difference in the quality of your images. Don't forget to use RAW format and exposure compensation and remember to use the focus limiter effectively.
Frequently Asked Questions
What is the A/AV mode?The A/AV mode allows you to set the aperture while the camera automatically selects the exposure time.
How do I set the ISO value?Set the ISO value to the lowest possible value that allows for correct exposure, or set it to Auto.
Why is continuous shooting mode important?It allows you to take quick sequences of images, capturing important emotions of your dog.
What is the advantage of RAW recordings?RAW files store more image information and provide better options for post-processing.
How does exposure compensation work?It allows you to adjust the brightness of the image without changing other exposure parameters.
