You want to adjust the size of your images, whether for publication on the internet or for print? With GIMP, you can easily and effectively scale photos. However, there are some important aspects to consider to achieve the best possible image quality. In this guide, you will learn how to change images to different sizes with GIMP without overwriting the original file.
Key Insights
- Save your original image in GIMP's own XCF format.
- Pay attention to the unit (pixels, cm, mm) when scaling.
- Use the appropriate interpolation technique to maintain image quality.
Step-by-Step Guide
If you want to edit an image in GIMP, it is advisable to first save the original image in a new format. This protects against unintentionally overwriting the original file. Open your image in GIMP and immediately save it in XCF format.
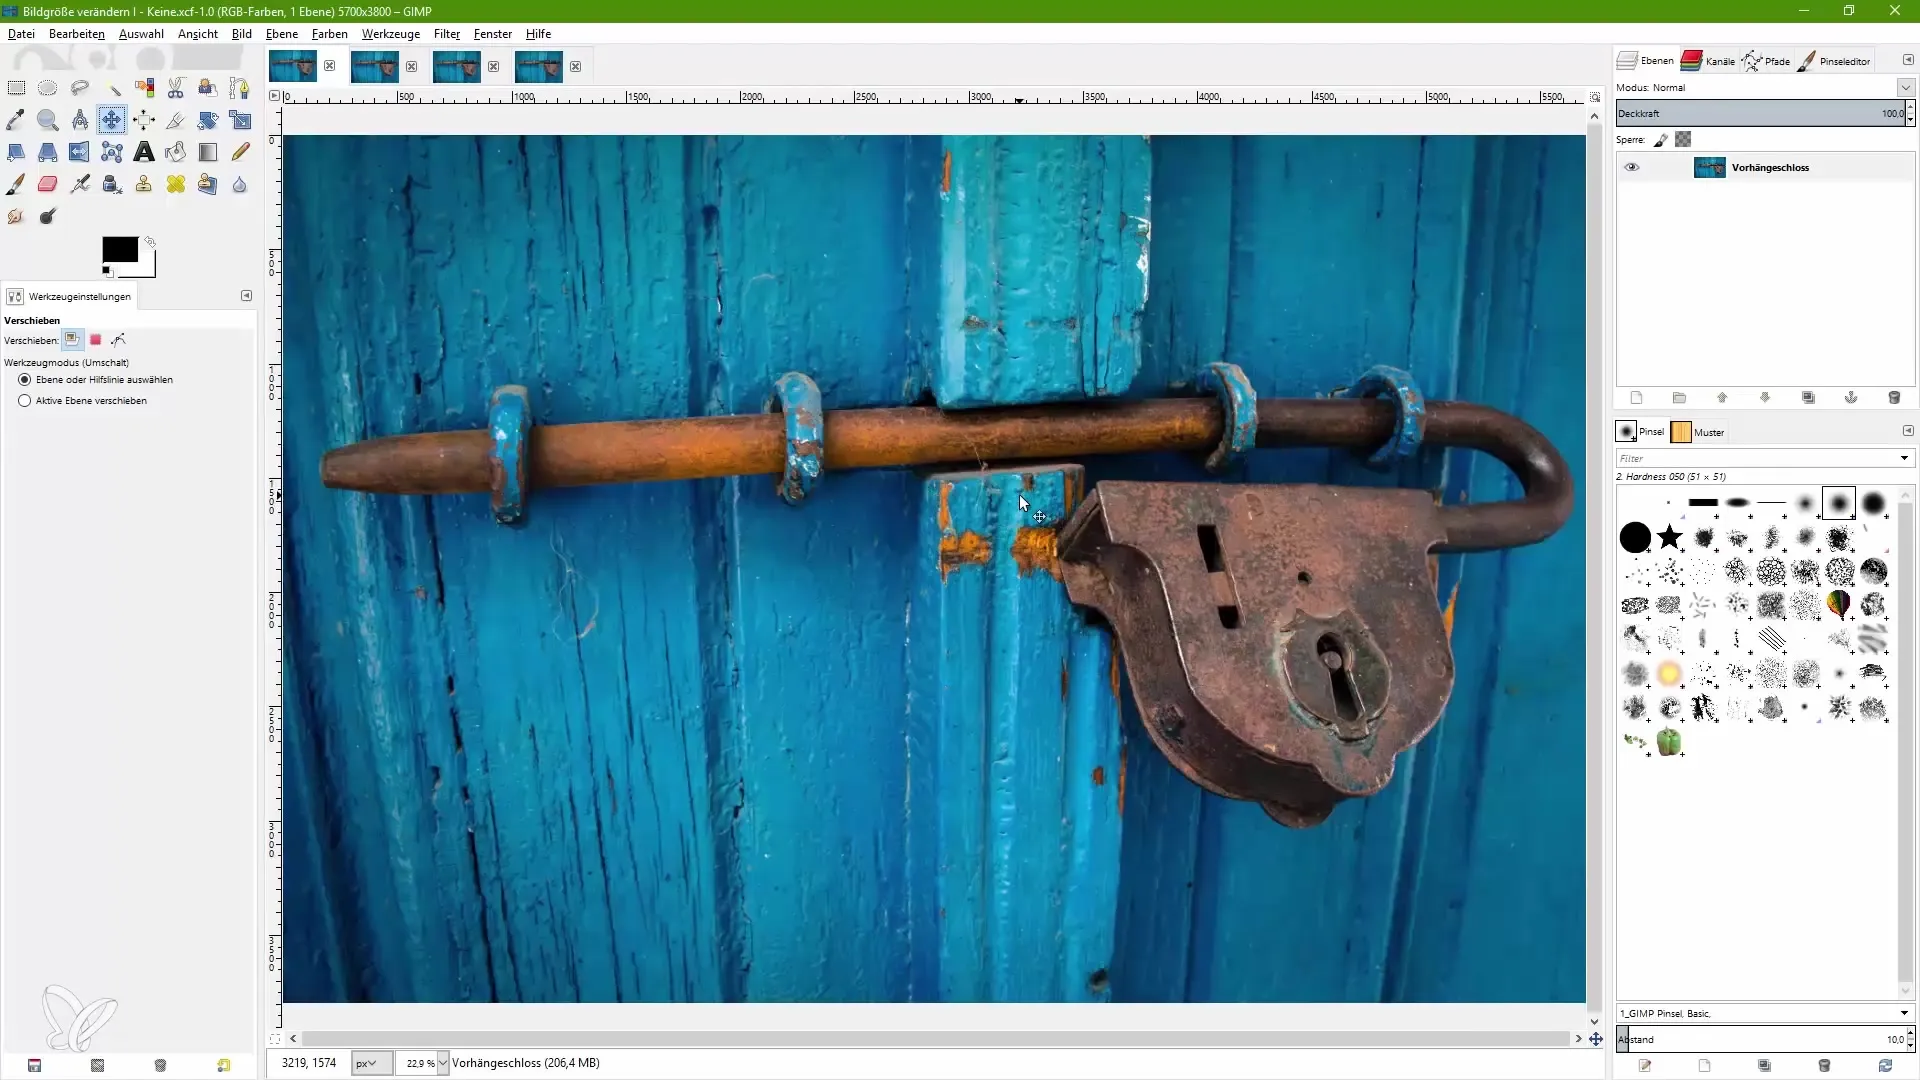
To scale the image, select "Image" from the menu, then "Scale Image." A dialog box will open. Here, you can specify the new dimensions for your image.
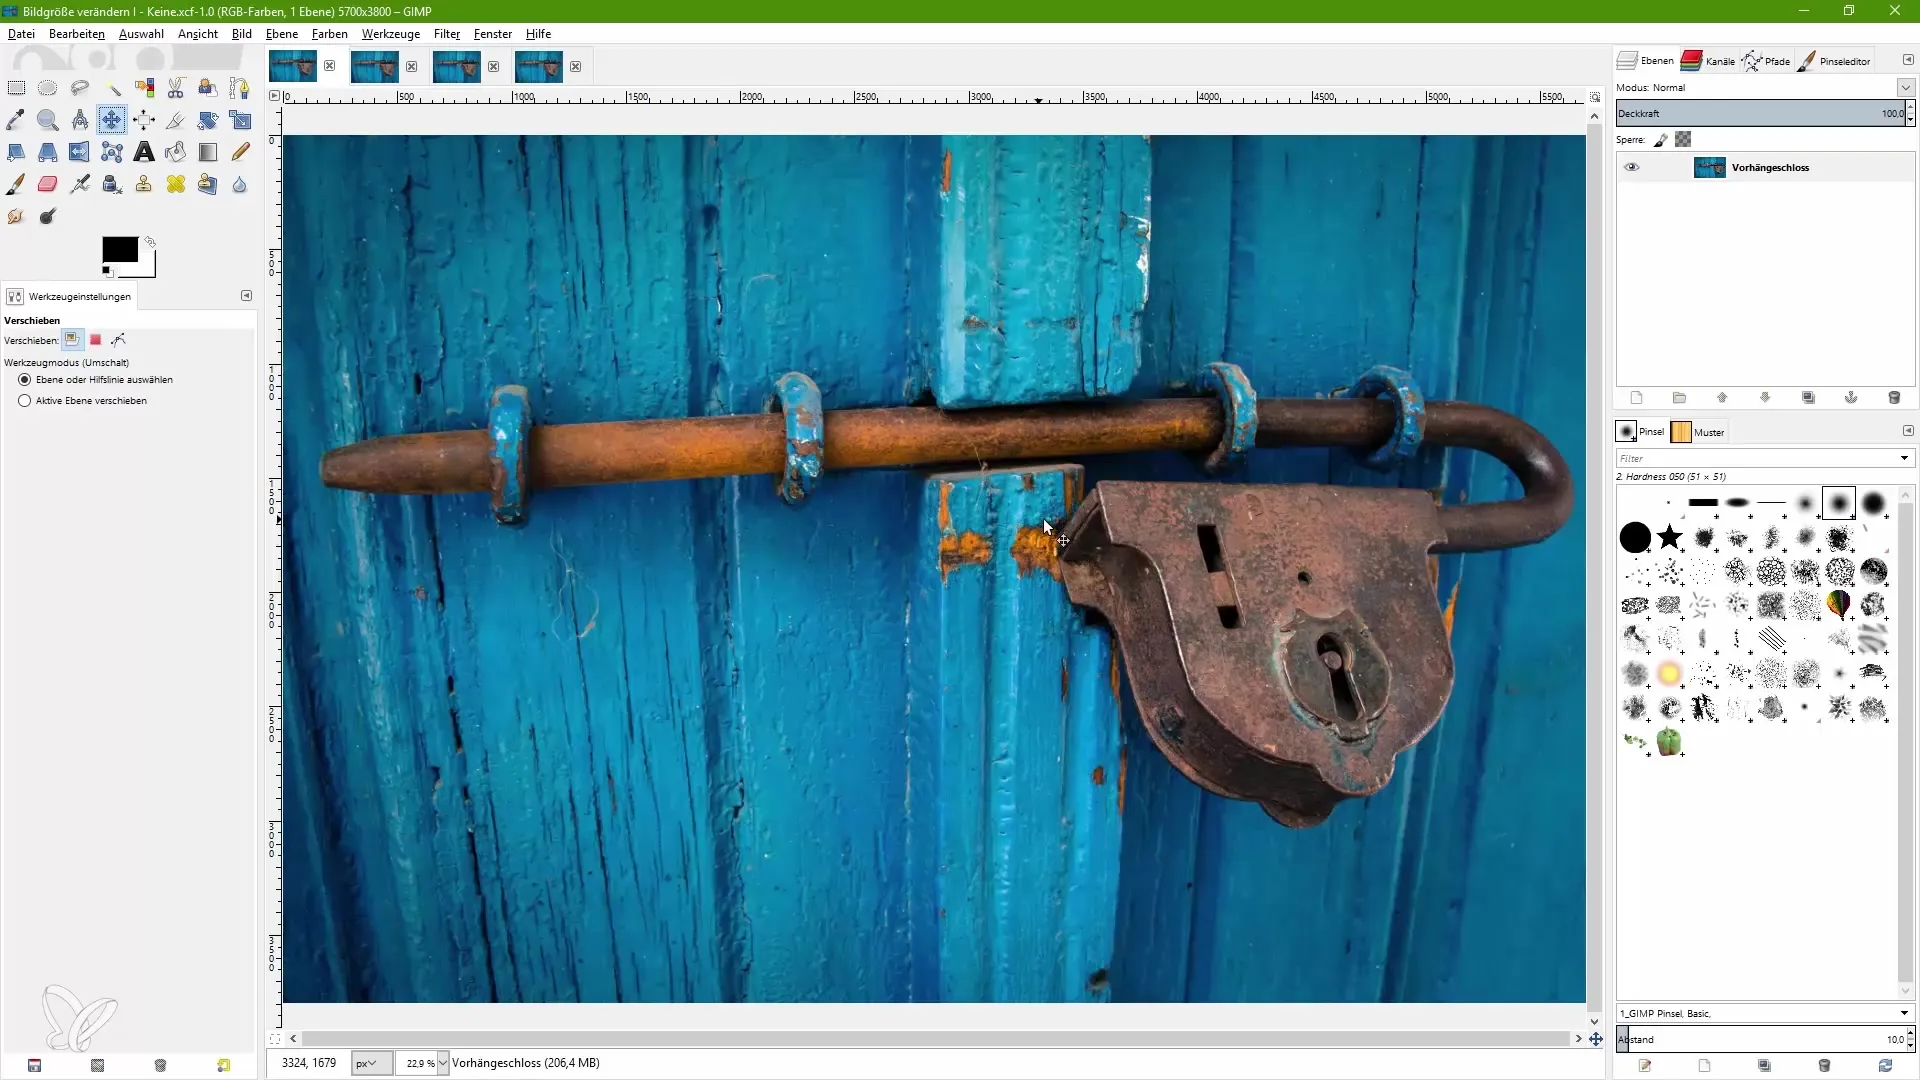
The dialog shows the current dimensions of the image in pixels. However, you can also switch to other units like millimeters or centimeters. This adjustment is particularly important for printing, as the resolution can be defined in pixels per inch (ppi).
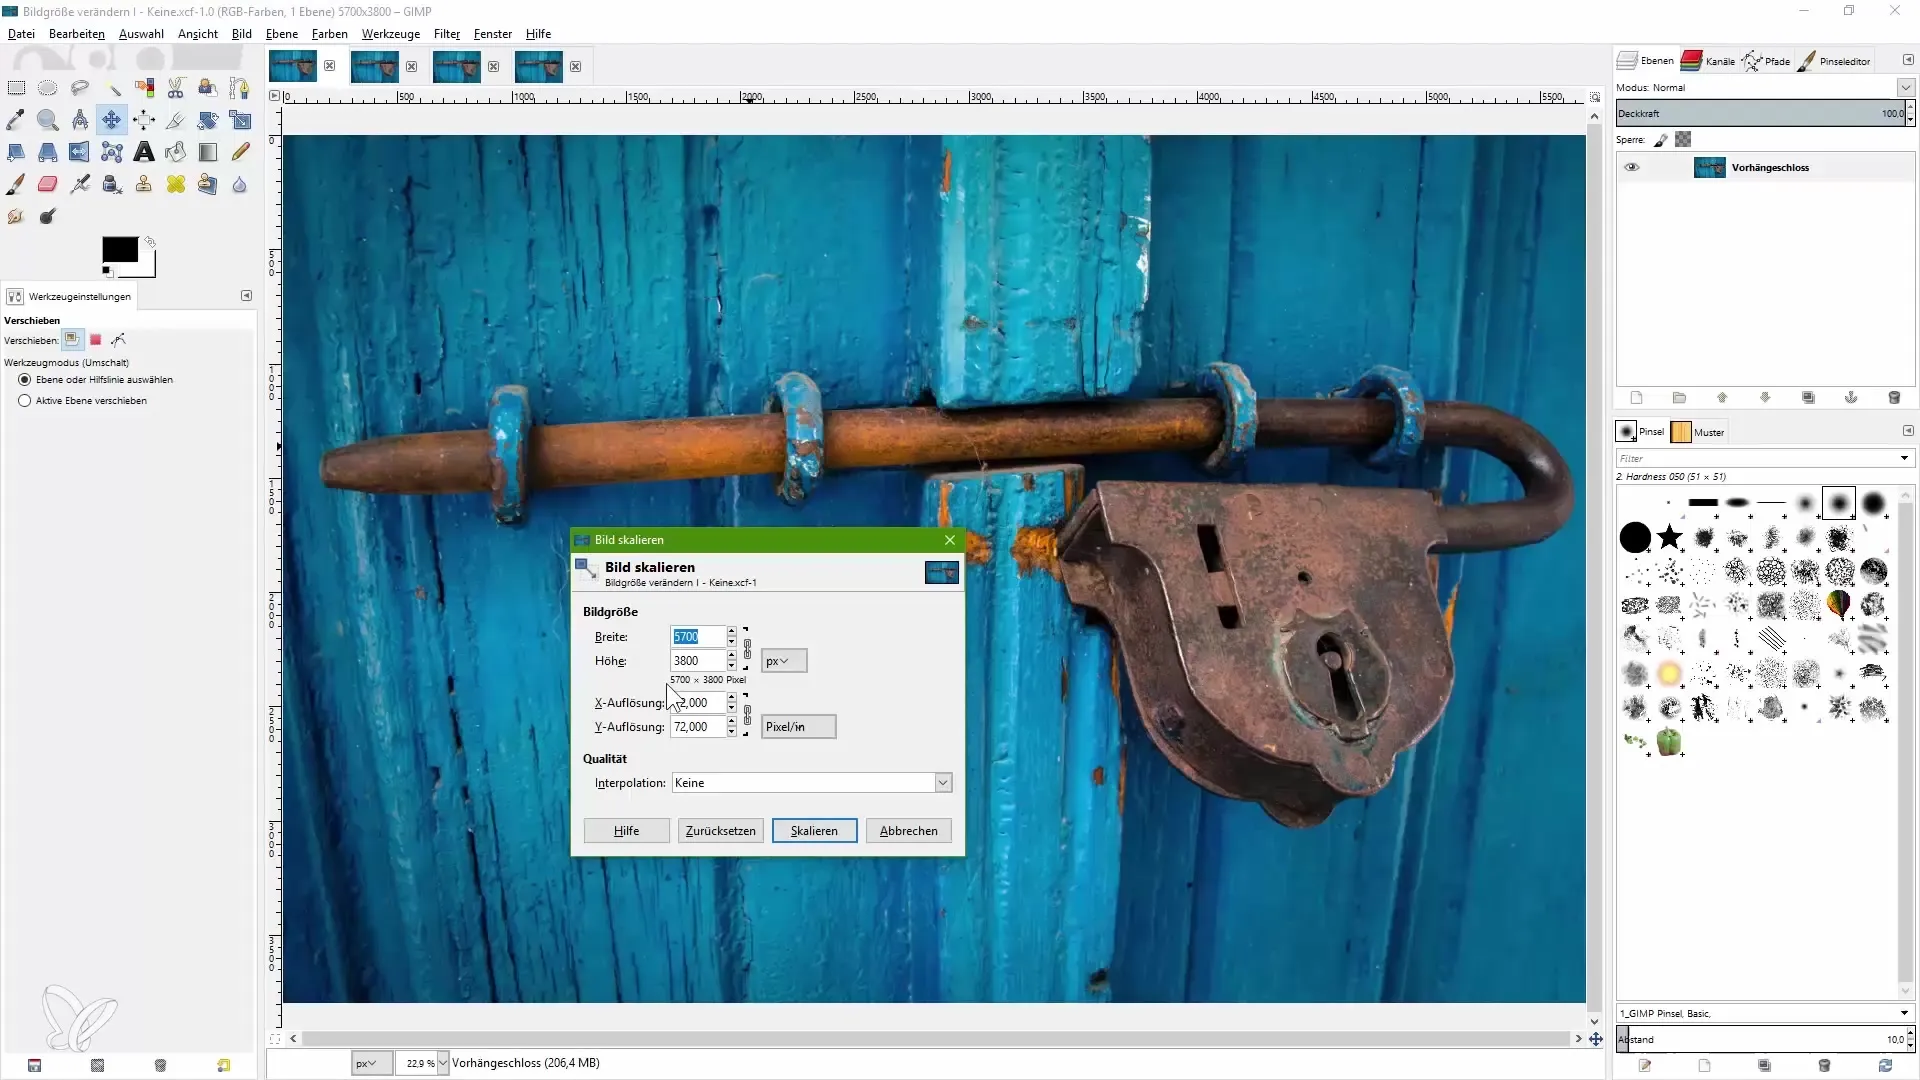
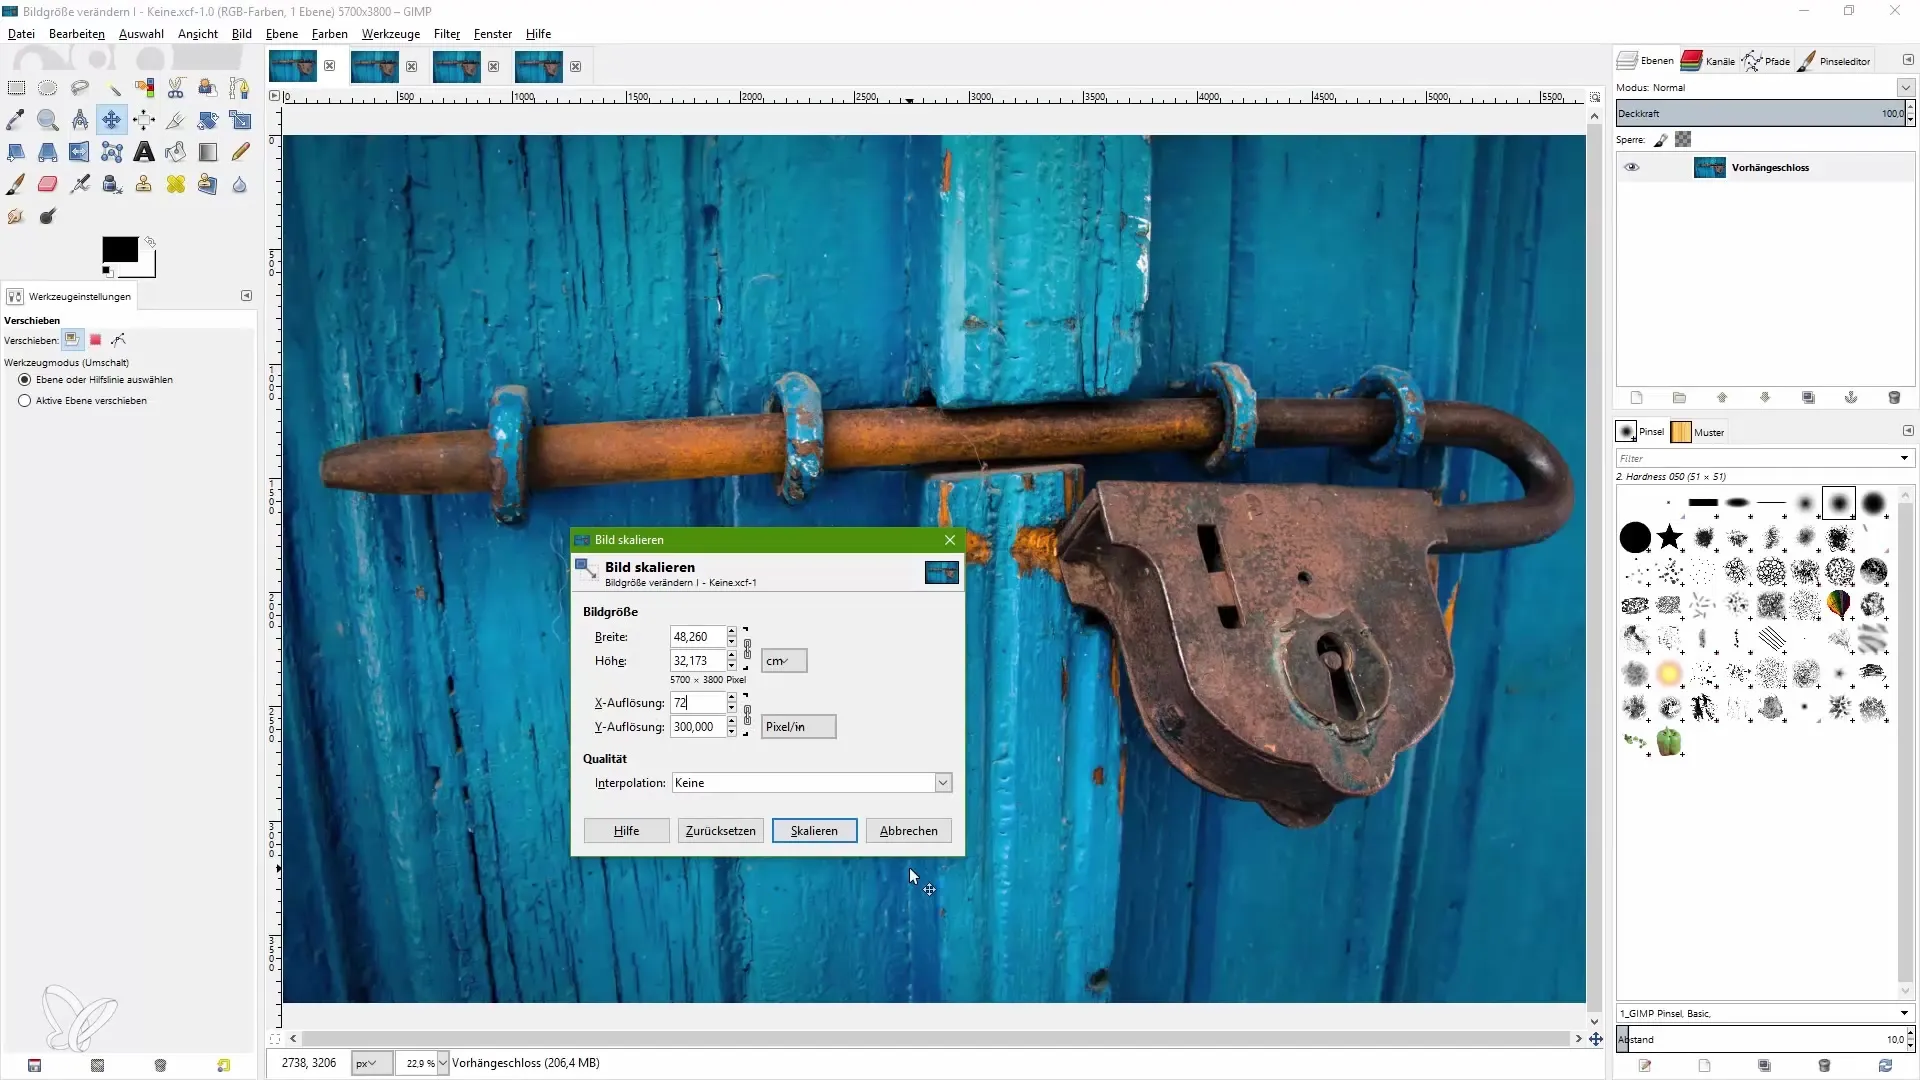
When preparing the image for print, you should choose a resolution of 300 ppi. For web applications, a resolution of 72 ppi is sufficient. Make sure that the dimensions remain proportional in the chosen unit to avoid distortion of the image.
Another important aspect is interpolation. This feature determines how the image data is processed during scaling. GIMP offers different options: "none," "linear," "cubic," and "lanzos 3." Depending on your choice, the image quality will be affected differently.
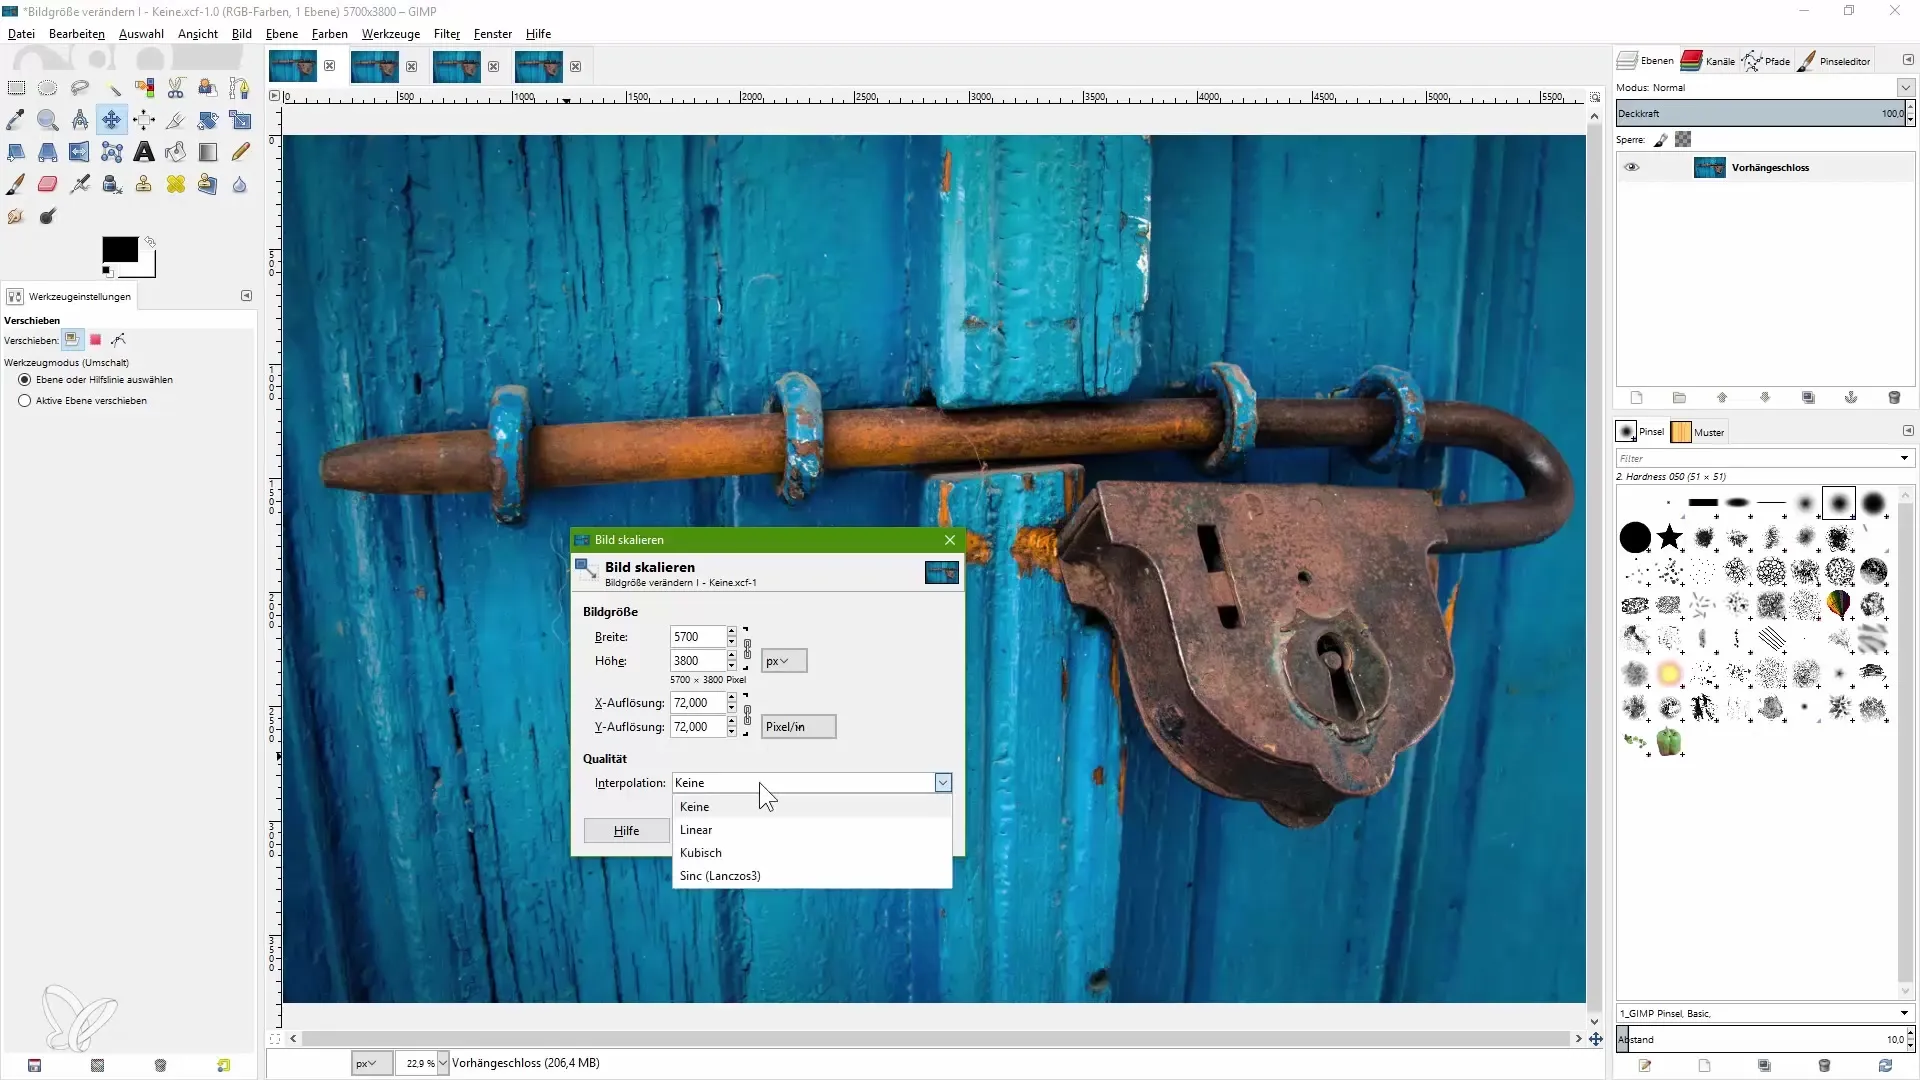
When reducing the image, interpolation can calculate pixels together, making the edited image look more pleasing. For example, if you have a width of 5700 pixels and want to scale down to 500 pixels, interpolation retains sharpness and reduces unwanted pixelated edges.
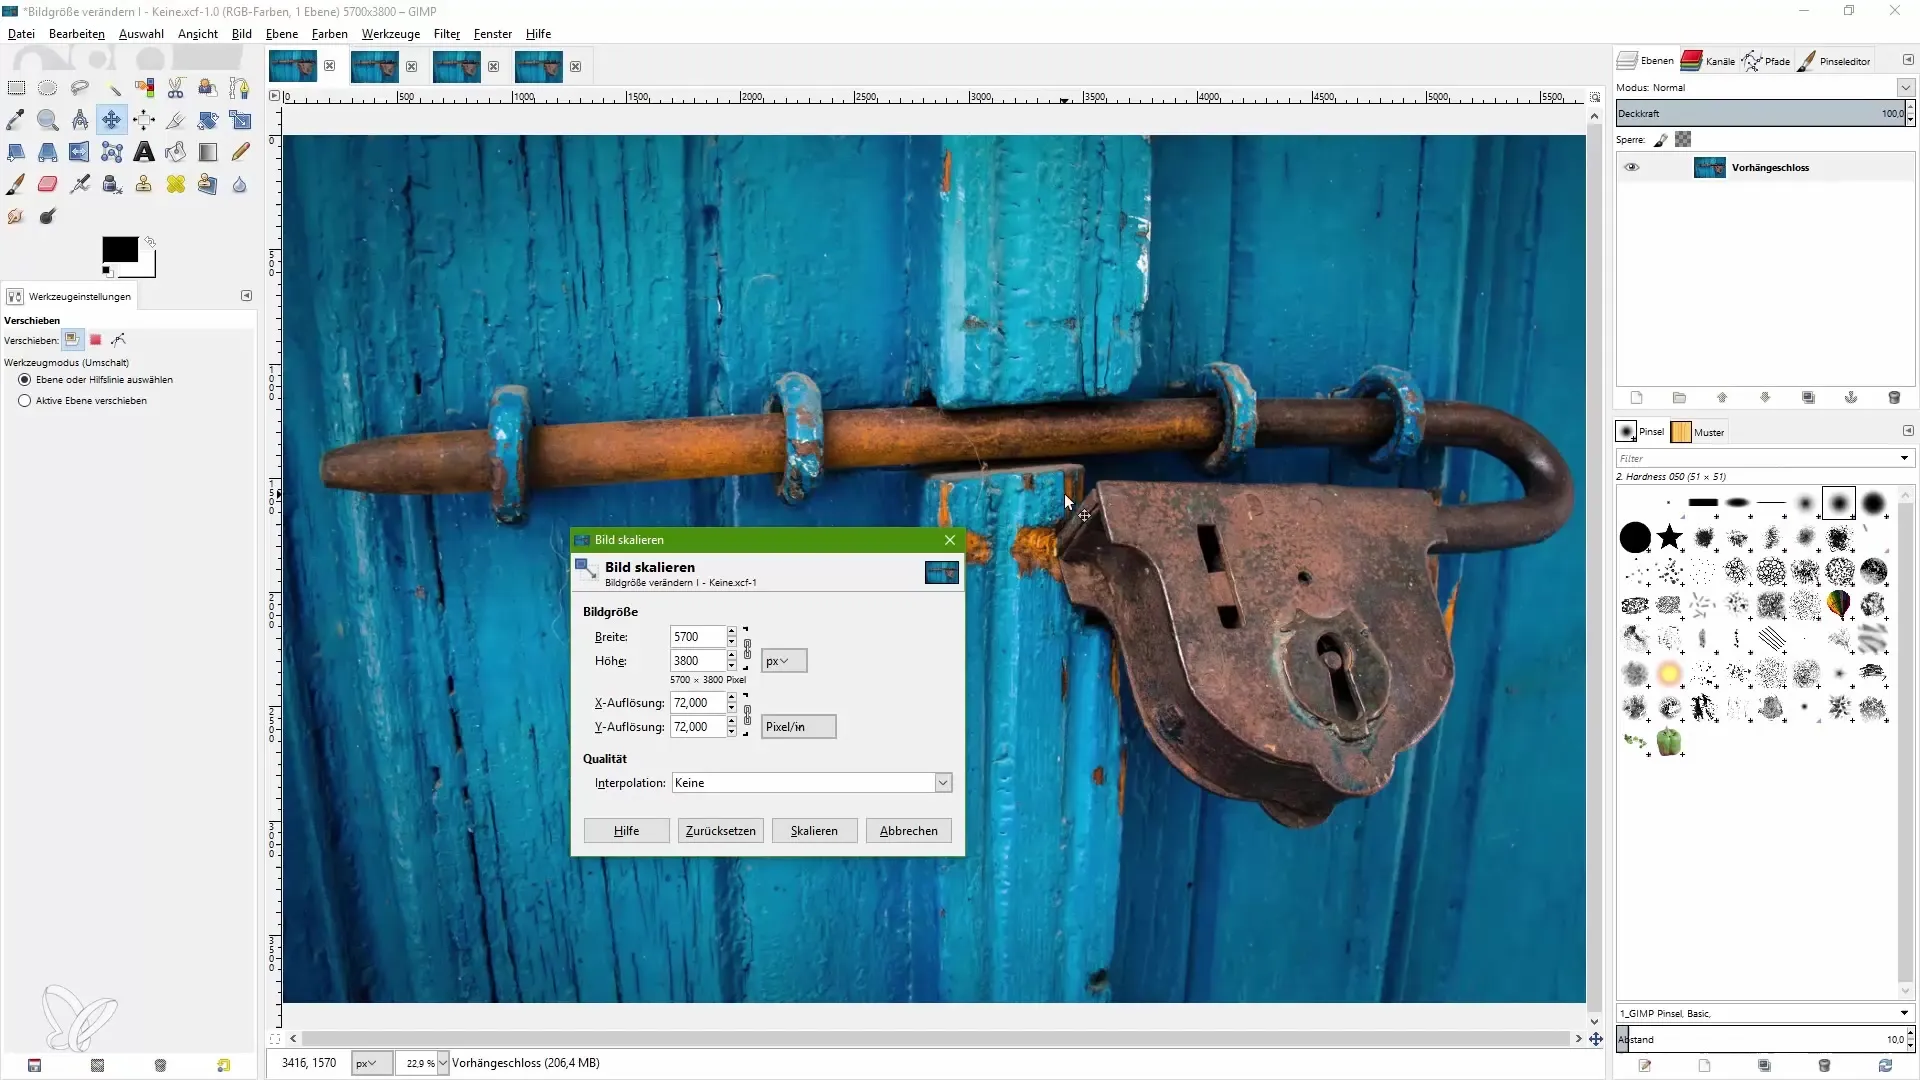
After entering the new dimensions, click on "Scale." You can now check the result at 100% zoom to ensure that the image quality meets your expectations.
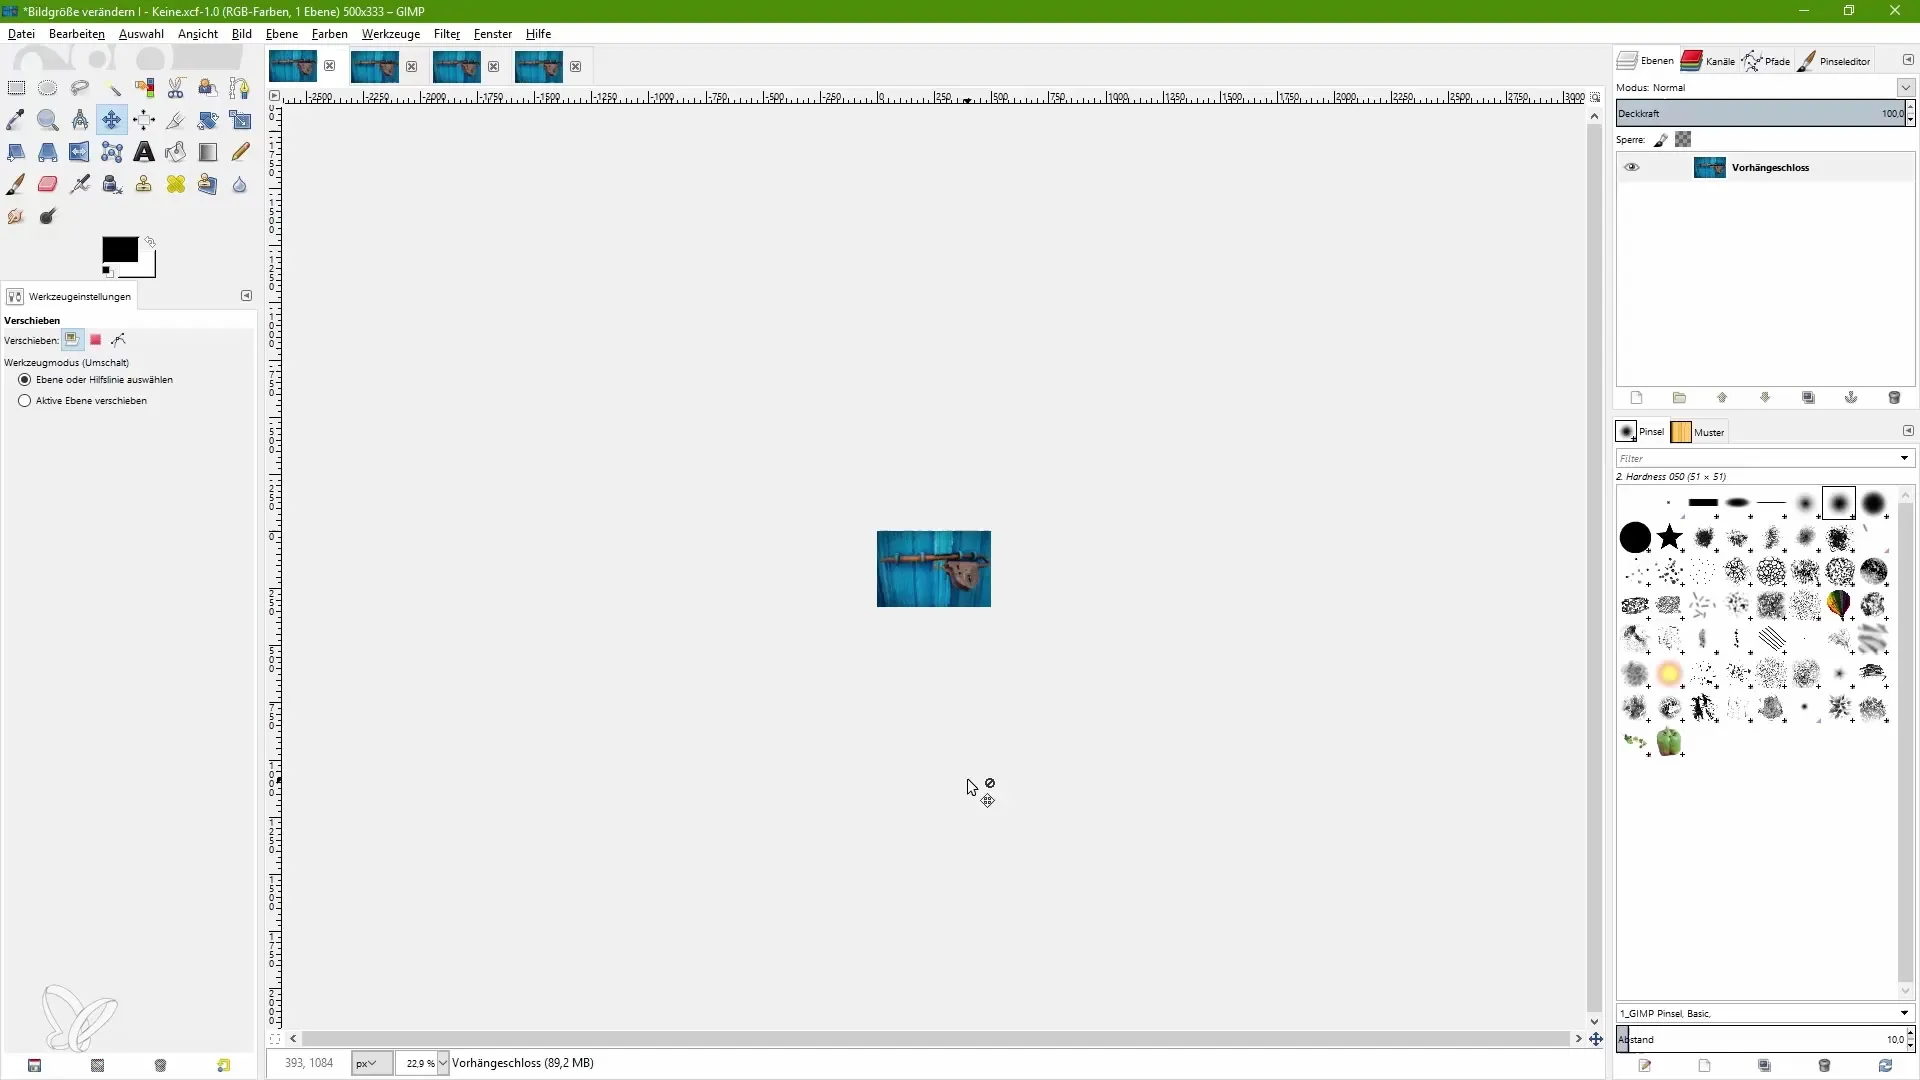
If you want to adjust the image for publication on the internet, you can easily reduce the number of pixels while ensuring you choose the optimal interpolation. It's worth trying out different interpolation techniques and comparing the results directly.
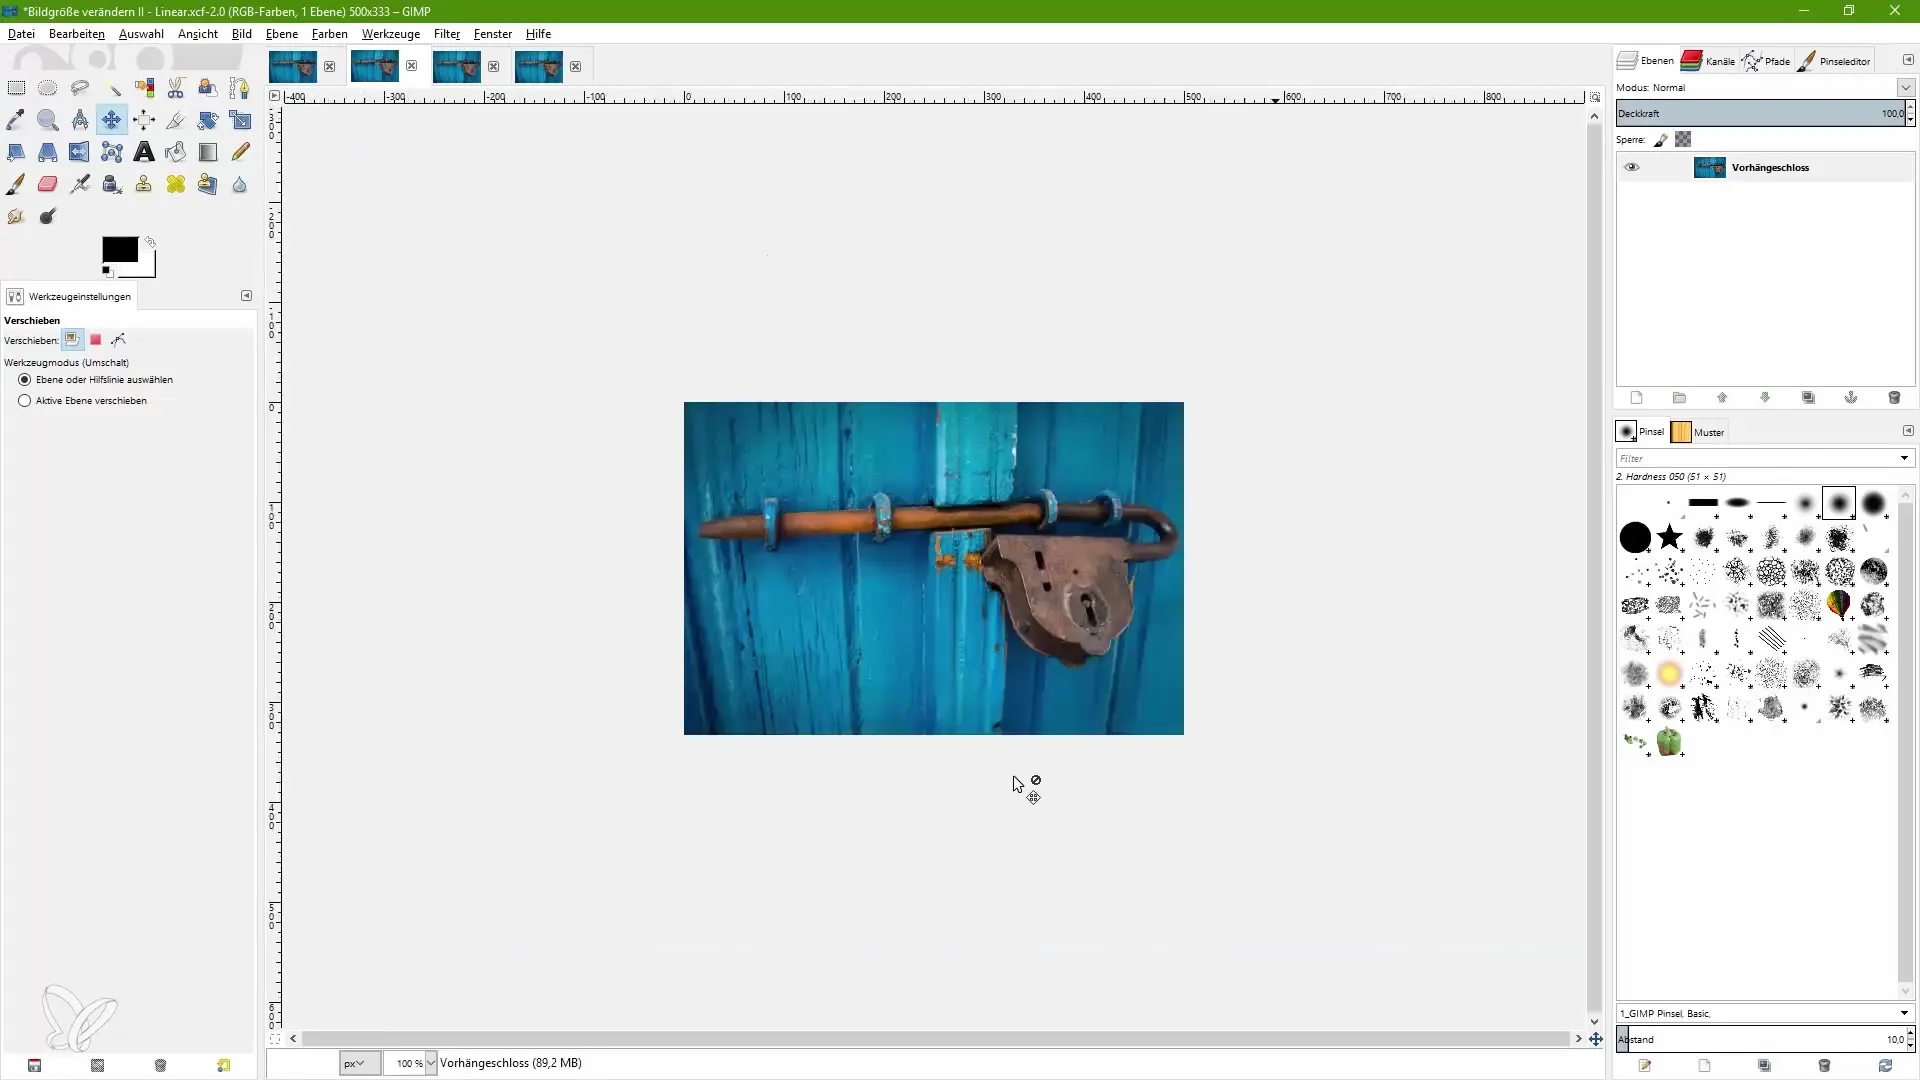
If you want to enlarge a smaller image, the same steps apply to bring the image to the desired size. Make sure to change the interpolation type in the dialog box accordingly to see which one produces the best effect.
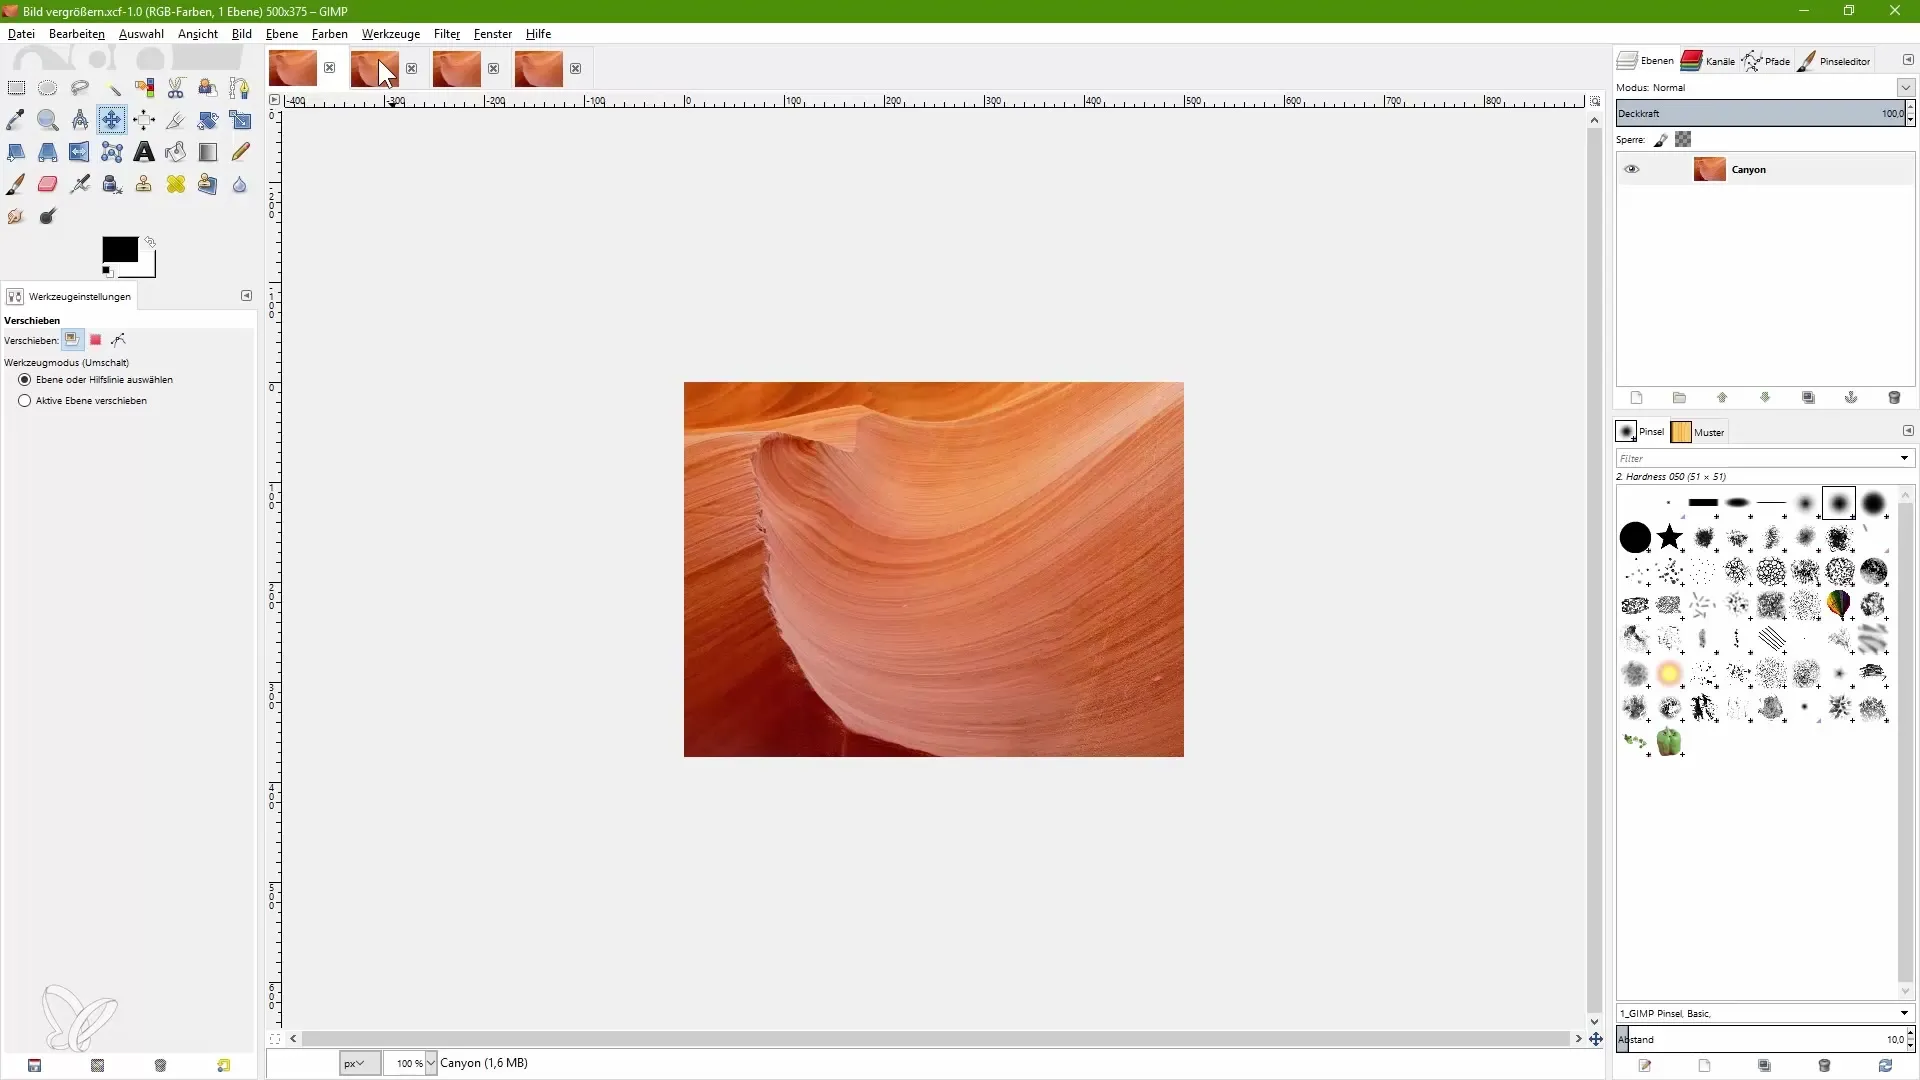
Depending on the interpolation method, you can observe how the details in the image change. While an interpolation of "none" leads to a pixelated, blurry appearance, the methods "cubic" and "lanzos 3" provide significantly improved image quality.
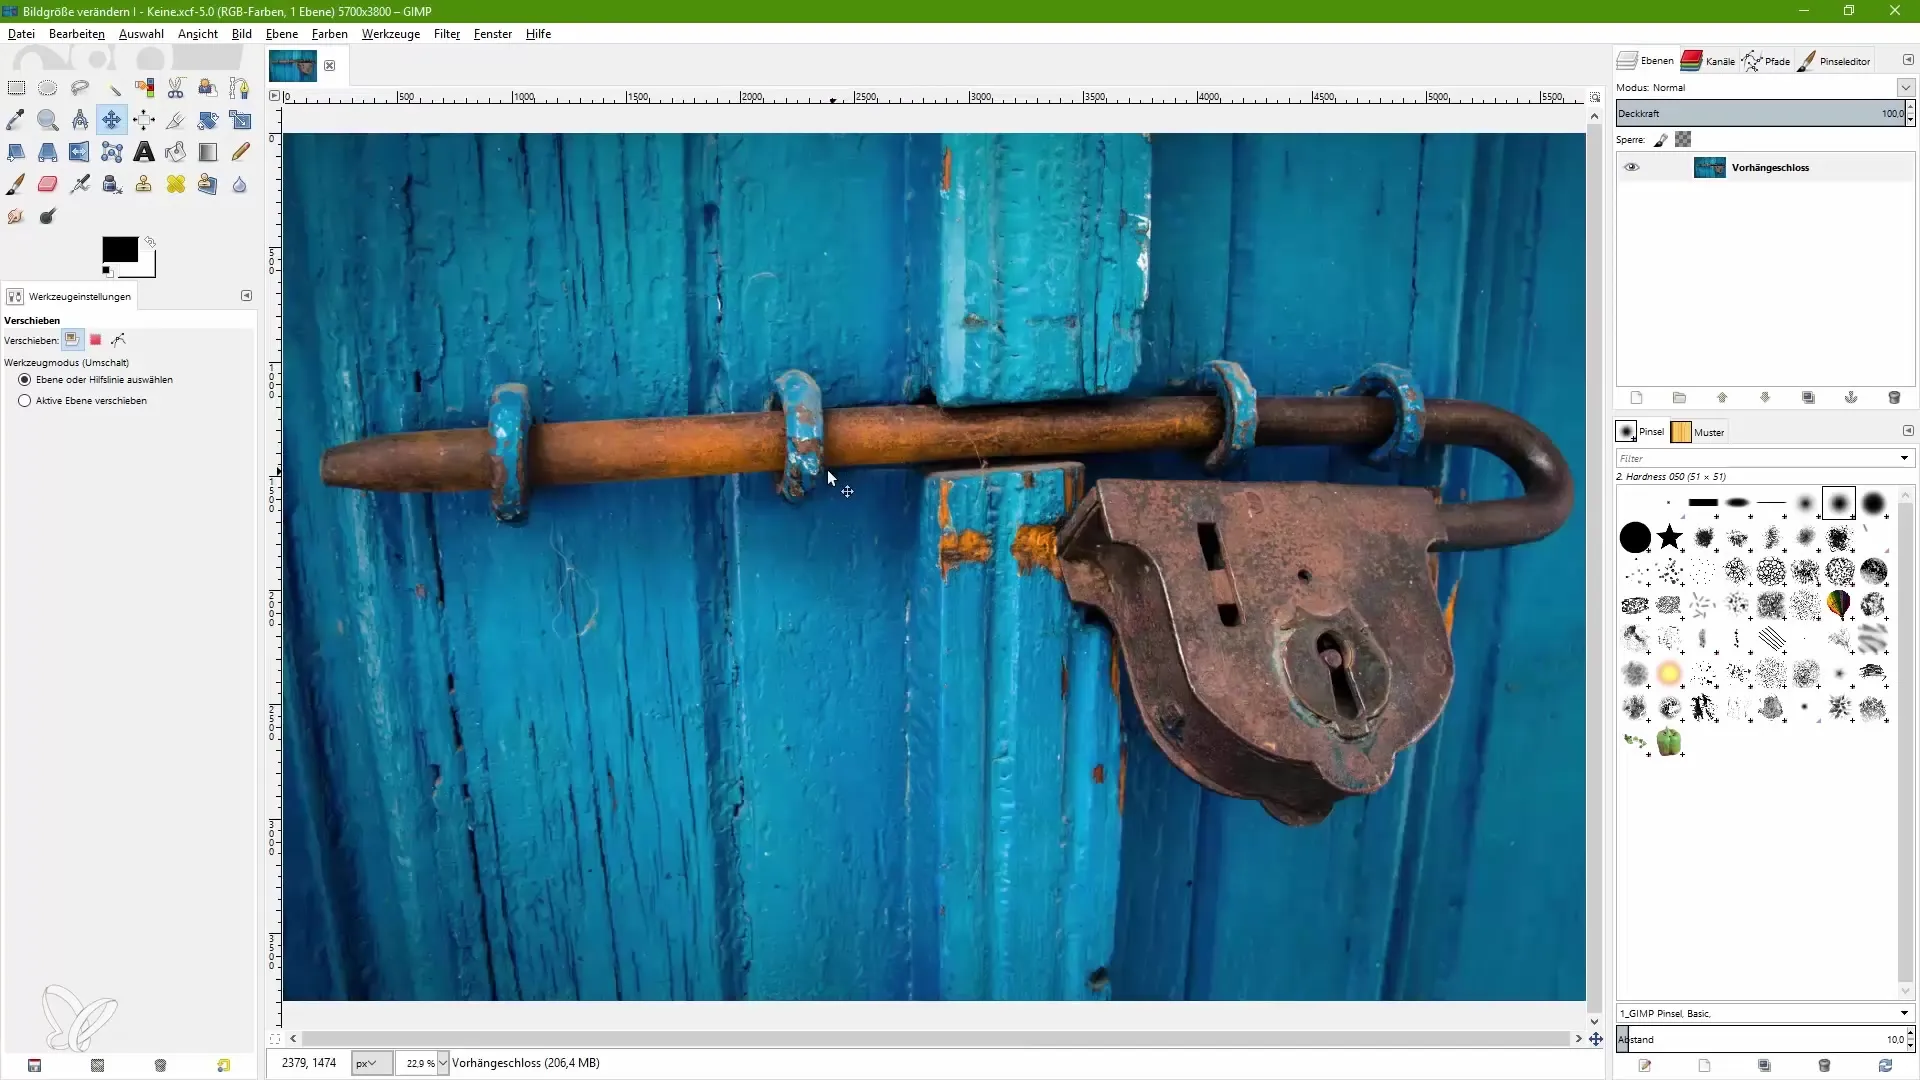
It is important to note that GIMP or other image editing programs cannot create details that are not present in the original image. It is best to photograph with the final resolution in mind to optimize post-processing.
Summary - GIMP: Enlarging and Reducing Images - Step-by-Step Guide
With proper preparation and the correct use of interpolation techniques, you can successfully scale images in GIMP. Experiment with different settings to achieve the best possible result for your projects.
Frequently Asked Questions
How do I save my image in XCF format?You select "File," then "Save As," and choose XCF as the format.
How do I choose the appropriate interpolation for my image?You can select that in the "Scale Image" dialog under "Interpolation."
What is the difference between PPI and DPI?PPI refers to pixels per inch, while DPI refers to dots per inch used in printing.
How can I maintain image quality when reducing size?Use an appropriate interpolation type like Cubic or Lanzos 3 to improve quality.
Can I scale images with GIMP as many times as I want?Yes, but the image details should be optimal before scaling to avoid degrading quality.

