The Inspector in Logic Pro X is a central tool that provides you with the necessary information and control options for your tracks and events. With this tool, you not only have an overview of the basic properties of your tracks but also the ability to make adjustments and effects in real-time. Let’s explore together how you can effectively use the Inspector to take your music productions to the next level.
Key Insights
- The Inspector displays the most important properties of the selected track or region.
- It allows you to select the input source and load effects.
- Adjusting volume and pan is straightforward.
- You can specifically control input sources and effects via the input and FX section.
Step-by-Step Guide
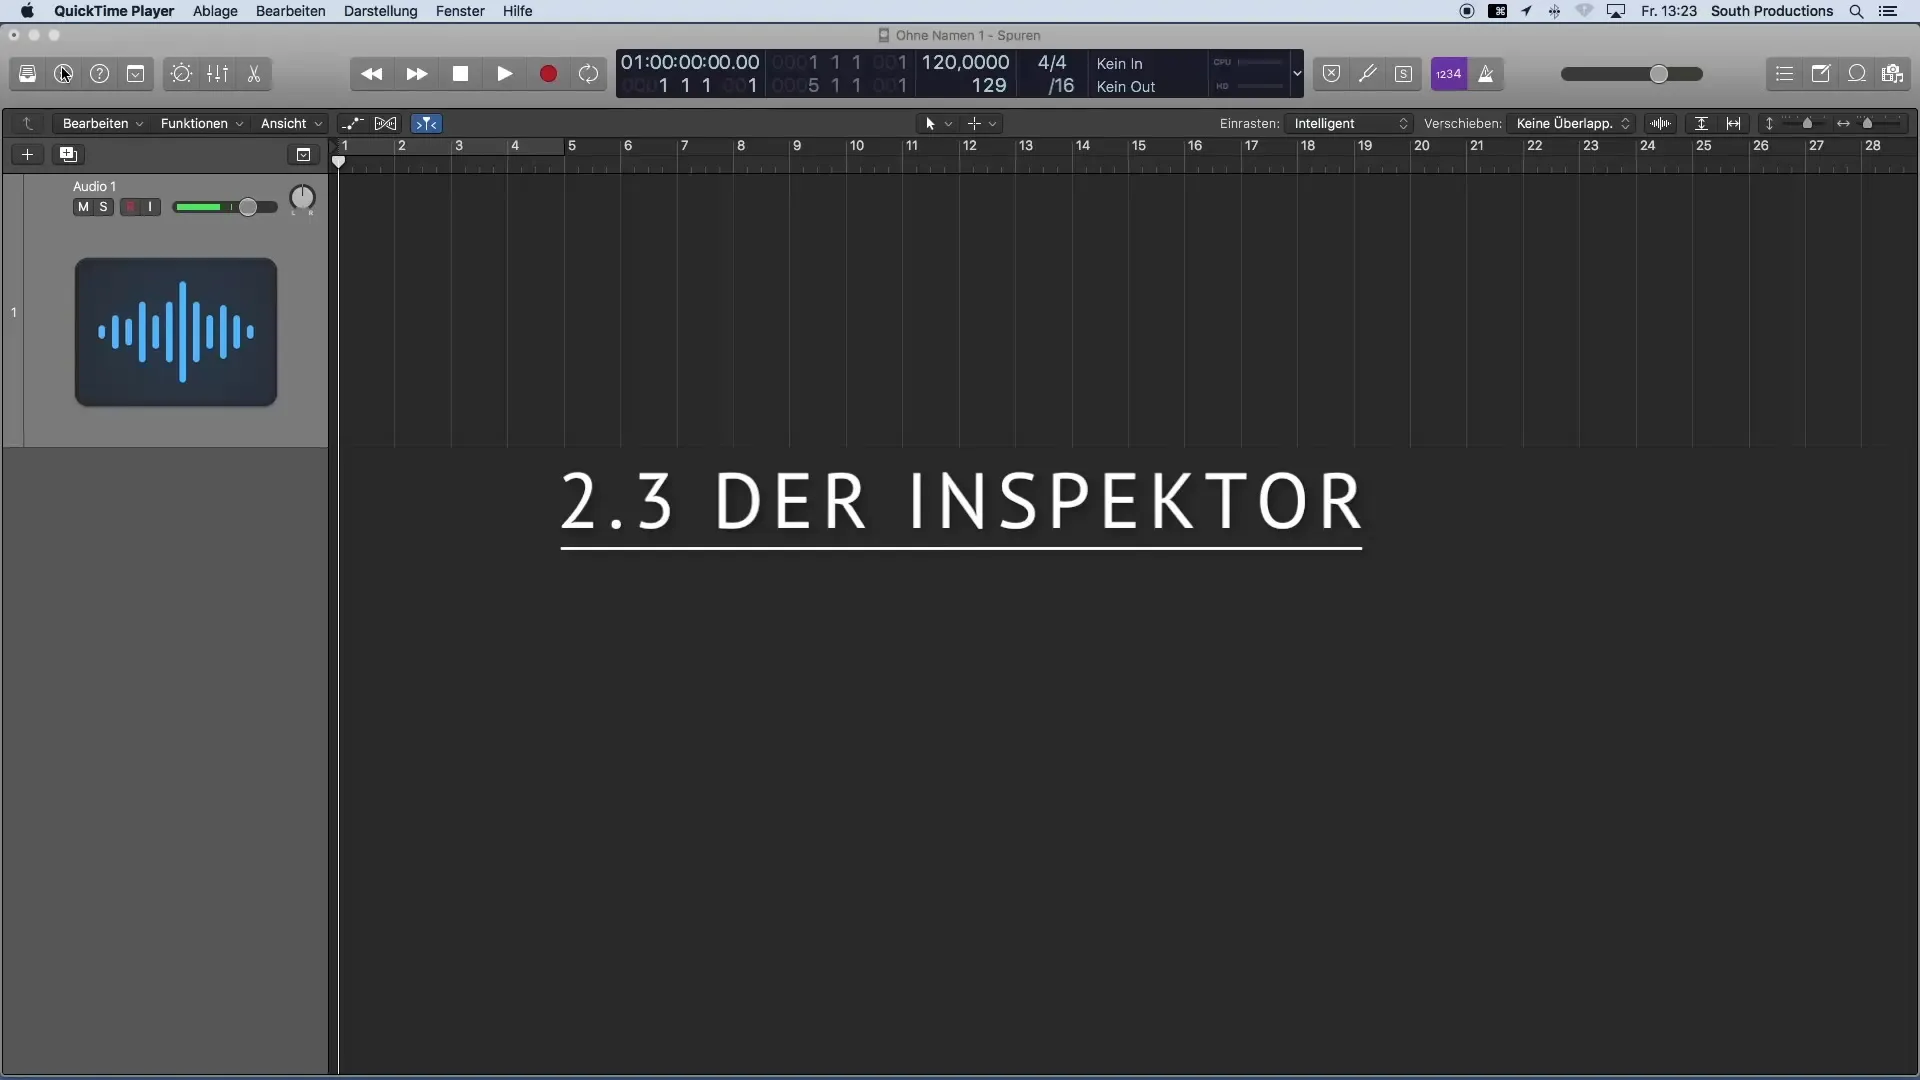
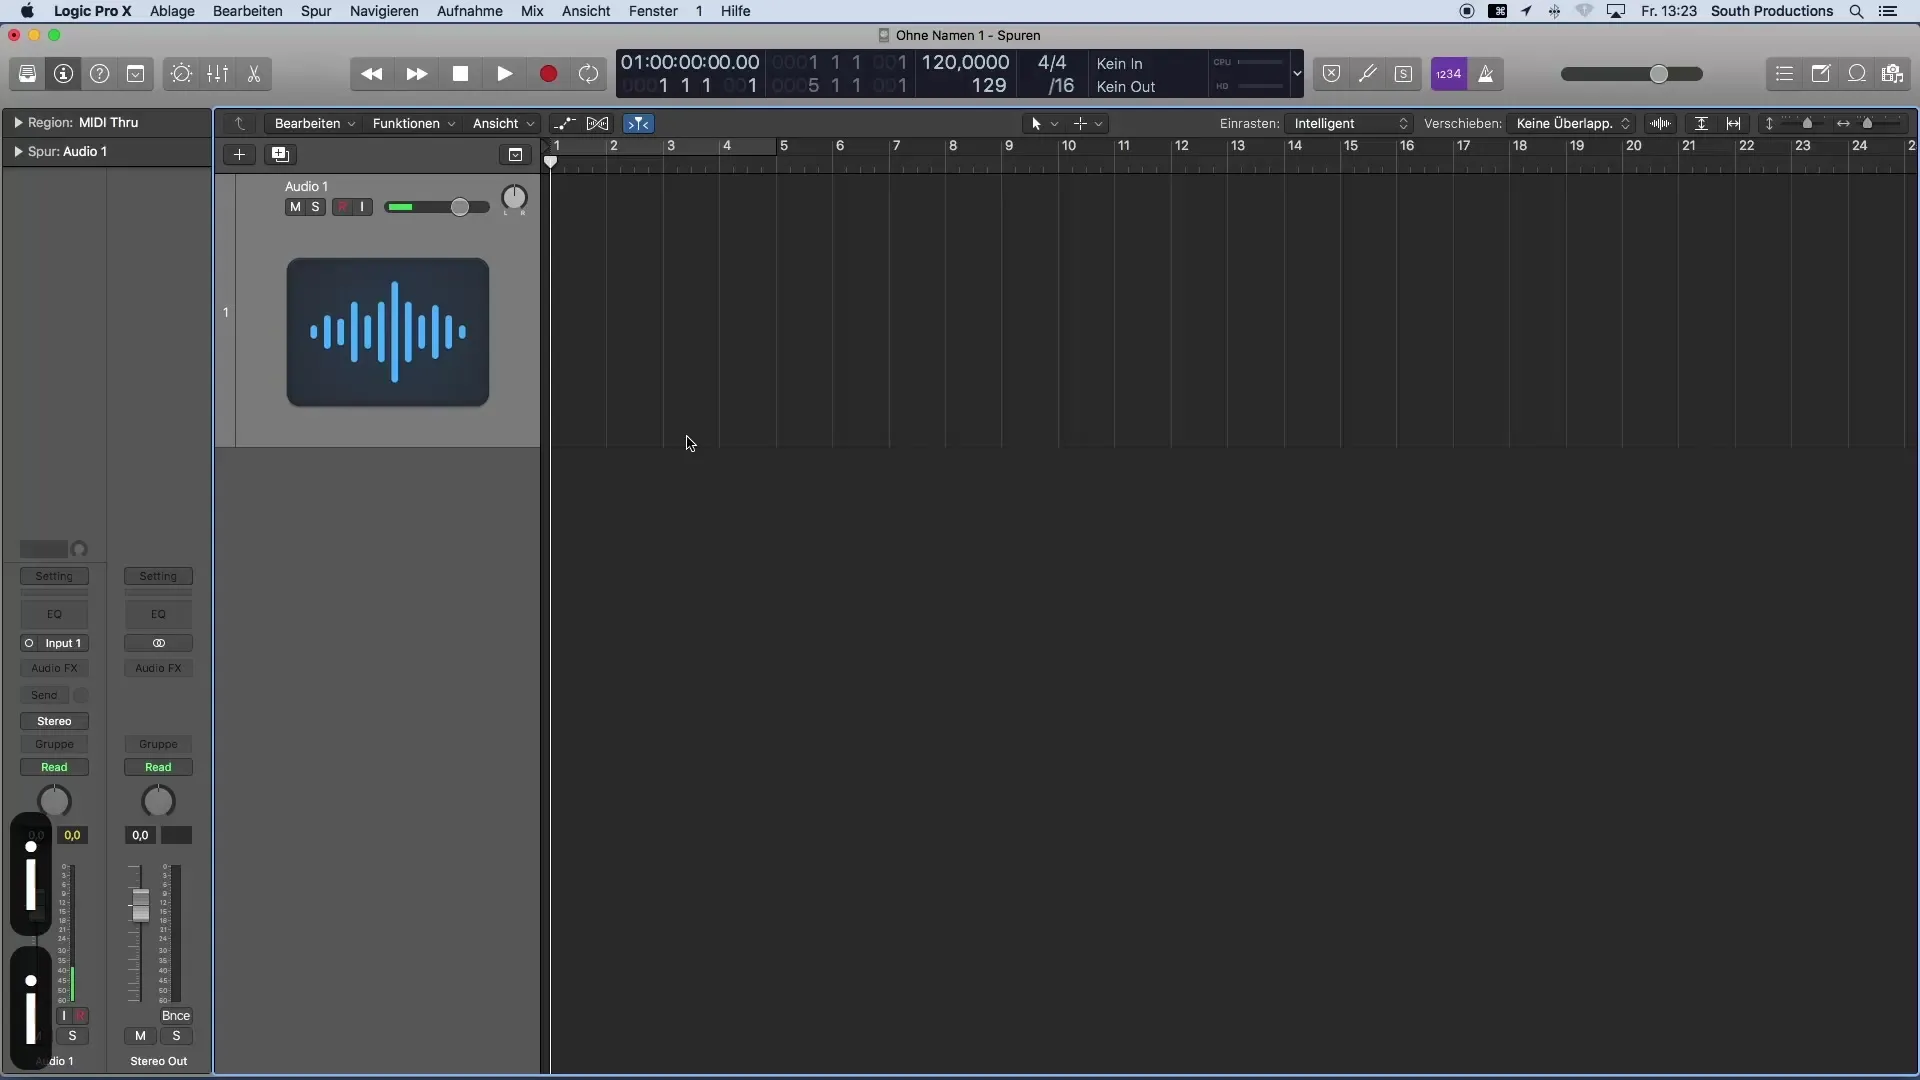
Accessing the Inspector is very simple through the user interface. You can either open it by clicking on the “i” in the control bar or by pressing the “I” key on your keyboard.

Once the Inspector is visible, you will immediately see the important properties of the currently selected track. These properties include various parameters that you should consider when editing your region. Here you can quickly view and change the important track properties.

Under the region and track properties, you will find the so-called Channel Strip. Here you can accomplish several things at once: Selecting the input source, loading effects, and checking whether it's a mono or stereo track are among the basic functions that this area provides.
In the input section of the Channel Strip, you can specify from which source your audio signal should be recorded. For example, if you have selected an audio track, the inputs from your audio interface will appear here for you to choose from to receive the desired signal.
In addition to input selection, the Audio FX section allows you to add various effect devices. Here you can insert qualities like equalizers, compressors, or other effects to give your sound the final polish.
An additional important aspect is the Send button function, which allows you to control buses and create so-called mix effects. Examples of such effects are reverb or delay, which add more depth and timbre to your music.
Below the Send section, you visualize the output of your track, which is routed to the stereo out by default. This output is also displayed in the Inspector, so you always have a view of where your signal is being filtered.
The pan is another crucial parameter in the Inspector. Here you can set the stereo field in which your track will be played back. This is particularly important for the sonic distribution of your instruments in the mix.
Finally, you will find the volume control, which allows you to specifically control the volume of your signal. This control plays a key role in balancing your mix to ensure that each element stands out well.
Summary – Introduction to Music Production with Logic Pro X: The Inspector
The Inspector in Logic Pro X is an indispensable tool that not only shows you the properties of your tracks but also gives you the ability to adjust them dynamically. From selecting input sources, loading effects, to controlling volume and pan – the Inspector is your key to effective and creative music production.
Frequently Asked Questions
How do I open the Inspector in Logic Pro X?You can open the Inspector by clicking on the “i” in the control bar or by pressing the “I” key on your keyboard.
What properties can I adjust in the Inspector?In the Inspector, you can adjust the input source, effects, volume, pan, and more.
What is a Channel Strip?The Channel Strip is the area in the Inspector where you can control various properties of your track, including effects and input source.
How do I add effects in the Inspector?In the Audio FX area, you can add effects such as equalizers or compressors.
What does the Send button in the Inspector mean?The Send button allows you to control buses and create mix effects like reverb or delay.


