Before you release your music production, it is crucial to bring the sound to the right volume. A limiter plugin is often used to ensure that your mix sounds loud enough without distorting. In this guide, I will show you how to effectively use the limiter plugin in Logic Pro X to bring your songs to maximum volume while maintaining sound quality.
Key Takeaways
- A limiter plugin is essential to prevent distortion and increase volume.
- The optimal output level should be set to -0.2 dB to avoid distortion.
- It is important to find the point of maximum loudness where your audio material still sounds good.
Step-by-Step Guide
Step 1: Insert Limiter Plugin
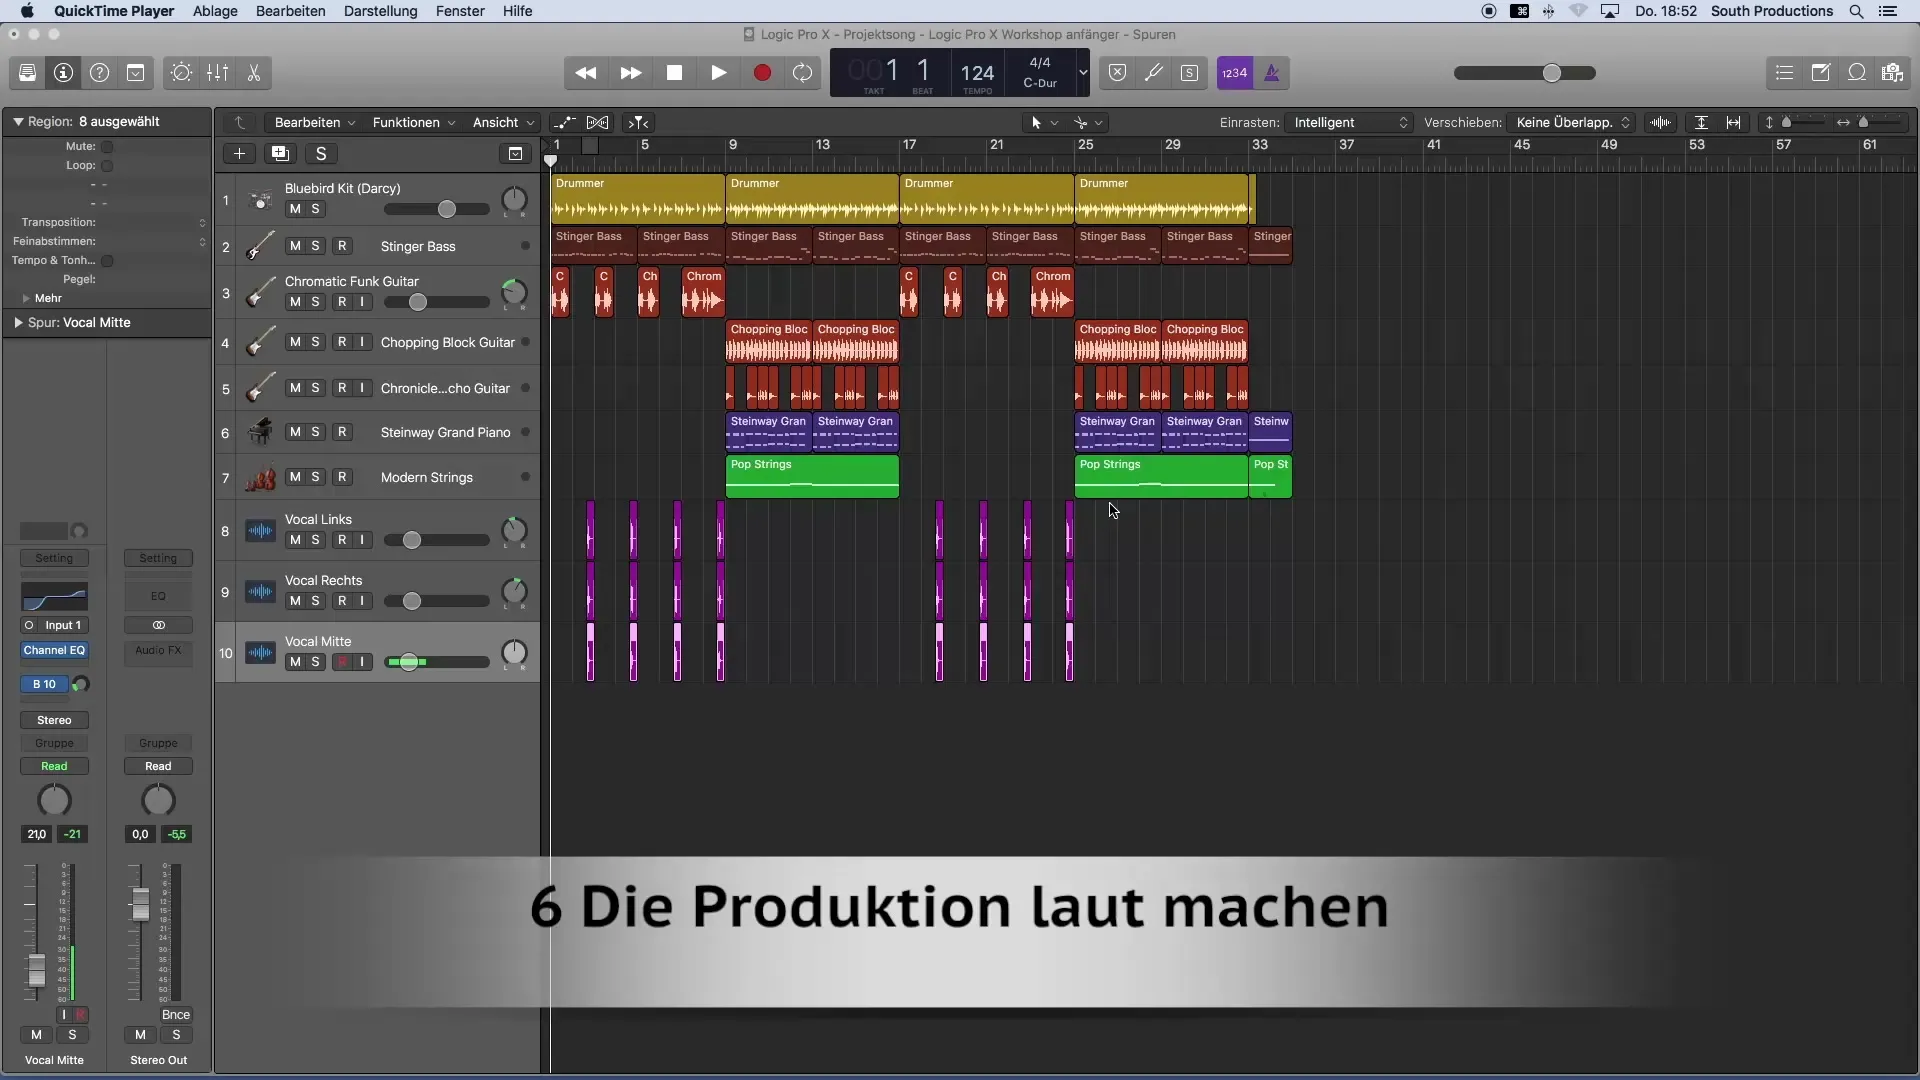
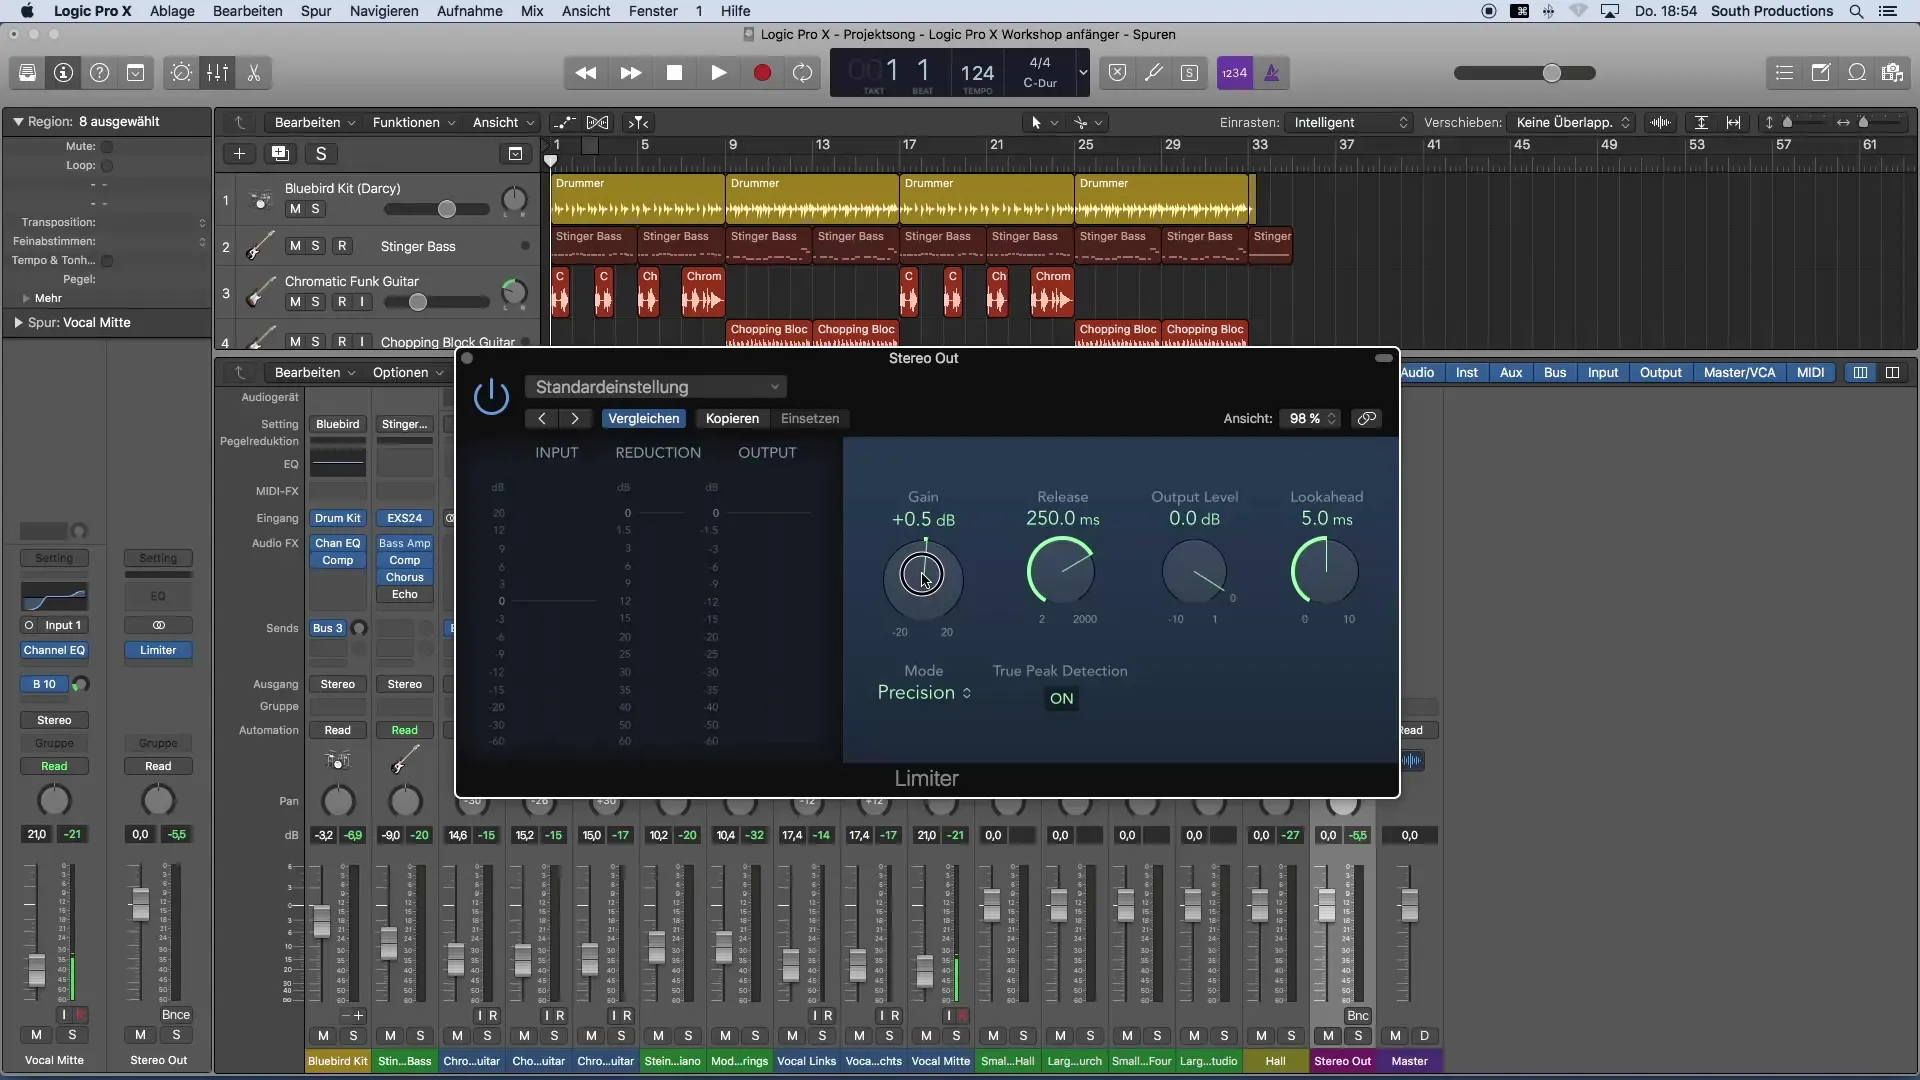
Firstly, you need to insert the limiter onto the stereo out of your project. For this, open the mixer and add the limiter plugin as an insert effect. Find the limiter in the Audio FX section under Dynamics and load it onto the stereo out.
Step 2: Adjust Gain Control
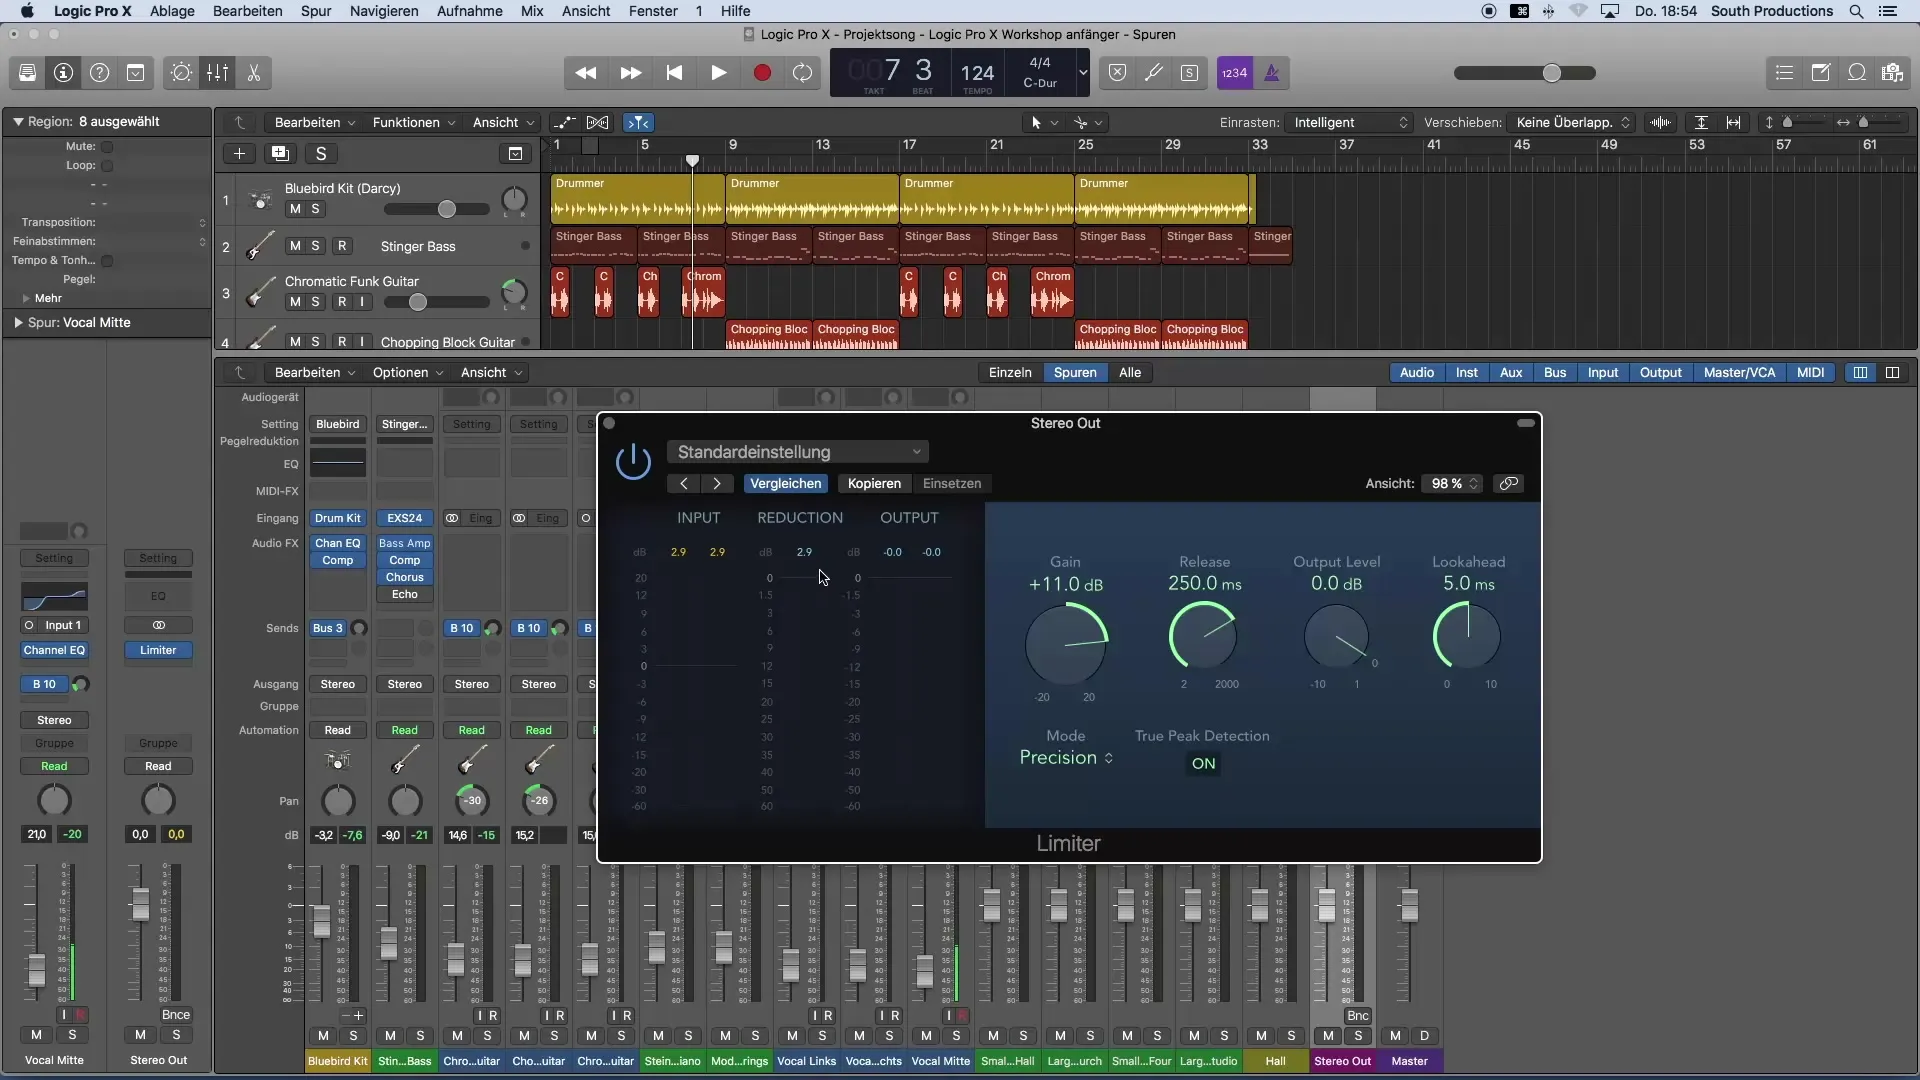
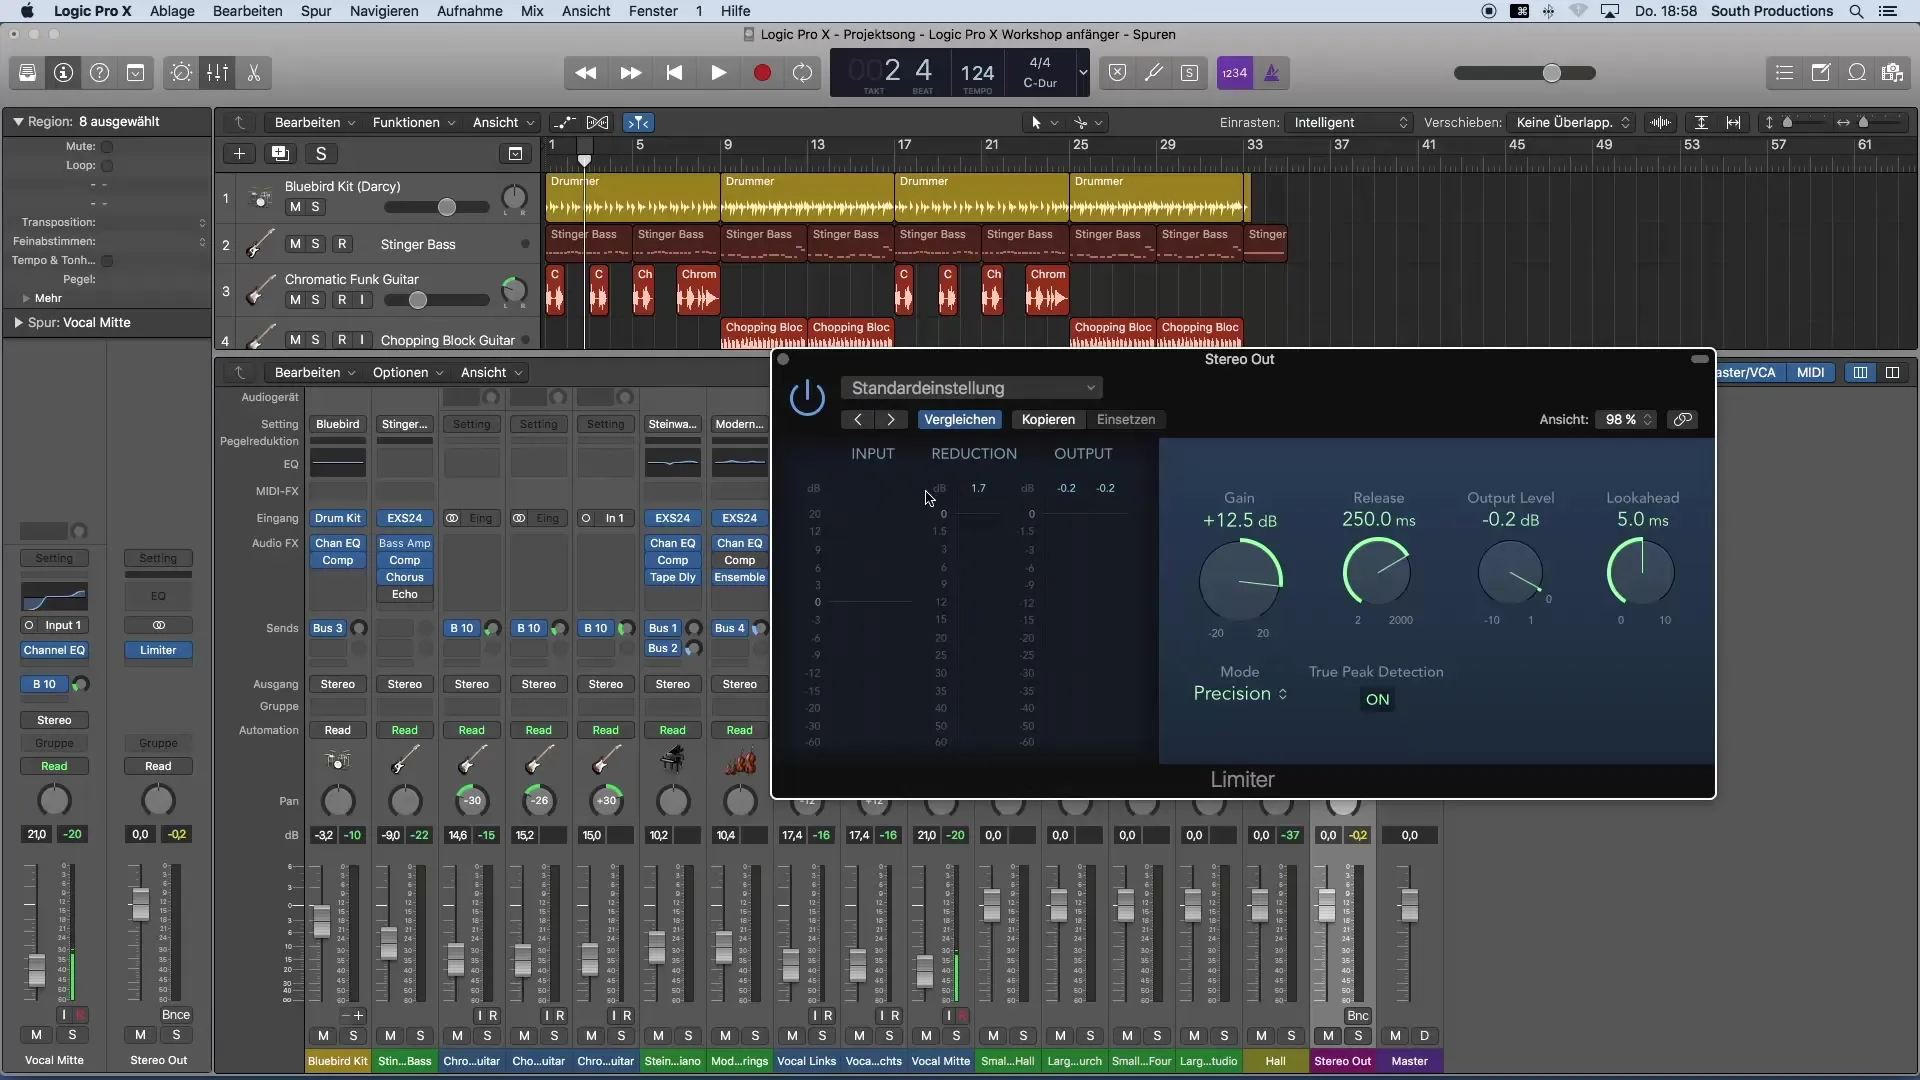
With the gain control of the limiter, you can raise the volume. Start by pulling the gain control up to see how much volume is possible here. Make sure you hear the change in real-time. An initial goal would be an increase of about 11 dB to see how the sound changes.
Step 3: Monitor Input, Output, and Reduction
In the limiter, you can see not only the input signal but also the output and a so-called reduction display. Pay particular attention to the reduction, as this shows how much signal is being processed through the limiter. At excessive volumes, the signal is artificially lowered to avoid distortion.
Step 4: Find Maximum Loudness Point
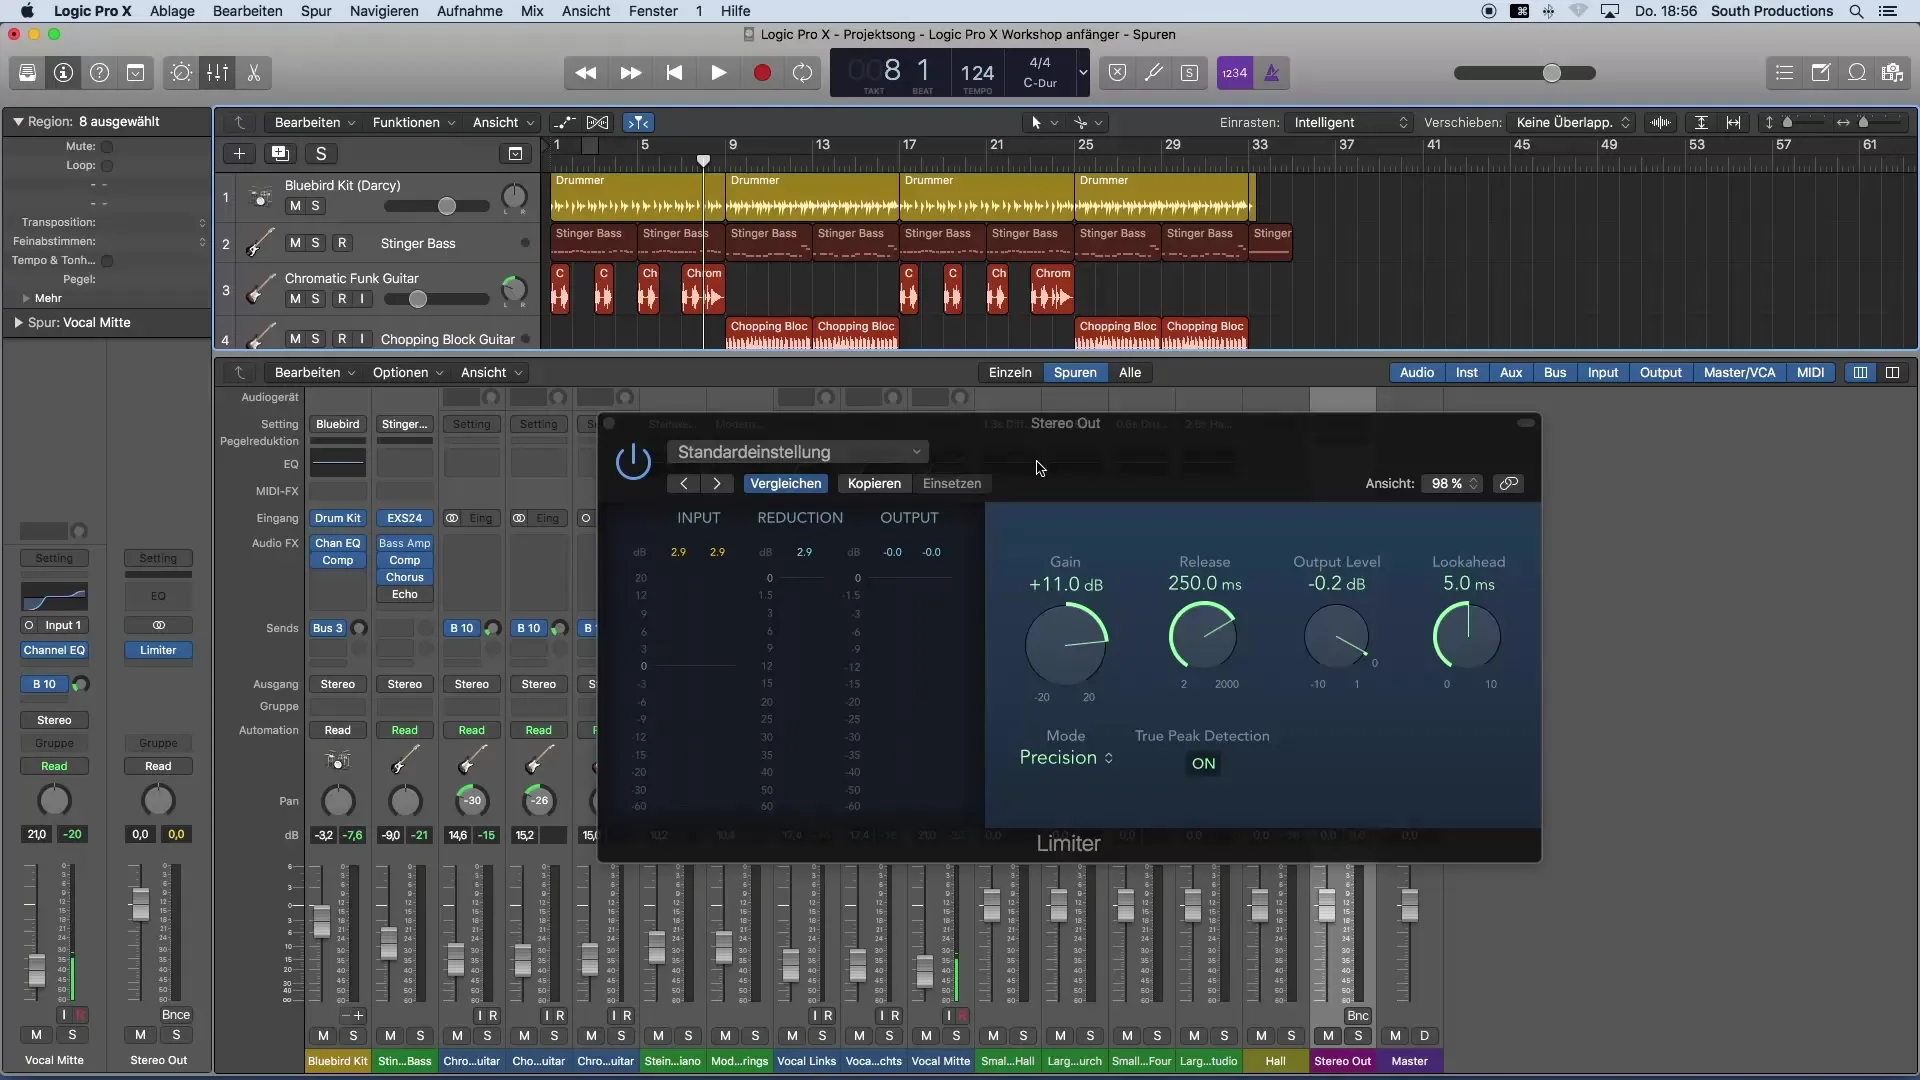
It is crucial to find the maximum loudness where your song still sounds good. Proceed step by step and increase the gain to a point where you notice the sound quality and nothing distorts anymore. Avoid over-compressing the material, as it will no longer sound good.
Step 5: Set Output Level
The output level of the limiter should be set to -0.2 dB. This is a safety measure to avoid sound distortion when exporting the song. Leave the options Look Ahead and Release at their default settings initially before diving deeper into the subject and further expanding your knowledge.
Step 6: Fine-Tuning the Sound
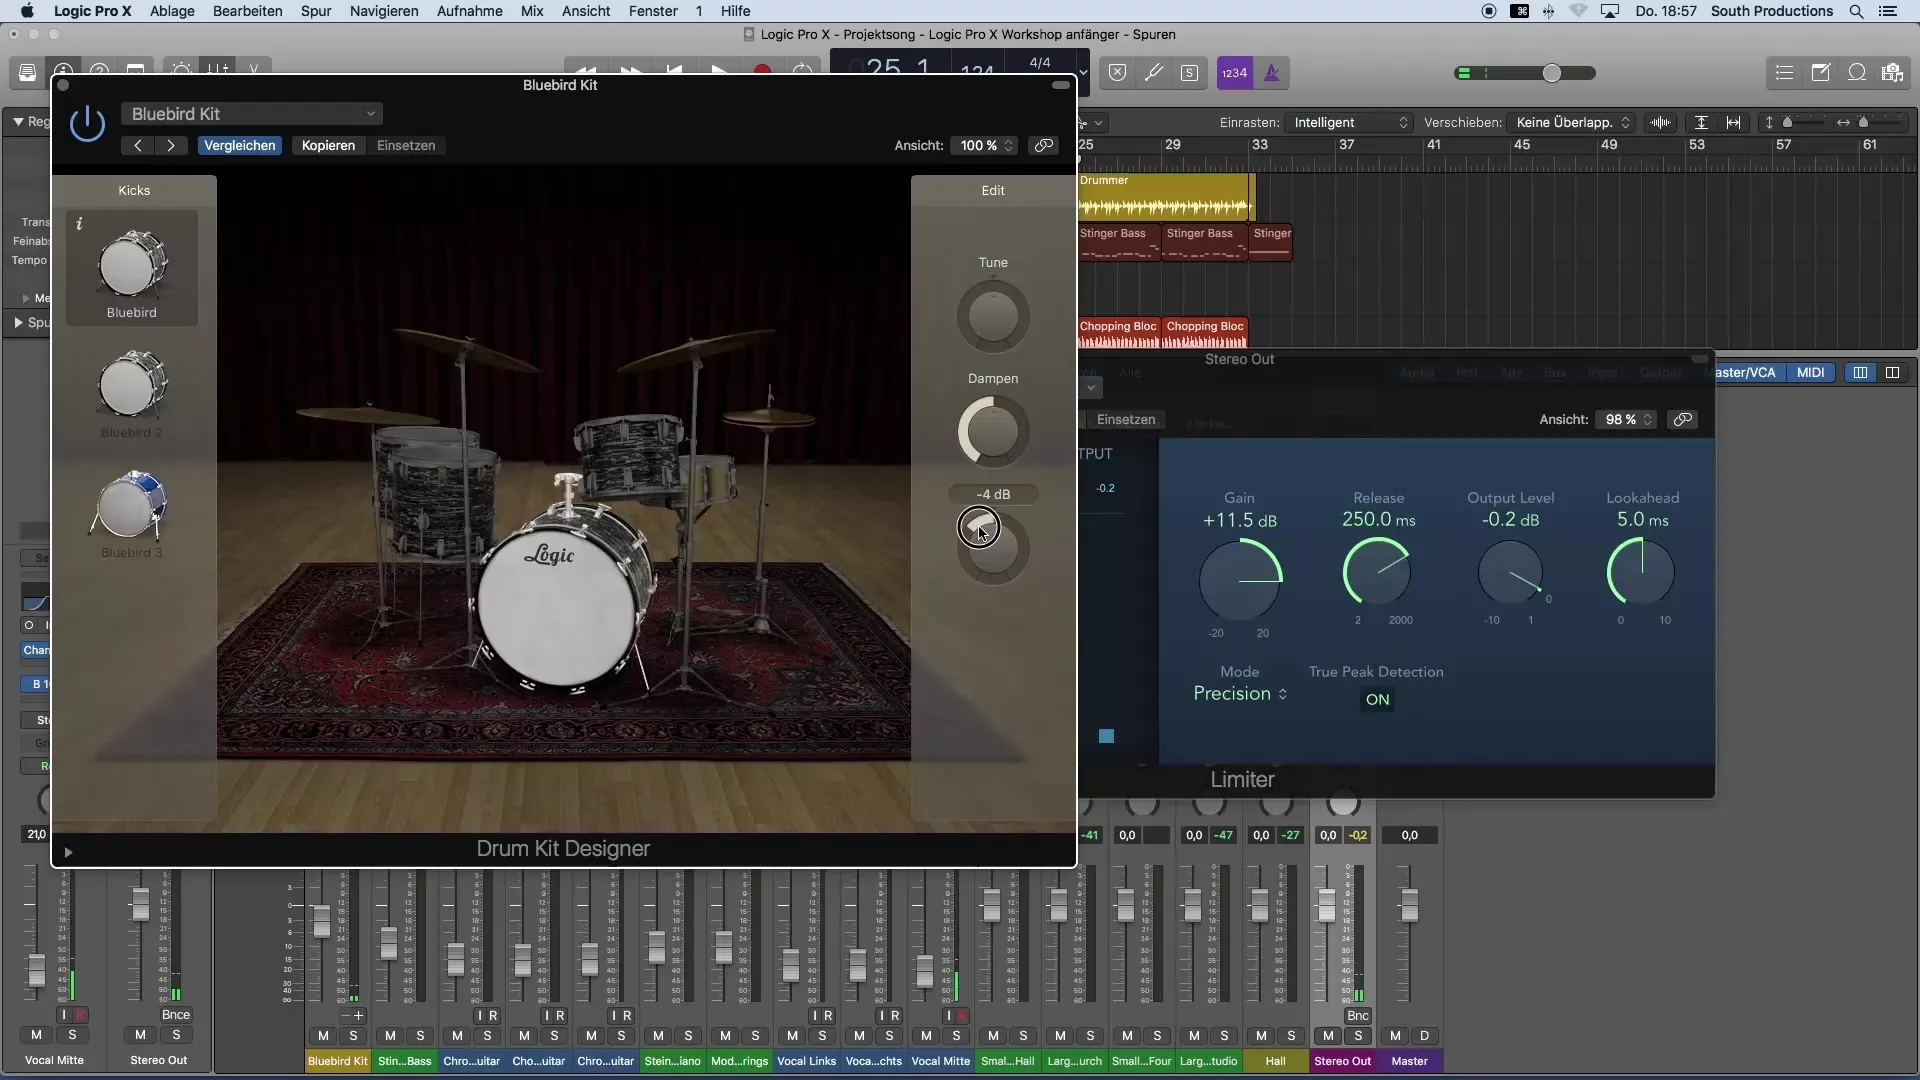
Now it is time to further enhance the sound. Listen to the individual elements, such as the kick drum. If you find that it is stressing the limiter too much, just slightly reduce its volume. This way, the limiter will have to work less, and the sound remains clear and punchy.
Step 7: Comparison with Reference Tracks
Now that your song has reached a good volume, it is helpful to compare it with a reference production. This can help you align your mix with top productions from the radio. Keep in mind that professional productions usually have a very high volume, but you can still get close to this standard.
Summary – Getting Started in Music Production with Logic Pro X: Setting Volume Optimally
In this guide, you have learned how to effectively use the limiter plugin in Logic Pro X to make your music production loud while still sounding appealing. You now know the steps to apply the limit on the stereo out, find the right volume, and refine your sounds.
Frequently Asked Questions
What is a limiter and what is it used for?A limiter is used to prevent the level of an audio signal from exceeding a certain value, thereby avoiding distortion.
How do I set the output level of the limiter?The output level of the limiter should be set to -0.2 dB to avoid sound distortion.
How much gain should I increase?A good starting point is an increase of about 11 dB, but be sure to keep an eye on the sound quality.
What can I do if my kick drum is stressing the limiter too much?If your kick drum is hitting the limiter too hard, slightly reduce its volume to maintain balance.
Why is it important to use reference tracks?Reference tracks help you compare the sound of your mix with professional productions and adjust your volume and sound quality accordingly.
