Plug-ins significantly expand the capabilities of After Effects. Whether you want to create visual effects, refine animations, or apply special filters – using plug-ins can make the process easier and give you access to features not offered by the standard software. This guide will teach you step by step how to install plug-ins and how to use them effectively in your projects.
Key Insights
- Plug-ins provide enhanced functions in After Effects and allow you to achieve unique effects.
- There are different installation methods for plug-ins, depending on the type of plug-in and the number of After Effects instances you have.
- Make sure to check the compatibility of the plug-in with the version of After Effects you are using, especially regarding the bit version.
Step-by-Step Guide
1. Selecting and Downloading a Plug-in
Before you can install a plug-in, you first need to select one. There are many websites that offer plug-ins, such as "A Scripts Plus A Plugins". You will often find both free and paid options.

2. Installing the Plug-in
Once you have downloaded the desired plug-in, you need to place it in the corresponding folder of After Effects. For Windows users, the folder is located at "C:\Program Files\Adobe\Adobe After Effects CC\Supported File". There, you should look for the "Plugins" folder and place the plug-in there.
3. License Files
For paid plug-ins, you may need to add a license file. You should place this in the same folder as the plug-in or in the folder specified by the software. This ensures that the plug-in is recognized as licensed.
4. Restarting After Effects
After the installation of a plug-in, it is important to restart After Effects. This will make all changes effective, and the plug-in will be recognized by the software.
5. Creating a New Composition
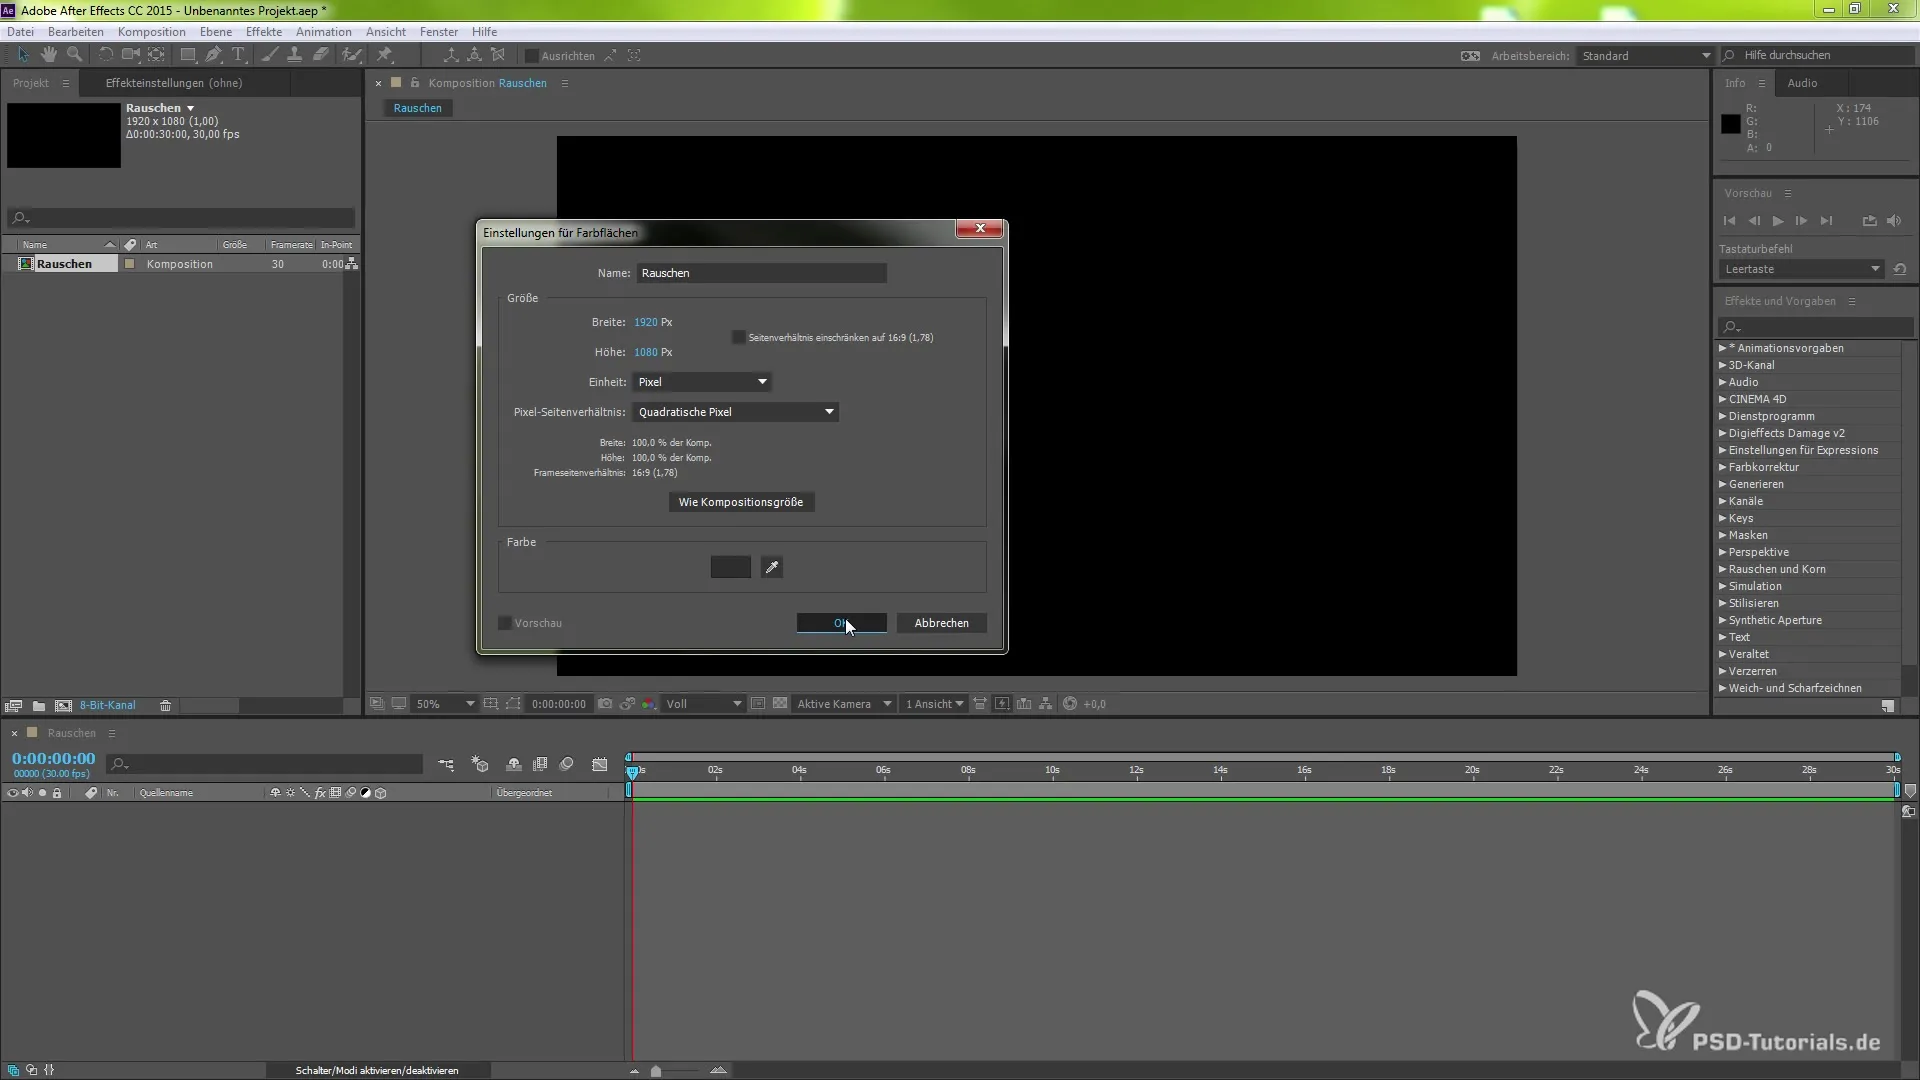
Start After Effects and create a new composition. Give your composition a name, such as "Noise". This will be the starting point for your effects and settings.
6. Adding a Color Solid
You can create a color solid by selecting the "New" menu and then choosing "Color Solid". Select the desired color and click "OK".
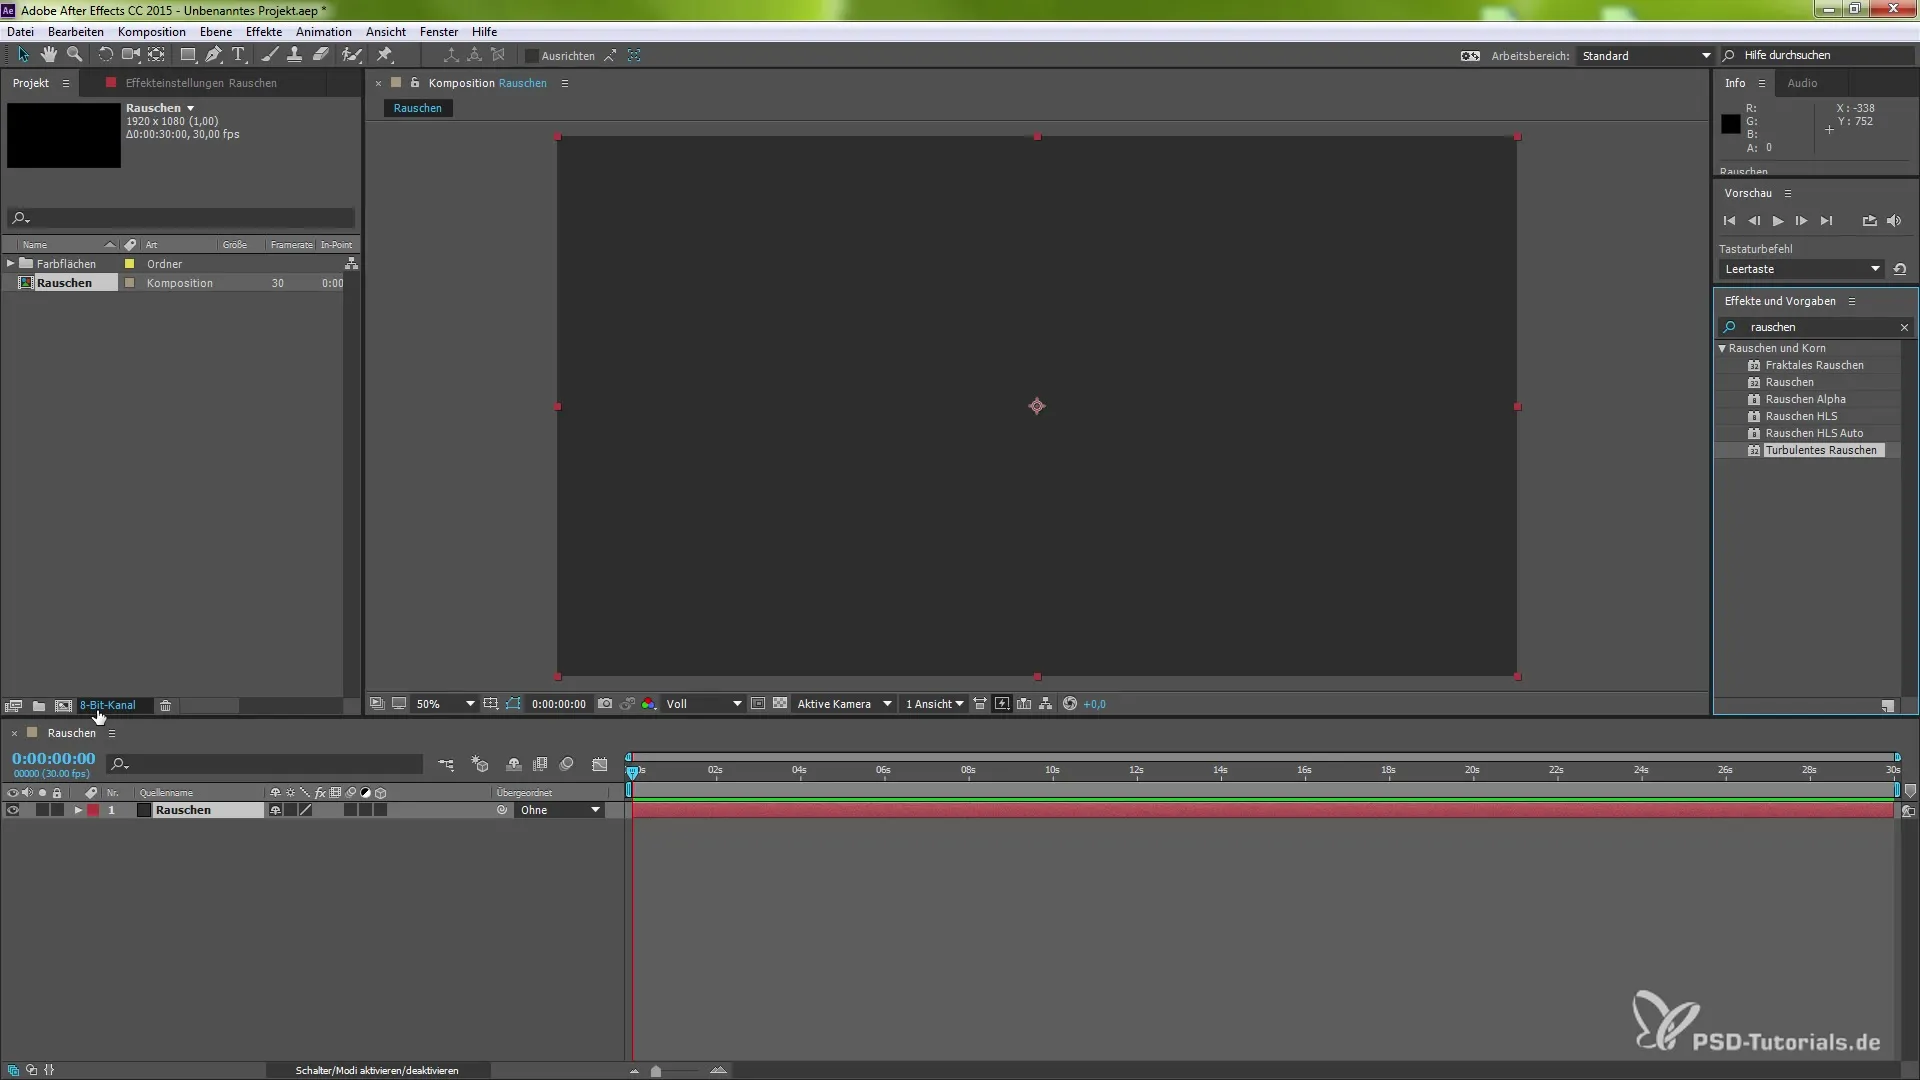
7. Adding an Effect
Go to the effects search bar and enter the name of the desired effect. In this example, you are looking for Noise. Select the effect and drag it onto the color solid you created.
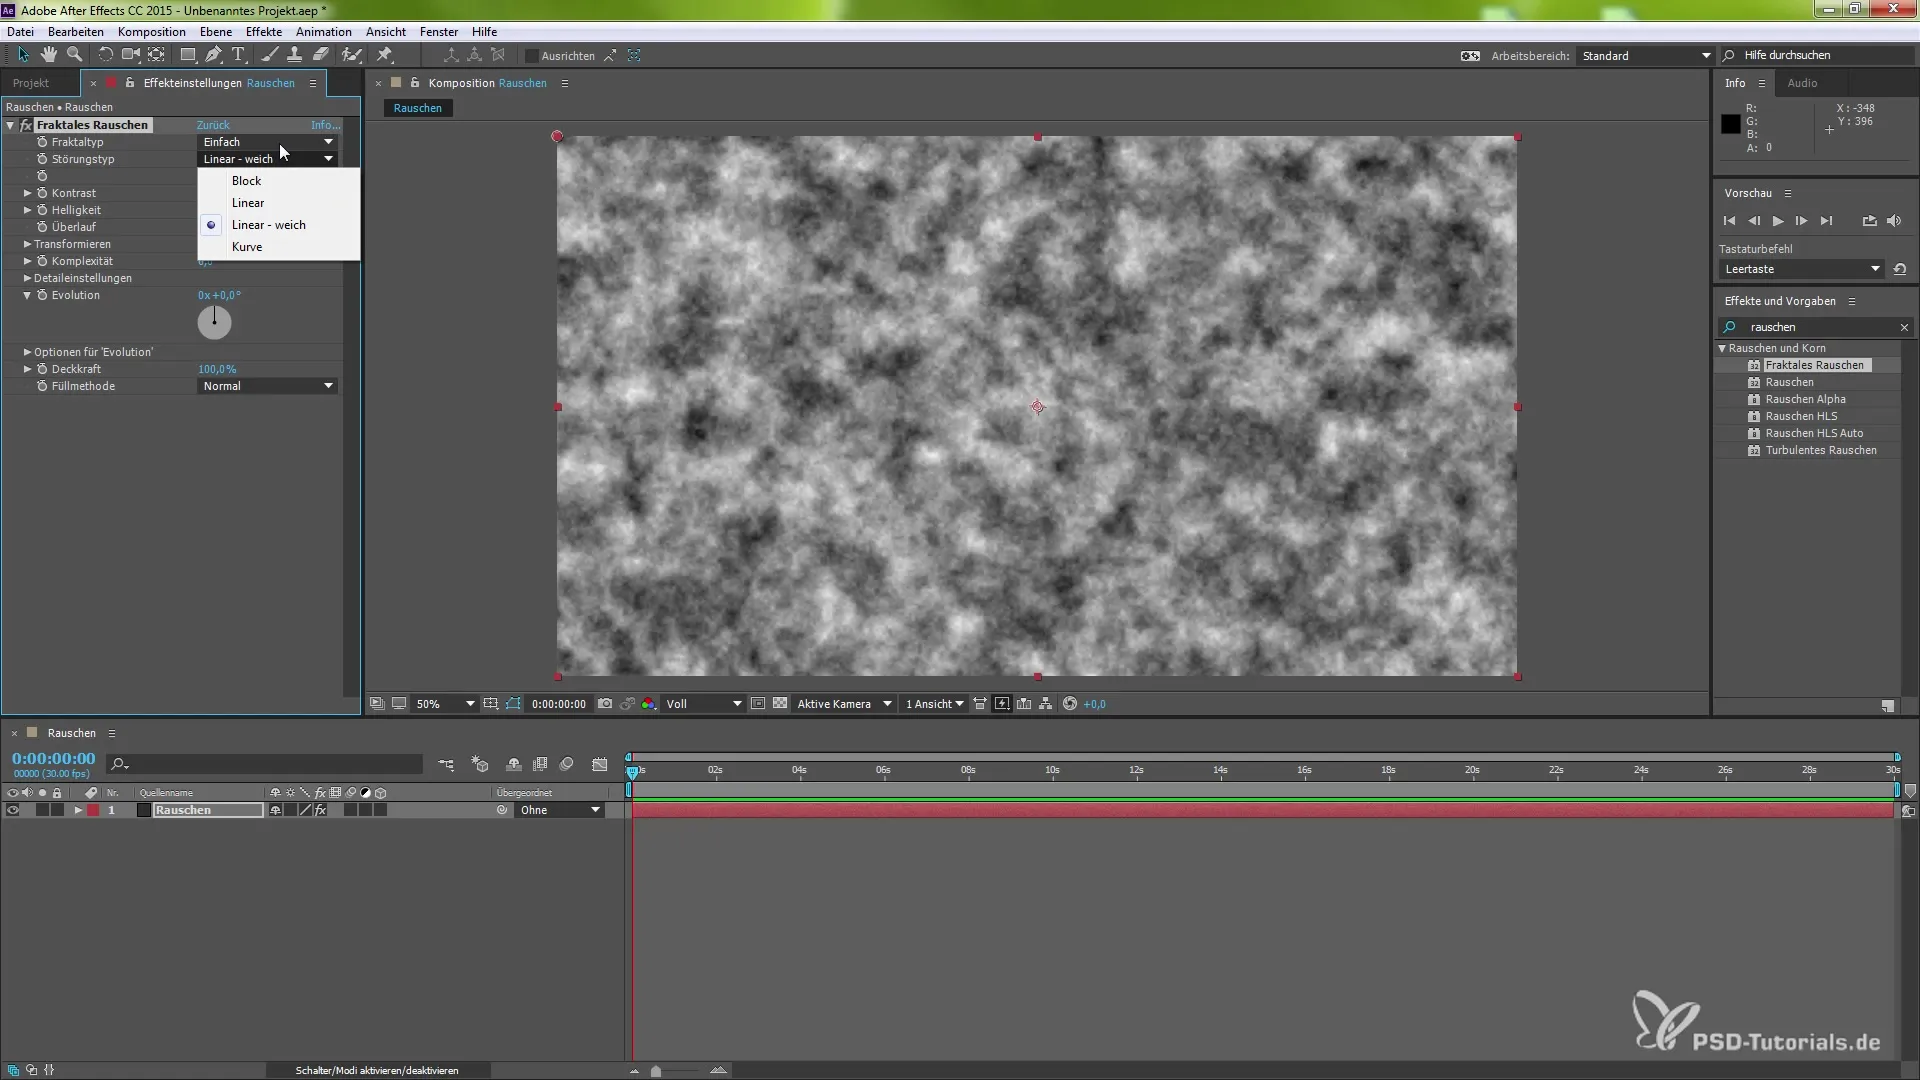
8. Adjusting the Effect
You can now change various parameters of the effect, such as contrast or opacity, to achieve the desired result. Experiment with the settings to get the most out of your effect.
9. Using a Specialized Plug-in
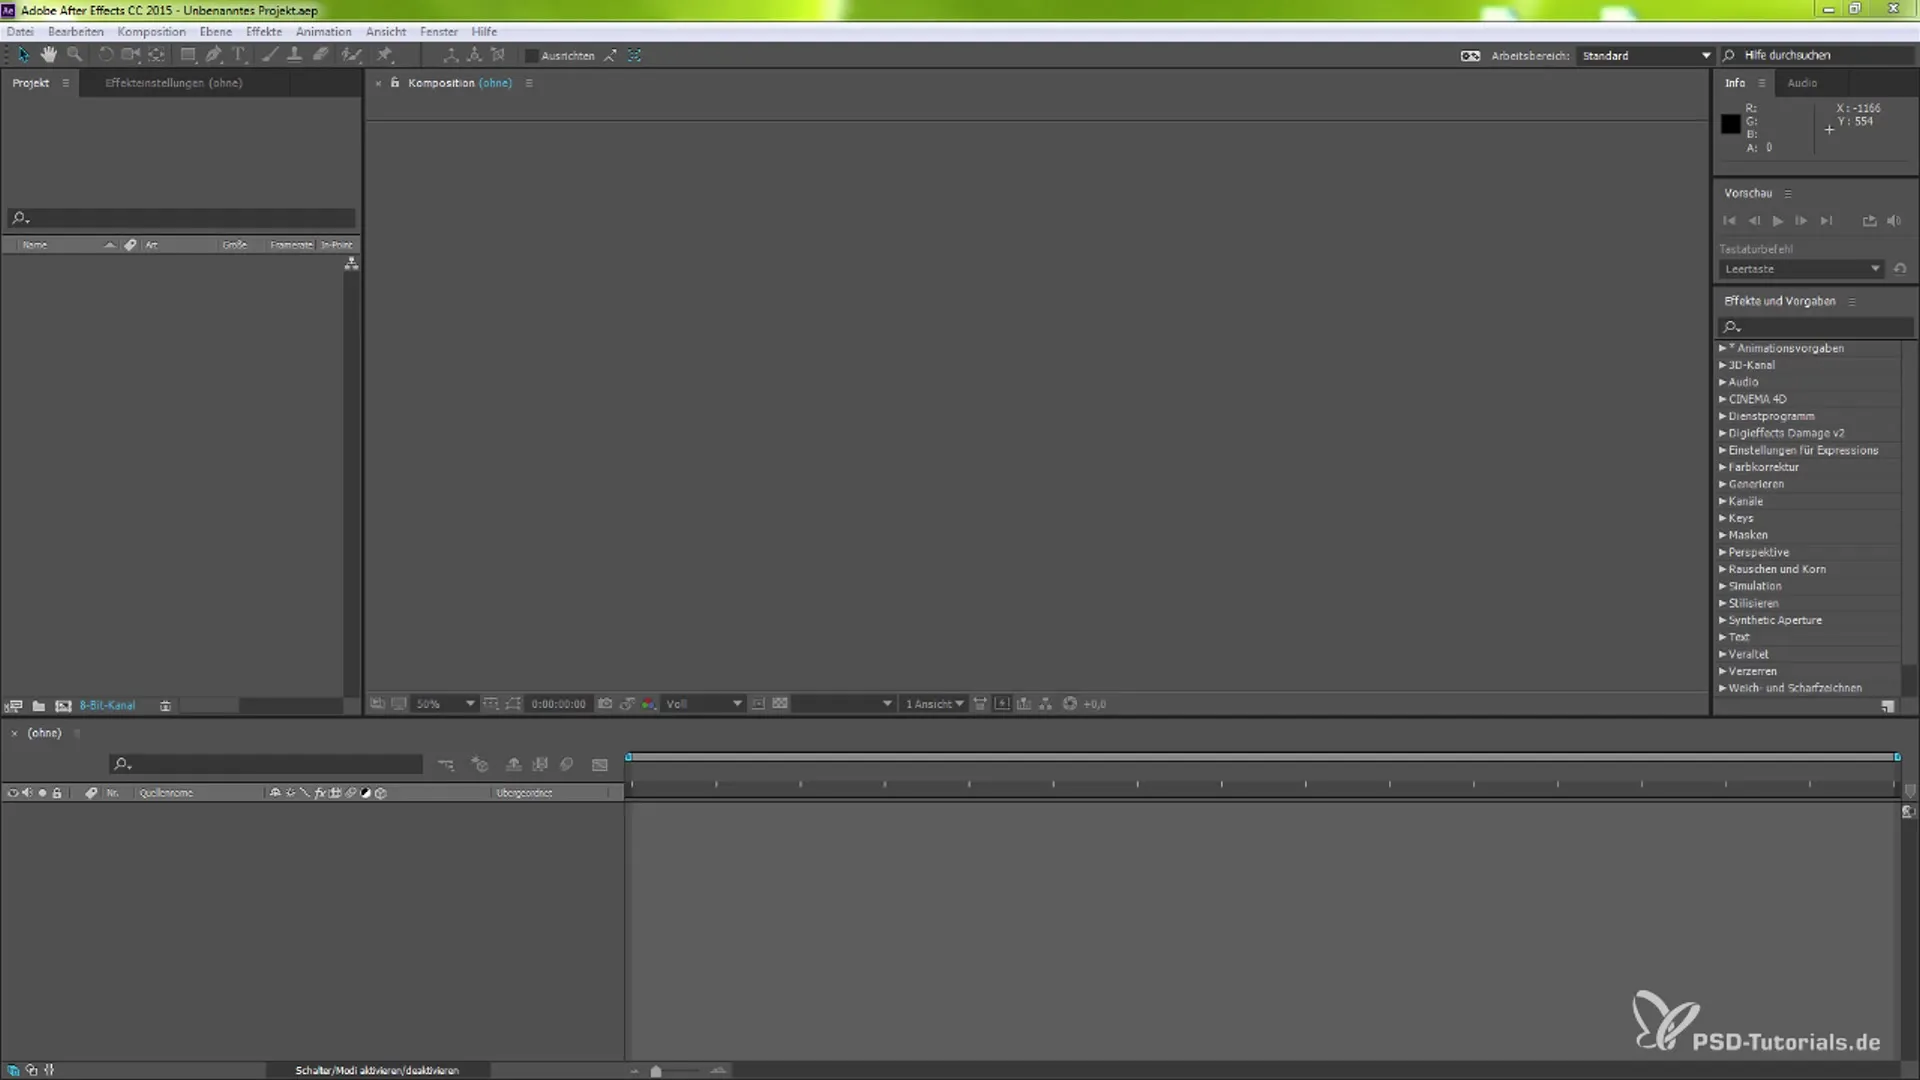
If you are using a plug-in like "Damage V2", you will find that it offers advanced customization options that help you achieve more professional results. Change various parameters and see the effects.

10. Previewing the Effect
To see how your project looks, you can activate the preview. Press the spacebar to take a quick look at your current result.

11. Further Adjustments
As needed, you can now add more effects or adjust settings. Consider whether you want to enhance the colors or change textures to optimize your effect.
12. Finalization and Rendering
If you are satisfied with your result, it's time to render your project. Save your work and export the video in the desired format.

Summary – After Effects: Plug-ins – Installation and Application of Effects
In this guide, you have learned how to select, install, and use plug-ins for After Effects. These additional tools can save you time in creating animations and visual effects, and significantly expand your creative process.
