In the world of digital design, it is of great importance to visualize ideas and concepts in innovative ways. PowerPoint offers you the opportunity to transform 2Dshapesinto impressive 3Dmodels. This step-by-step guide will show you how to create captivating 3D models from simple 2D objects and how to further edit them afterward. You will learn how to make the most of the various features of PowerPoint and let your creativity run free.
Key Insights
- Creation of 3D models from basic 2D shapes
- Using 3D rotation and editing tools
- Visualization of information through appealing designs
Step-by-Step Guide
Step 1: Create a 2D Shape
Start with a blank slide in PowerPoint. To create a basis for your 3D model, first draw a 2D shape. In this example, we are using a rectangle with rounded corners, as this shape often serves as a starting point. Select the appropriate tool to createa rectangle.
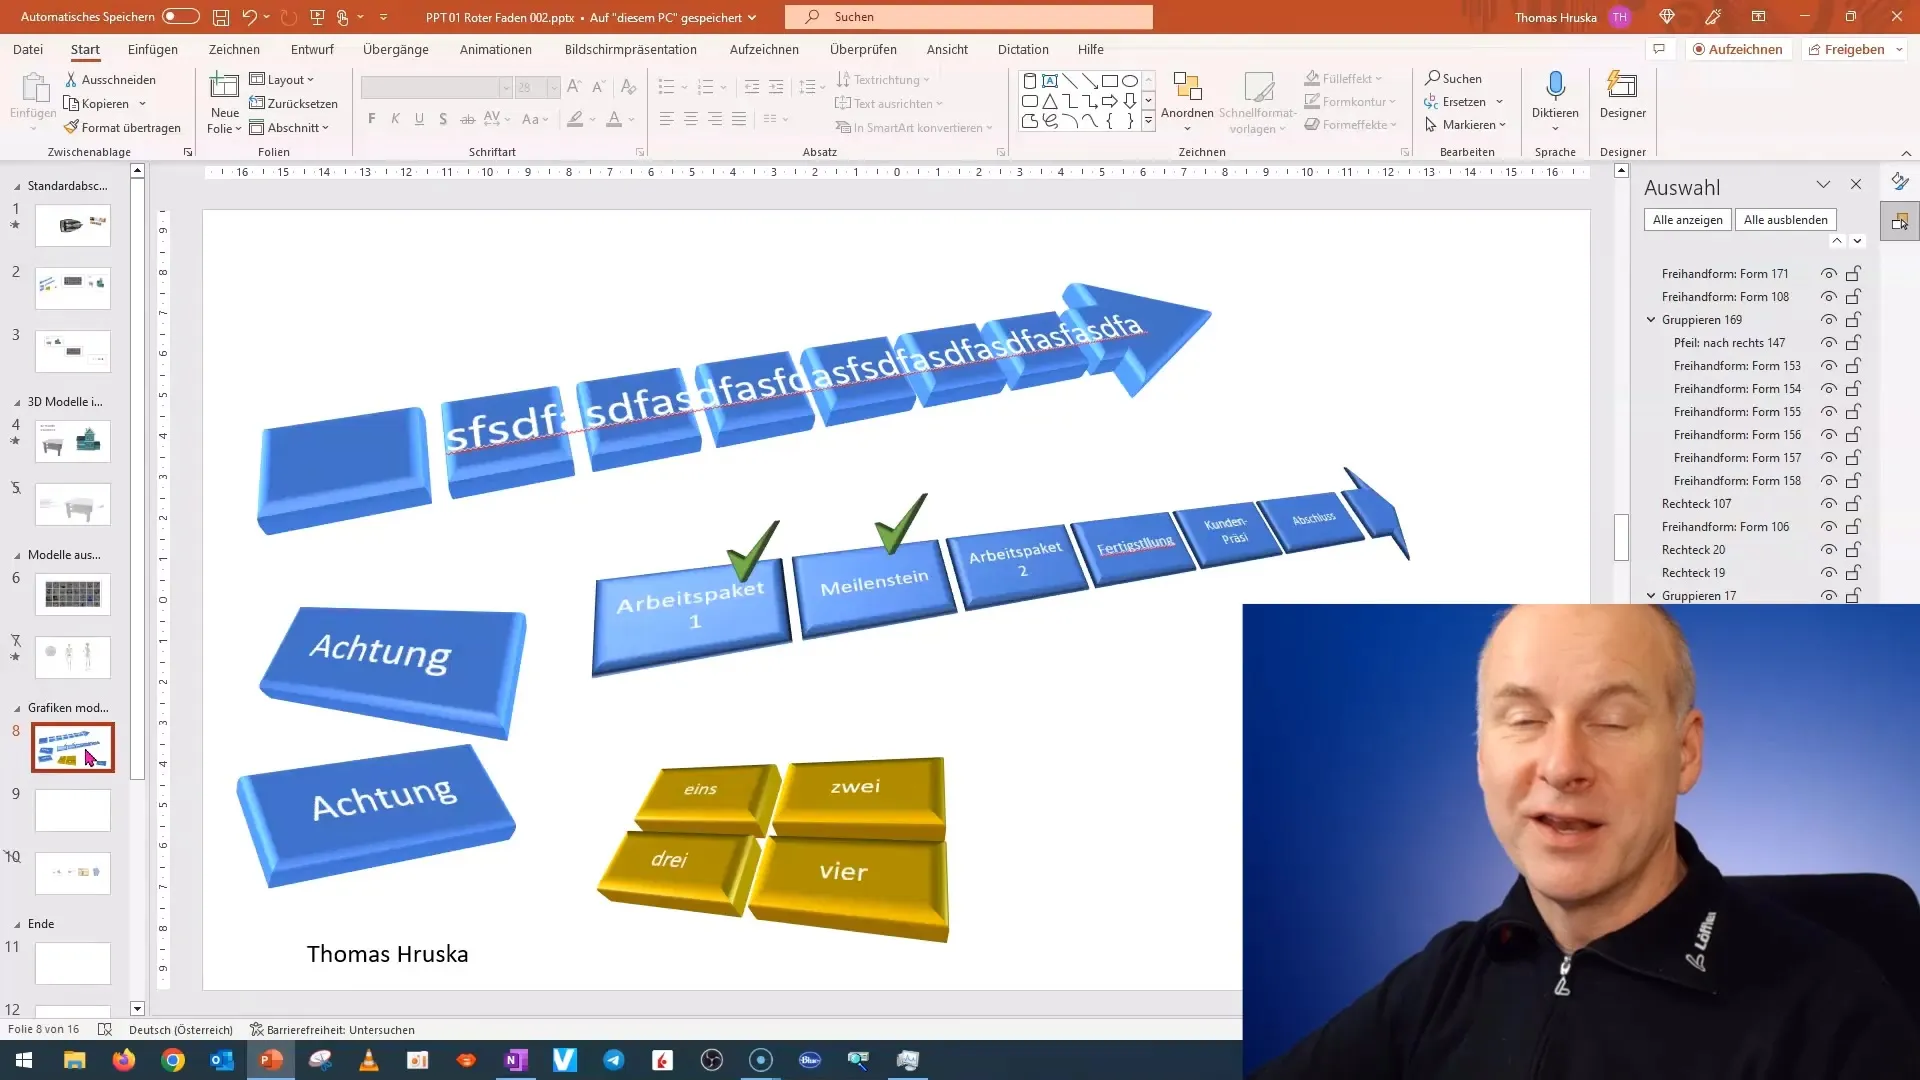
Step 2: Activate 3D Format
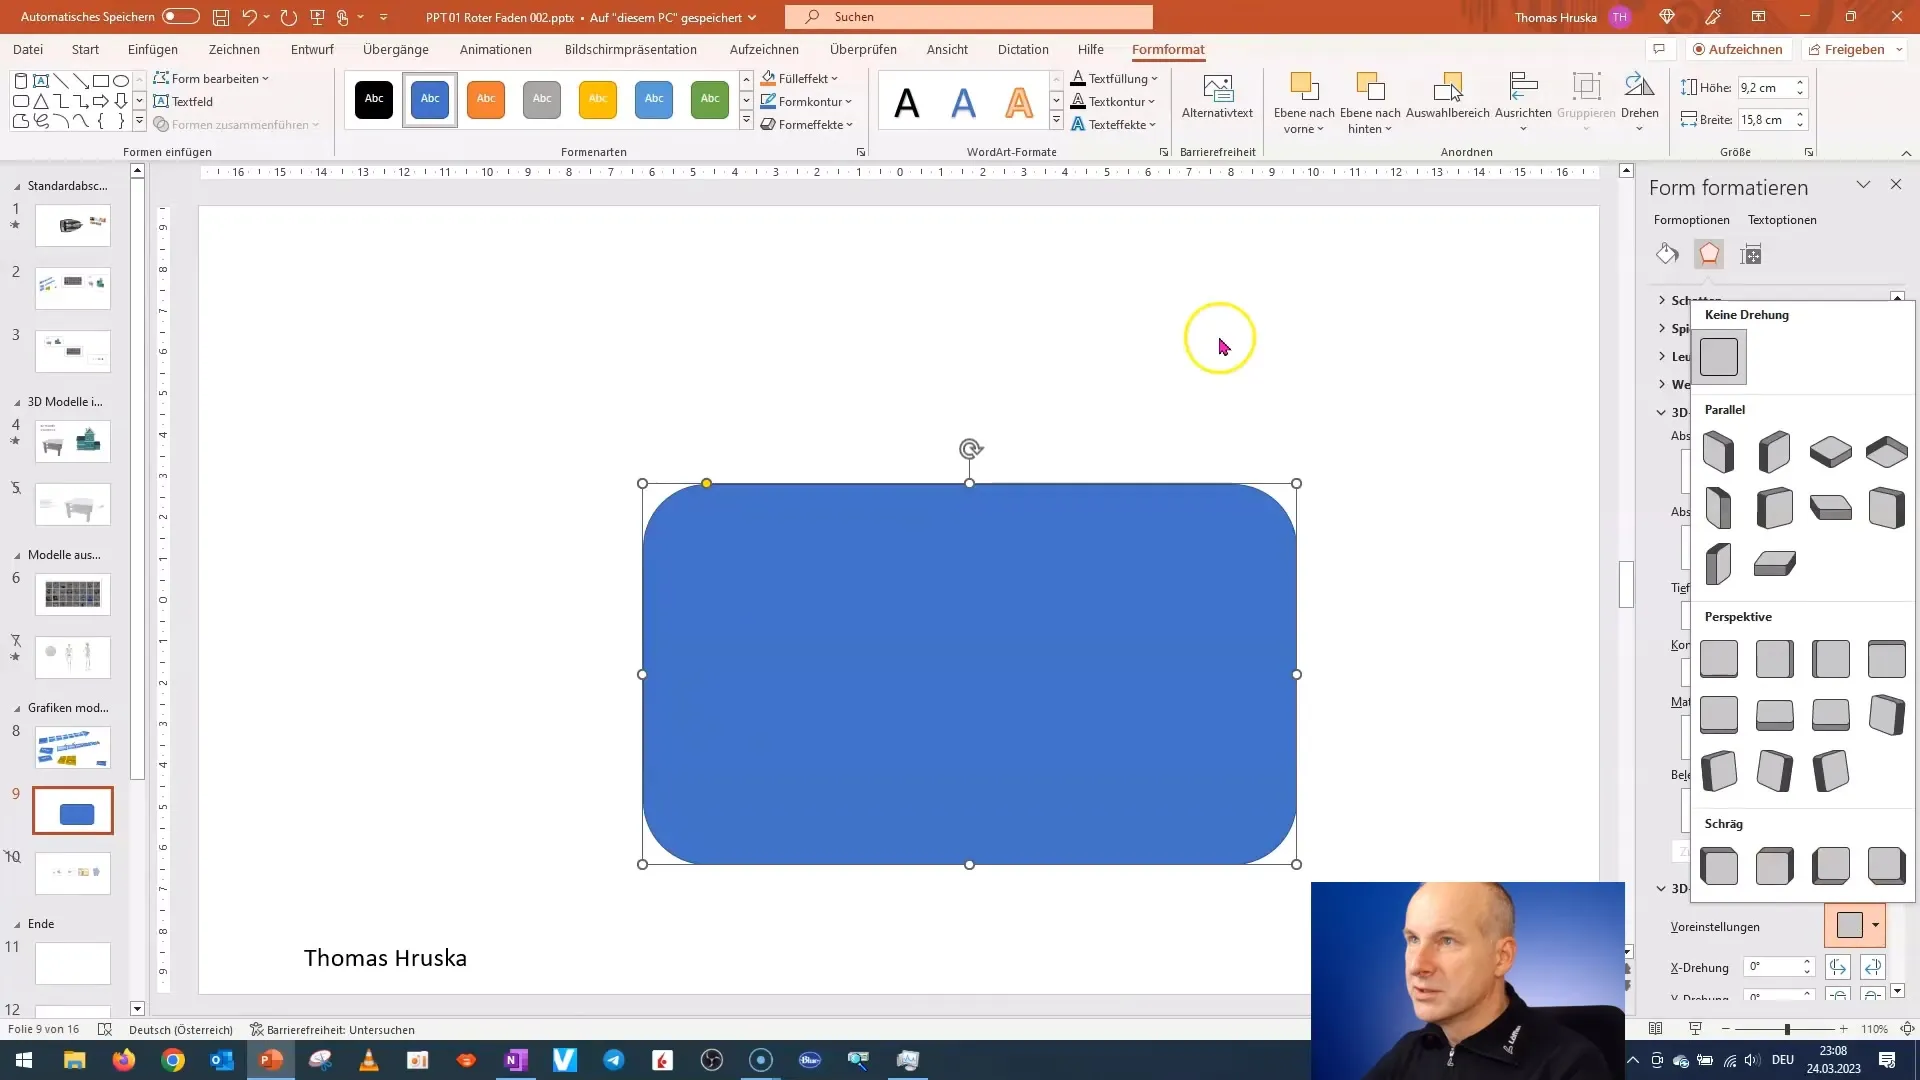
Once you have created your 2D shape, go to the formatting options. Click on the shape to activate the editing bar. Navigate to "3D Format" in the menu and open the selection for 3D rotations. There, you can try out different 3D effects.
Step 3: Adjusting Depth
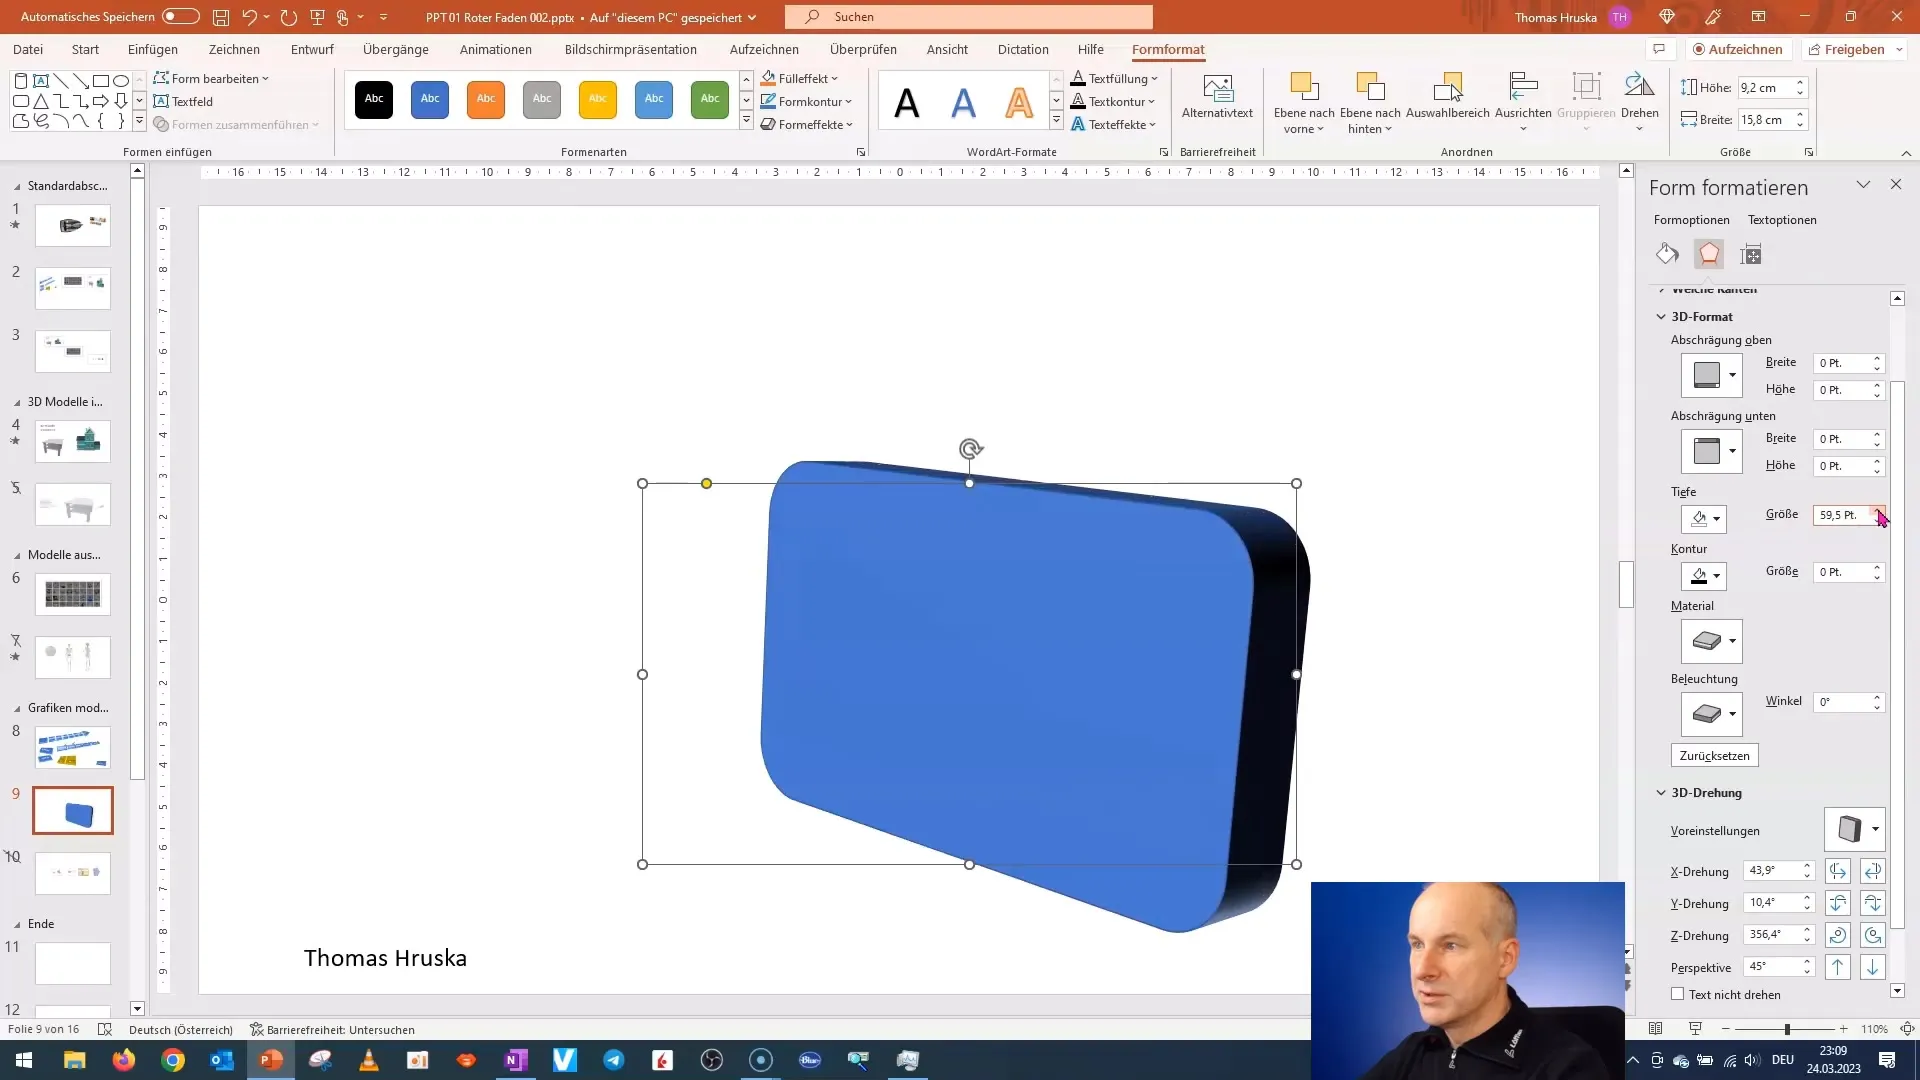
To give your 3D model more dimension, you need to adjust the depth. This means transforming your 2D shape into a 3D body. Now, drag the depth slider to customize the model to your liking.
Step 4: Edit Edges
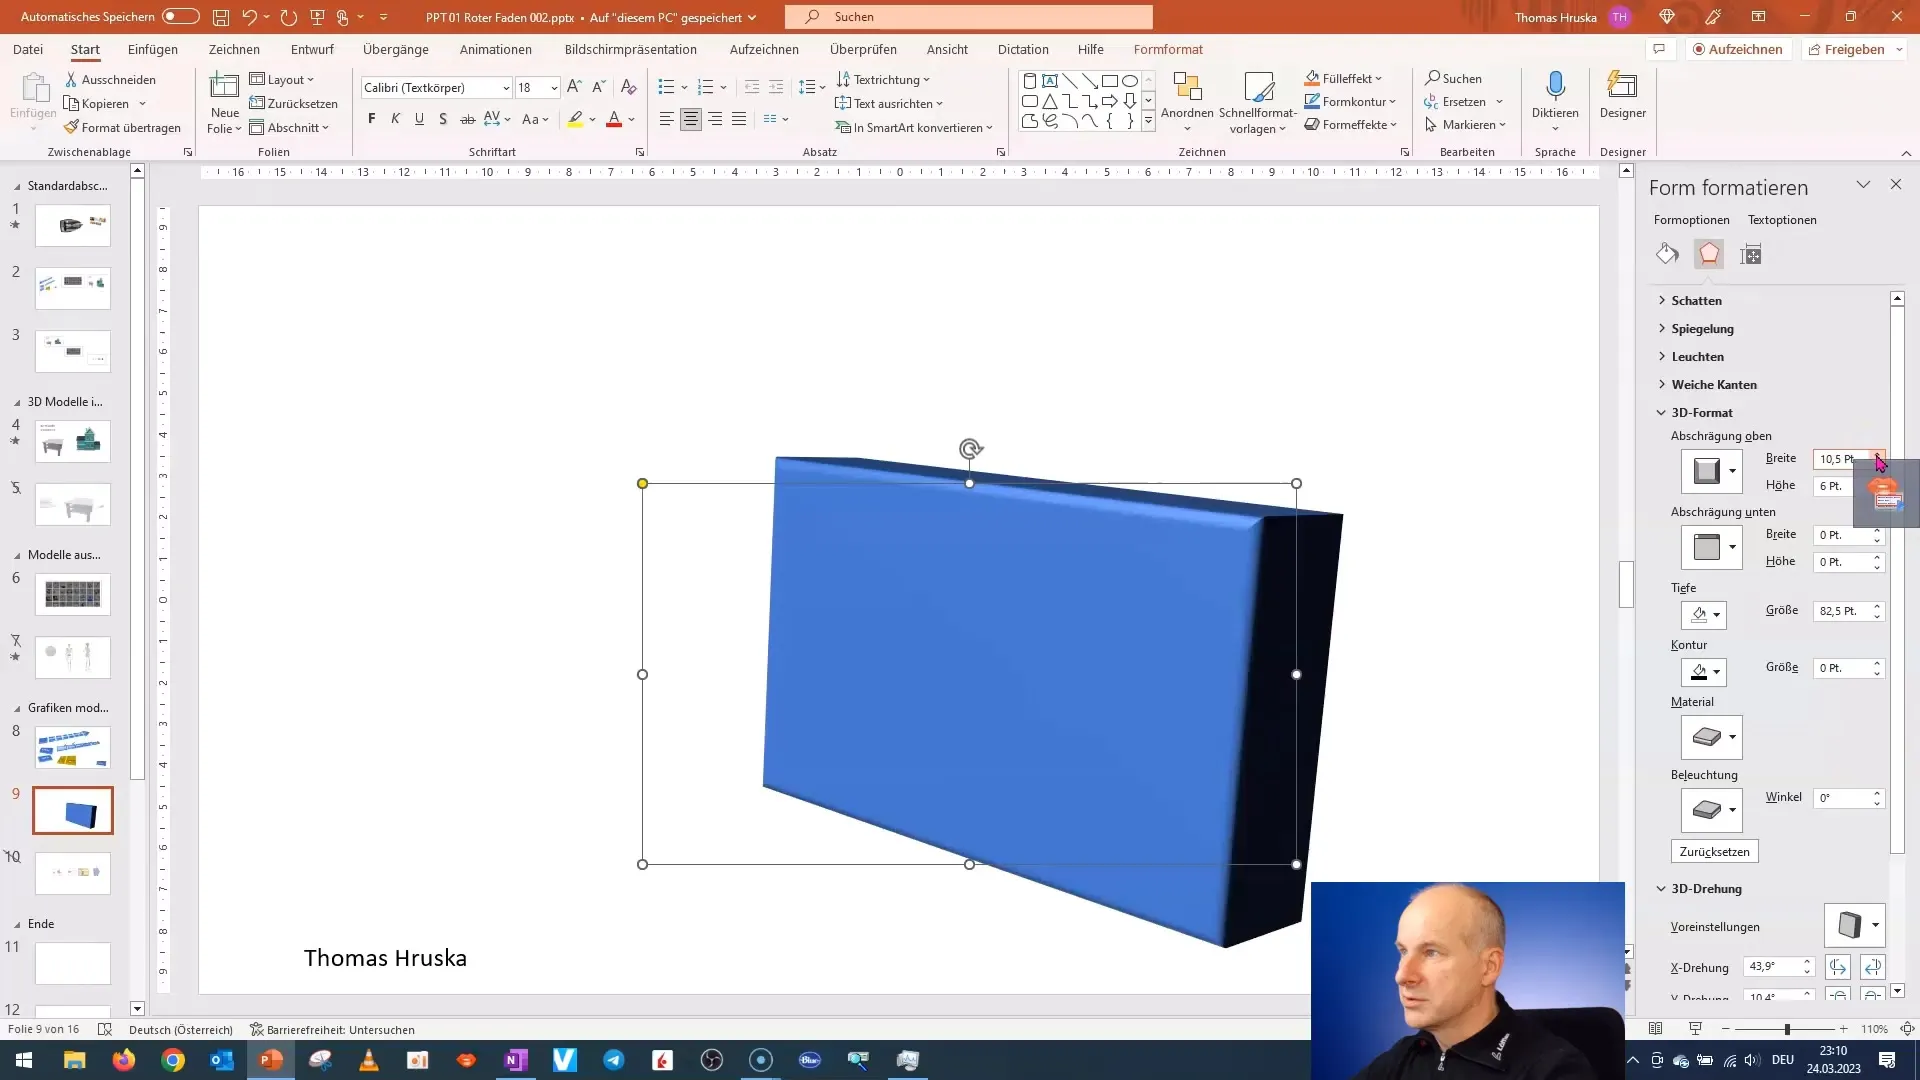
Now that you have the basic shape, it's time to work on the details. You can edit the edges of your shape to create different designs. Use the "Bevel" option in the same menu bar. Try out different forms to see how they change the appearance of your model.
Step 5: Add Curves
To make the design even more appealing, add curves to the edges. This gives your 3D model an elegant look. Experiment with the different options for rounding to achieve the desired effect.
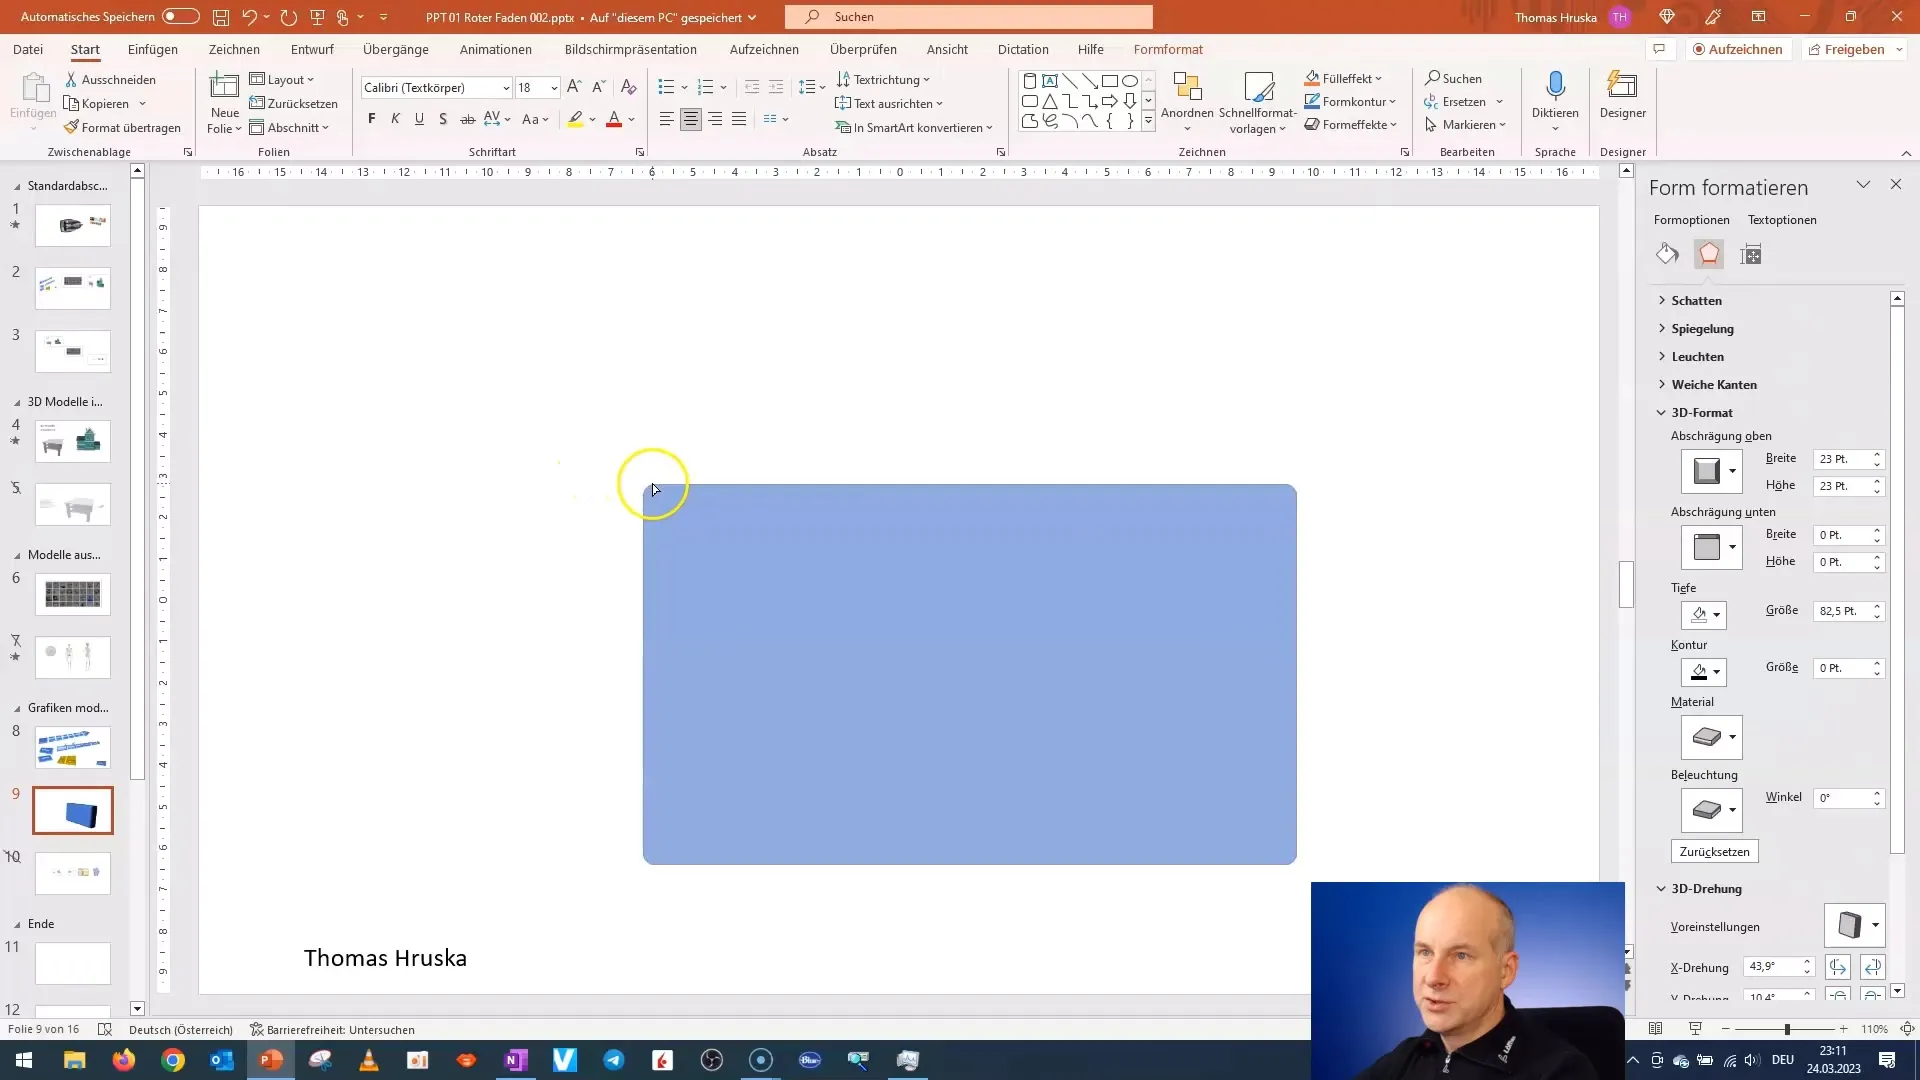
Step 6: Add Text
Add a function or message to your 3D model by including text. Click on the shape, go to the text settings, and write what you want to visualize, such as "Information 1". Ensure that the text is easy to read and fits the shape.
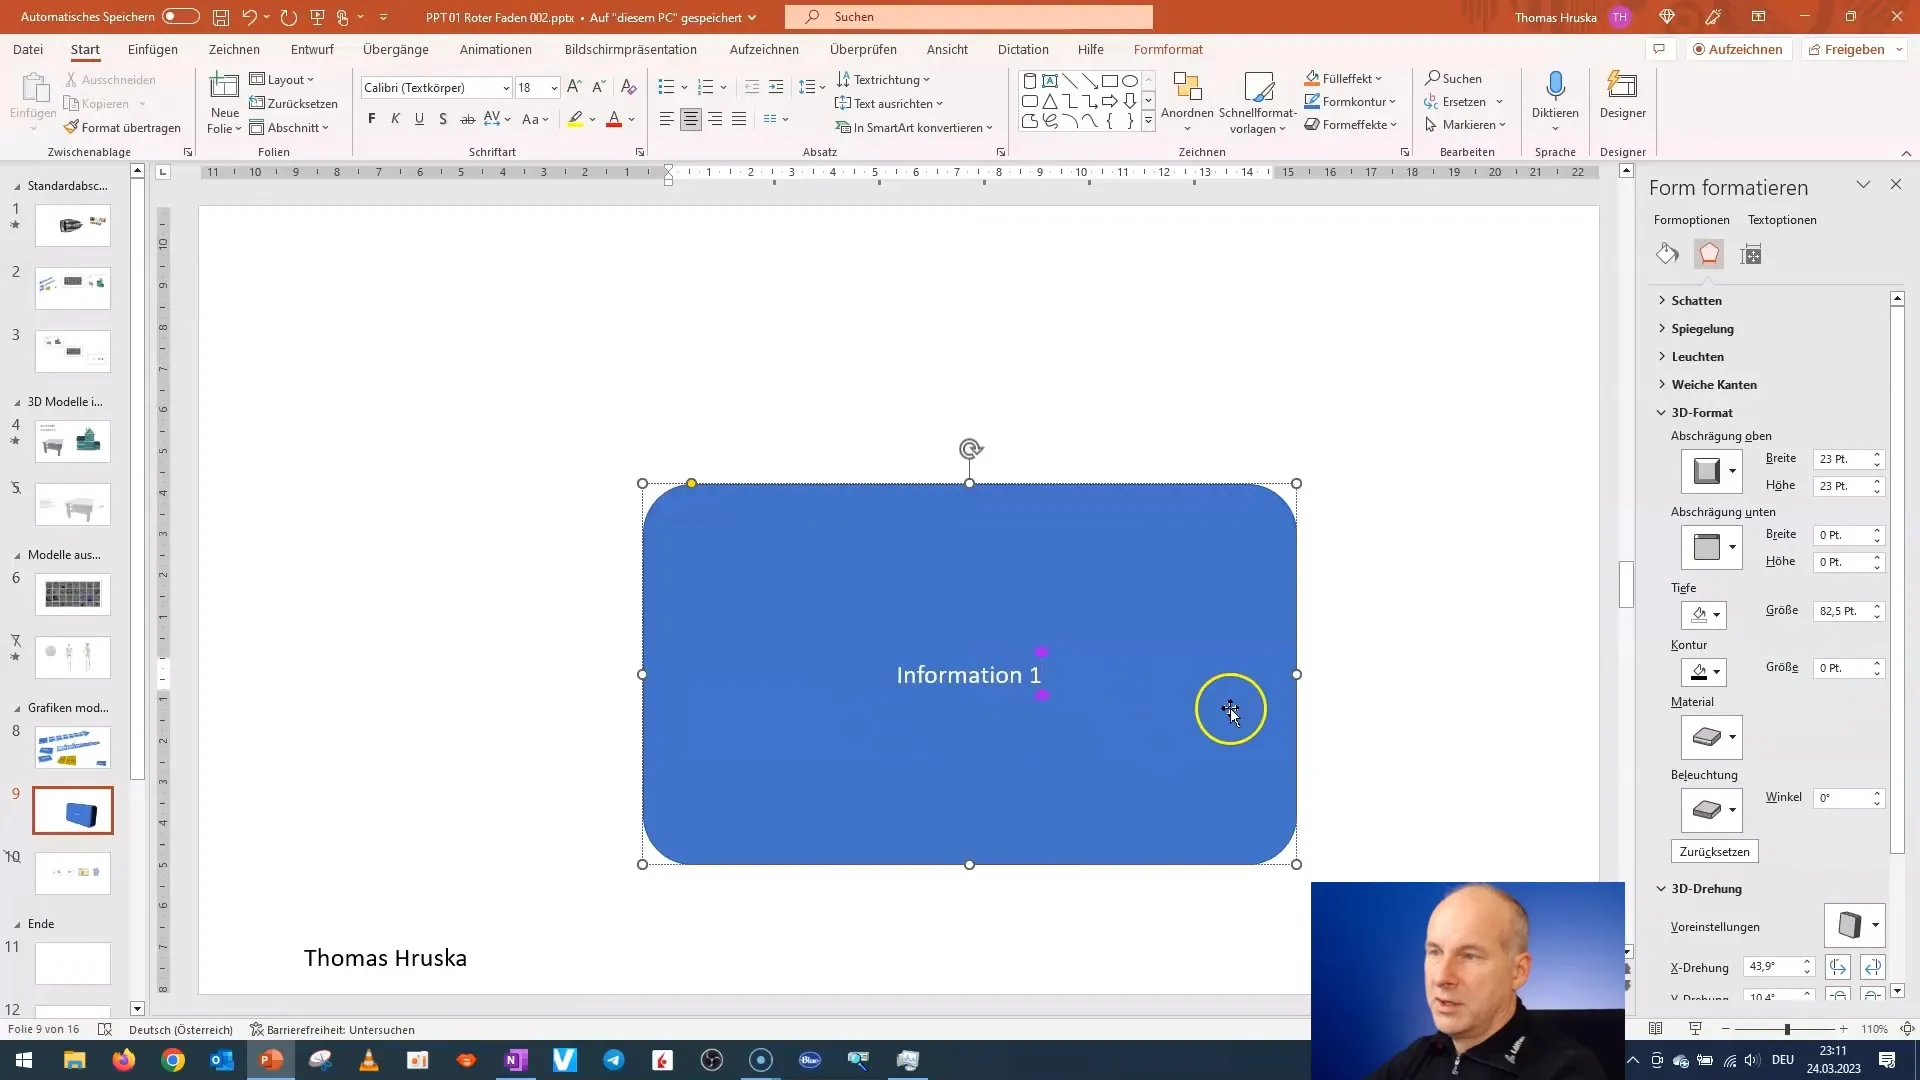
Step 7: Rotate Model
To give your model a dynamic perspective, you can rotate it. Go back to the 3D rotation options and select the axes to move the model as you like. This helps to highlight the dimensions and lines.
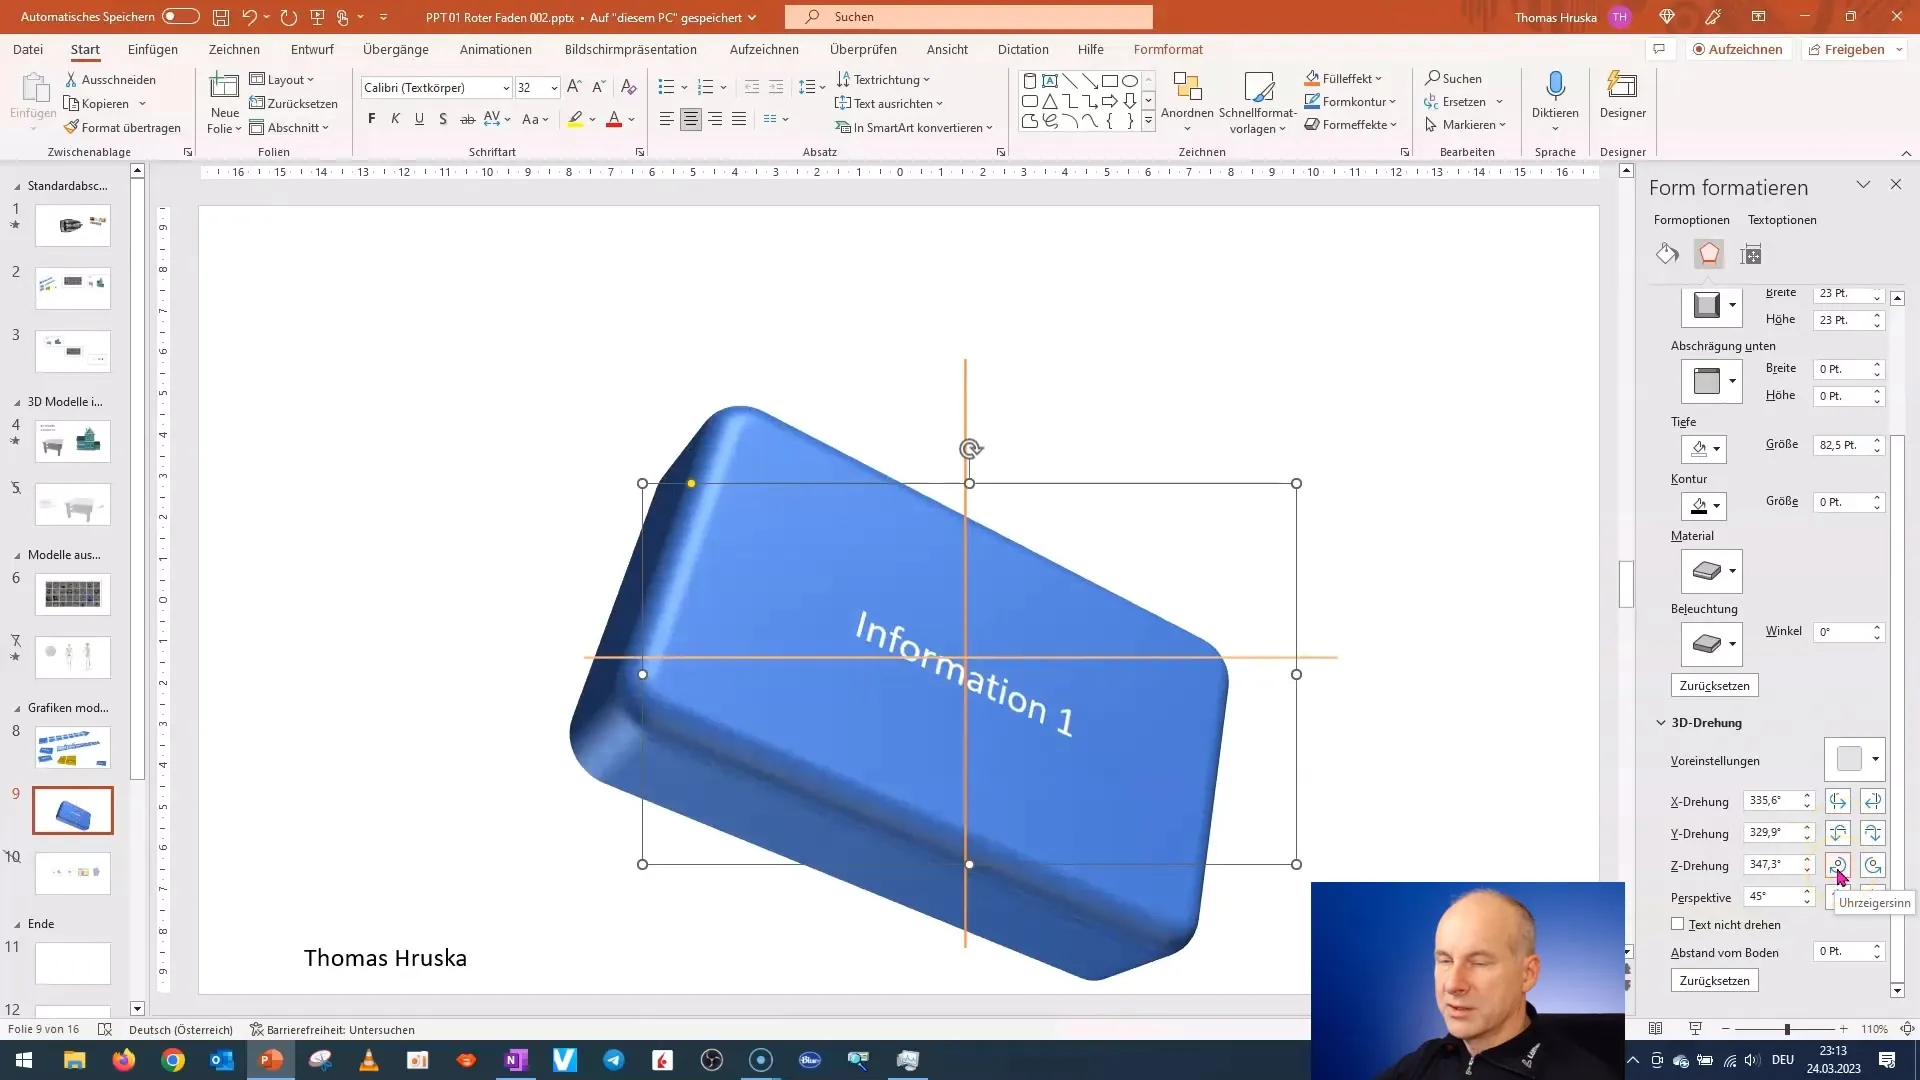
Step 8: Adjust Height and Depth
If your model is too high or too low, adjust the height and depth accordingly. You can do this in the same menus where you previously set the depth. A harmonious ratio is crucial to the aesthetics of the model.
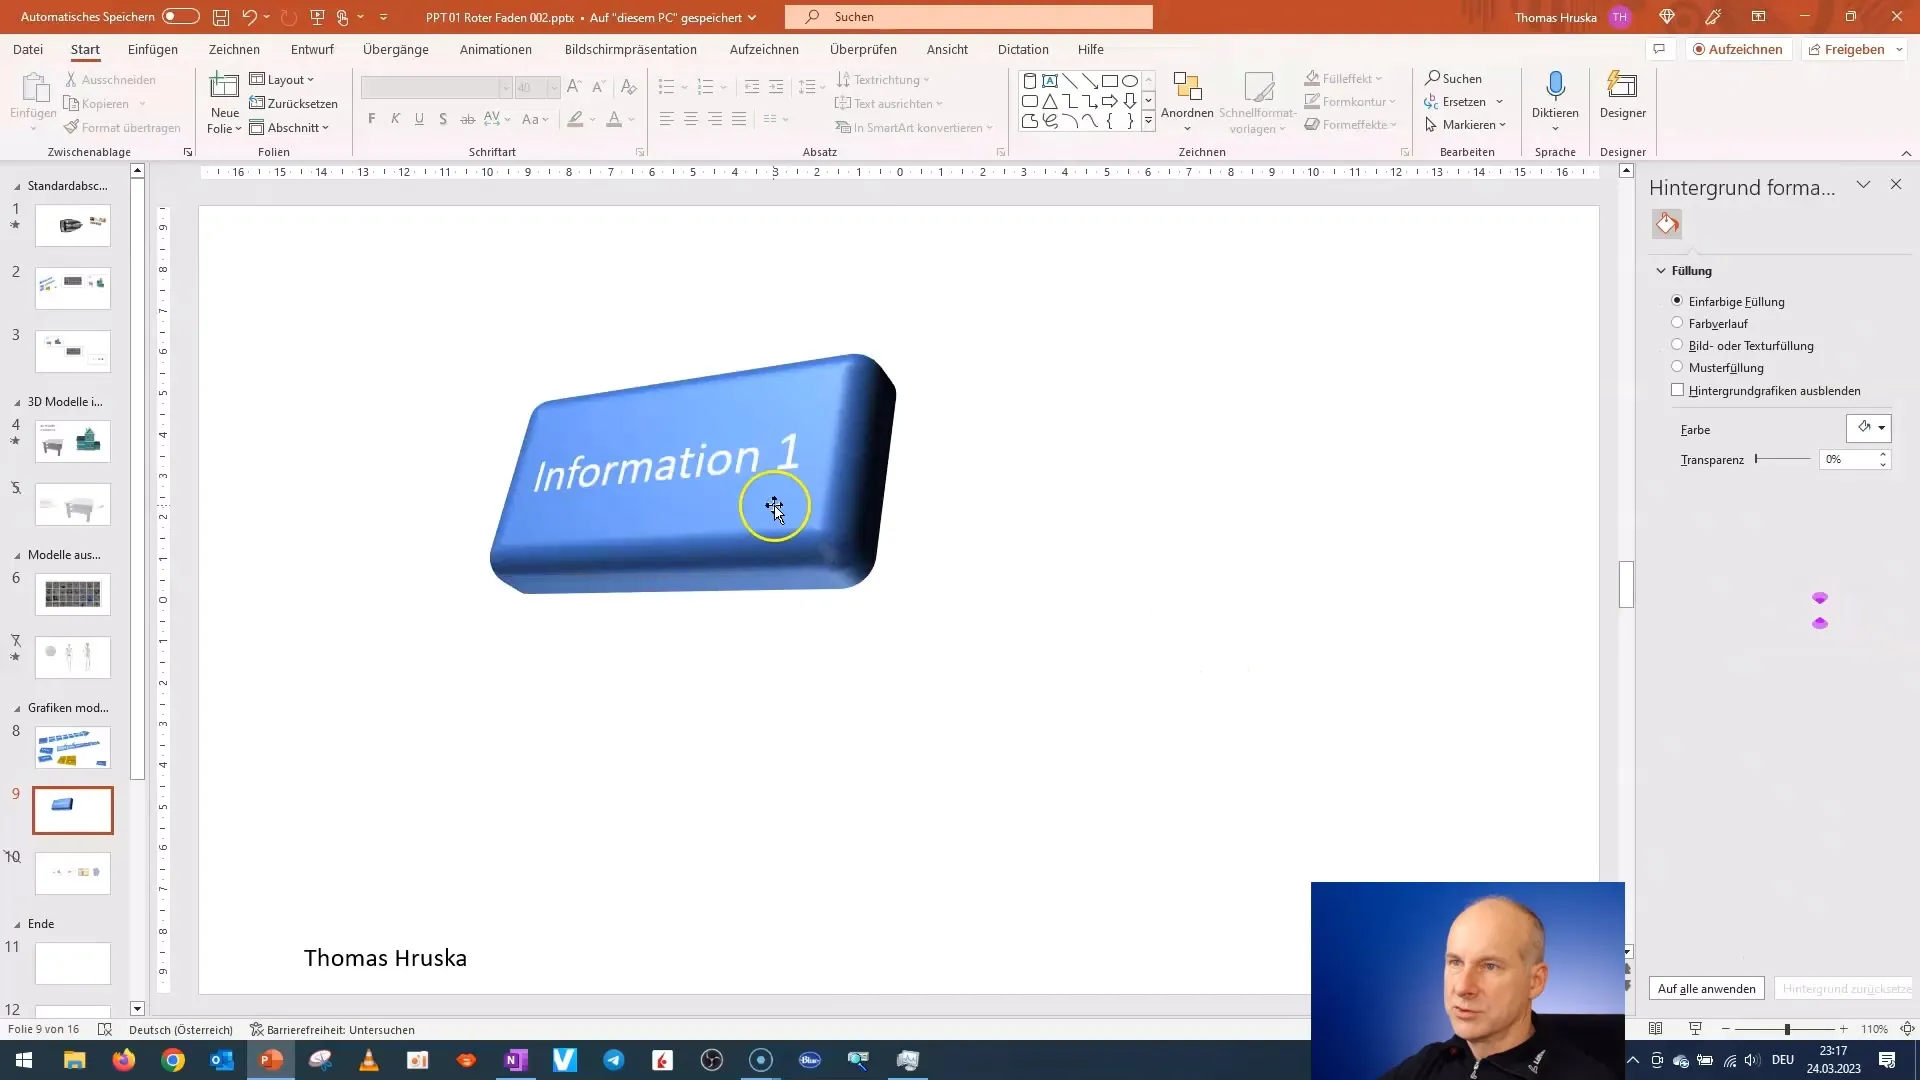
Step 9: Final Fine-Tuning
The goal is to design your model so that it looks both functional and appealing. Go through all the settings again, adjust the size if necessary, and ensure the text looks good. A proportional design is essential for the clarity of your model.
Summary – Creating 3D Models from 2D Shapes in PowerPoint
In this guide, you have learned how to transform basic 2D shapes into impressive 3D models. You have gone through the necessary steps to create a shape, edit it, add text, and adjust the entire model. The possibilities available to you in PowerPoint open up numerous design opportunities. With a little practice, you will be able to develop even more complex and aesthetically pleasing designs.
FAQ
How do I create a 3D shape from a 2D shape?First, create a 2D shape and then activate the 3D formatting options in PowerPoint.
Can I adjust the text in the 3D shape?Yes, you can adjust the text at any time to communicate a clear message.
Are there special shapes that are better for 3D models?Rectangles with rounded corners are a good choice, but other shapes can also be used to create interesting designs.
What effects can I use to enhance my 3D models?You can round edges, bevel, and vary the depth to achieve different effects.
How do I adjust the size of my 3D shape?The size can be adjusted through the formatting options in the height and depth settings of the shape.


