Learning a new software tool can be challenging. If you have chosen DaVinciResolveas your future video editing program, you are on the right track. This course provides you with a detailed introductionto the many features and possibilities that DaVinci Resolve offers you. Whether it's video editing, audio processing, or color adjustments – these lines will help you tap into the full potential of the software.
Main insights
- The comprehensive range of DaVinci Resolve
- Key tools and functions for video editing
- Practical examples from personal practice
- Optimal export settings for your projects
- Options for implementing effects and transitions
Step-by-step guide
The introductionto DaVinci Resolve can seem overwhelming, but with the right guidance, you will quickly learn the basics. Let's explore the various features together.
Step 1: Introduction to the user interface To get an initial impression of DaVinci Resolve, open the software and take a moment to explore the user interface. Here you will find the essential tools for video editing, properly placed.

Step 2: Cutting videos The core of DaVinci Resolve is video editing. Start by creating a new project and dragging your video footage onto the timeline. Here you can trim, adjust, and arrange the clips to achieve your desired cut.
Step 3: Audio processing In addition to the image, sound is also crucial for the quality of your video. Use DaVinci Resolve's built-in audio processing tools. Here you can adjust the volume, remove noise, and add effects.

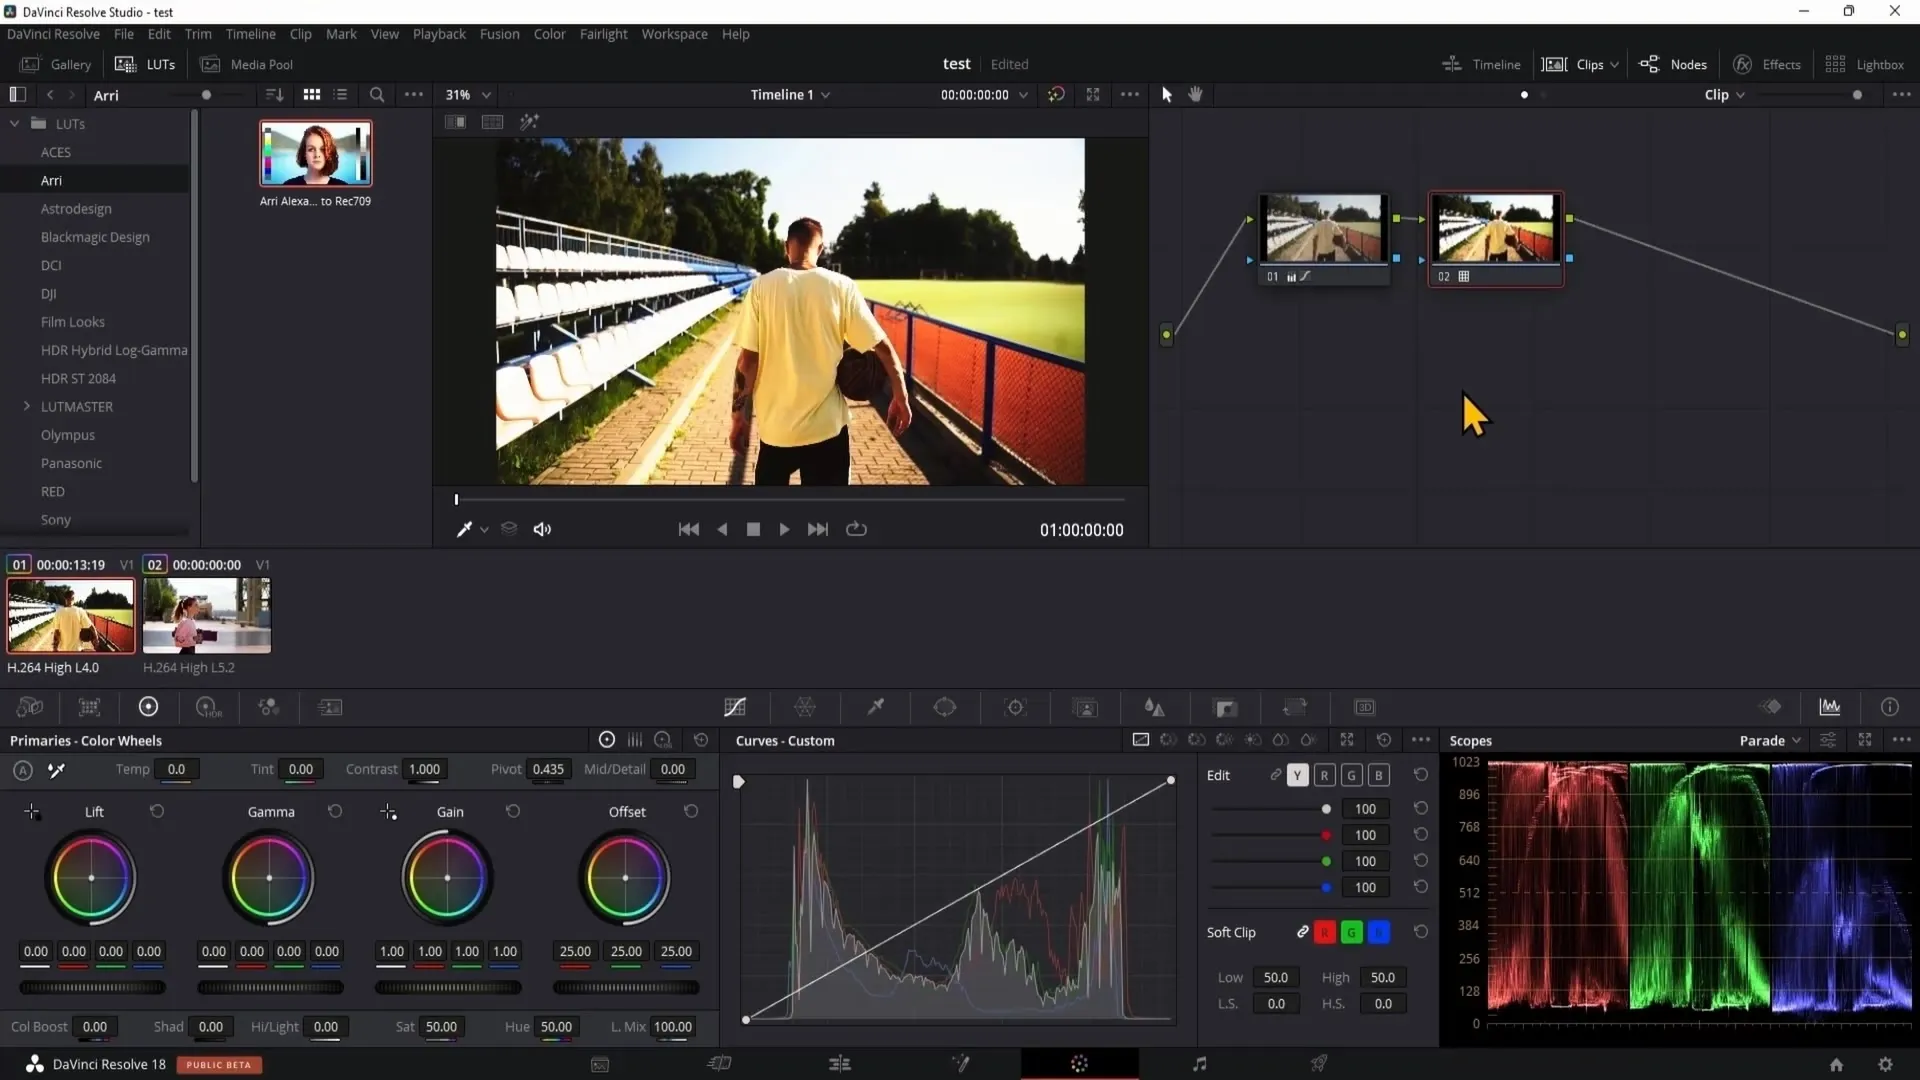
Step 4: Color corrections Color adjustments are an important part of video editing. With the color tools in DaVinci Resolve, you can modify the appearance of your clips and give them the desired style. Experiment with different color corrections to make the most of your material.

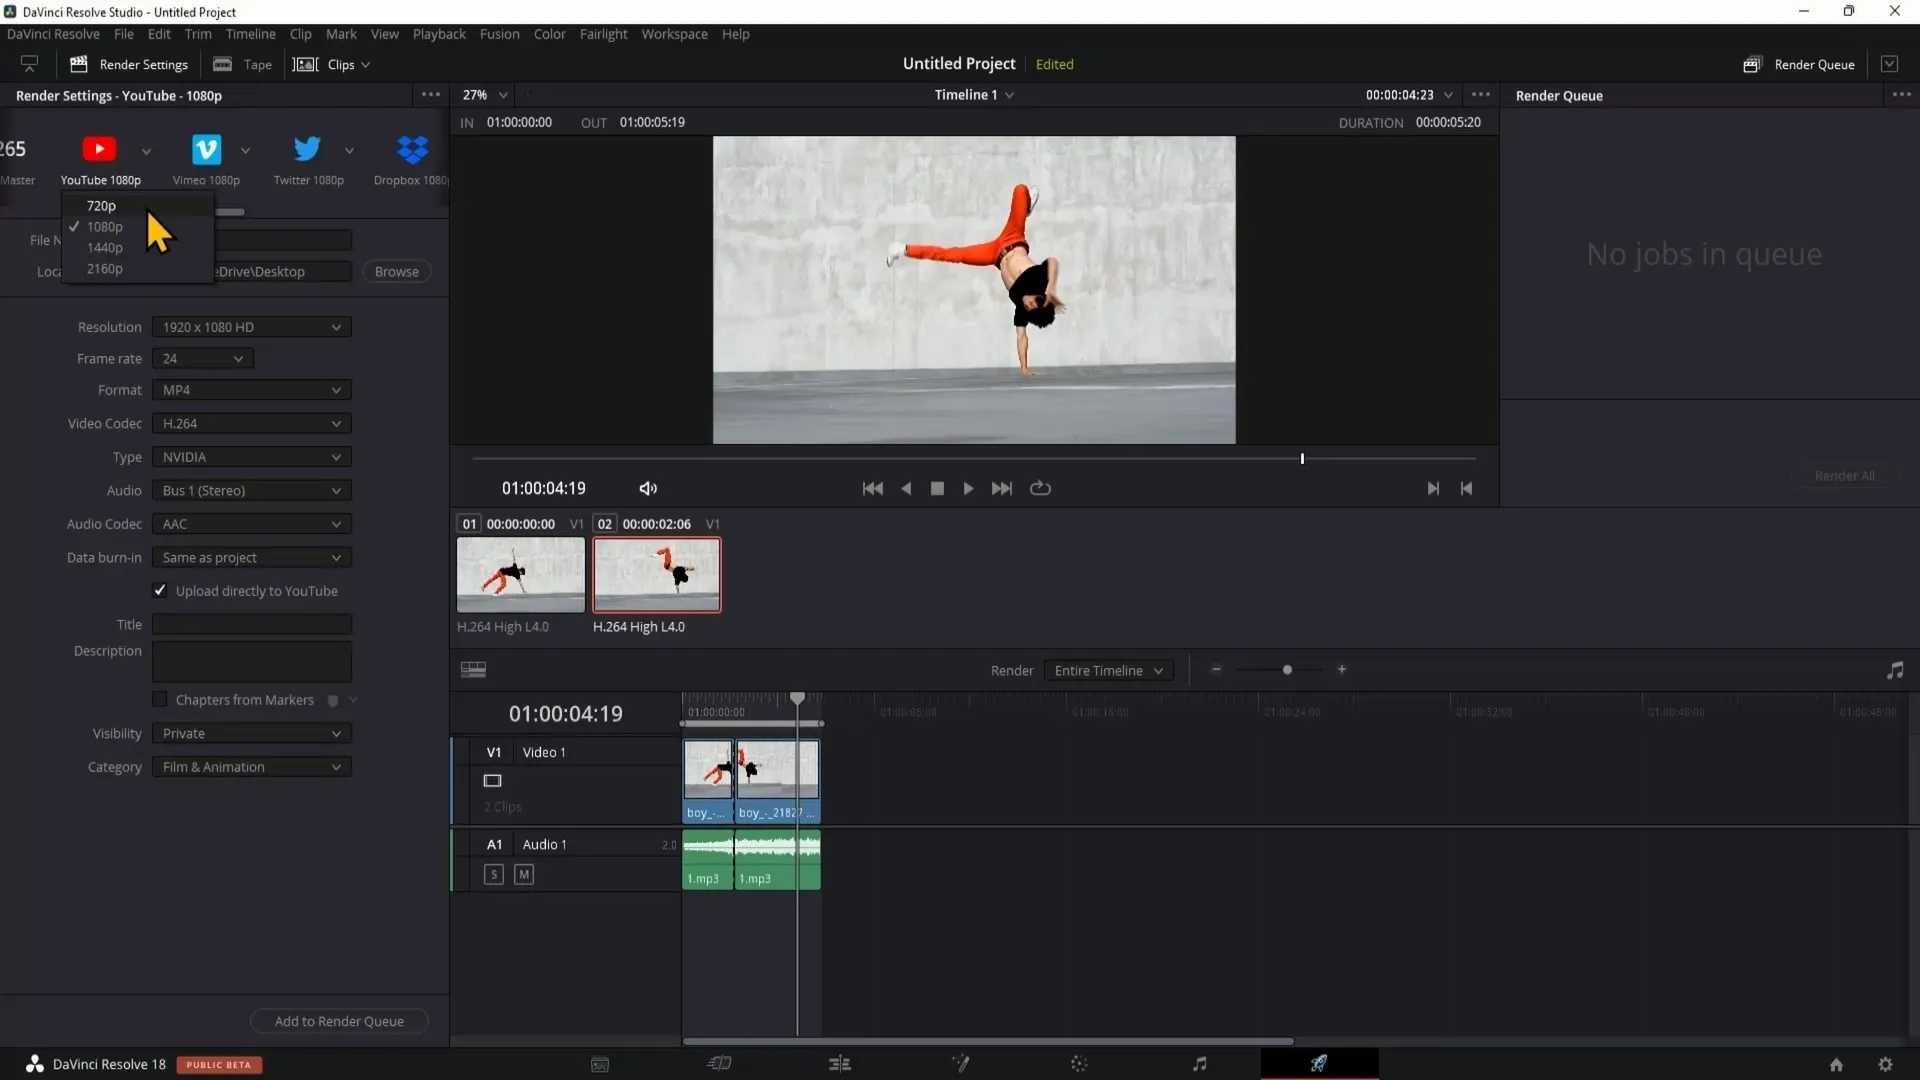
Step 5: Set export settings To get your project ready for publication, you need to set the optimal export settings. Pay attention to the file format and quality that best suits your project. DaVinci Resolve offers you many options to ensure your video is exported in its best form.
Step 6: Effects and transitions To give your video the final touch, you can add various effects and transitions. Experiment with the predefined effects to give your project a unique flair. These aspects can make the difference between a good and a great video.
Summary – DaVinci Resolve: Introduction to the video editing program
In this text, you have learned the basic functions of DaVinci Resolve. From the user interface to video editing, audio processing, color corrections, and export settings – these steps will help you to design your projects professionally. Take the time to deeply explore the individual functions and unleash your creativity.
FAQ
How do I start with DaVinci Resolve?Start the software and explore the user interface to familiarize yourself with the tools.
What options does DaVinci Resolve offer for video editing?The program allows you to trim, adjust, and arrange clips on the timeline.
Can I edit audio quality in DaVinci Resolve?Yes, DaVinci Resolve provides audio processing features that allow you to adjust volume and effects.
How do I correct colors in my videos?Use the color tools to adjust the appearance of your clips and correct colors.
What are the best export settings for my project?It depends on the project, but pay attention to the format and quality that are suitable for your target platform.

