UserStoryMappingis a powerful tool for visualizing and understanding complex projects. This method allows you to gain a clear overview of user activities and their tasks, which helps to recognize user needs. In the following guide, you will learn how to effectively apply User Story Mapping, and how it can be concretely implemented in a practical exercise.
Main Insights
- User Story Mapping helps to bring the user perspective to the forefront.
- Visualization tools like Miro simplify the creation of User Story Maps.
- The example of a morning routine illustrates the process clearly and understandably.
Step-by-Step Guide
Step 1: Choose a Tool and Create an Account
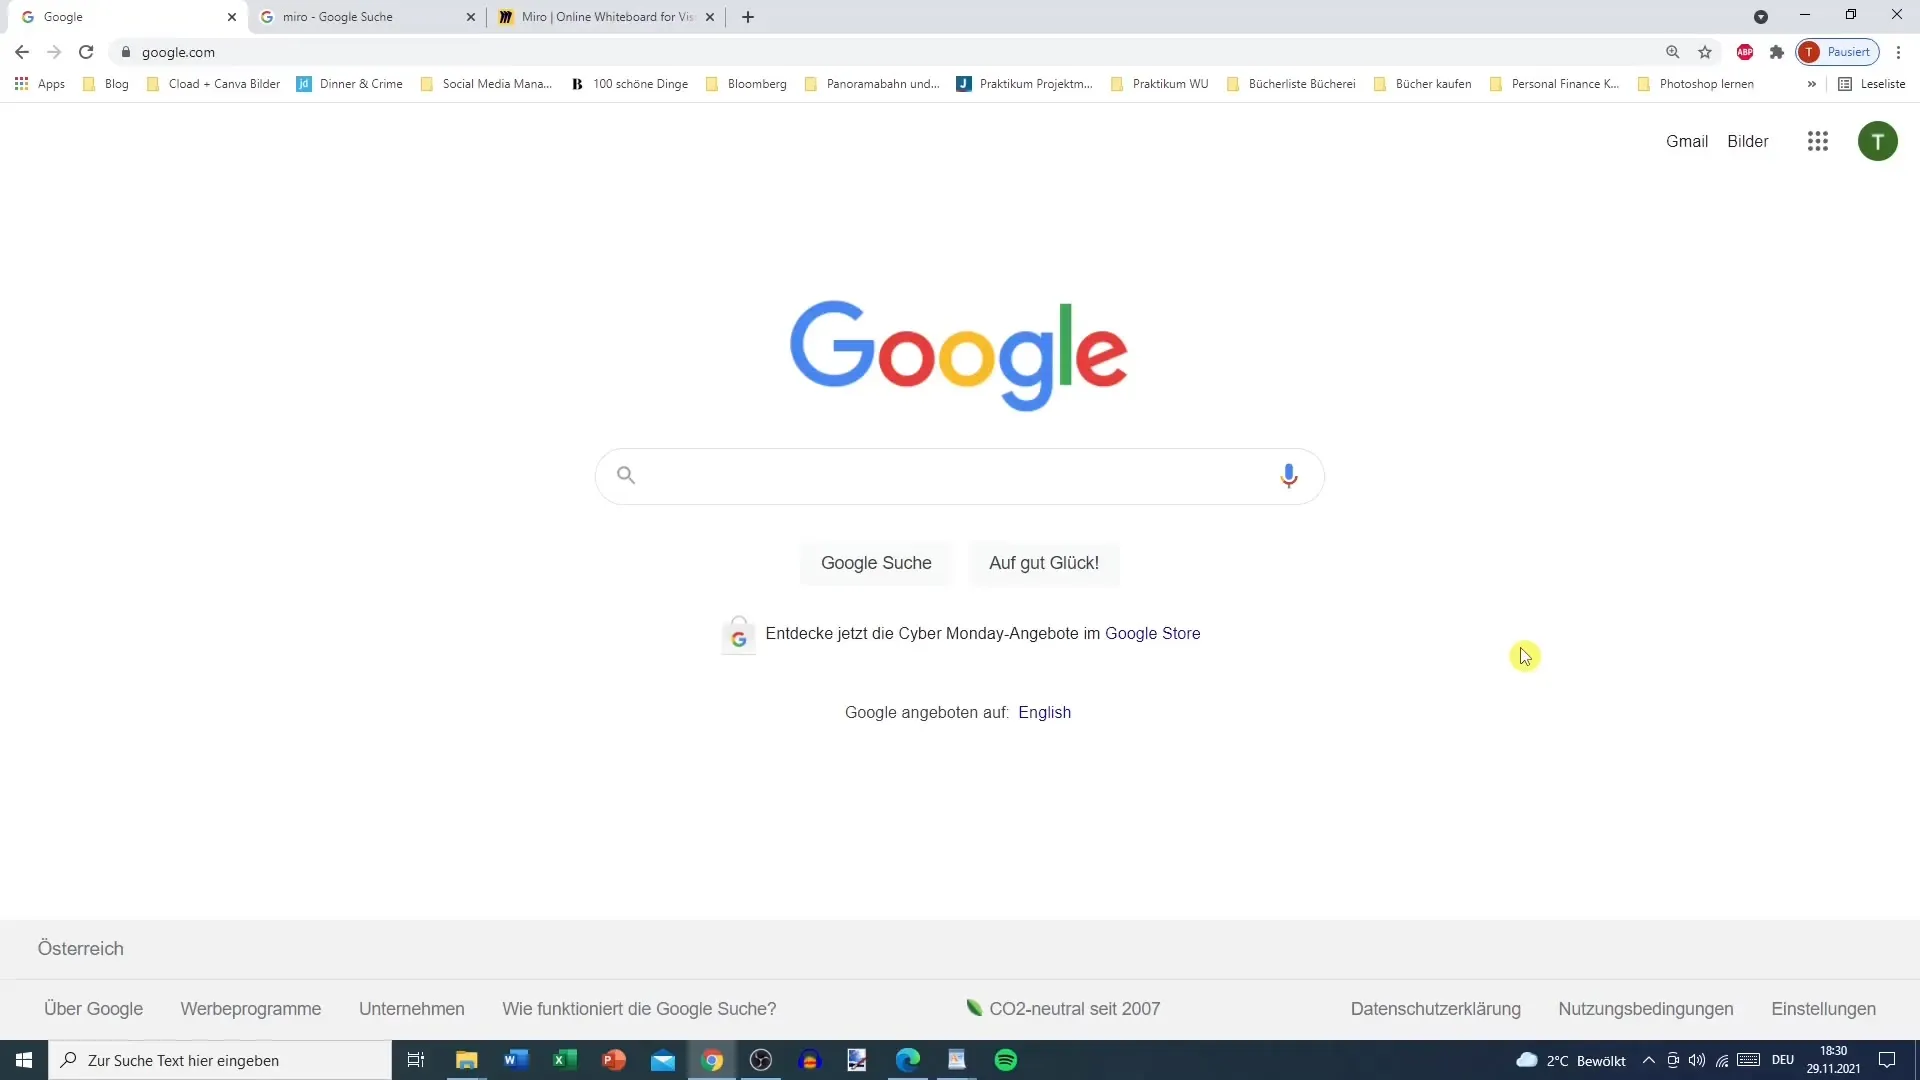
To get started with User Story Mapping, you need a suitable tool. A good choice is Miro, a free online whiteboard that offers the necessary features. When you search for “Miro” on Google, you'll find the website where you can quickly and easily create a free account.
Step 2: Look for a User Story Mapping Template
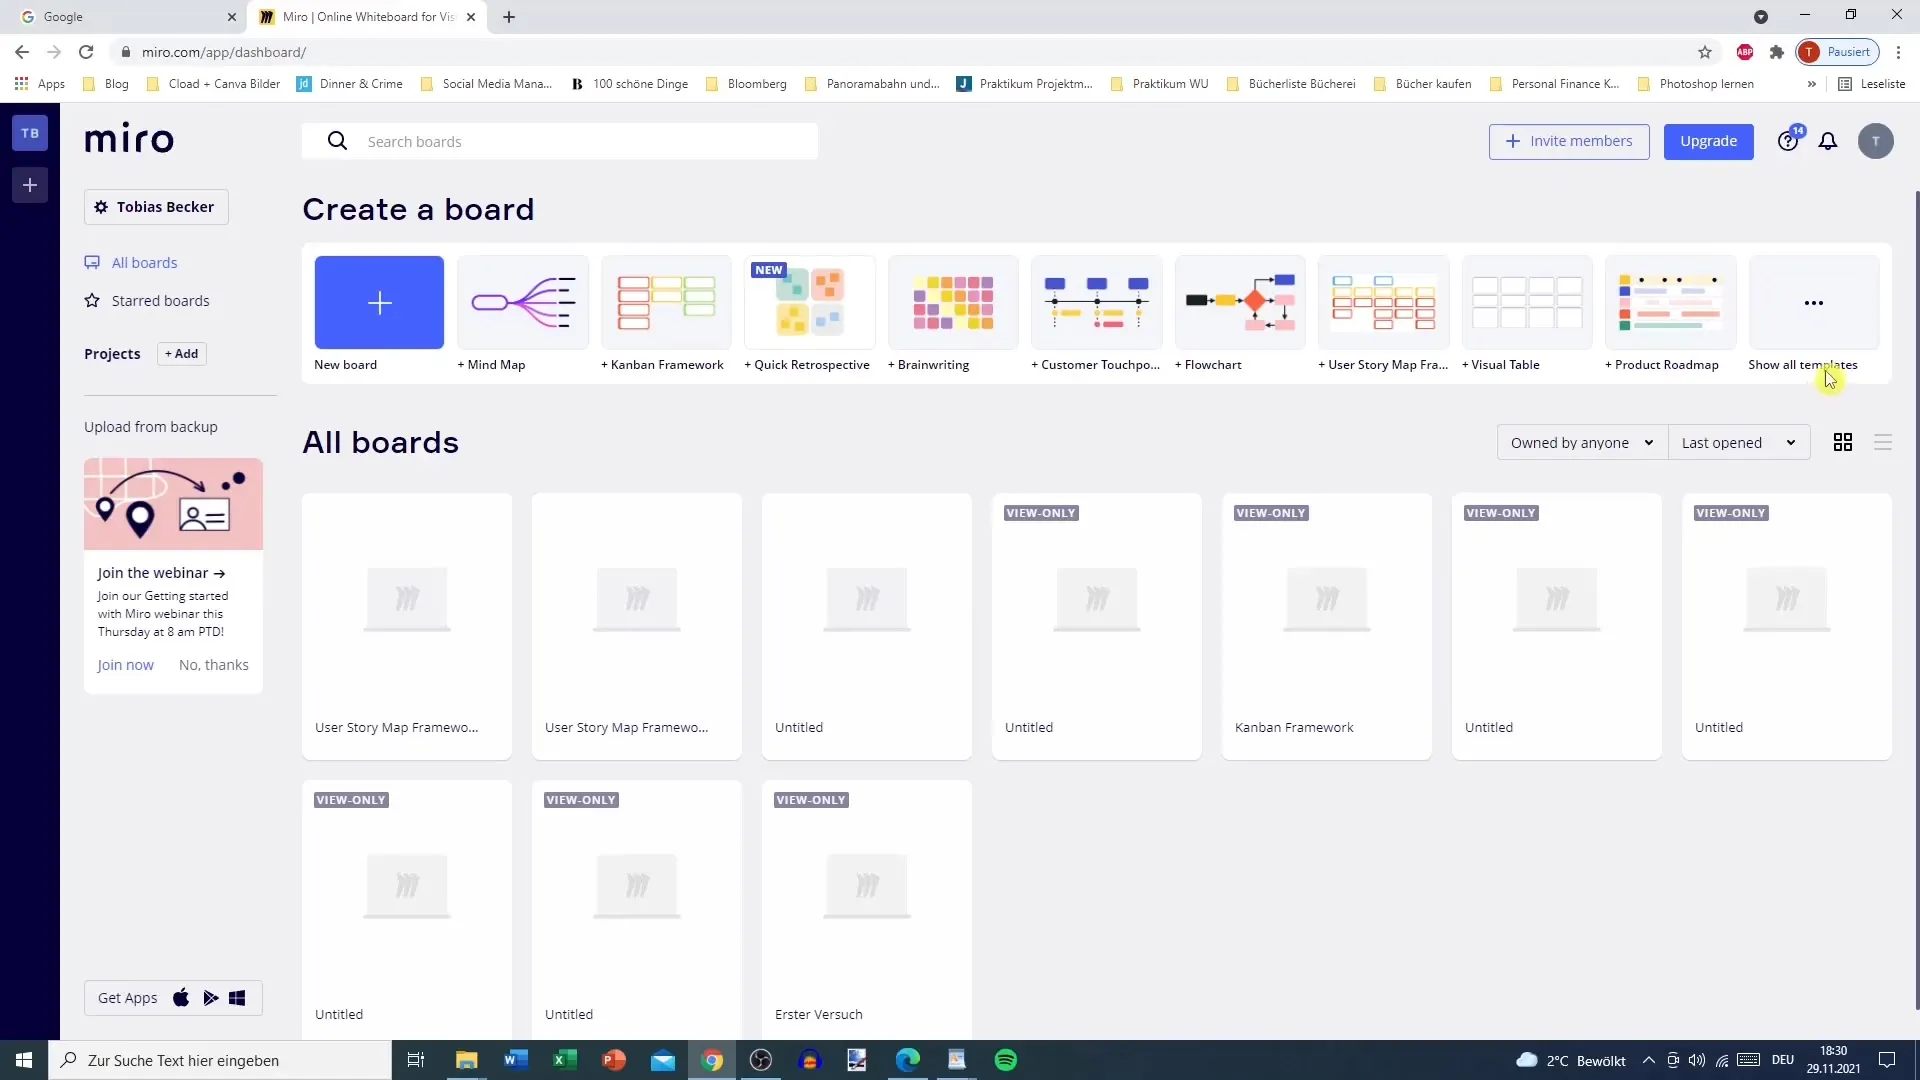
Once you have logged into Miro, you can search for the User Story Mapping template. Go to the menu and click on “Templates” and search for “User Story Mapping”. There you will find various options, including the basic version that you can use for your project.
Step 3: Define User Activities
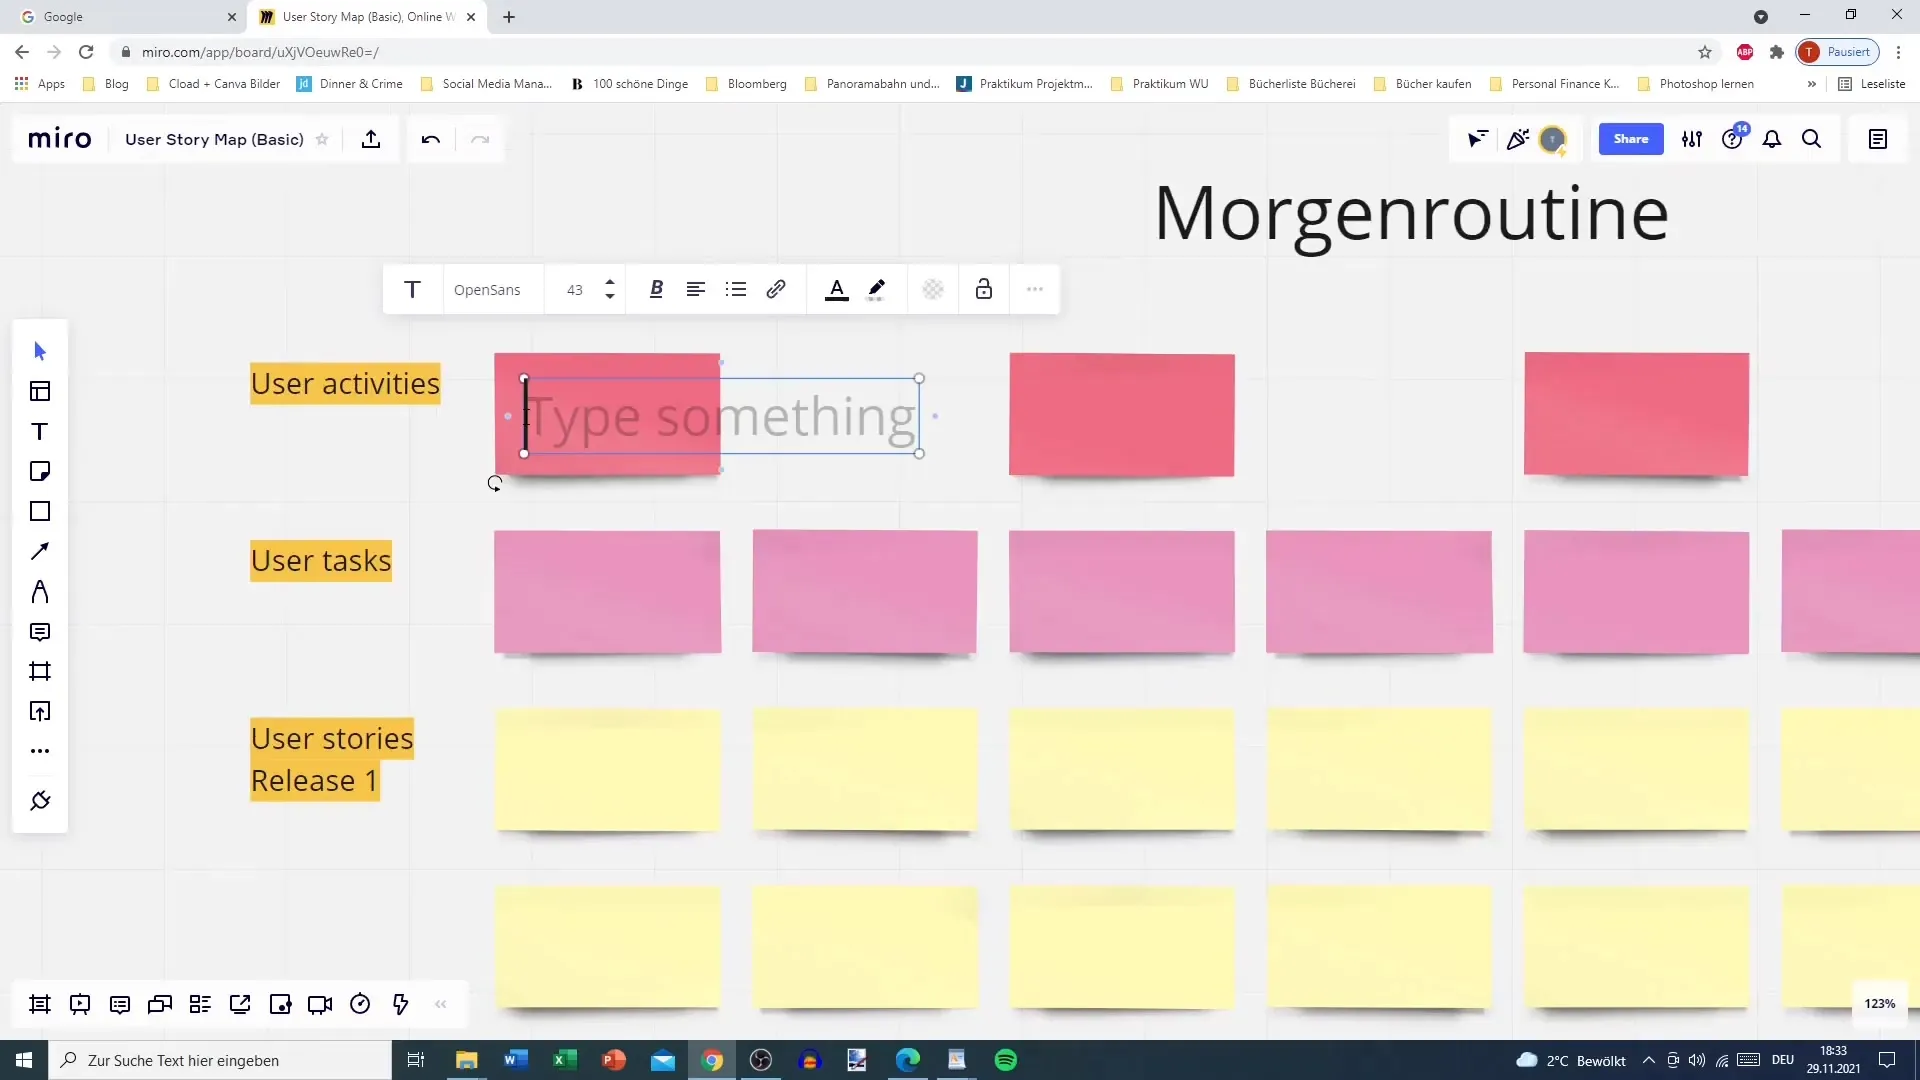
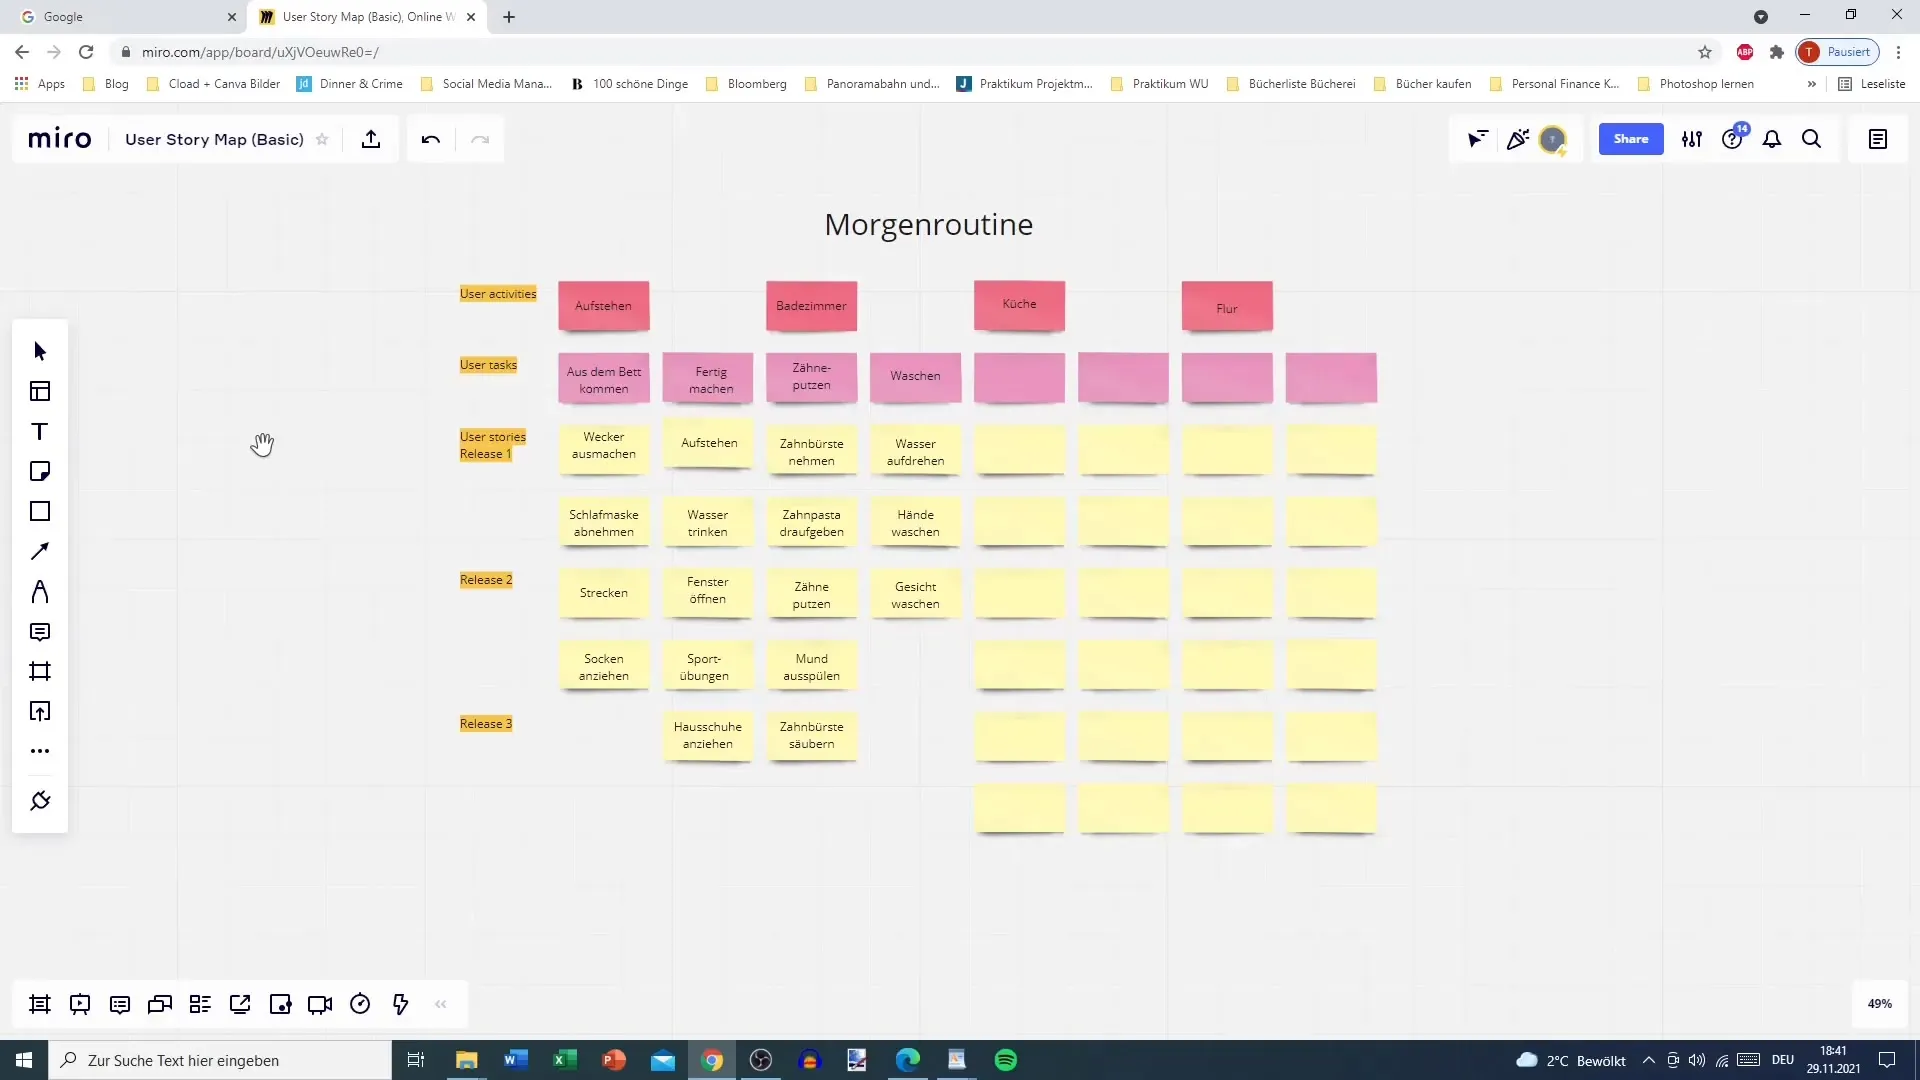
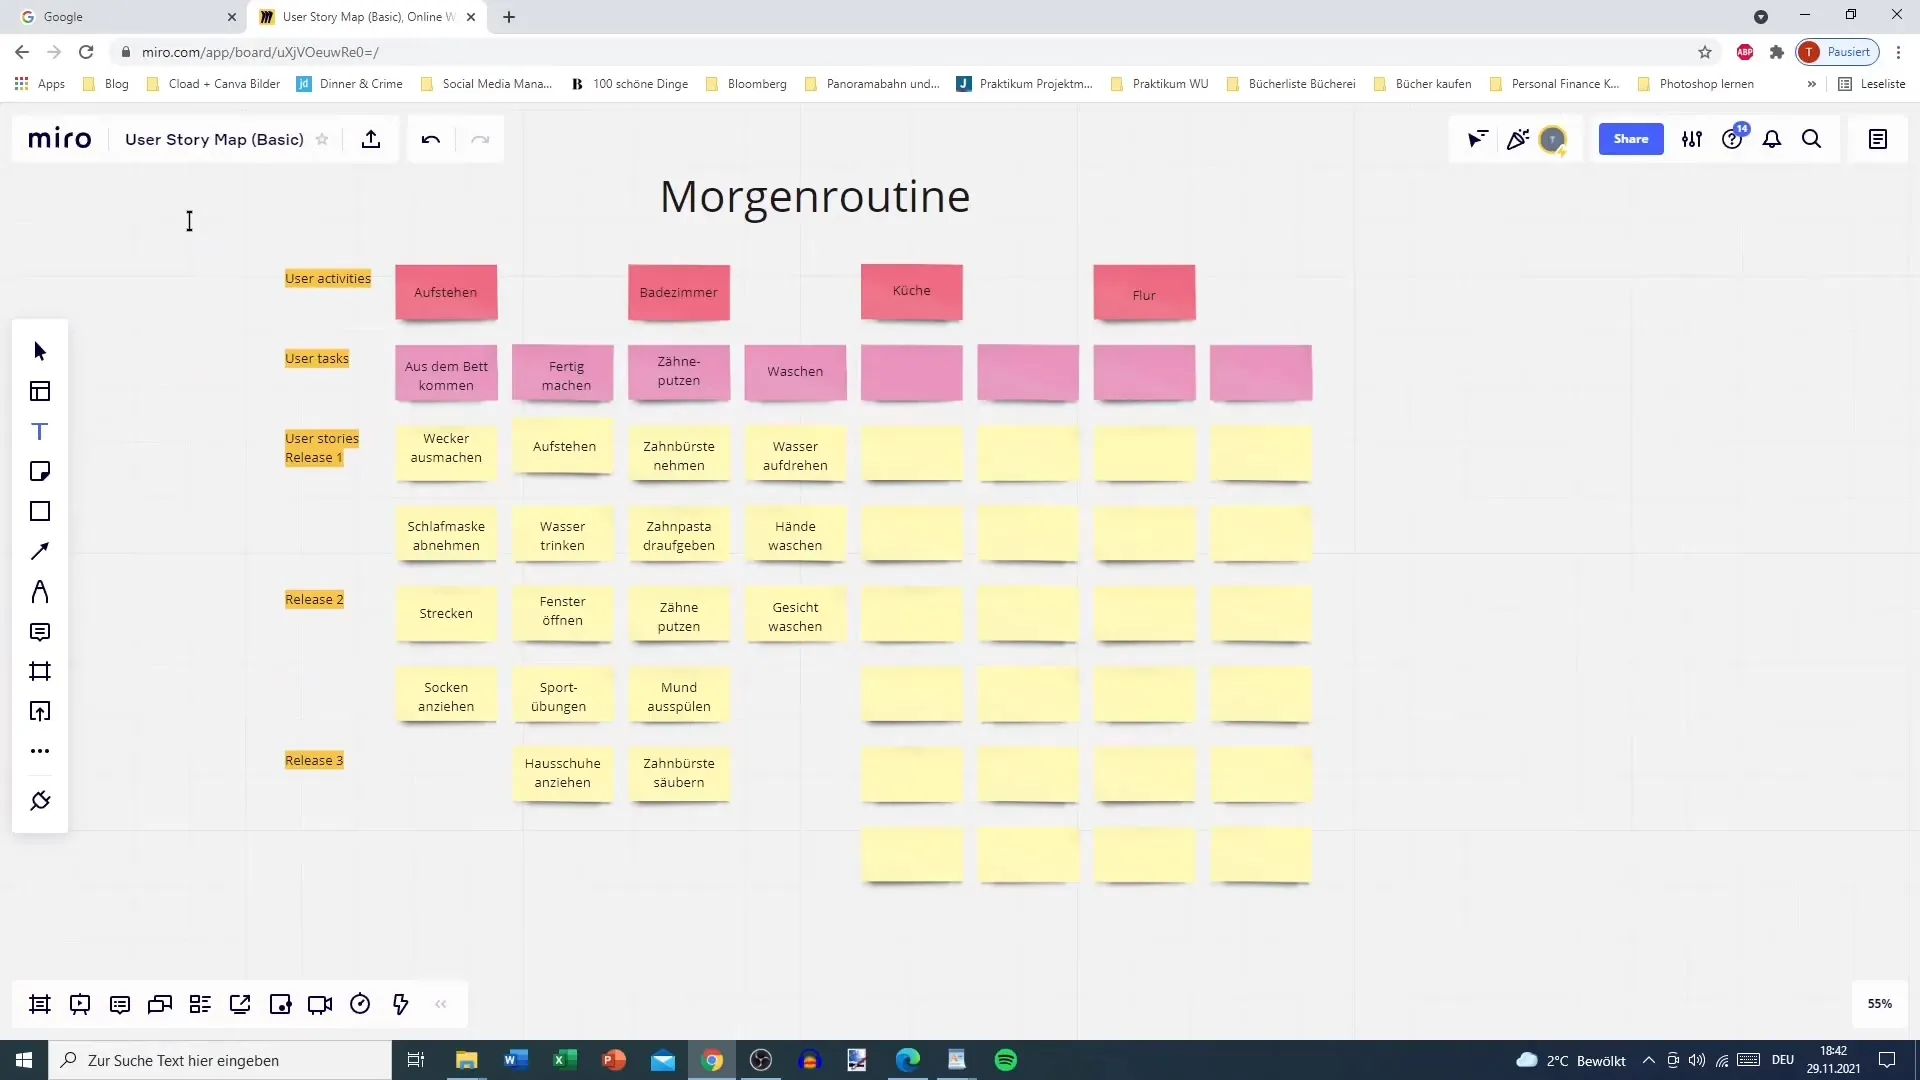
Now begins the creative part. Start with the User Activities, which are the main activities performed by users. In this example, we will use the “morning routine” as a basis. You can begin with the first three activities: “Getting up”, “Bathroom”, and “Kitchen”. Think about whether you want to add more without losing clarity.
Step 4: Determine Tasks for the Activities
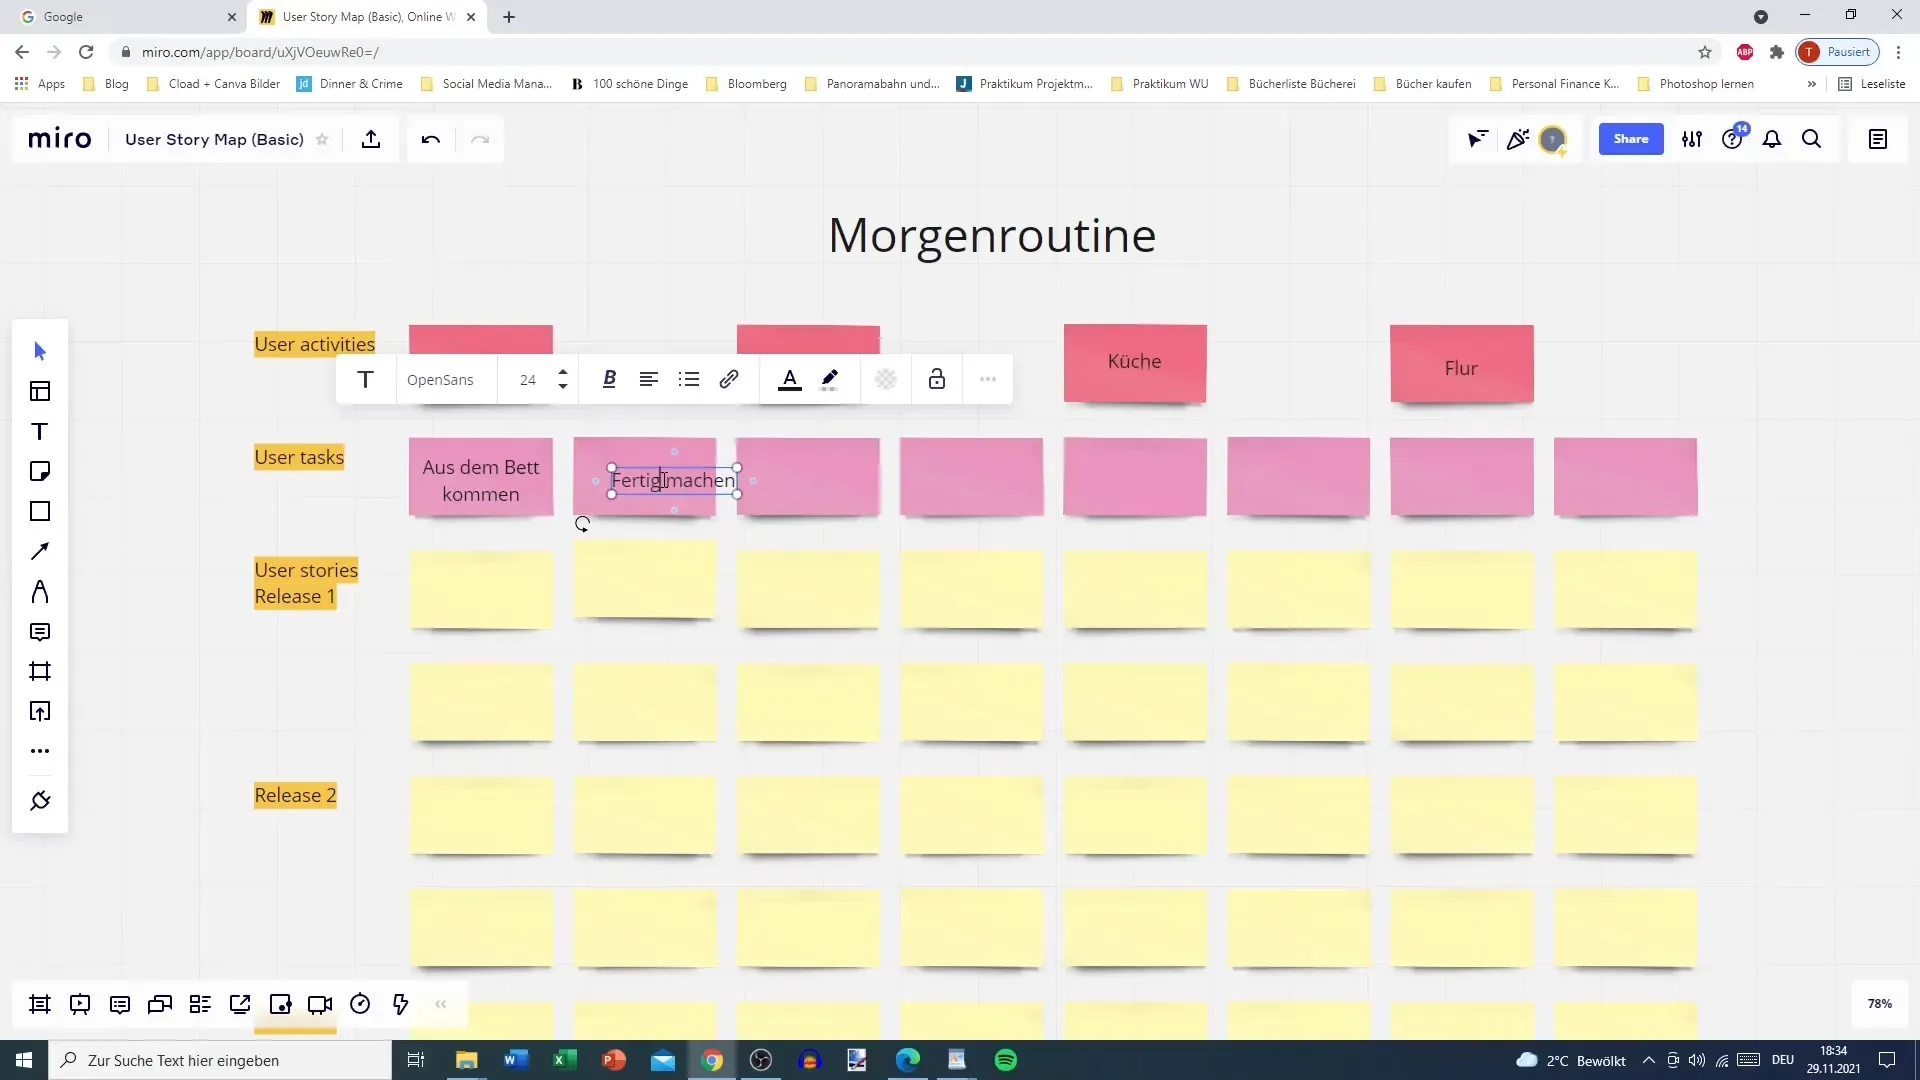
Each User Activity includes specific tasks. For “Getting up”, the first two tasks could be “getting out of bed” and “going to the bathroom”. Write these tasks under the respective activity to clarify their connection.
Step 5: Add User Stories
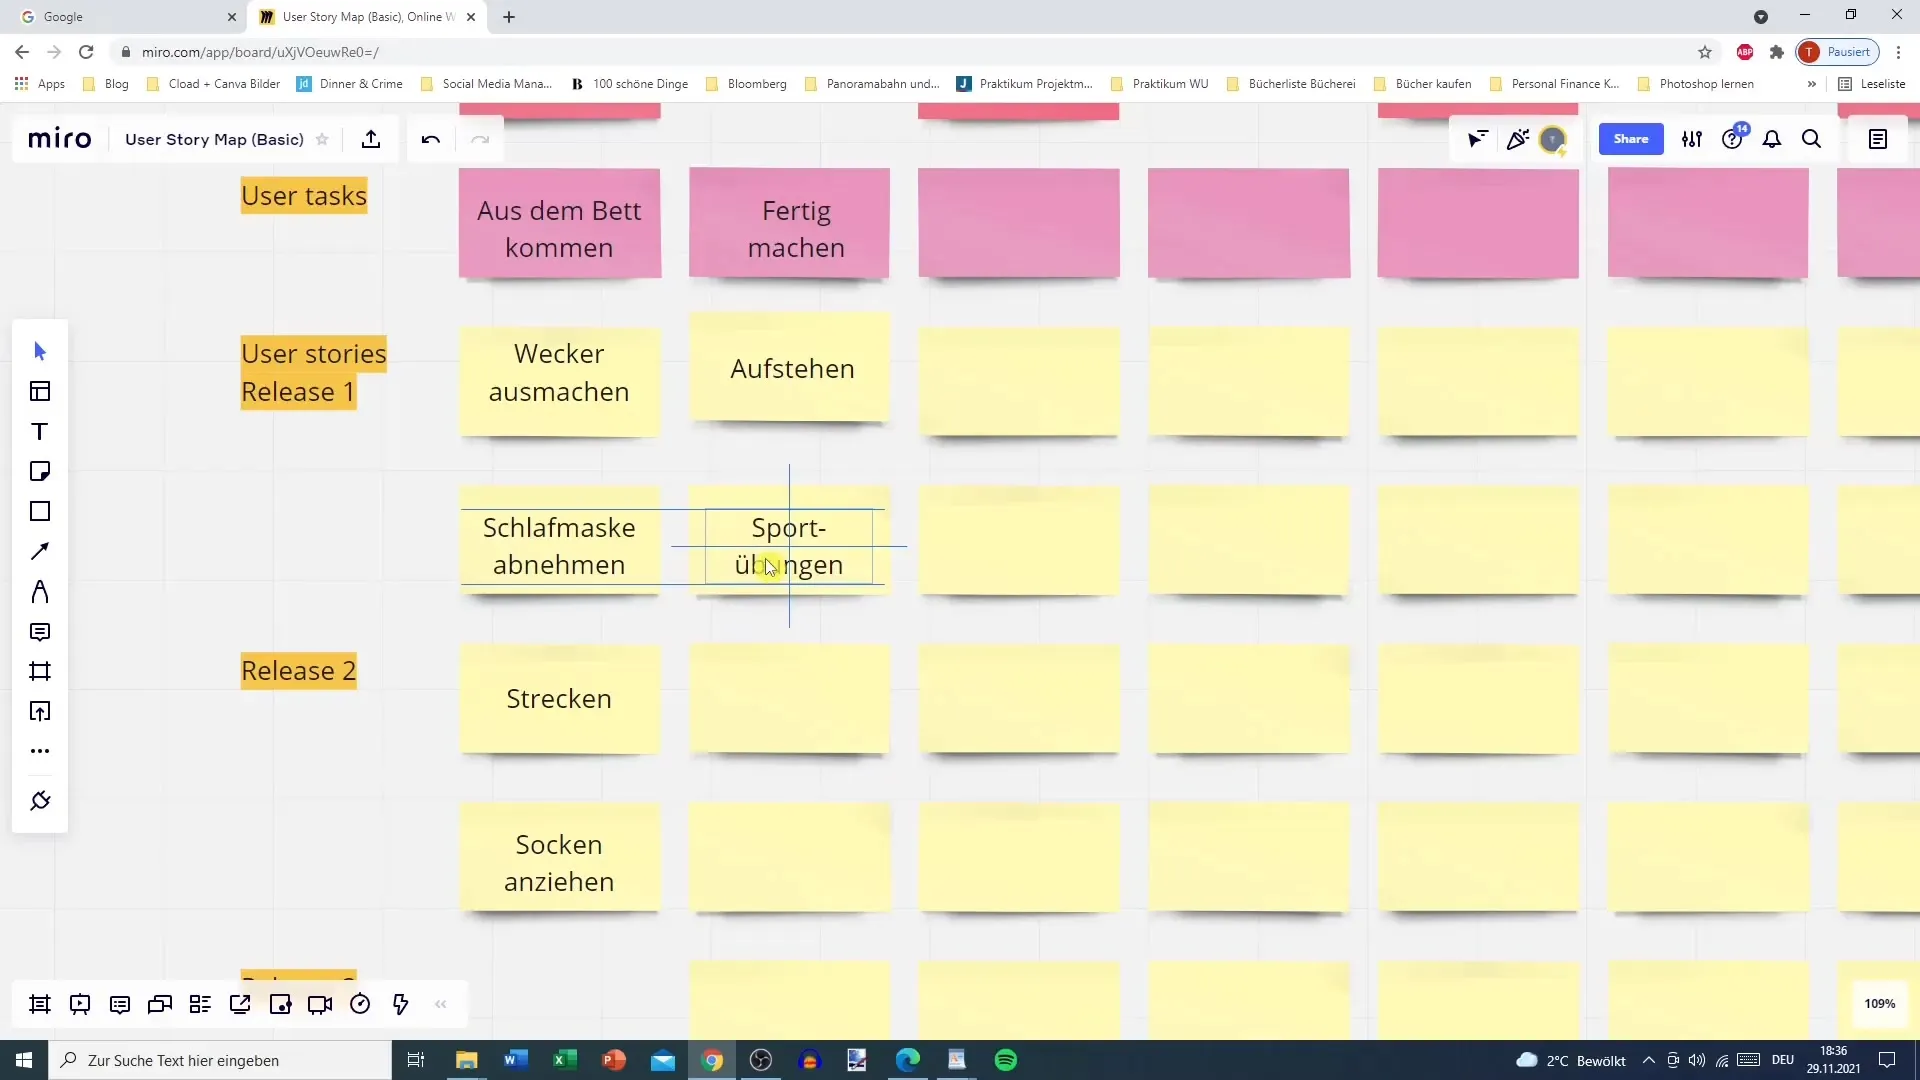
After defining the main activities and their tasks, add the User Stories. A User Story describes what the user experiences or needs during a specific activity. For example, the first User Story for getting up could be “Turning off the alarm clock”. Don’t limit yourself here – you can write as many or as few stories as you want.
Step 6: Prioritize the Tasks
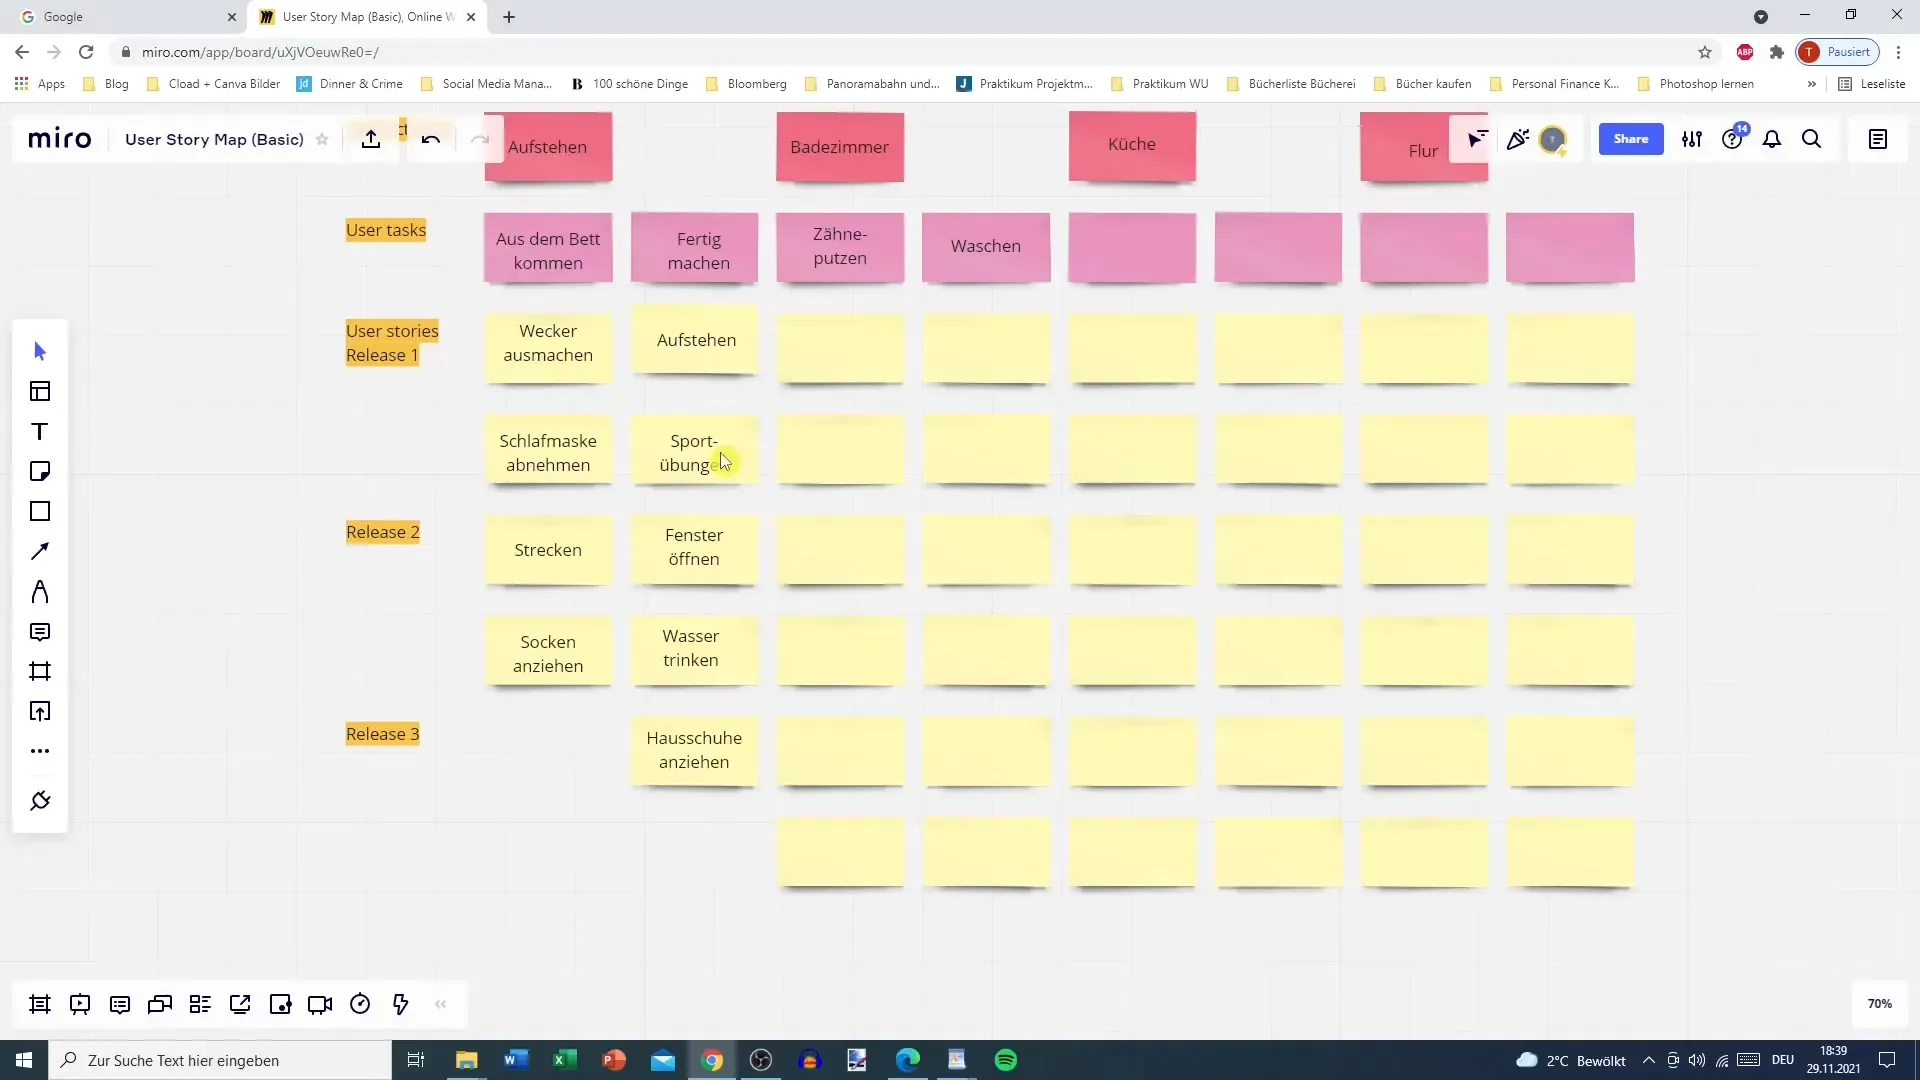
Now we come to prioritization. Which tasks are most important for the user to achieve their goals? Consider which User Stories are essential to start the day well with the morning routine. You can sort the User Stories by their importance by visually adjusting or rearranging them.
Step 7: Integration and Refinement
Take a moment to review your User Story Map. Are there any redundant or irrelevant User Stories? Would you like to add additional details or emphasize another aspect? Ensure that your map remains clear and understandable for others.
Step 8: Reinforce the Exercise
To deepen the learned content, I recommend practicing the User Story Map. You can do this either by recording and editing in Miro or by printing the map and manually revising it. It is important to develop a sense of User Story Mapping, as it leads to a better understanding.
Summary – User Story Mapping in Practice: Step-by-Step Guide
User Story Mapping is an effective tool for understanding and clearly presenting user perspectives. With this step-by-step guide, you have the opportunity to create User Story Maps in a practicalmanner and approach your projects in a structured way.


