You want to digitize your handwritten signature to use it for applications or other official documents? With Adobe Photoshop, you can easily extract your signature, whether you have scanned it or taken a photo of it. This guide shows you how to do this step by step.
Key findings
- Photoshop offers several methods for extracting signatures.
- An effective method is the use of color range extraction.
- Another option is adjusting contrasts using settings.
- For unwanted backgrounds, a combination of different techniques may help achieve an optimal result.
- When using white backgrounds, extraction is often unnecessary.
Step-by-step guide
To extract your signature, follow these steps:
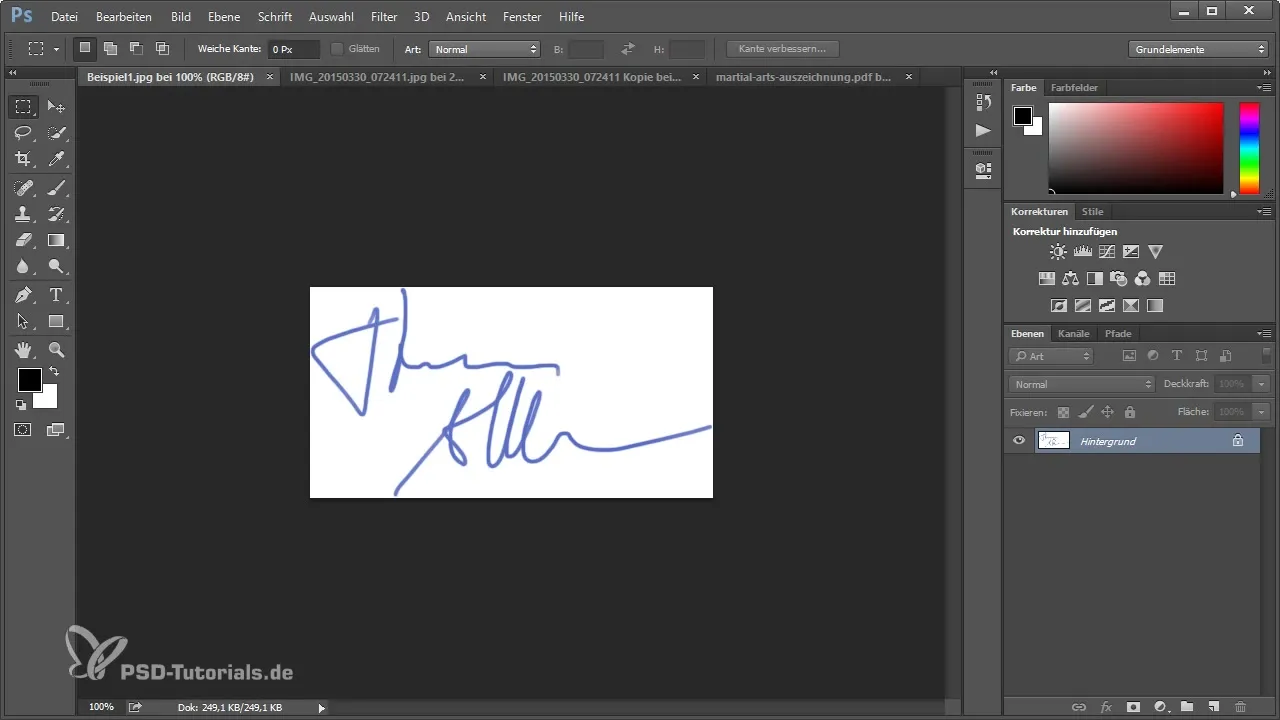
Start by opening the image of your signature in Photoshop. Make sure the signature is clearly readable and the background is easily recognizable. You can use a scanned image or a photo.
Convert background layer to a normal layer
As a first step, you need to convert the background layer into a normal layer. Right-click in the layers panel and choose “Duplicate Layer” or select “Unlock Background.” This allows you to work with different tools that were not available before.
Method 1: Color range extraction
To extract the signature, apply the color range extraction technique. Go to “Select” → “Color Range.” Use the slider to deactivate the white background by clicking in the white area.
Drag the slider to the left until the background disappears. For scanned documents, it may be necessary to pull the slider further left to remove any remaining paper patterns. You now have the option to refine the selection by holding down the Alt key and adjusting the shadow slider.
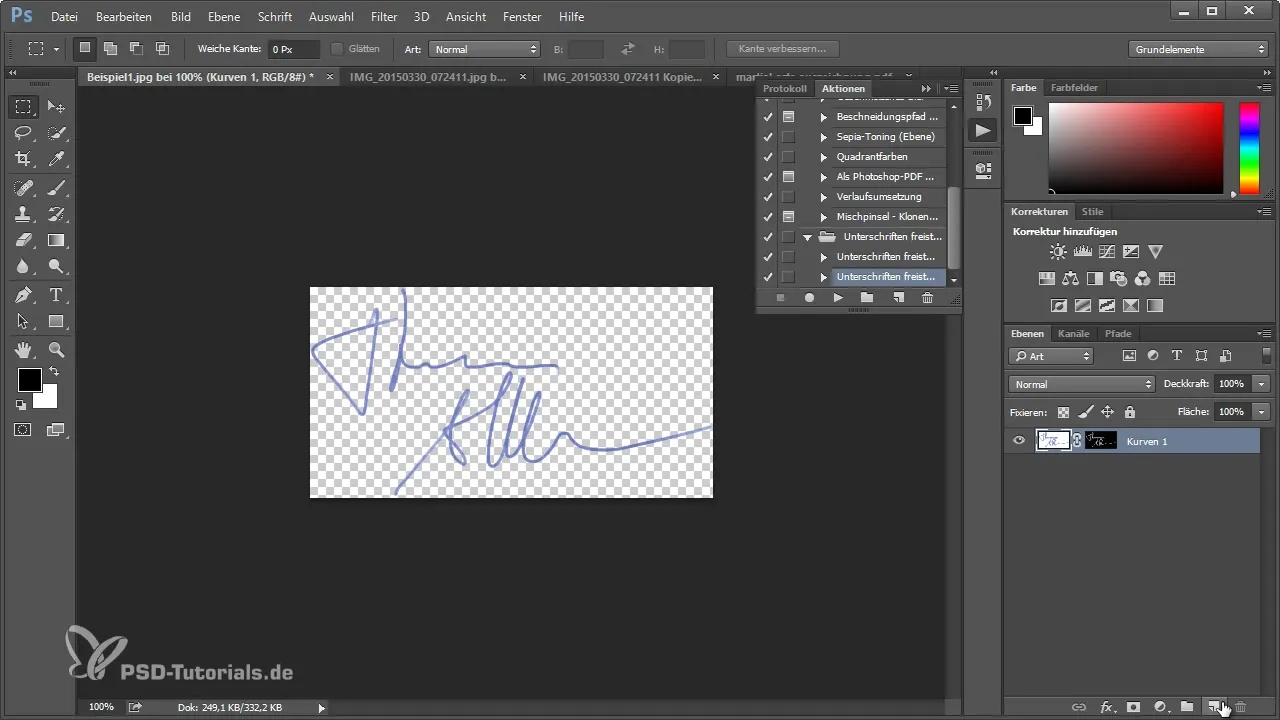
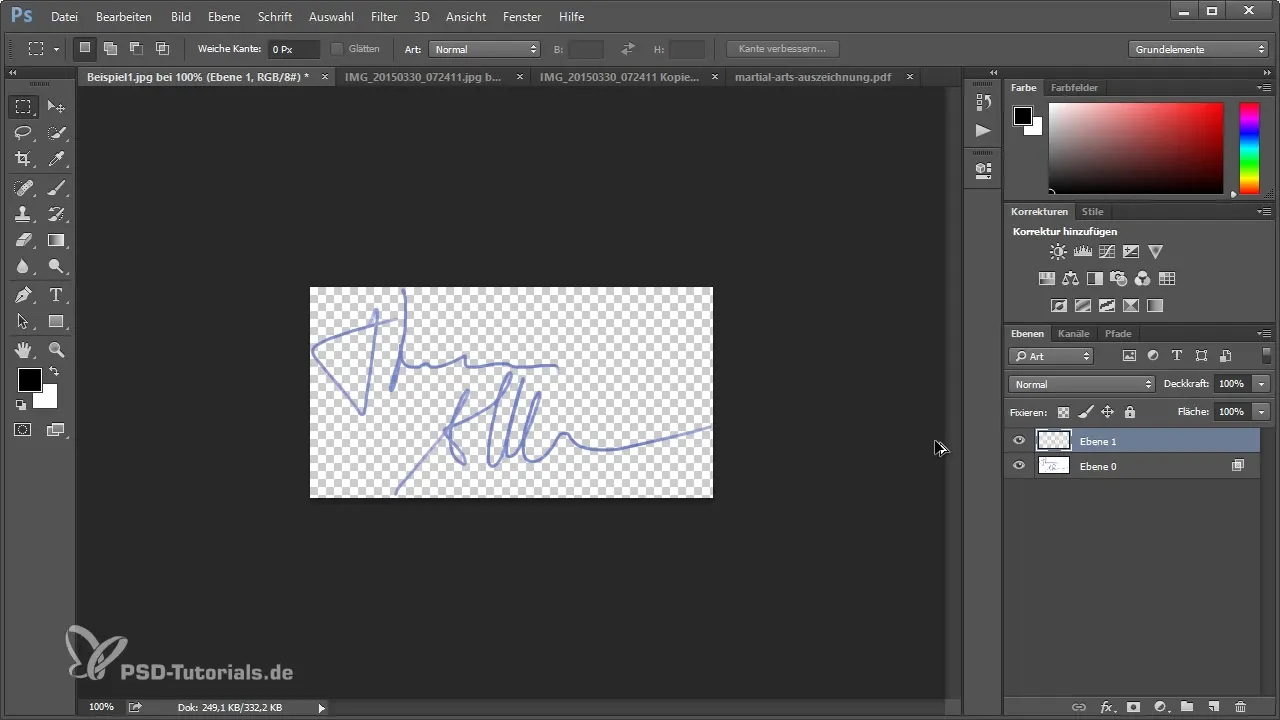
Click “OK” to confirm the selection. Check the result by changing the background color. You should now see a well-extracted signature in front of you.
Save transparent layer as PNG
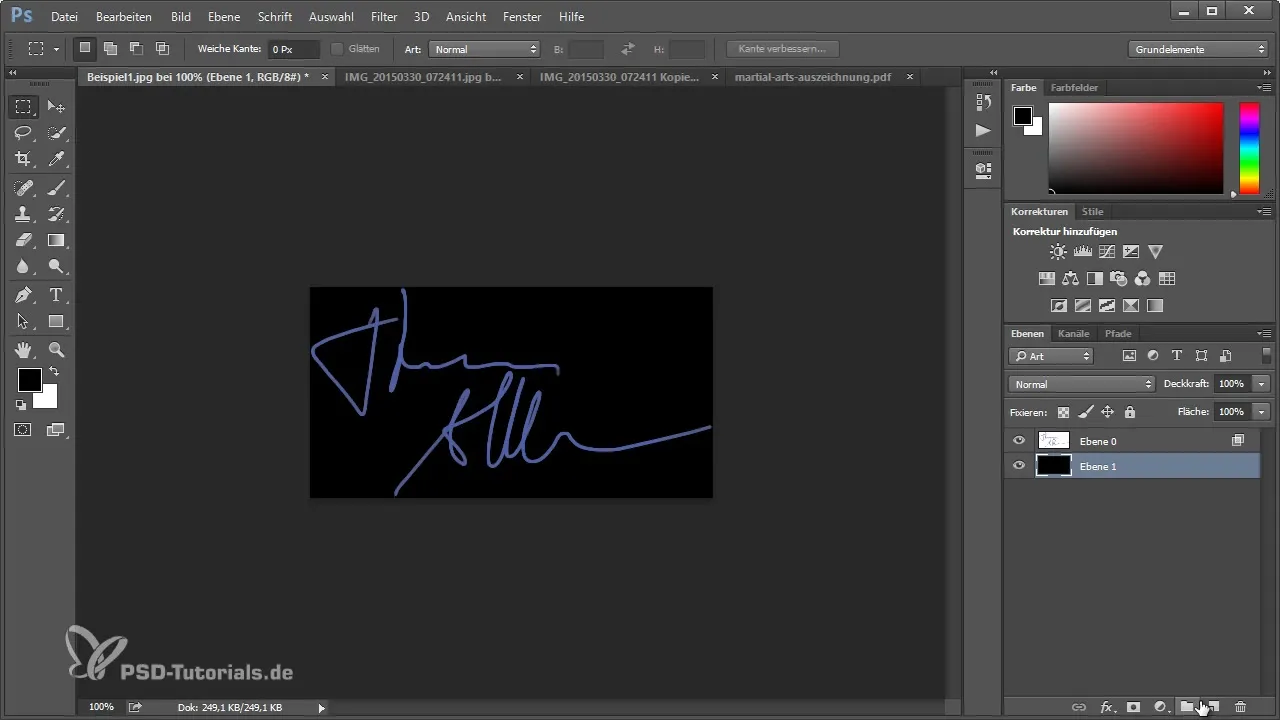
To ensure that your signature is saved with a transparent background, create a new layer. Select both layers (the signature and the background layer) and press “Ctrl + E” to merge them into one layer. Now you can save the file as PNG to retain the transparency.
Method 2: Select and Mask
The second method for extraction is also simple. You start again by converting your background layer to a normal layer. Then select “Select” → “Color Range.” Click in the white area and adjust the tolerance so that the signature is clearly separated.
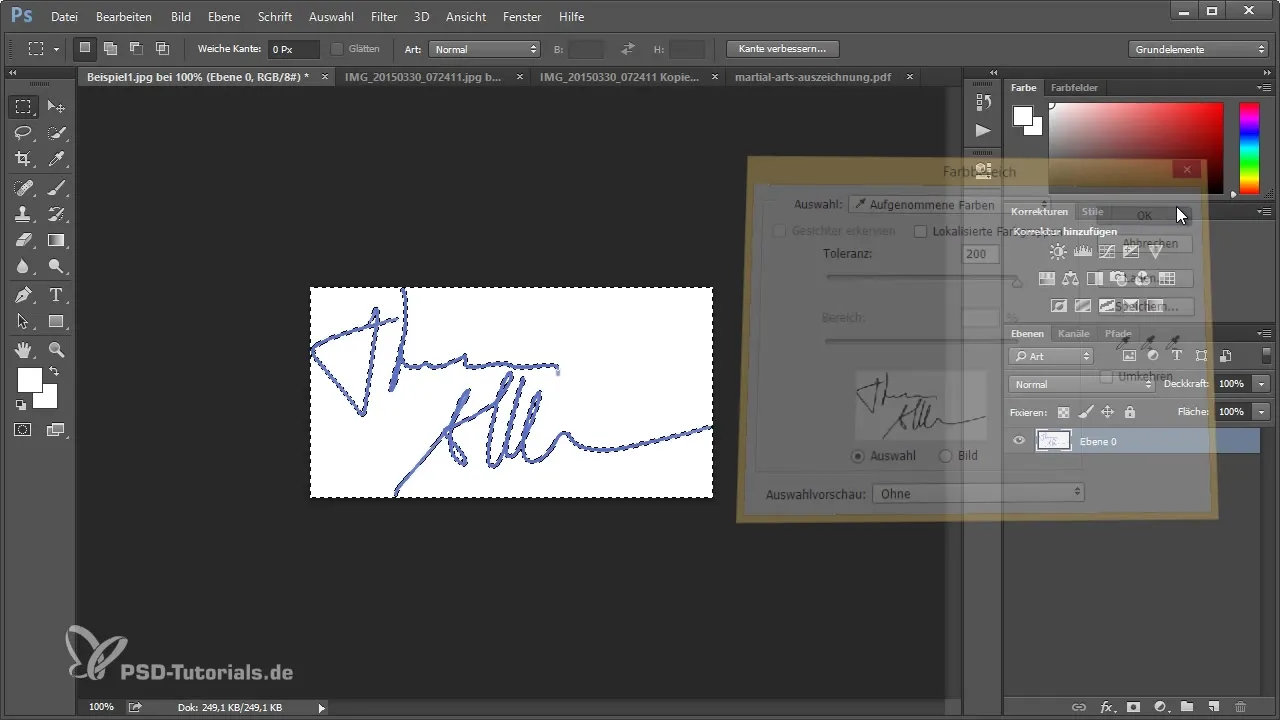
After confirming the selection, hold down the Alt key and click on the symbol to add a layer mask. This will extract the signature, and you can check the result again.
Contrast enhancement for photos
If you have a photo of your signature, it is often necessary to enhance the contrasts to achieve better results. Go to “Layers” and select “New Adjustment Layer” → “Curves.” Make sure the mode is set to Luminance to avoid increasing the saturation.
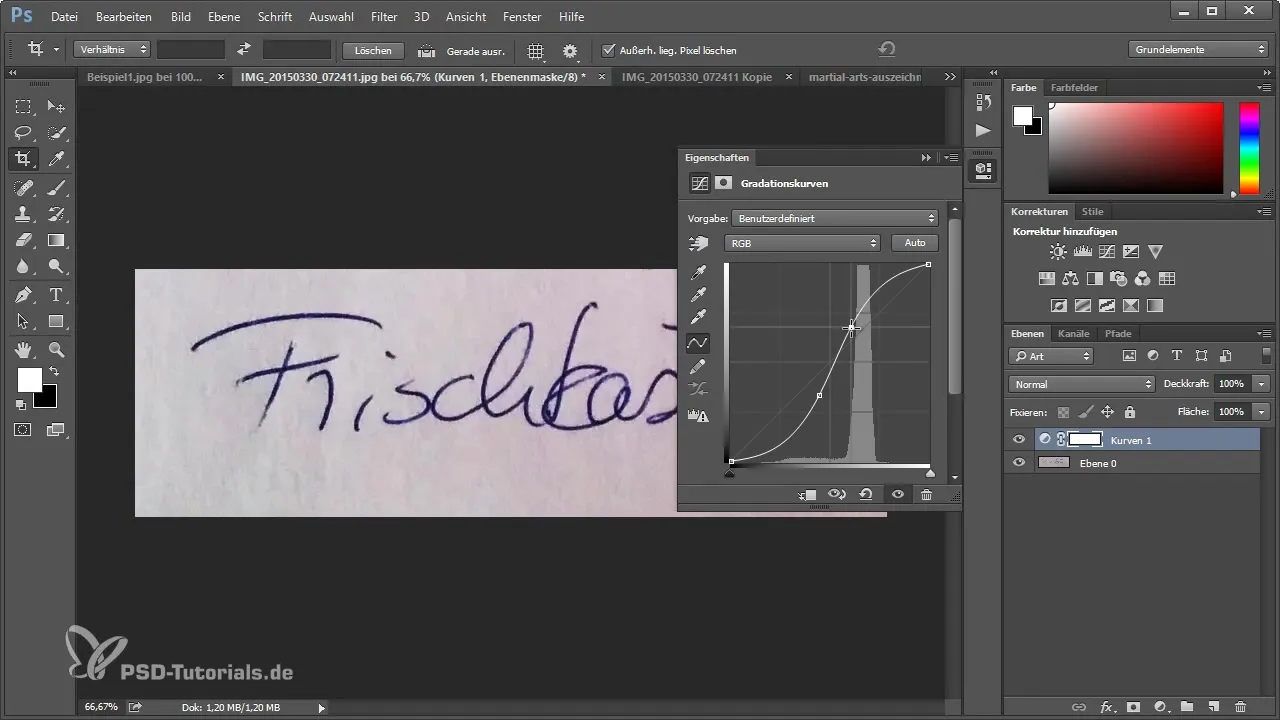
Here, you can also apply the color range extraction method again. Check the result to make sure you have achieved a clean extraction.
Post-processing and adjusting colors
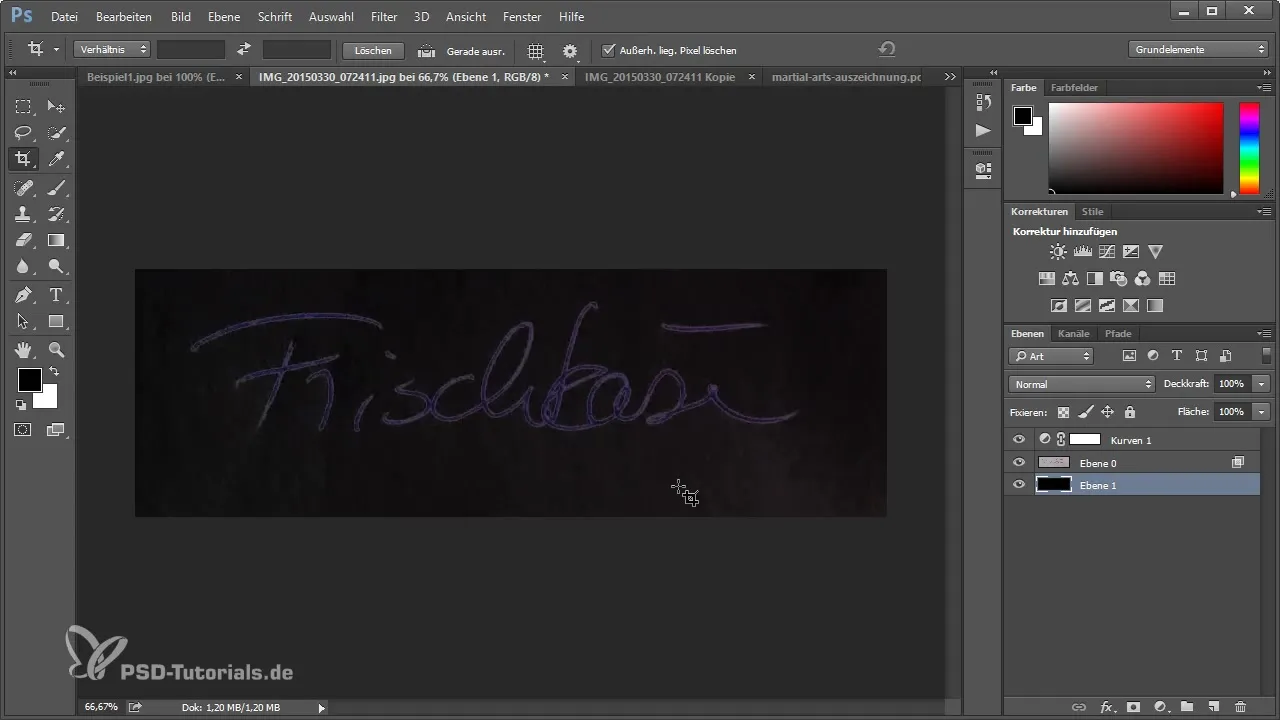
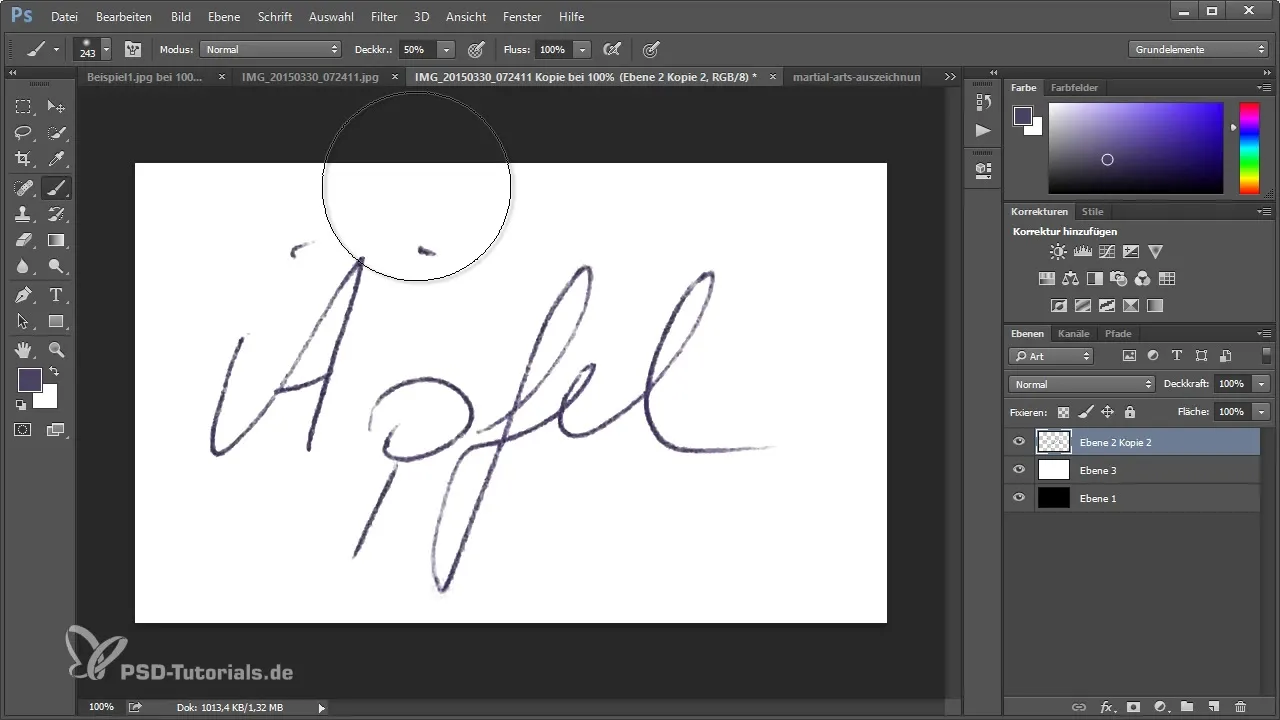
If you find that the colors of the extracted signature are not optimal, that’s no problem! You can fix the transparent pixels to locally enhance the colors. Use the brush tool and adjust the colors to your liking to achieve a natural look.
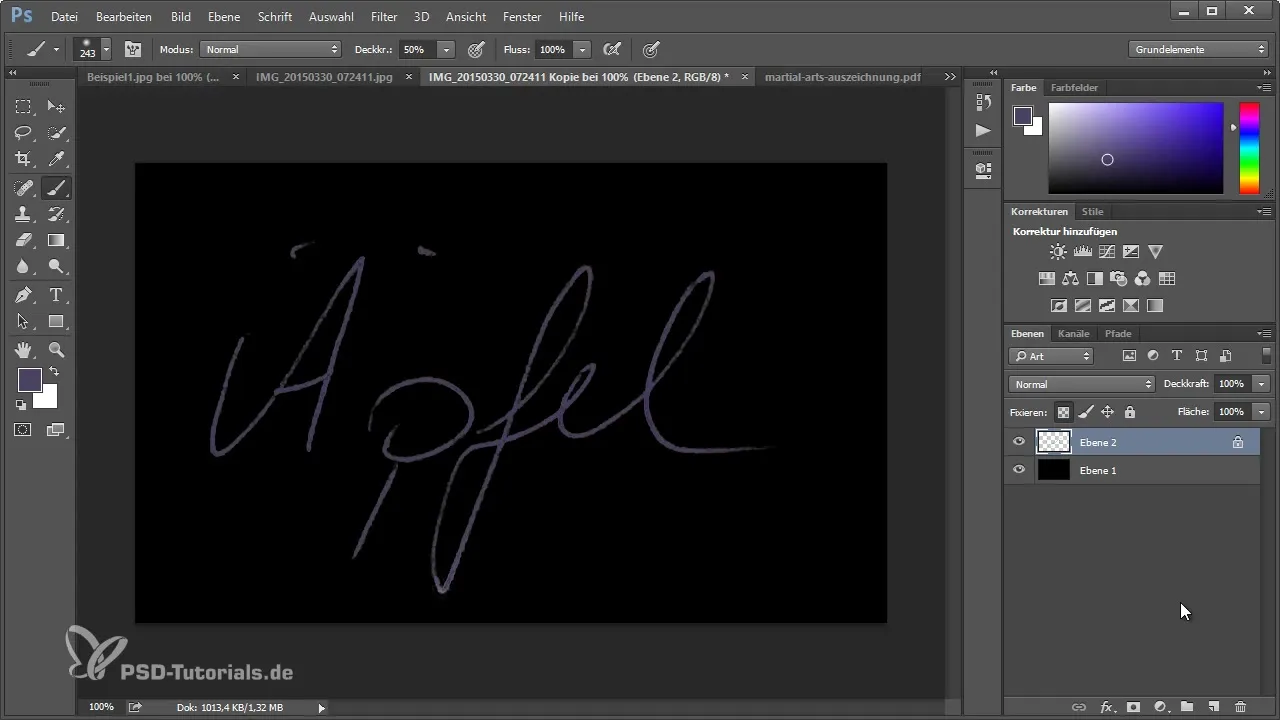
If the results are not satisfactory, duplicate the layers to achieve more transparency – and reduce them to a visible layer at the end.
Summary – Extracting a signature in Photoshop
You have learned how easy it is to extract your signature in Photoshop. By using the right techniques and tools, you can not only achieve a clean extraction but also optimize your signature for different applications. Experiment with the methods to find out which one you like best, and save your signature in PNG format for use in digital documents.
Frequently Asked Questions
How can I save my signature as a PNG?To save your signature as a PNG, select “File” → “Save As” and choose the PNG format.
What is the difference between color range extraction and select and mask?The color range extraction selects specific colors, while “Select and Mask” is a more powerful tool for refining your selection.
Can I use other photo editing techniques for my signature?Yes, you can apply various editing techniques, such as sharpening or color adjustments, to improve the result.
Is it necessary to edit a scanned signature in Photoshop?It depends on the quality of the scanned signature. Often, editing is required to achieve a clean look.
What file formats can I use for saving?For a transparent background, you should use PNG; for other purposes, JPEG or TIFF are also suitable.

