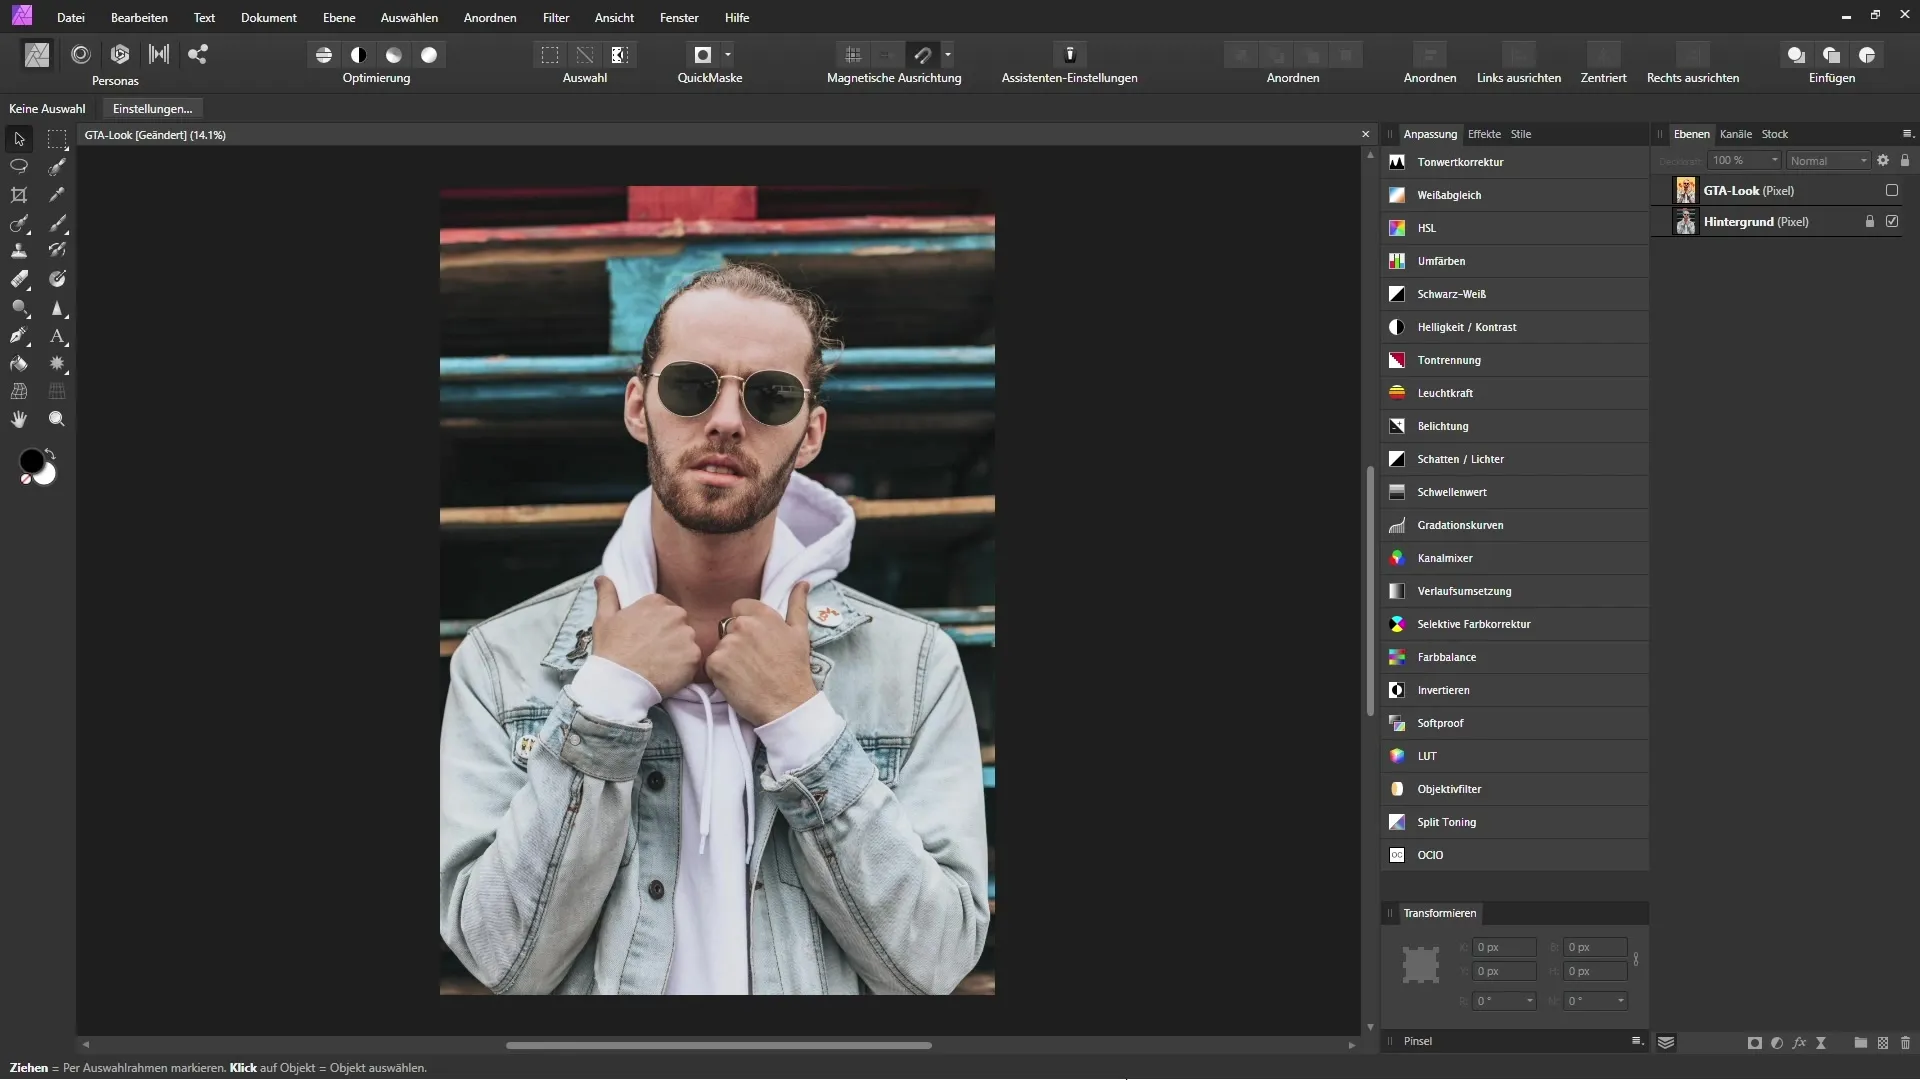
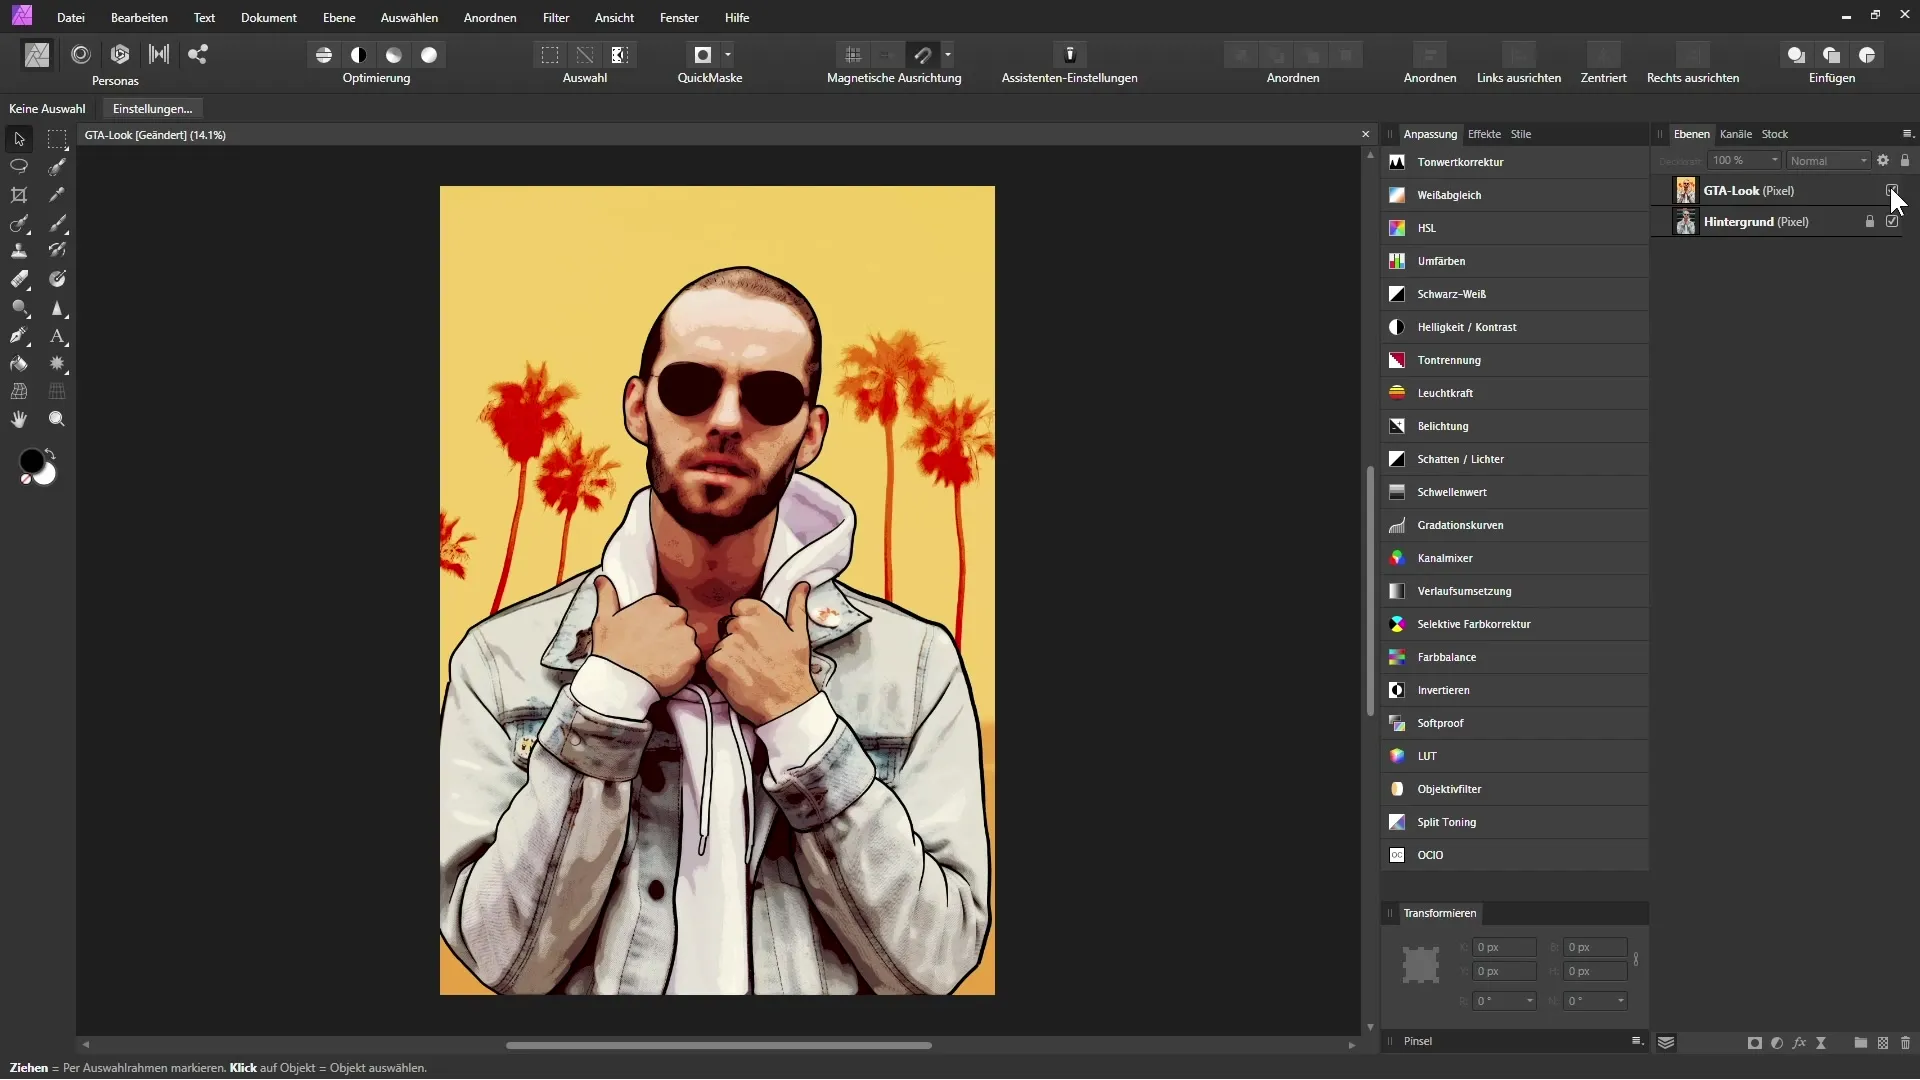
Are you a fan of the characteristic look of the GTA games and want to mimic this style in your own images? With Affinity Photo, you can implement this easily and effectively. This guide will show you how to create a comic-like look with targeted color and detail reduction that instantly reminds you of the game series. Let’s dive directly into the individual steps and give your images new momentum.
Key Insights
- Use a background color that supports the desired look.
- Reduce fine details to enhance the comic aesthetic.
- Experiment with blend modes and layer settings to achieve the perfect contrast.
Step-by-Step Guide
First, open your image in Affinity Photo. You will see that you have the option to make a variety of adjustments to achieve the GTA look. Let’s walk through this process together.
To start, I want to hide the edited image and work with the original image. I click on the edited layer and drag it to the trash can icon to delete it. Then I press “Control + J” to duplicate the background image, or use the commands “Control + C” and “Control + V” to create a copy. I rename this to “Original Photo” to keep track of everything.

Now we set the background color that will give the image the desired look. I select a new fill layer, click on the color selection box to adjust the hue, and drag it to the right to achieve a warm orange tone. The specific color code for this orange tone is 255 for red, 174 for green, and 69 for blue. To change the fill layer from “white” to “orange”, I rename it to “Background Color” and drag it below the Original Photo layer.
The original photo is now visible above the new background color. To create the typical GTA style, you should ensure that your image has strong contrasts and shows nice gradients. Elements like black sunglasses against lighter skin are ideal, as they enhance contrast.
To achieve the comic-like soft look, you need to minimize the fine details of the image. This is best done using the “Dust and Scratches” filter, which you select from the live filter options. I drag this filter below the Original Photo layer to ensure that it only affects this layer. The filter should have a radius of about 20 pixels to smooth details while preserving contrasts.
I also want to adjust the brightness and contrast of the image. To do this, I select blend modes and set them to “darker color”. This makes the image somewhat darker while keeping the bold lines intact.

Next, I will add an adjustment layer with the “Tone Separation” option. This is inserted directly above the Dust and Scratches layer, and its effect is to reduce color fading and clarify the gradient. I adjust the tone gradations to reduce the number of gradations. For this look, 7 gradations can be ideal.
To set the slider at the right position on the gradations, I go to the upper and lower areas of the image and check how the colors react. To minimize fine details, I then choose the blend mode “Luminance” for the Tone Separation layer.
In the next phase, I will also adjust the curves to further increase the contrast. I go back to the adjustments and select the Curves adjustment. I click in the middle of the curves to set an anchor point. Now I can manipulate these points to influence the light and dark areas, creating an S-curve that enhances contrast.
I also want to increase the saturation of the image to achieve a vibrant and comic-like effect. I select the HSL adjustment and increase the saturation by 10%.
With these adjustments, you now have a clear path to give your images the typical GTA look. The process concludes by reviewing the image again and making further adjustments as needed. This may include adding another Dust and Scratches filter to further enhance that soft comic look.
Summary - GTA Look with Affinity Photo
In this guide, you have learned step by step how to create the characteristic GTA look with Affinity Photo. From duplicating the background layer to adjusting colors, contrasts, and details, you now have the knowledge to transform your own images.
Frequently Asked Questions
How do I reduce fine details in an image?Use the live filter "Dust and Scratches" and adjust the radius as needed.
What is the best blend mode for this style?“Darker Color” is ideal for emphasizing contrasts.
How can I adjust saturation in Affinity Photo?Use the HSL adjustment option and adjust the saturation slider as desired.
How many tone gradations are ideal for a GTA look?A reduction to about 7 tone gradations can work well, depending on the image.
How can I increase contrast?Use the Curves adjustment to adjust the light and dark areas.
