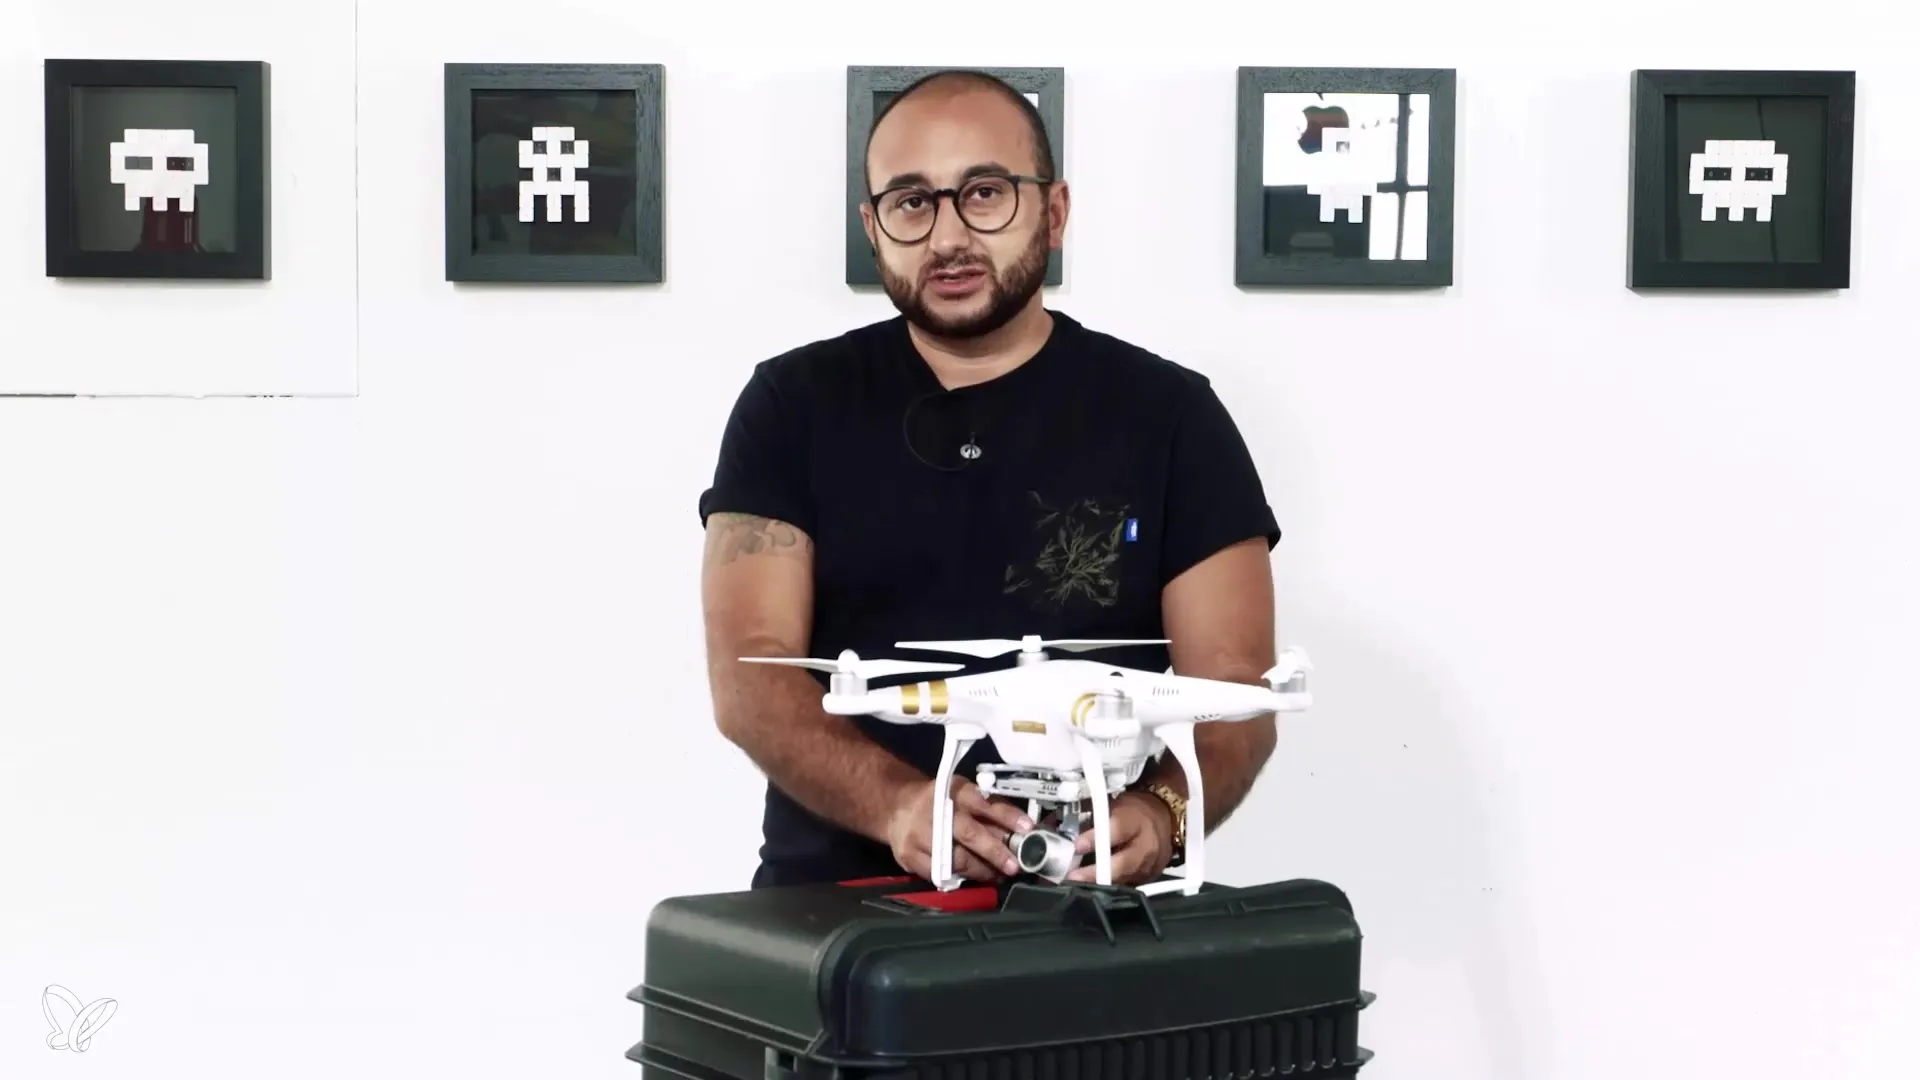
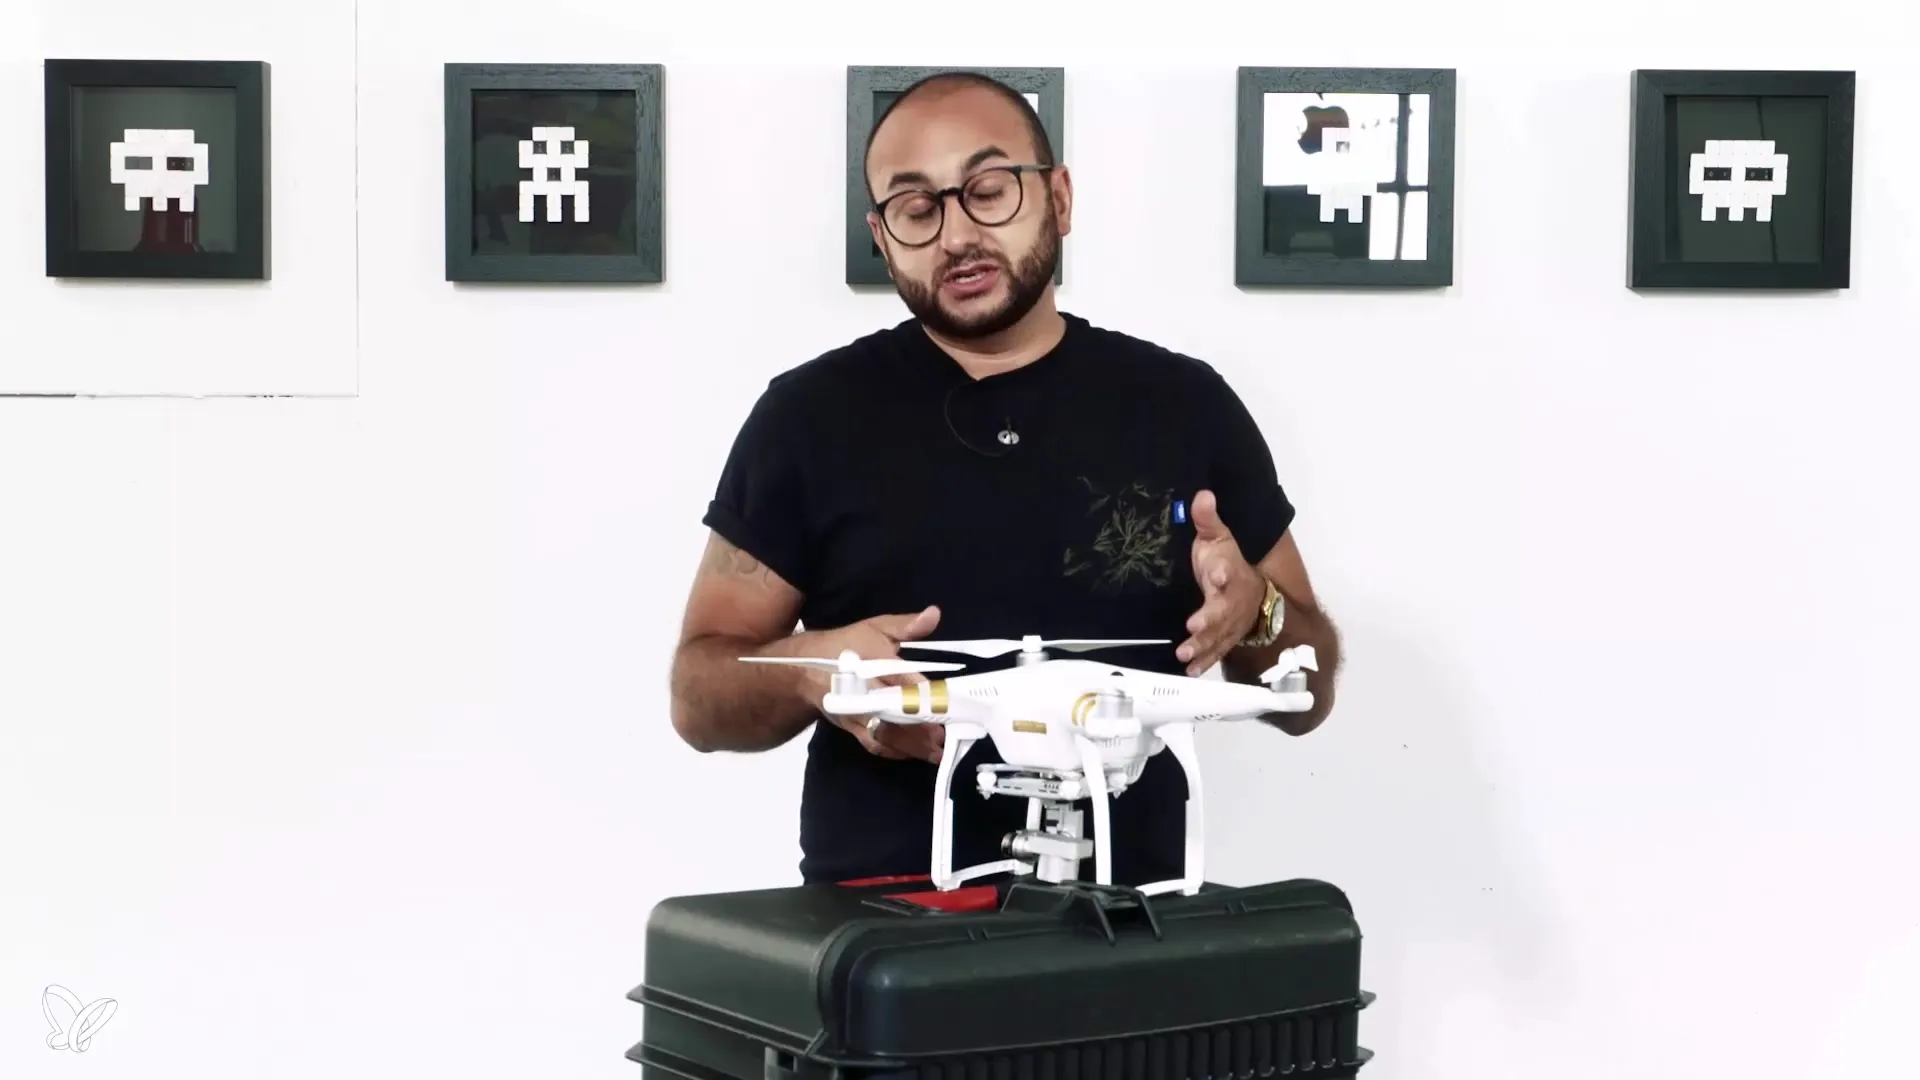
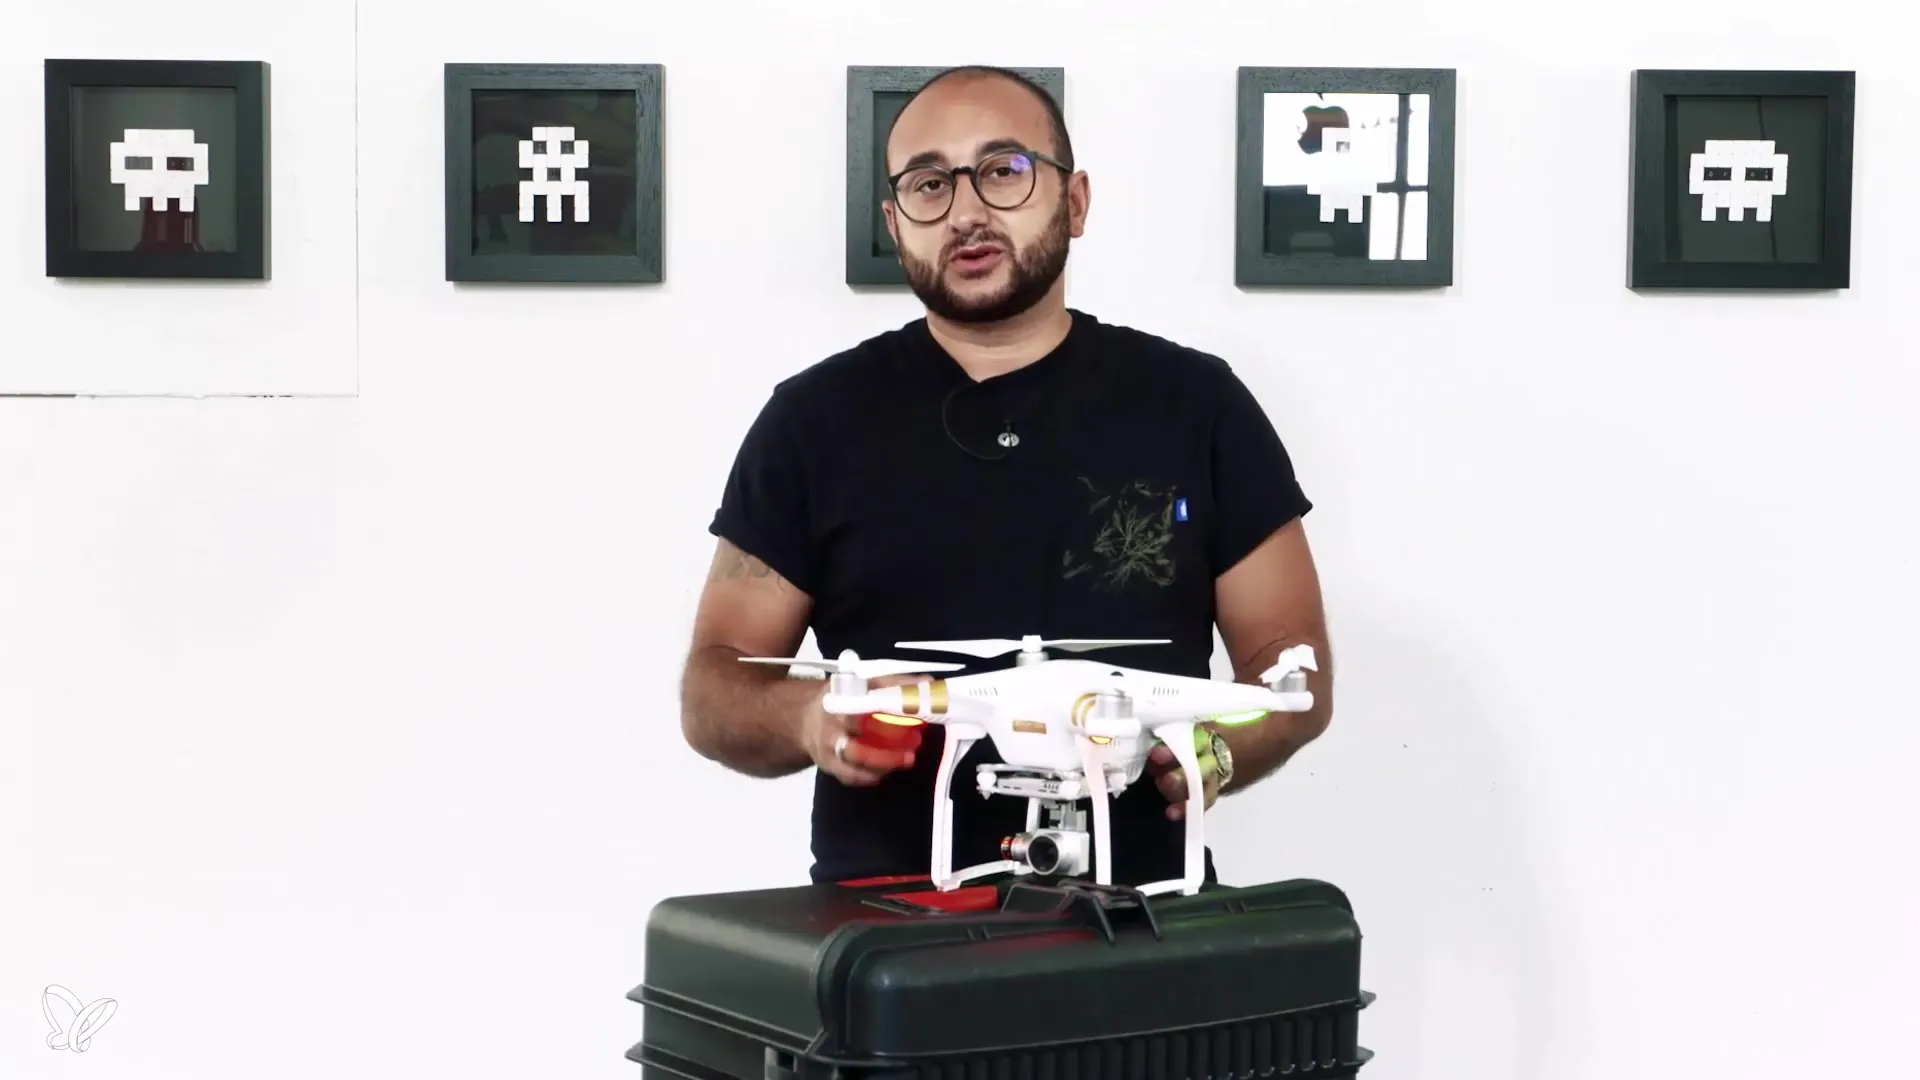
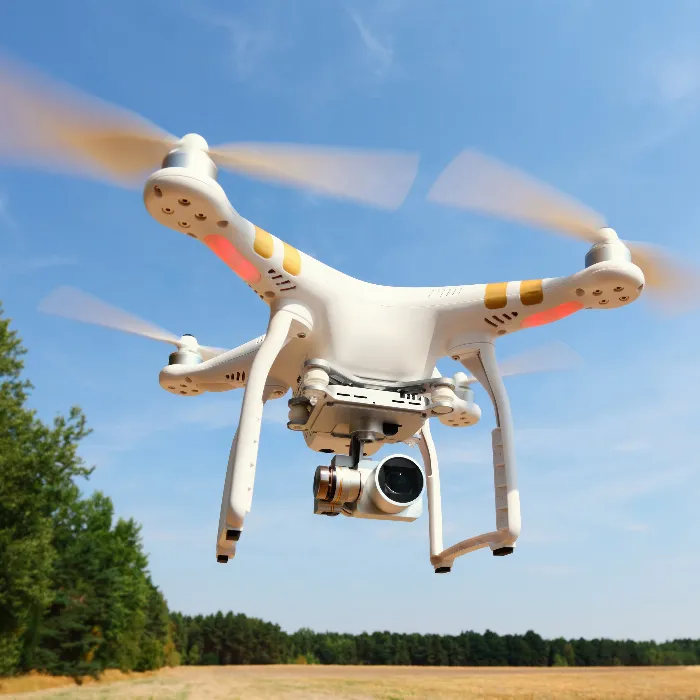
Drone photography has gained immense popularity in recent years. Particularly important for high-quality shots is the use of a gimbal. Gimbals are mechanical stabilizers that ensure your footage remains sharp and steady, even when the drone is moving or exposed to windy conditions. In this tutorial, I will show you the different gimbal types and their advantages to help you make an informed decision for your drone photography.
Key insights
- Gimbals stabilize the camera during drone movements.
- A three-axis gimbal allows for smooth images in all directions.
- Different gimbal types have different limitations and advantages.
Step-by-Step Guide
Step 1: Understanding the Basic Functions of a Gimbal
Gimbals are essential tools in drone photography, as they ensure the stability of the camera. You should know that a gimbal can help prevent shaky images. Once you start your drone and make movements, the gimbal remains stable, allowing you to capture smooth footage.

Step 2: Learning About the Axes of the Gimbal
A three-axis gimbal is built on three axes: roll, pitch, and yaw. These allow for significantly better stabilization, as all movements of the drone can be balanced out. Pay attention to how your drone moves while flying, as the gimbal corrects these movements, resulting in a steady image.

Step 3: Advantages of a Gimbal While Filming
A gimbal ensures that the camera remains stable even during drone movements. When you move the drone up or down, the gimbal should absorb this movement and stabilize the image. This ensures that your footage not only looks appealing but also appears professional.

Step 4: Understanding the Limitations of the Gimbal
However, there are limitations you should keep in mind. With some gimbal models, you may only be able to tilt the camera up or down and not sideways. For side tilts, you need to move the drone itself, which means you should be proficient in controlling both the gimbal and the drone simultaneously.

Step 5: Exploring the Capabilities of Other Gimbal Models
An example of a more advanced gimbal is the one used with the Inspire drone. This gimbal allows for not only vertical but also lateral movements. This provides even more creative freedom when filming and photographing. When you turn on the gimbal, it will immediately align itself to provide its functions.

Step 6: Camera Compatibility and Interchangeable Lenses
Another advantage of the Inspire gimbal is the ability to change the camera. This flexibility allows you to use different lenses for various scenarios, whether for wide-angle shots or shots with longer focal lengths. This is particularly valuable for professional applications in drone photography.

Step 7: Application and Practice
After understanding the different gimbal types and their advantages, it is crucial to apply what you have learned in practice. Practice controlling your drone with various movements while testing the gimbal. Experiment with the settings to find out what works best for your specific needs.

Summary – Gimbal Types in Drone Photography
In this tutorial, you learned what gimbals are in drone photography, the different types available, and the advantages they offer. A clear understanding of how these components work and their effects is essential to achieve stunning aerial shots.
Frequently Asked Questions
How does a gimbal work?A gimbal stabilizes the camera by compensating for the movements of the drone.
What are the advantages of a three-axis gimbal?It allows for both vertical and horizontal stabilization, resulting in clear and smooth footage.
Can I change lenses on my gimbal?It depends on the specific gimbal model; some models allow for lens interchangeability.
How important is gimbal compatibility with the camera?High compatibility is crucial to get the best results from your drone footage.
What limitations exist with gimbals?Some gimbals do not support lateral tilts or have other restrictions, so the right model should be chosen.


