The professionalization of your career can be significantly supported by an impressive business portrait. In this guide, you will learn how to create an effective light setup for portraits that is both simple and impactful. A clean, white background will enhance your photos and help bring out your personality. Let’s dive straight into the step-by-step guide.
Main Insights
- The light setup uses two lamps for uniform illumination of the background.
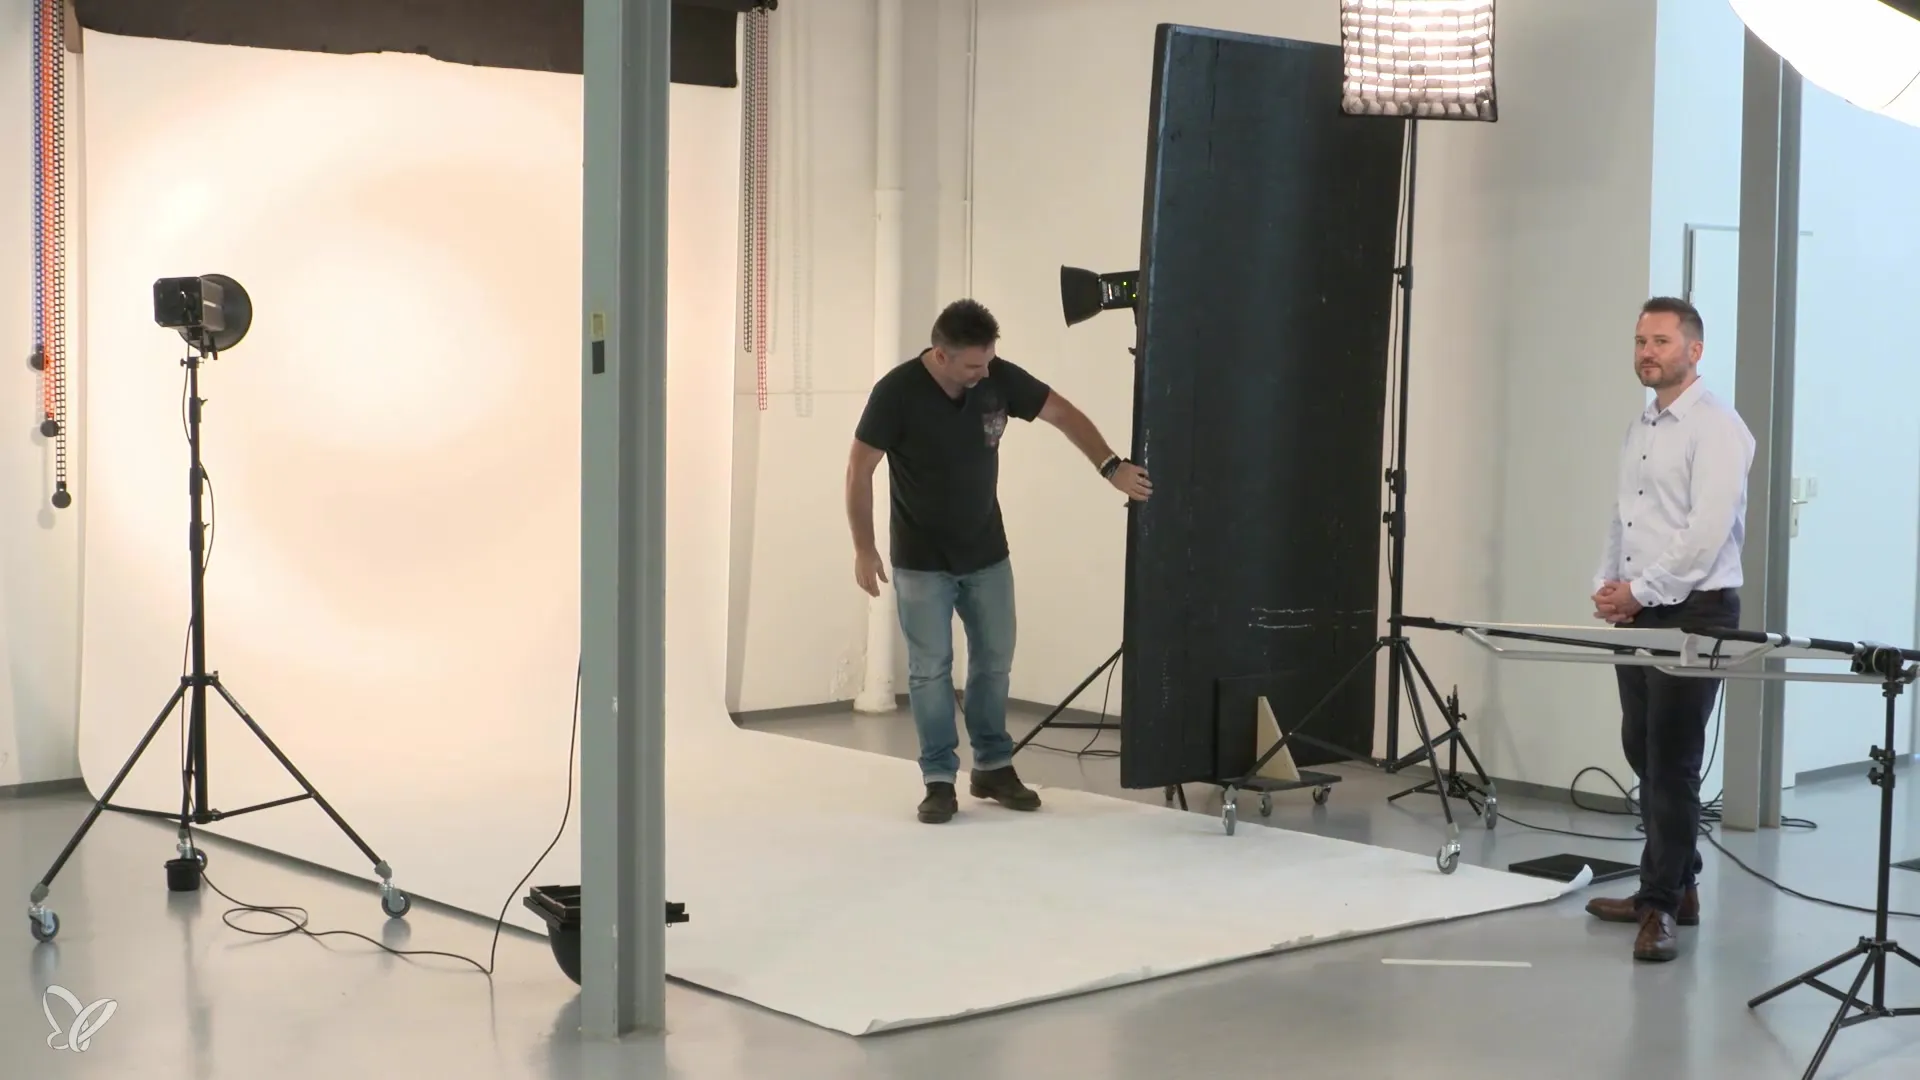
- Modifications to avoid unwanted light reflections are crucial for image quality.
- The tranquility of the person depicted is of great importance.
Step-by-Step Guide
First, it is important to prepare the space for the shoot. You need enough space for the setup, ideally at least five meters away from the background. This gives you plenty of room to effectively position both the light and your client.
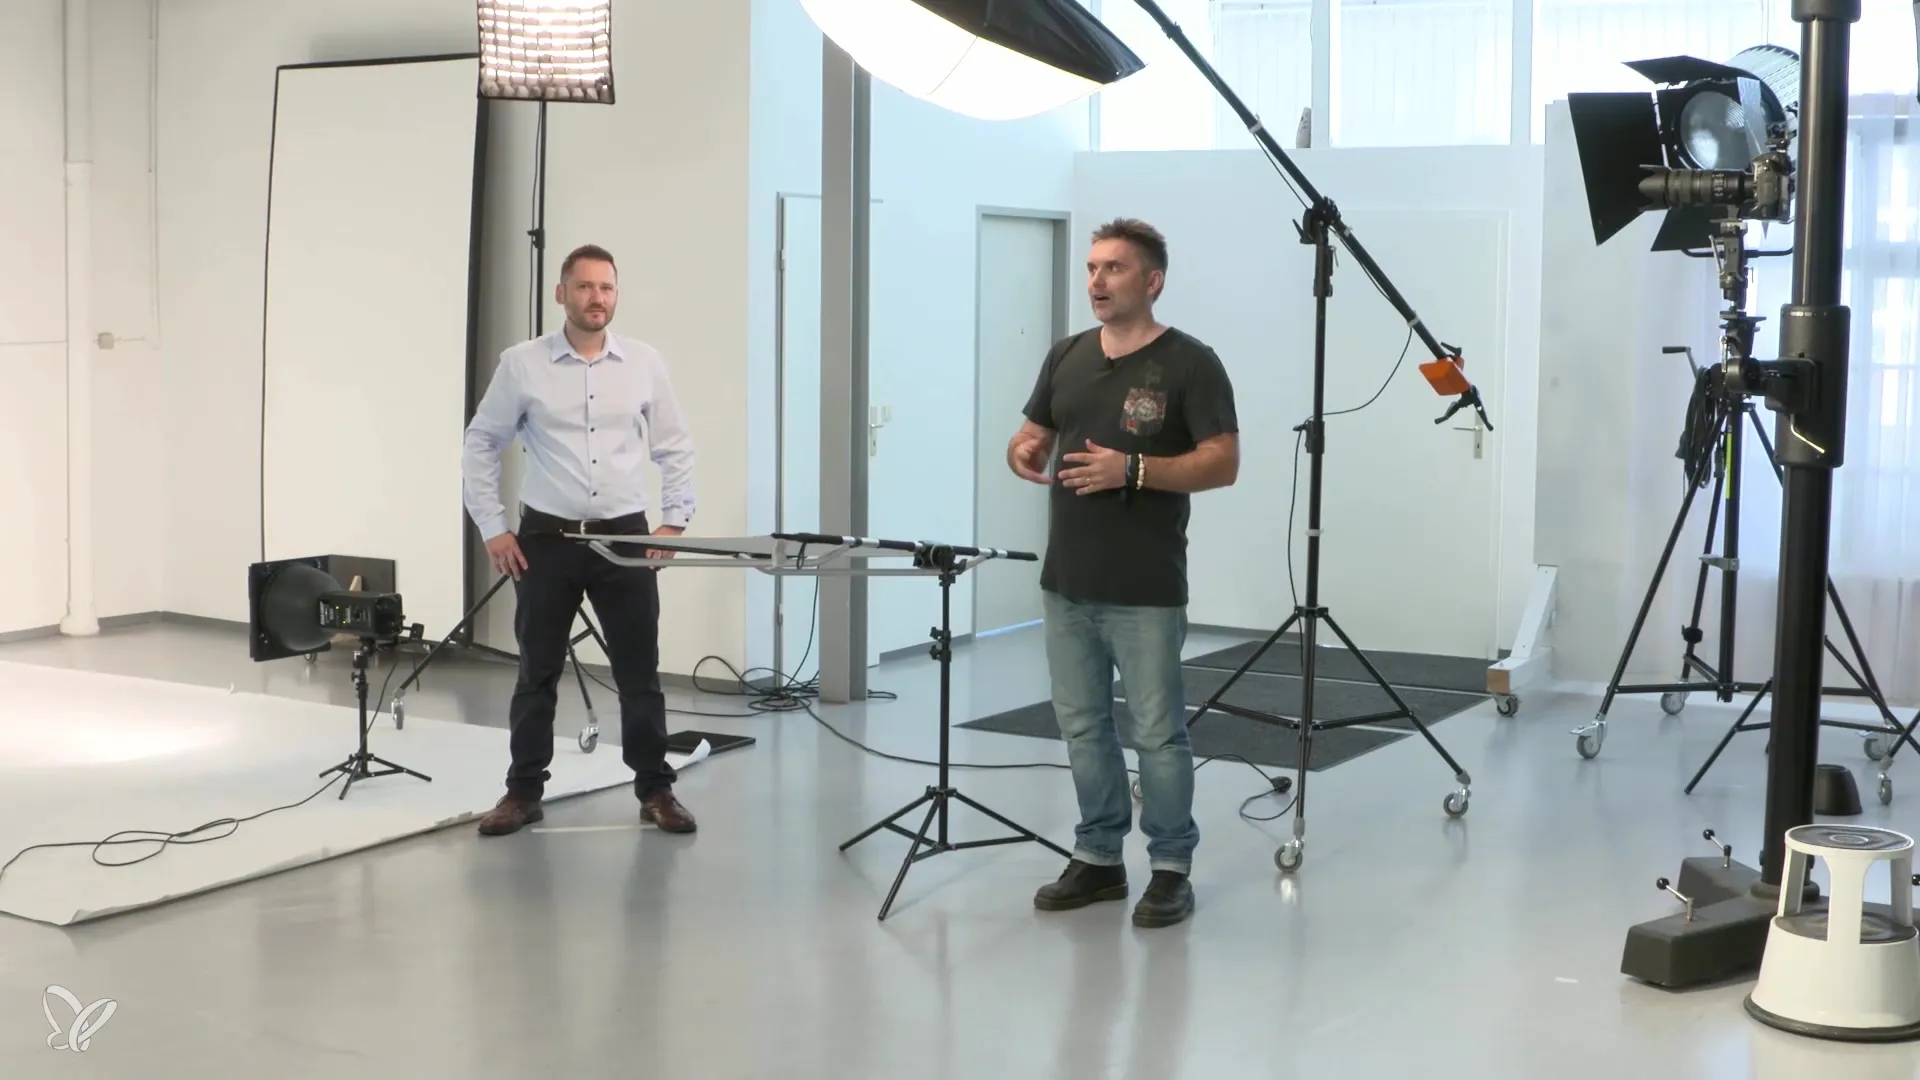
The initial challenge is illuminating the background, which should present a uniform, white surface. You should use two lamps for this purpose. One of the lamps will be fitted with a reflector and positioned on one side to illuminate the background. This step is crucial as the light must fall evenly on the white background.
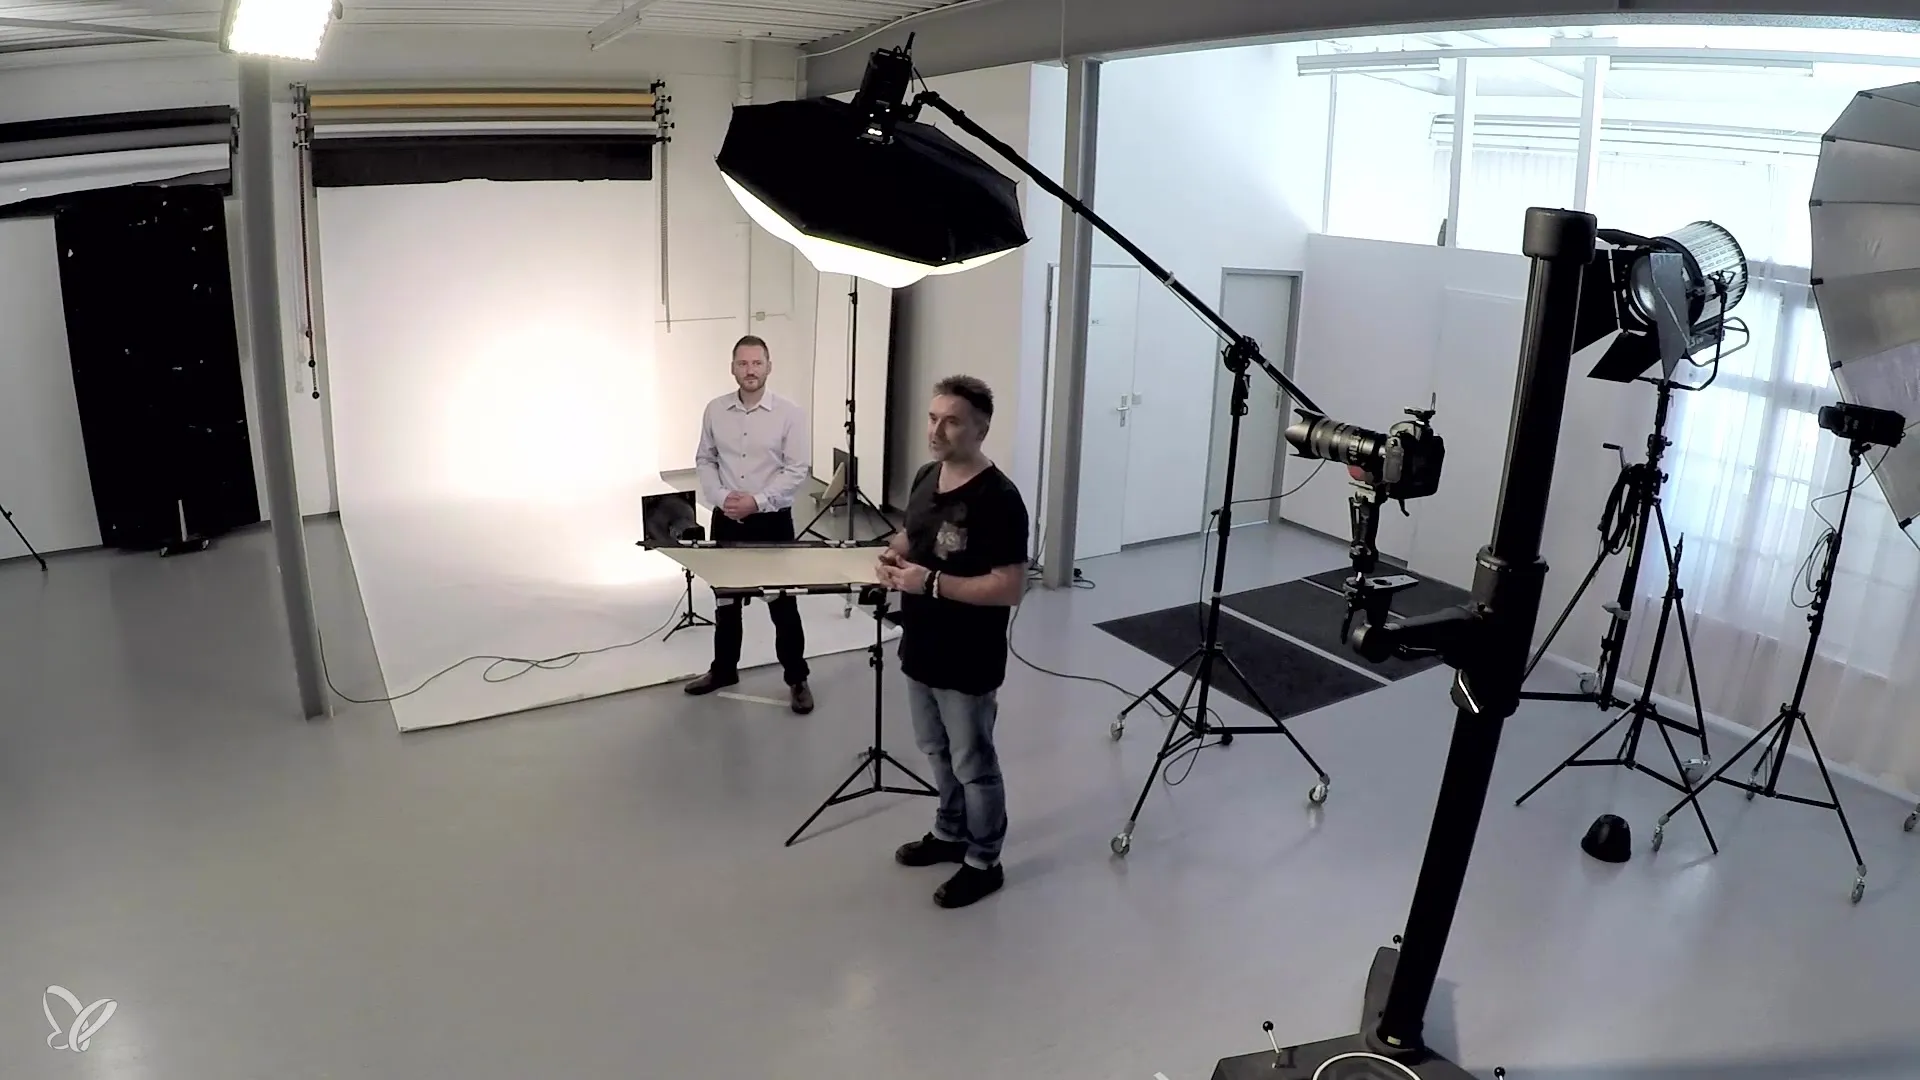
Next, you will also position the second lamp. Make sure both lamps are set up at the same distance from the background. This ensures uniform illumination. The light intensity should also be adjusted, so that you set one lamp to half a stop more than the other.
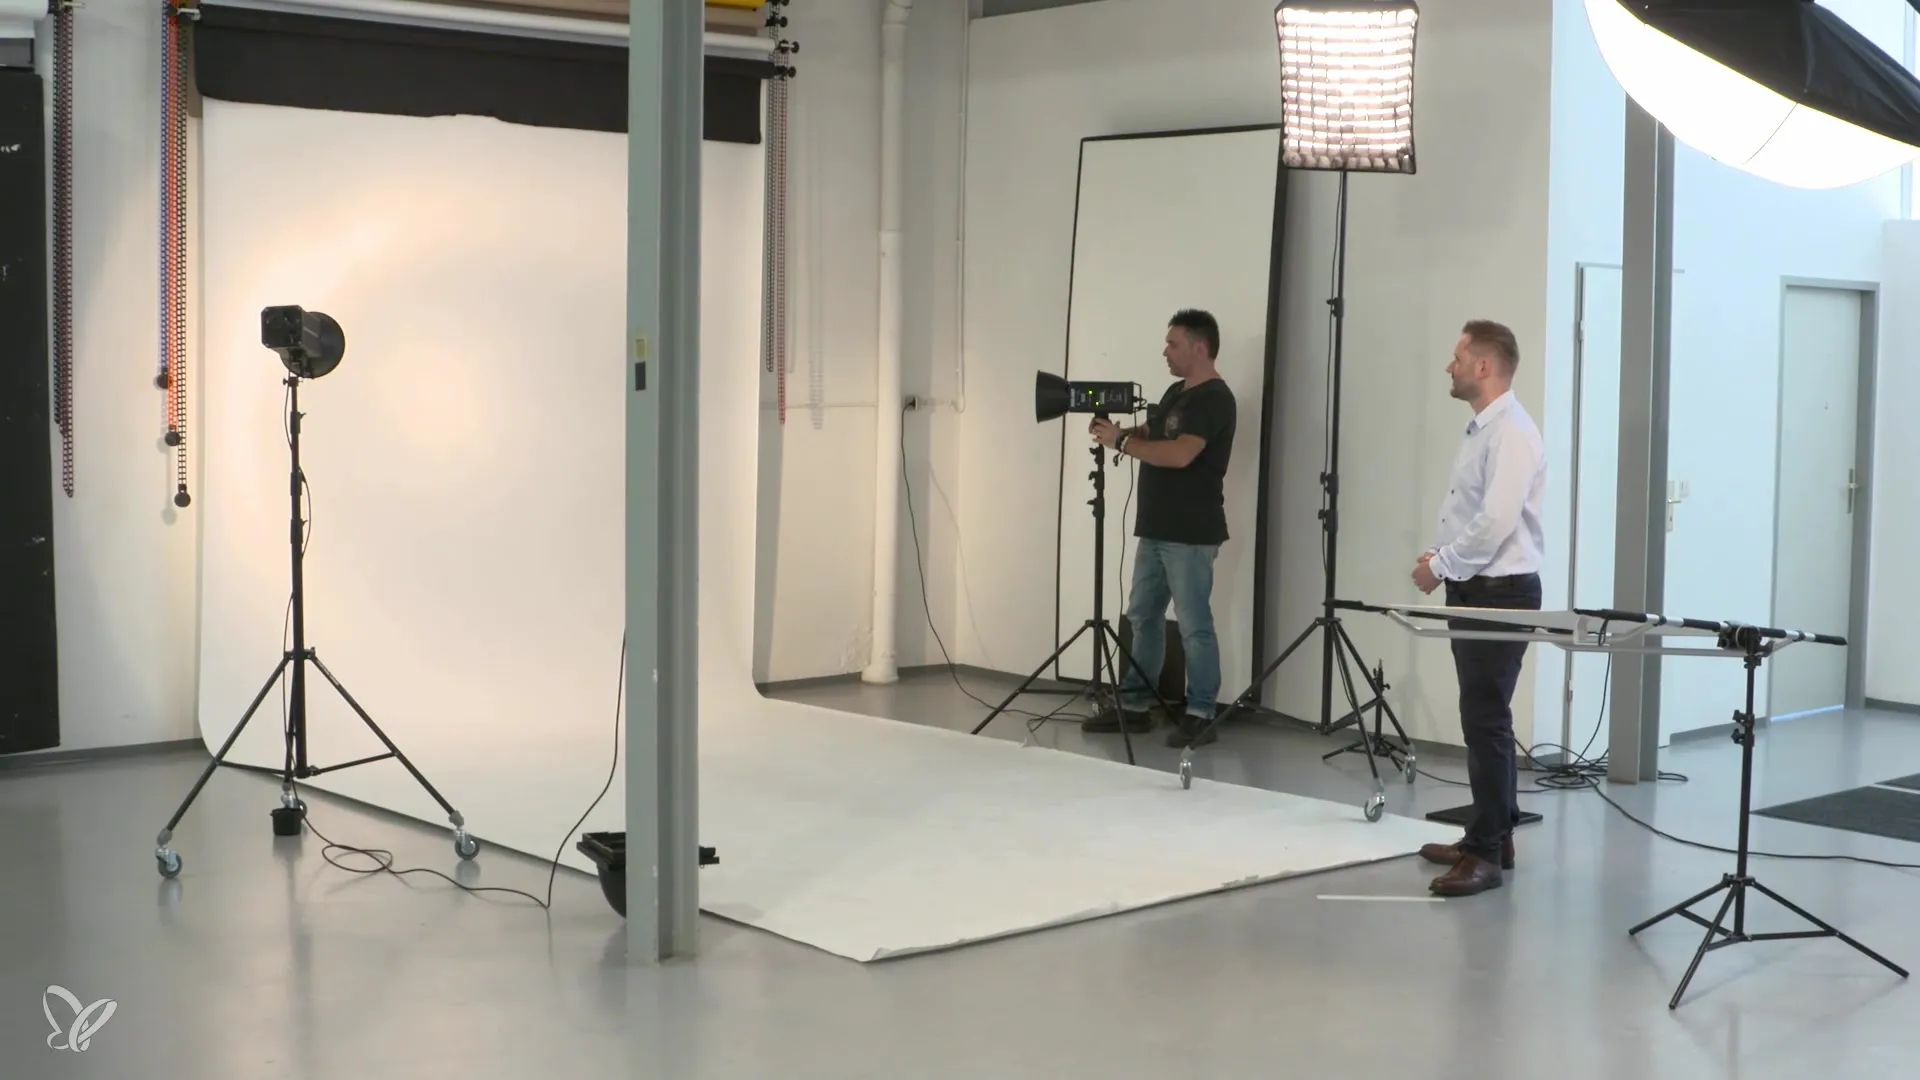
You have now created a uniformly illuminated background. The next step is to ensure that the light does not reflect back onto the person being photographed. You could use dark stands or matte surfaces that absorb and do not reflect light. This will help prevent unwanted light reflections.
Once you have stabilized the lighting conditions, you can return to the camera and check if the light sources are still functioning optimally. A test photo will show you whether the subject (the person being photographed) stands out well from the background and if the image quality is right.
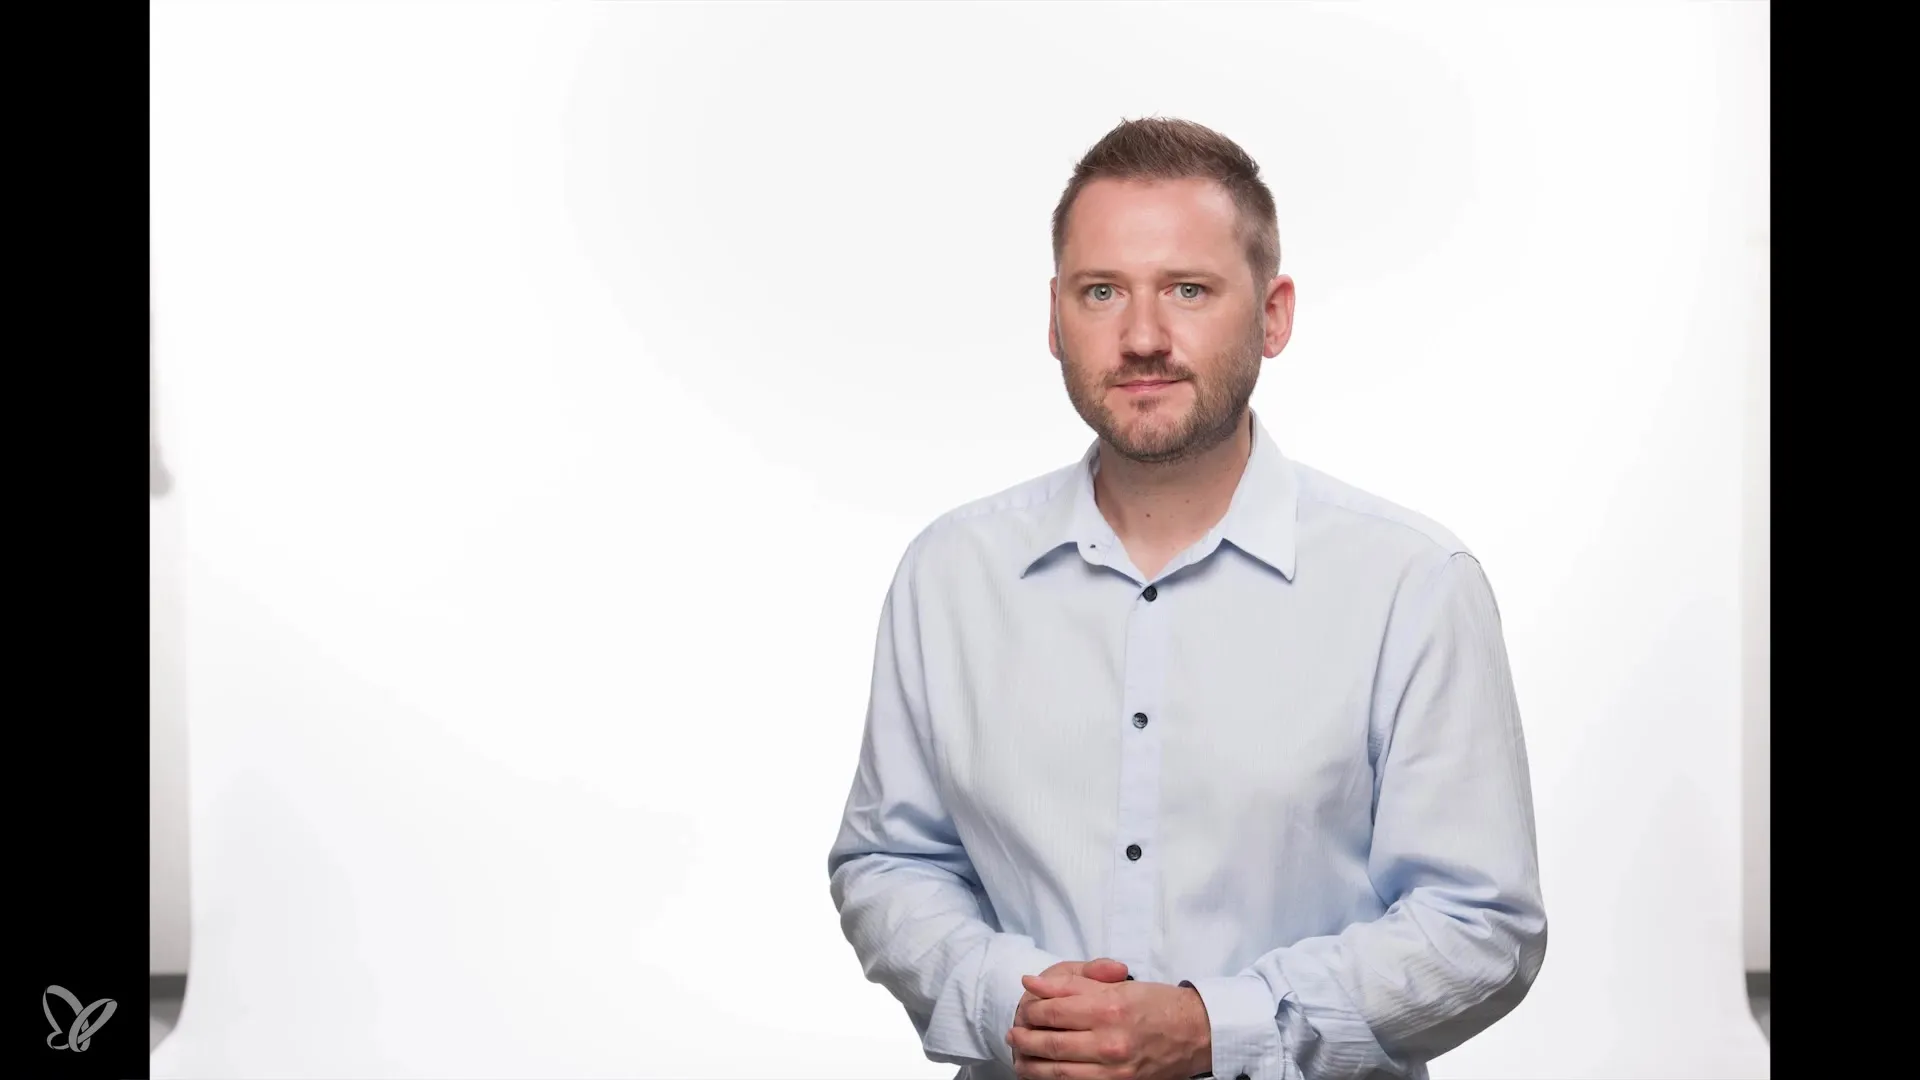
To optimize image quality, ensure that the background does not shine too brightly. One way to do this is to adjust the camera settings so that the light in the background is slightly dimmed. Using a histogram is very helpful in this regard.
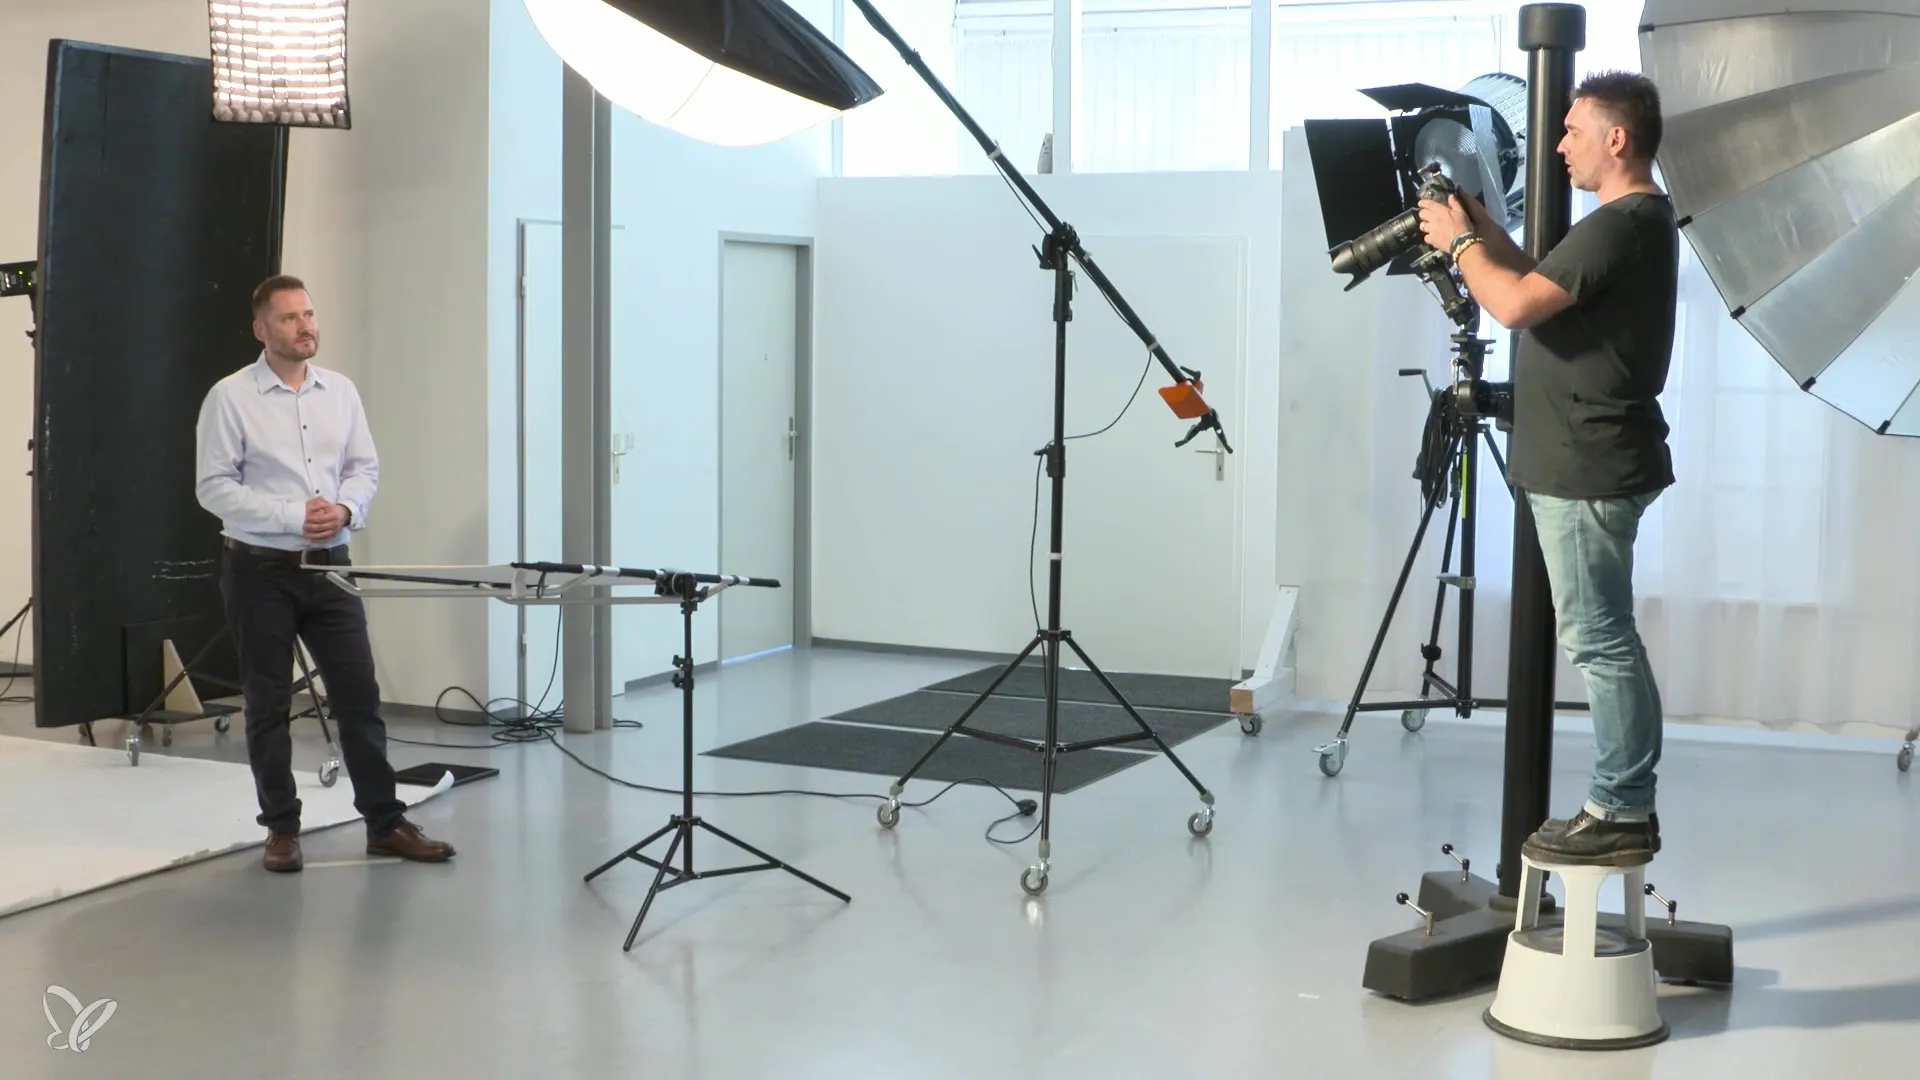
Once the light is set and everything looks optimal, you can begin with the individual poses of the subject. It is important to place the subject in a relaxed position. A natural body posture and facial expression are crucial for a successful portrait. Have them put their hands in their pockets or use natural gestures to make the shot lively.
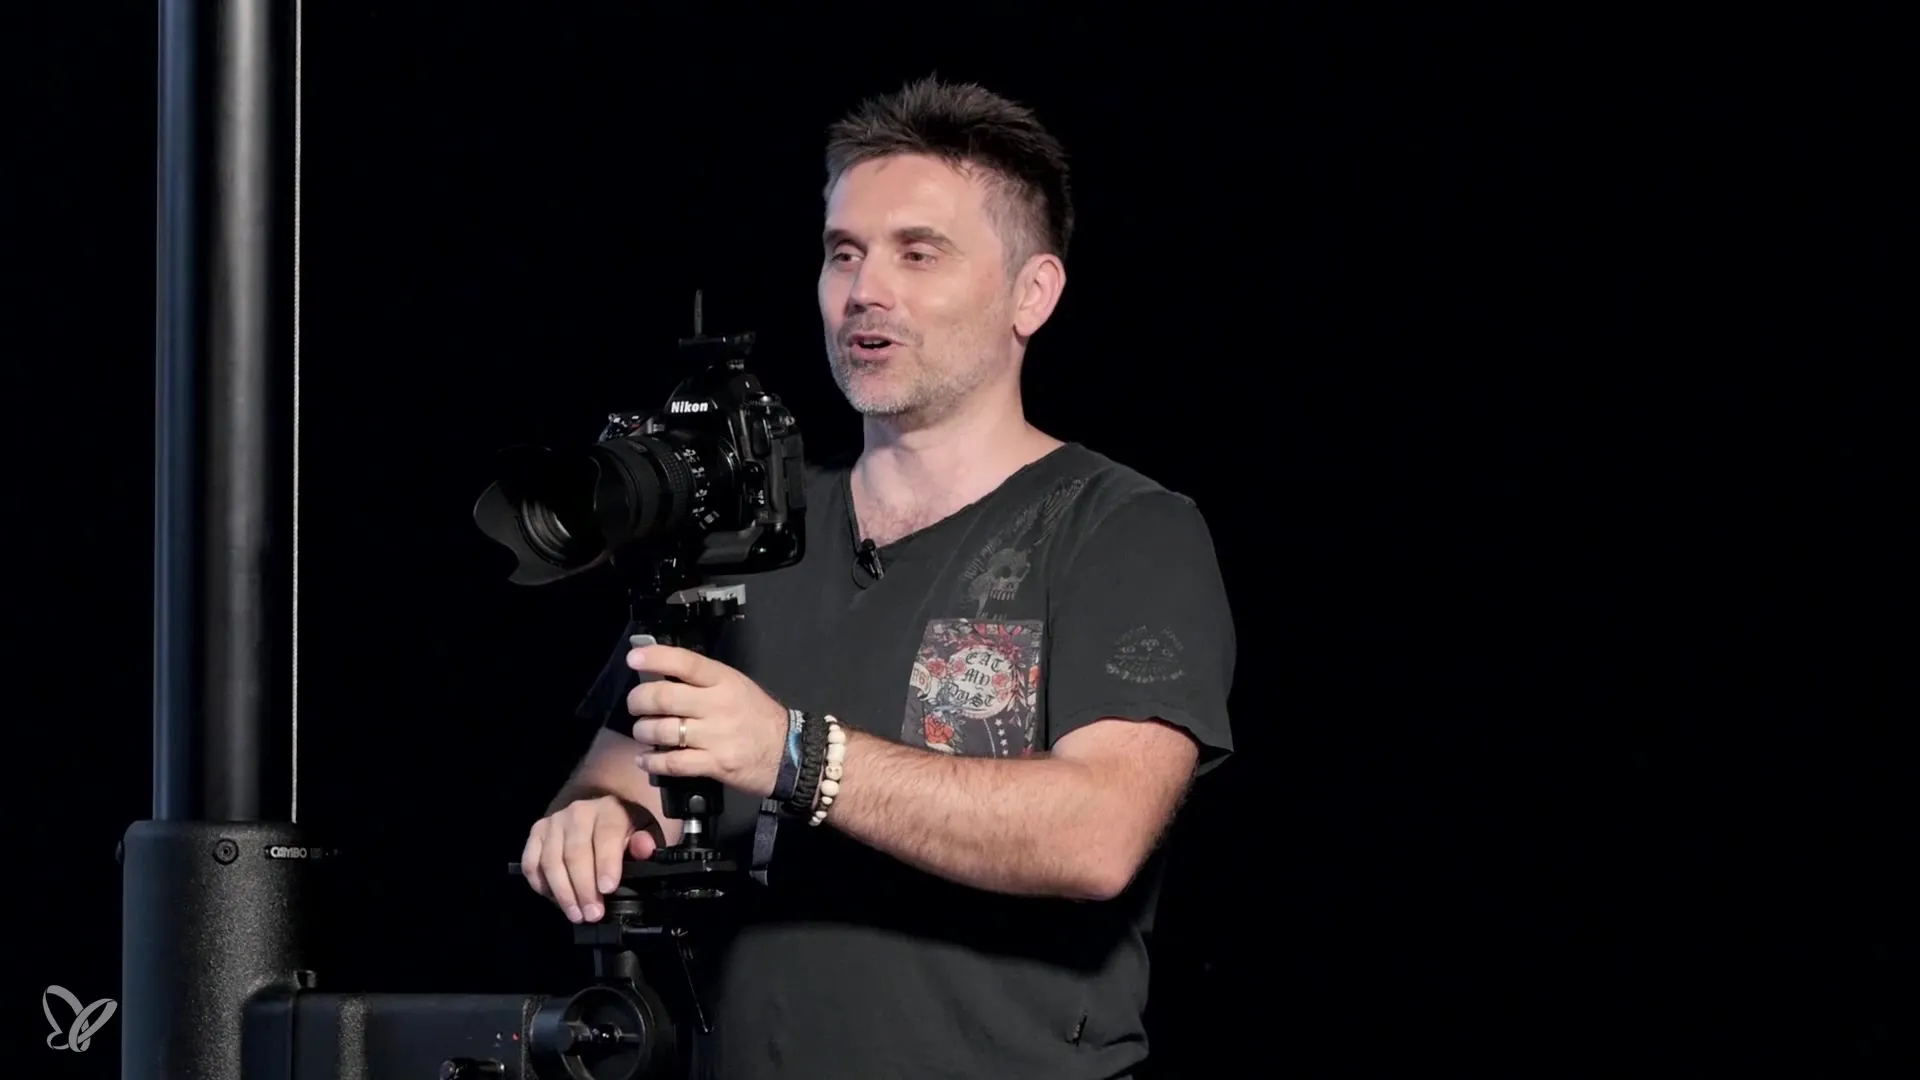
Another point is interaction: Communicate with the subject to ensure they feel comfortable and can express their confidence. This makes a big difference in the outcome, as to whether the person in the photo comes across as likeable or not.
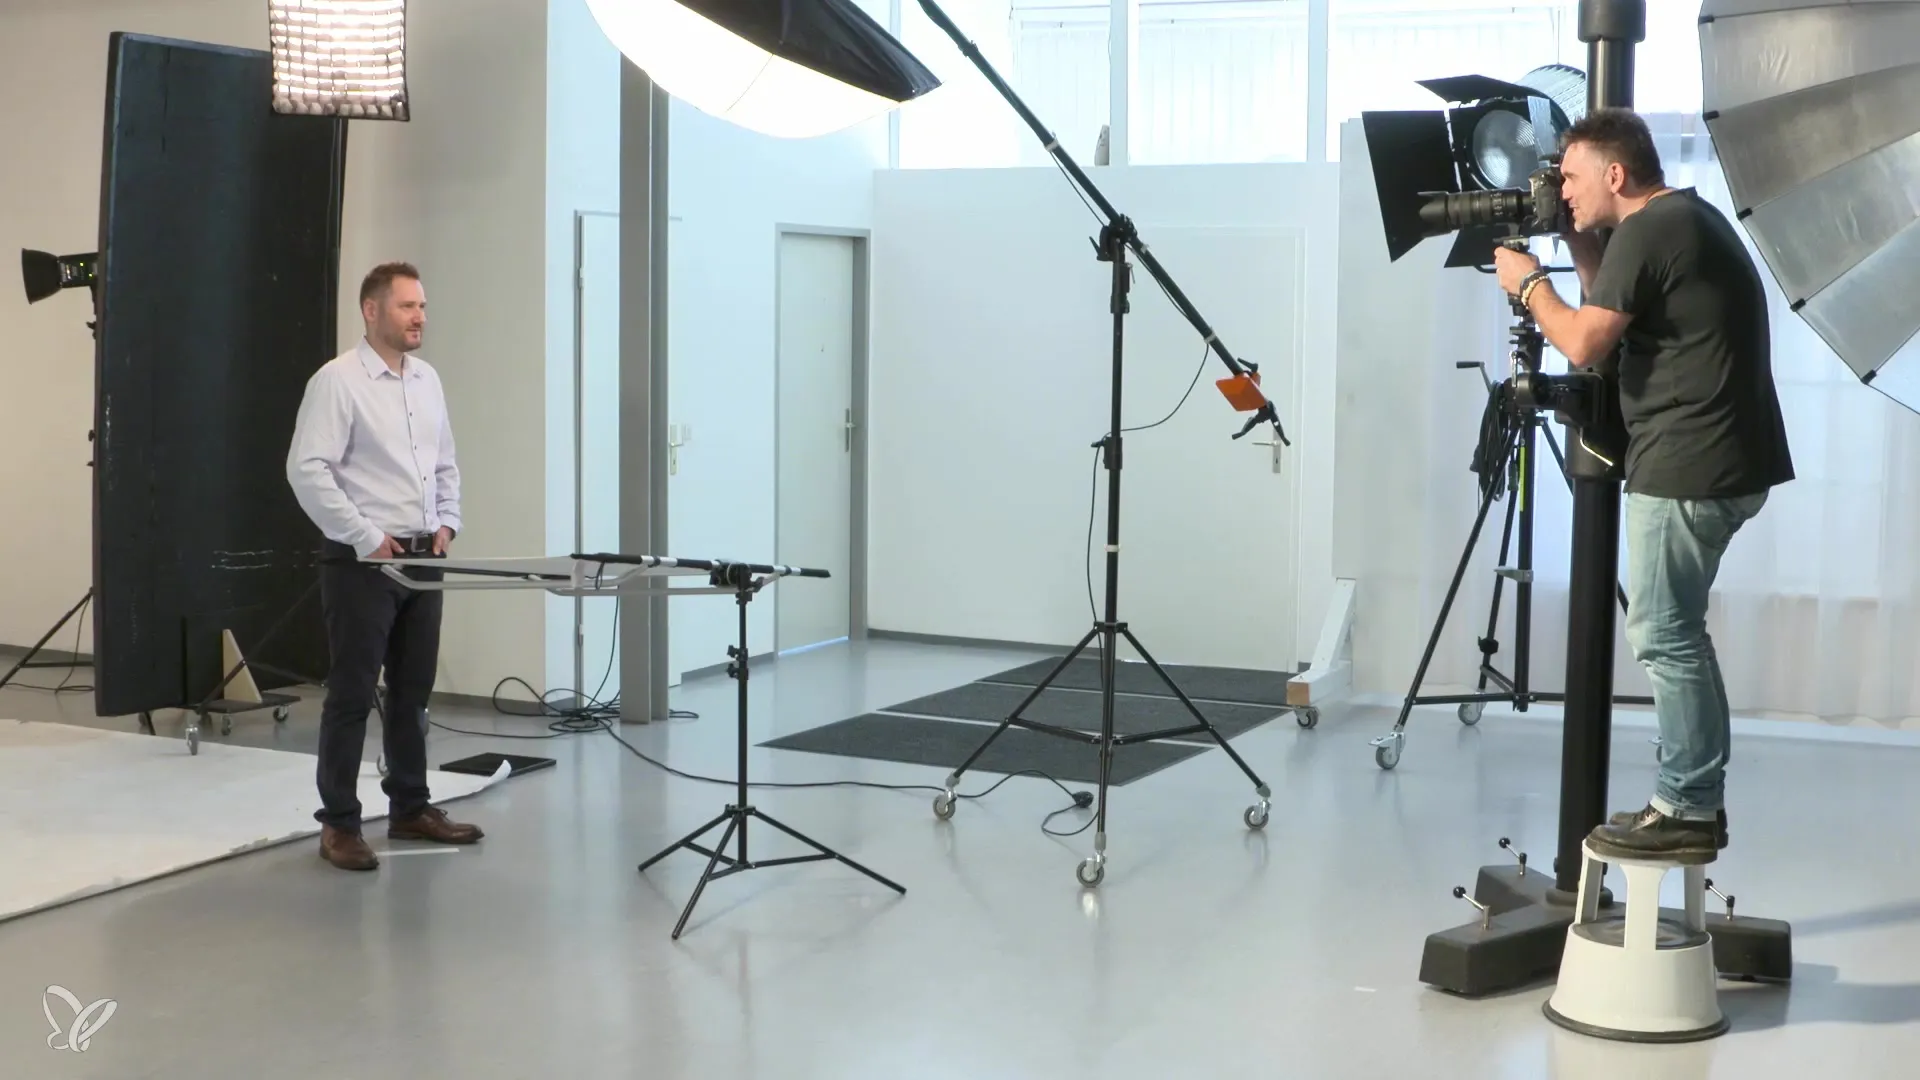
During the shoot, it is advisable to regularly take test photos. This way, you can ensure that the light remains good and the subject feels comfortable. Be sure to capture spontaneous moments. Often, you see the best and most natural results during unexpected actions.
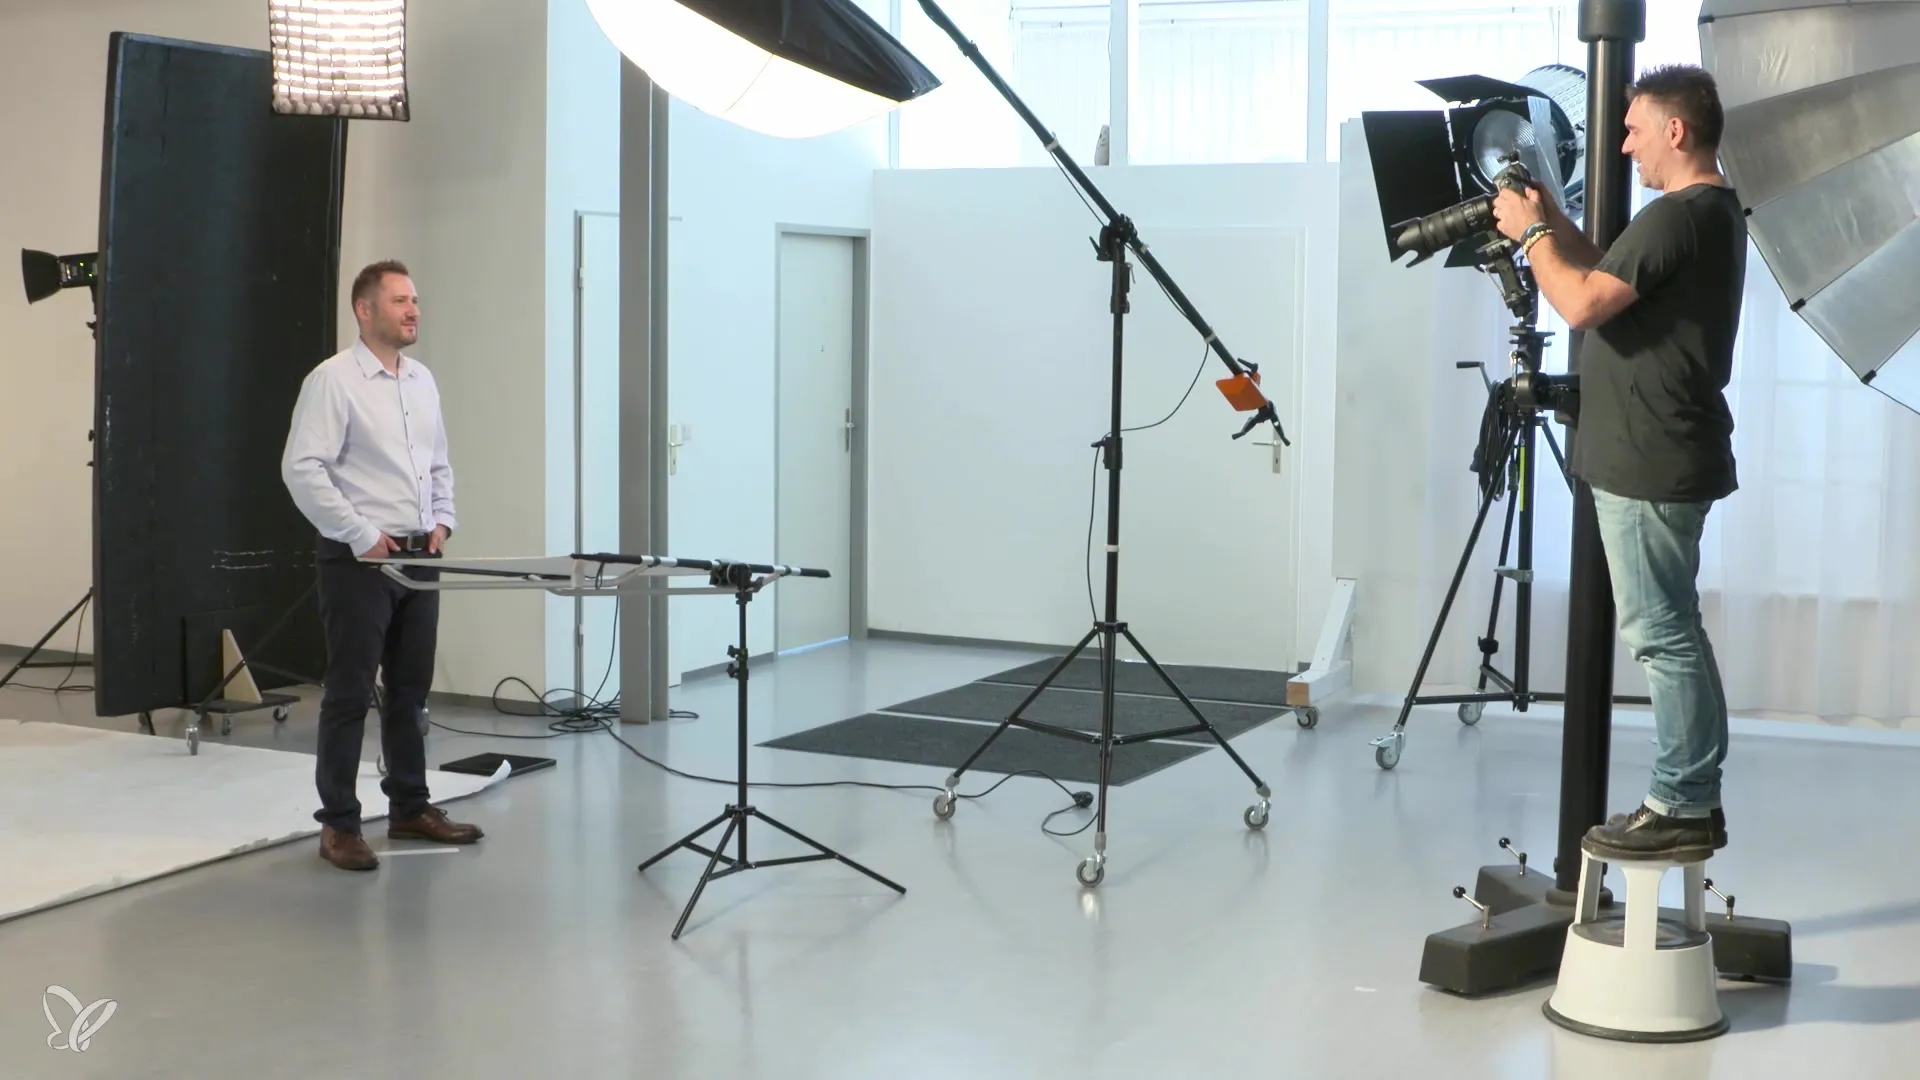
At the end of the shooting time, there is one last technical detail to consider. To make the background appear even cleaner, you can slightly increase the exposure in the background. This ensures that it can completely disappear in the final editing.
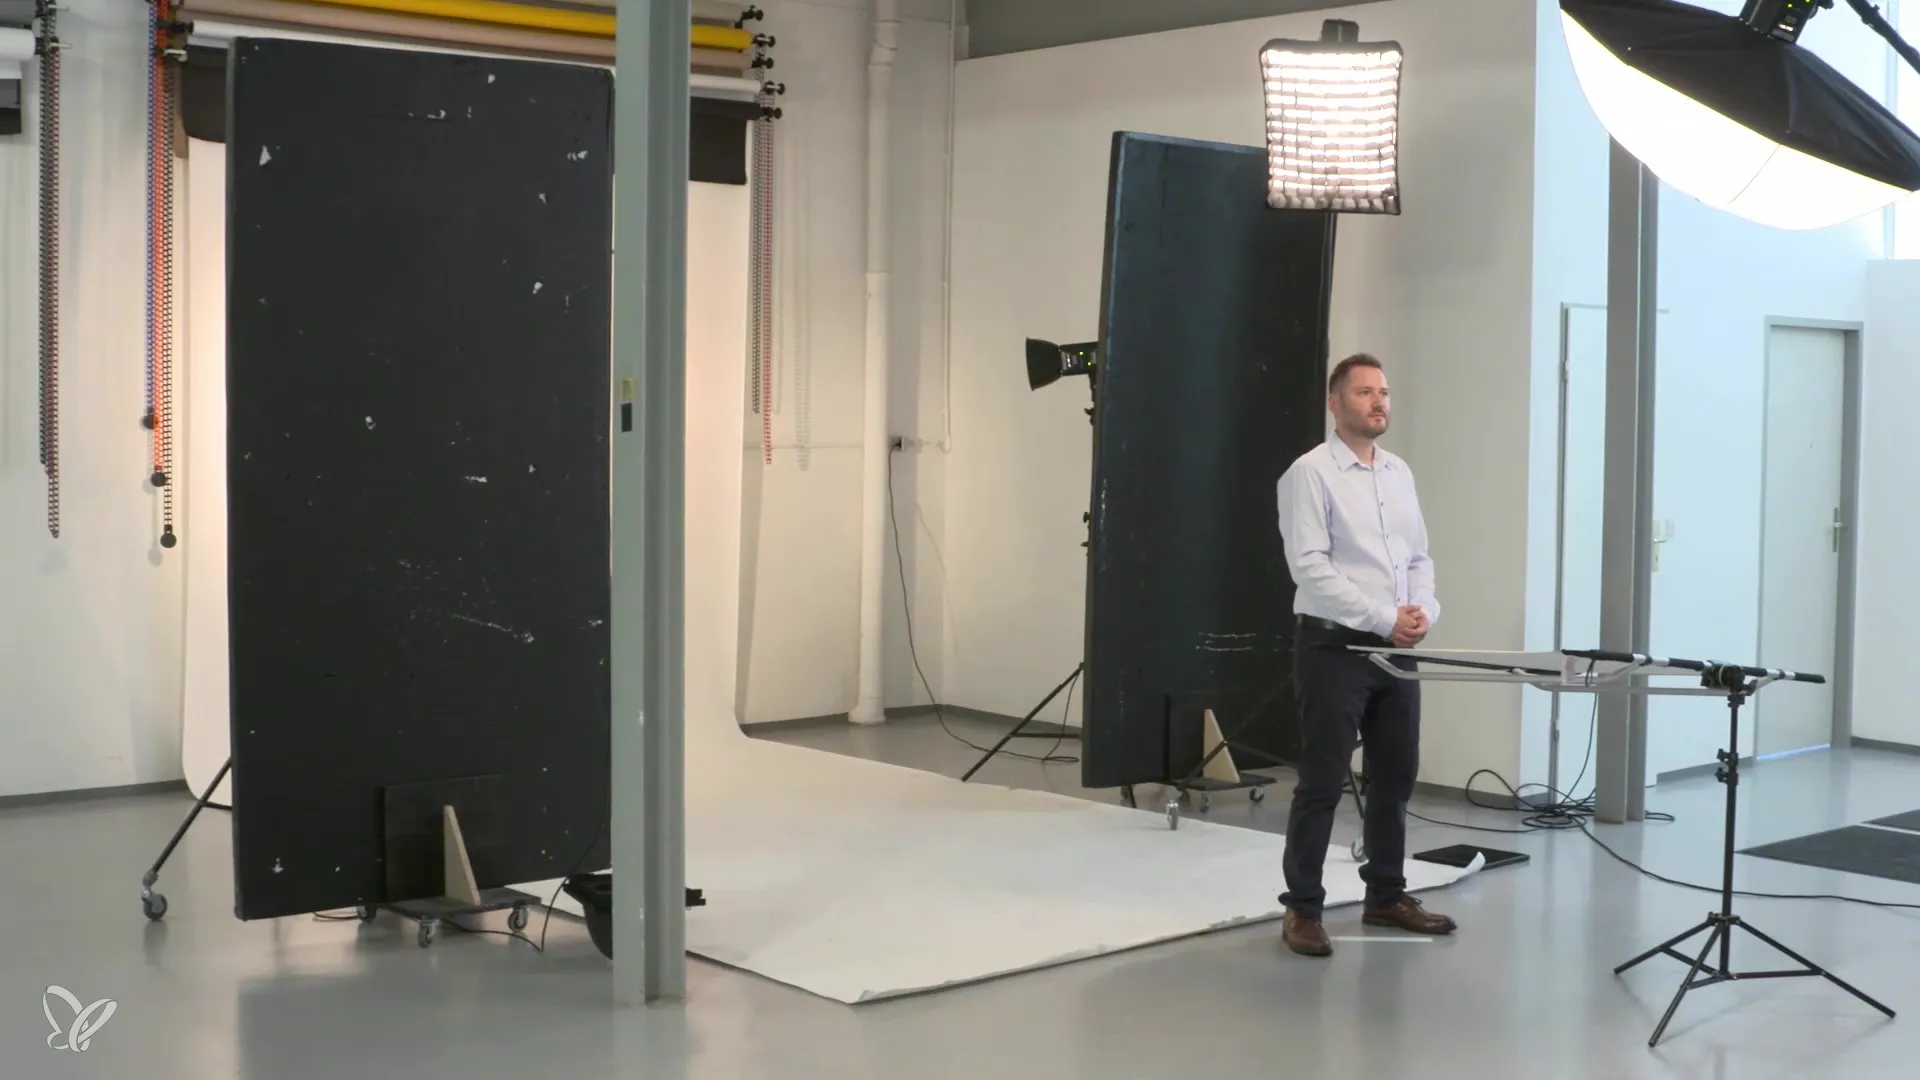
Once you have followed all these steps, you should have a variety of appealing business portraits that highlight the personality of the subject and are well-suited for future digital appearances.
Summary – Business Portraits: Optimized Photo Workflow for Your Career Success
In this guide, you have learned how to effectively set up the light setup for business portraits. The focus is on evenly illuminating the background and capturing natural poses so that the person depicted appears in their best light.
Frequently Asked Questions
What is the goal of a business portrait?The goal is to authentically and appealingly represent the professionalism and personality of a person.
How much space do I need for the setup?At least five meters distance from the background allows for effective lighting and optimal image composition.
How can I avoid unwanted light reflections?Use dark, matte stands to absorb light that could reflect back onto the subject.
Why are test photos important?Test photos help optimize the lighting conditions and check if the subject appears in the right light.
How many lamps do I need for the setup?For optimal results, you usually need two lamps for uniform illumination of the background.


