After a successful photo shoot, one often faces the challenge of selecting the best shots. In this process, a systematic approach is crucial to efficiently assess the quality of the images and make the right decisions. This guide provides you with a clear overview of how to select your images and find the best shots for your business portrait.
Key Insights
A structured scoring system helps you evaluate the images based on quality. Give stars for different shot qualities and work hand in hand with your client to find the optimal portrait. Pay attention to facial expressions, special features like glasses or clothing, and the overall composition of the images.
Step-by-Step Guide
Upload images to the computer
After transferring all images from the camera to your computer, the first step is to review them calmly. It is helpful to use the screen in a well-lit room to properly assess the quality of the shots.

Pre-selection
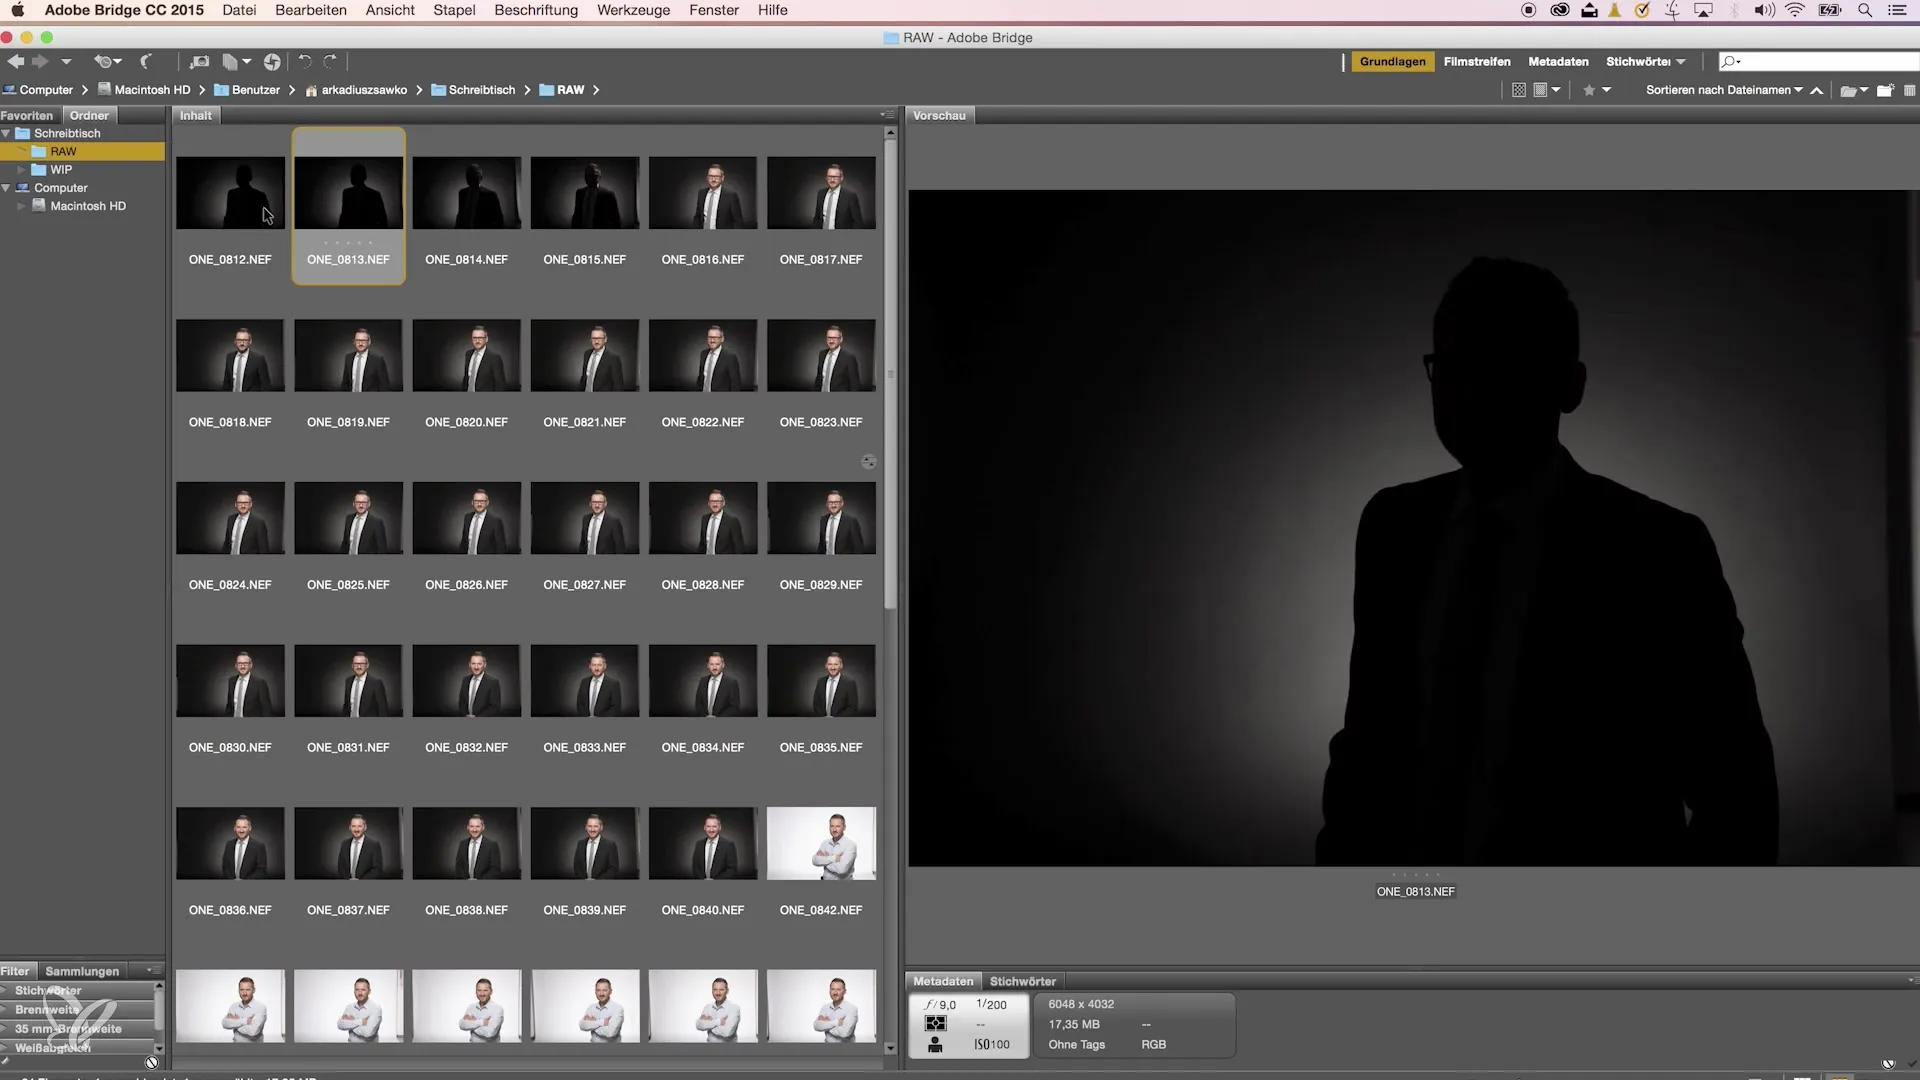
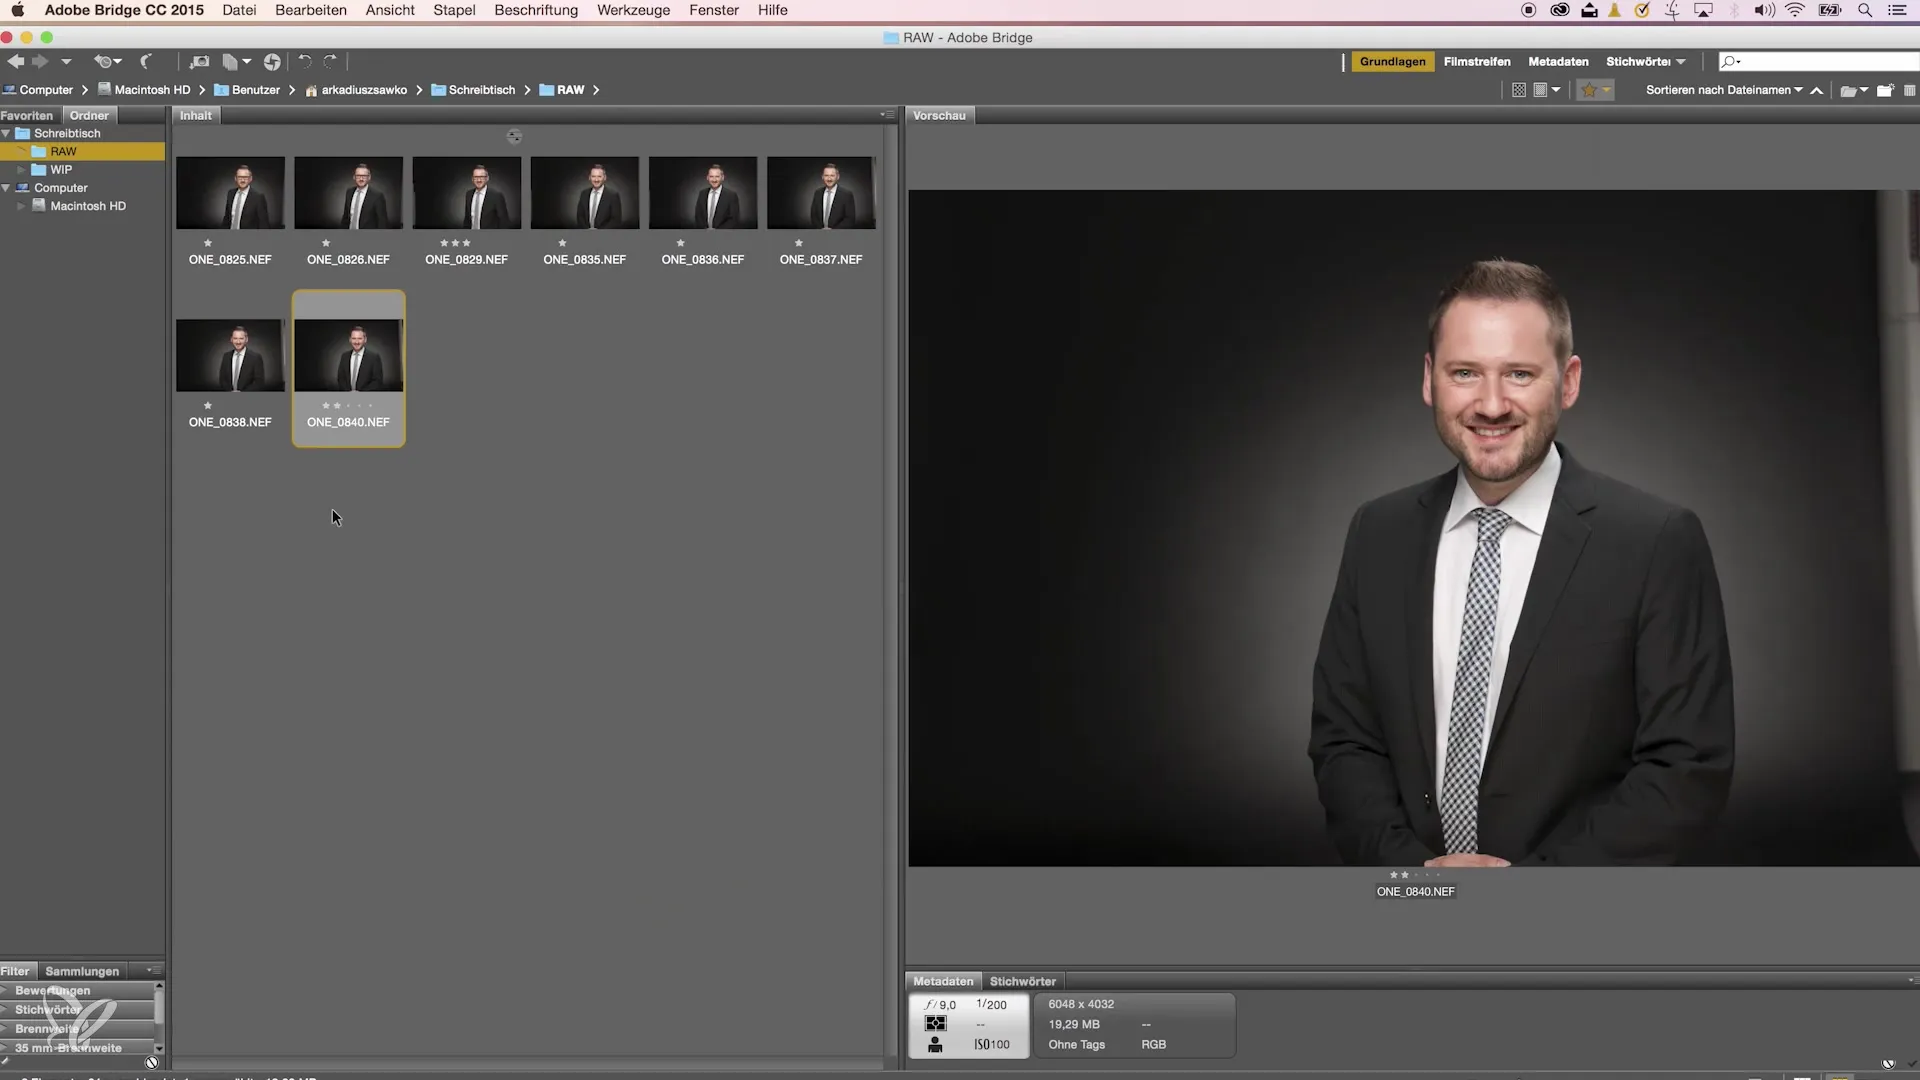
Start by pre-selecting the images by introducing a scoring system. Assign stars to the images: one star for good shots, two stars for very good ones, and three stars for the best images. Use this system to filter your first favorites.
Criteria for Image Evaluation
Consider what criteria are important for image evaluation. Pay particular attention to facial expressions, lighting conditions, and the placement of the model in the image. Also take into account the effect of the different light sources from your setup. During the image selection, feedback from your clients is also of great significance.
Fine-tuning the Light Settings
As you go through your images, check the light settings you used. Pay attention to shadow formation on the face and the effect of modifiers like reflectors. Consider whether you can achieve better results by adjusting the lighting.
Communication with the Client
Involve your client in the selection process. Sit together in front of the computer and discuss the images. Ask for their impressions and preferences so you can choose the best shots together. This interactivity not only improves the outcome but also strengthens the relationship with the client.
Final Selection of the Best Images
Make a final selection from the collected favorite images. Keep an eye on the various facial expressions and emotional moments that were captured. Assign stars again based on the scoring system to determine your final favorites.
Editing the Selected Images
Once you have selected your favorites, it's time for image editing. It is sensible to open the images in a raw format to have full control over the editing. Start with the first image and adjust the colors and exposures.

Summary – Business Portraits: The Photo Workflow for Career and Success – Image Selection Step by Step
After following the steps for image selection, you should have a clearly structured approach to selecting the best images for your business portrait. Make sure to understand the criteria for assessment and actively involve your client in the process to achieve optimal results.
Frequently Asked Questions
How many images should I select after a shoot?It makes sense to make a pre-selection of about 10-20 images that can then be further edited.
What is more important, facial expression or lighting conditions?Both aspects are important, but facial expression should generally be prioritized because it reflects the emotions and personality of the model.
How do I handle images with minor flaws?Flaws can often be corrected in post-processing. Focus first on selecting the best images.
Do I need to use software for each step?Not necessarily; some steps can also be performed manually or with minimal software, especially if it's just a few images.
Should I always involve a client in the image selection?It is advisable to involve the client to gain insights and preferences that lead to better results.


