Adjusting volume ratios is a crucial step to create a sonically balanced mix. In this guide, you will learn how to efficiently adjust the volume of individual regions within an audio track in Logic Pro X. You will learn how to equalize volume fluctuations and create a harmonious overall sound for your music production projects.
Key Insights
- Volume of individual regions can be precisely adjusted to ensure a balanced sound.
- The level control in the inspector is used to change the volume of a selected region.
- The slicing tool helps you edit specific parts of an audio track.
Step-by-Step Guide
1. Pay Attention to Volume Differences
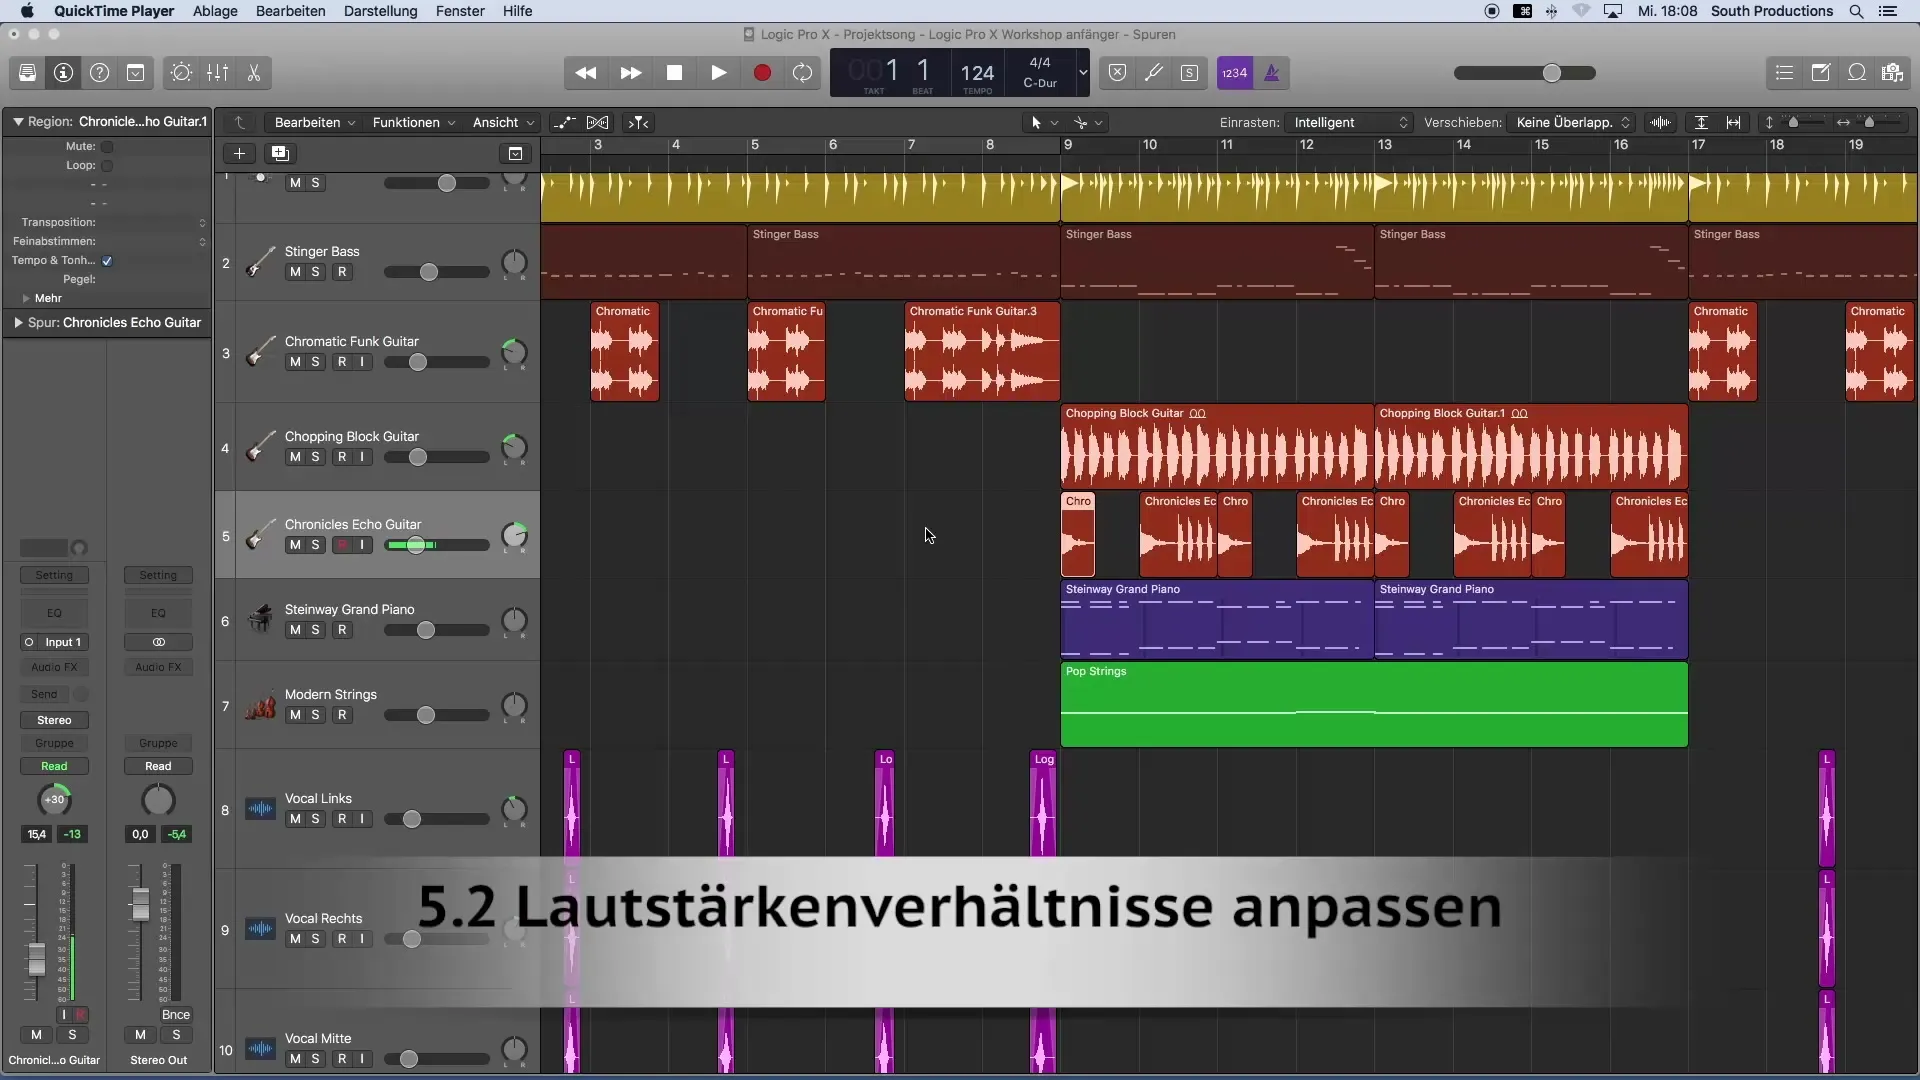
First, listen to your project and pay attention to any potential volume differences within the audio tracks. A typical example would be a guitar where certain chords exhibit different volume levels. This often becomes noticeable when one part of the song sounds louder than another.
2. Identify the Problematic Part
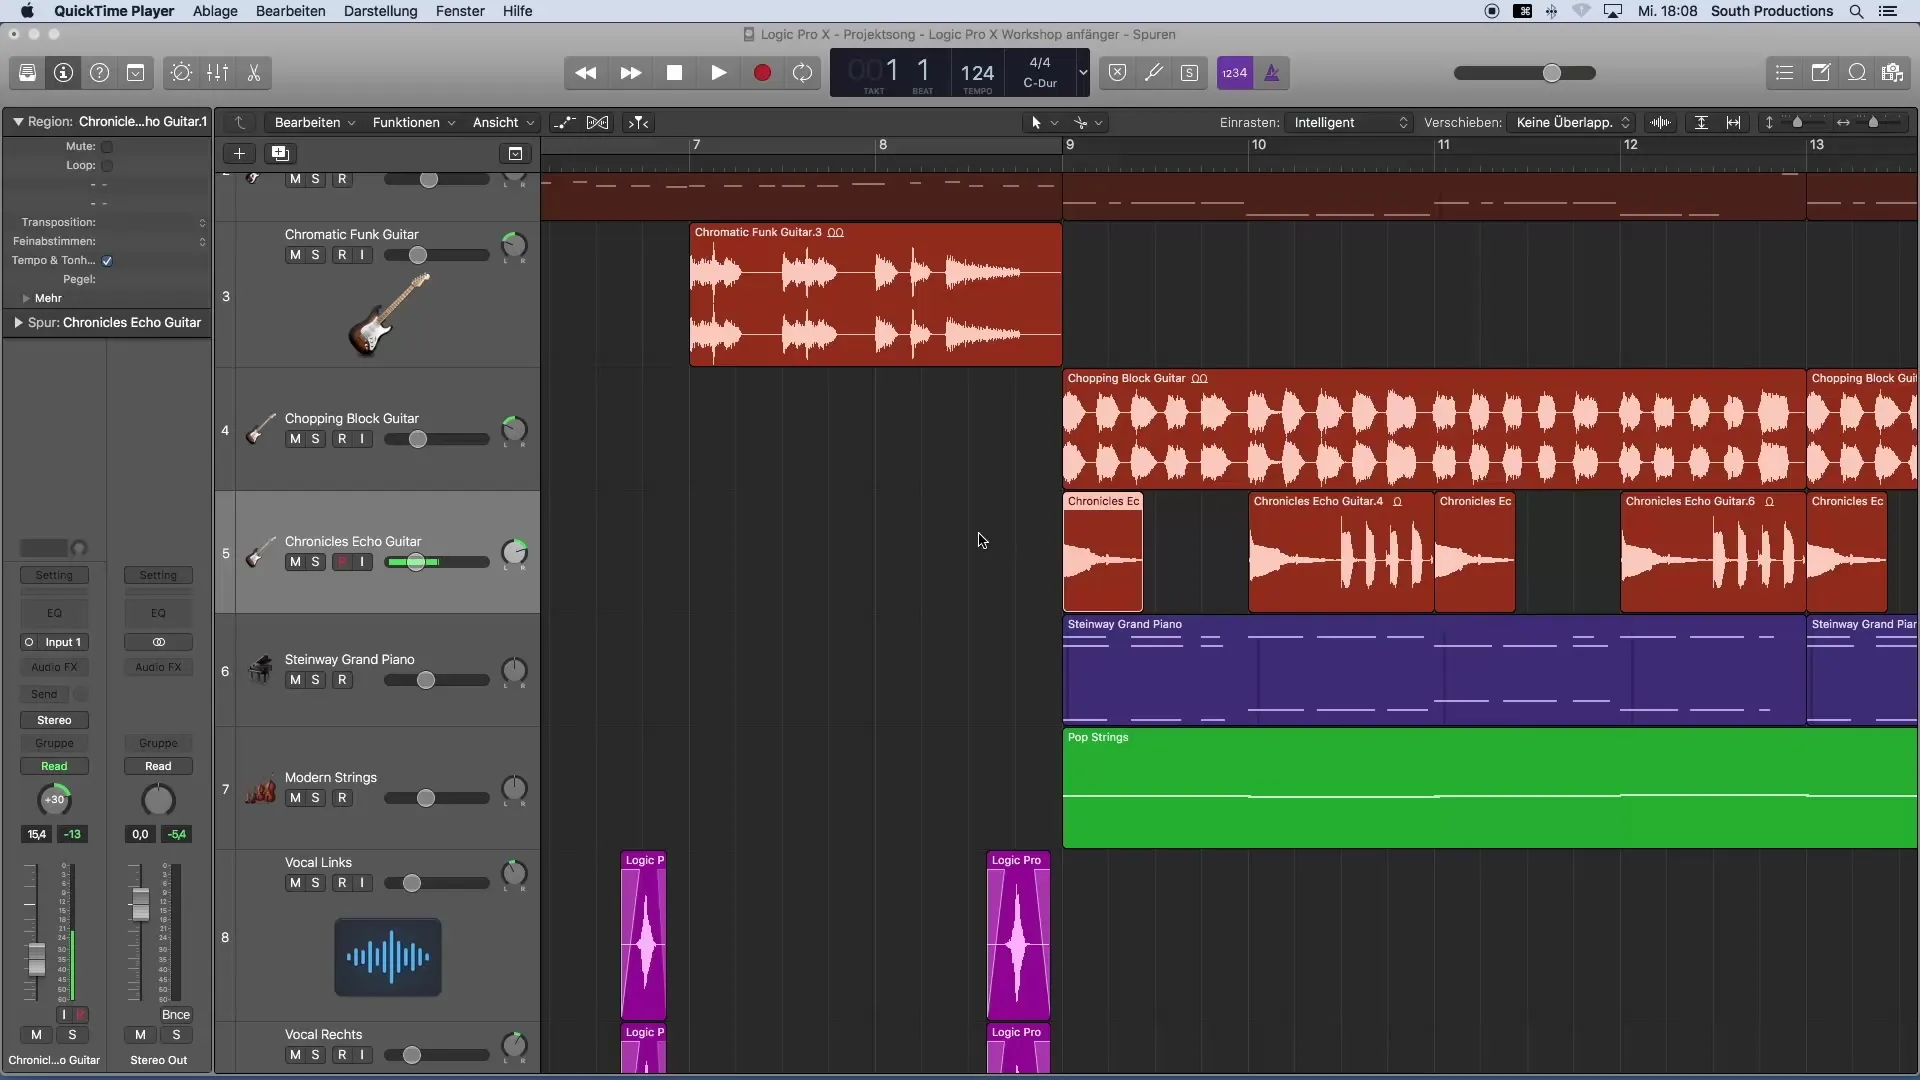
Once you've found the part that is too loud, you need to isolate that specific section of the audio track. It's best to cut out this part using the scissors tool. Position the tool at the desired cutting point and cut as accurately as possible.
3. Use the Edge Cutter
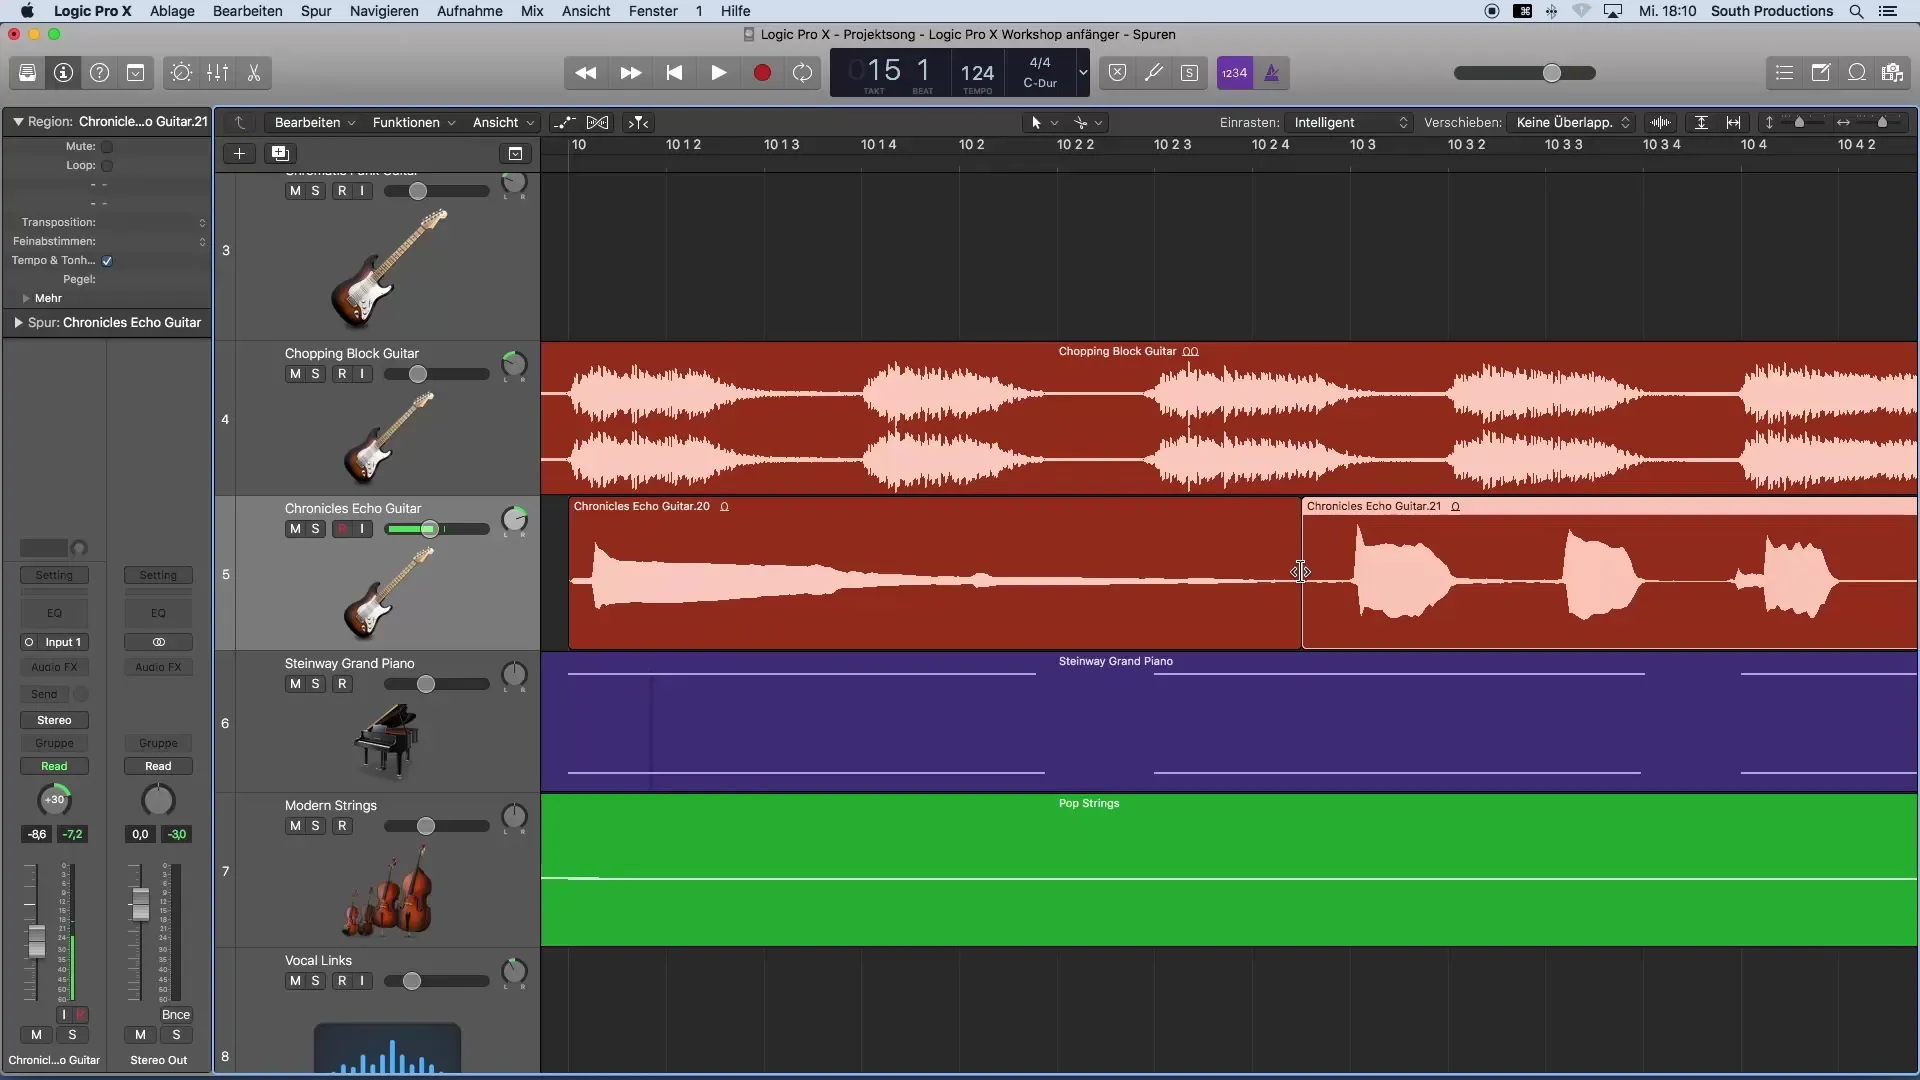
After the initial cut, zoom into the audio track to ensure that you have accurately reached the edge. Using the pointer tool, you can now adjust the cut point. Drag the cut until it reaches the region you want to adjust.
4. Adjust Volume in the Inspector
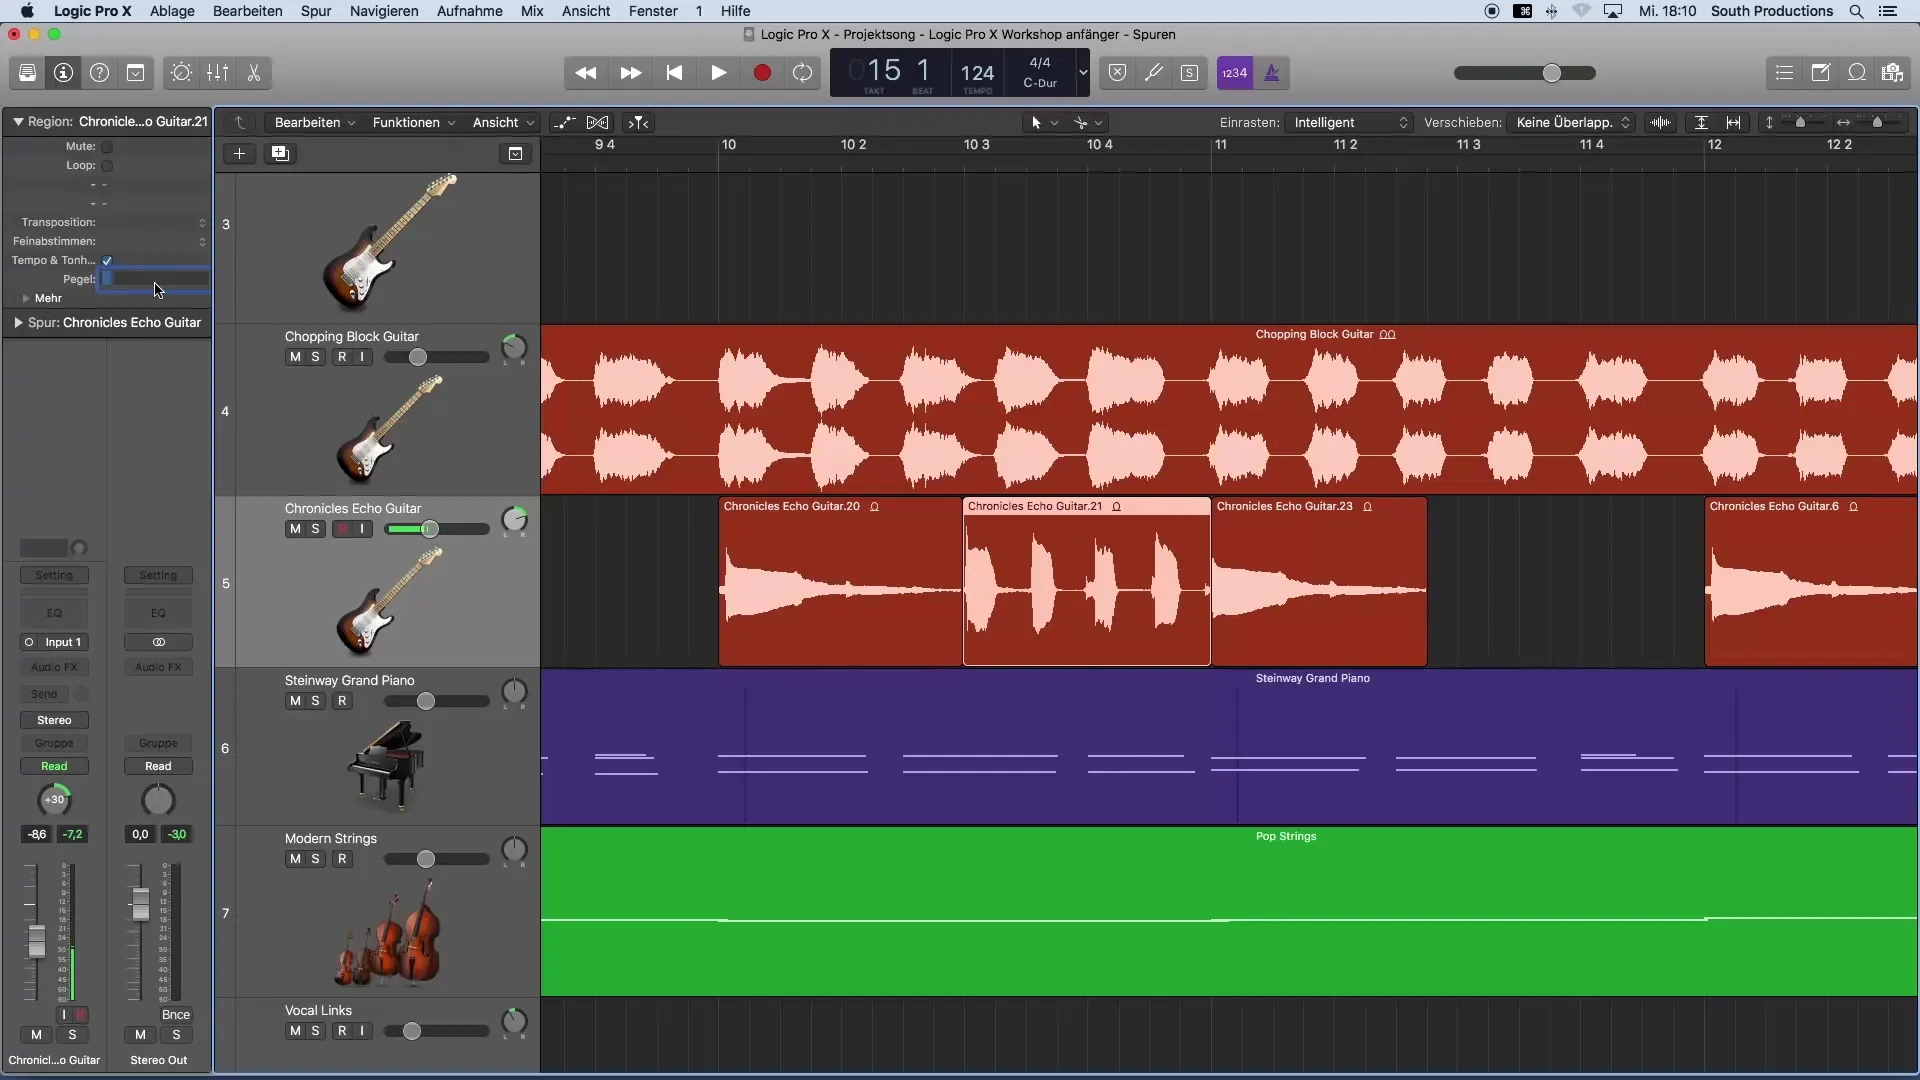
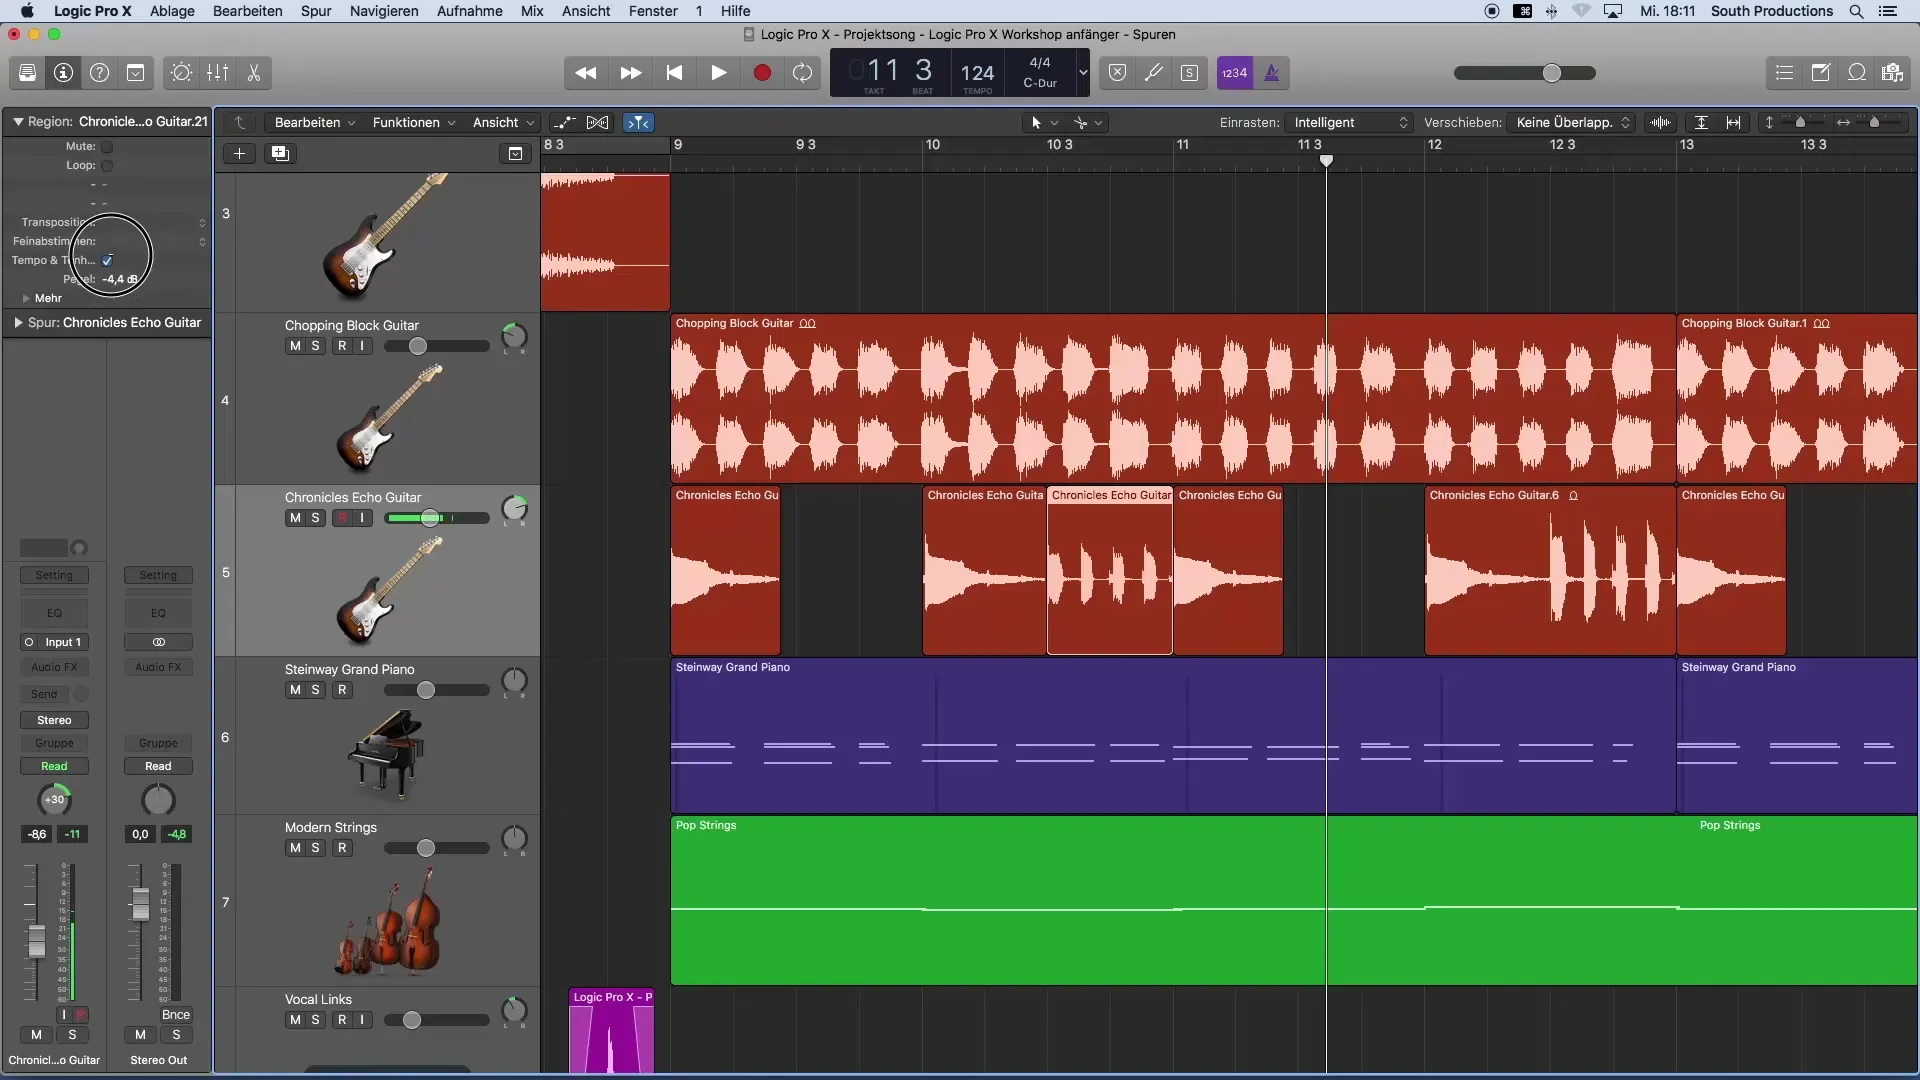
Select the region you just cut out. On the left in the inspector, you will find the level control. If it is not visible, open the inspector by pressing the "i" key on your keyboard. A double click on the volume field allows you to set the volume for this region. For example, enter "-5 dB".
5. Adjust Dynamically
After reducing the volume, listen to the adjusted section again. You may want to further increase or decrease the volume. By dragging the level up and down, you can hear the changes live and adjust optimally.
6. Copy Values
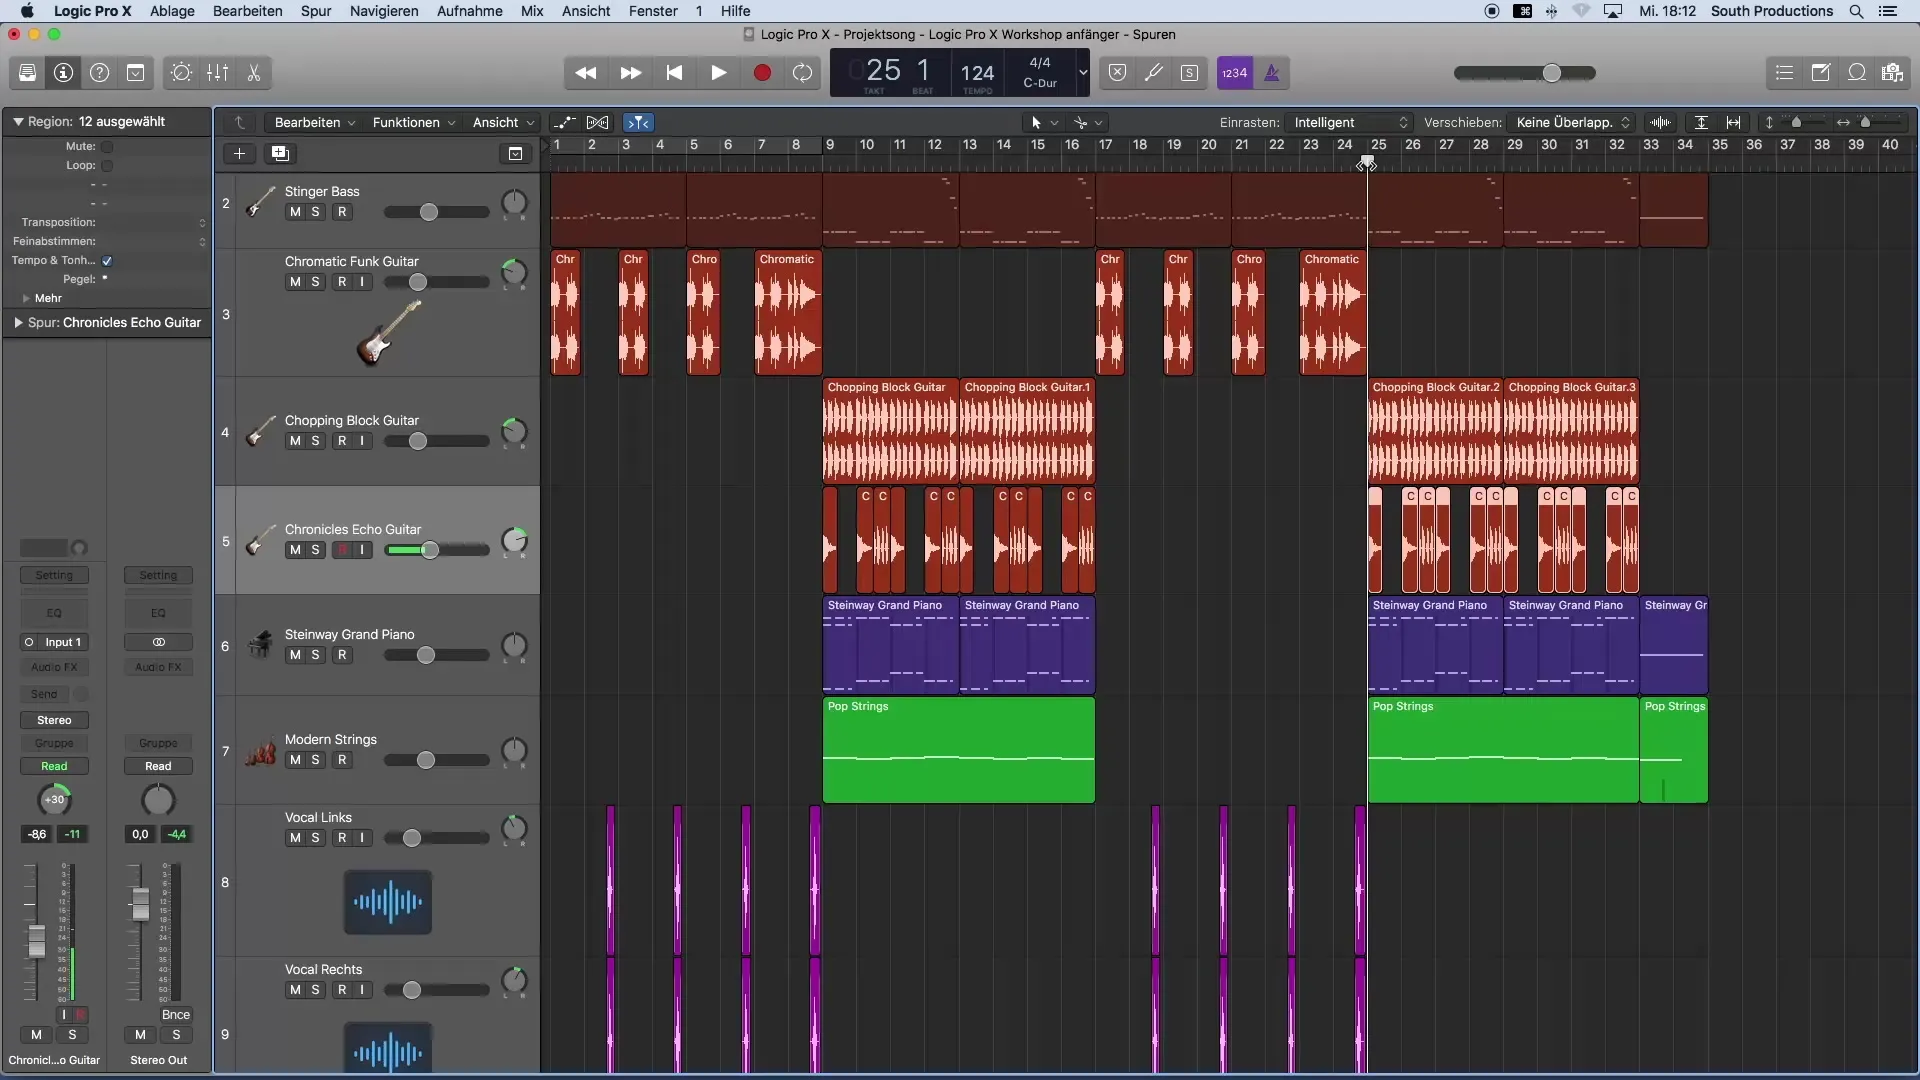
To save time, you can copy the edited region. Delete the other identical regions and transfer the volume adjustment to the new regions by pasting them in the desired location. This allows you to achieve a consistent volume across the entire audio track.
7. Edit Multiple Regions Simultaneously
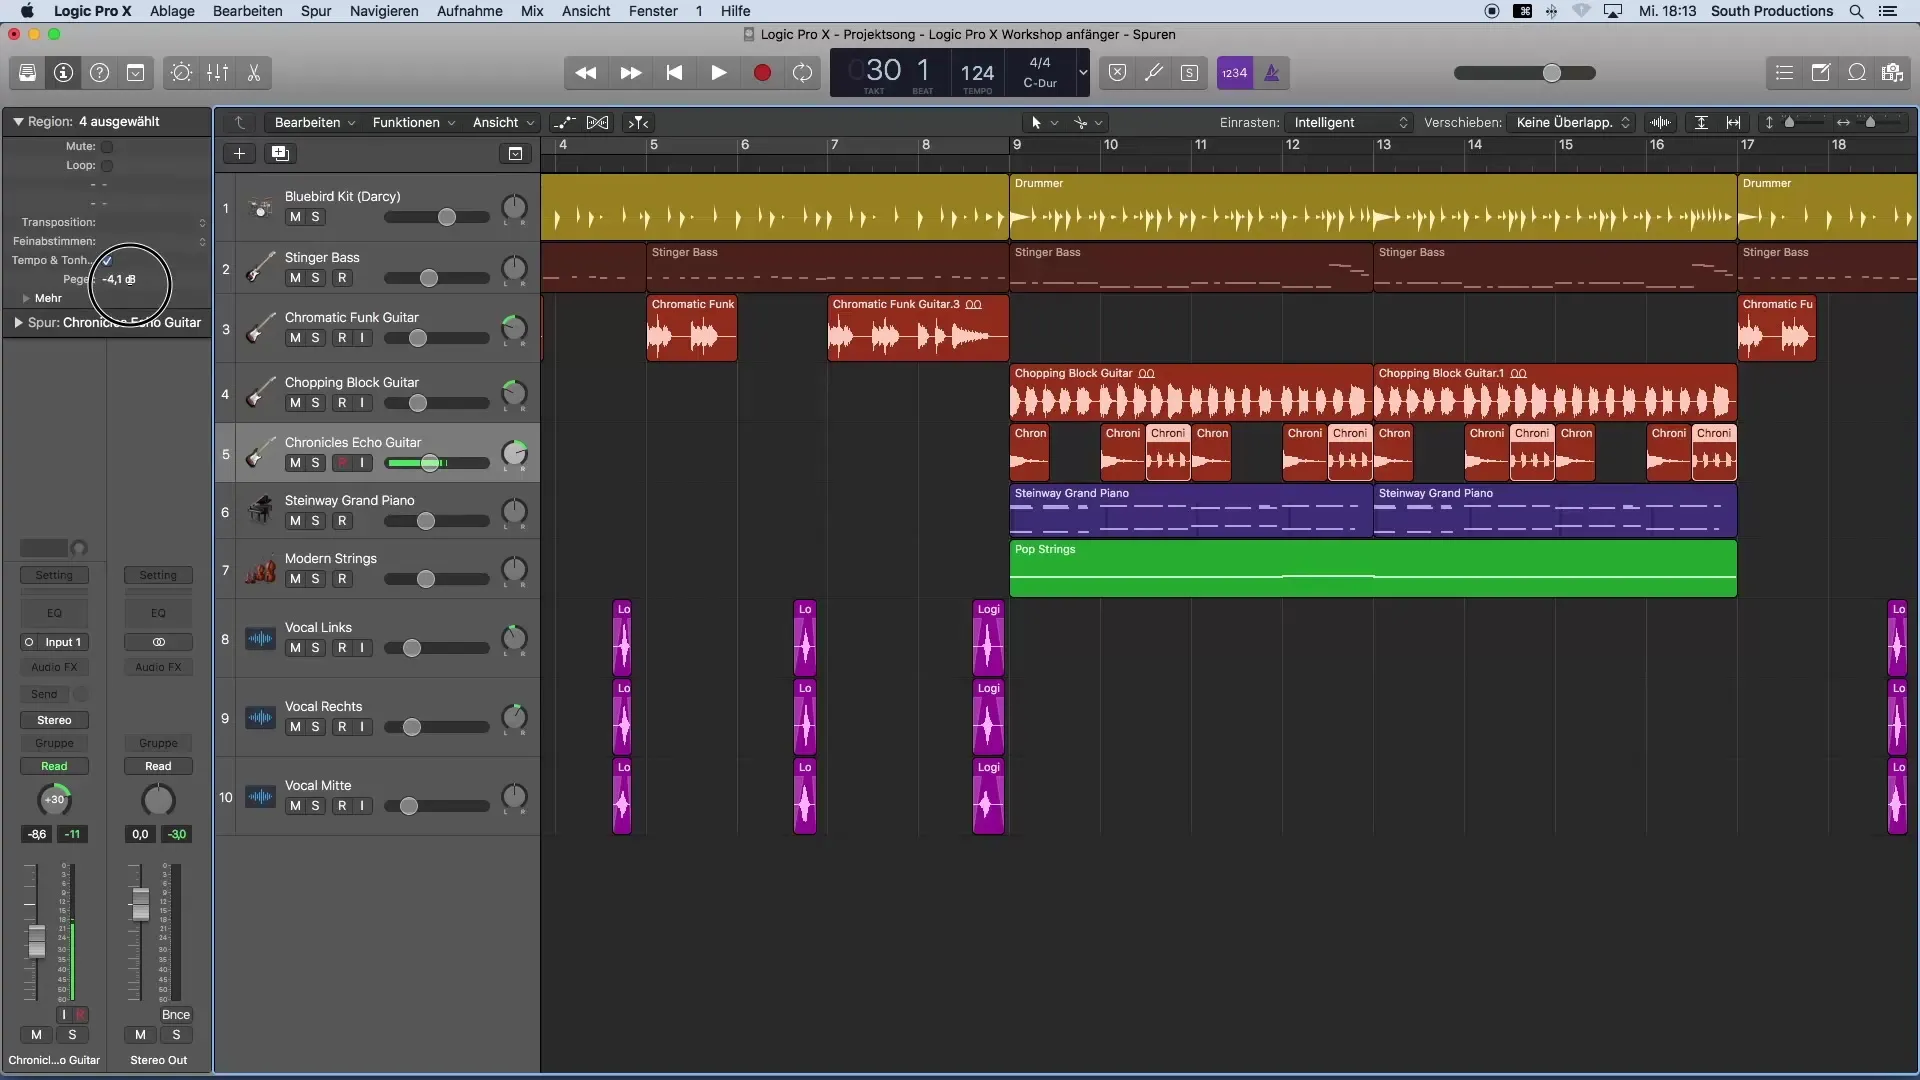
If you want to adjust multiple regions at the same time, you can do so as well. Hold down the Shift key and select all the regions you want to edit. Now you can adjust the level for all of them simultaneously. This saves time and ensures consistency in the mix.
Summary - Adjusting Volume Ratios in Logic Pro X
You have learned how to effectively adjust volume ratios within individual tracks. The procedure is straightforward: identify the too-loud part, cut it out, adjust the level in the inspector, and copy this setting to other regions. This way, you achieve a harmonious sound in your music productions.
Frequently Asked Questions
How do I cut a region in Logic Pro X?Use the scissors tool to cut out the desired region.
How do I adjust the volume of a region?Select the region and change the level in the inspector.
Can I edit multiple regions at once?Yes, hold down the Shift key to select multiple regions and adjust the volume for all at once.
What can I do if the level is not displayed?Open the inspector with the "i" key on the keyboard.
How do I ensure my mix is balanced?Pay attention to volume differences while listening and adjust them if necessary.


