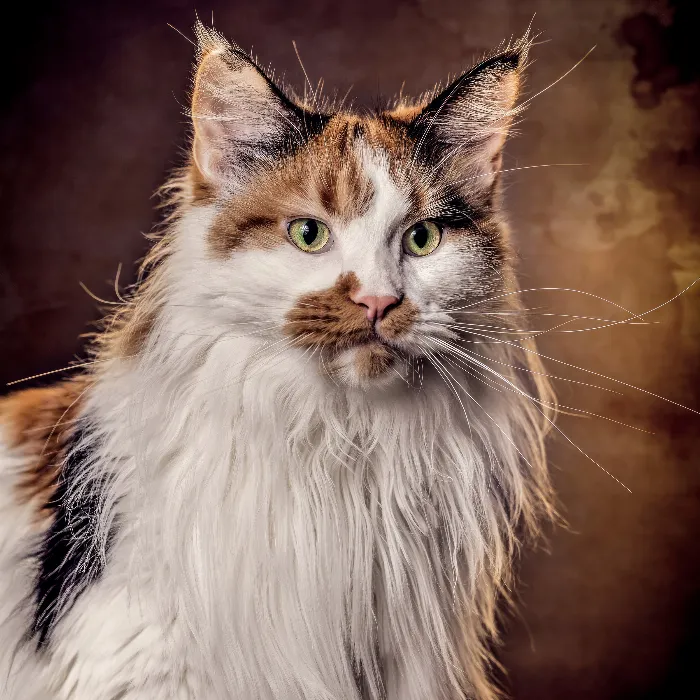
Creating stunning cat portraits goes far beyond simply taking the photo. The art of image editing gives your image the final polish and makes it look its best. In this tutorial, you will learn how to edit your cat portraits in Lightroom and Photoshop, adjusting not only the main subject but also the background and the ground.
Key Insights
- Apply basic editing techniques consistently to create a cohesive look.
- Use textures to make the background interesting, ensuring the foreground is well integrated.
- Utilize tools like the healing brush and the dodging & burning technique to enhance details.
- Pay attention to color adjustments and the right mask to maximize image quality and visual impact.
Step-by-Step Guide
Start with your first edit and remember that you will be repeating some steps you've already learned in previous projects.
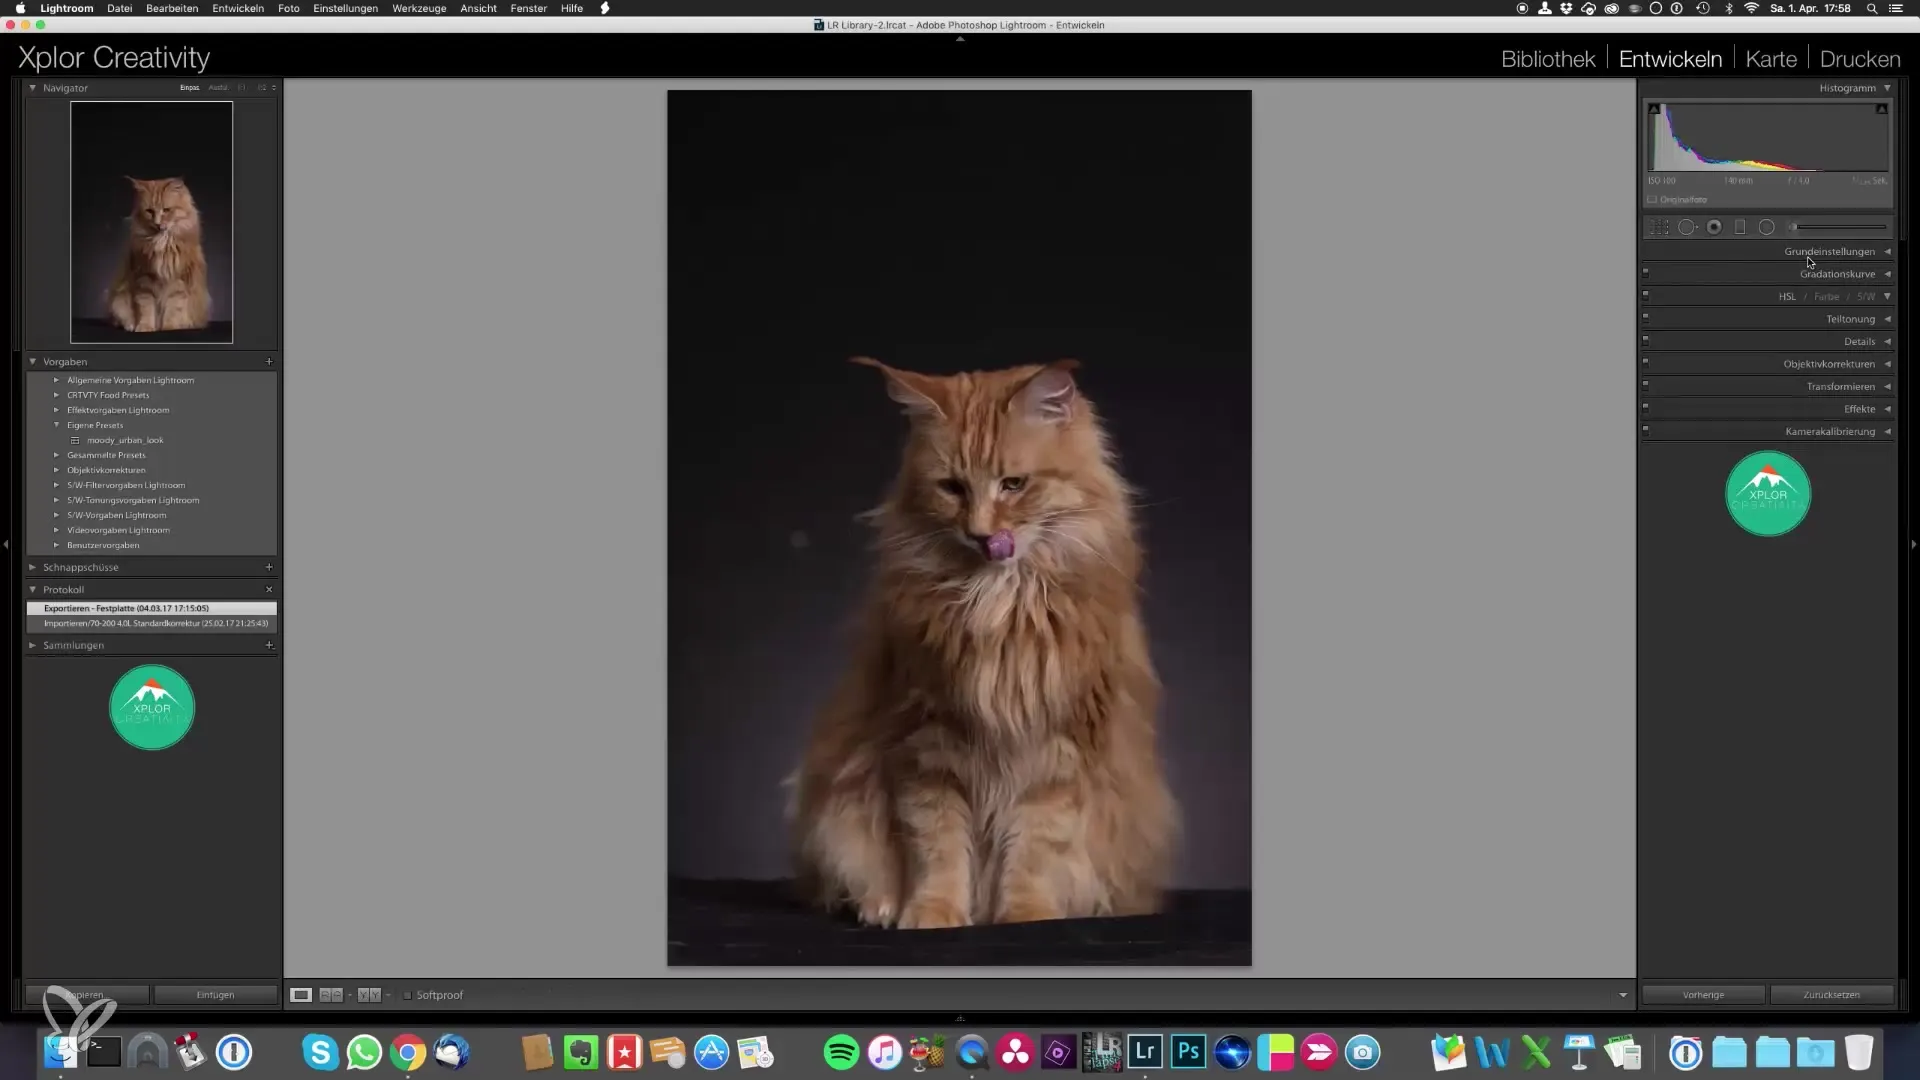
First, import your image into Lightroom. Here, you should start with basic editing to improve sharpness and optimize lighting. You can add a bit more clarity and adjust the shadows to highlight details. Be sure to also apply a lens correction to correct distorted areas.
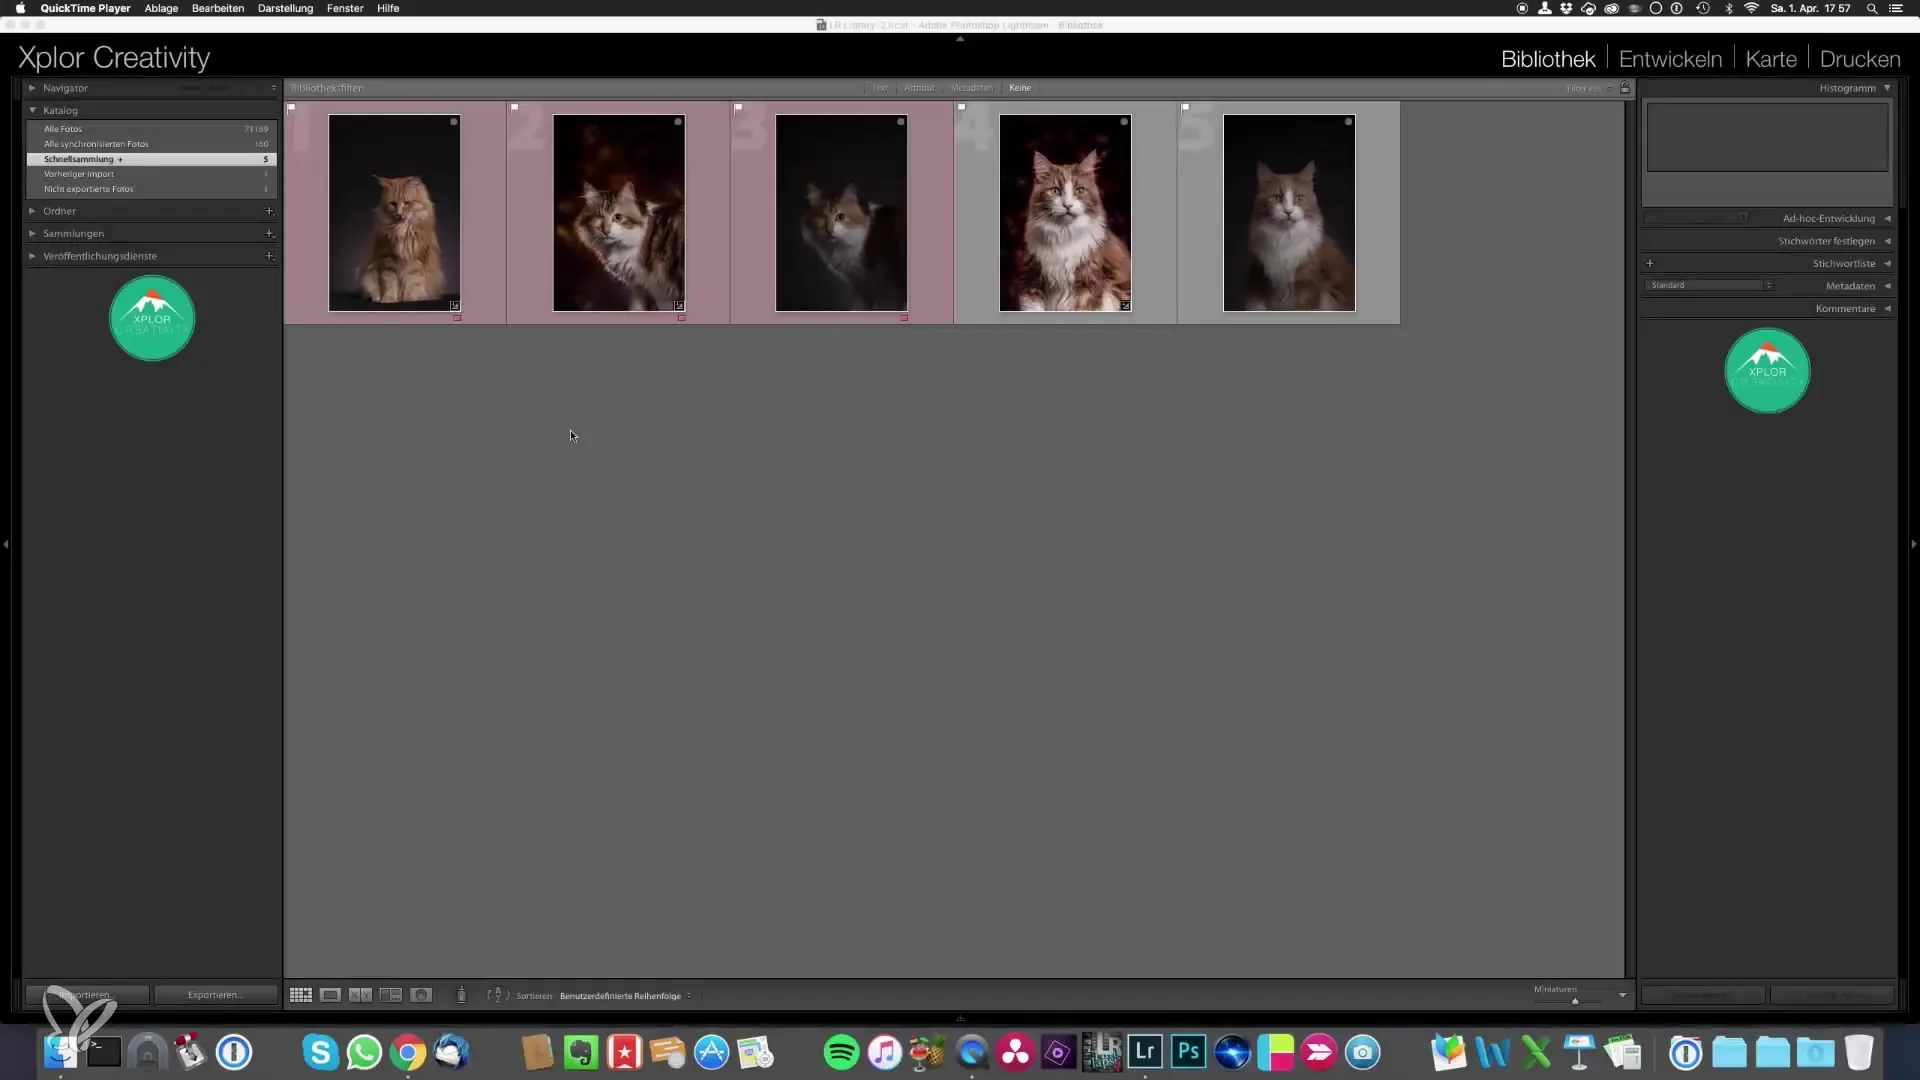
Once you are satisfied with the basic editing, open the image in Photoshop. Here, it gets a bit more complicated, as you should duplicate a layer to make changes without affecting the original image. Also, first check for dark spots on the cat's eye. The healing brush is an excellent tool for removing blemishes. You can hold down the Alt key to take reference points that you can then apply.
After removing all the small spots, the next step is to change the background. Here you will come to your storage of self-created textures. Open them in a new window for easier selection. Simply drag the chosen texture over the image and adjust it. You can rotate the texture by 90 degrees and resize it as needed.
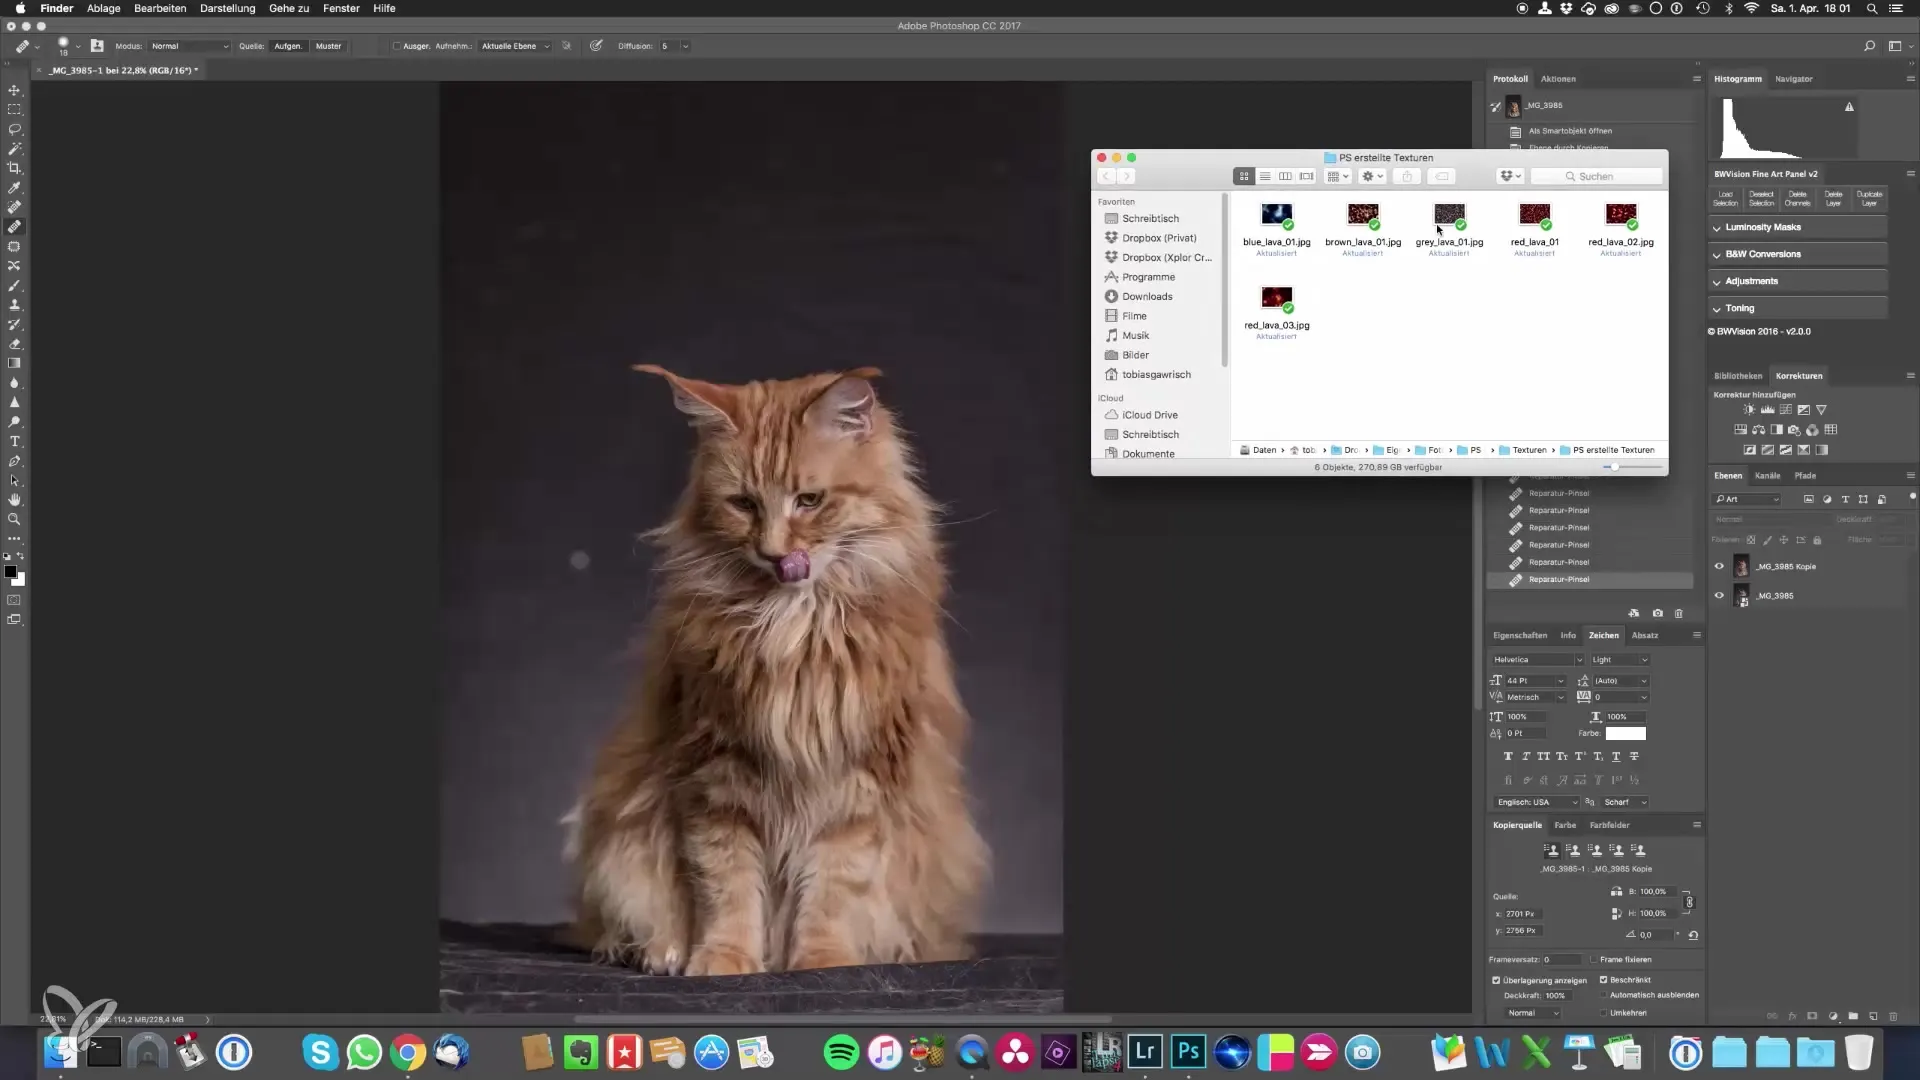
Overlay the textures using layer modes. The "Soft Light" mode could be the best option here, as it brightens the texture and creates interesting effects. Don’t forget to add a mask to mask out areas you don't want to overlay – pay special attention to the ground here.
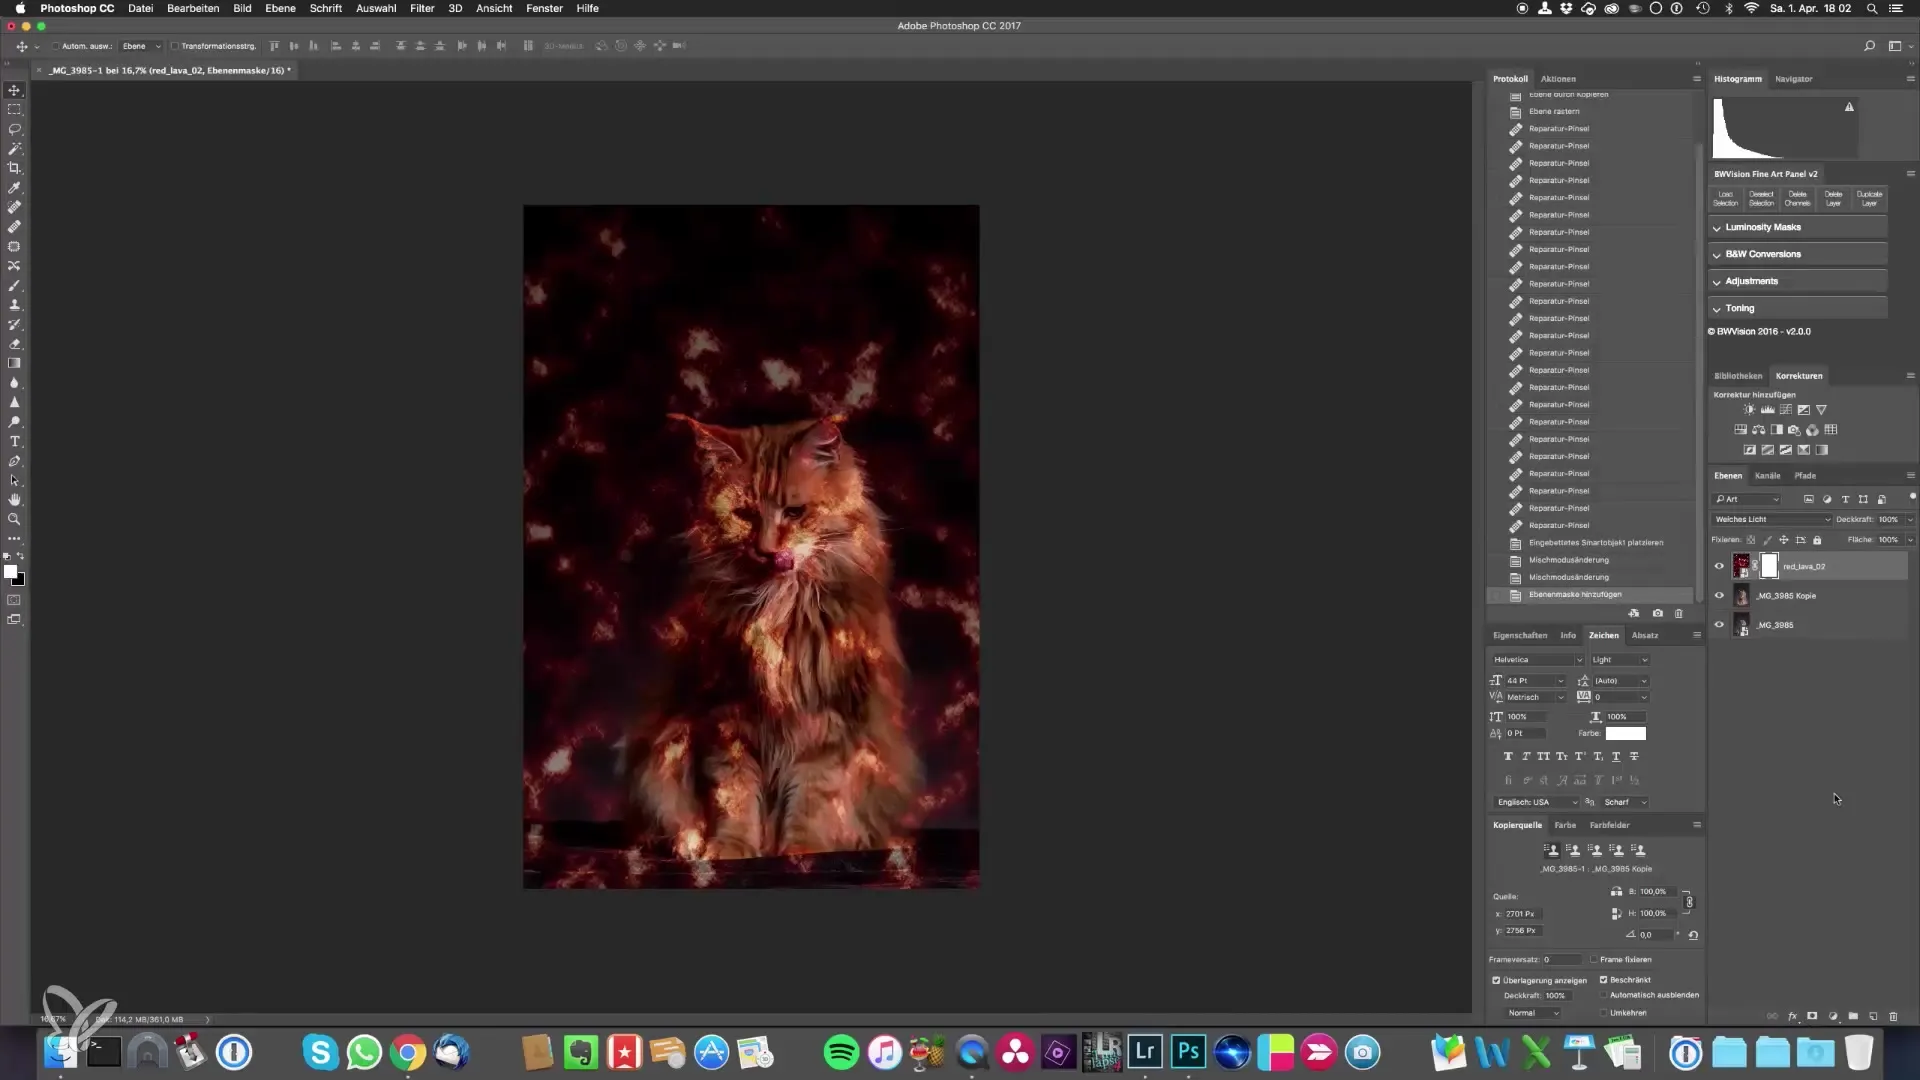
To make your result look harmonious, you should also adjust the ground. Use the dodging and burning technique to darken the lower areas selectively; this is especially important if the ground is cluttered with hair or other distractions. To do this, create a new layer, set it to 50% gray, and set the blending mode to "Soft Light." This technique allows you to target brightness reduction and create a smoother appearance.
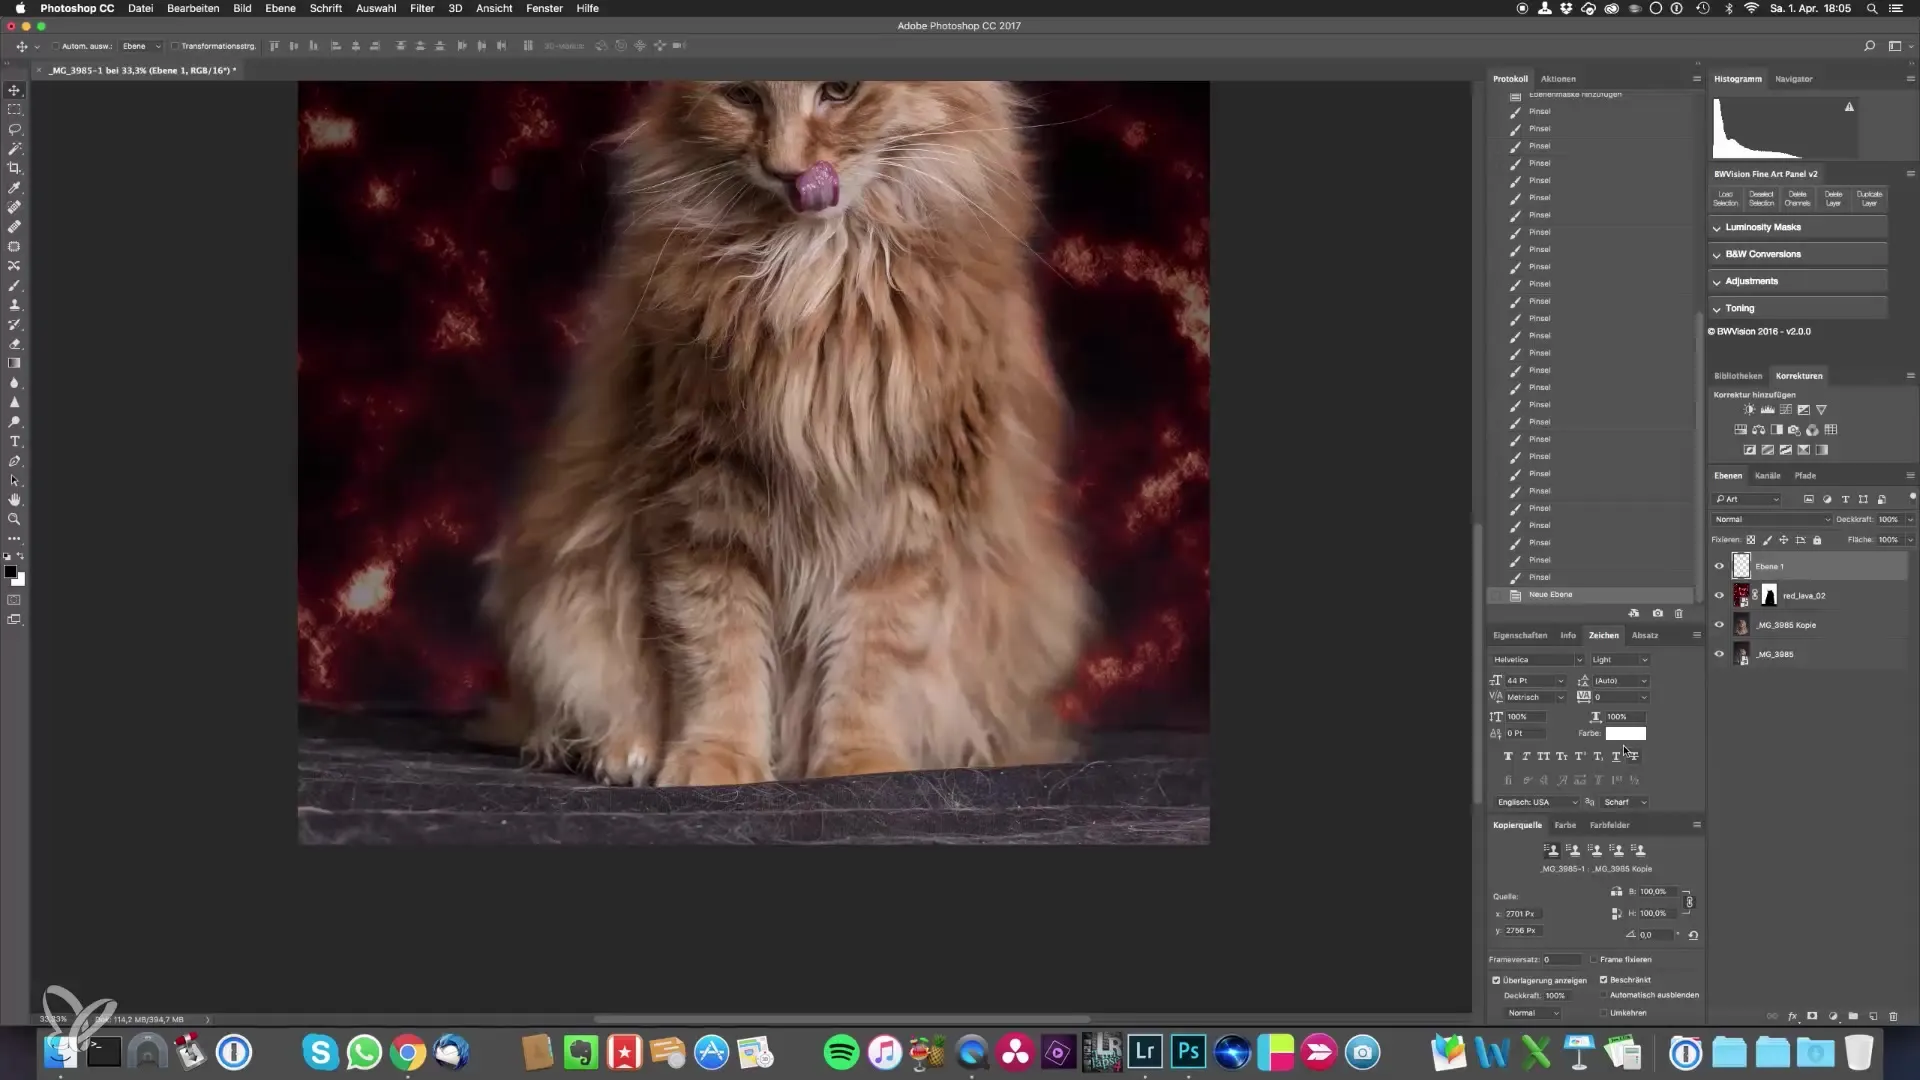
Additionally, you can continue your image editing in the Camera Raw filter. Here you can reduce highlights, adjust shadows, and set clarity accordingly. These small adjustments help make the background appear softer and more harmonious.
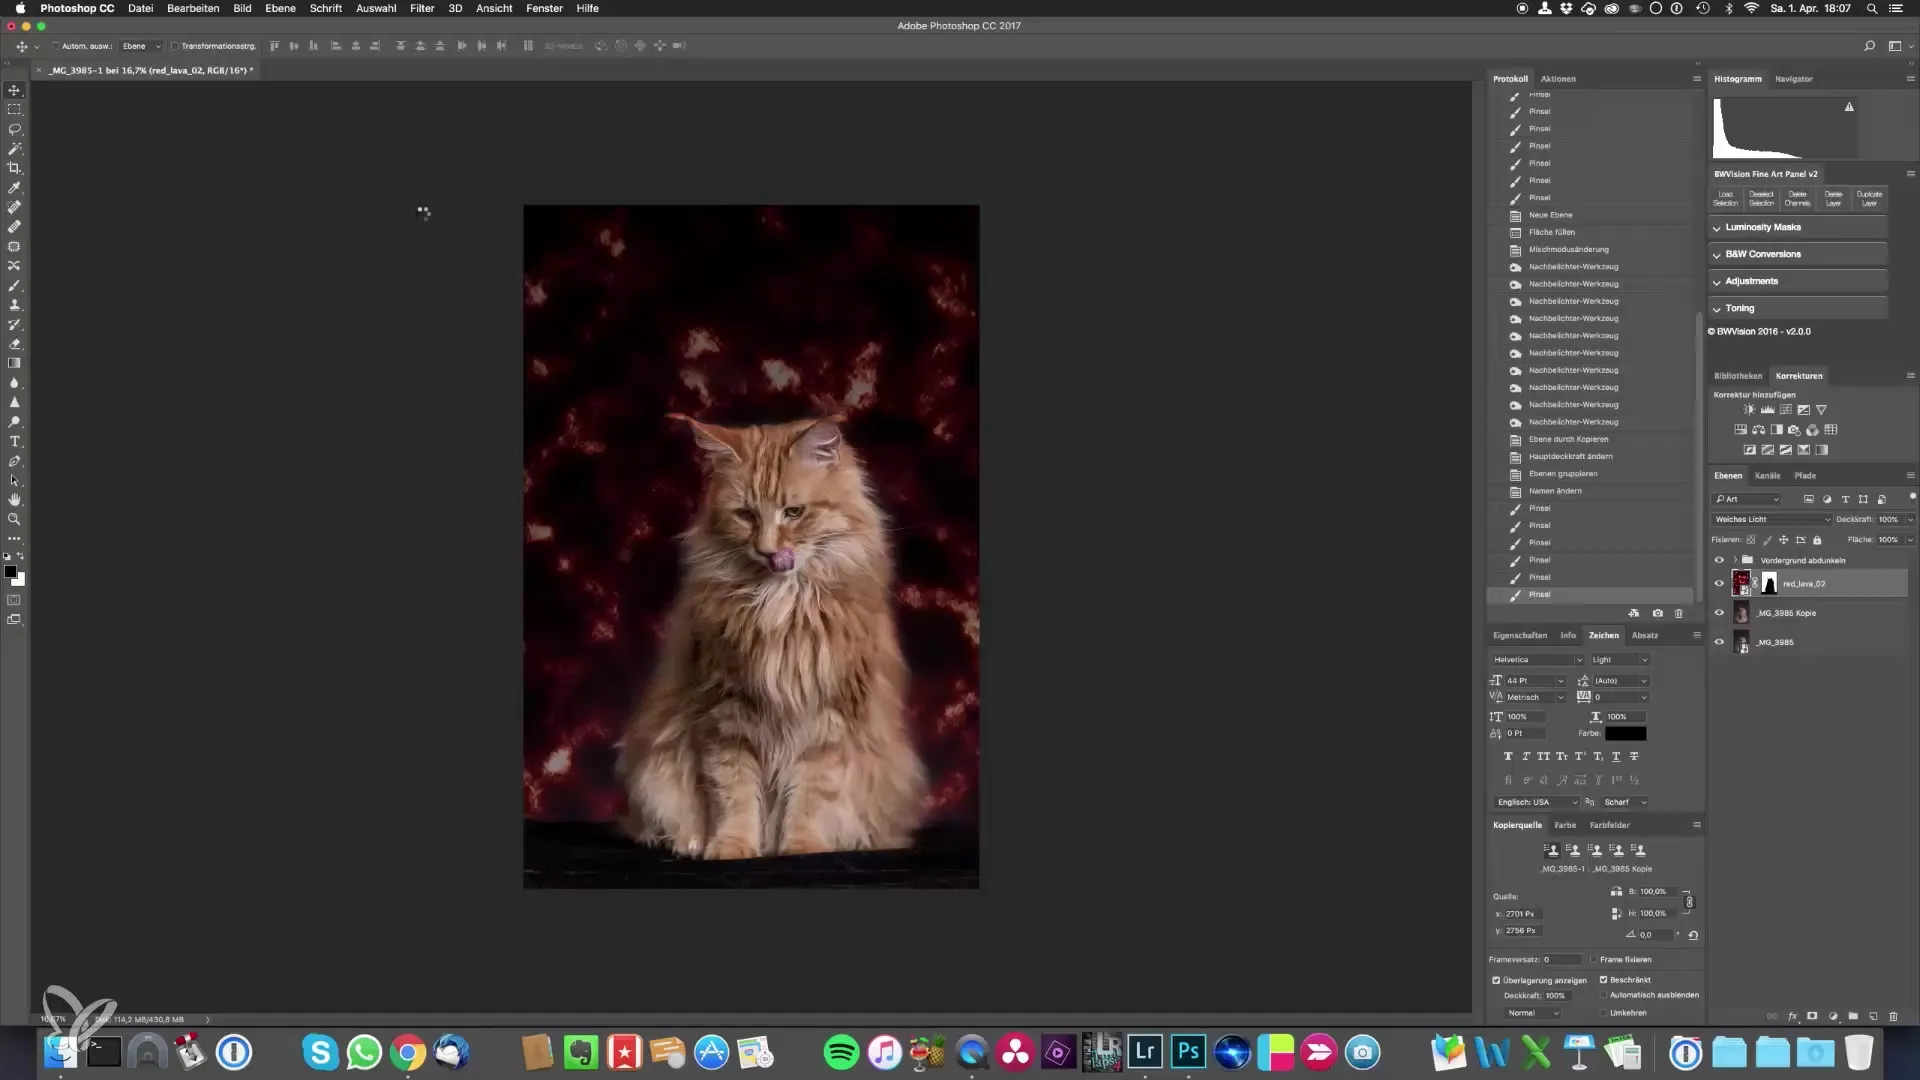
To round off the final look, ensure subtle color corrections. Check the grayscale and slightly increase the blacks to give your image depth and dimension. You can also adjust the hue sliders to reach the desired tone for your cat portraits.
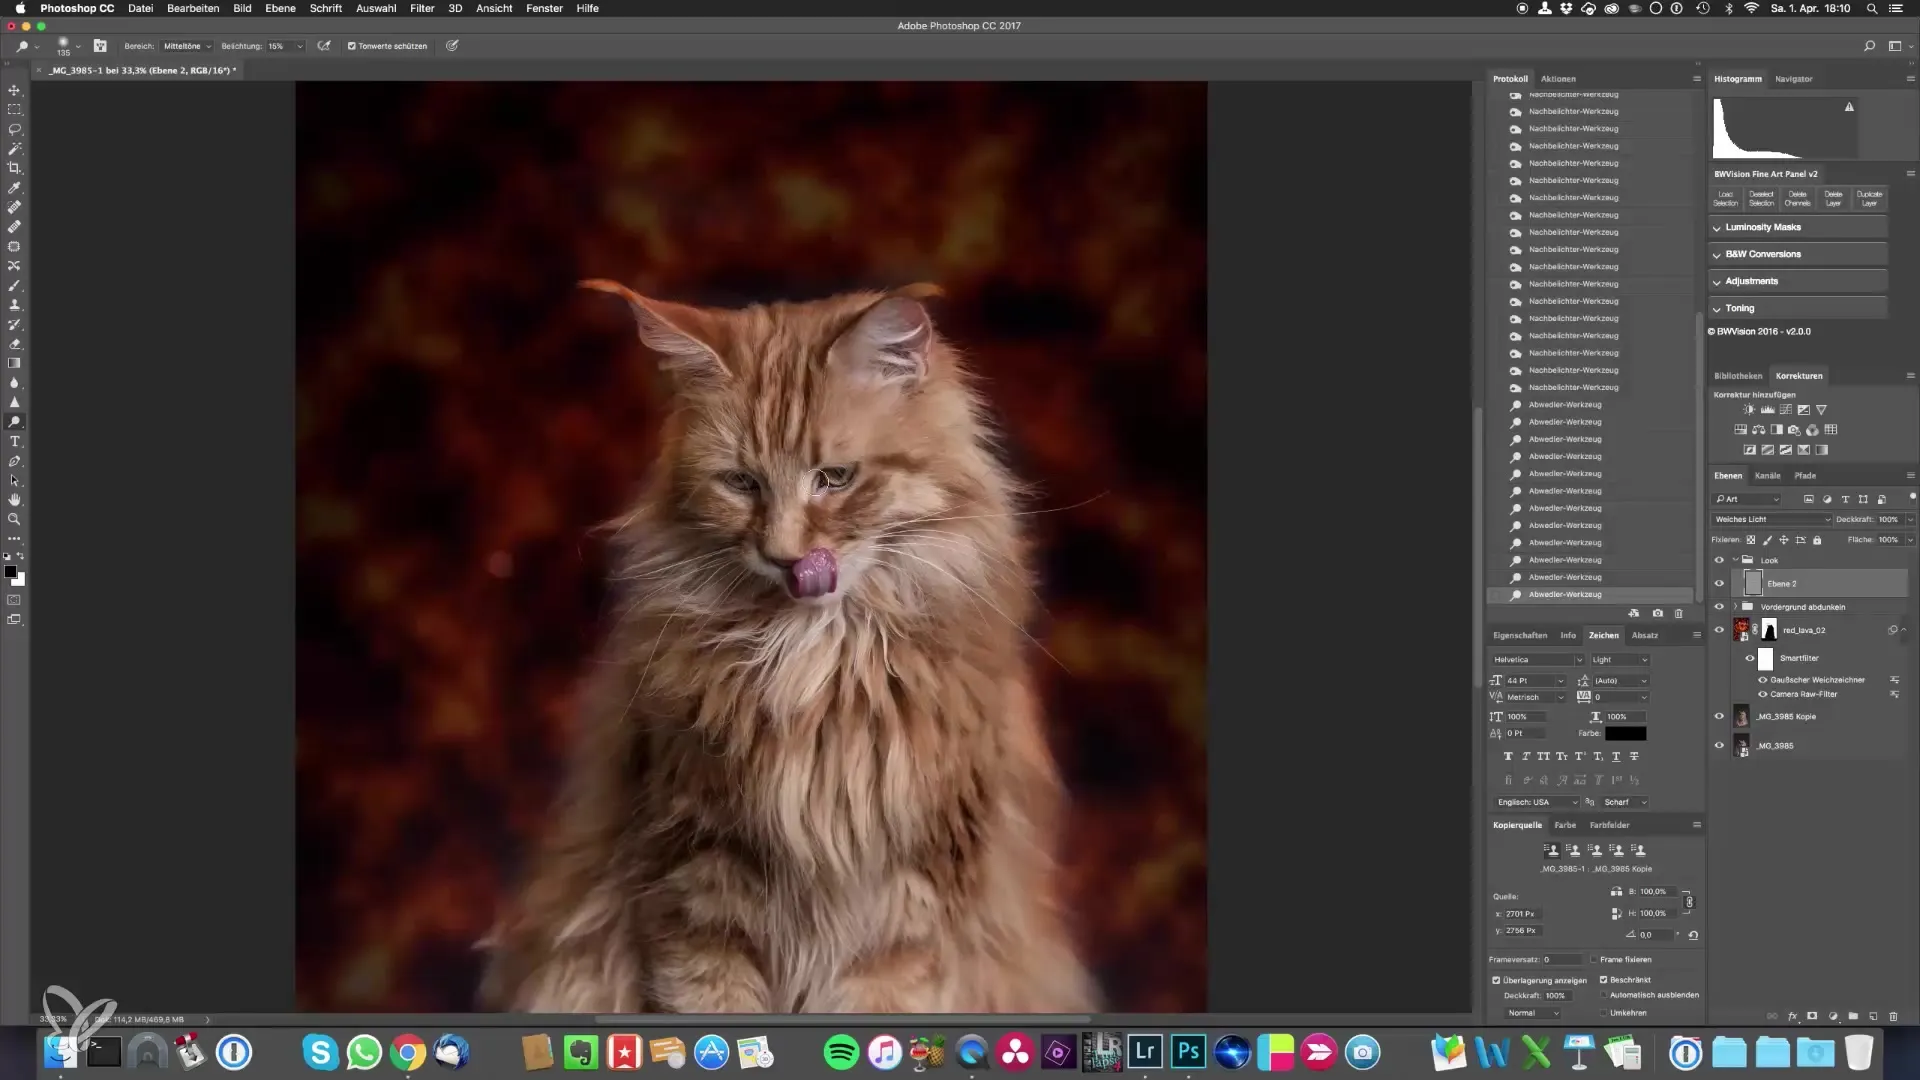
When you are done with Photoshop, upload the image back into Lightroom and use the linear gradient filter to make targeted adjustments to sharpness. This allows you to reduce high contrast in specific areas and create a softer overall image.
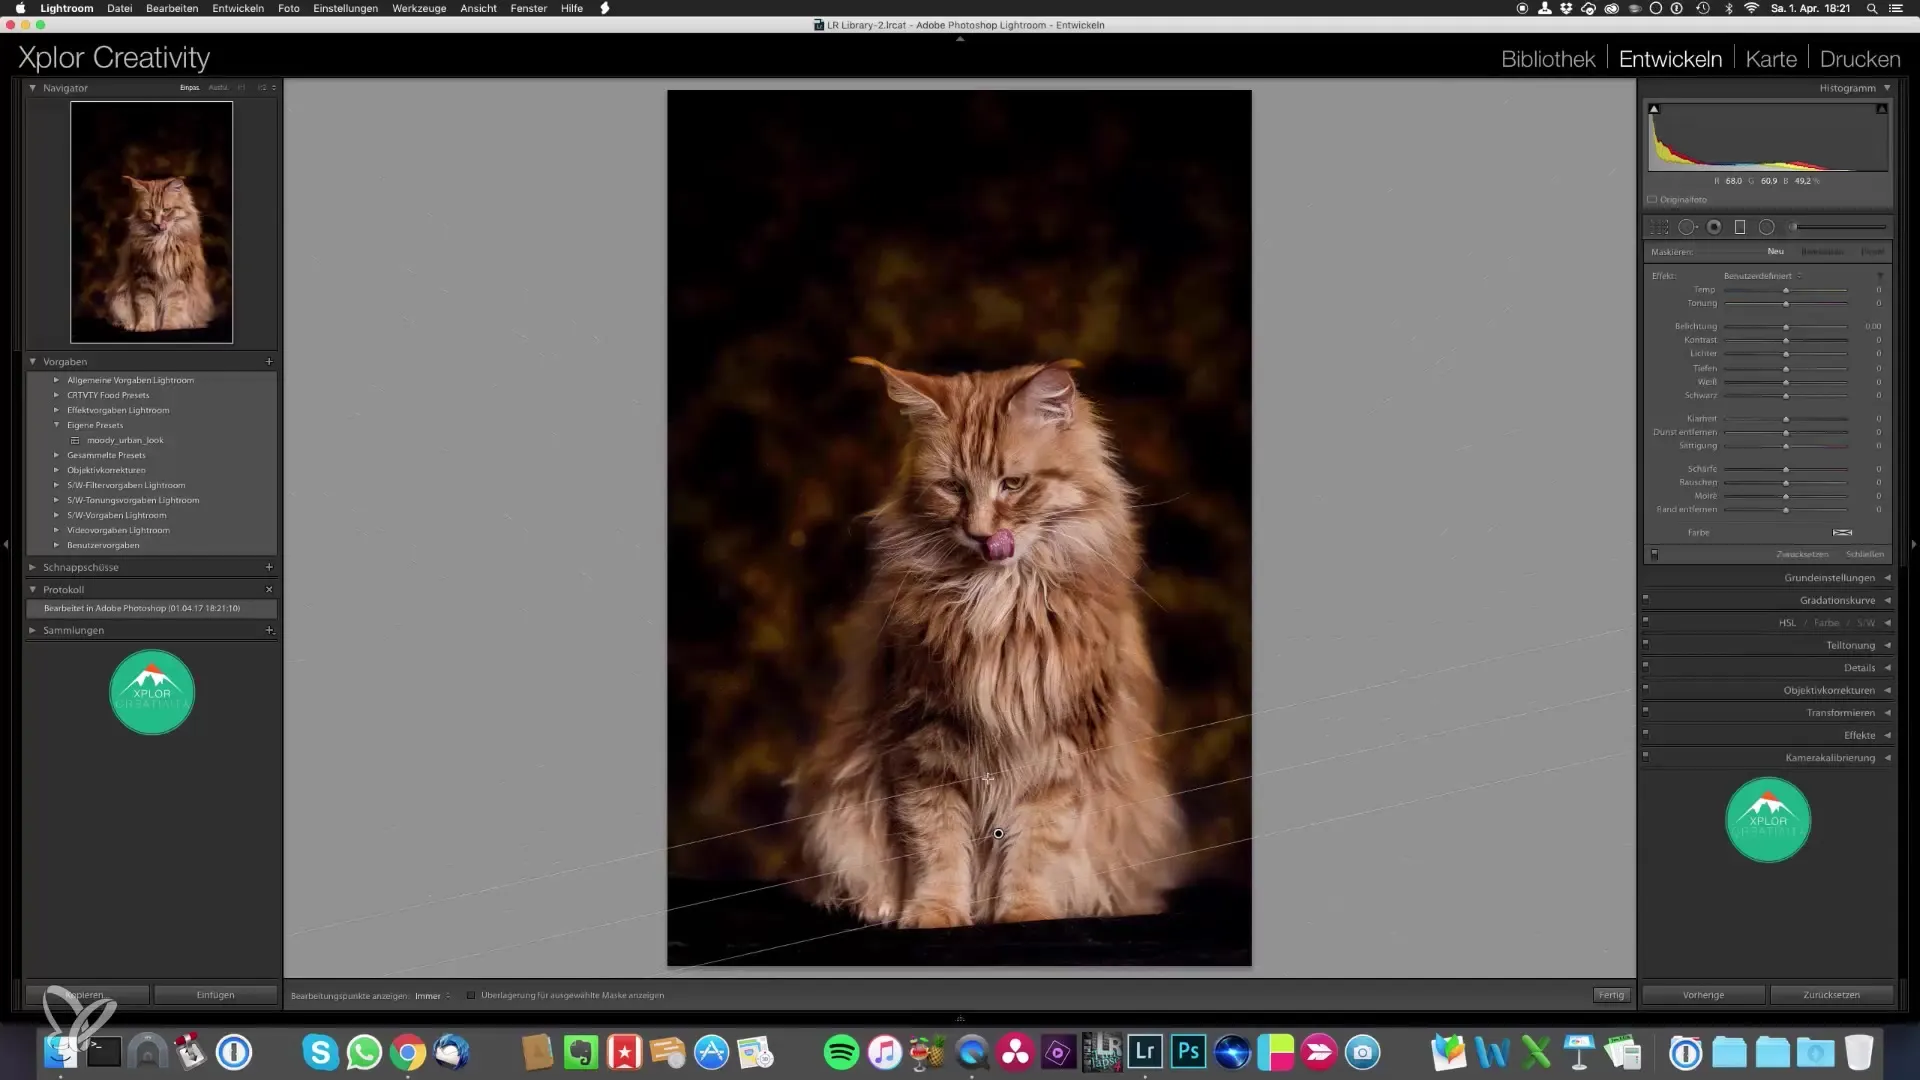
After making all adjustments, you can review your final work and decide whether to add a vignette to draw attention to the central part of the image. This final measure helps make your cat portrait look more dramatic and engaging.
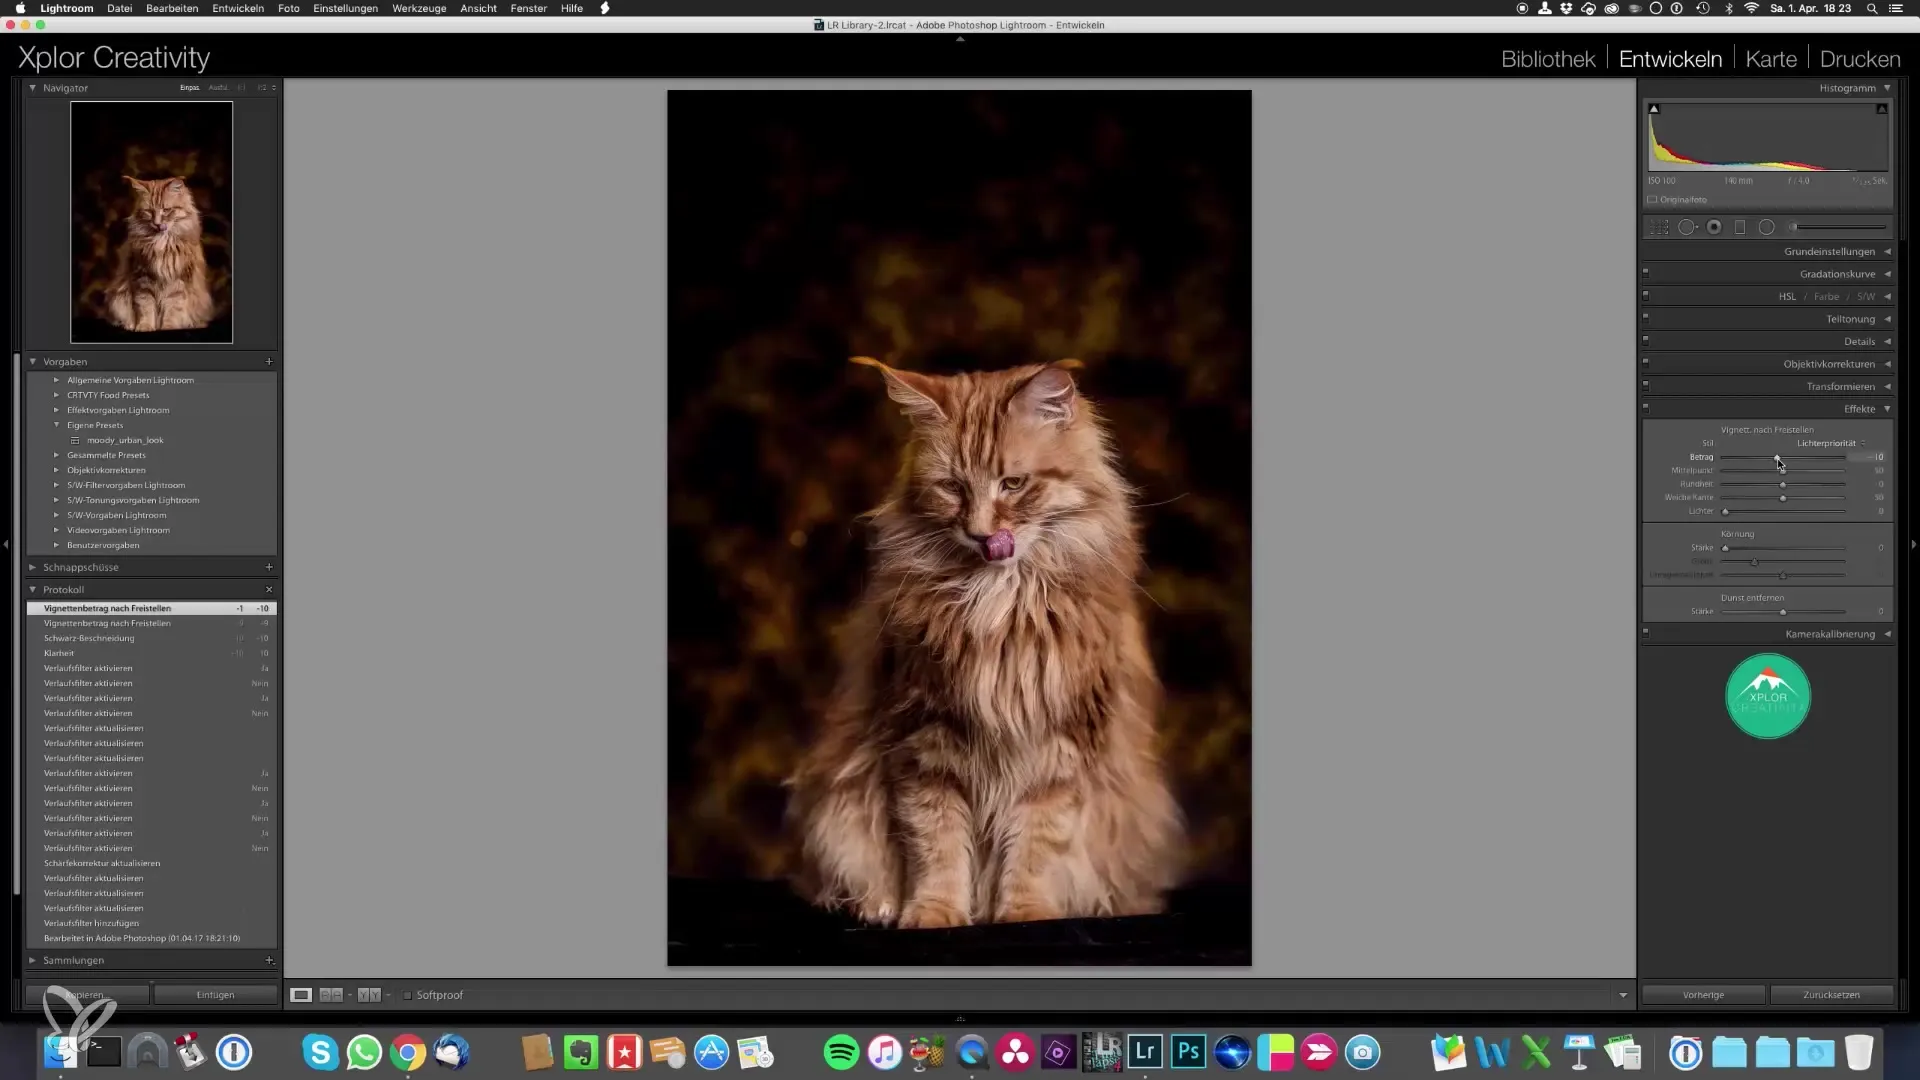
Summary – Photographing Epic Cat Portraits Yourself
In this detailed guide, you have learned how to elevate cat portraits to a new level by applying targeted techniques in Lightroom and Photoshop. Whether you want to change the background or edit details, with the right technique and a little time, you can achieve impressive results.
Frequently Asked Questions
How do I get the right sharpness in an image?Use the sharpening tools in Photoshop and reduce the opacity for optimal results.
Can I use my own textures?Yes, you can create your own textures to personalize your images.
How can I adjust the color of the background?Use the hue sliders in Lightroom or Photoshop to change the hue of the background as you wish.
