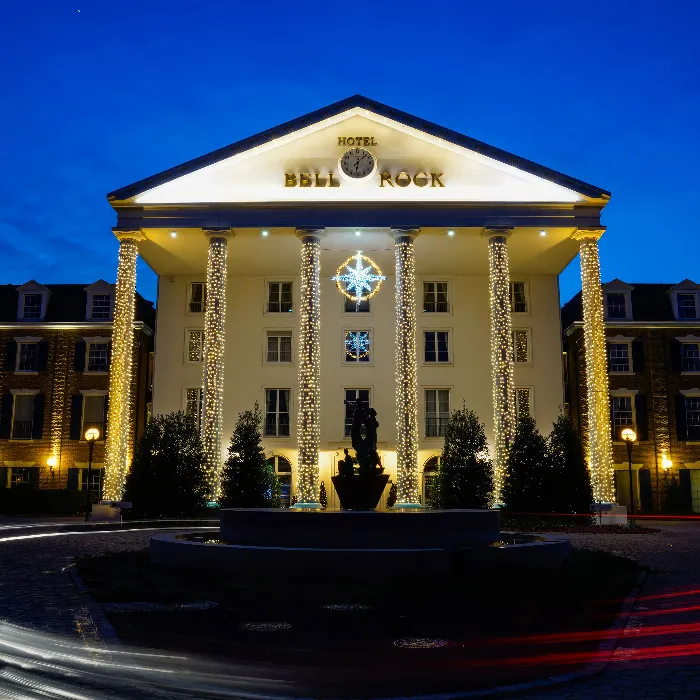
The photography of staircases can be challenging, especially under poor lighting conditions. Nevertheless, fantastic architecture can still be captured under these demanding circumstances. In this guide, you will learn everything important to effectively utilize the symmetry and graphical potential of a staircase.
Key insights
- A camera with a flip screen allows for better perspectives and an easy view of the viewfinder.
- Wide-angle lenses are ideal for capturing the width and height of staircases.
- Multiple exposures under different lighting conditions help achieve the best results.
- A good tripod is essential to avoid camera shake during long exposure times.
- Use different camera angles and formats for varied shots.
Step-by-step guide
Imagine you are in an impressive staircase, characterized by its symmetrical and graphic architecture. Your task is to capture this atmosphere in your photographs.
First, the right position is crucial. Stand in the middle of the staircase and make sure to catch the best angle. A distance of about two meters from the walls gives you an optimal overview of the geometry of the space.
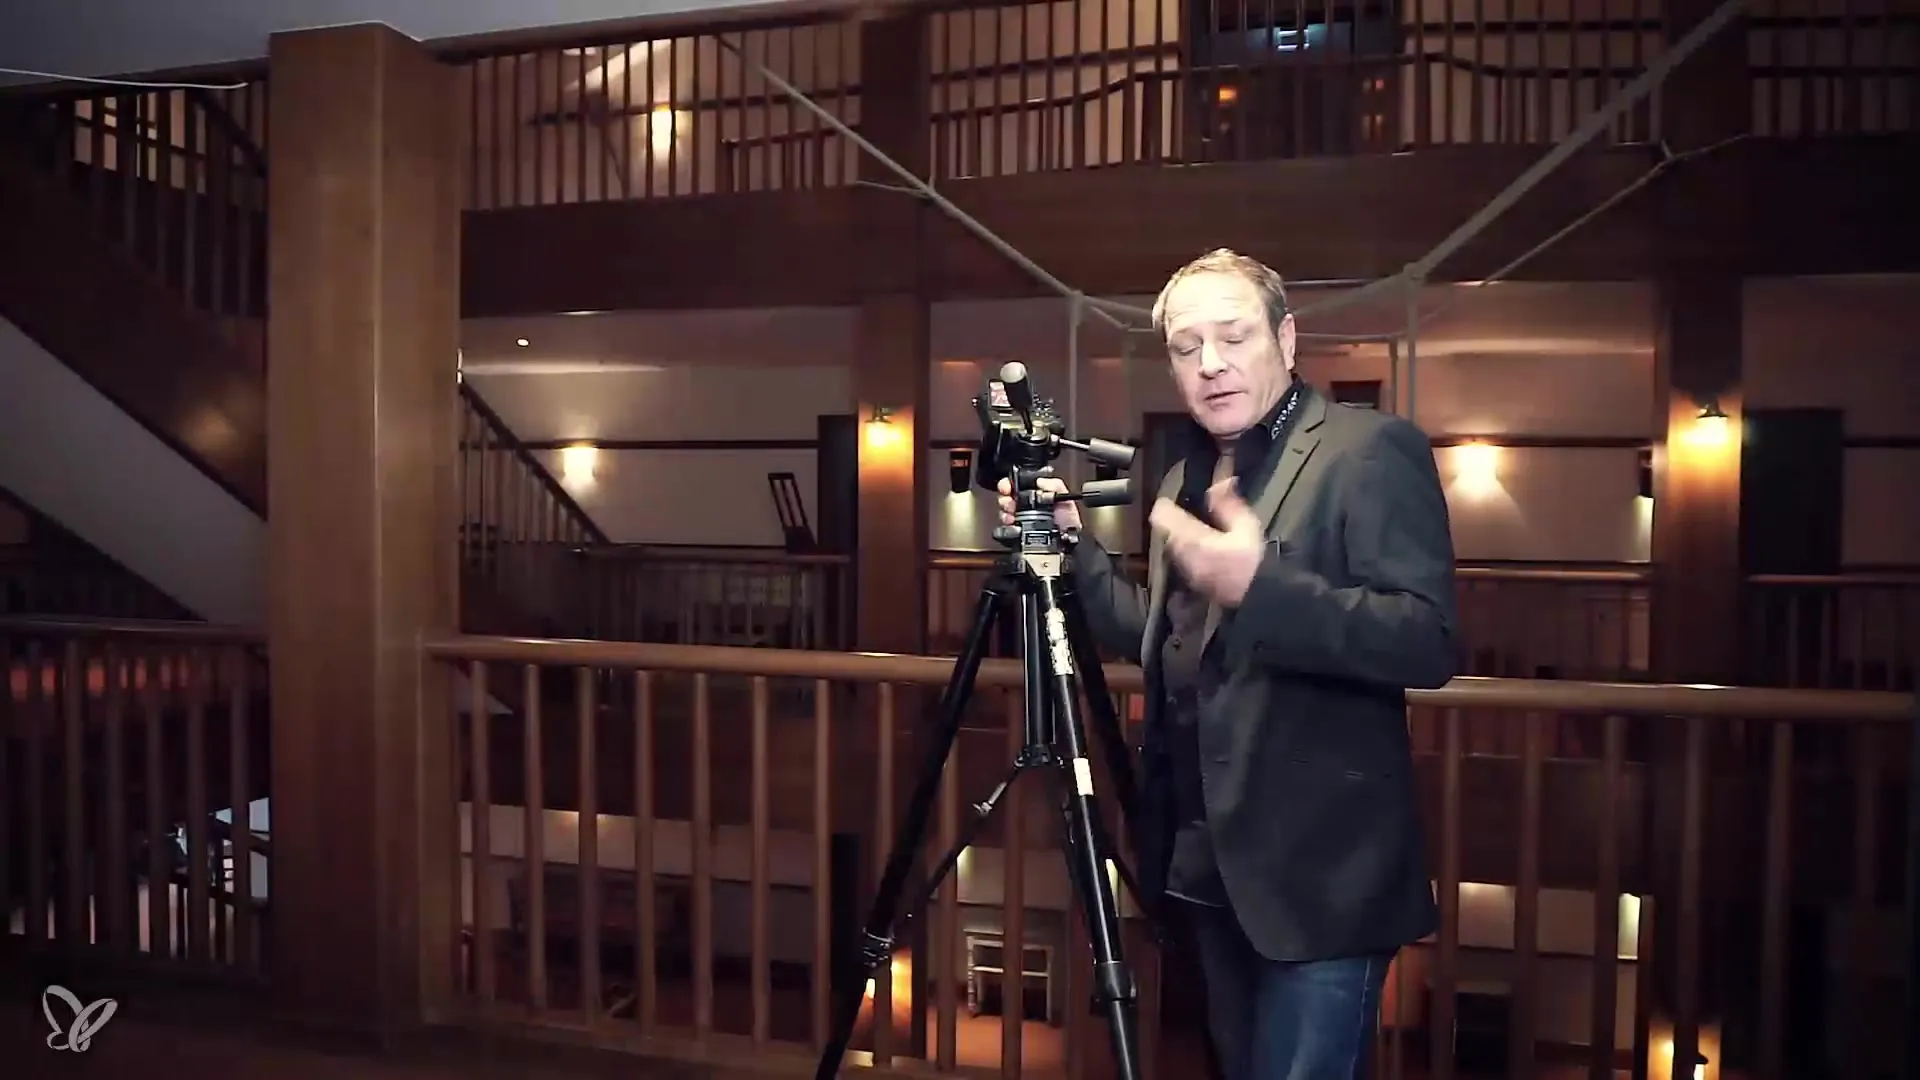
The use of a flip screen is a great advantage here. You can hold the camera over the railing and still see the preview without having to stand on your toes.
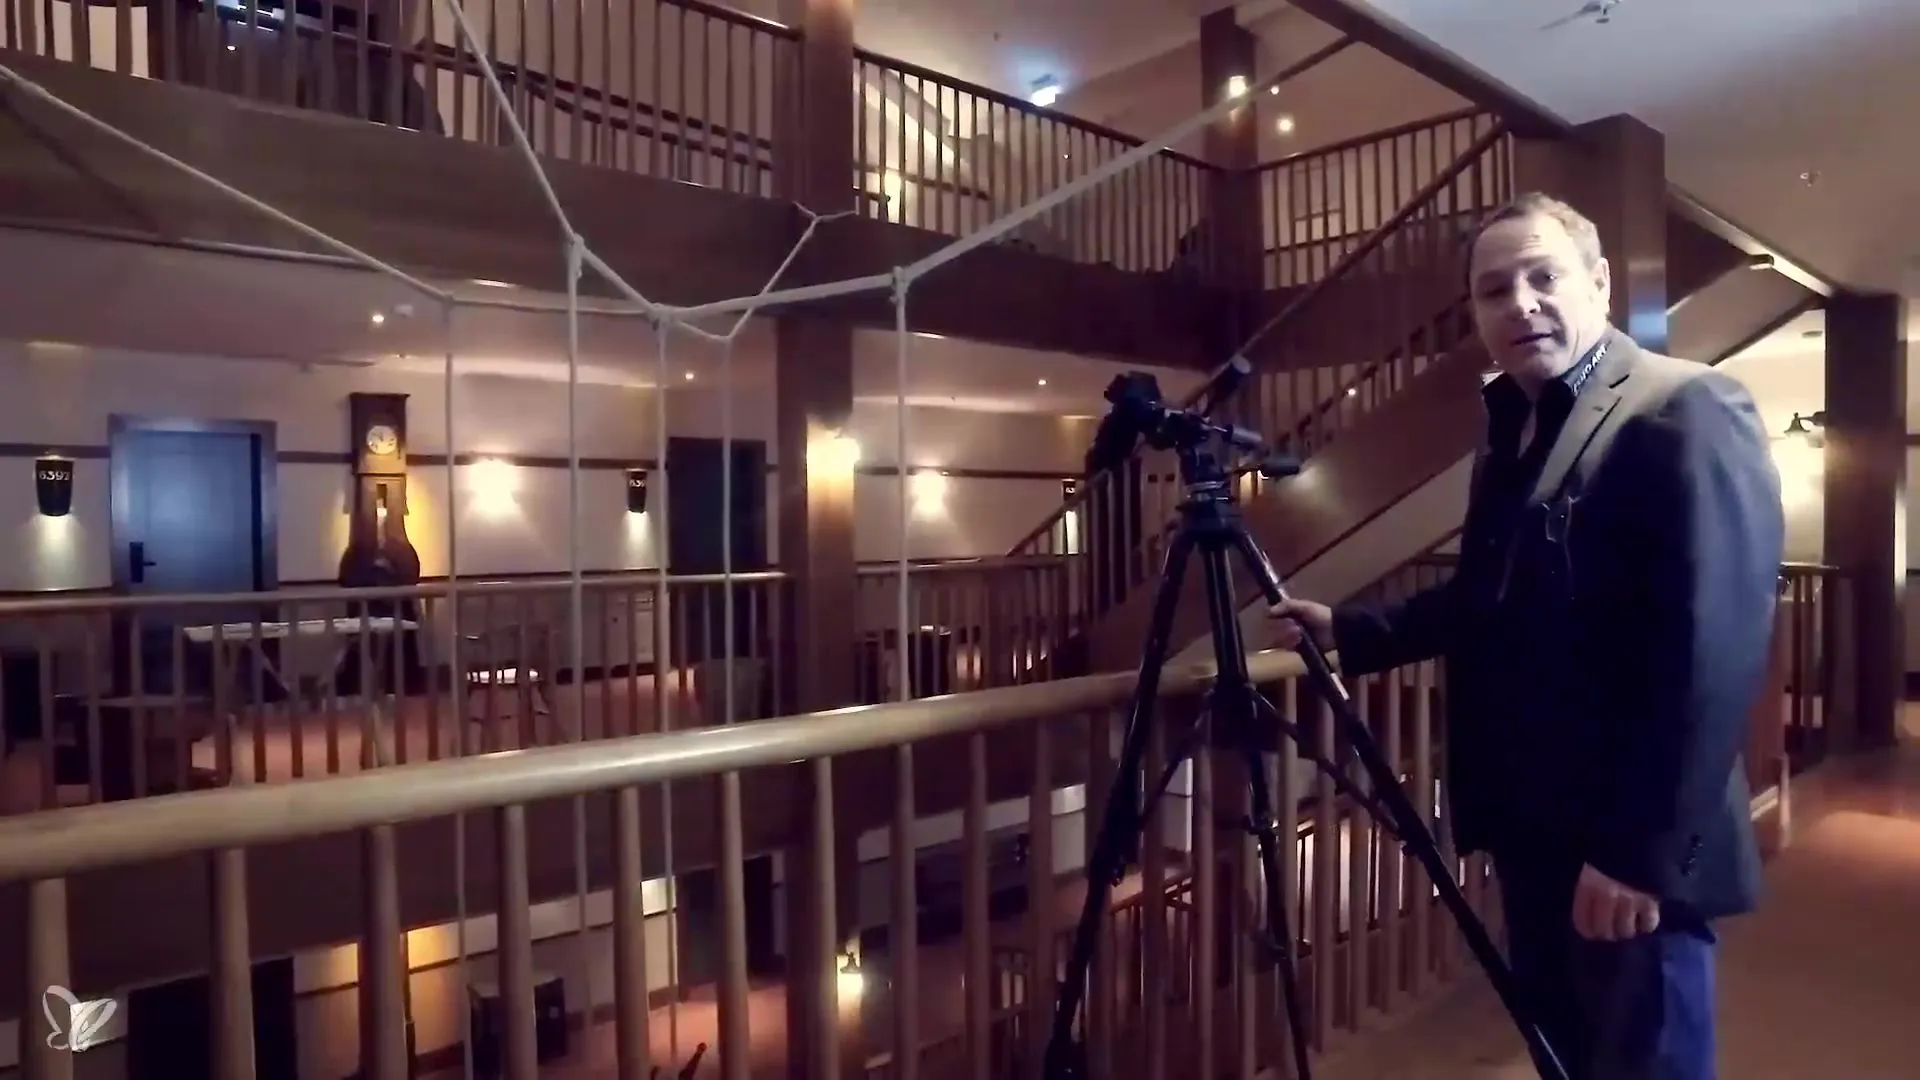
Now it's time to focus on your camera settings. Since the lighting conditions in the staircase may not be optimal, the right exposure time becomes a question. In this example, you use a long exposure time of 15 seconds. Make sure to set the ISO to 100 and the aperture to 8 to capture details while minimizing noise.
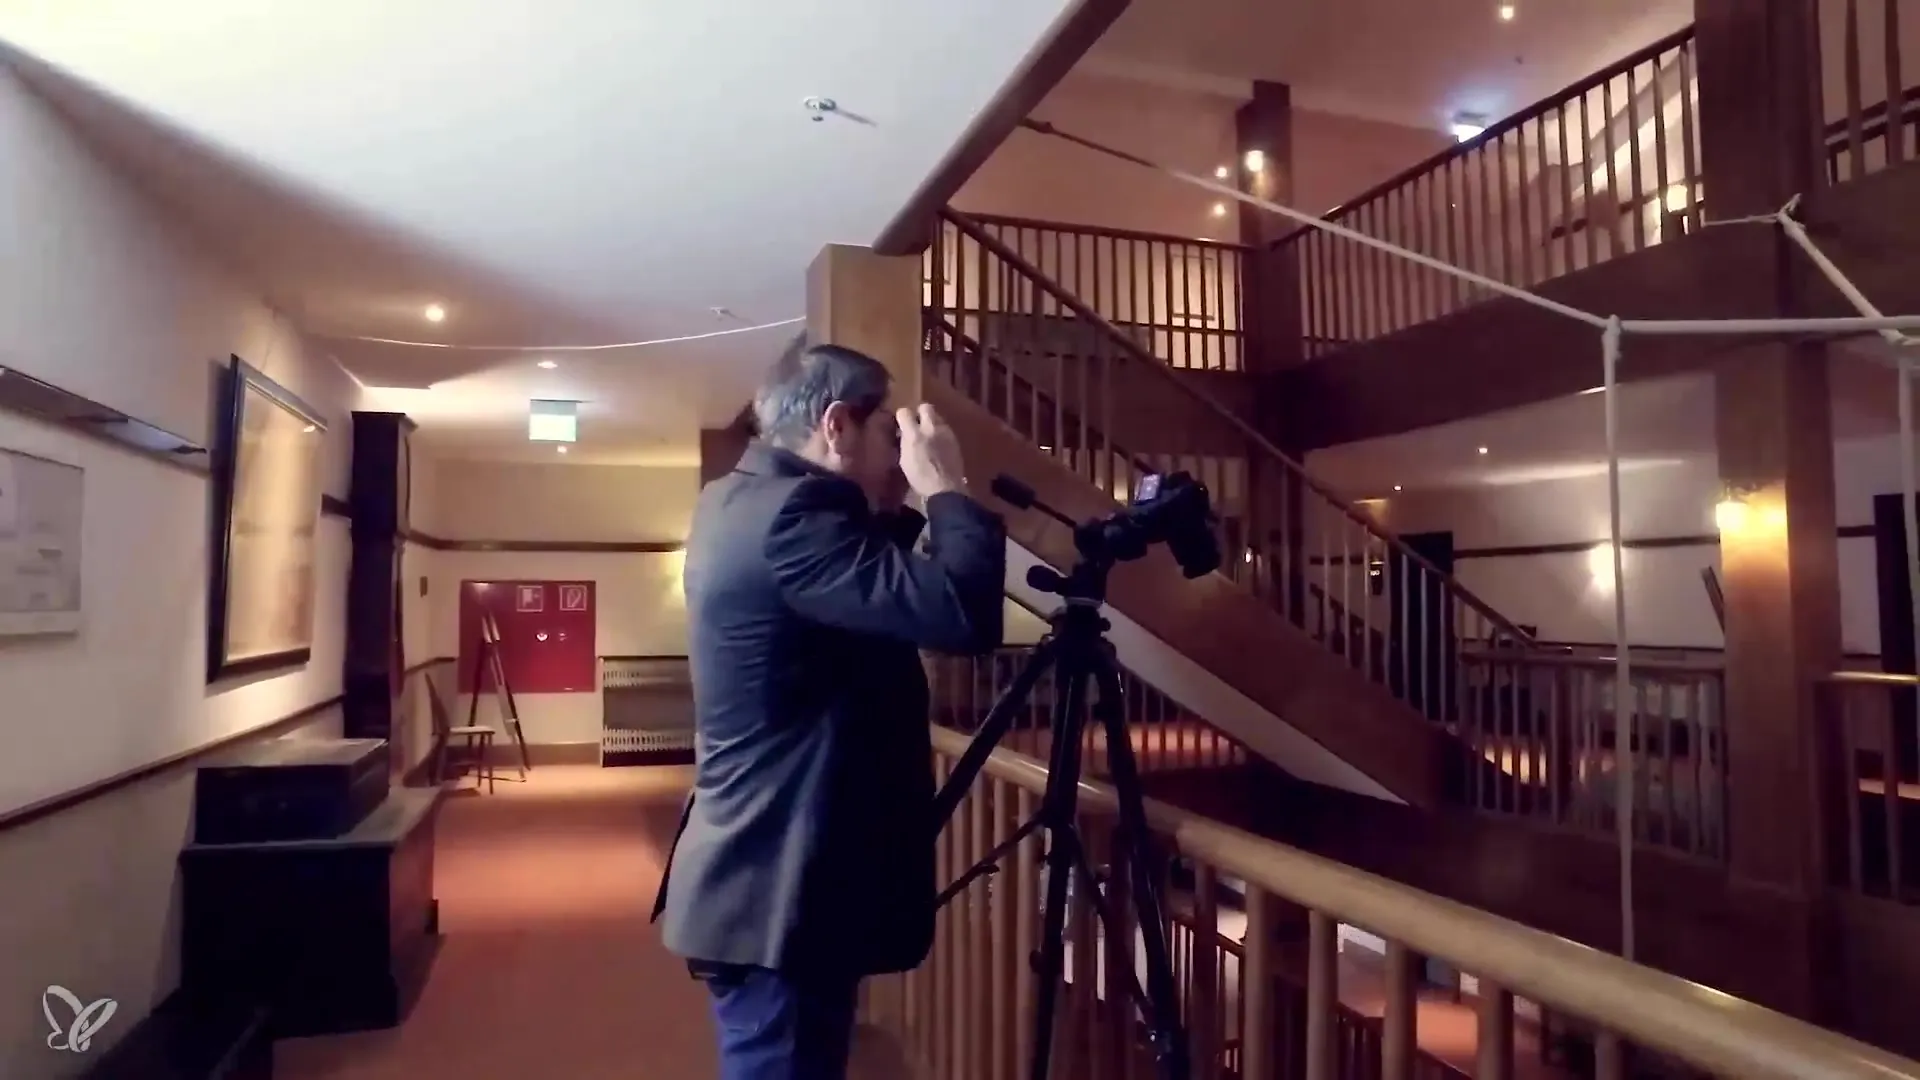
Once the camera is set up, use the self-timer to start your exposure when you’re not in front of the camera. This trick ensures that no shake from the body interferes with the shot.
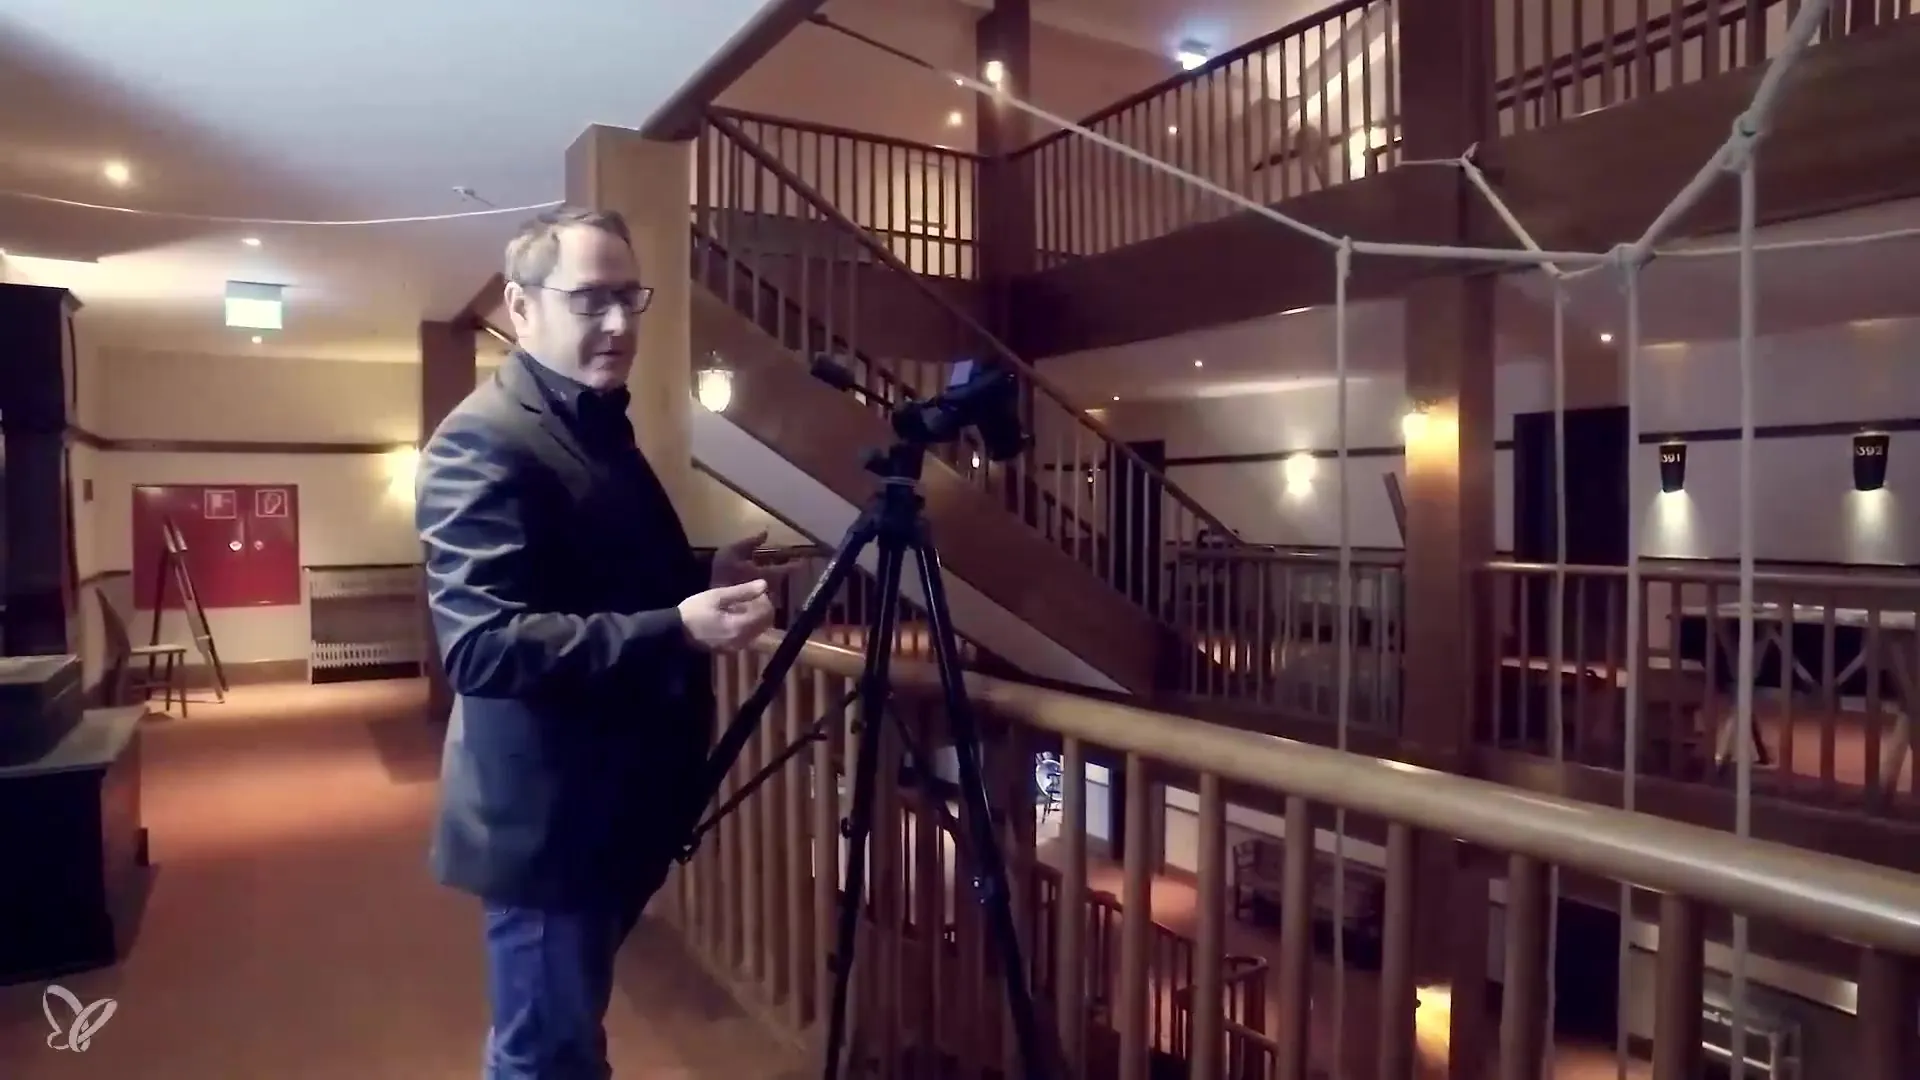
After you've taken the first shot, look at the result. Assess the symmetry and the light – if you are satisfied with the shot, repeat the process with a series of exposures for extra safety. Make sure to take a range of images to evaluate possible shake and different lighting conditions.
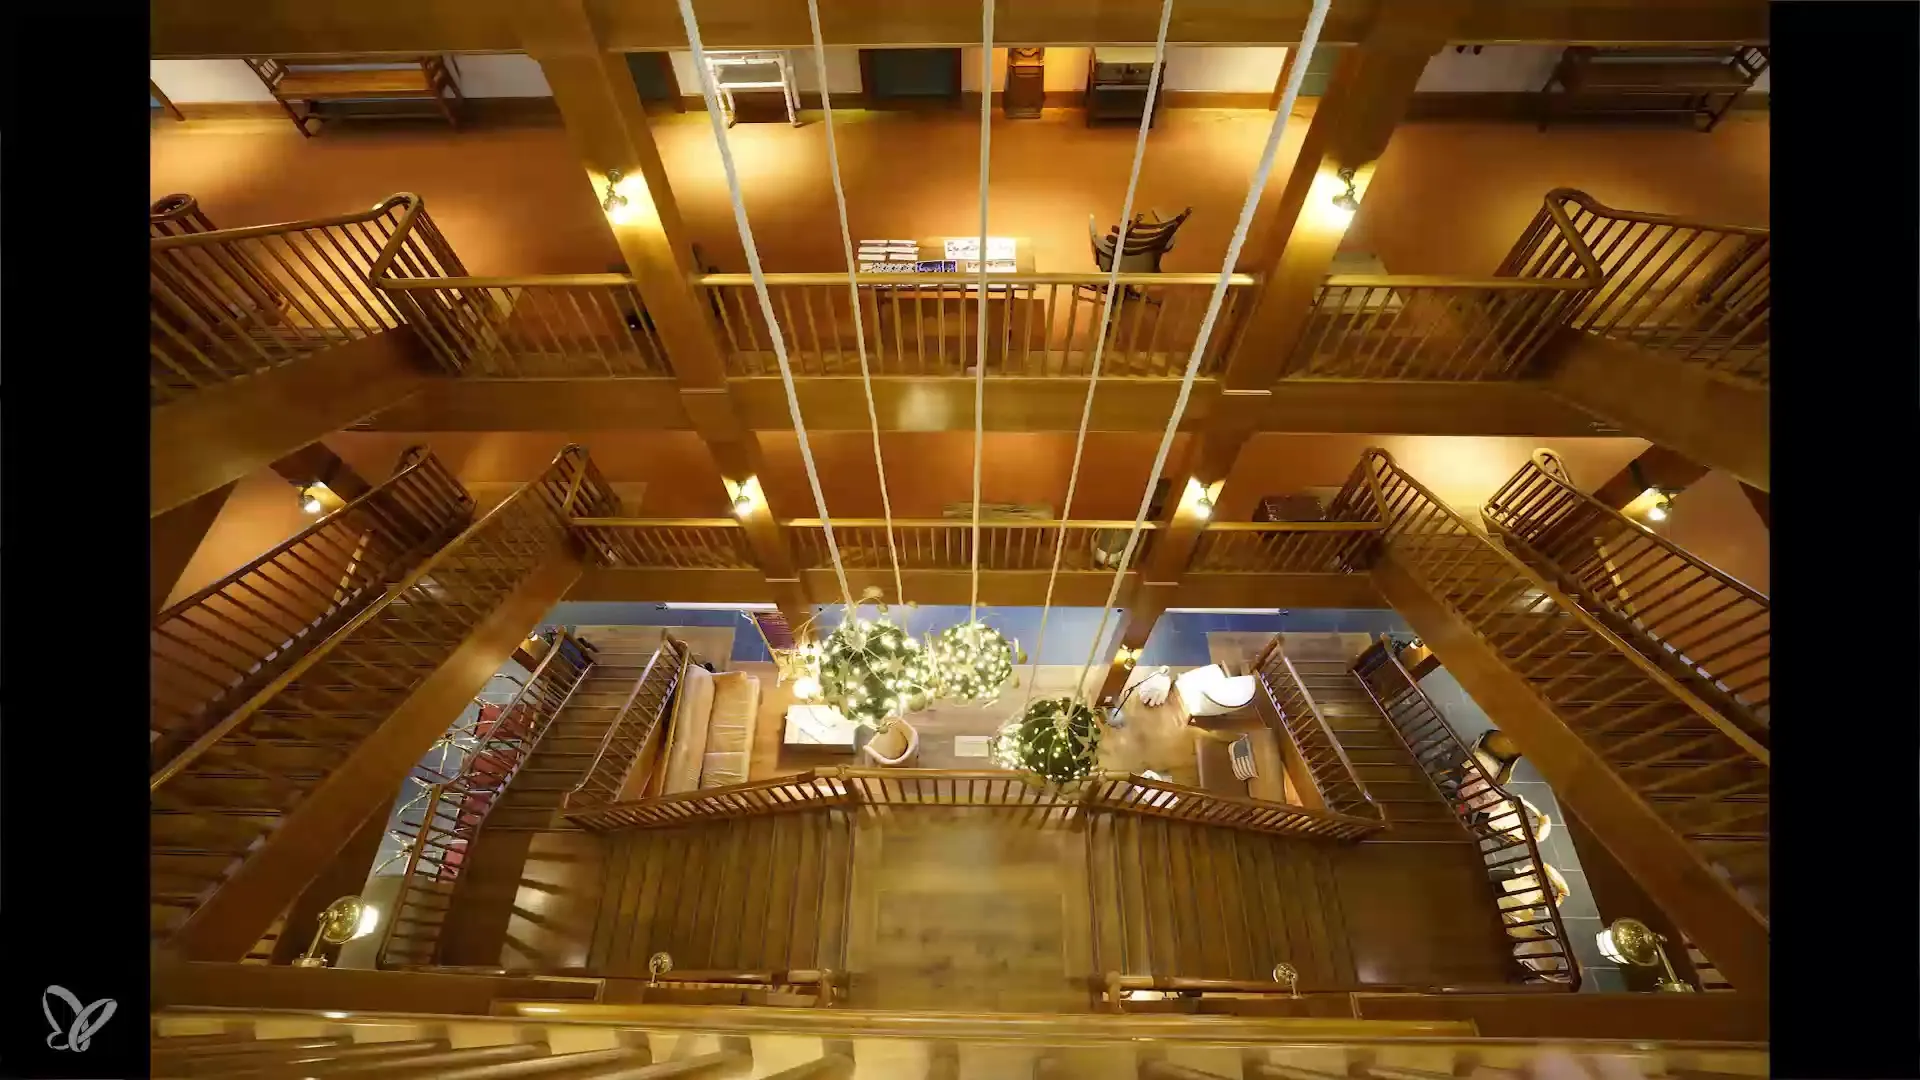
Now you can move the camera to the right edge of the staircase. This gives you a new standpoint and an additional perspective. Change the lens to 11 to achieve a greater depth of field and show the staircase railing in sharp focus in the foreground.
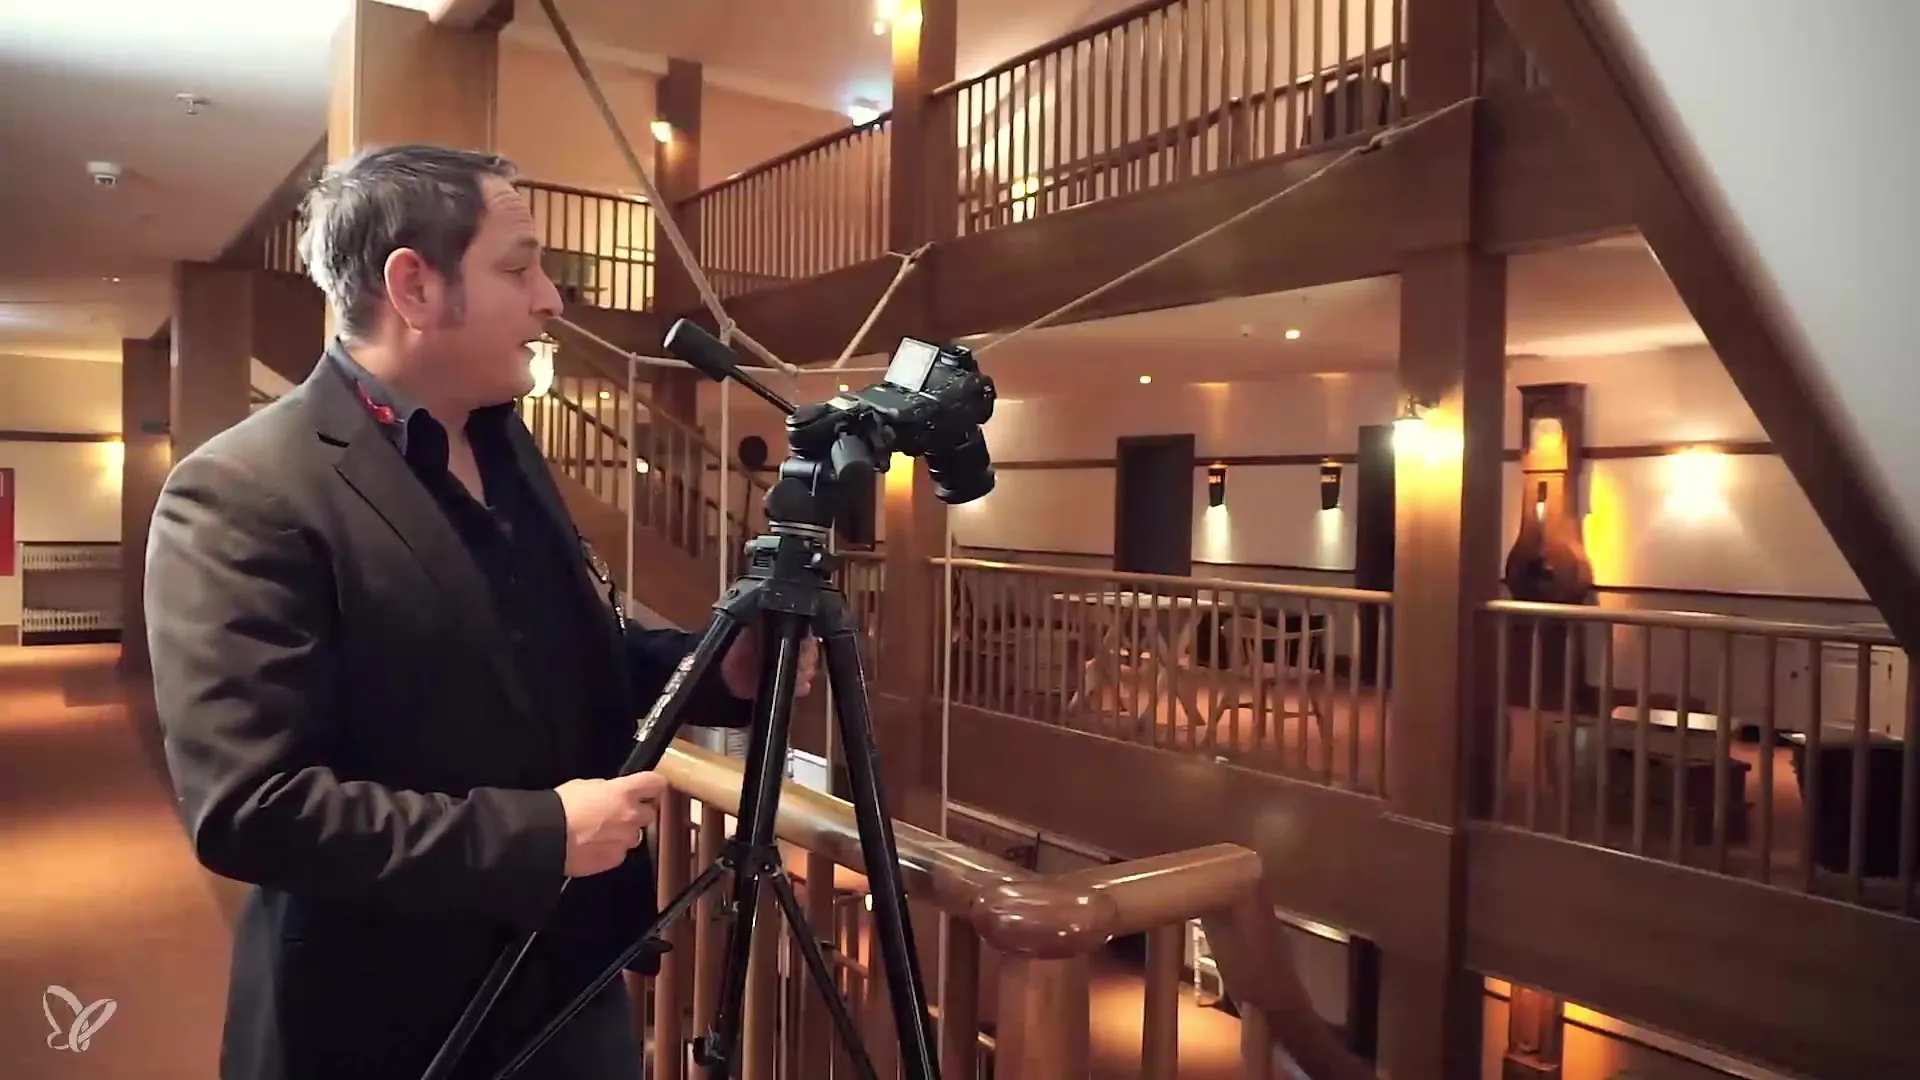
Take another shot, ensuring that the geometry in the image appears appealing. Again, use the self-timer for a clear shot.
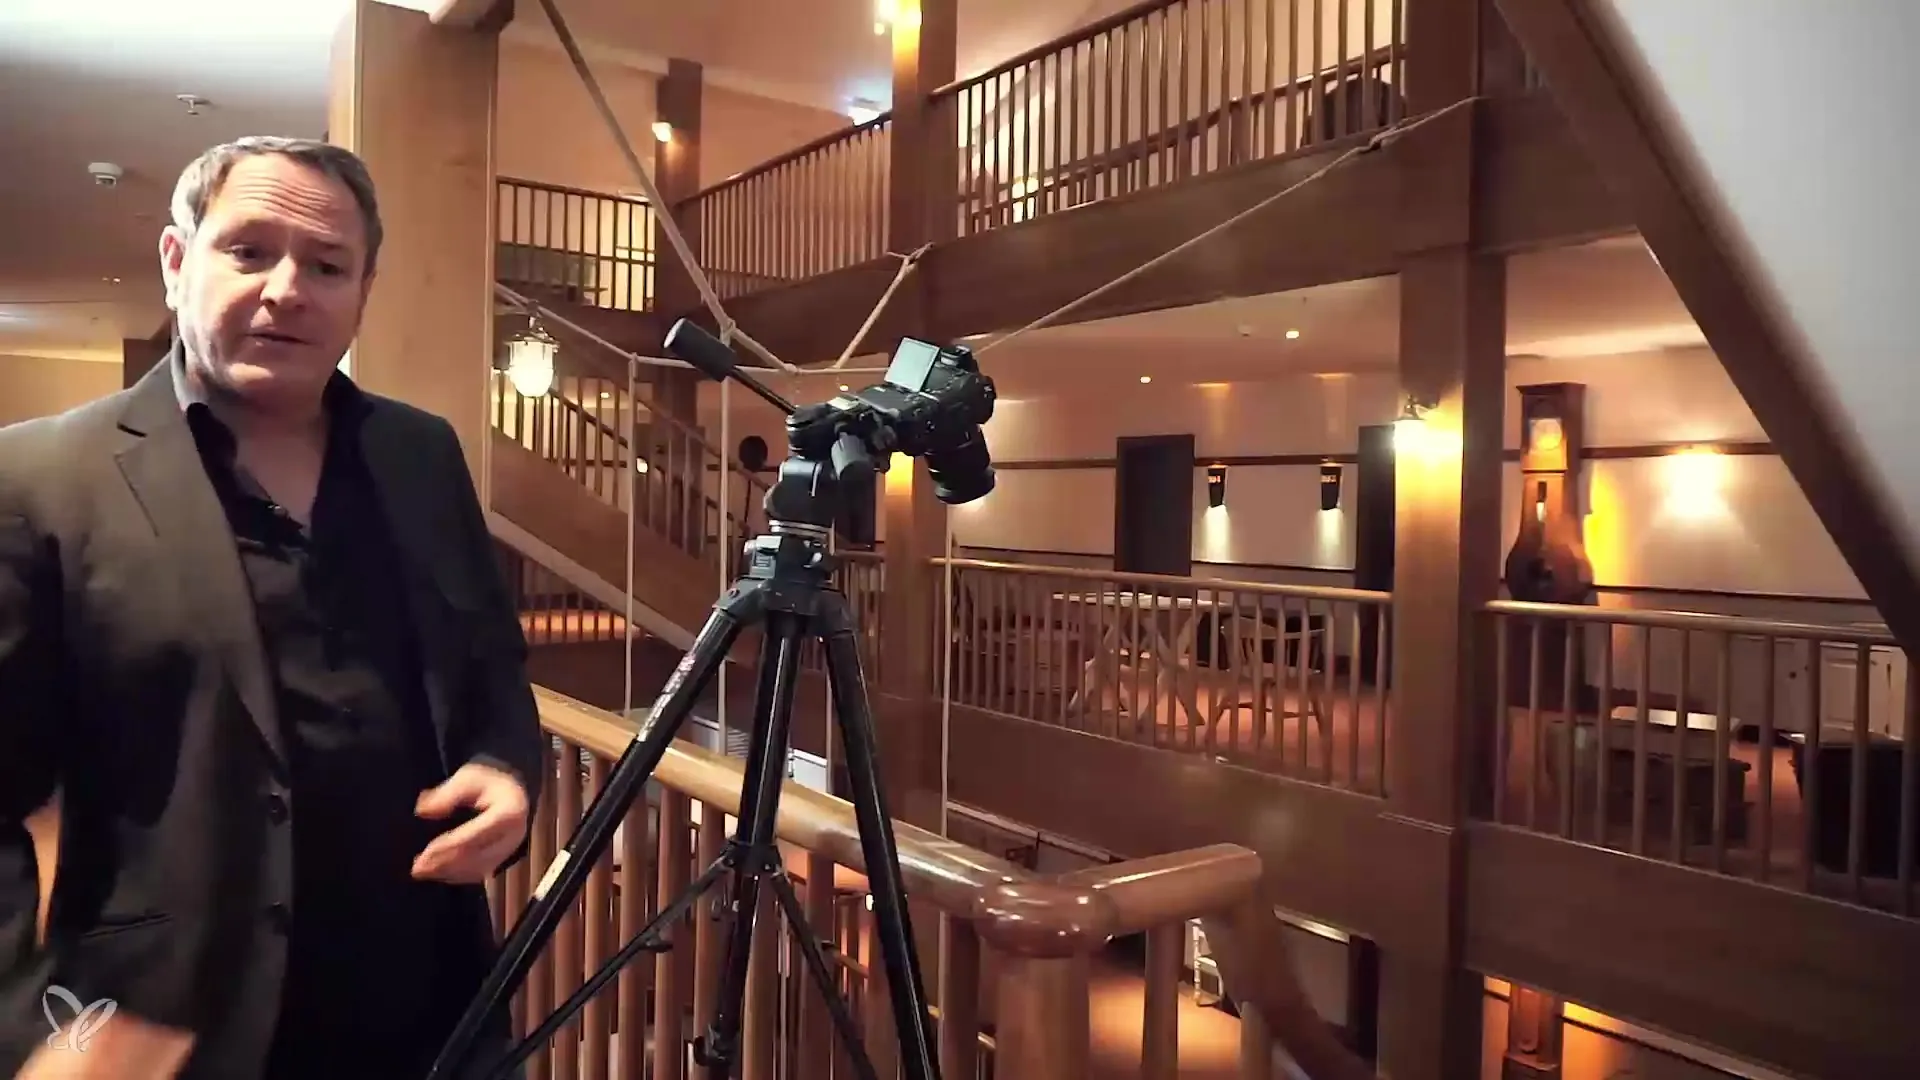
Now you already have two images from different perspectives that represent the same scene but highlight different details. To further develop the subject, you will shift your position again to the left and take the picture in portrait format. This change in perspective creates visual variety and additional options for your client.
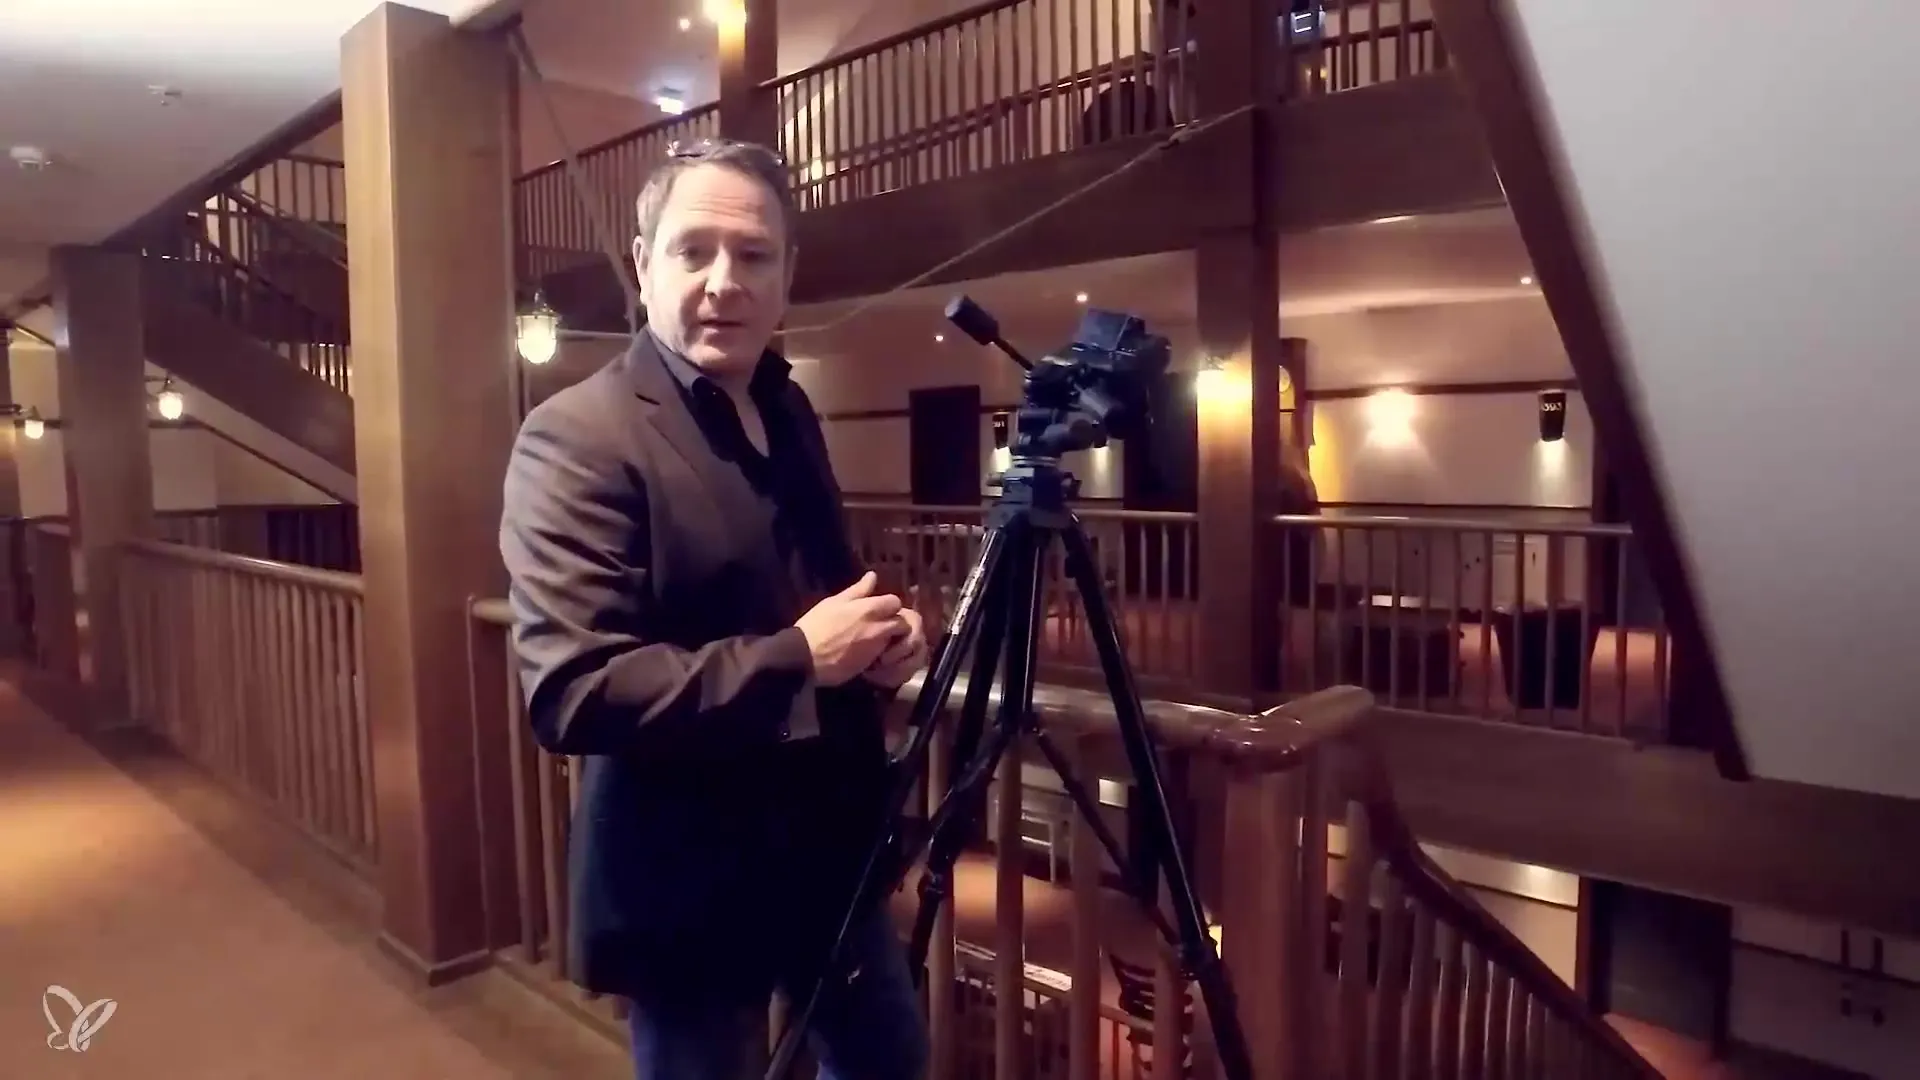
Now focus on considering the light sources as well. If the light is uneven, use a small fill light to illuminate darker areas more evenly. Modelling the lighting brings out additional details.
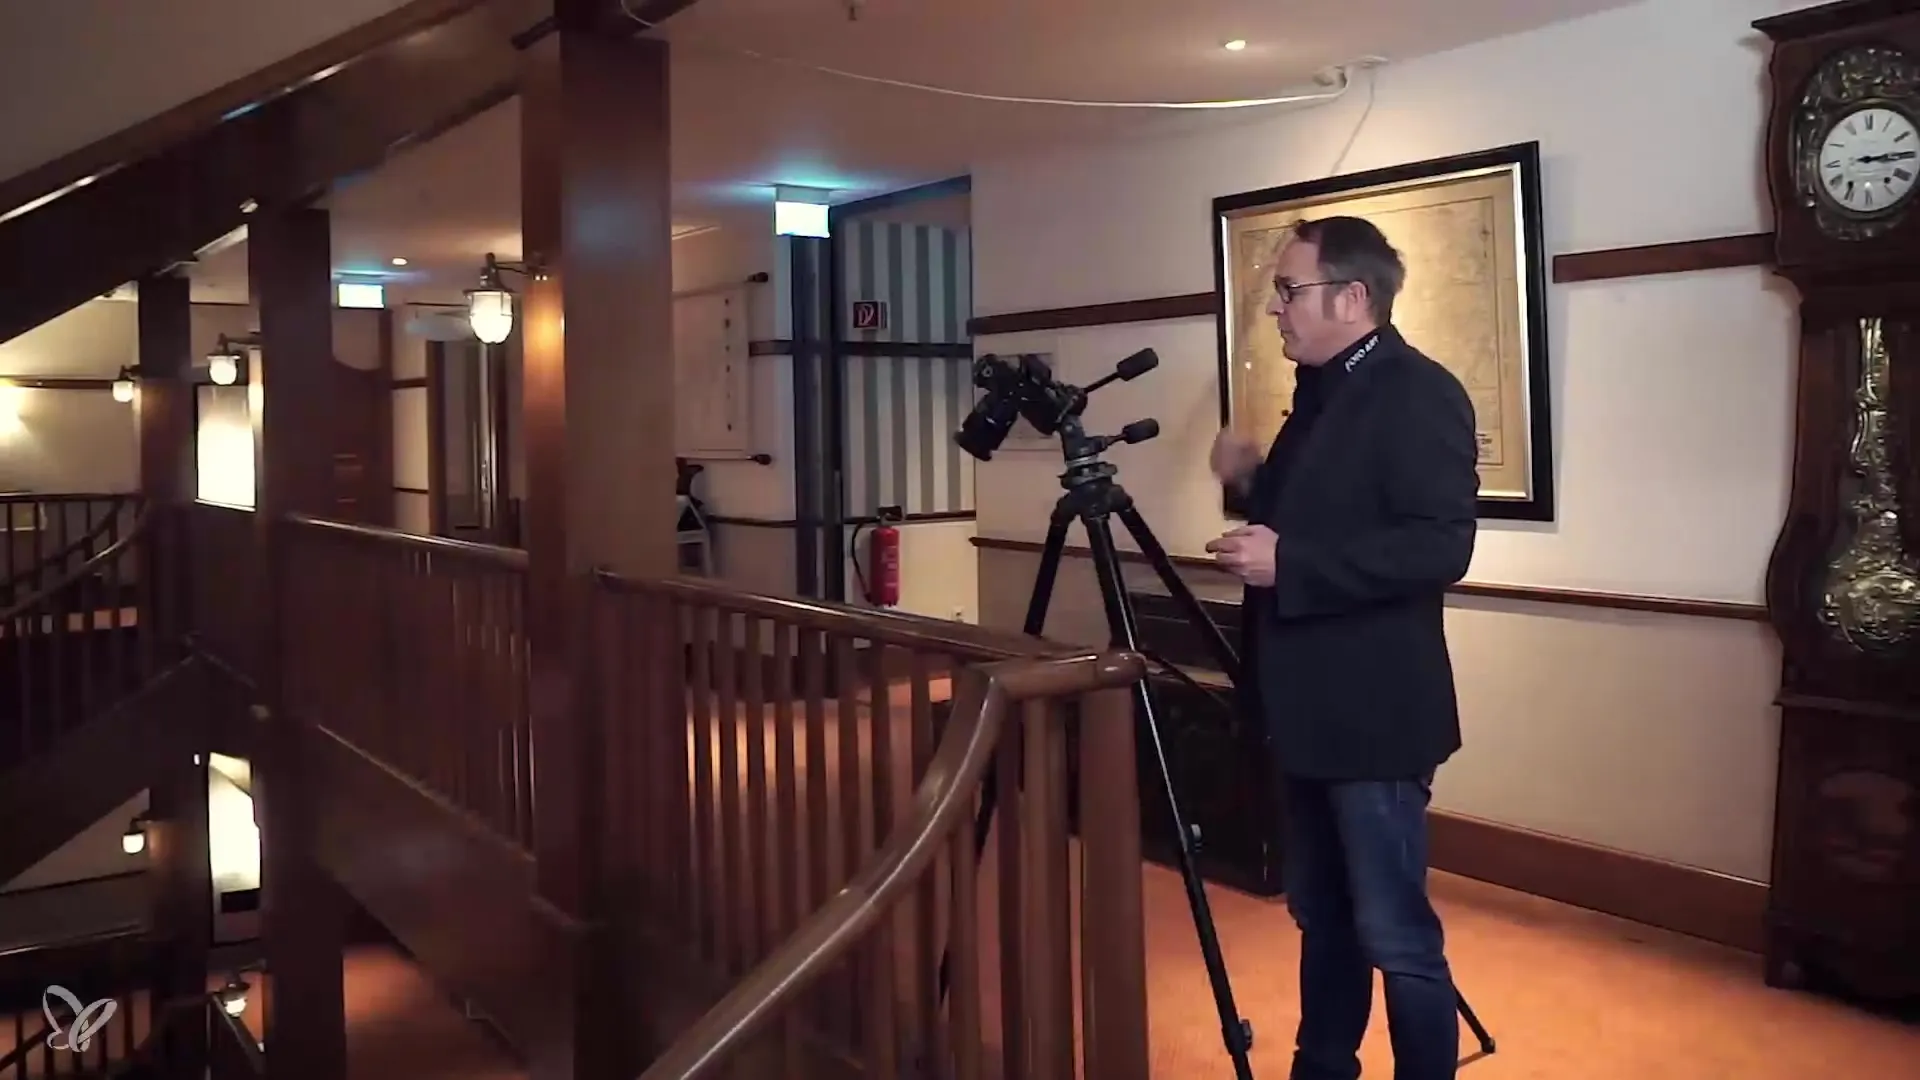
Your third subject is complete. You now have three very different views of the staircase from various standpoints – enough material to demonstrate the variety of the space.
xxx
Summary – Capturing staircases beautifully: Your guide to hotel photography
In this guide, you have learned how to effectively and creatively stage staircases with poor lighting conditions. With the right techniques and settings, you can achieve outstanding photography results even in such challenging situations.
Frequently asked questions
How do I choose the best exposure time for my photo?The exposure time depends on the lighting conditions. Start with longer times and adjust accordingly.
Why is a tripod important in hotel photography?A tripod prevents shake, especially during long exposures.
What aperture should I use when photographing staircases?An aperture between 8 and 11 is ideal for depth of field and good detail capture.
How many images should I take of a subject?It is advisable to take multiple shots from different perspectives to achieve the best results.
When should I use the self-timer?Always use the self-timer when using a long exposure time to avoid shake.
