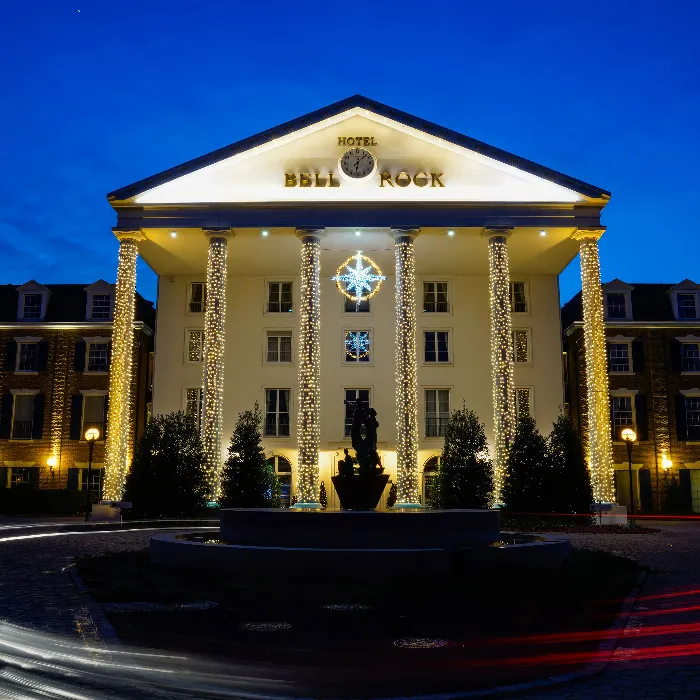
The art of hotel photography can be elevated to a new level through targeted detail shots, especially of light sources like fire. In this tutorial, we will focus on close-up shots of fire while using different exposure times. The goal is to create a selection of unique images that provide the client with various options. Let's dive into the possibilities of how you can effectively experiment with exposure times to capture the fascinating play of flames.
Main insights
- Close-up shots offer a great way to capture details and emotions.
- The choice of the right exposure time is crucial for the image quality.
- An exposure series with different times allows for well-comparable results.
- Test shots help find the best settings.
Step-by-Step Guide
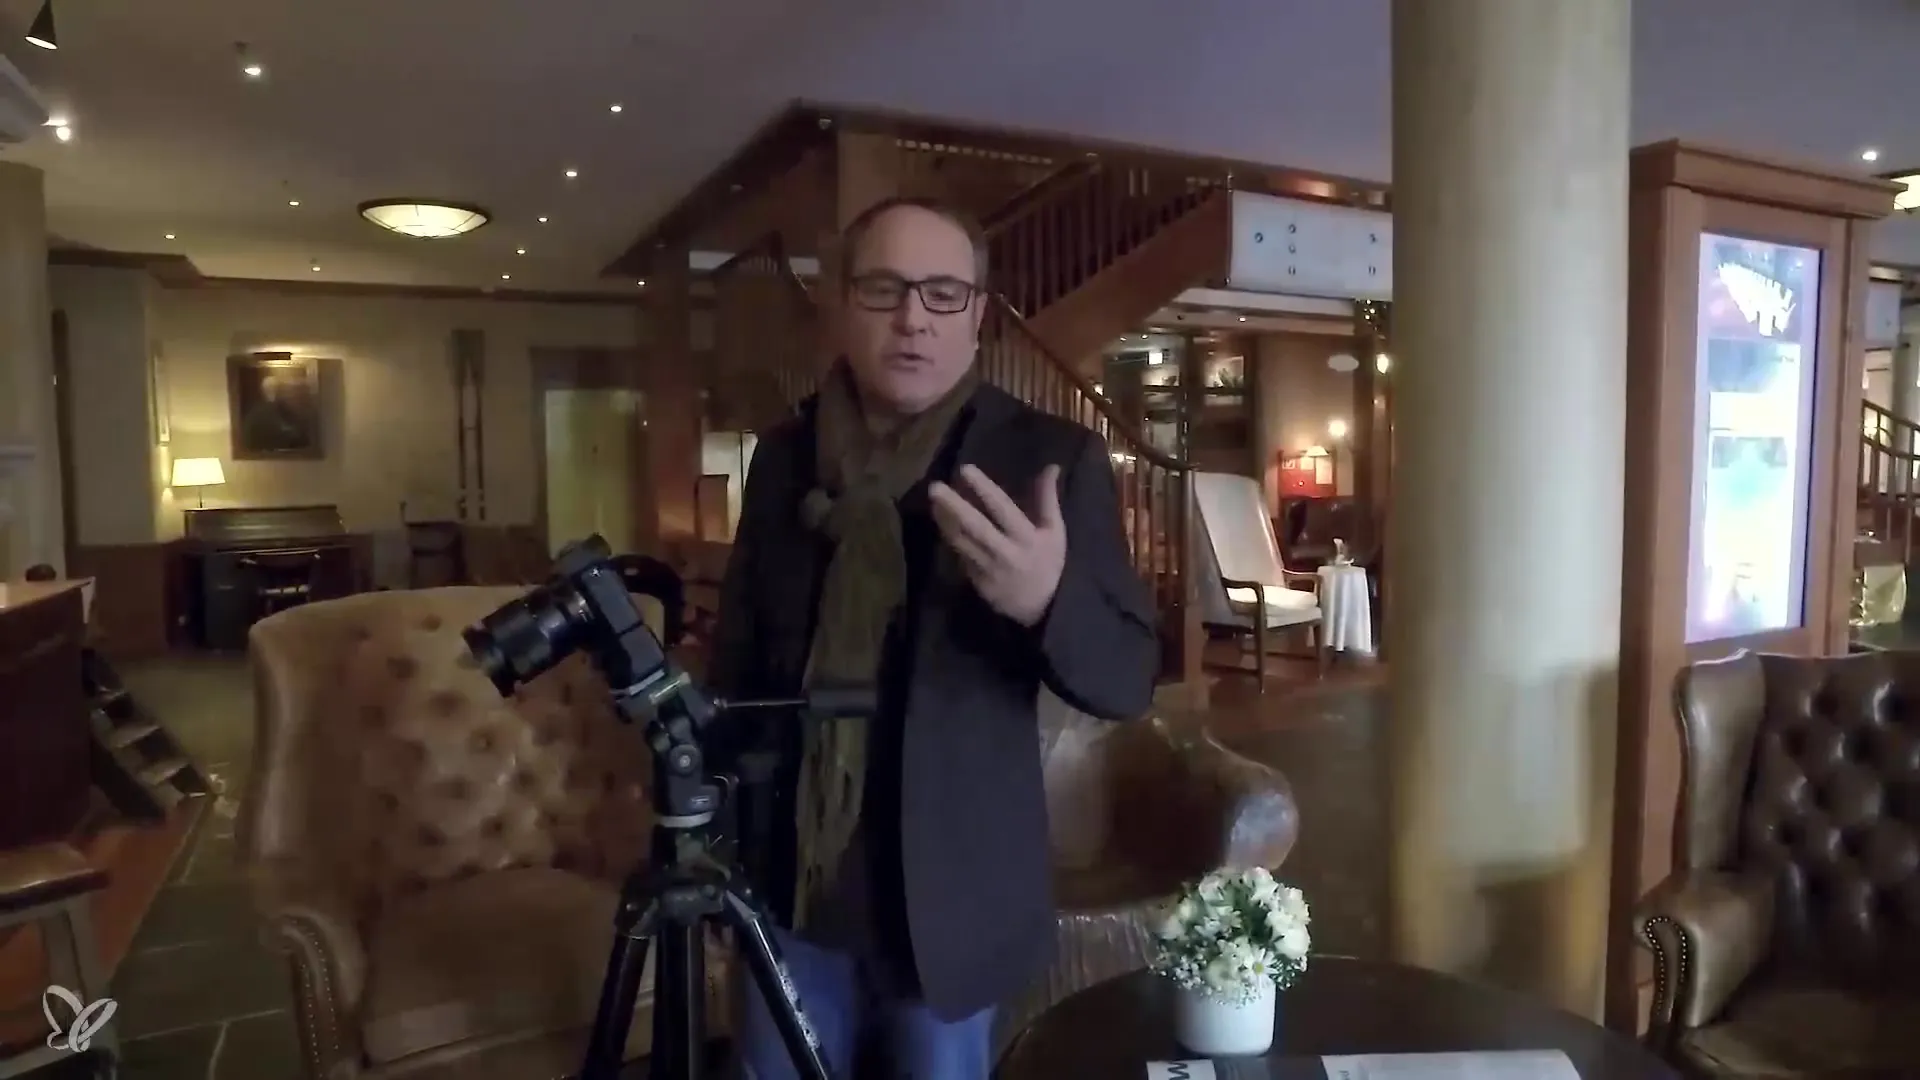
Start by preparing your camera system before you get started. Make sure you are working with a wide-angle lens to optimally capture the surroundings and the fire.
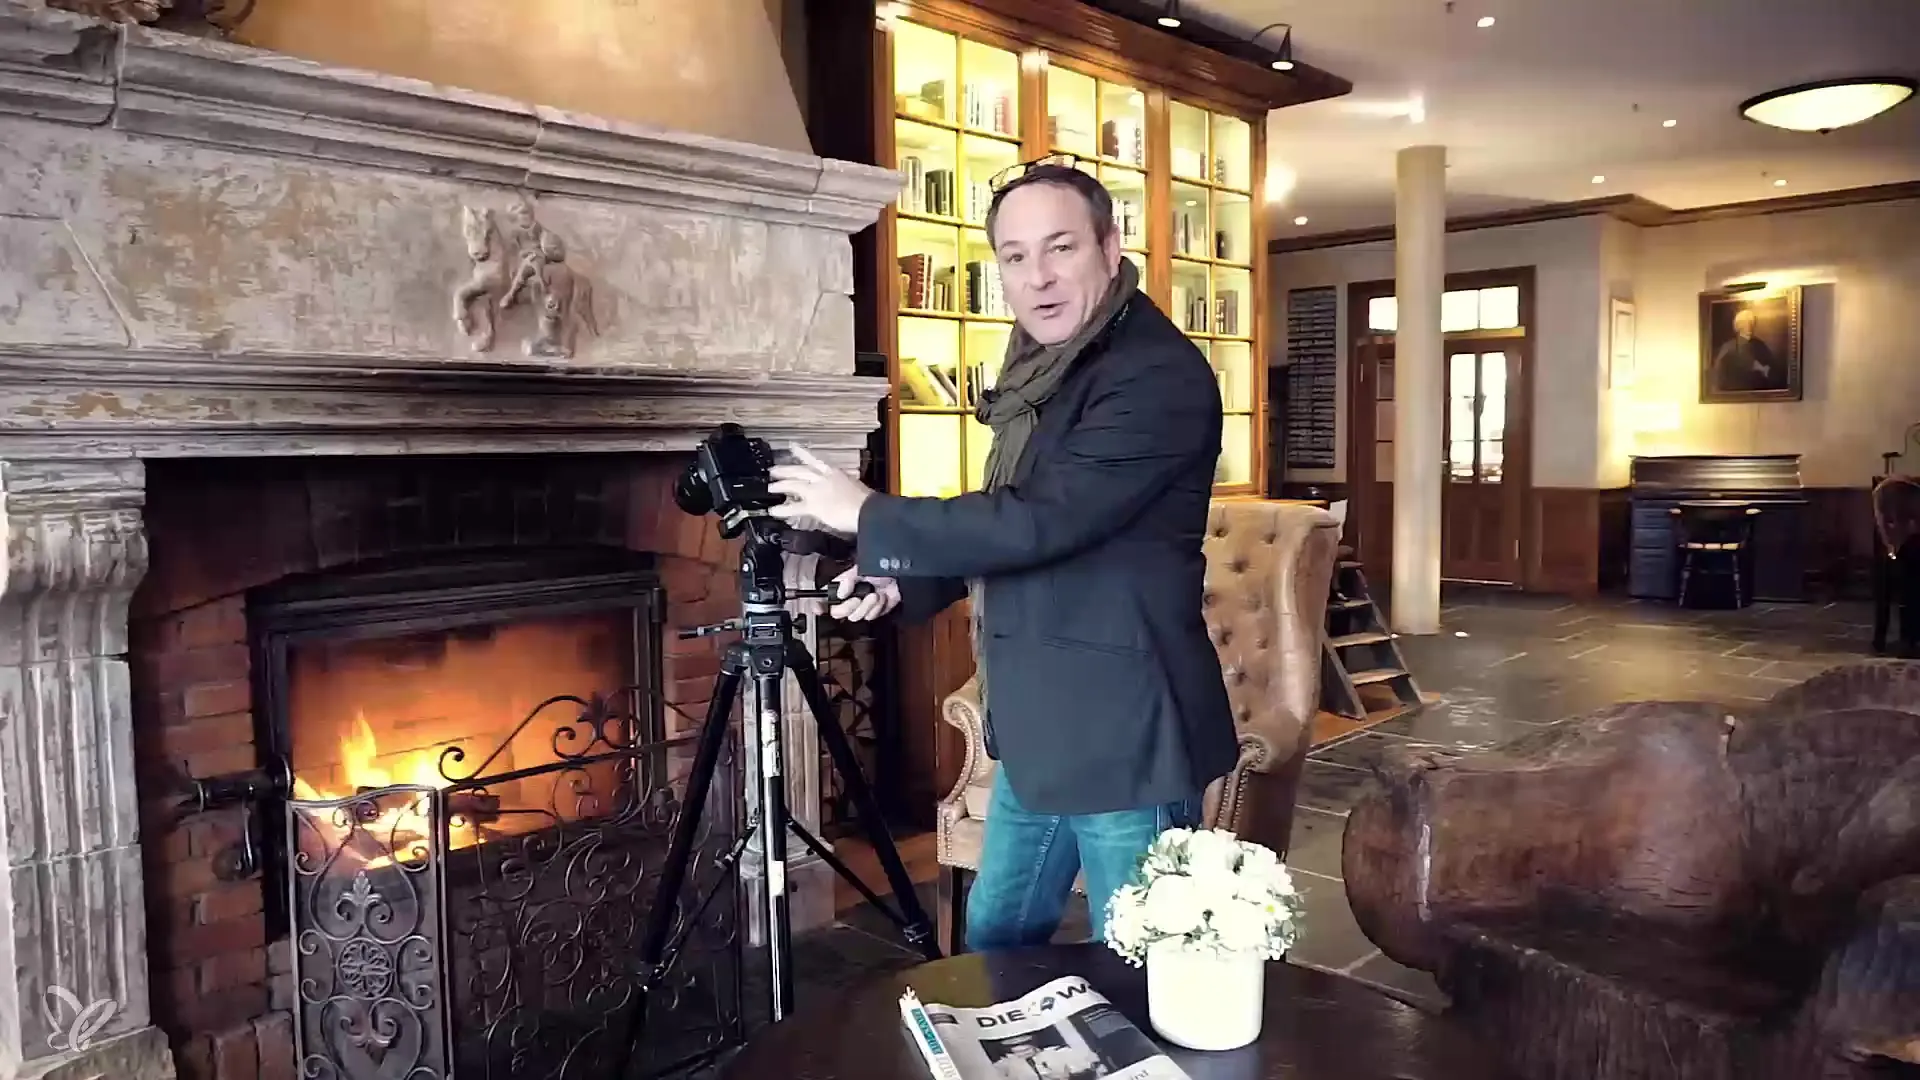
Choose a suitable location for capturing the fire. Make sure you can test different perspectives. The converging lines created by wide-angle lenses are an interesting design possibility.
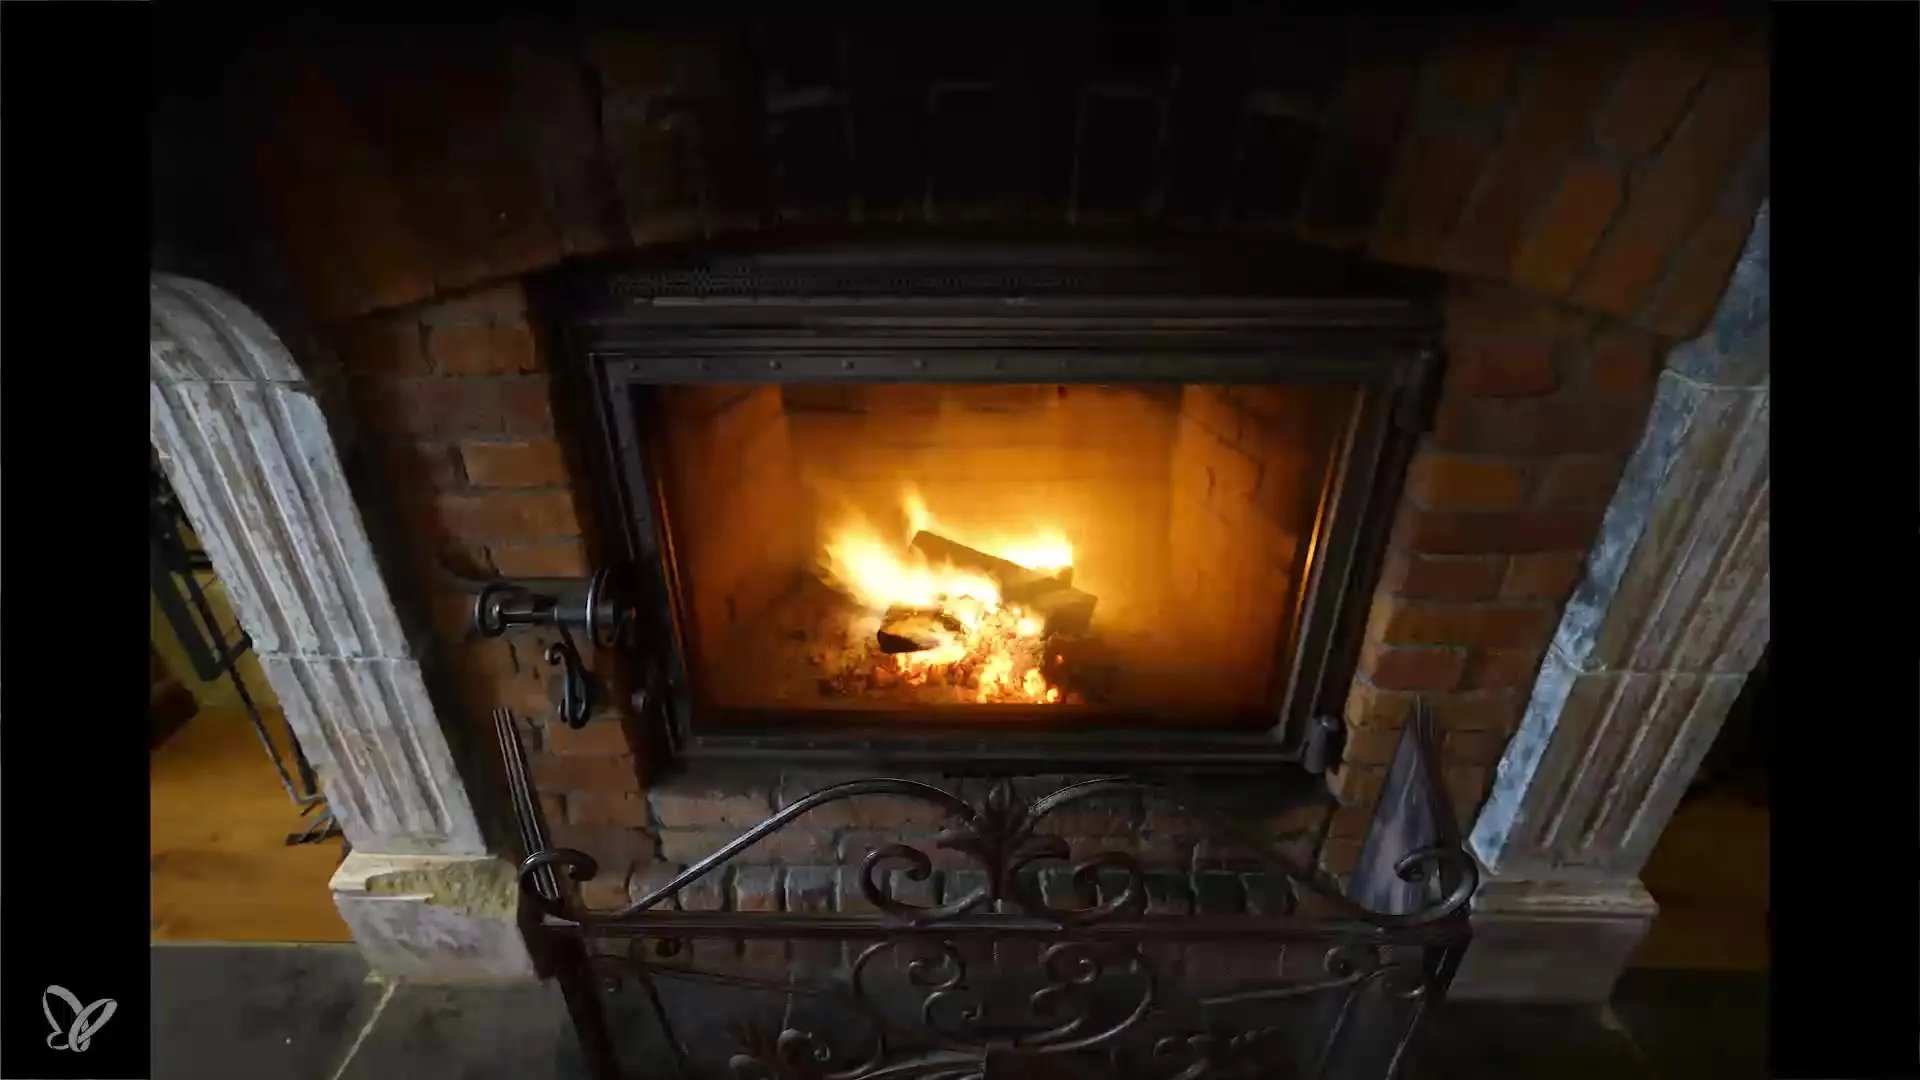
Take your first shot and experiment with a longer exposure time to capture the flames in all their glory. An exposure time of 5 seconds is used in this tutorial.
Look at the result of your first test shot. Observe how the fire looks and whether the flames stand out well.
Now it's time to shorten the exposure time. Change the exposure time to 2.5 seconds to see if the flames are too blurred or if you achieve a clearer image.
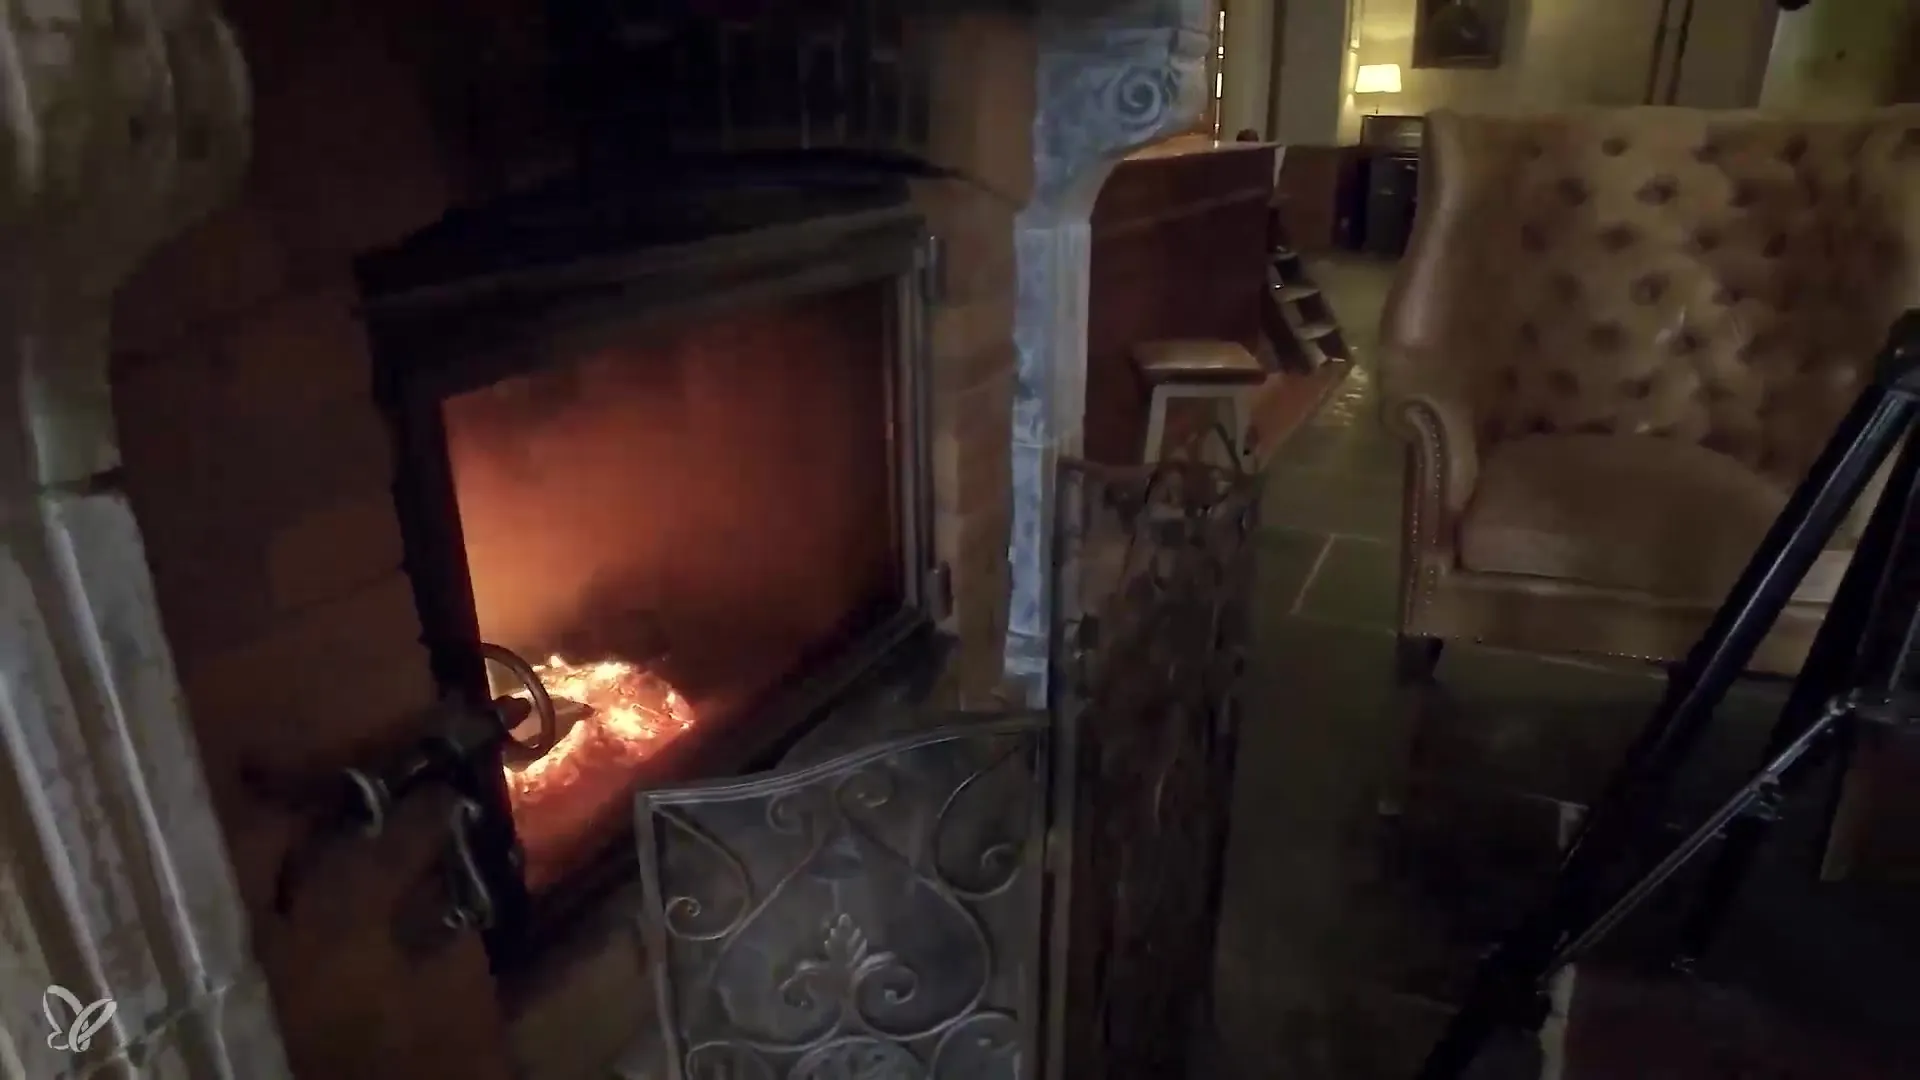
Also take a shot with an exposure time of 1 second. This should help you find out if this shorter time yields a better result.
Compare the results of your test shots on your computer. Look at the details and identify which exposure time produced the desired image. You should now analyze a total of three shots with different exposure times: 1 second, 2.5 seconds, and 5 seconds.
The one-second shot will often be the best choice, as the flames are most clearly visible here. At the same time, the longer exposure times allow for interesting variations that you can use for different purposes.
Summary - Hotel Photography: Capturing Fire in Detail
By experimenting with different exposure times, you have the opportunity to capture the diversity of fire in your images. Each setting brings different results that can add a special touch to your hotel photography portfolio.
Frequently Asked Questions
How important are exposure times in photography?Exposure times are crucial for image quality and affect how much light hits the sensor.
What exposure time is best for fire?An exposure time of 1 second has proven optimal for capturing the details of the flames.
Can I change the aperture during the shots?In this tutorial, the aperture remains constant at f/8 to emphasize the exposure time.
Will I need a lot of post-processing after the shots?That depends on the quality of the test shots; often the best images turn out well straight out of the camera.
