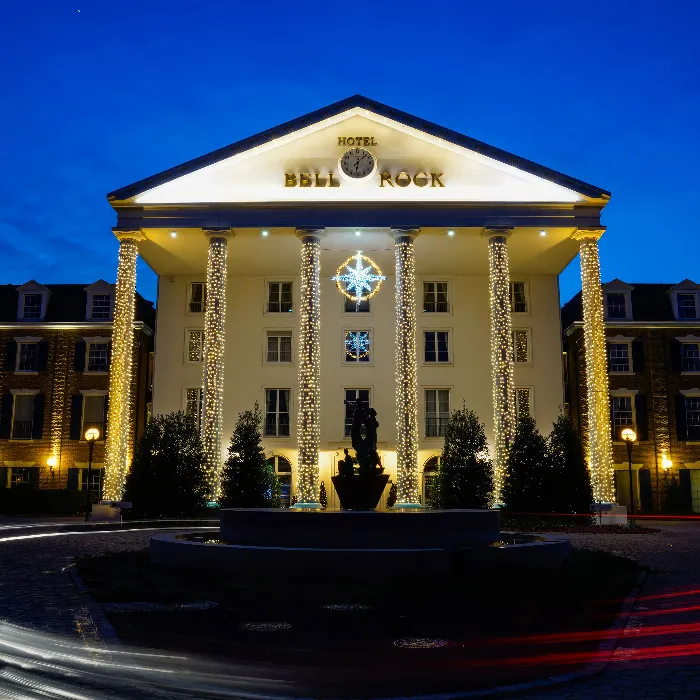
Hotel photographyis an art form in its own right. It's not enough to simply press the shutter – the perfect shot requires planning, skill, and a good eye for detail. So before you dive into photographing the hotel rooms, it's important to take the time to thoroughly inspect the room and make any necessary preparations. In this guide, I will show you how to approach photographing hotel rooms thoughtfully and strategically to create appealing and inviting images.
Key insights
To take effectivephotos of hotel rooms, it’s essential to consider both the lighting and the arrangement and decoration of the room. A well-designed room that conveys an inviting impression to guests will be reflected in the images. Pay attention to details like the arrangement of furniture and the removal of distracting elements to achieve the best possible results.
Step-by-step guide
Step 1: Perform a room check
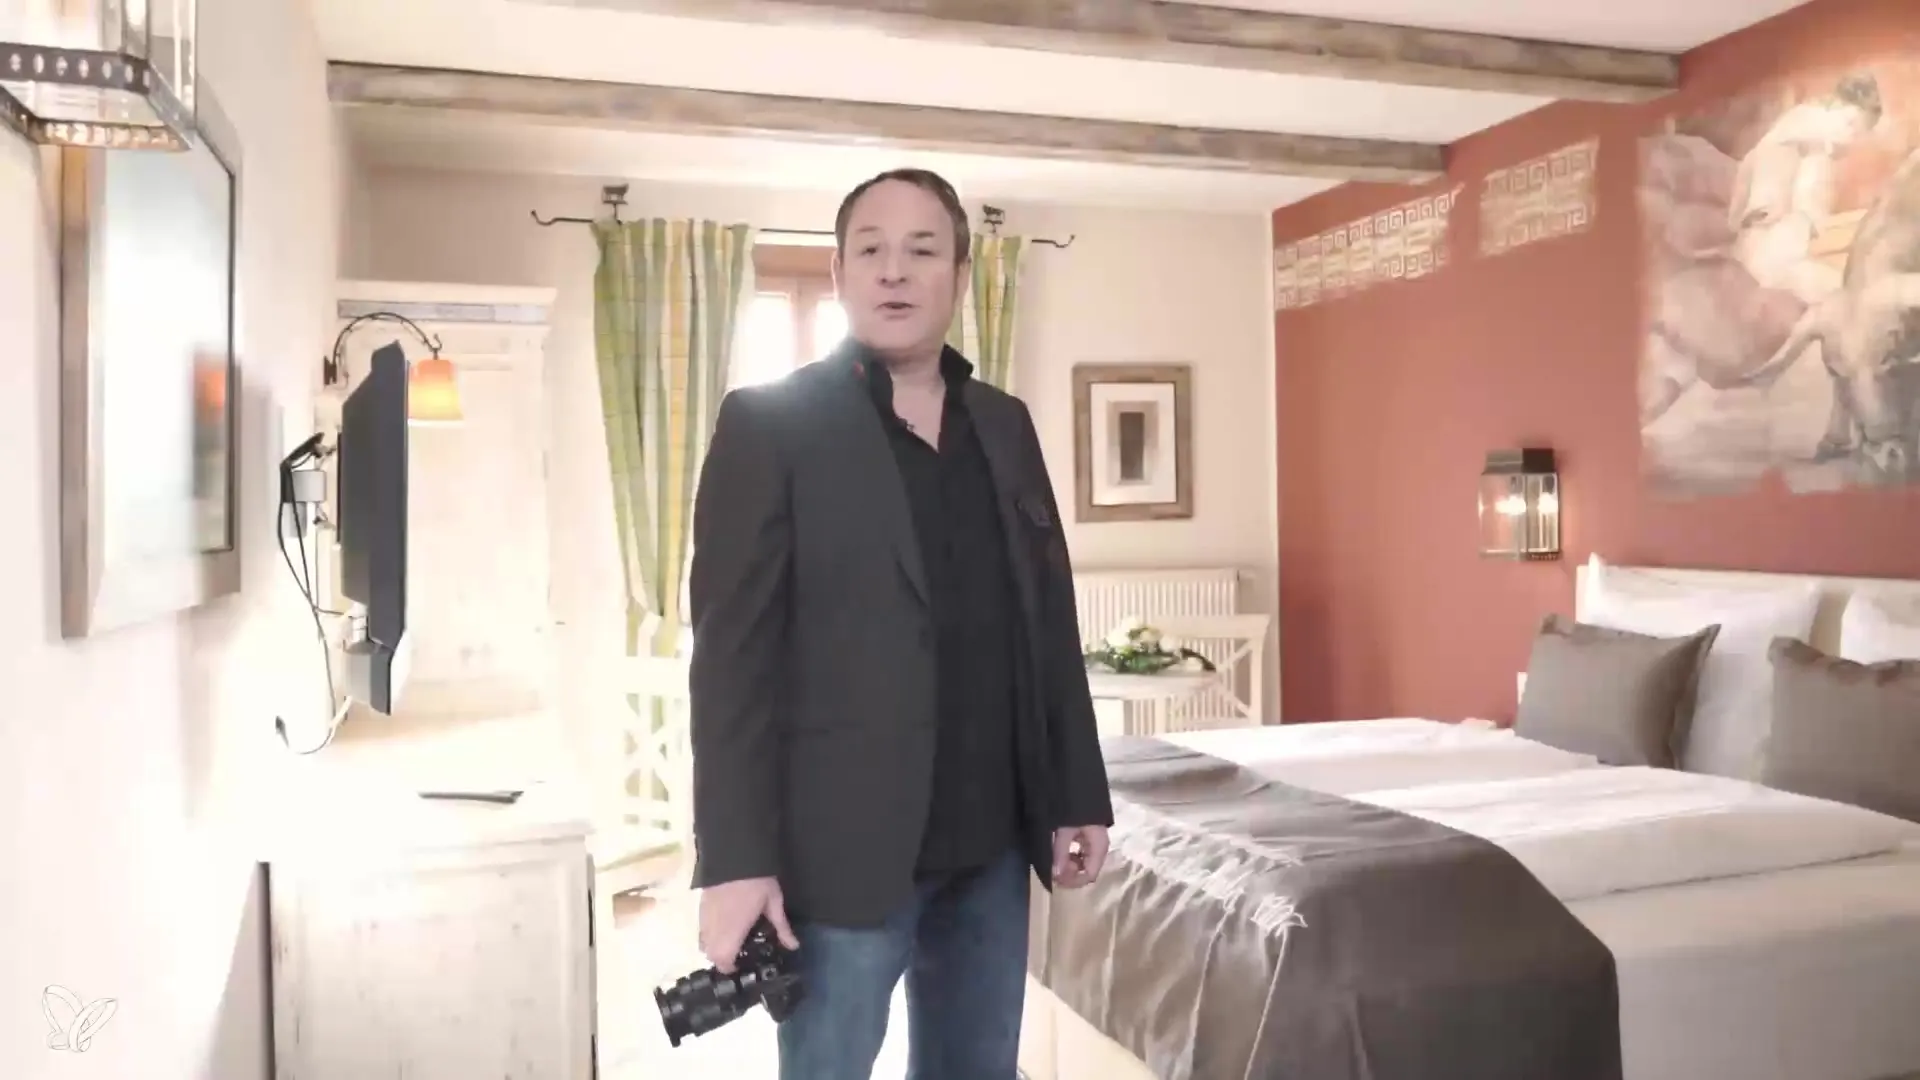
Before you start photographing, a thorough inspection of the room is necessary. First, look around the space and analyze what could be decorated or arranged differently. Ideally, you should discuss with the hotel owner in advance so that important details – like fresh flowers or cleanliness – are already considered. During your inspection, also consider the lighting: where does the light come from and how does it spread throughout the room?
Step 2: Focus on perspective
The most important perspective when photographing a hotel room is the view directly from the entrance door. This perspective gives guests a clear first impression. First, take care of the composition of the image. Consider whether you want to try different arrangements to find the best angle.
Step 3: Adjust the styling
To perfect the design of the room, check the arrangement of the furniture: chairs should always face the camera to appear inviting. If you have seating that doesn't face the direction in which you're photographing, change their position. Additionally, the bed is the central element of the room. Ensure it looks appealing – in some photoshoots, pillows are intentionally omitted to maintain a modern aesthetic.
Step 4: Utilize light
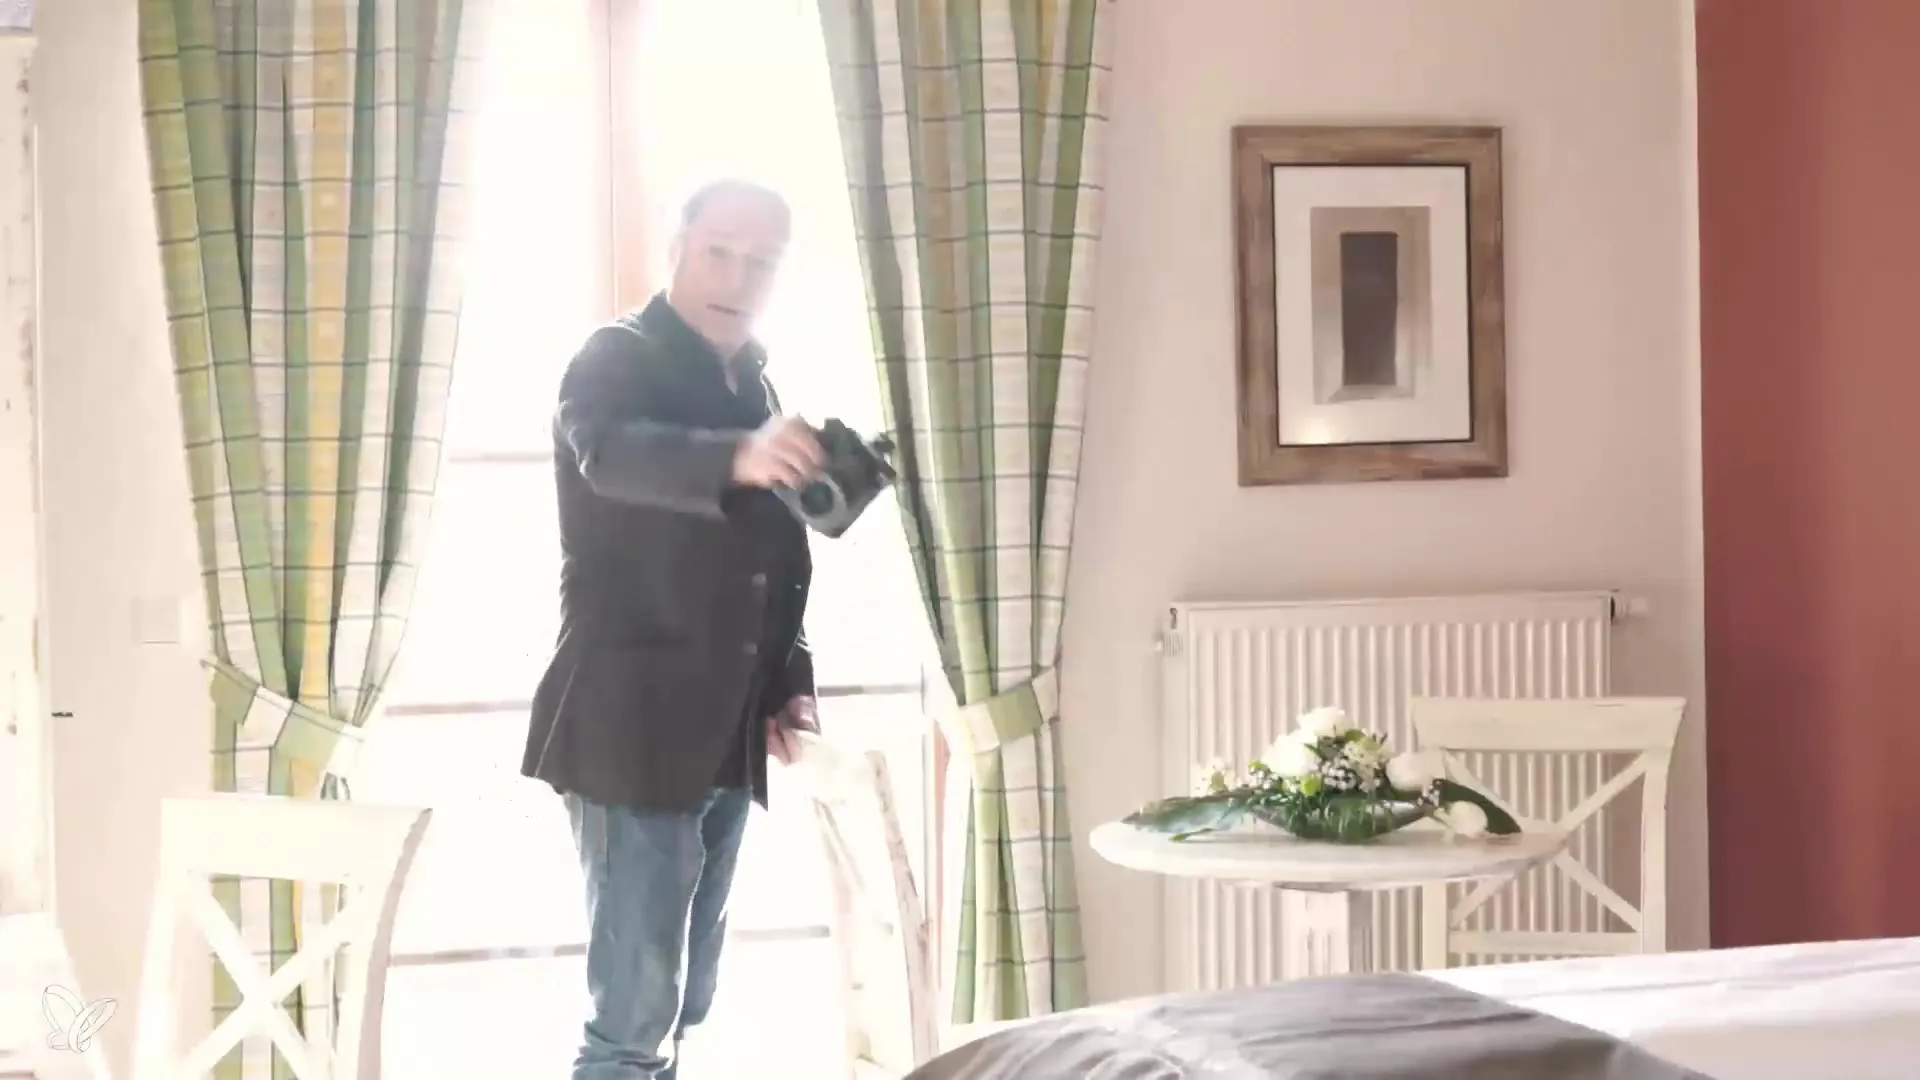
Well-lit rooms are always an advantage in photography. Turn on all the lights in the room to check the lighting conditions. Also, consider whether additional lighting is needed to brighten dark corners. If there's a TV present and it looks appealing, turn it on as well to enhance the impression.
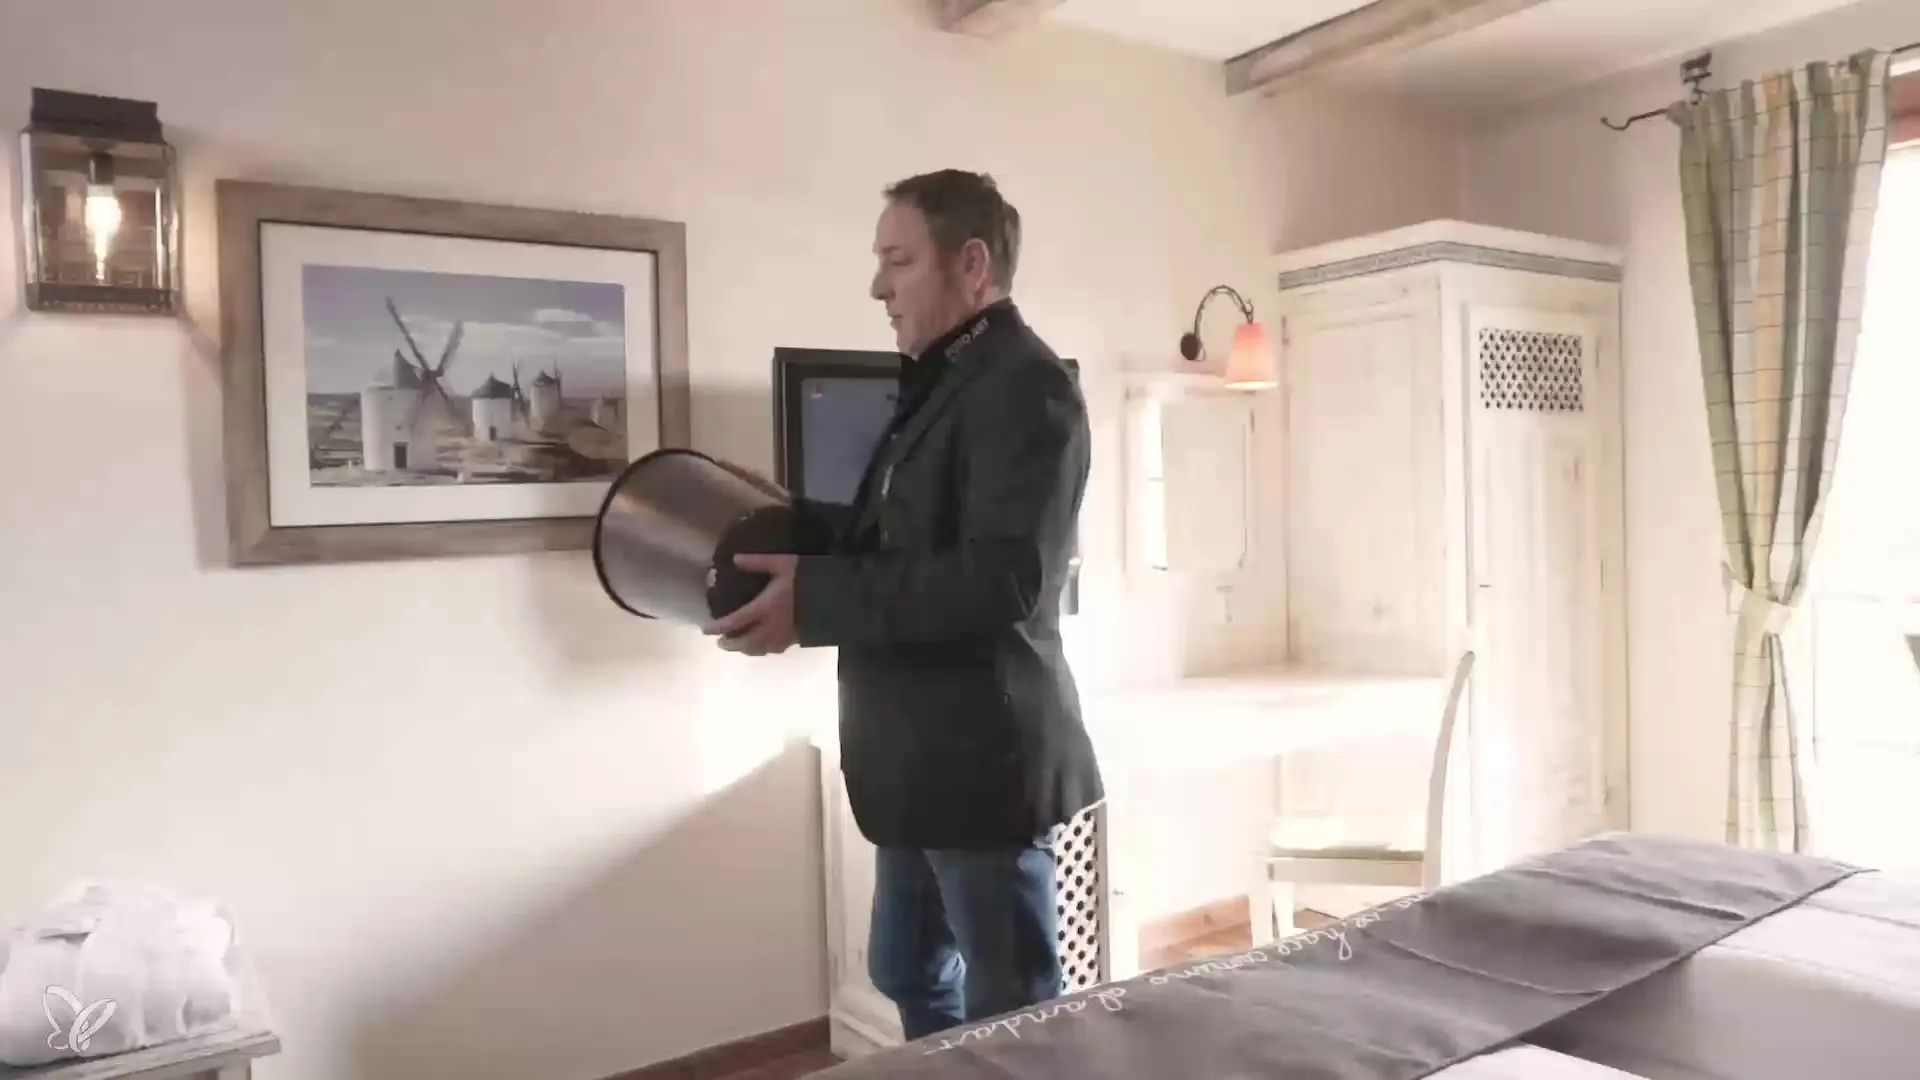
Step 5: Remove distracting elements
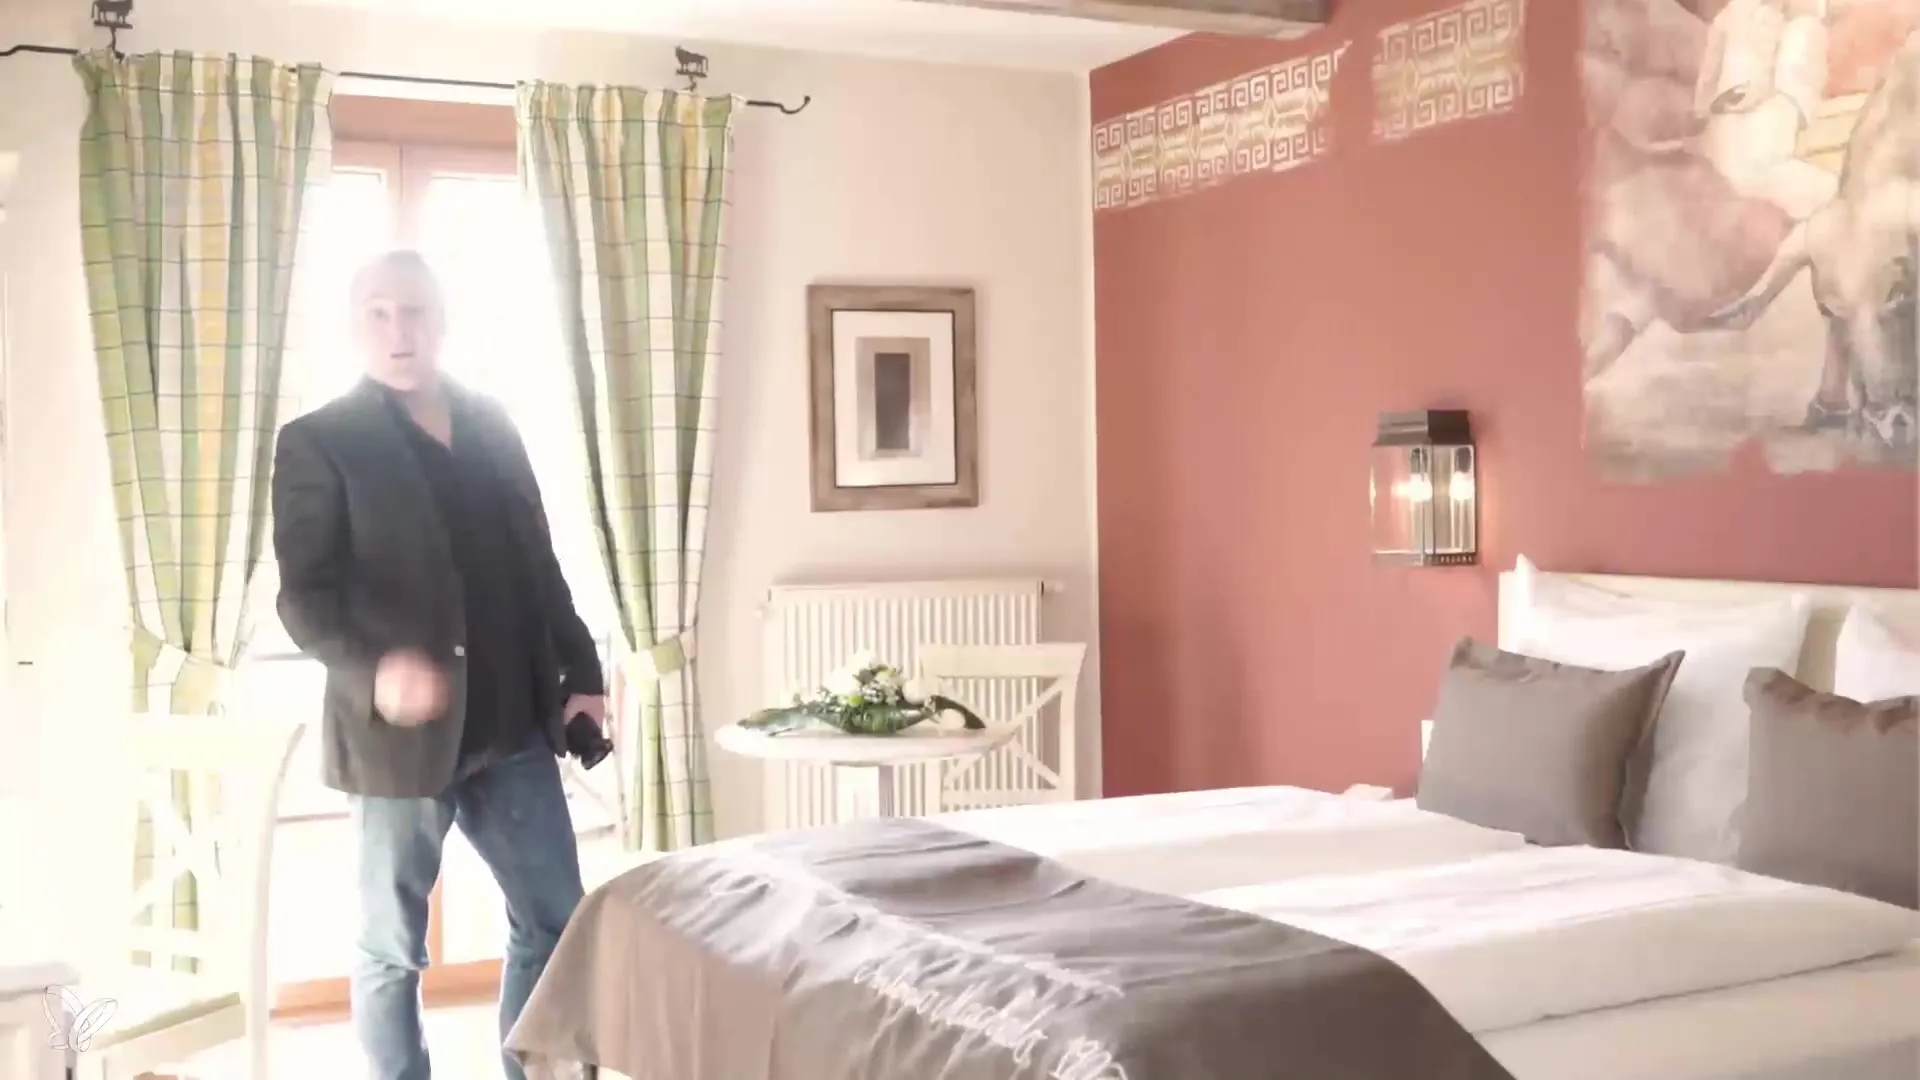
One of the more important tasks is removing distracting elements from the image. A trash bin or cluttered items should be removed from the shot. Utilize available space to hide them so that only aesthetically pleasing elements are visible. This will significantly enhance the overall look of the room.
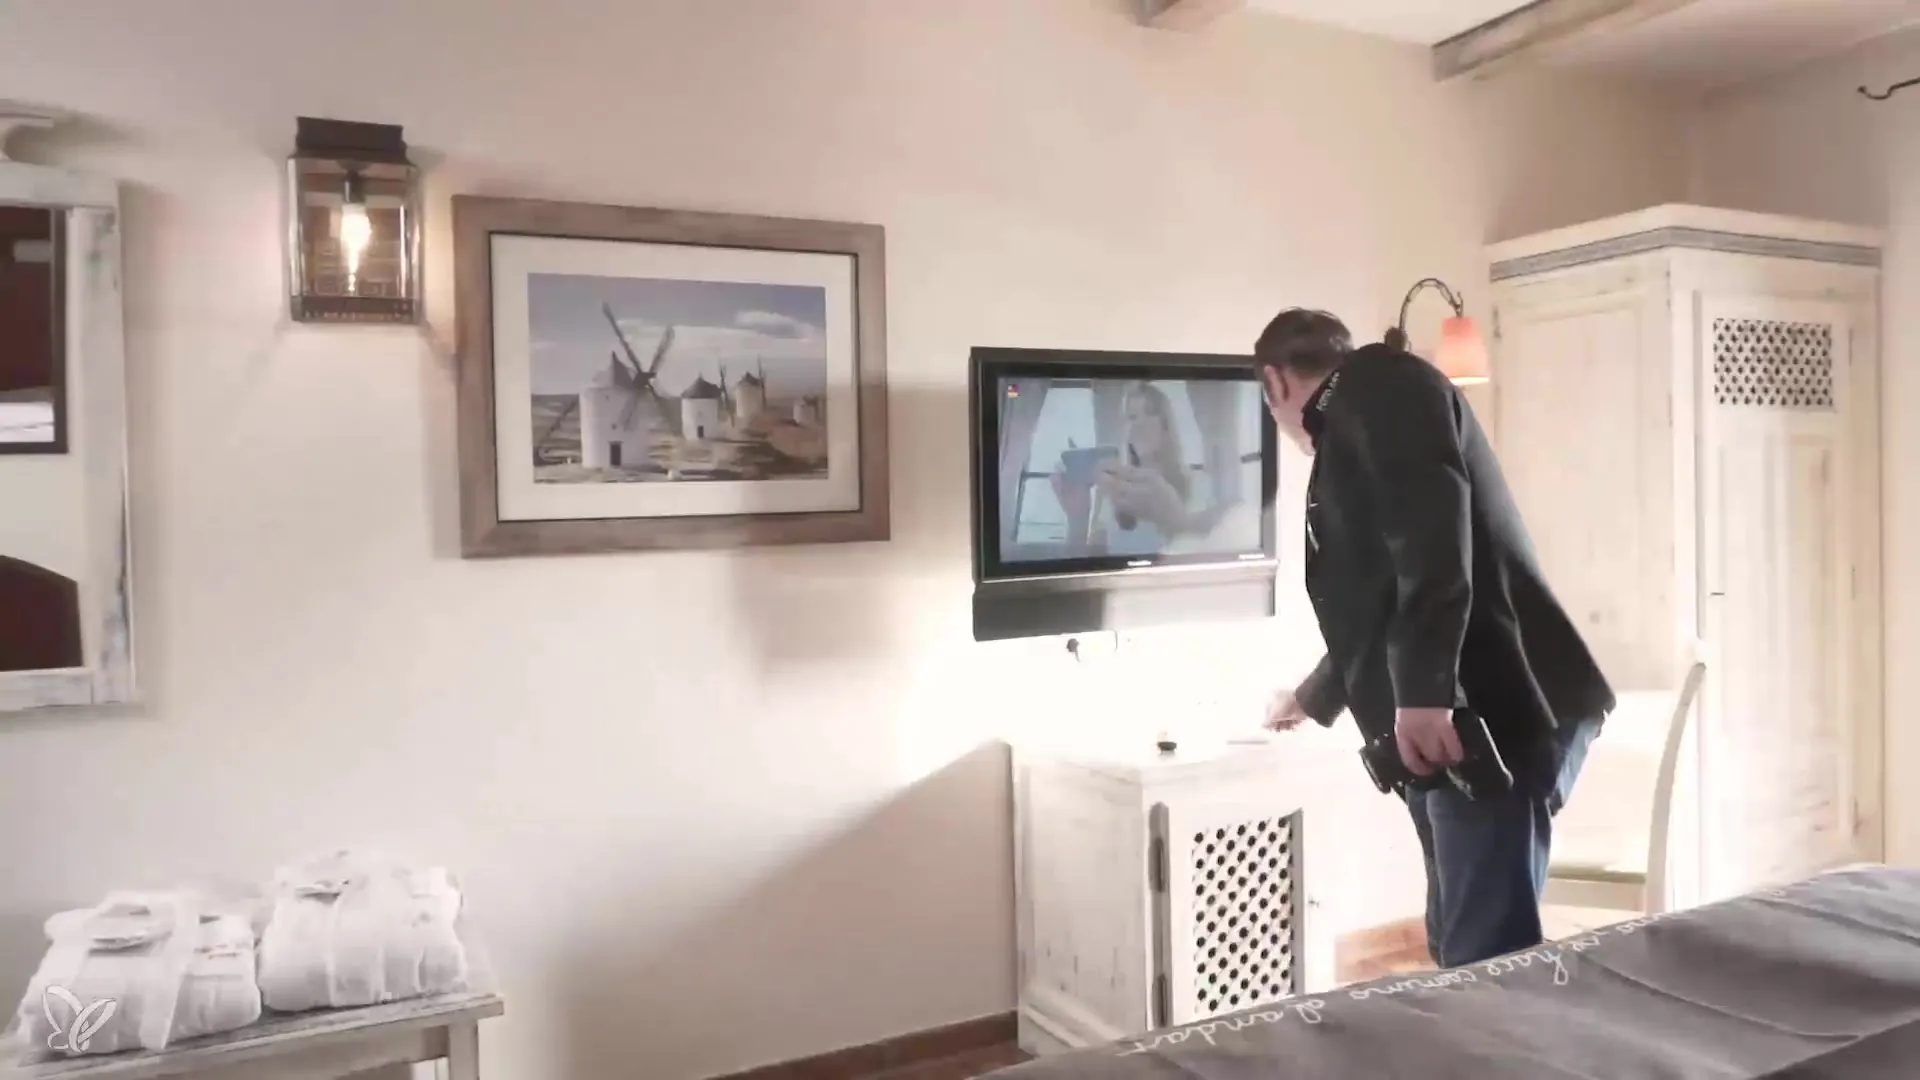
Step 6: Place accessories correctly
Small details can significantly enhance the image. Ensure that remote controls or other accessories are placed thoughtfully to give the image character. These small items often don’t fit directly into the main image but can be important in detail shots.
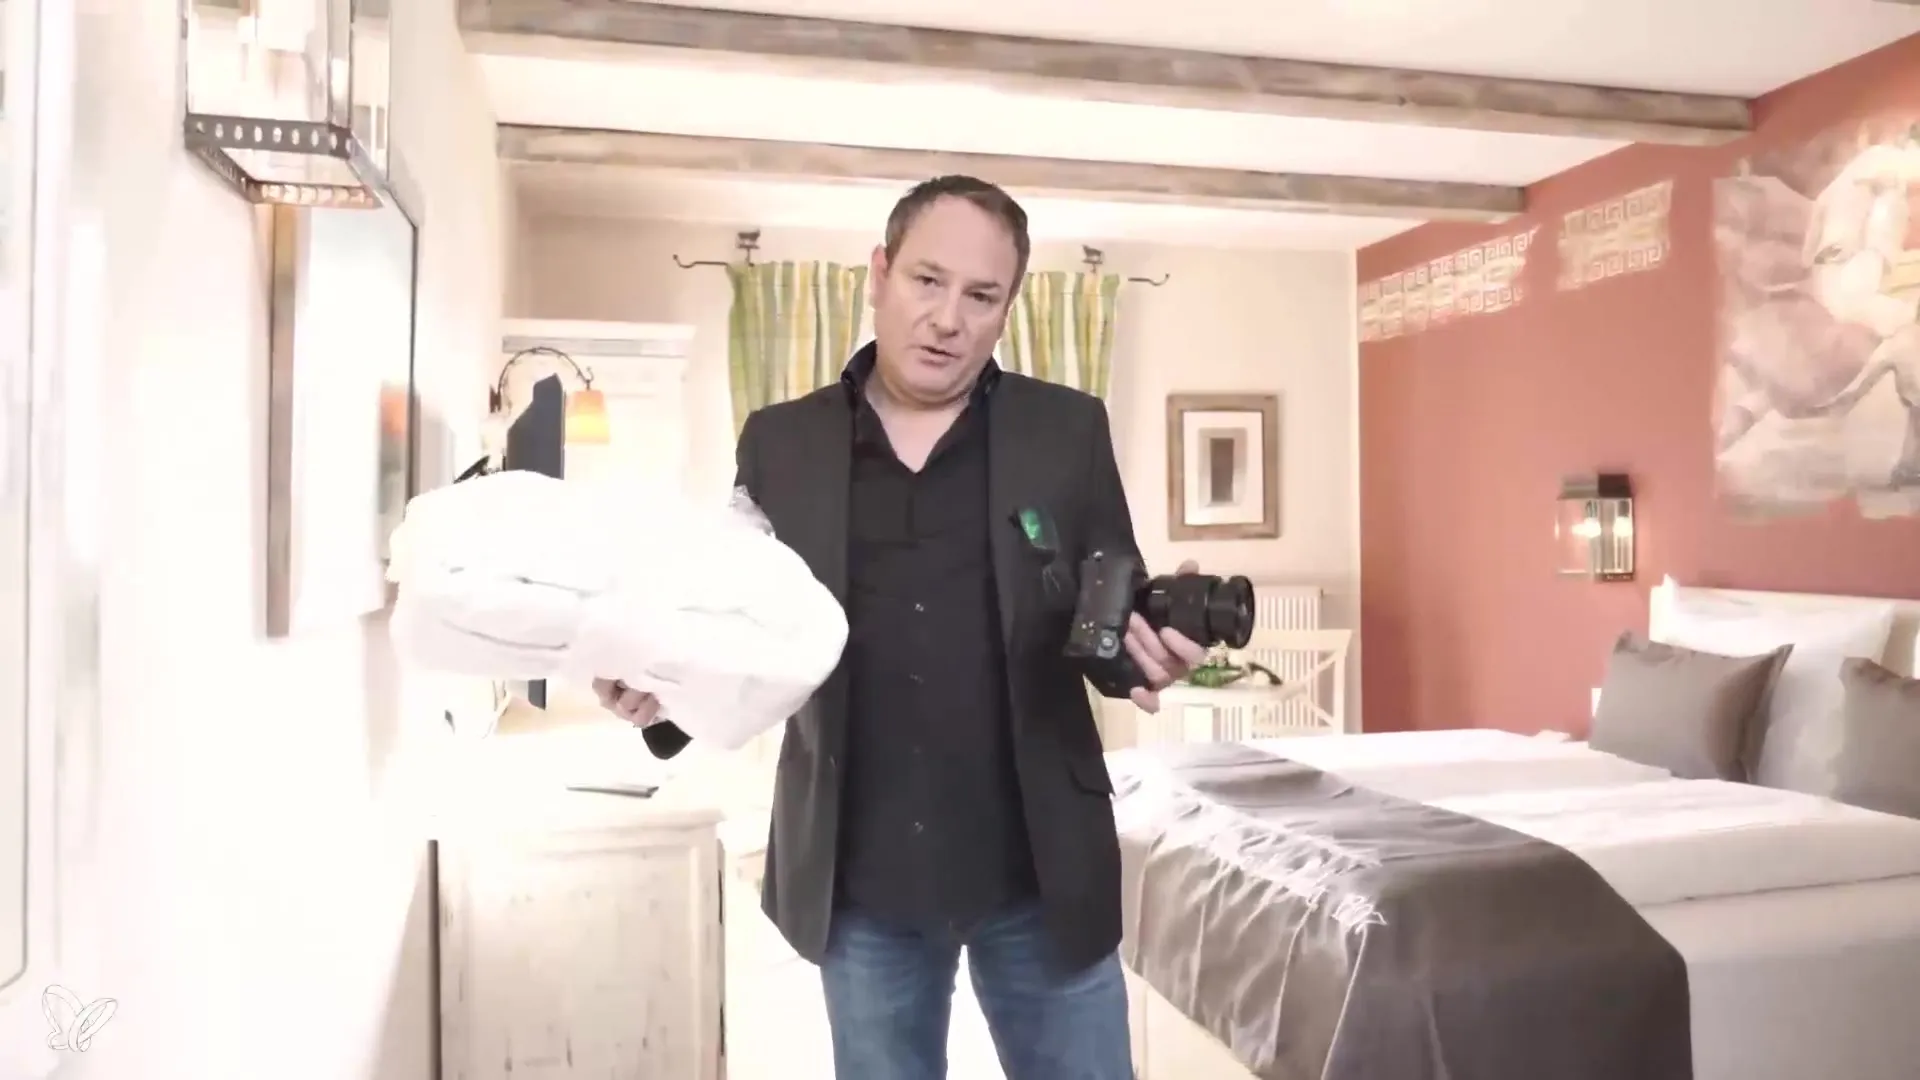
Step 7: Remove unwanted items from the frame
Sometimes large items in the frame can appear very dominant. In such cases, it’s better to remove them or keep them out of the shot to prevent overwhelming the overall image. Smaller details can be used later for separate shots.
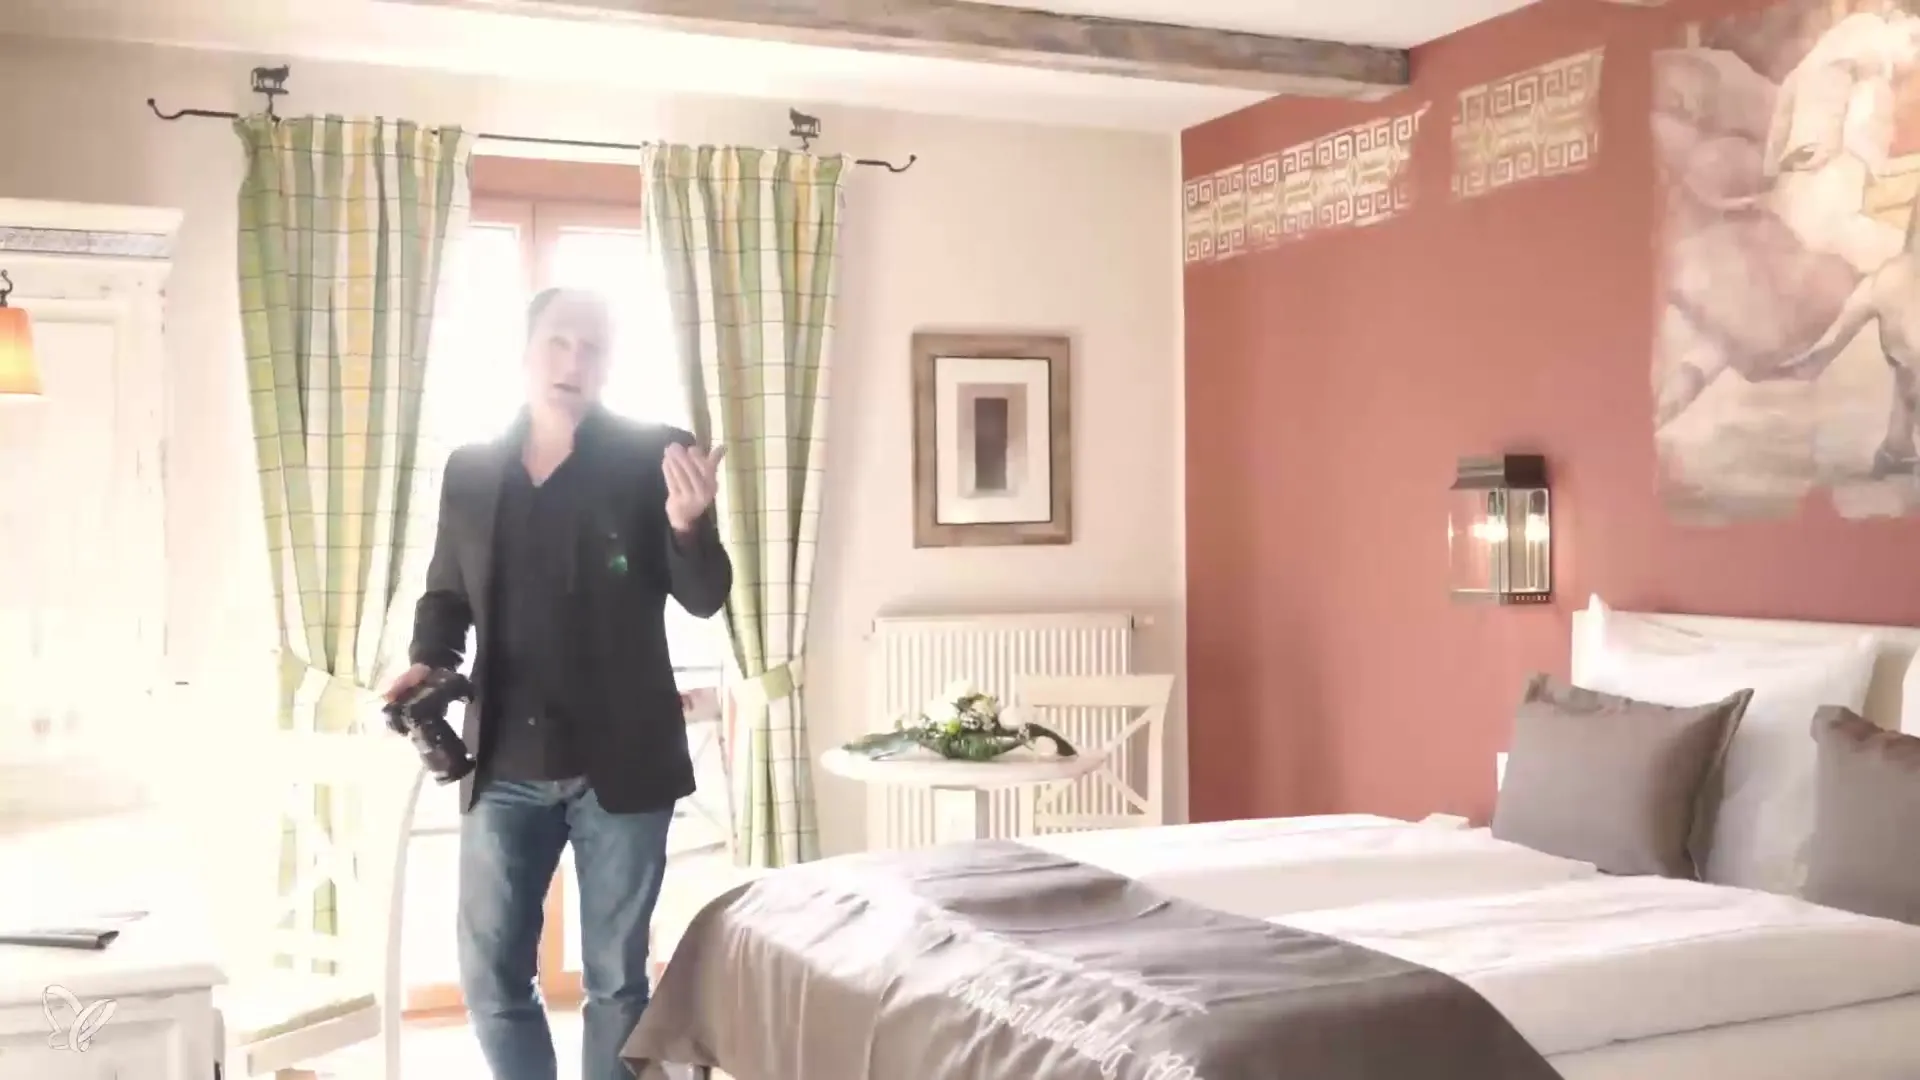
Step 8: Change perspectives
After the initial shots, use different perspectives to showcase the room. You should take at least two different shots: one from the entrance area and one from the opposite corner. This creates a comprehensive representation of the room and offers a better impression of the room size.
Step 9: Photograph the bathroom
The bathroom is another important part of the hotel room and should not be overlooked. Ensure that it is clean and well-lit. Take your time to capture a few shots to get the best angles.
Step 10: Capture details
Think of additional details that can enhance the room, like the mentioned flower arrangement on the table. These shots are important to convey the atmosphere of the room and give potential guests a sense of the decor.
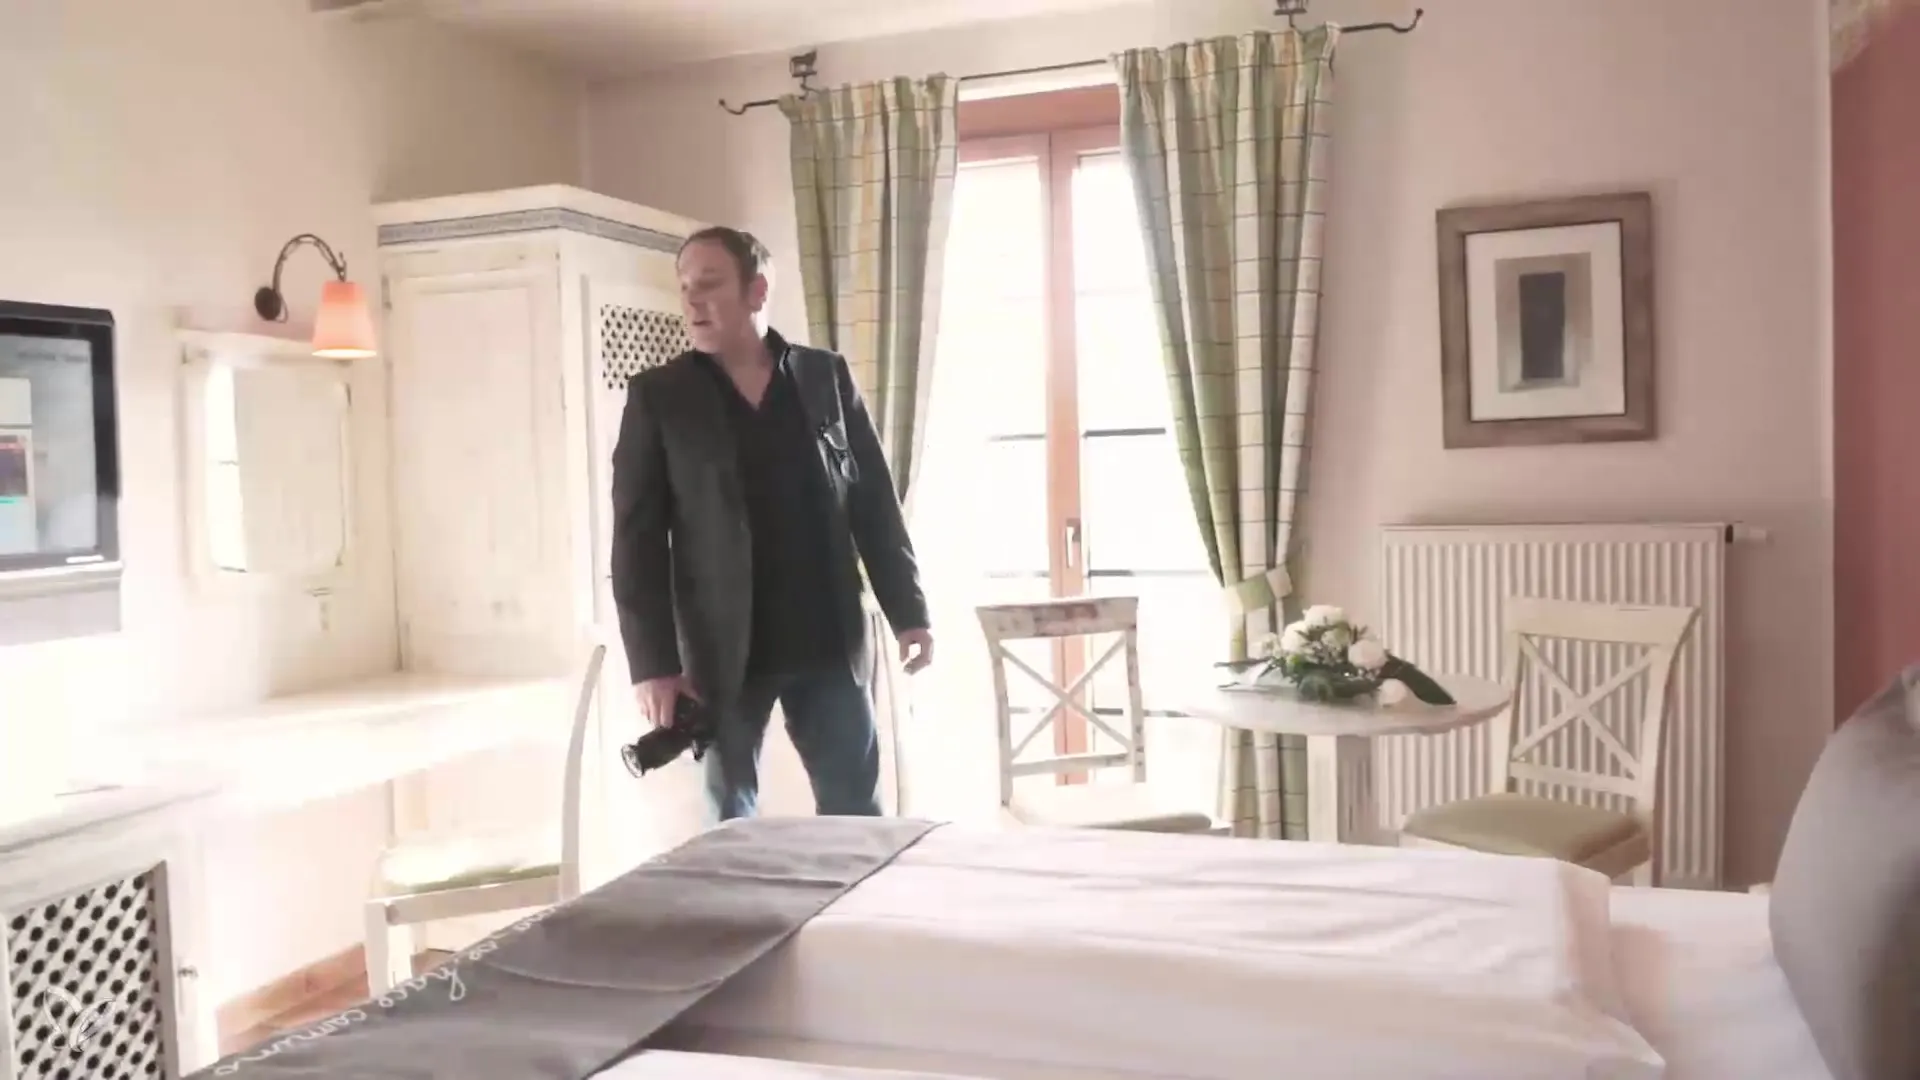
Step 11: Relate to the light
The final step is crucial: ensure that the light is used effectively and falls nicely into the image while you take the shots. This attention to lighting conditions will make the difference between an average and an outstanding image.
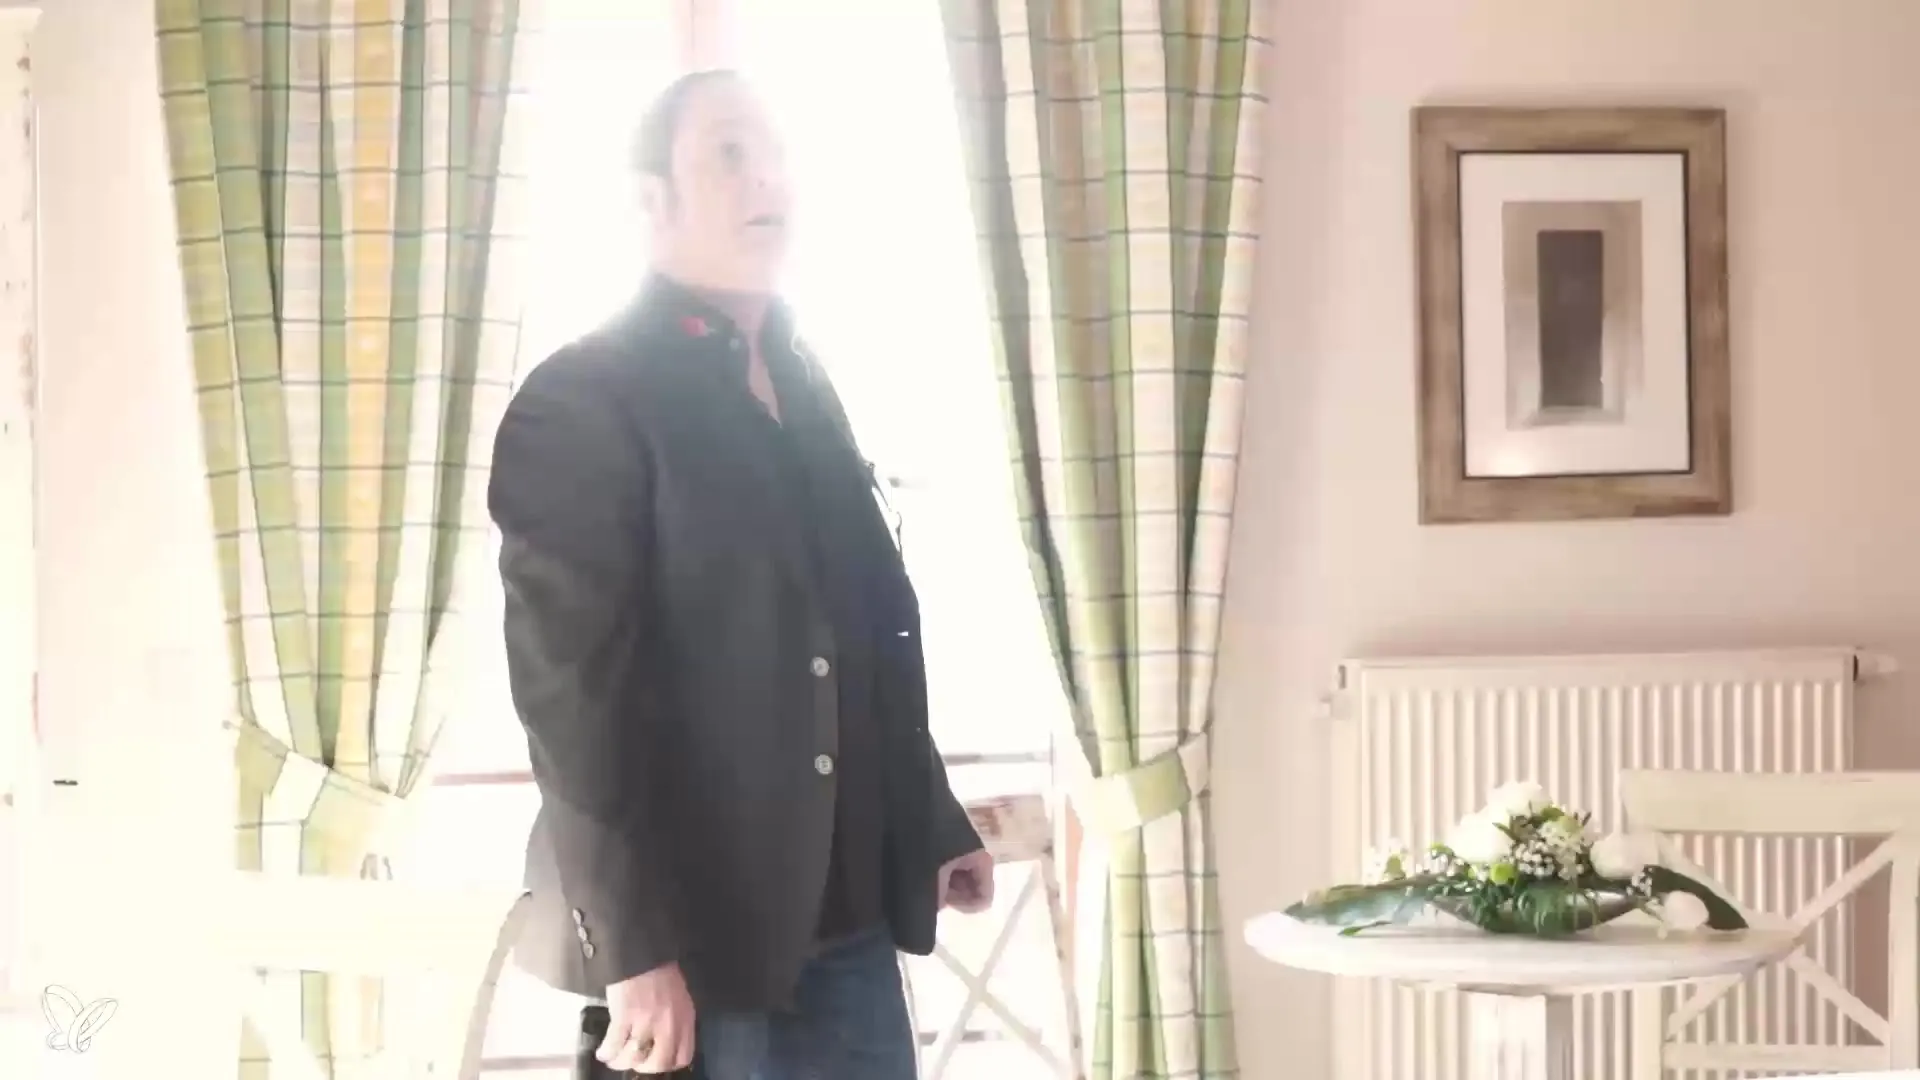
Summary – Hotel Photography: Technique, Motifs & Practice – 14 Room Checks
Successfully executing hotel photography requires both a knack for details and a good sense of light and perspectives. By thoroughly checking the room beforehand and thoughtfully addressing the arrangement of the furniture, you create the foundation for inviting and appealing hotel images. Pay attention to the lighting conditions and keep unwanted elements away to achieve the optimal result.
FAQ
What is the first step in hotel photography?The first step is to check the room and optimize decorative elements.
How important is lighting in hotel photography?Lighting is crucial as it presents the space in the best light.
Which perspective is recommended?The perspective directly from the entrance door is the most effective.
Should distracting elements be removed from the image?Yes, distracting elements should always be removed to enhance the image.
How many shots of the room should be taken?At least three shots are recommended: from the door and two from different corners.
