Do you want to take your hotel photographyto the next level? This tutorial is about the effective use of exposure bracketingfor HDRphotography. Different brightness information in a subject can often make the overall image appear unharmonious. To counteract this, I work with various exposures that will later be combined into an HDR image. Let’s dive straight into the practice!
Key insights
- Use exposure bracketing to balance light differences in a subject.
- Avoid converging lines to make the image aesthetically pleasing.
- A constant aperture helps achieve consistent results during the exposure bracketing.
Step-by-Step Guide
Start by changing the perspective to bring new parts into the subject. You have already photographed from the other corner, so it makes sense to work from a different perspective this time. Pay attention to what you want in the image and what new elements you’ll introduce.
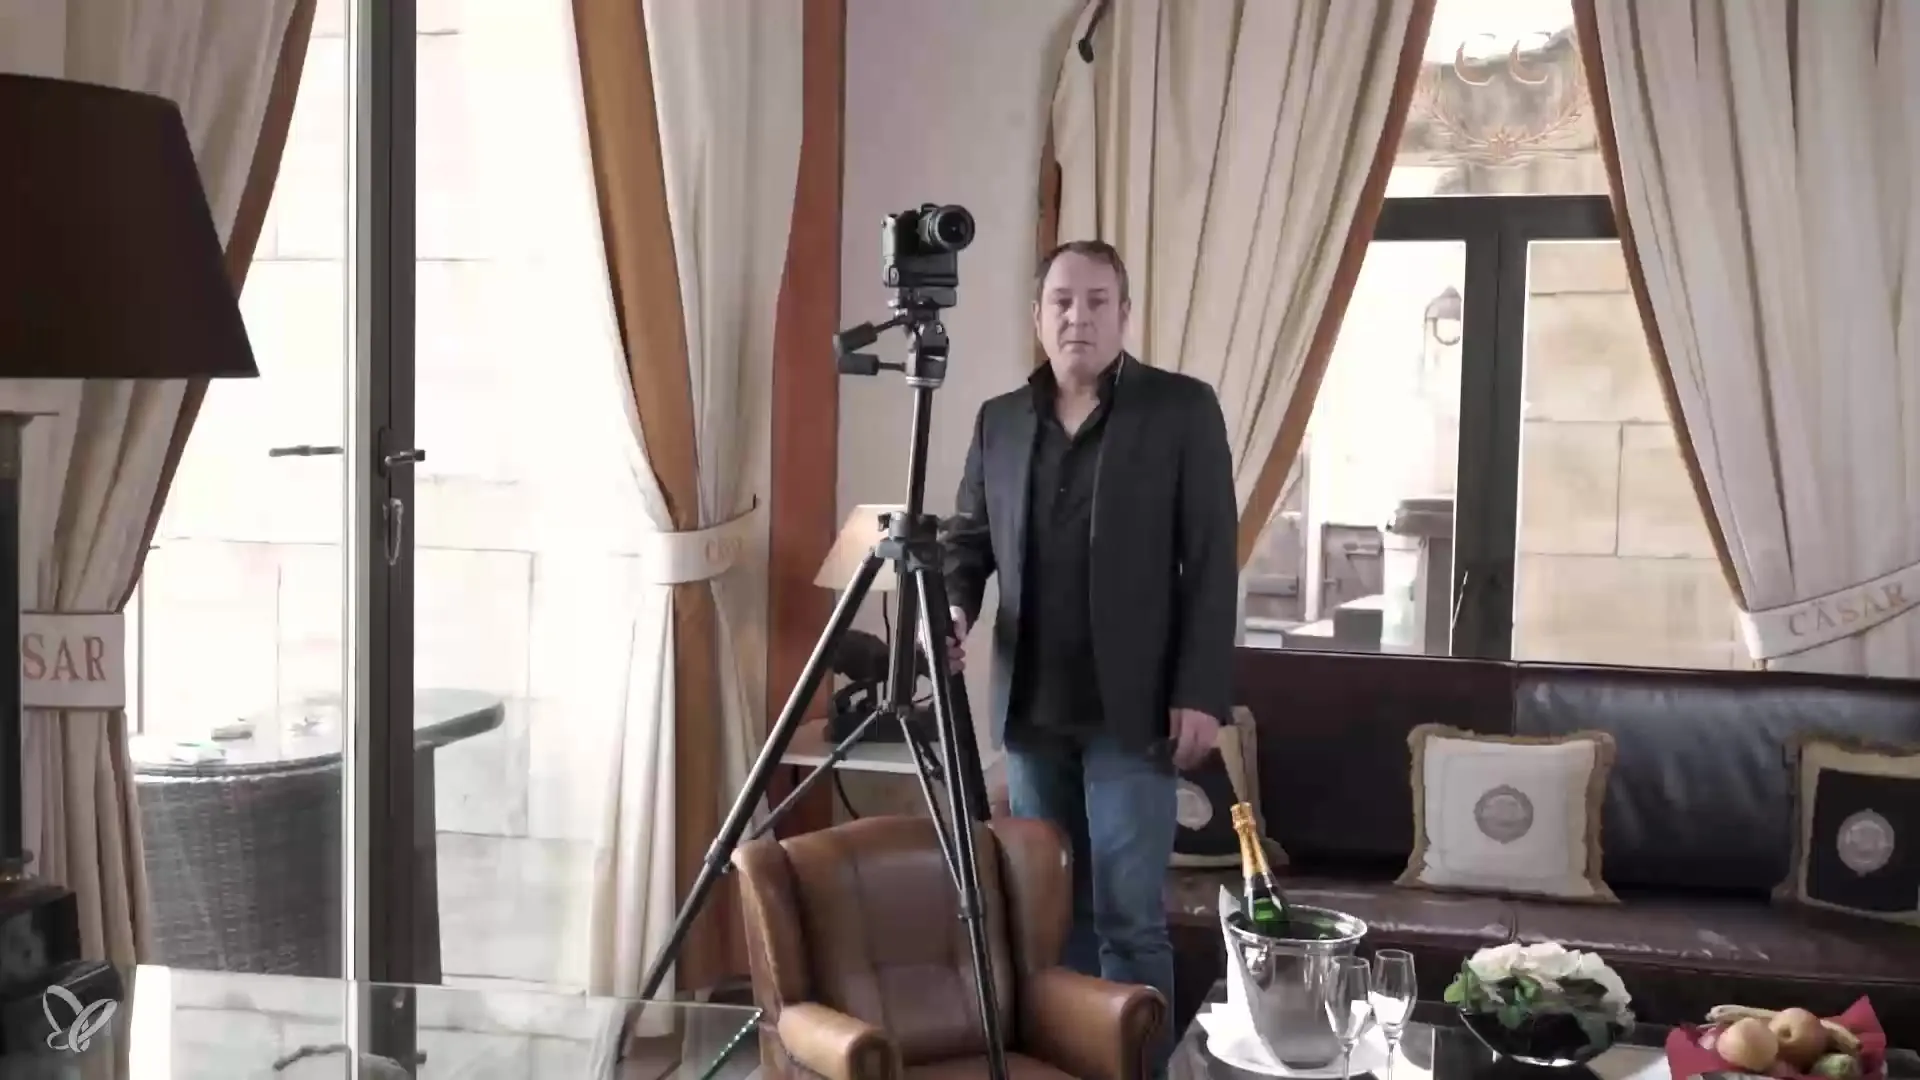
After choosing the new perspective, take a close look at the subject. In this case, the bathroom on the left side is an important part of the overall image. The goal is to effectively incorporate these elements into the picture.
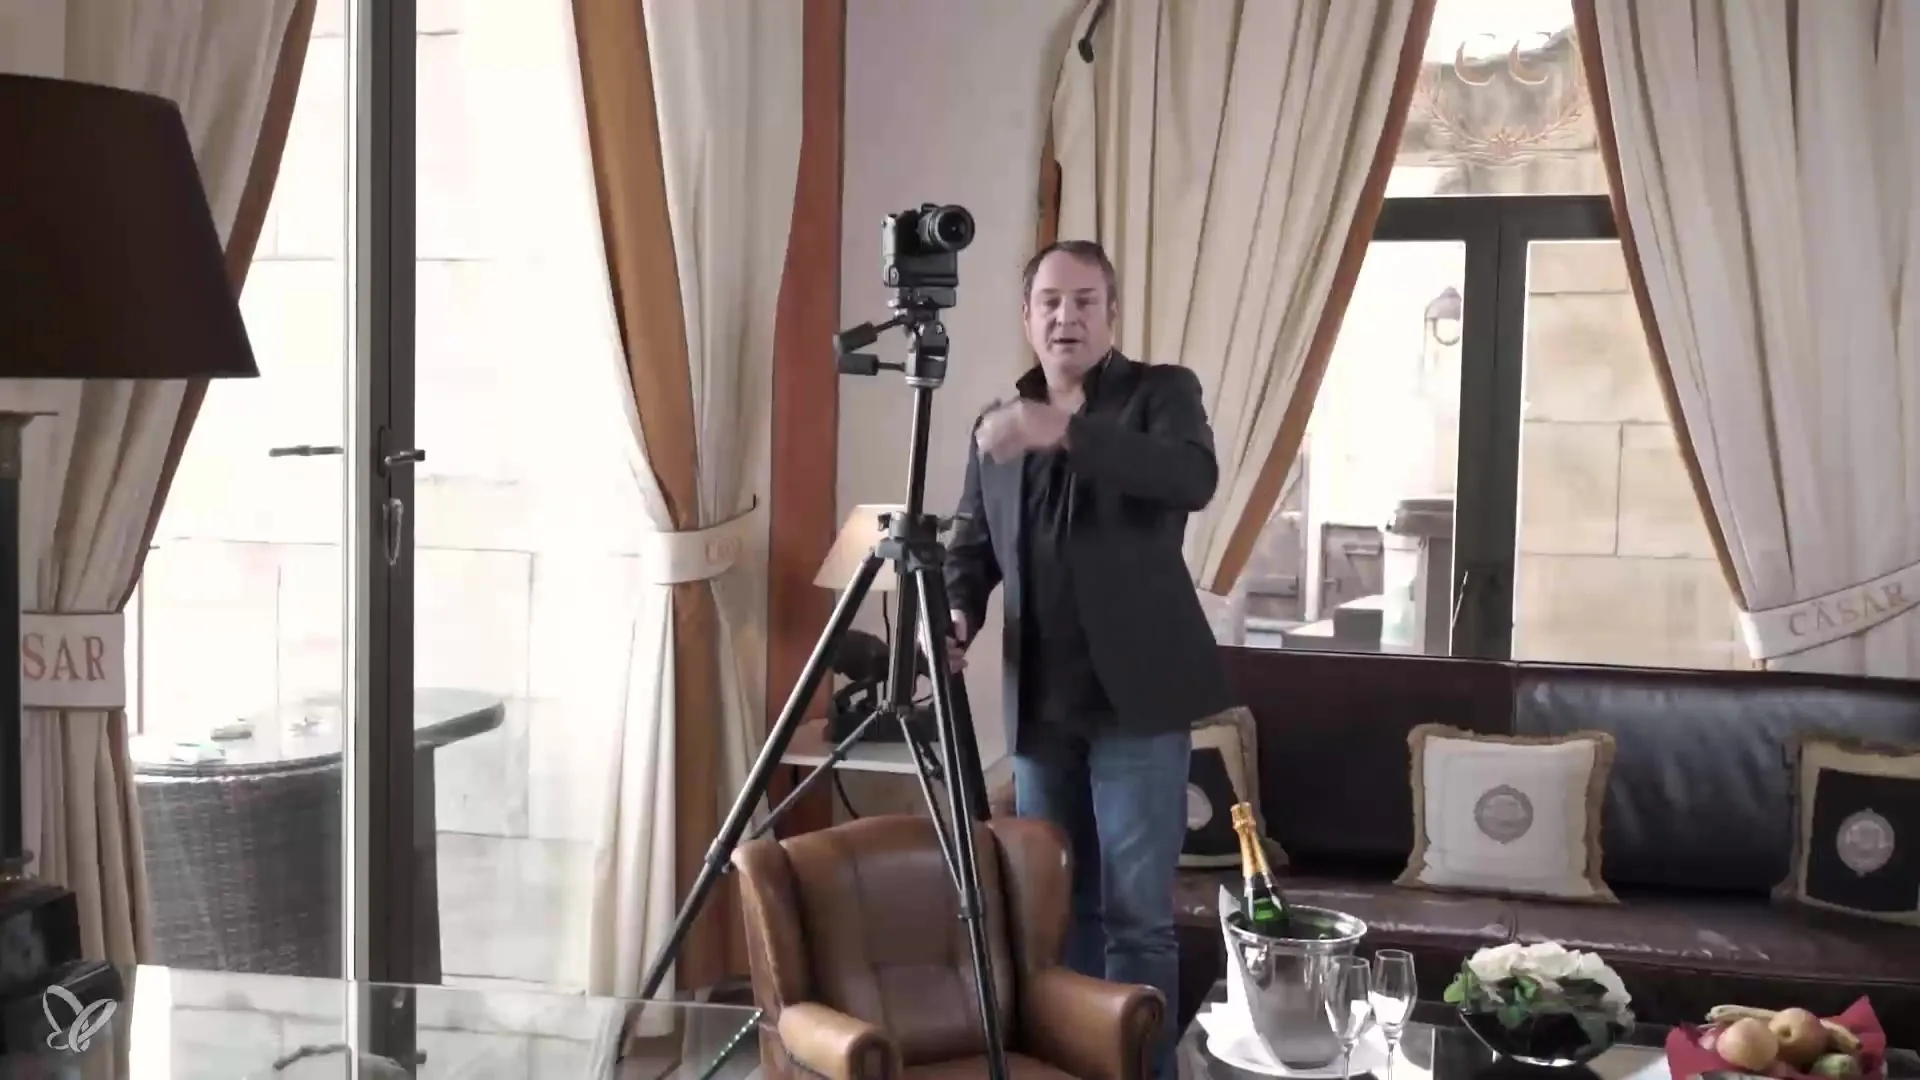
Make sure the lights are on and the furniture is arranged properly. It is important that everything is prepared as you want it for your image. If the preparation is right, all you have left is to find the right camera position and adjust the exposure.
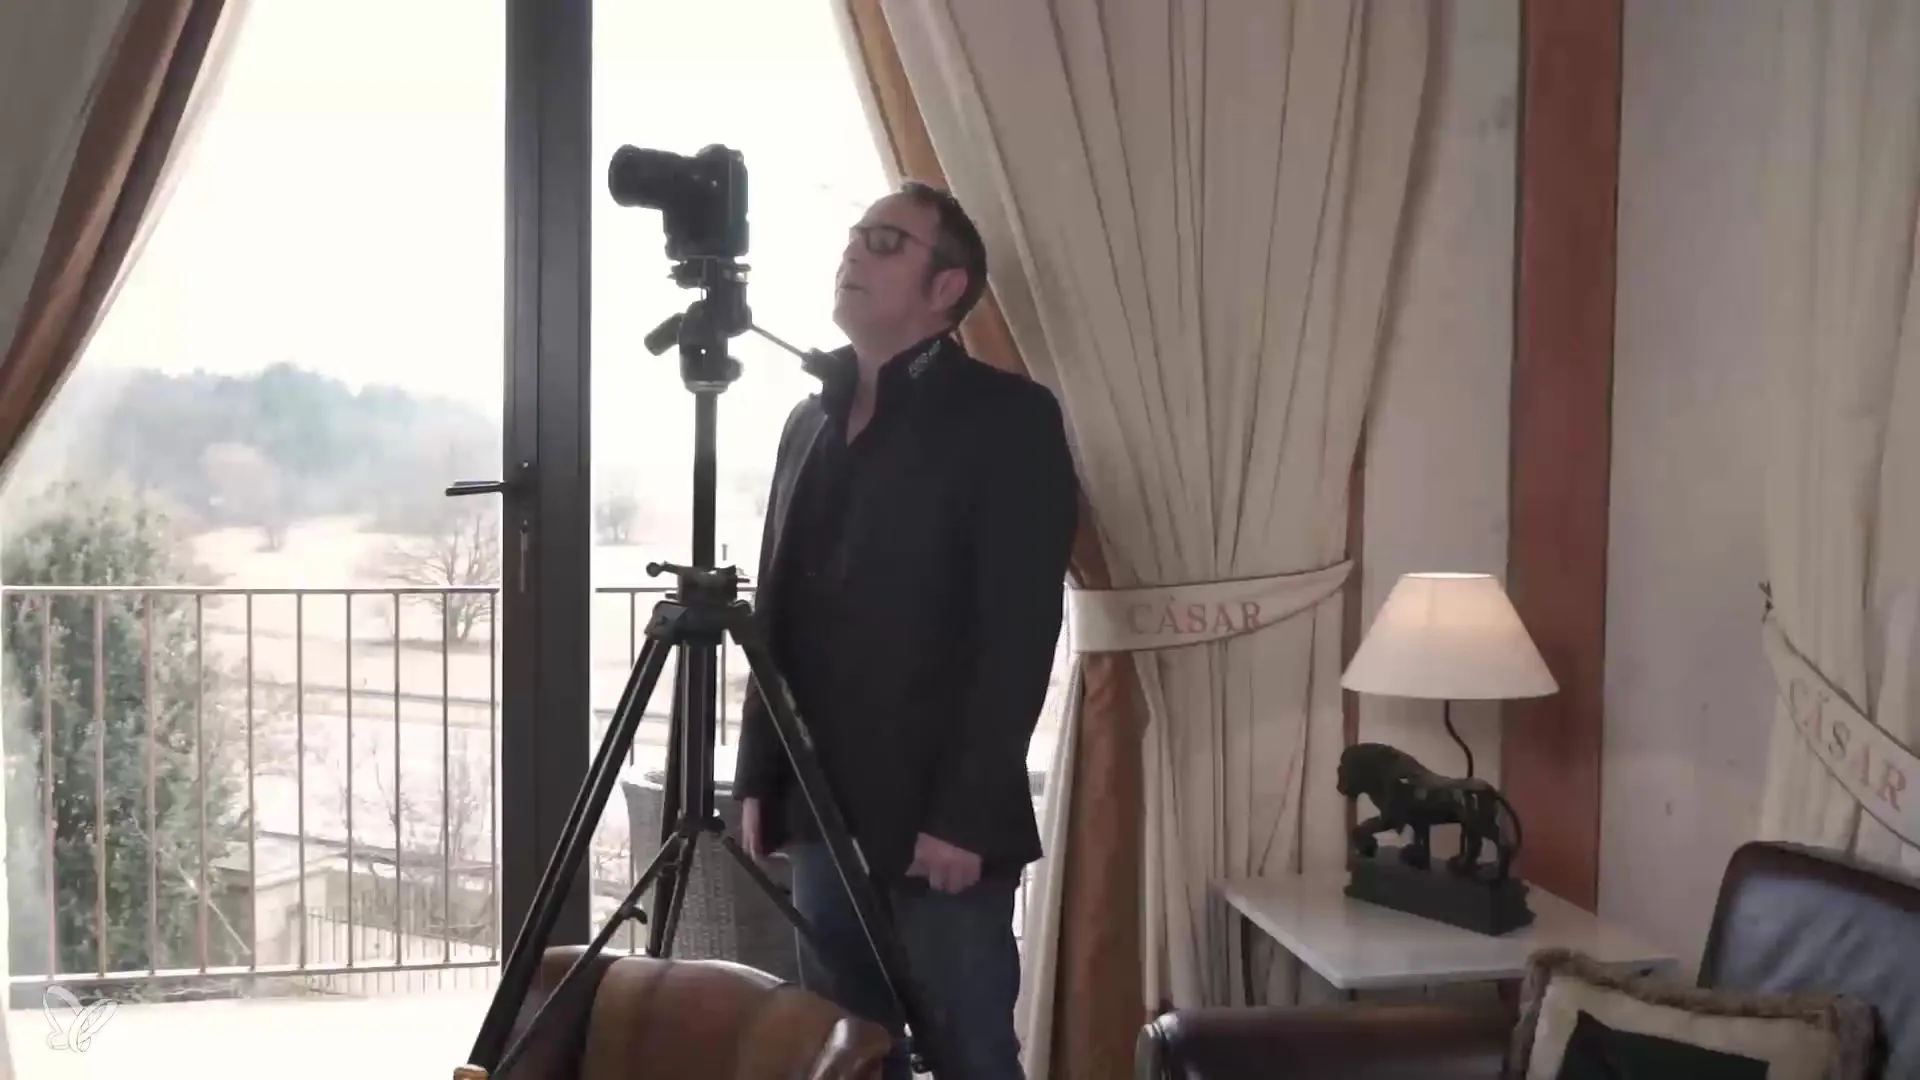
Now it’s time to position your camera to avoid converging lines. Make sure to align the camera at an ideal angle to retain the desired lines in your image. A good way to check this is with a level or the live view function of your camera.
To start the exposure bracketing, keep the aperture constant while varying the exposure time. This is the crucial parameter you will be working with. Start with the first exposure shot. Set the aperture to 8 and the exposure time to one second.
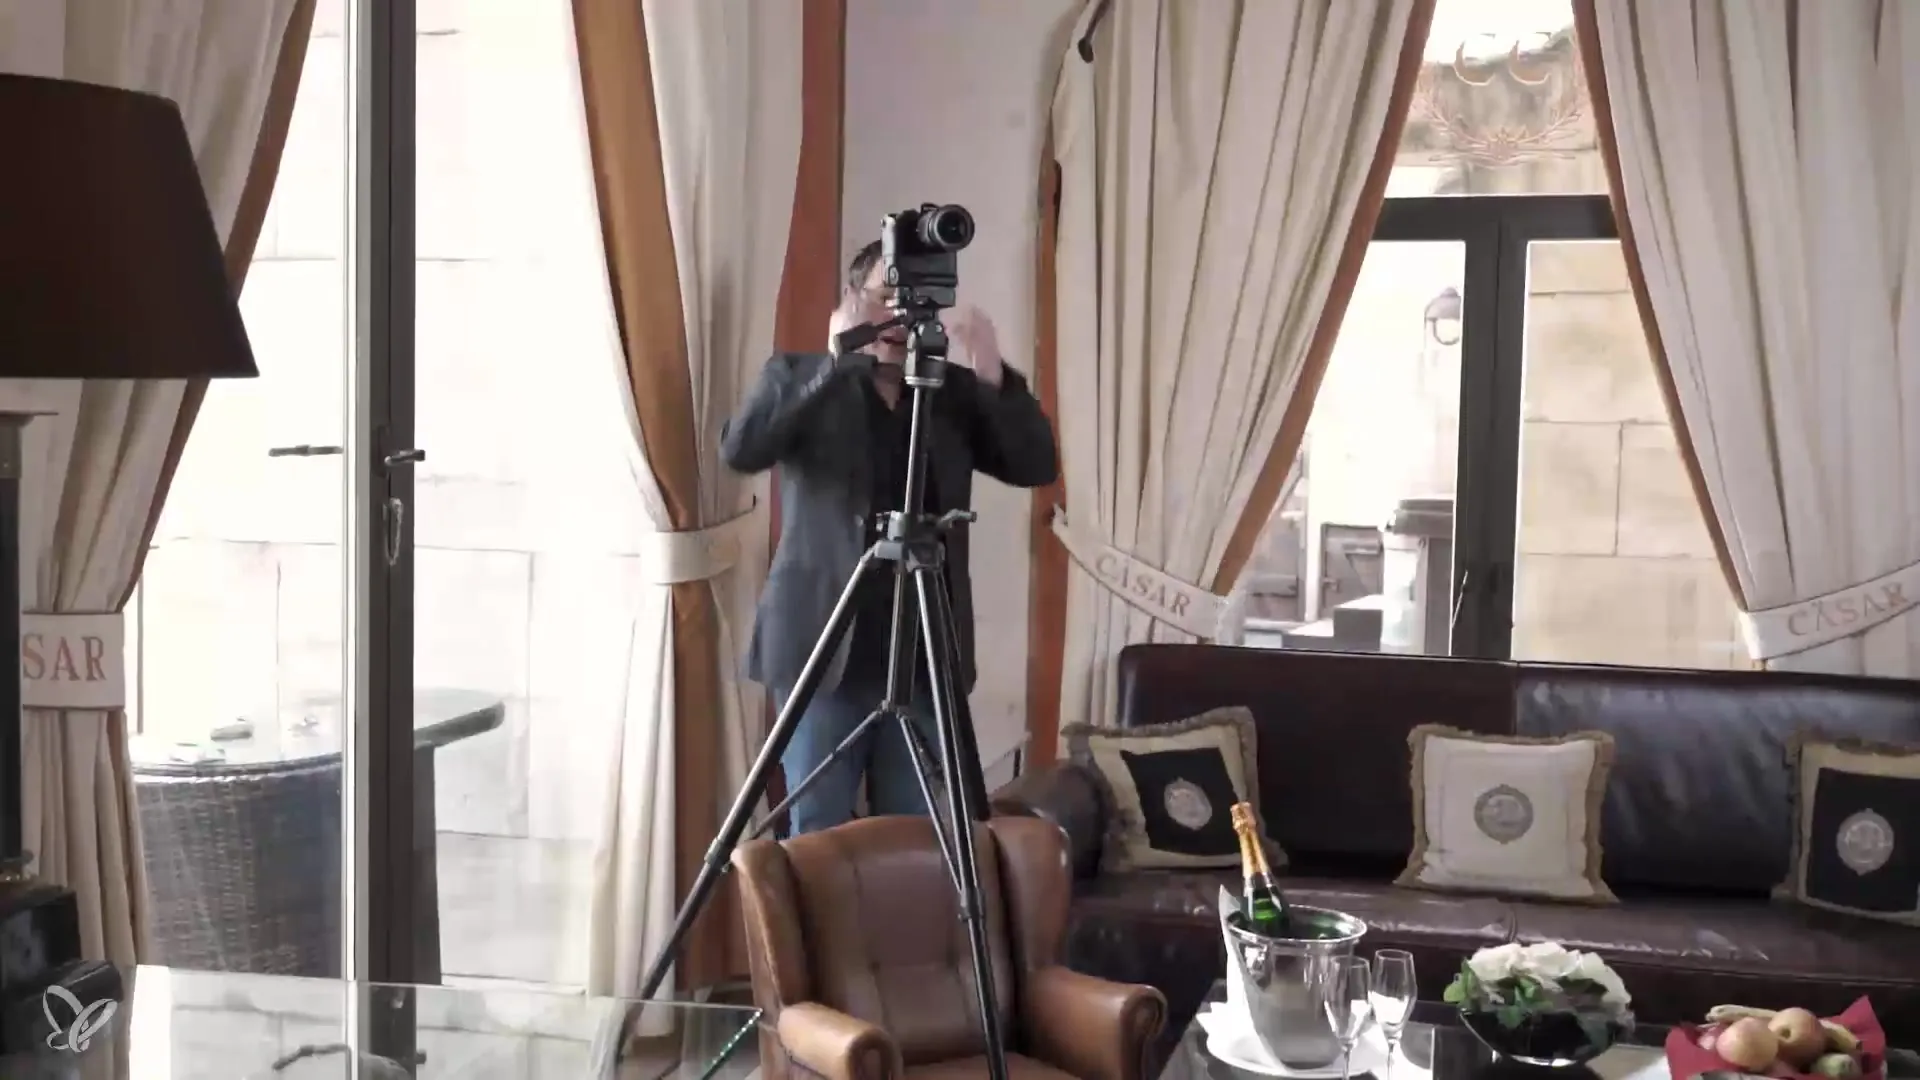
Next, decrease the exposure time to take darker shots. Go down to half a second and then to a quarter of a second to complete the exposure bracketing. Make sure to keep the change in f-stops consistent.
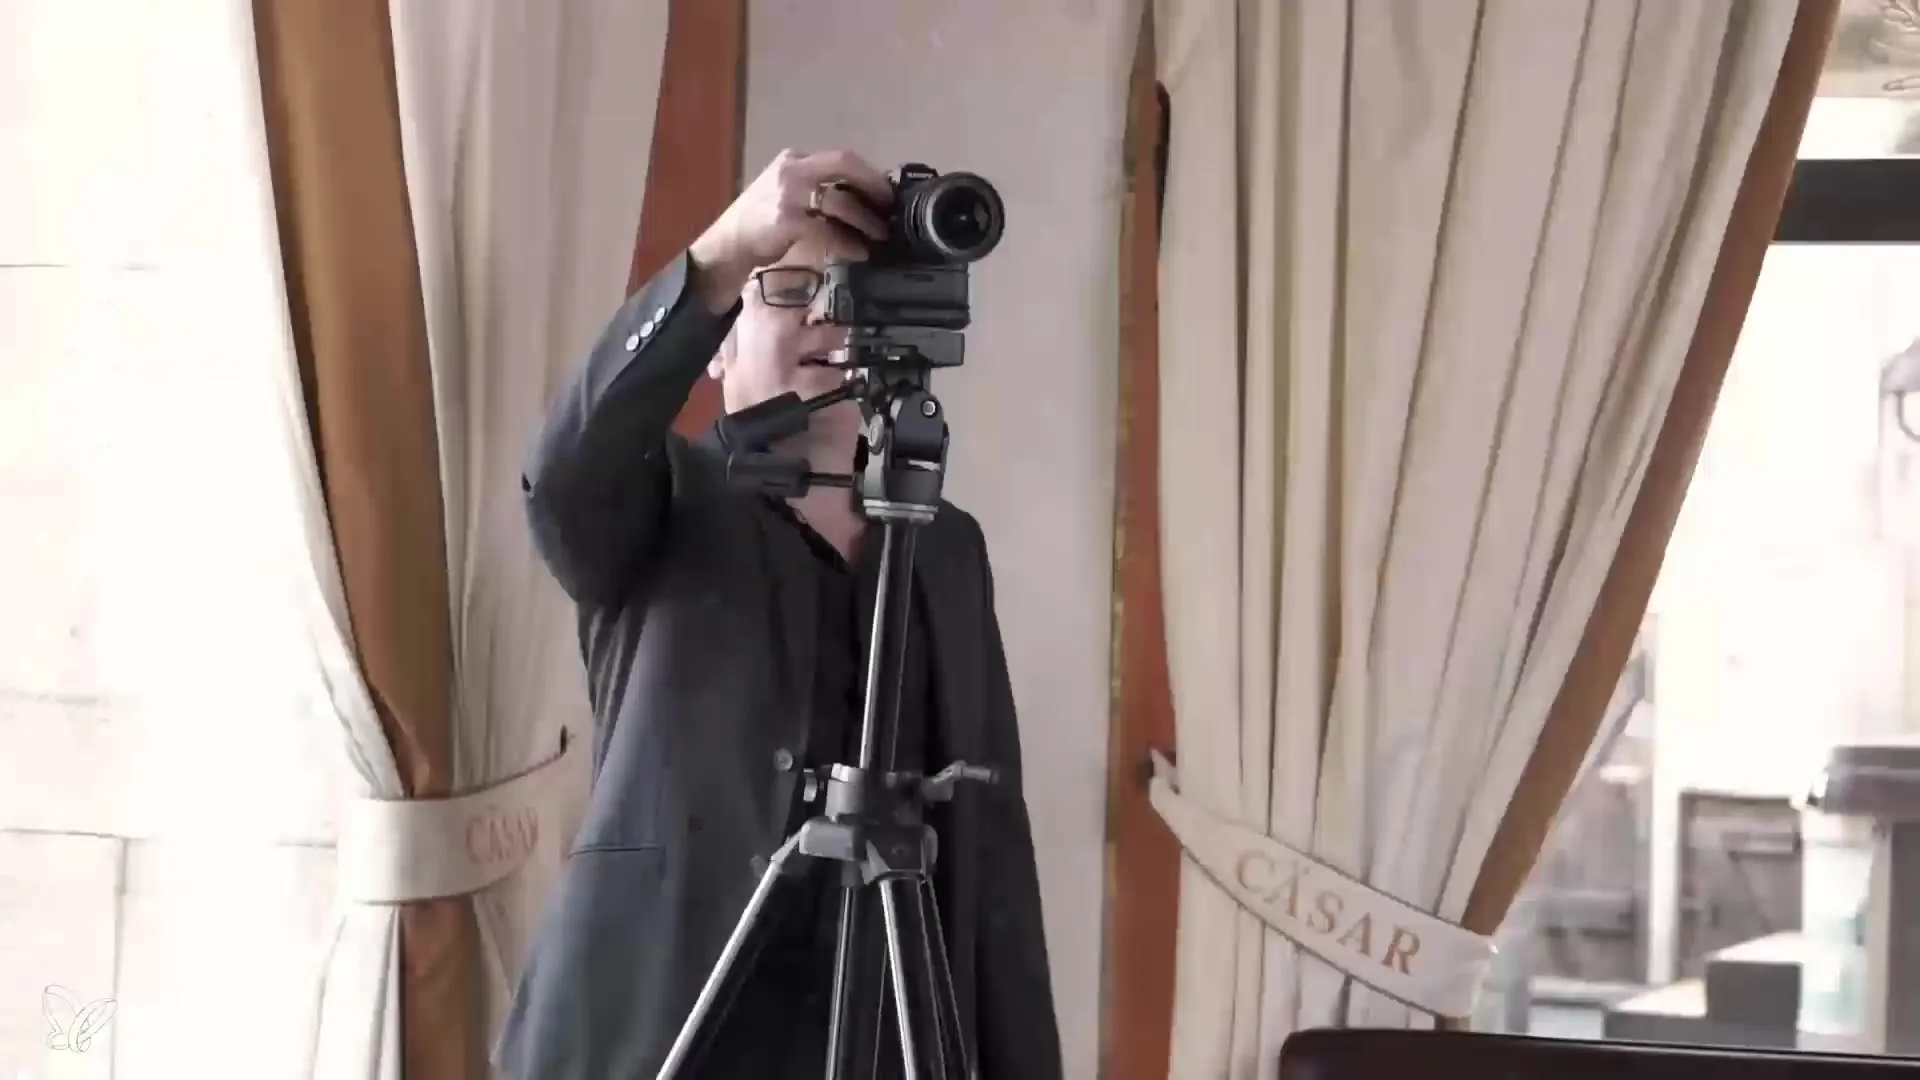
When you go one stop darker, keep the aperture at 8 while continuing to adjust the exposure time. Finally, for the last shot, adjust the exposure time to 30 seconds with aperture 8. With this, you have created five different exposures for your HDR image.
Check all the shots on your display. Make sure you have all five necessary exposures. If needed, you can align the shots to ensure they are in the desired order.
After taking the shots, you can combine the imagesin Photomatics or another HDR program of your choice. This software will help you merge the best parts of each exposure and create a harmonious image.
In conclusion, it must be said that the prior preparation of the room, including cleaning and proper arrangement, has a significant impact on the quality of your photographs. The ability to quickly photograph from different perspectives enhances the efficiency and results of your photography.
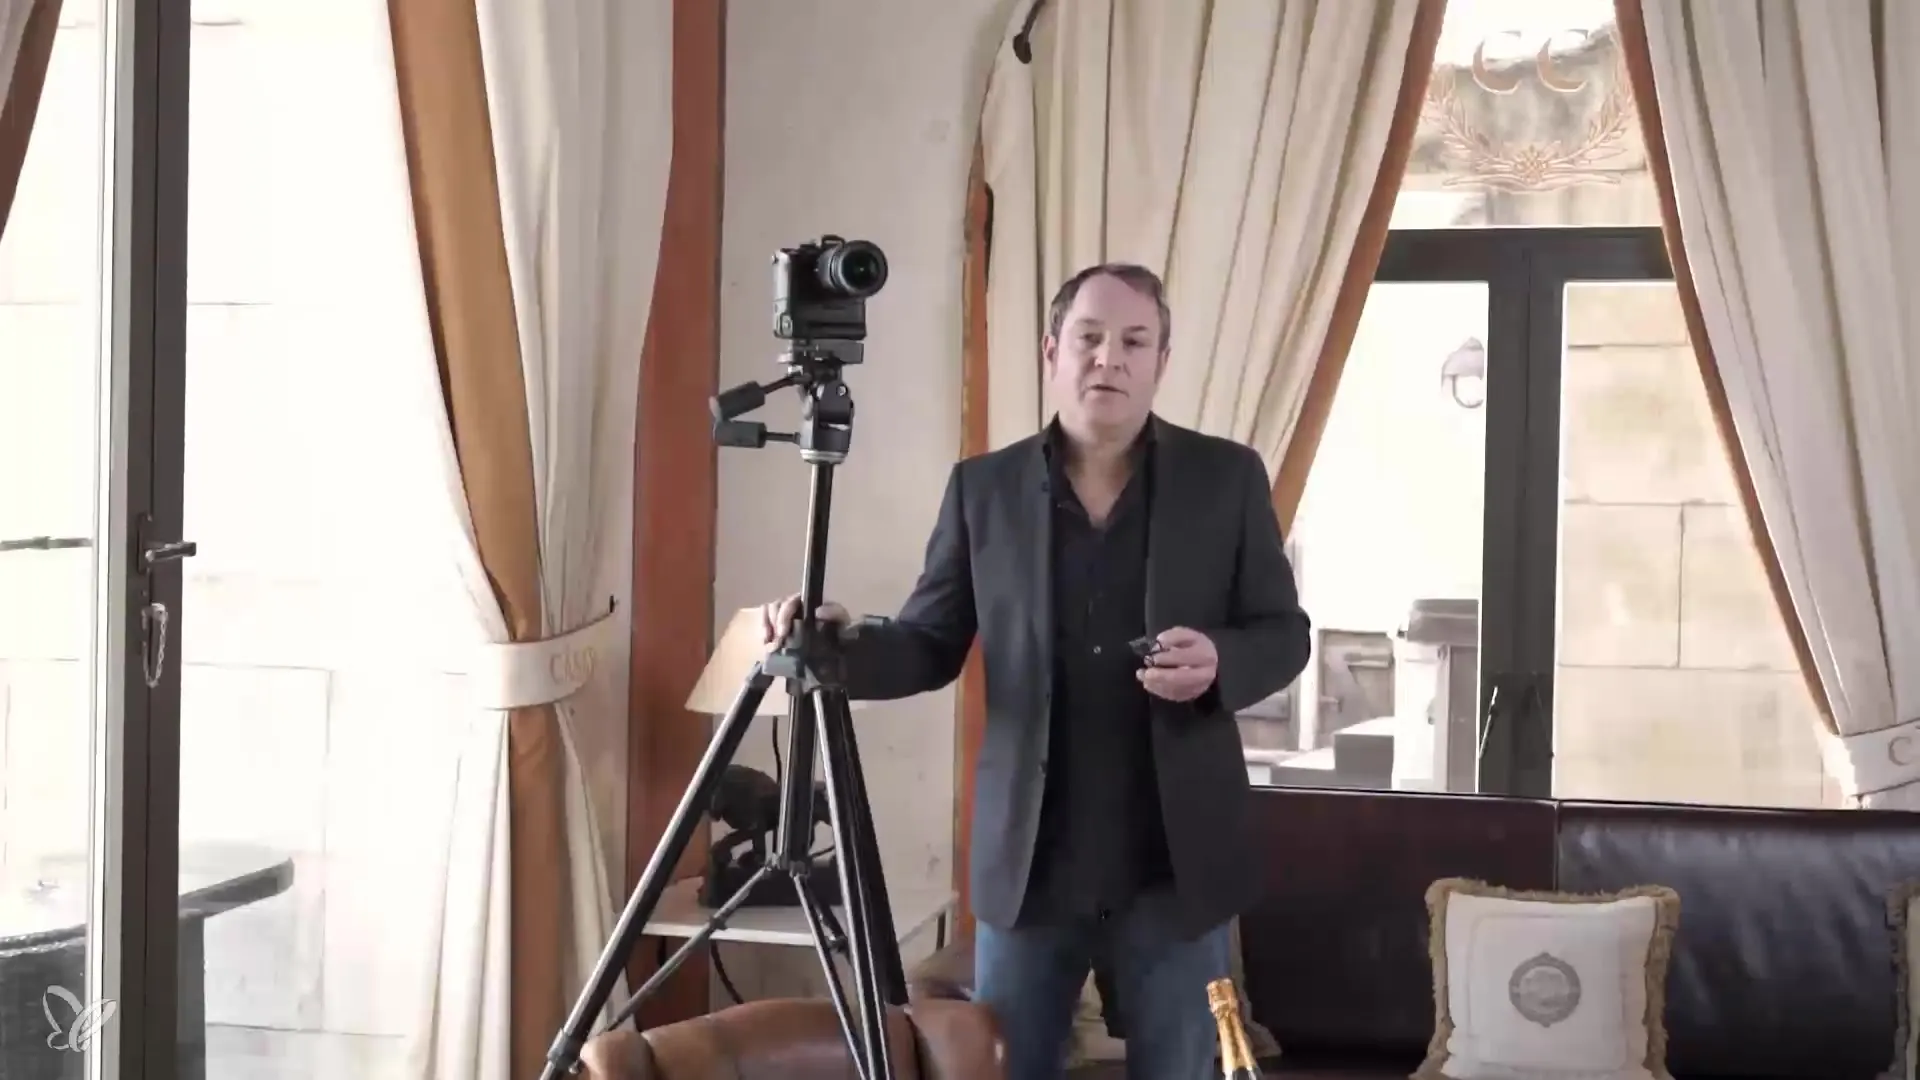
Summary - Hotel Photography: Technique, Subjects & Practice – Exposure Bracketing for HDR Images
In this guide, you have learned how to create impressiveHDR images in hotel photography through the effective use of exposure bracketing. You are now able to master different lighting conditions and create cohesive, harmonious shots.
FAQ
How many exposures do I need for an HDR image?Generally, you need at least three exposures to create a good HDR image. However, five or more are ideal to achieve a broader dynamic range.
What is the advantage of a constant aperture during exposure bracketing?A constant aperture ensures uniform sharpness and depth of field across all shots, making the final HDR image more harmonious.
How can I avoid converging lines?Make sure to position your camera at eye level and use a level to ensure the camera is aligned straight.


