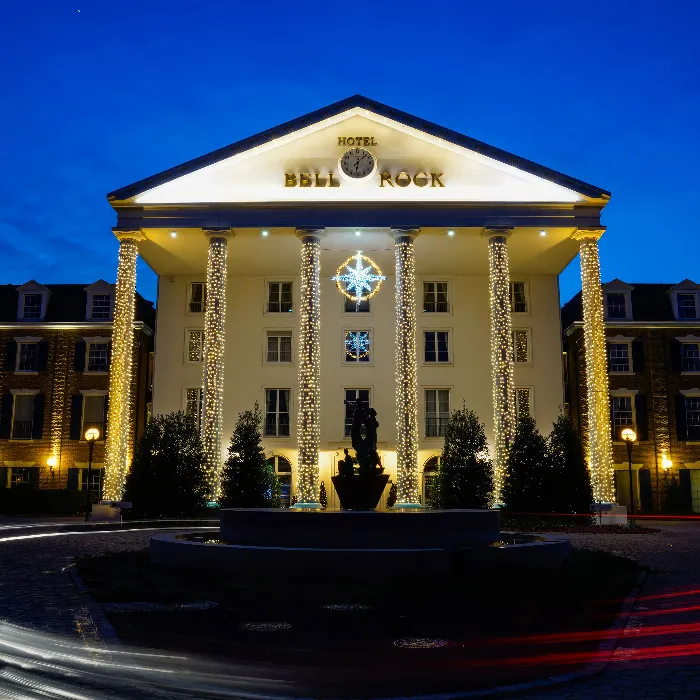
The key to impressive hotel photographylies not only in technique but also in careful planning and choosing the right subjects. Before you start photographing, it is crucial to explore the hotel beforehand. This walkthrough helps to identify the best spots for shots. In this guide, you will learn how to effectively conduct your walkthrough and what aspects to consider.
Main insights
- A detailed walkthrough of the hotel is necessary to find ideal photographic subjects.
- Pay attention to lighting conditions and ambiance to create atmospheric shots.
- Different perspectives and details are crucial for visual storytelling.
- Keep equipment ready to immediately capture spontaneous photography opportunities.
Step-by-step guide
1. Arrival and kick-off of the walkthrough
Once you arrive at the hotel, take a moment to observe the surroundings. What stands out to you? What impressions can you gather? Write down these initial thoughts so you can refer back to them purposefullylater.

2. Overview of the hotel structure
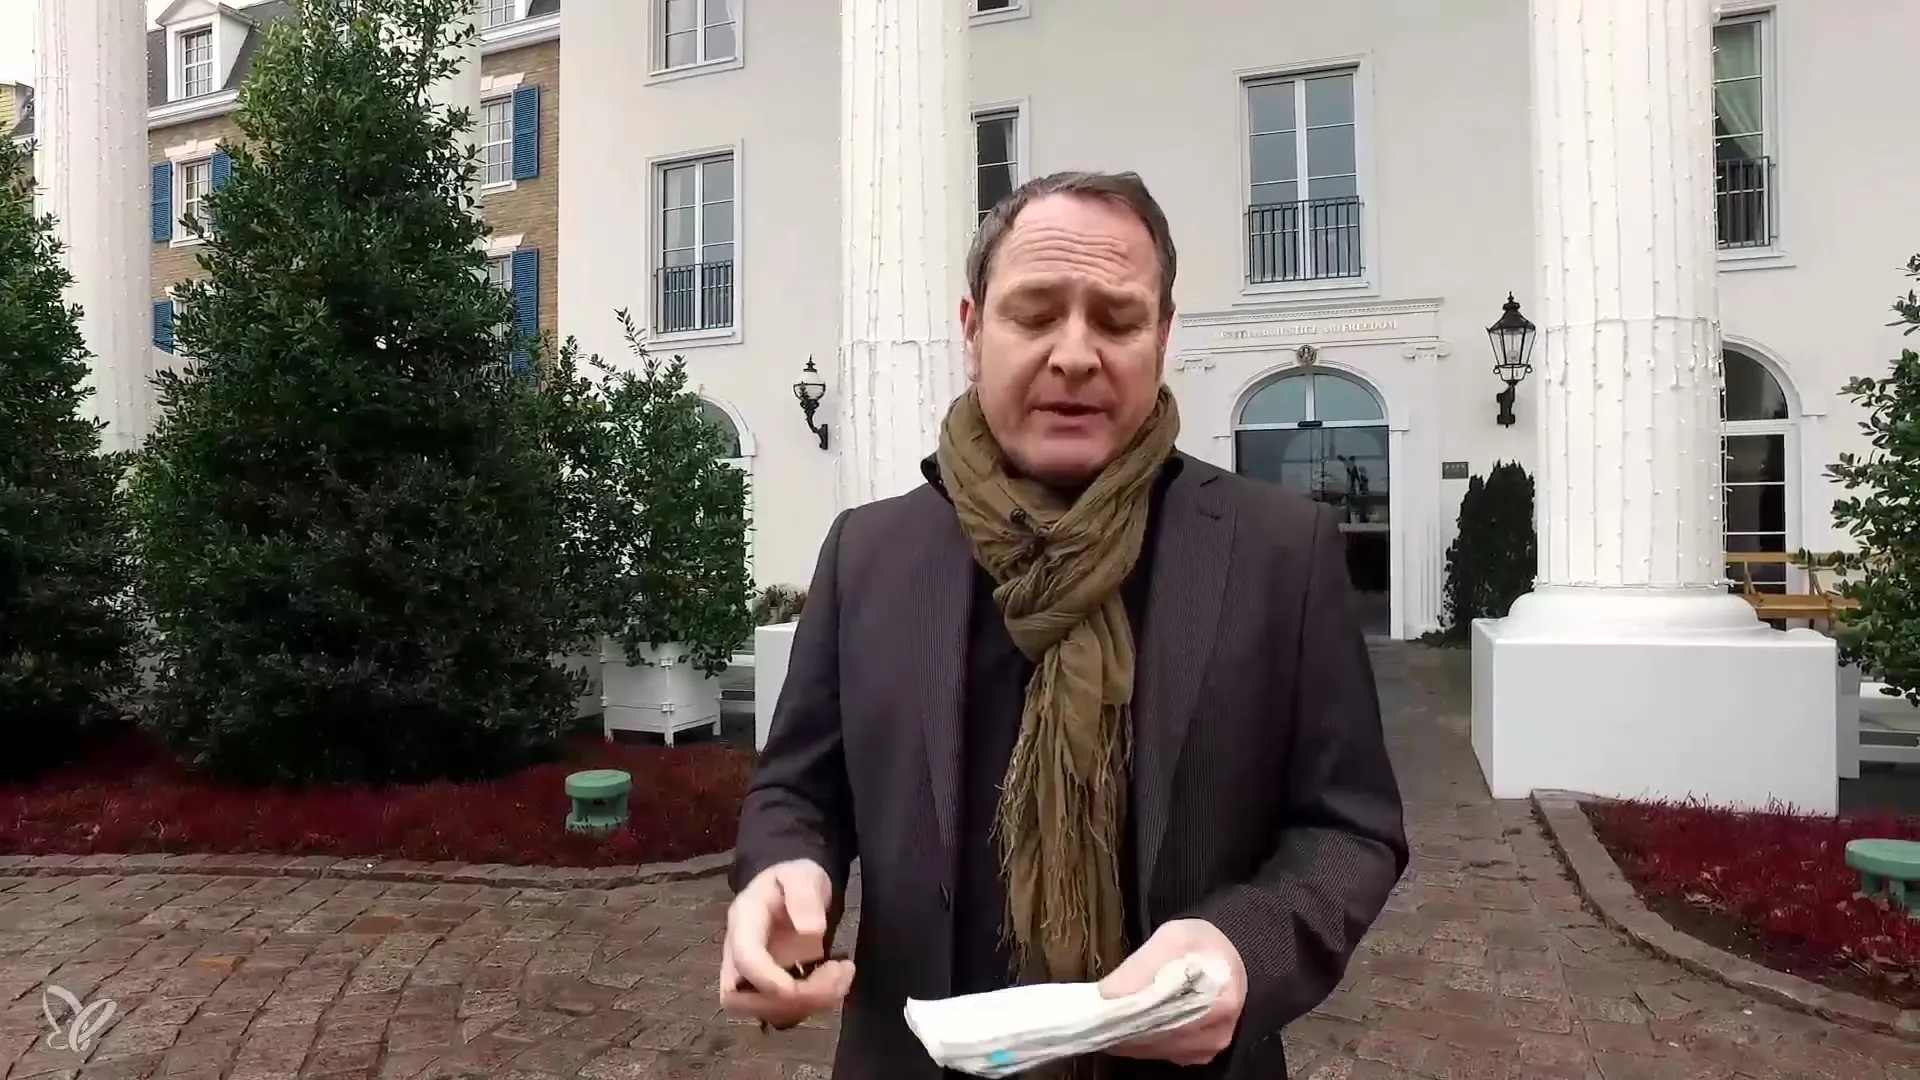
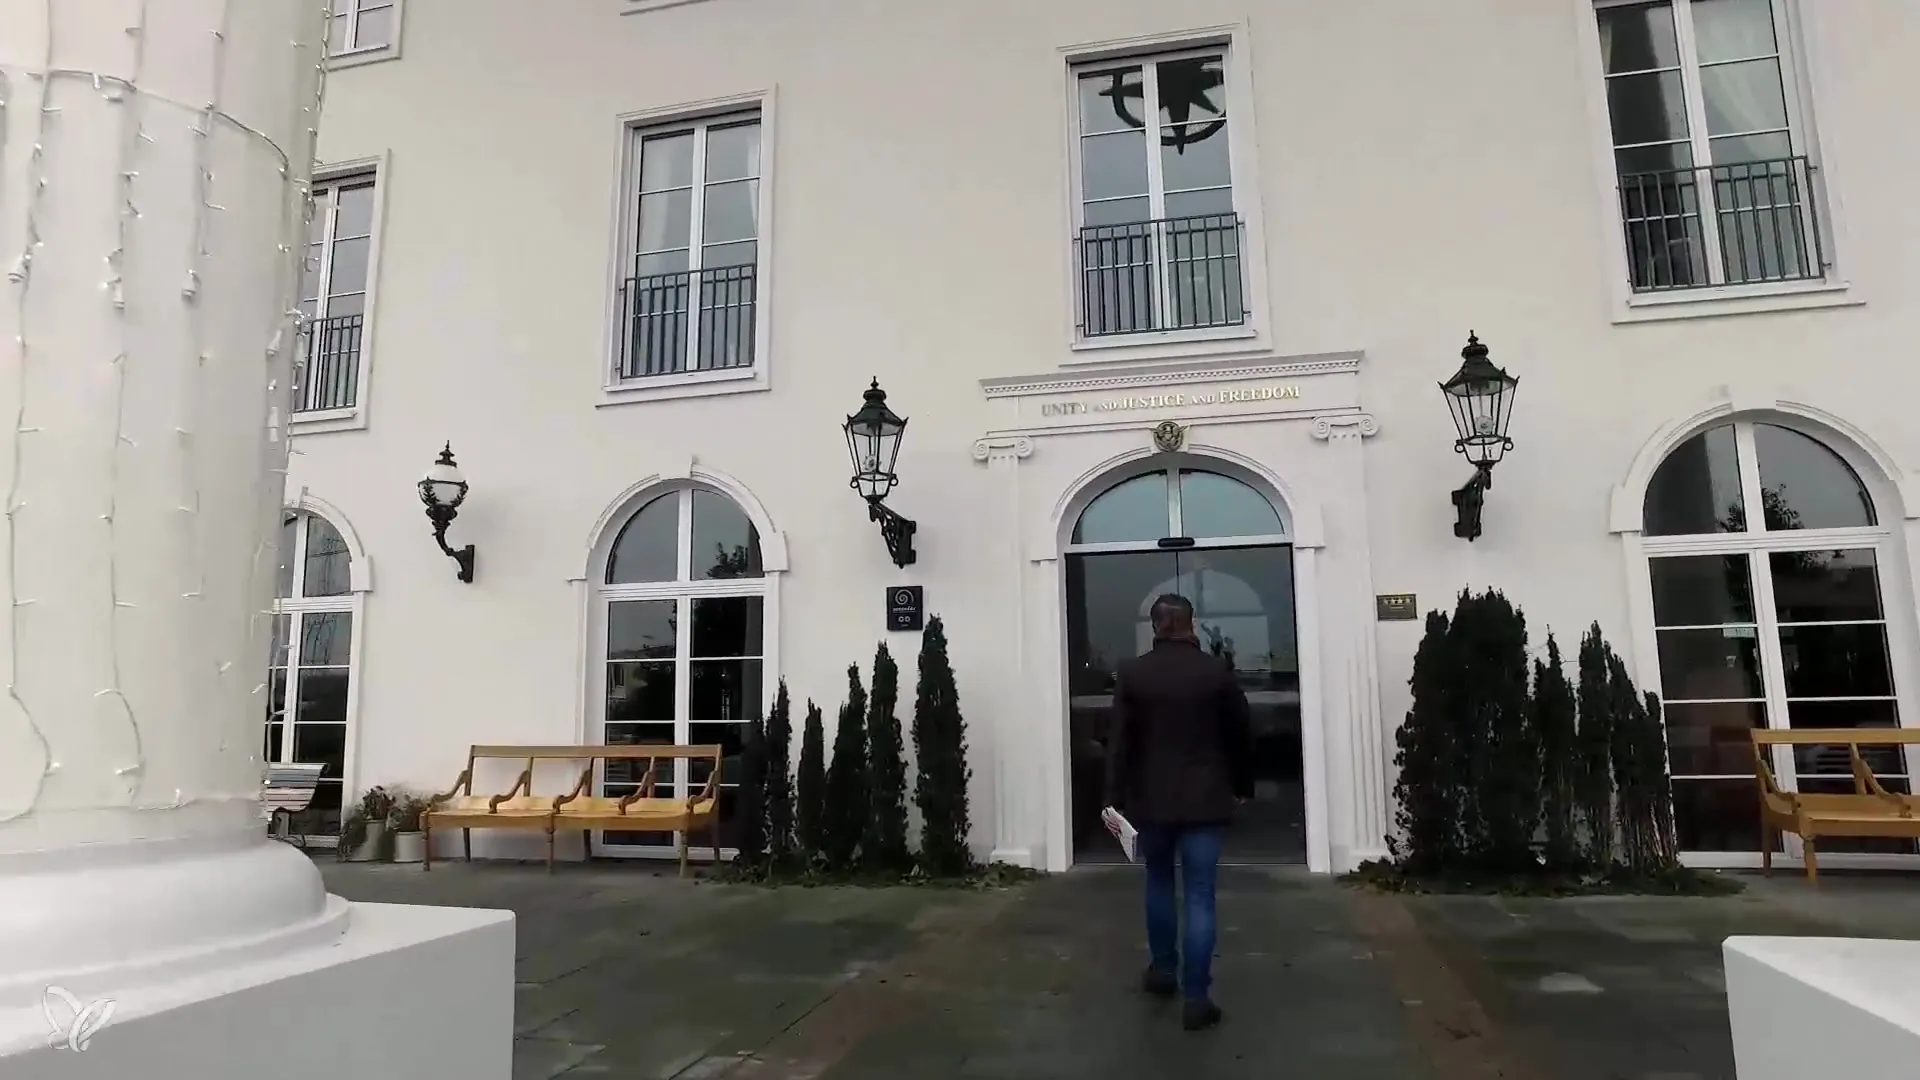
Start your walkthrough at the entrance area. Here, you will take an initial exterior shot to show the hotel at its best. The entrance area is often the face of the hotel and can leave a lasting impression.
3. Exploring the lobby area
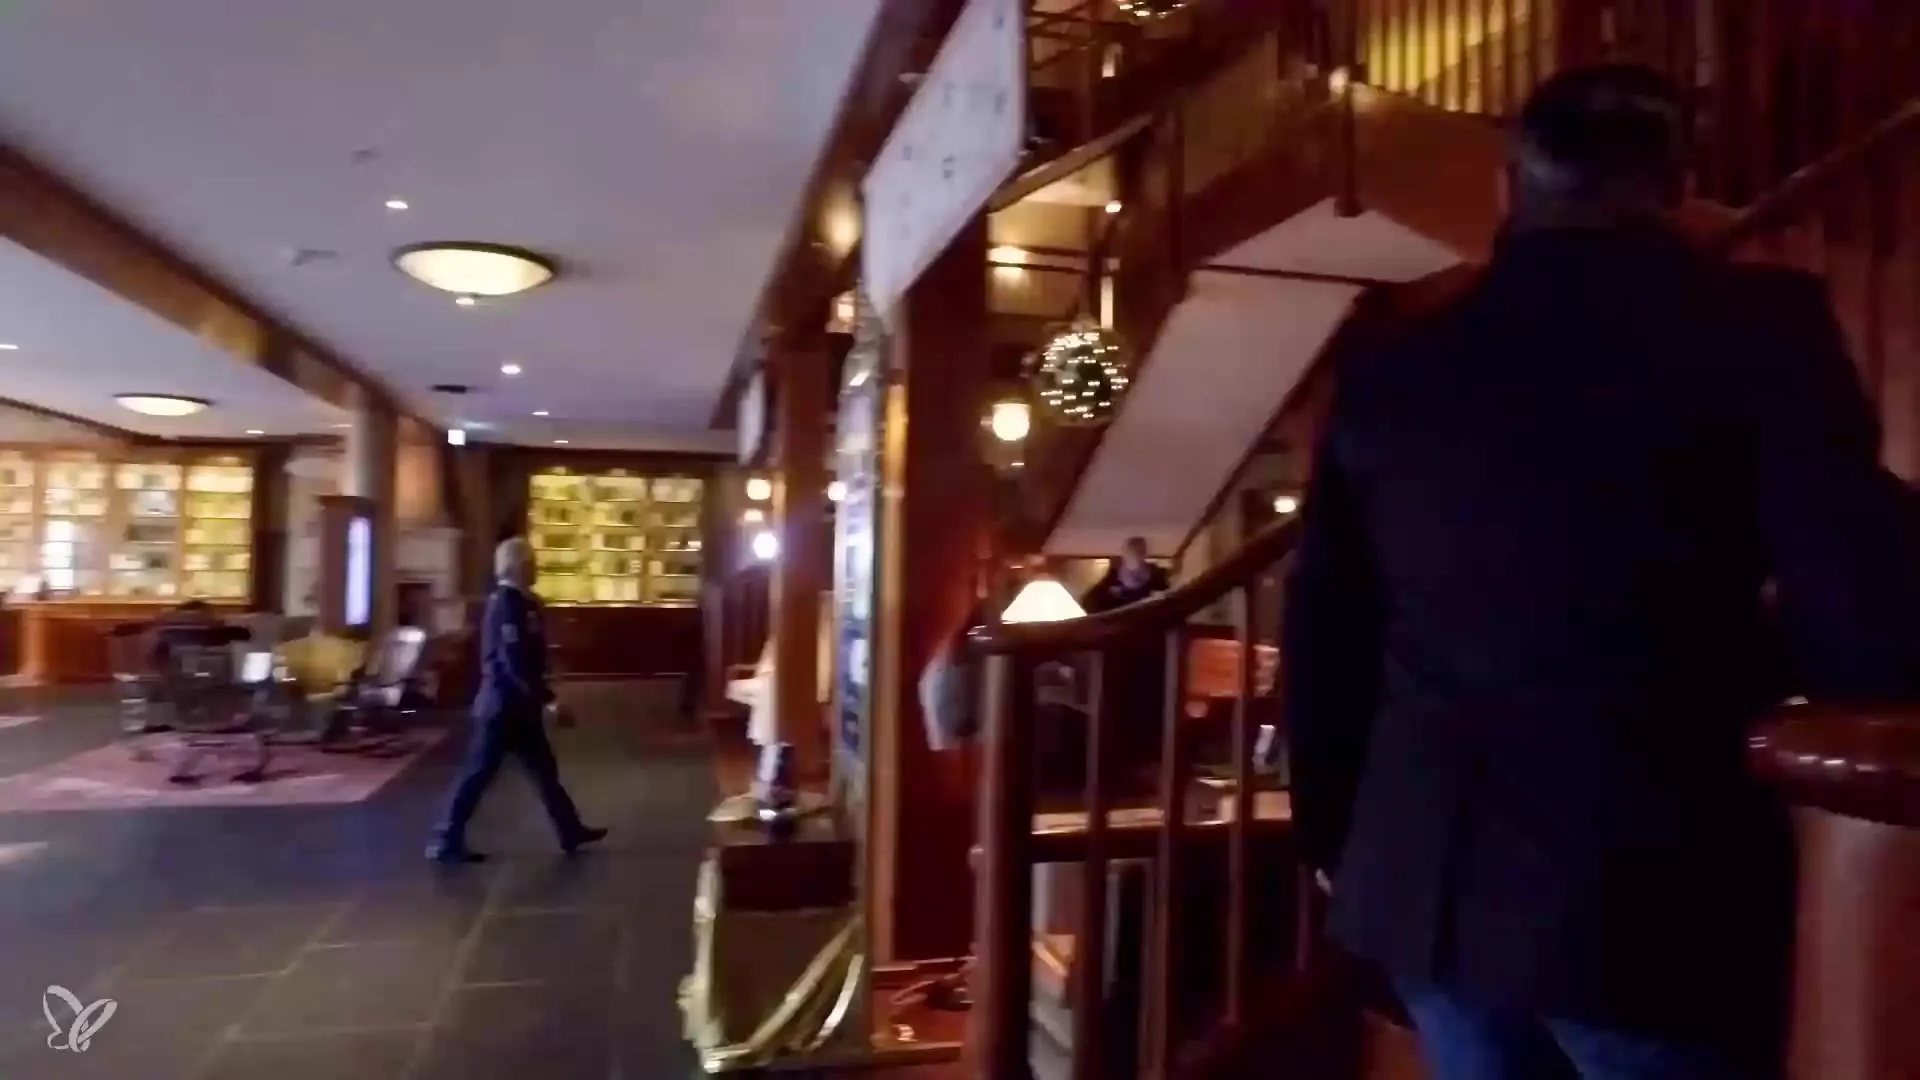
After you have photographed the entrance area, head to the lobby. Pay special attention to the warm ambiance and lighting here. Note what ISO values and exposure times you need to adjust to capture this atmosphere.
4. Reception area and choice of perspectives
Proceed to the reception area. Consider from which perspective you want to take the shot and what “models” or elements you can incorporate into the scene. These considerations are important to make the shot appealing.
5. The architectural highlight
The staircase showcases the architecture particularly beautifully. Note which floor you want to take photos from and think about whether the lines and lighting can add interesting elements to the images.
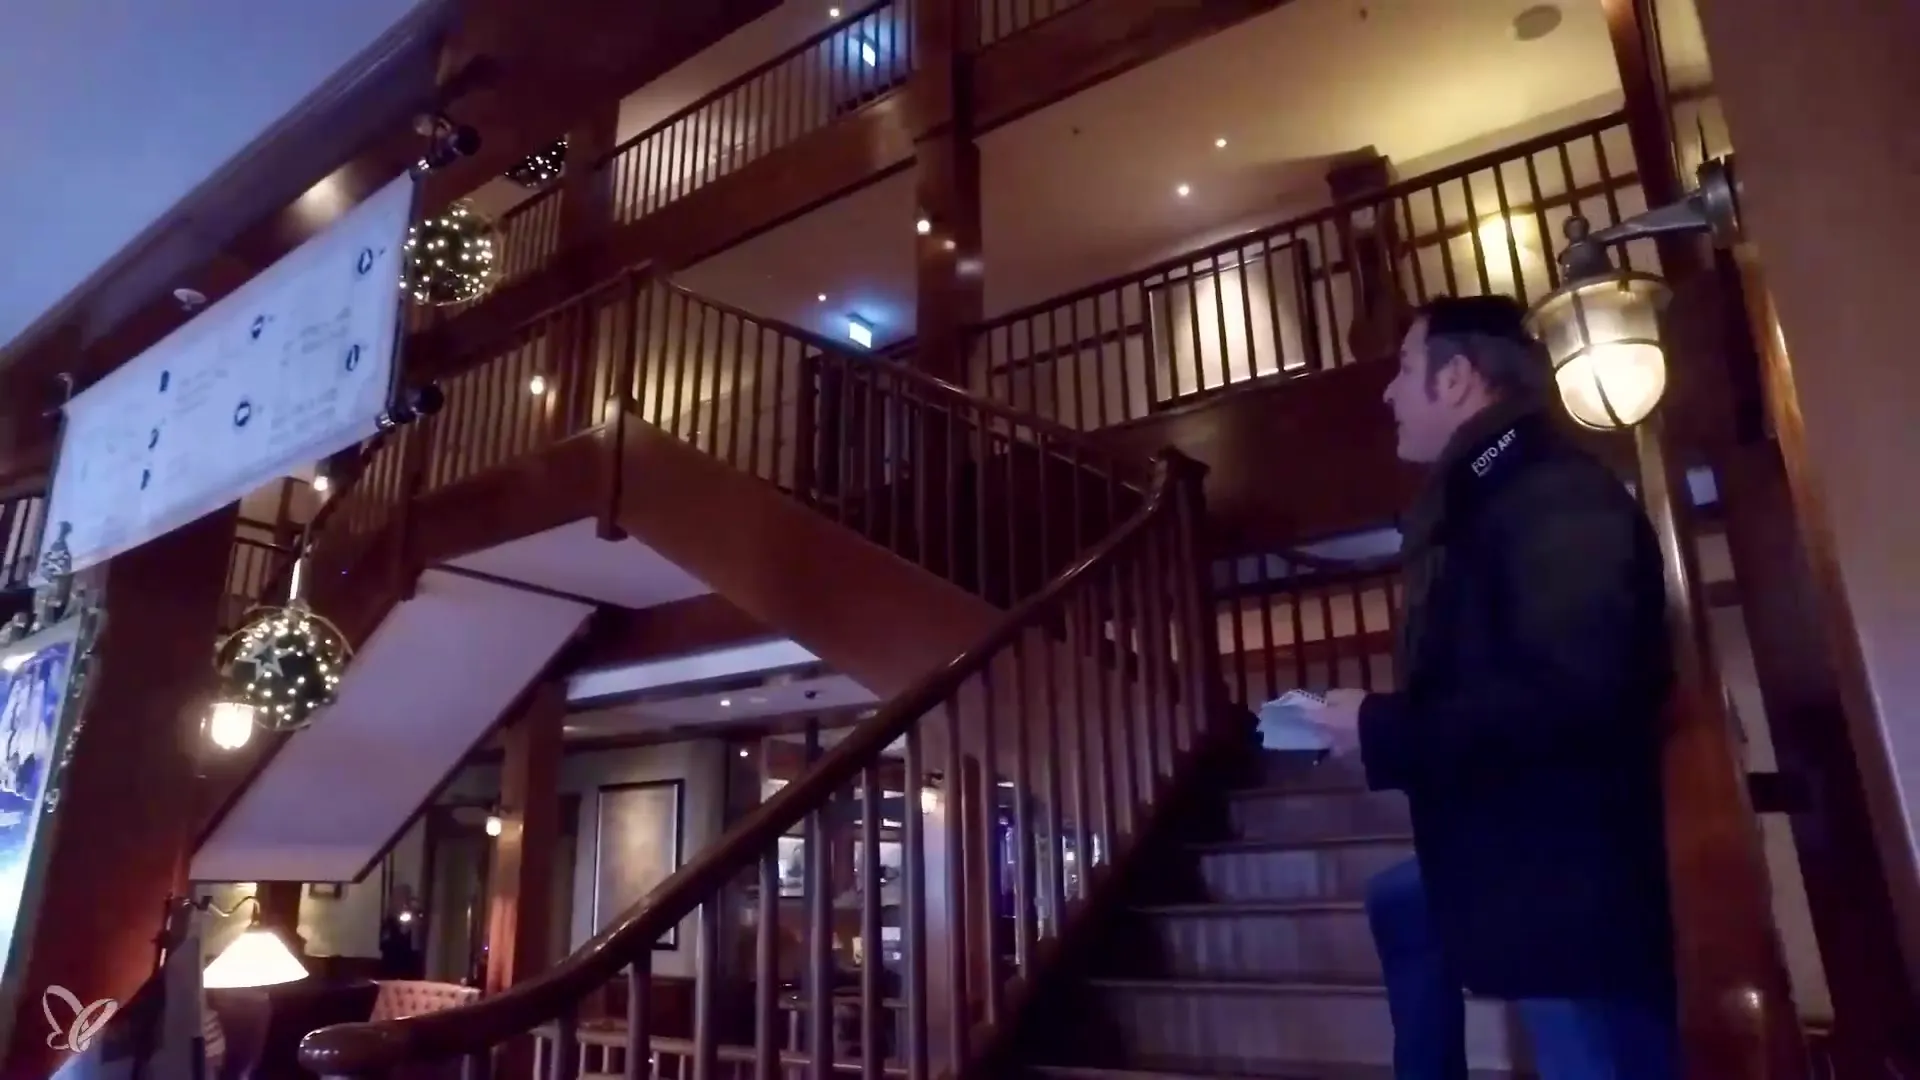
6. The eye for details
As you move to the upper floors, look for detail shots. The view from the upper floor into the lobby can offer various interesting subjects that are not visible on the ground floor.
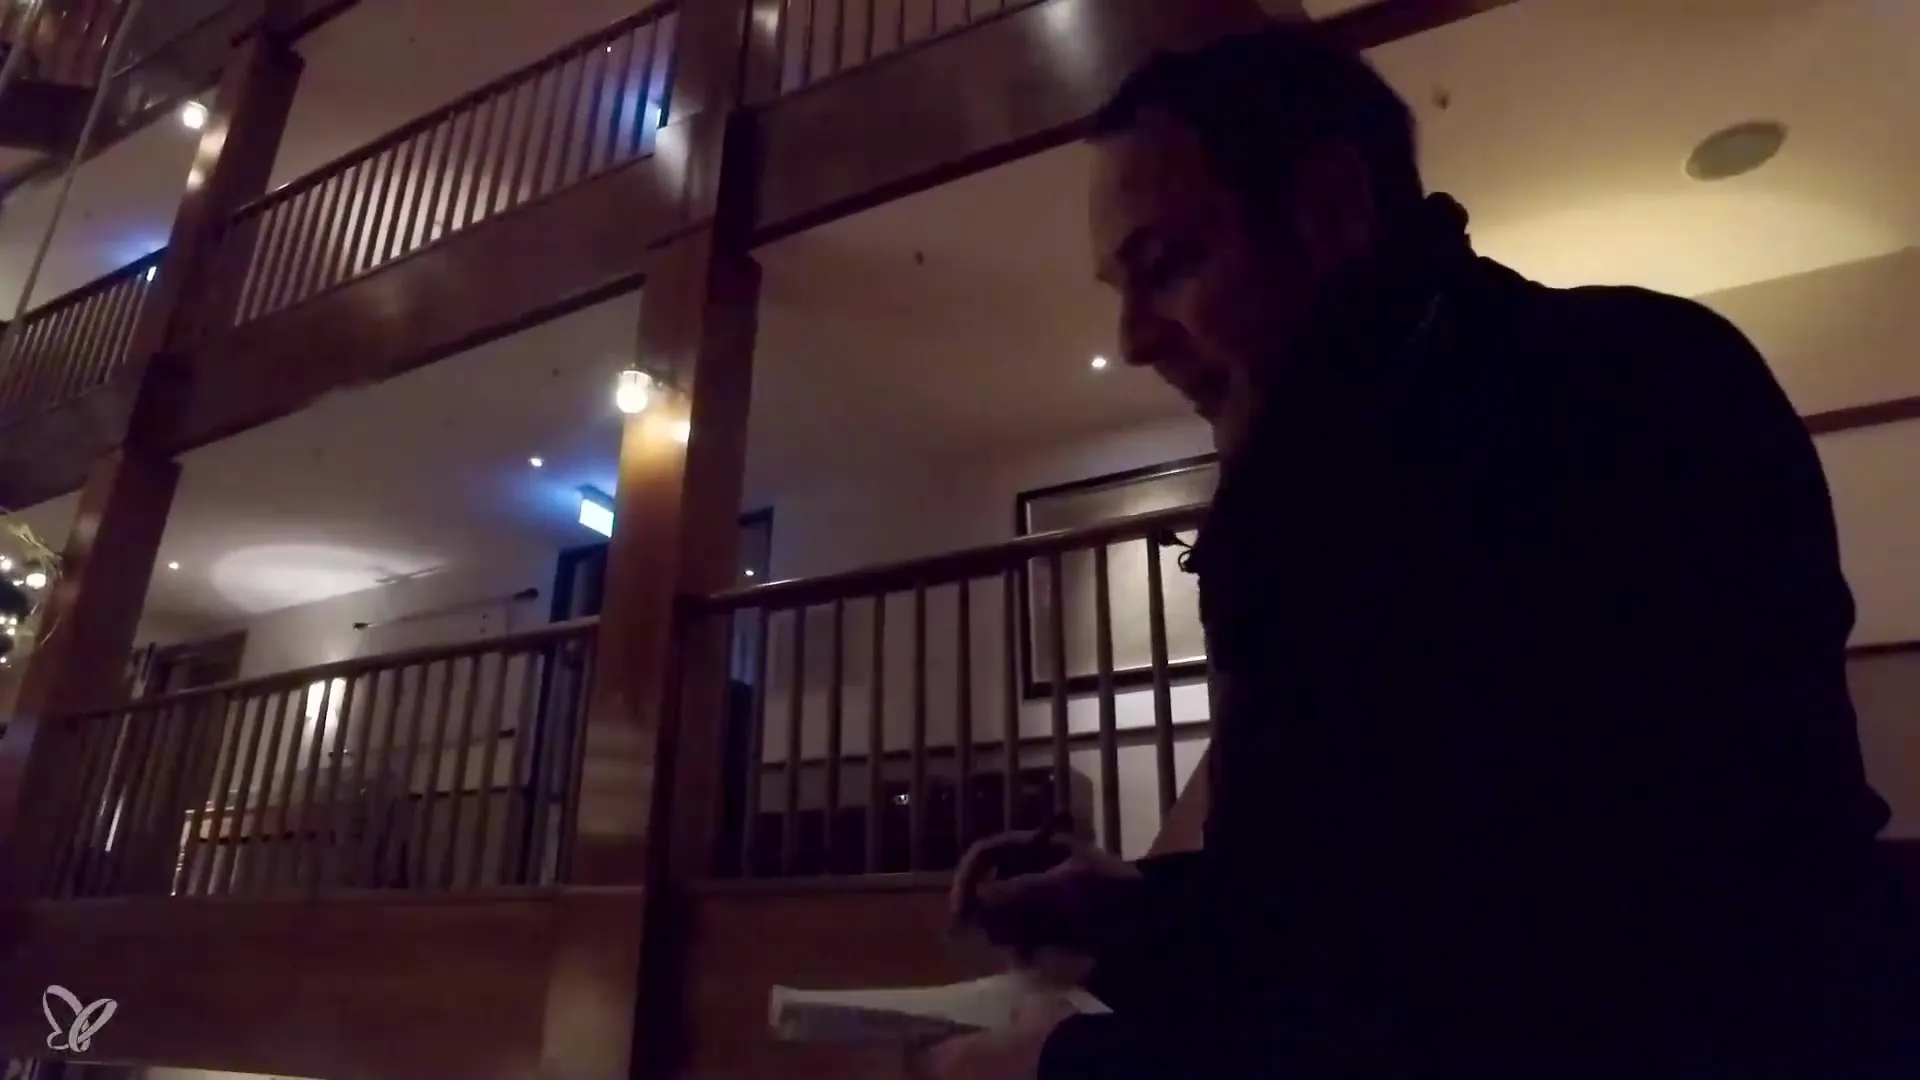
7. Choosing the best photo corner
Explore different corners of the floors. There are often unique and stylish areas that perfectly highlight the hotel's ambiance. Pay attention to the shadows and lighting conditions you can use for your photos.
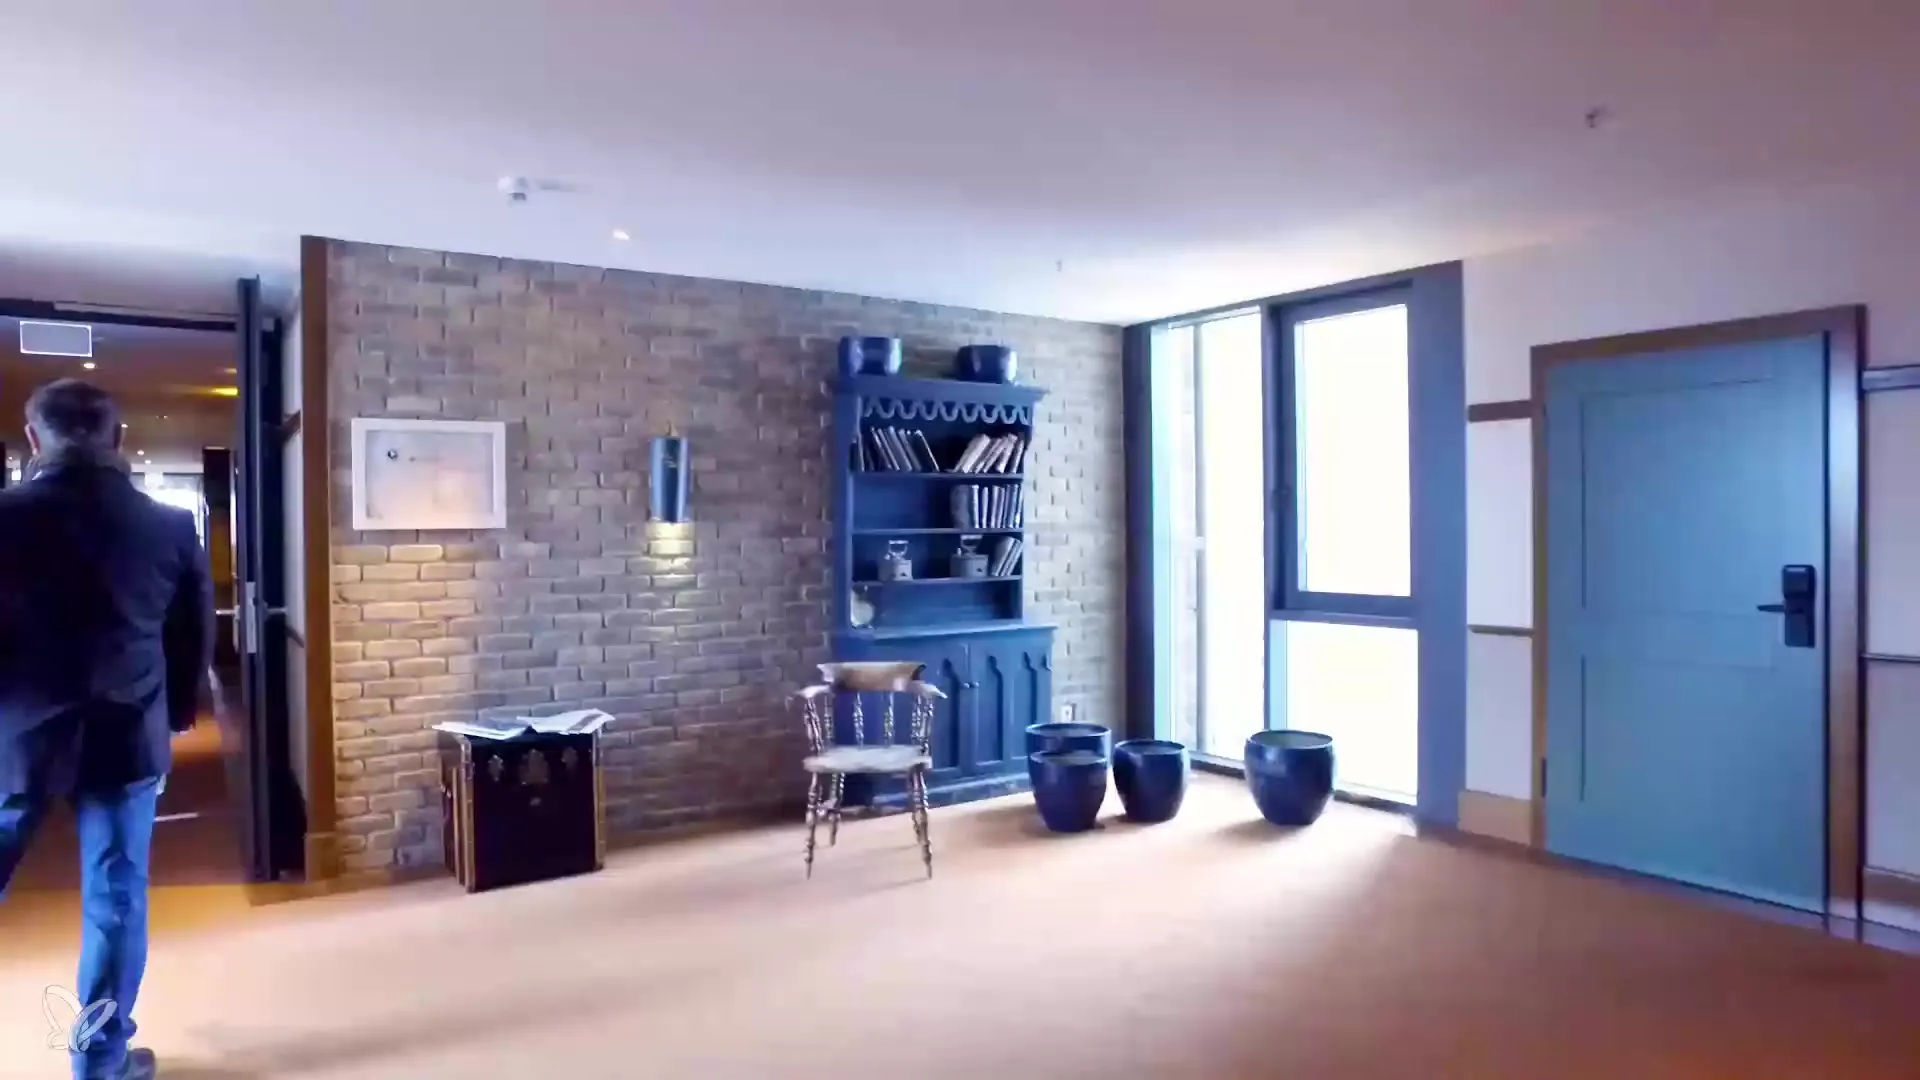
8. Correct perspectives and image composition
Go down to the third floor and check the perspectives for your shots again. Often, a different floor or angle can provide surprising new opportunities for your photos.
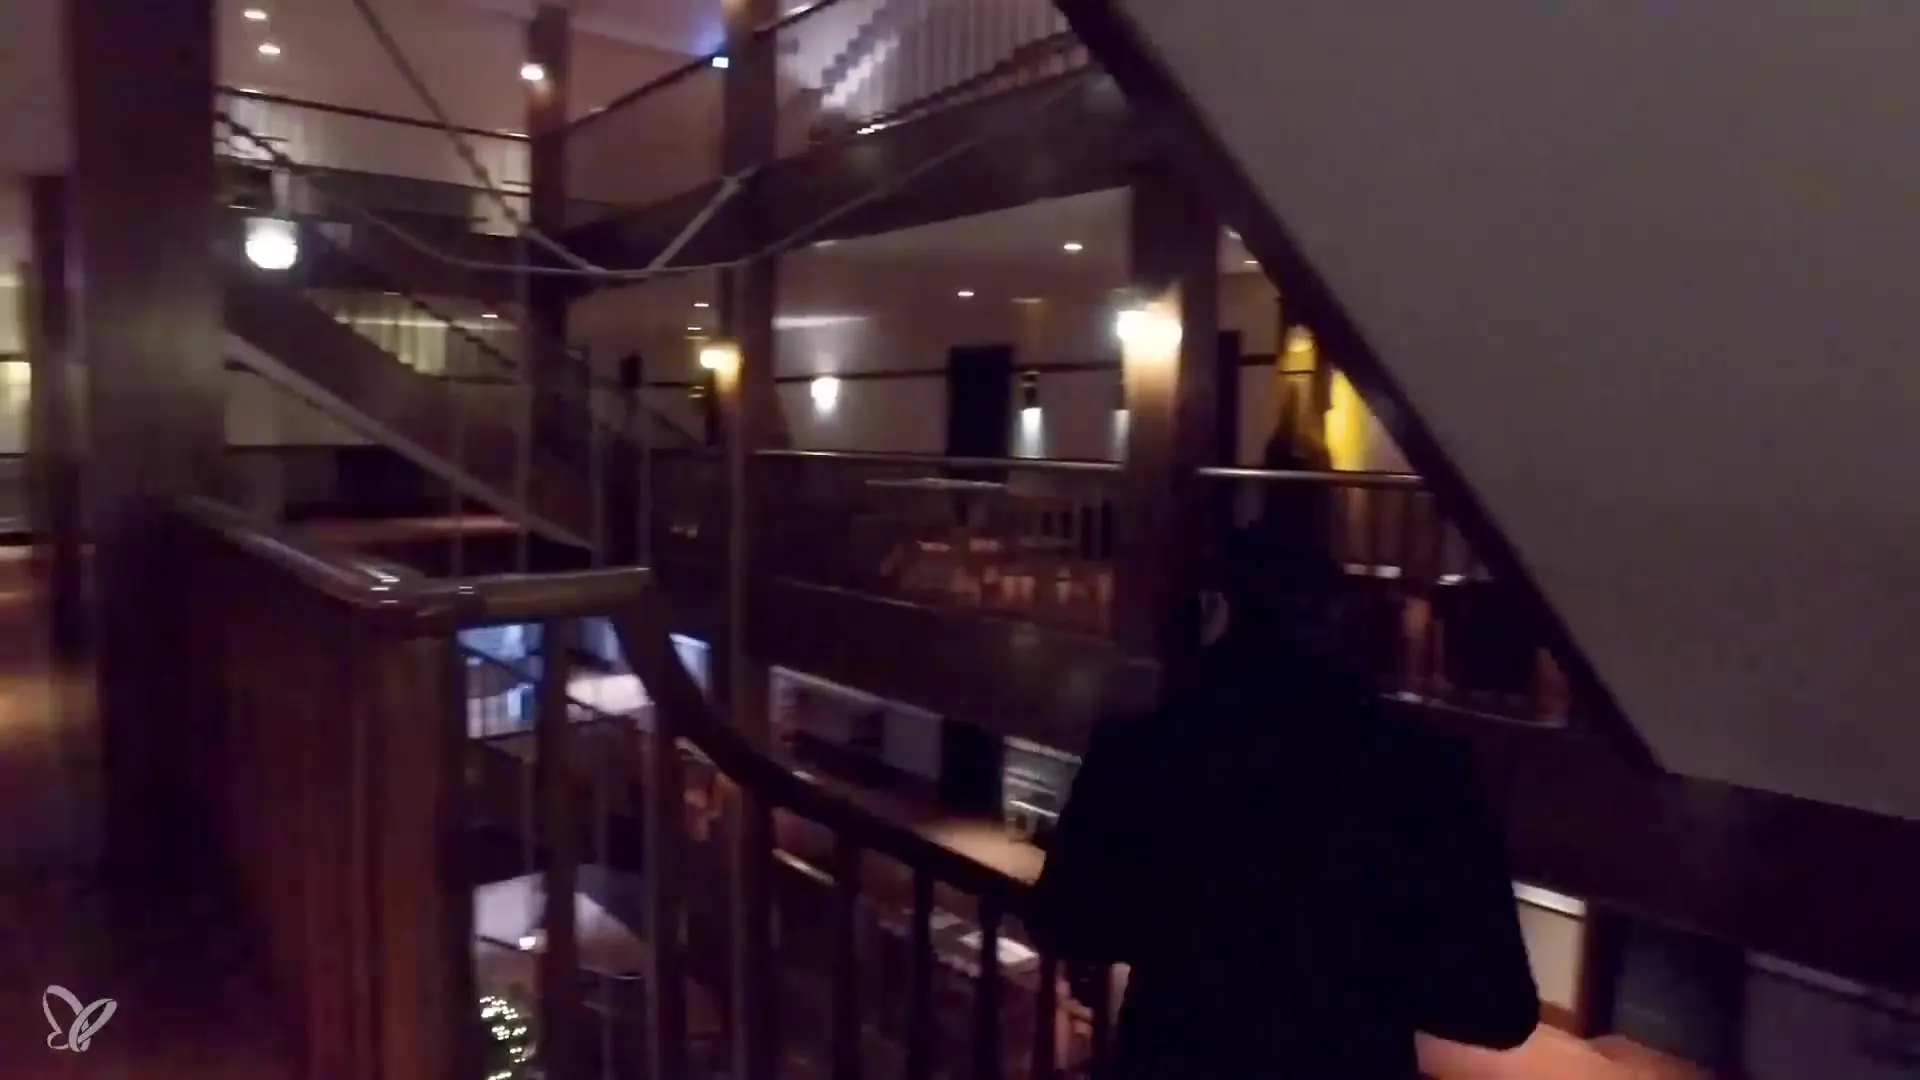
9. Conclusion of the walkthrough
After you have scoured all the floors, you should systematically go through your notes and summarize the best spots. Plan to possibly return to the most interesting corners for more detailed shots.
Summary – Hotel photography: Hotel walkthrough for optimal subject selection
Walking through a hotel is an essential step for photography. It allows you to recognize the best subjects and choose the ideal technique for varying lighting conditions. With careful planning of the subjects and a flexible approach, you will be able to create stunning images that capture the atmosphere of the hotel.
FAQ
How important is the hotel walkthrough for hotel photography?A hotel walkthrough is crucial for identifying the best subjects and lighting conditions.
What technical settings should I consider?Pay attention to ISO settings and exposure times, depending on the lighting conditions.
How many perspectives should I try for a subject?It is advisable to try at least two to three perspectives to achieve the best results.
How can I capture spontaneous subjects?Prepare your equipment to quickly respond to spontaneous photography opportunities.
What is the significance of details in hotel photography?Details emphasize the atmosphere and character of the hotel and make the photos unique.
