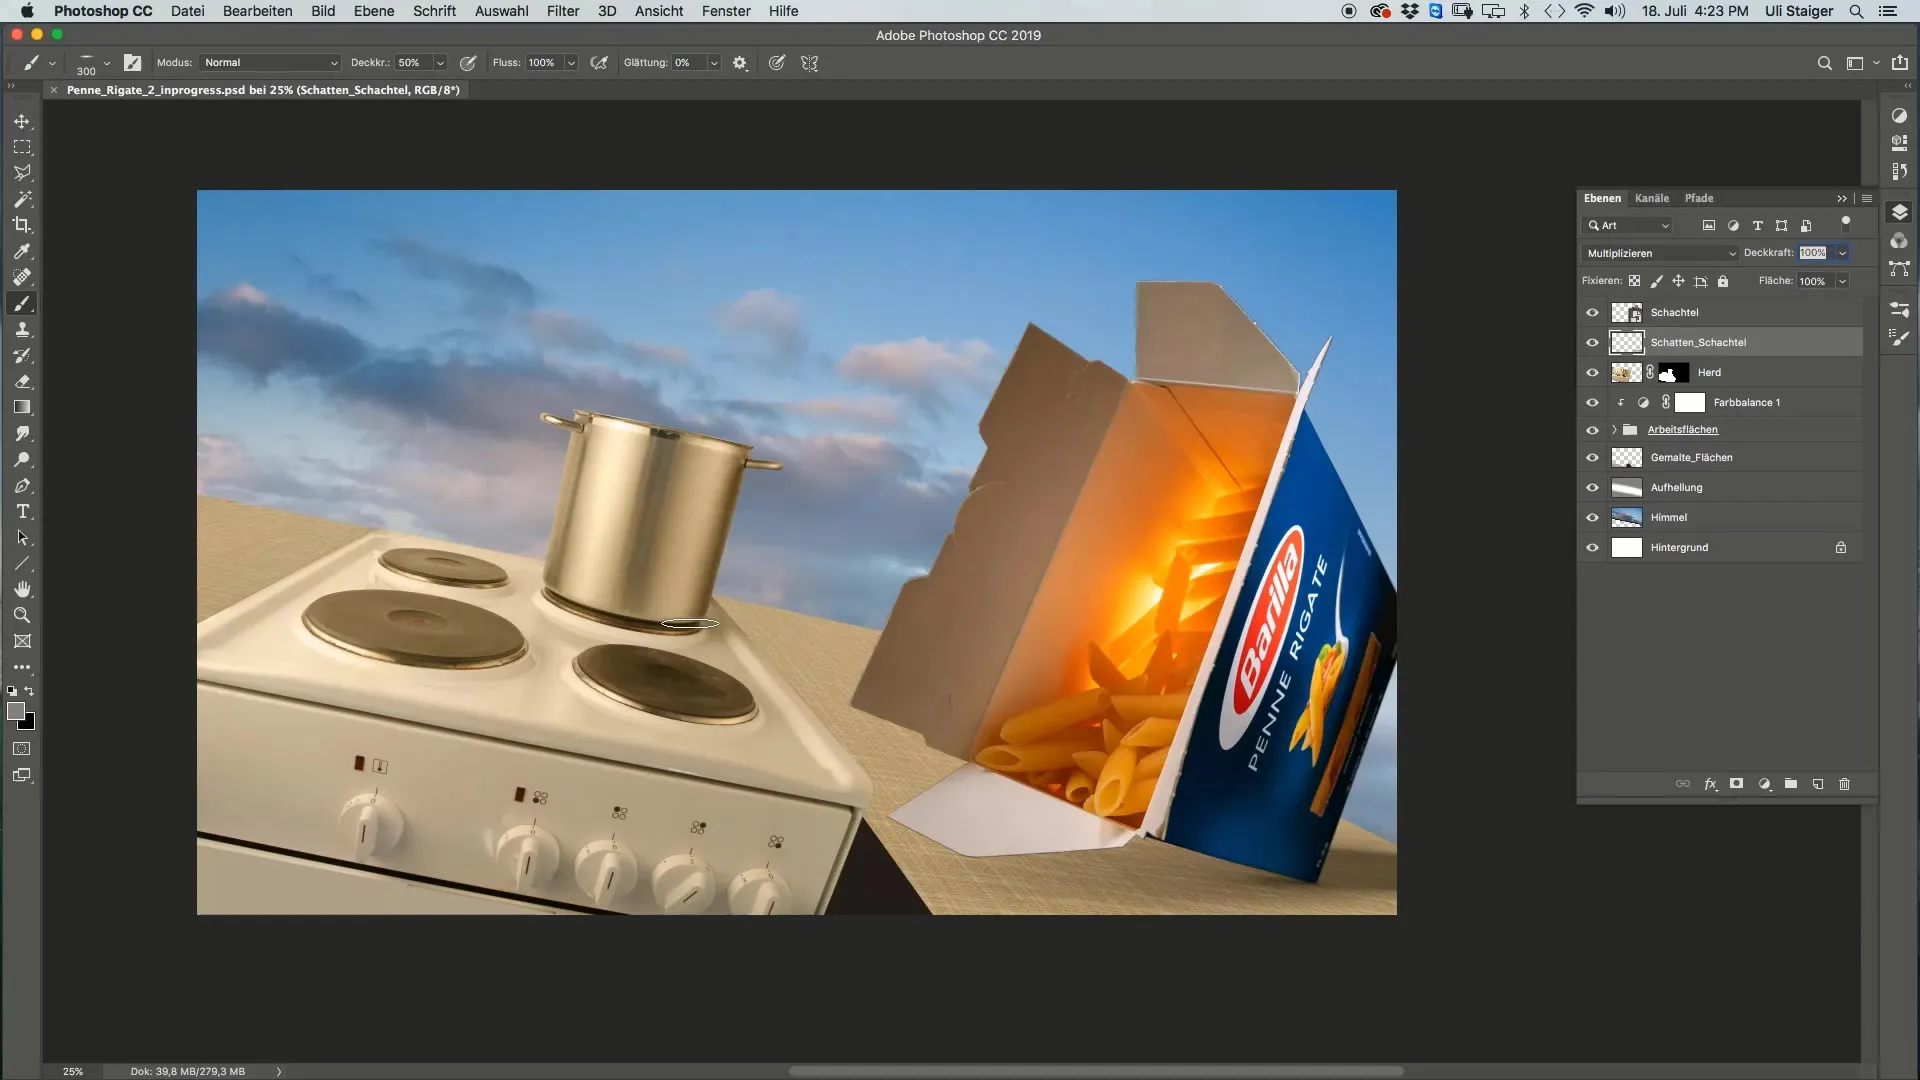
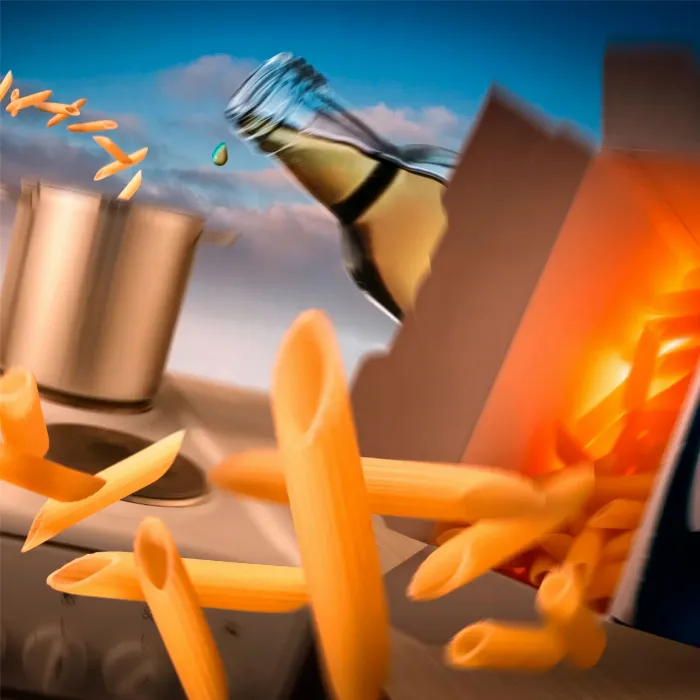
In the field of digital design, realism is a crucial factor. Here, shadows play an essential role, especially when it comes to positioning objects credibly in space. In this tutorial, you will learn how to give a stove a realistic shadow in Photoshop. The focus is on creating a soft and credible shadow with a medium gray that adds further depth and dimension through blending modes. Let's get started!
Main findings
- Illustrate that every object, including the stove, casts a shadow.
- Use a separate layer for the shadow to make changes without damaging the original graphic.
- Experiment with opacity and different tools like the smudge tool and the eraser to optimize the shadow.
Step-by-step guide
First, open your Photoshop document that contains the stove and the box. It is important that both elements are organized into separate layers to facilitate their editing.

Next, start by creating a new layer for the shadow of your stove. Clearly naming this layer will help you with later organization and make it easier to make modifications.
Select a medium gray as the color for your shadow. You can adjust the hue depending on the effect you want to achieve. Set an opacity of 50% to make the shadow appear soft and realistic.
Now begin roughly sketching the shadow. Ensure that the shadow is not too pronounced to maintain a natural effect. Applying light pressure on the brush tip can be helpful to create a soft transition.
Once you have initially drawn the shadow, it may appear unnatural or poorly proportioned. Therefore, we will adjust it now. Use the smudge tool to soften and make the shadow more realistic. Set the size of the smudge tool to a more moderate level, around 50%, for better control.
Pulling and pushing with the smudge tool can help round the edges of the shadow and adjust the shape. Pay special attention to the area that runs over the elevations or depressions of the stove. This helps to make the shadow more harmonious.
To further adjust the shadow, use the smudge tool again and pull the edges of the shadow into the desired shape. Experiment with the length and width of the shadow until you are satisfied with the result.
Once you are happy with the shape of the shadow, use the eraser to remove any excess shadow areas if necessary. Be sure to do this only on the shadow itself and avoid affecting the gray pixels on the background layer.
Ensure that the edges of the shadow look soft and natural. The eraser should have a soft edge to ensure a smooth end to the shadow.
Finally, toggle the visibility of the shadow off and compare the stove with and without the shadow. You will clearly see the difference in depth and dimension that the shadow adds.
Summary – Drawing Shadows for the Stove in the Photoshop Tutorial "Penne Rigate"
In this guide, you have learned how important it is to integrate shadows into your digital projects. Using the right color, opacity, and tools helps you construct realistic shadows that enhance the perception of space and depth. You are now ready to apply shadows in your own designs with more confidence.
Frequently asked questions
How can I adjust the opacity of the shadow?A simple way to change the opacity in the layers palette to make the shadow appear lighter or darker.
Can I change the shadow color?Yes, experiment with different shades of gray or other colors as long as they fit your design.
Why should I use a separate shadow layer?A separate layer allows you to make changes without affecting the main object.
Can I use the smudge tool for other effects?Yes, the smudge tool can also be used to smooth textures or create gradients.


