Whether you are an ambitious hobby photographer or an experienced graphic designer, the finishing touches can make the difference between a good and a great image. In this tutorial, you will learn how to perfect the final details in your character portrait in Photoshop using the Camera Raw filter. Let's dive directly into the individual steps and explore the possibilities this powerful filter offers.
Key Insights
- The Camera Raw filter is an excellent tool for fine-tuning images.
- With the clarity, contrast, and vibrance functions, you can significantly enhance the quality of your portrait.
- Additional effects like grain help make images look more vibrant and artistic.
Step-by-Step Guide
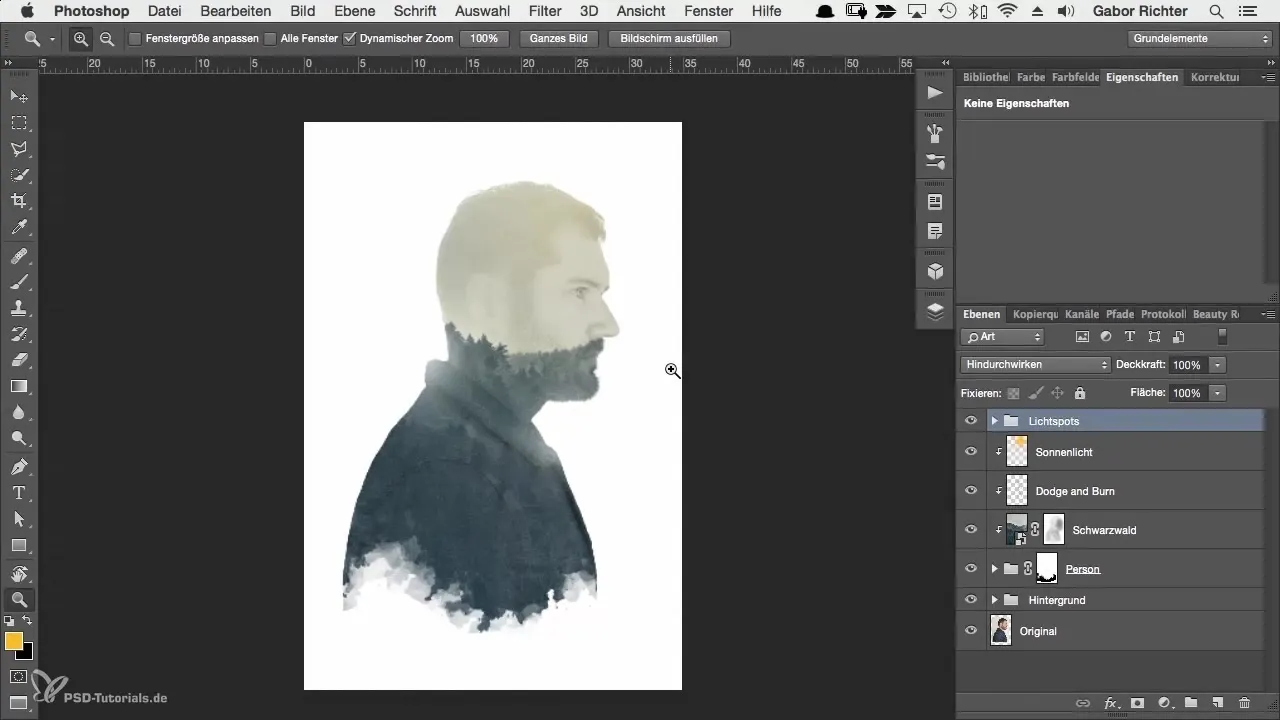
First, we need to ensure that all layers in your image are merged. Press the keyboard shortcut Command + Option + Shift + E. This will create a new layer that combines all adjustments and details of your previous work.
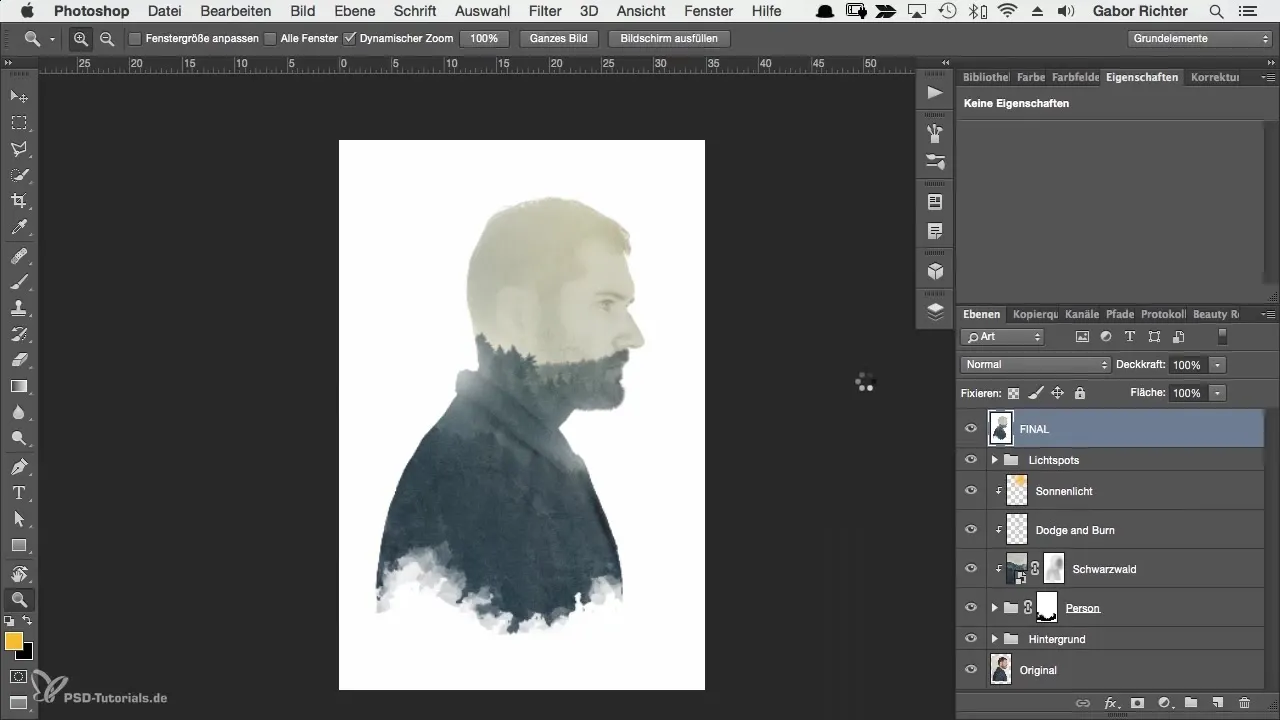
Now that all layers are combined, it's time to apply the Camera Raw filter. In the menu, navigate to Filter and then select Camera Raw Filter. This will open a new interface that provides you with many adjustment options.
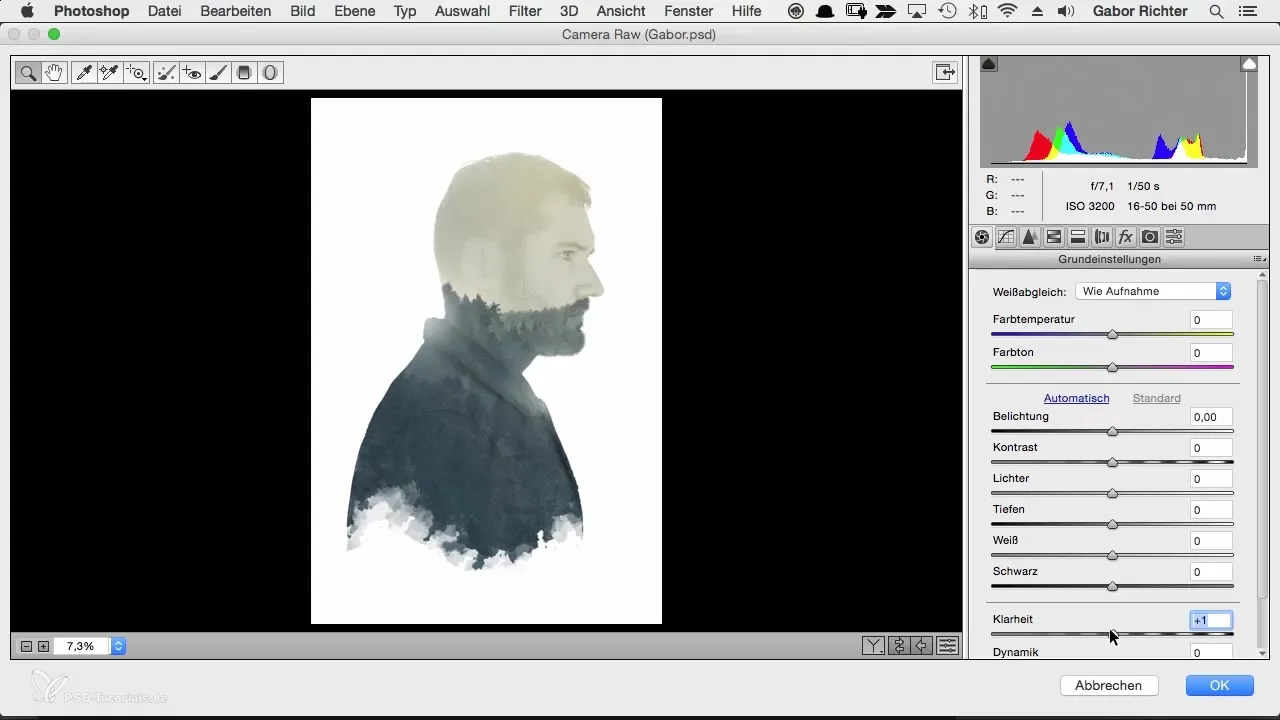
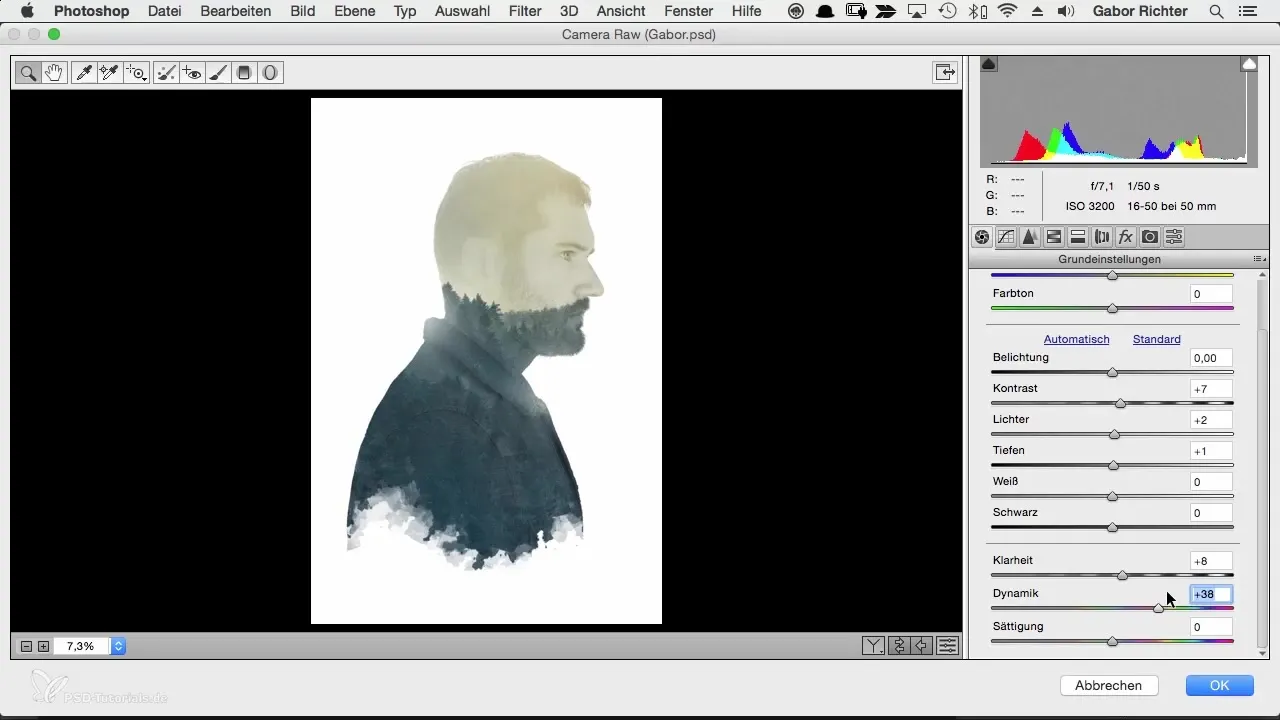
To bring more clarity to your image, move the clarity slider to the right. A moderate increase of about +9 will make the outlines more intense without compromising image quality. Watch how the sharpness of your details increases.
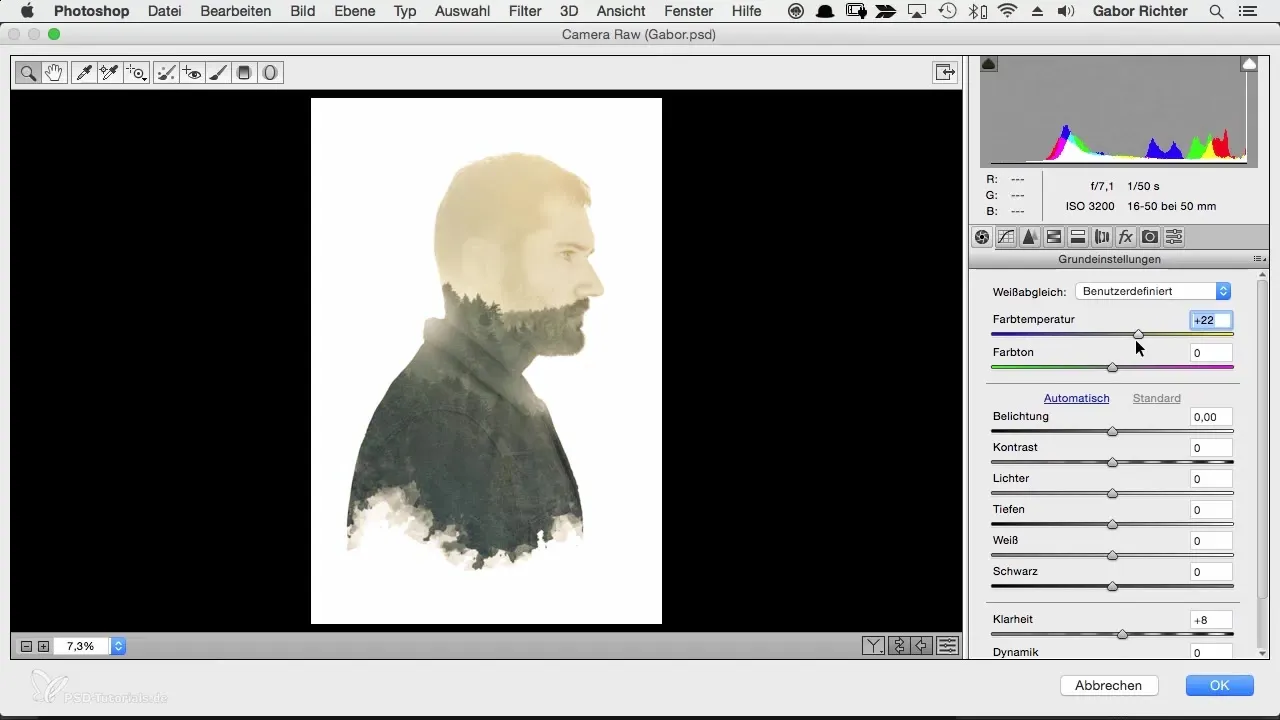
The next step is to check the color temperature. To maintain the sunlight mood or perhaps create a cooler, evening atmosphere, you can adjust the color temperature to your liking. In this case, we will keep it neutral.
Optimizing the contrast is also important. Move the contrast slider to the right to increase the dynamics and depth of the image. A bit more contrast brings liveliness without overloading the image.
Now you should also focus on vibrance. This function differs from saturation in that it only enhances the less prominent colors. Adjust the vibrance slider accordingly and watch the effect changes that make the portrait more vivid.
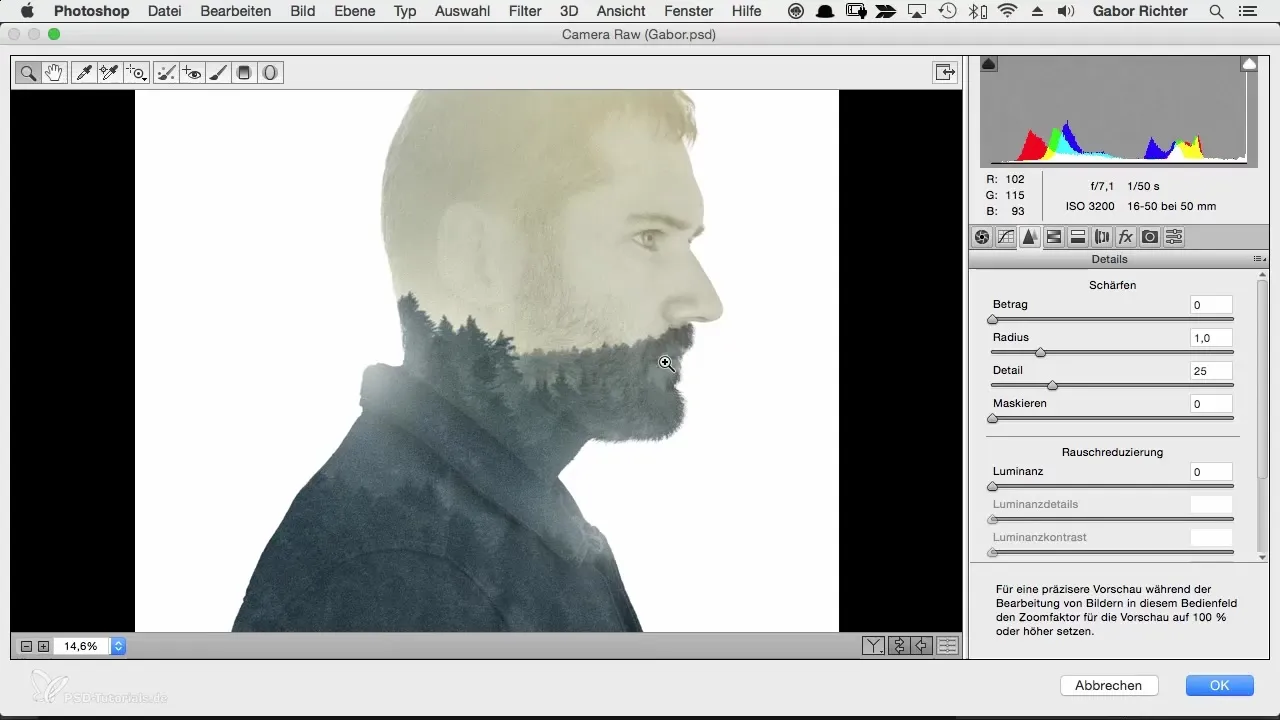
Another step might be to carefully sharpen the entire image. Select the sharpening slider and set it to about +20 to +30 to achieve a fine sharpening that does not overproduce the image.
Now we come to the effect of grain. In the effects tab, you'll find the option to add some grain. This can give the image an interesting texture and make it overall more artistically appealing.
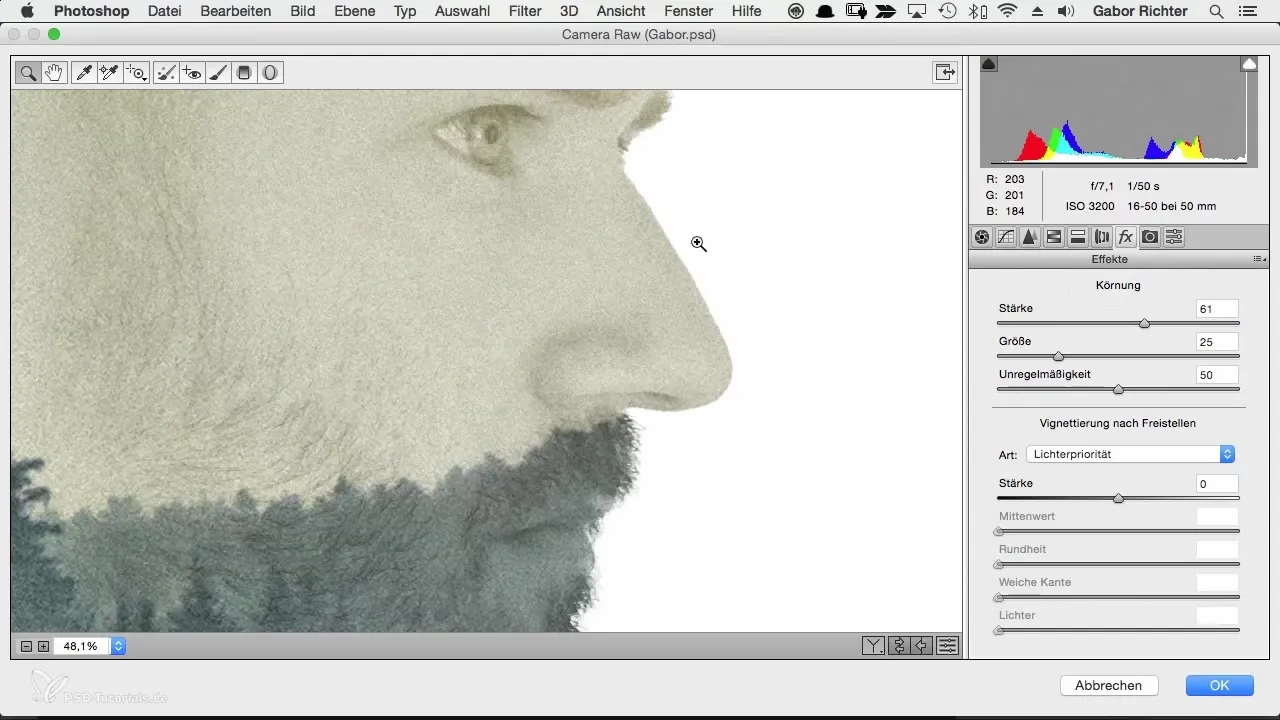
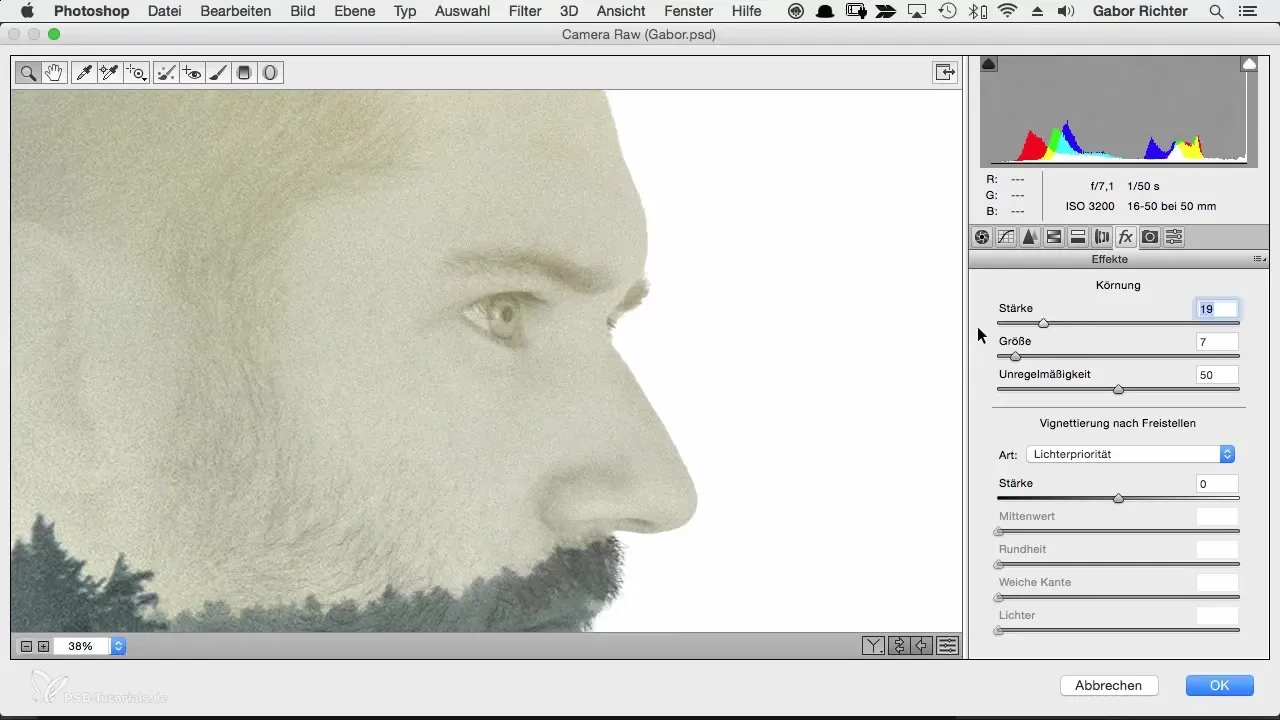
Experiment with the grain to achieve the desired results. Especially for a character portrait, additional grain can harmoniously integrate the face into the environment and make the overall image appear more vivid.
If you are satisfied with your adjustments, click OK to apply the Camera Raw filter. Be sure to check the difference between the before and after images. The finishing touches should show a noticeable, positive difference in image quality.
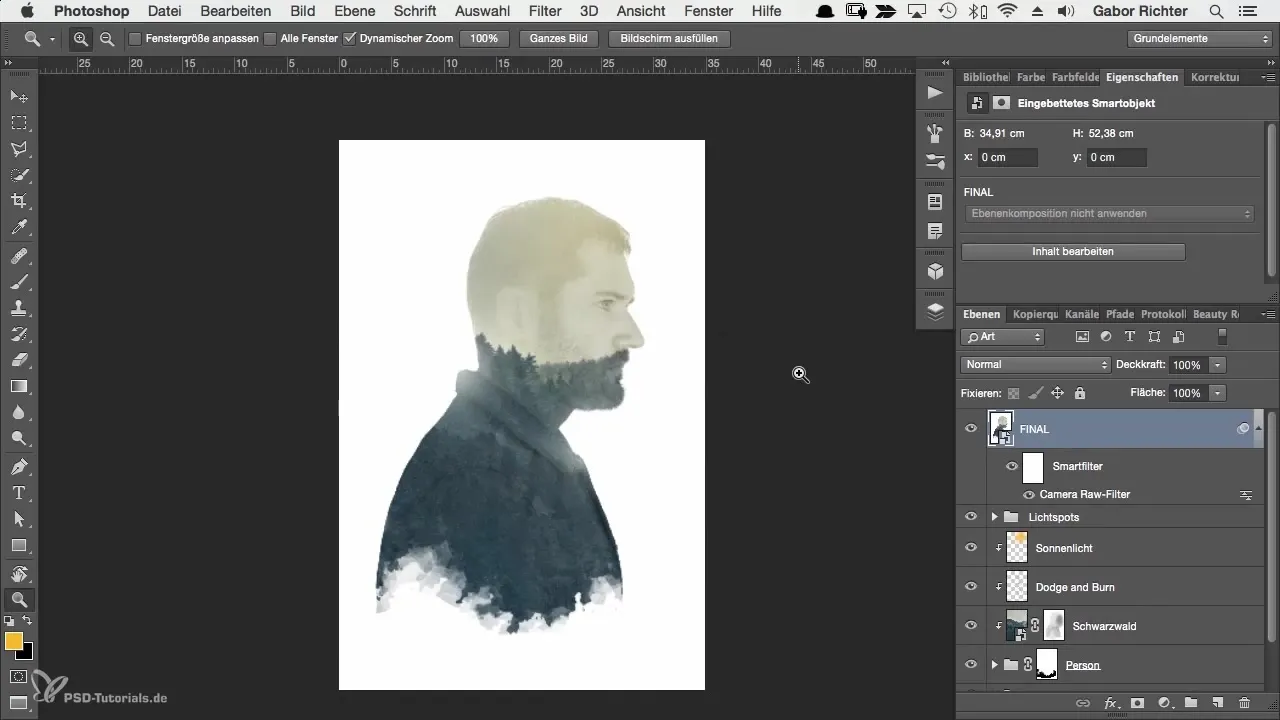
So now your portrait is at a new level. The entire process not only should give you confidence in your image but also expand your skills in working with Photoshop.
Summary - Fine-tuning Creative Character Portraits in Photoshop
In this tutorial, you learned how the Camera Raw filter helps you give the final touch to your character portrait. Whether it is clarity, contrast, or appealing grain — you have tools at your disposal to achieve impressive results.
Frequently Asked Questions
How do I activate the Camera Raw filter?Open the “Filter” menu and select “Camera Raw Filter”.
What does the clarity slider do?The clarity slider enhances the outlines, making details stand out more clearly.
Why should I work with vibrance?Vibrance enhances less prominent colors, while saturation intensifies all colors equally.
How much grain is ideal?That depends on personal taste; a moderate amount can make the image appear more vivid.
How can I adjust the image sharpness?Use the sharpening slider in the Camera Raw filter to refine the image.


