If you want to work with the GoogleTagManager, it is crucial to get a solid overview of the basic functions and structures. This tutorial will help you understand the first steps in Google Tag Manager and find an effective way to manage your tags and triggers.
Key insights
- The Google Tag Manager simplifies the implementation of tracking and marketing tags without deep programming knowledge.
- The most important areas are account, container, tags, triggers, and variables.
- Managing multiple versions and workspaces in the Tag Manager maximizes efficiency.
Step-by-Step Guide
Step 1: Create Account and Container
To use the Google Tag Manager, you must first create an account and a container. Go to the Google Tag Manager website and sign in with your Google account. Once you have created your container, you will receive a shortcode that you can implement in the head or body of your website.
Step 2: Understand the User Interface
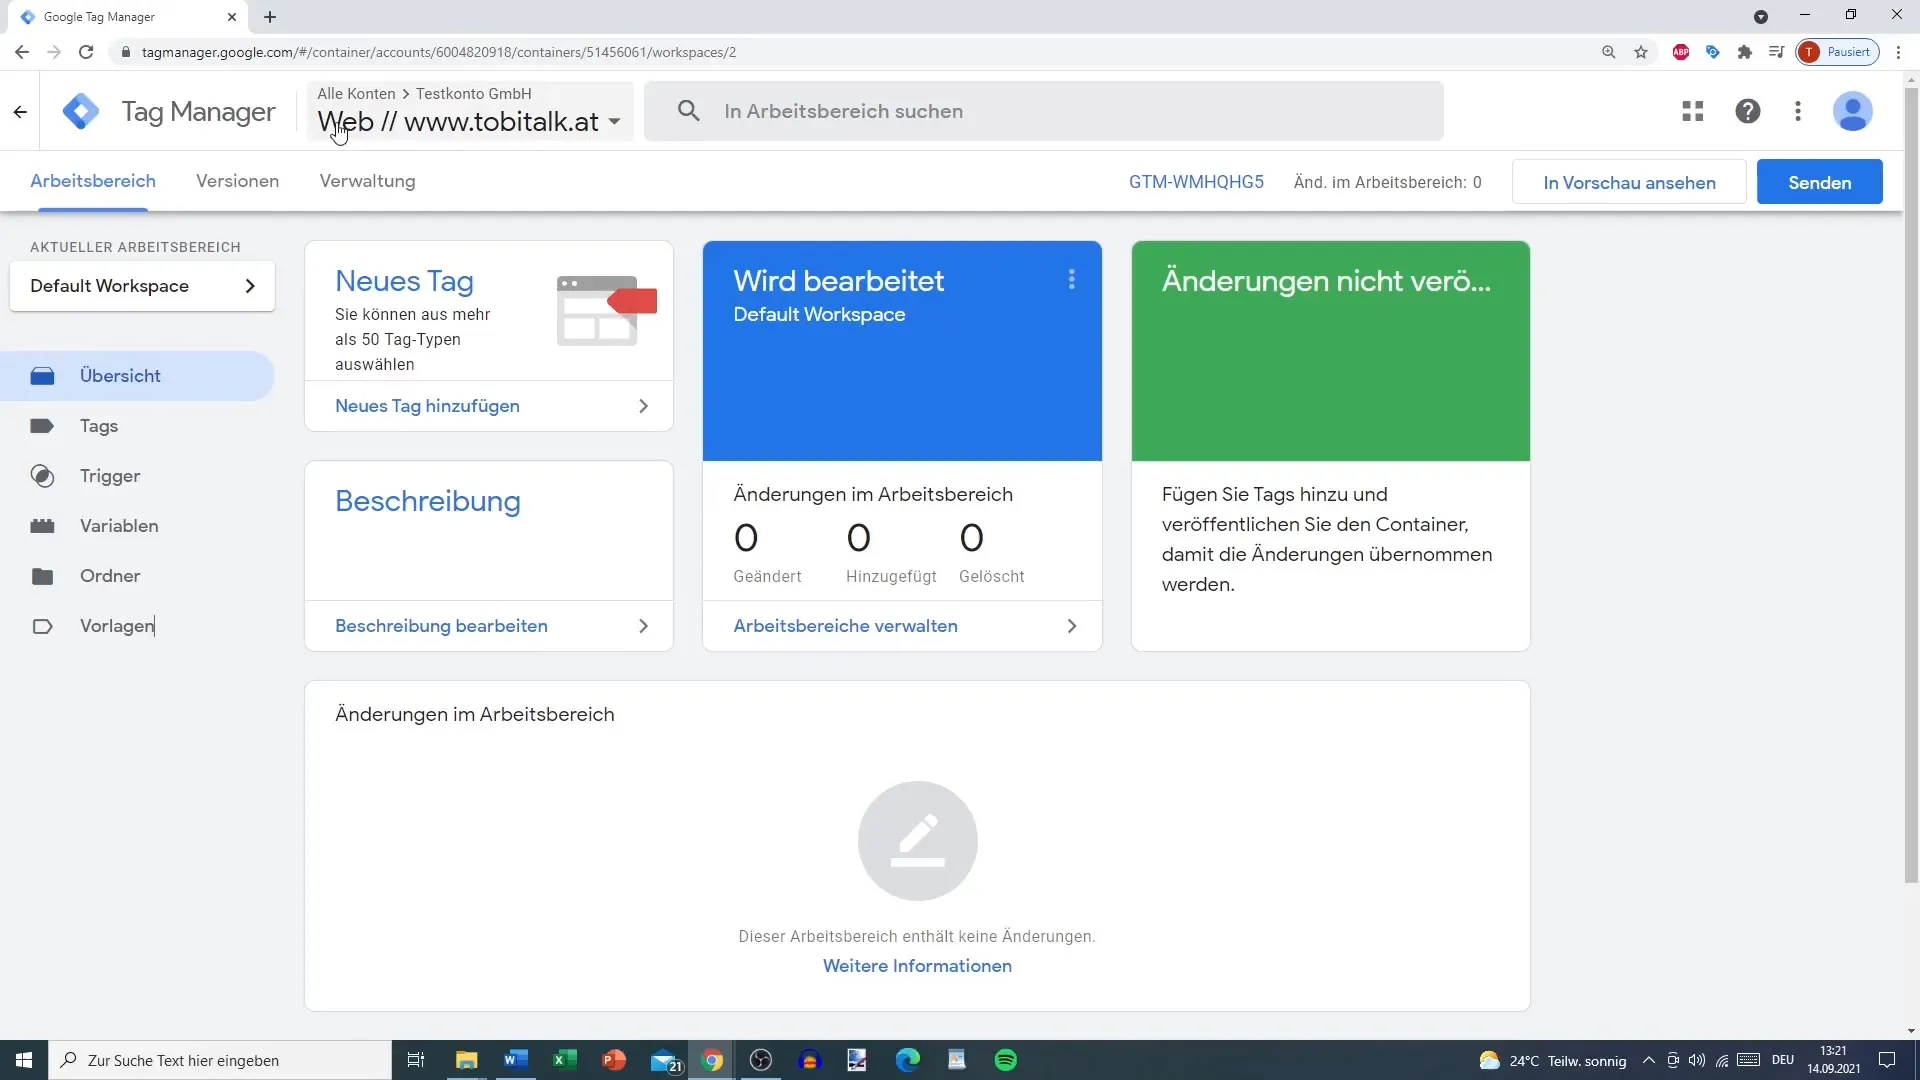
Once you are in the Google Tag Manager, you will see a user interface with various tabs. The bar shows all important areas where you can manage tags and triggers. Here, you can also enable the preview mode to check changes in real time.
Step 3: Adjust Account Settings
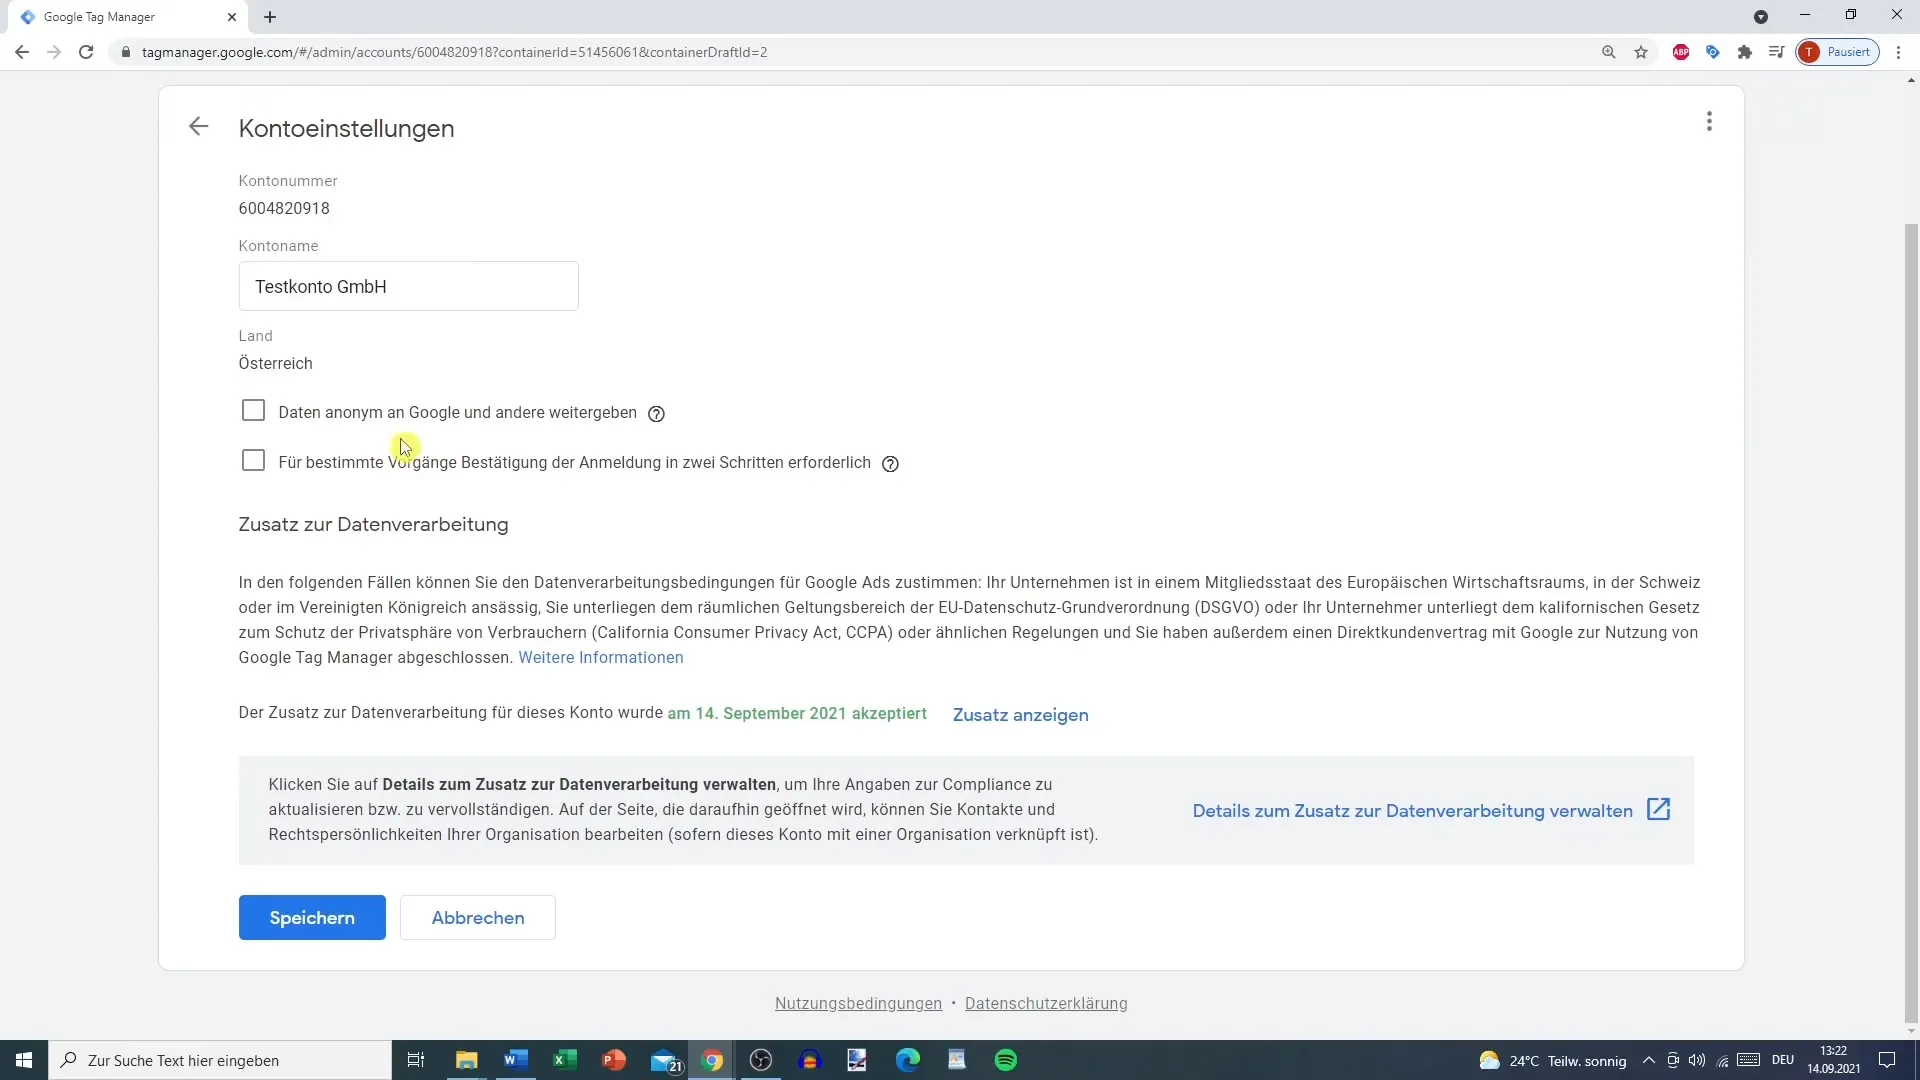
In the admin area, you can adjust your account settings. Here you have the option to change the account name and view details regarding data processing. Be sure to consider data protection in accordance with GDPR.
Step 4: User Management
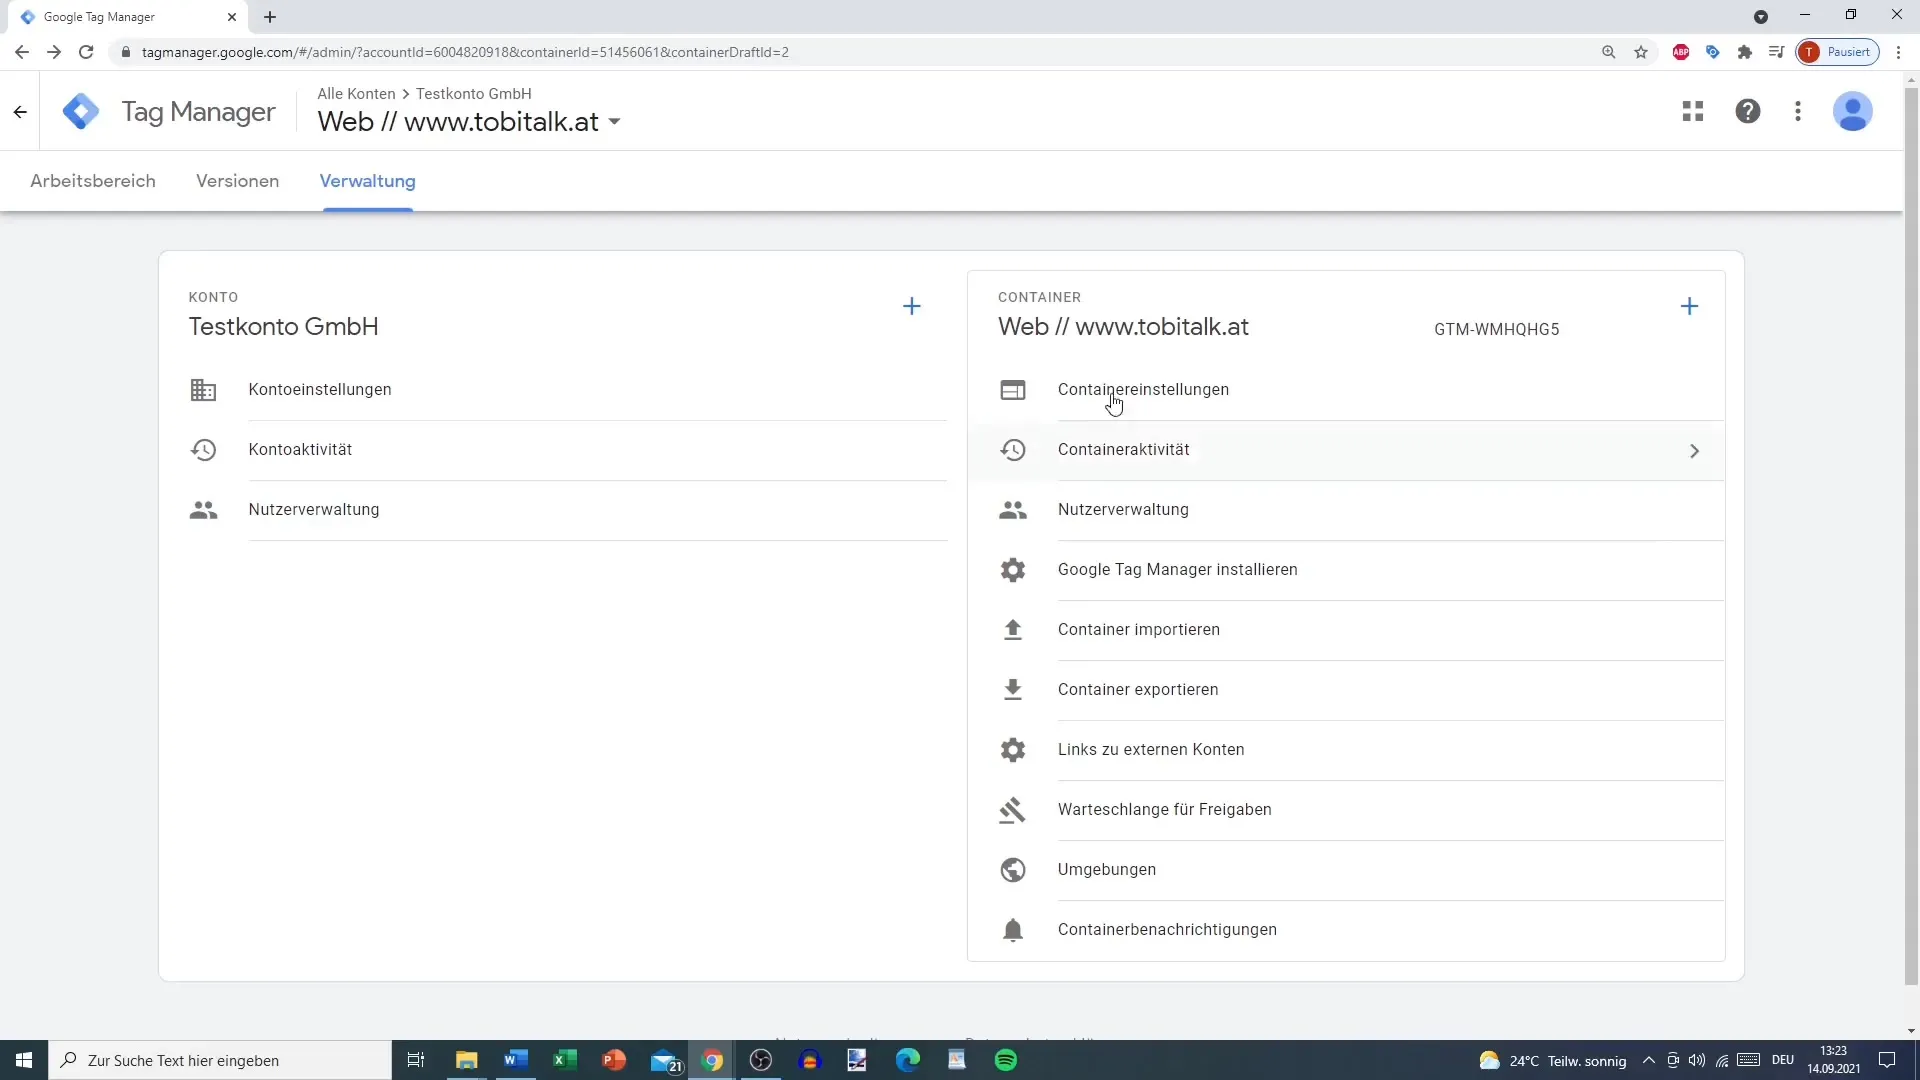
User management allows you to grant or revoke access to your account for other users. This can be done at both account and container levels, facilitating collaboration in the team.
Step 5: Add Container
If you want to add a new container, you will receive another shortcode that you also need to implement. Each container has specific settings that you can adjust.
Step 6: Import and Export Containers
Importing or exporting containers is an important process when you want to transfer your tags from one website to another. By exporting, you will receive the current version of the container as a file that you can later re-import.
Step 7: Check Managed Queue
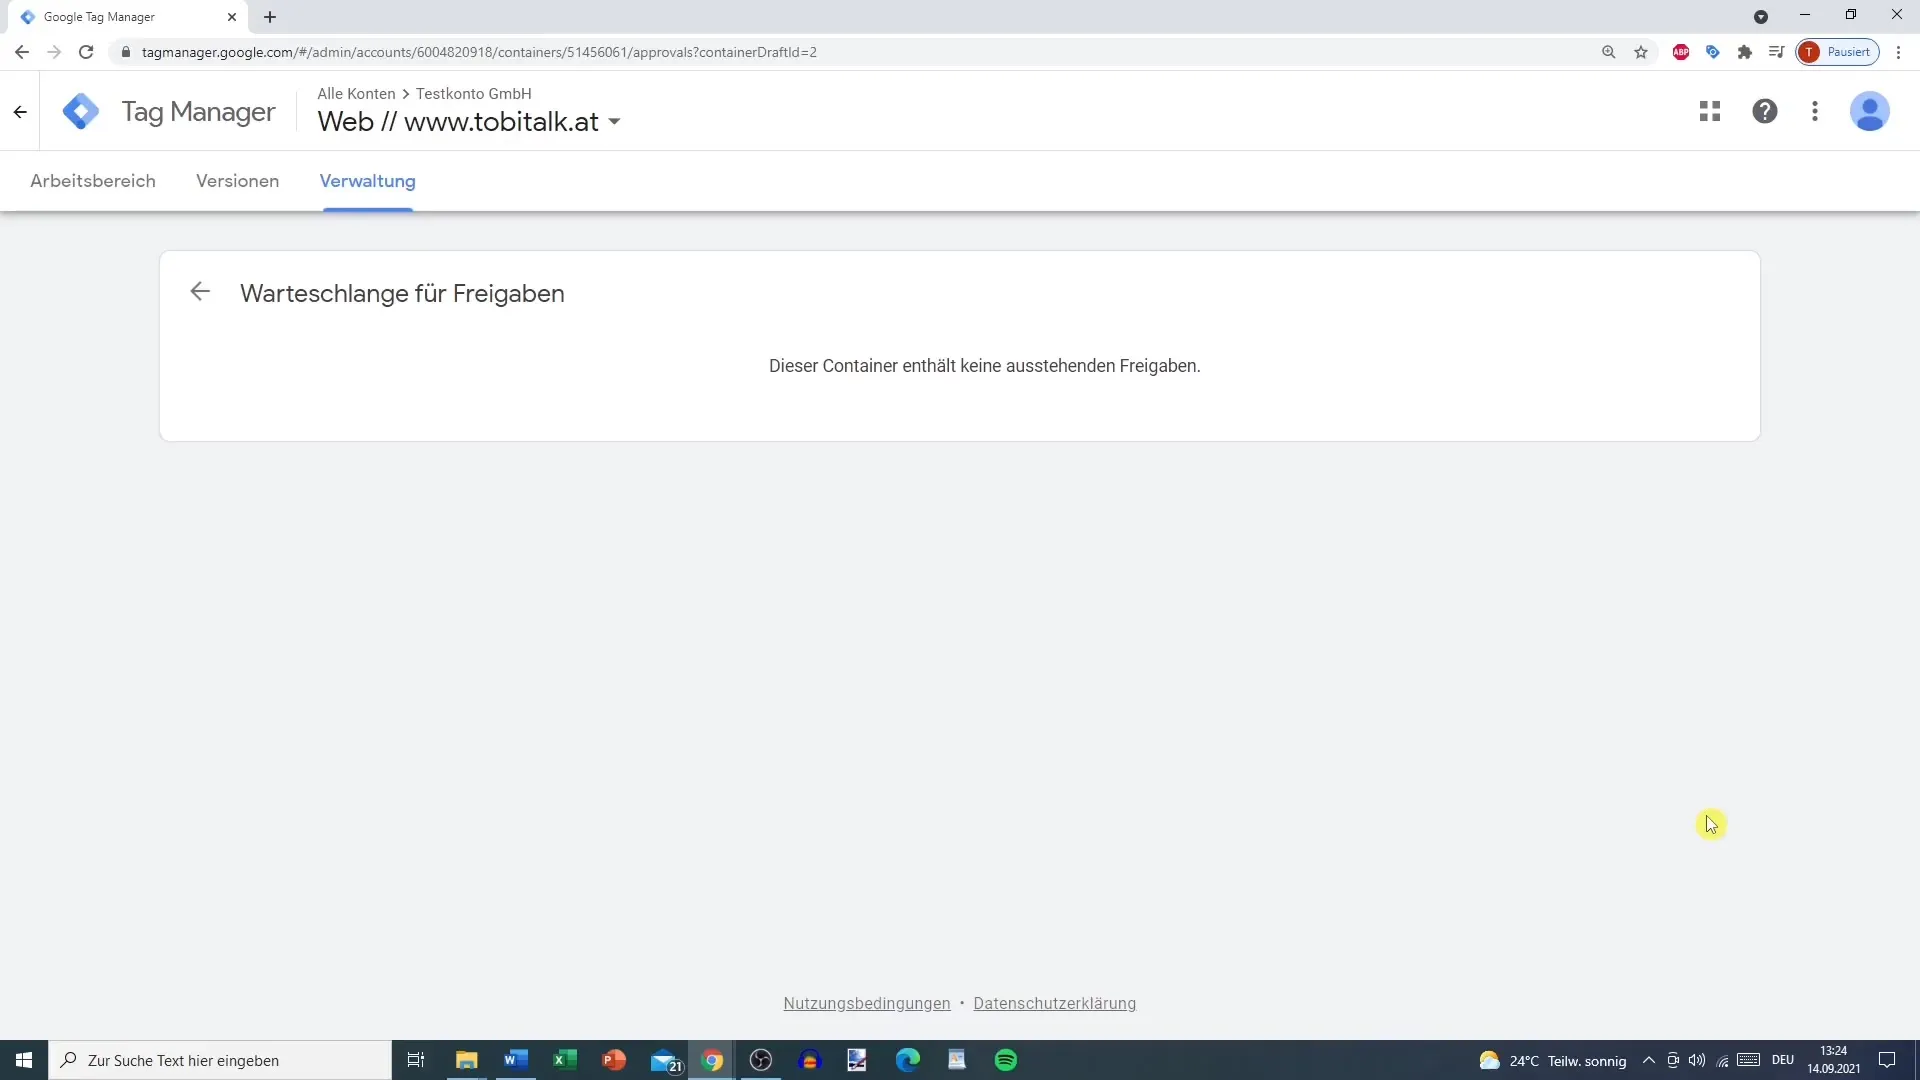
The release queue is especially important when you make changes to your tags. Here you can see if there are any pending approvals and the status of your changes.
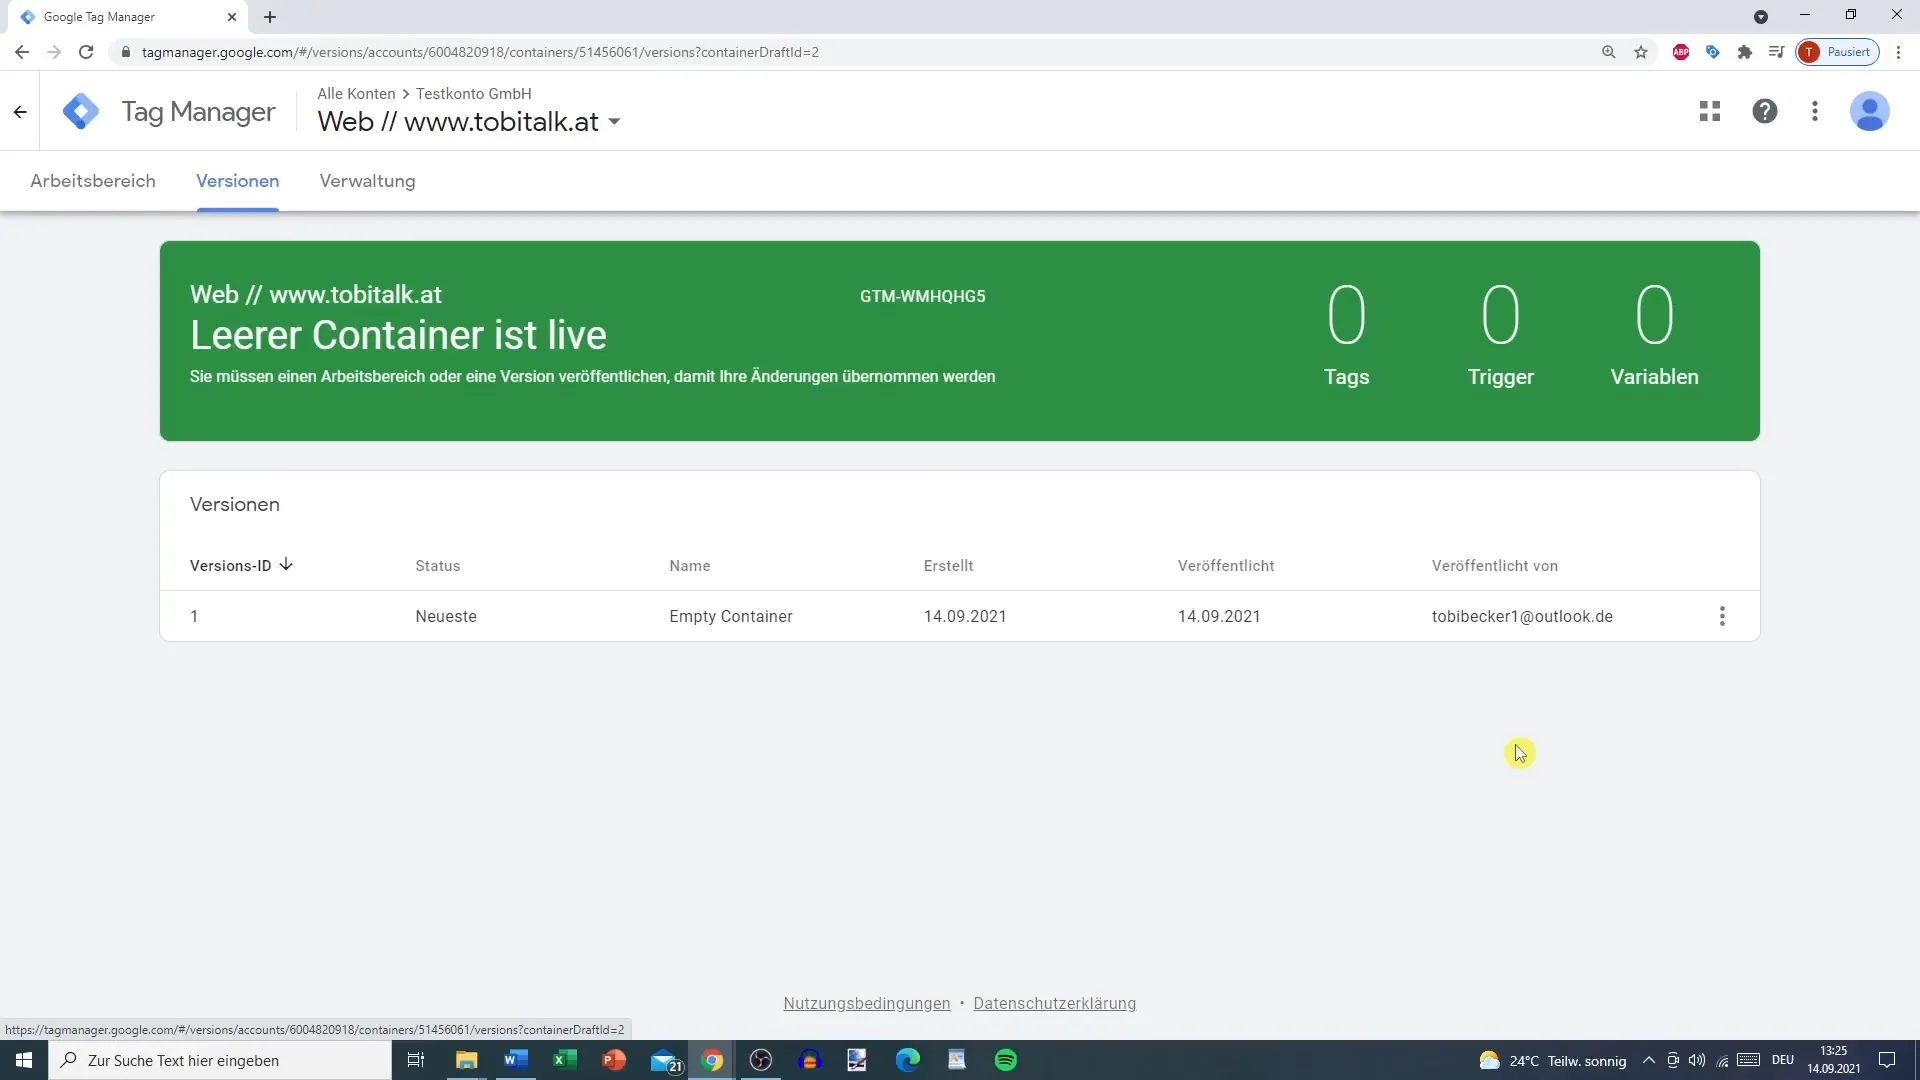
Step 8: Manage Versions
Good version control is key to monitoring your changes. You can view previous versions of your container and reset them if needed. This ensures that the desired tag configuration is always active.
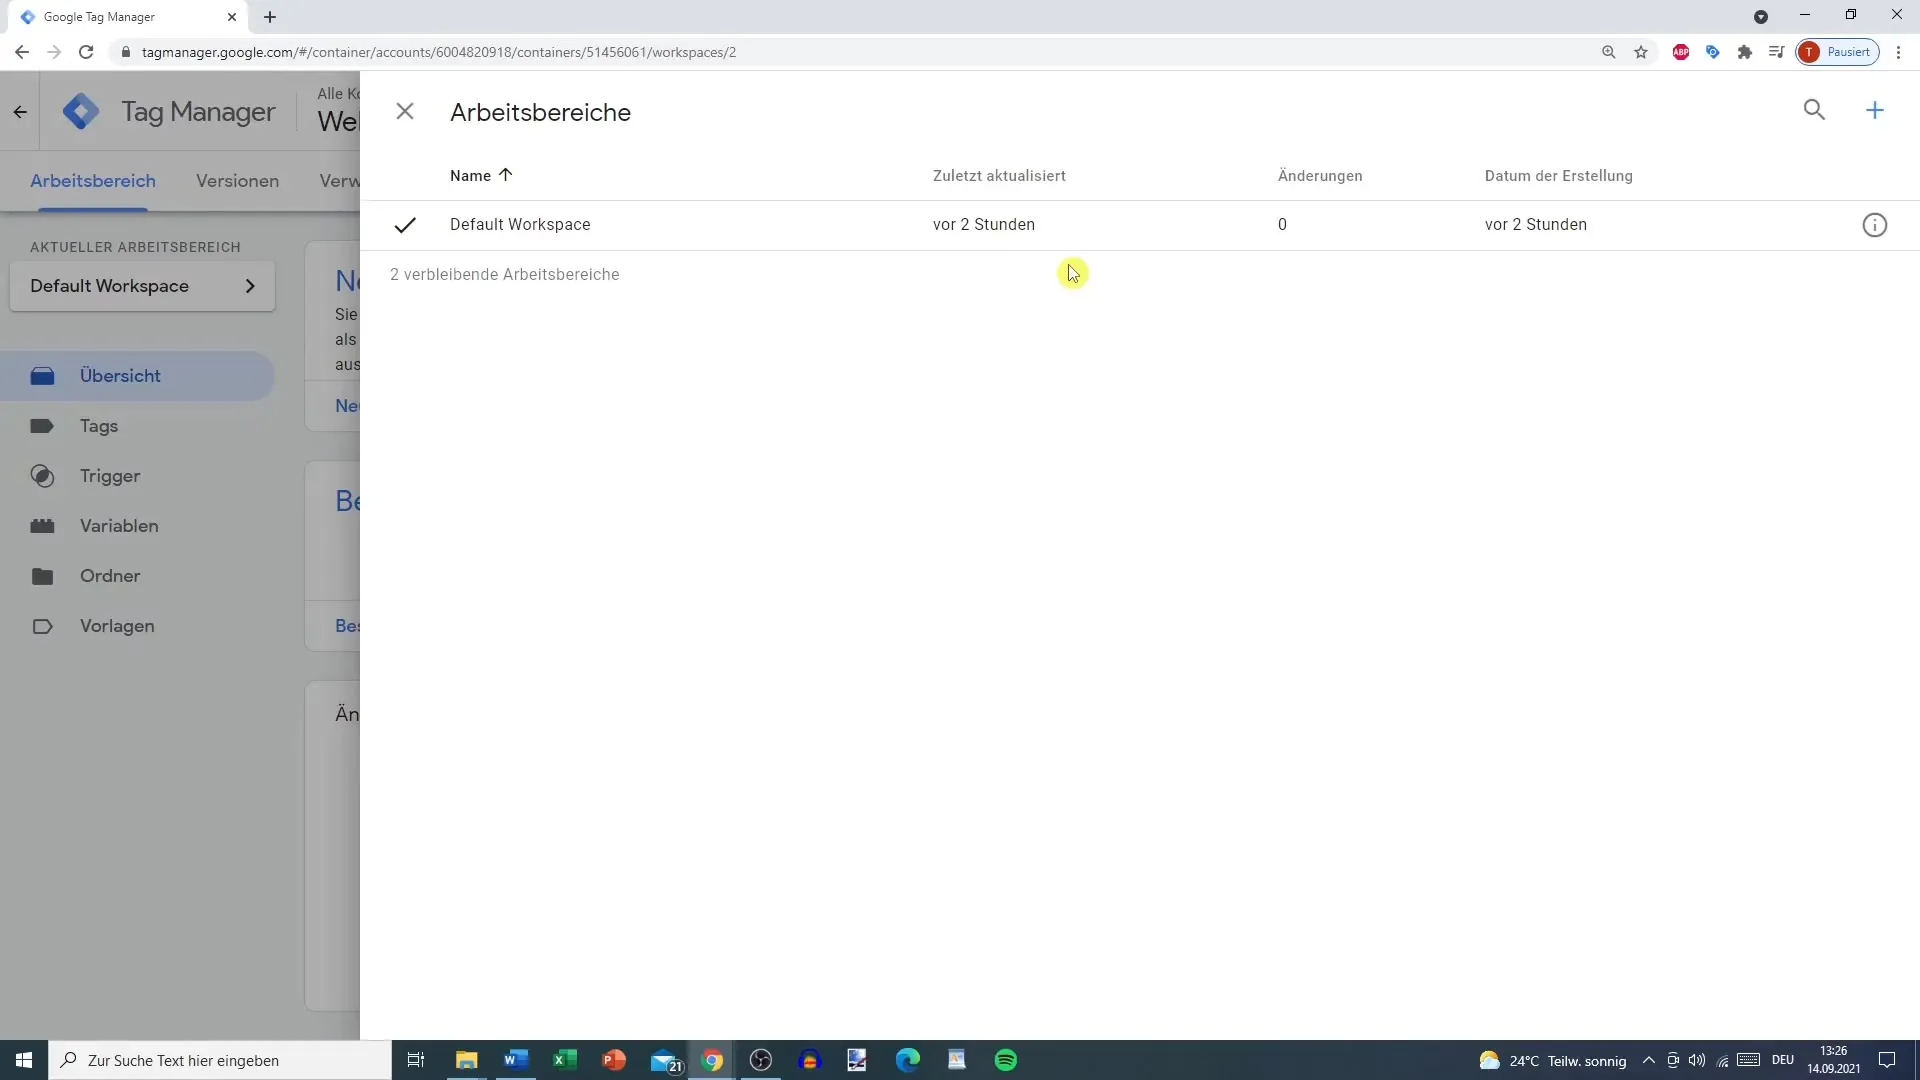
Step 9: Create Workspaces
In the Google Tag Manager, you can set up different workspaces. This is particularly useful when several people are working on a project at the same time. For example, you could create one workspace for the marketing team and another for development teams.
Step 10: Track Changes in the Workspace
If you are managing multiple workspaces, you can track which changes were made in each workspace. The activity log at the bottom displays all changes so that everyone on the team can stay informed.
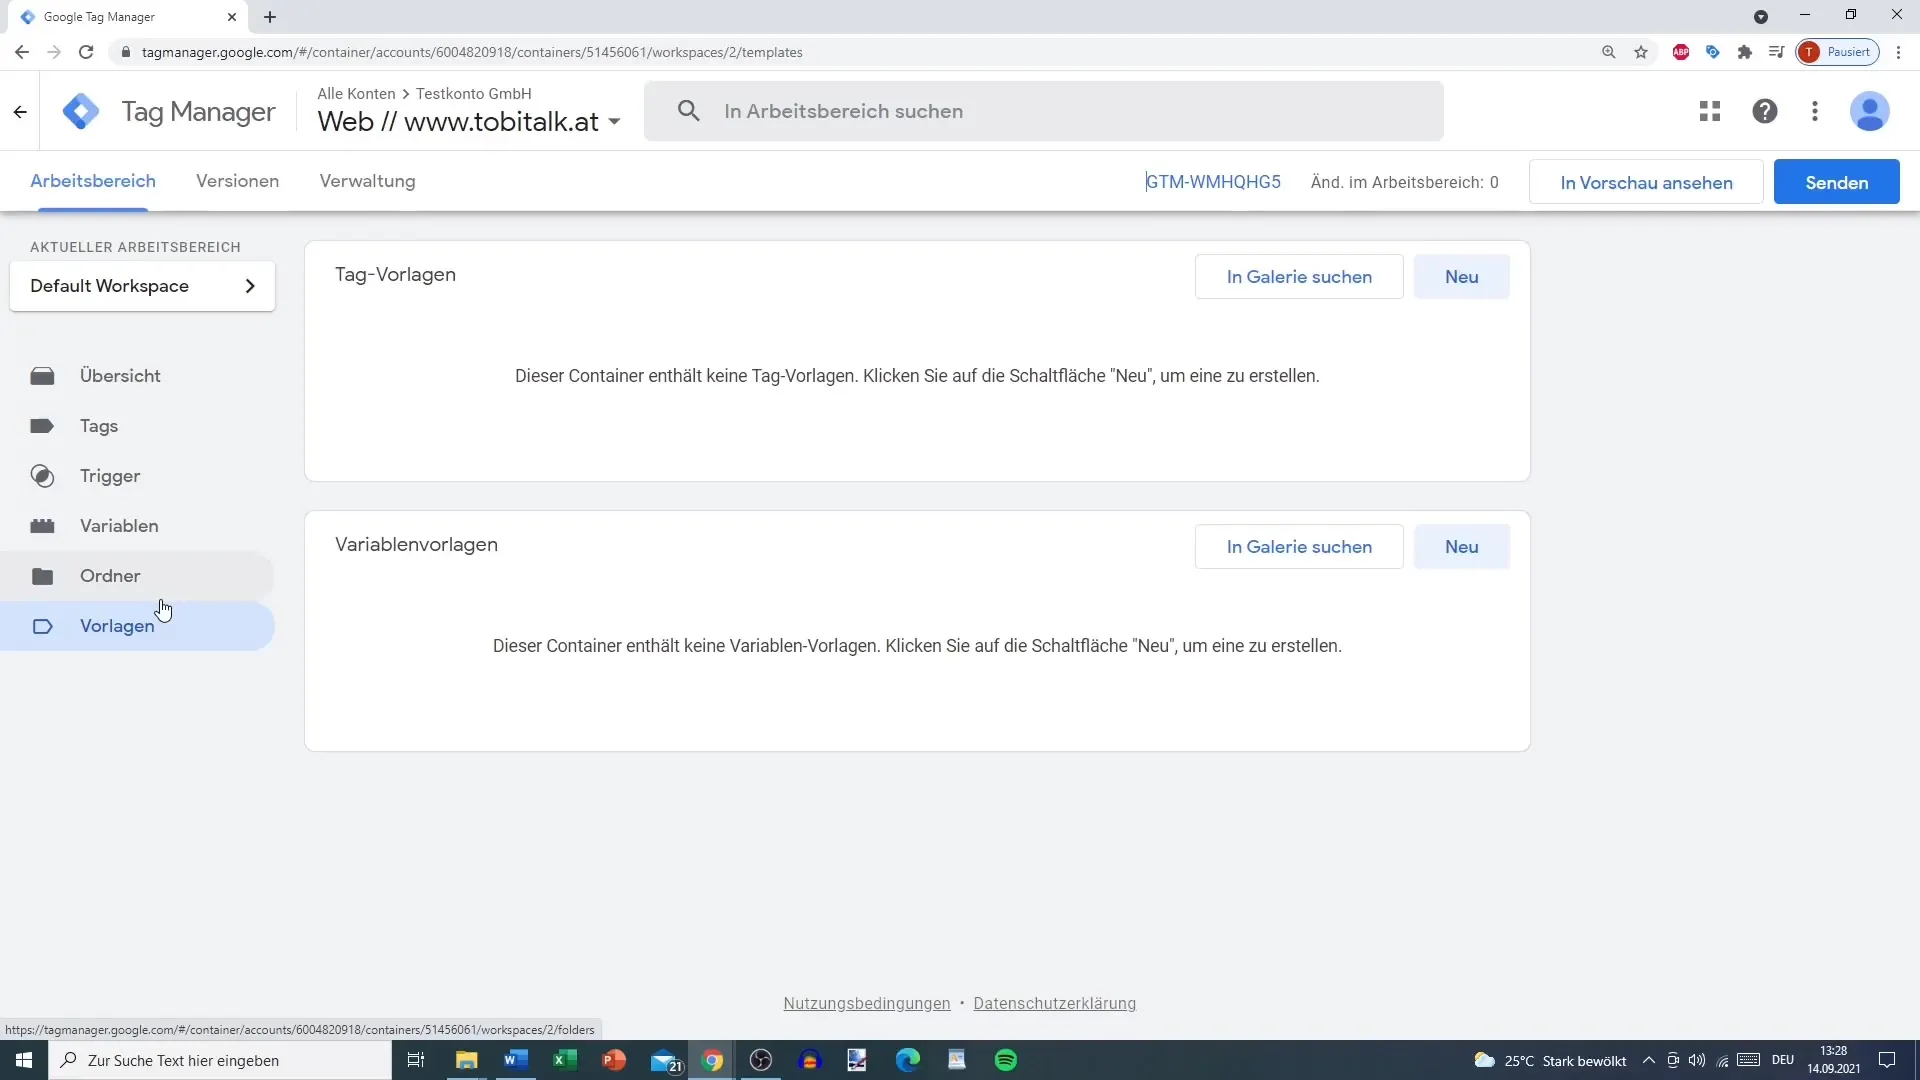
Step 11: Plan Tags, Triggers, and Variables
Now it gets interesting: you will start planning your tags, triggers, and variables. These are the essential elements you will need in the Google Tag Manager. They allow you to trigger specific actions and collect data.
Summary - Google Tag Manager: An Initial Overview in the Tutorial
The Google Tag Manager is a powerful tool that helps you streamline the implementation of tracking tags on your website. With the right structure and a clear overview of functions such as user and version management, you will take your tracking to the next level.
FAQ
How do I create an account in Google Tag Manager?You sign in with your Google account to Google Tag Manager and follow the instructions for setting up your account.
What is a container in Google Tag Manager?A container is an area where all tags, triggers, and variables for a specific website or app are managed.
How do I import existing containers?You can export containers and later import them back into Google Tag Manager by uploading the corresponding file.
What is the preview mode in Google Tag Manager?The preview mode allows you to check changes in real time without making them active on your website immediately.
How do I change account settings in Google Tag Manager?In the admin area, you will find the option to adjust account settings, including account name and data processing.
