Adjusting your Zoomaccount settingsis crucial for a smooth and efficientuse of the platform. This tutorial will guide you step by step through the most important settings and features that help you optimize your account.
Key insights
- You can edit basic account information under "My Profile," including email address, time zone, license type, and language.
- There are security options such as two-factor authentication to protect your account.
- The meeting settings are diverse: You can configure security settings such as waiting rooms and video options.
- The recordings and phone settings give you control over the history of your meetings.
Step 1: Accessing your Zoom account
First, you need to log in to your Zoom account. Click on your icon in the top right corner. Here you can see your name and email address as well as your current online status. If you want, you can set your status to "Away" or "Do Not Disturb" to be unavailable for a certain period of time.
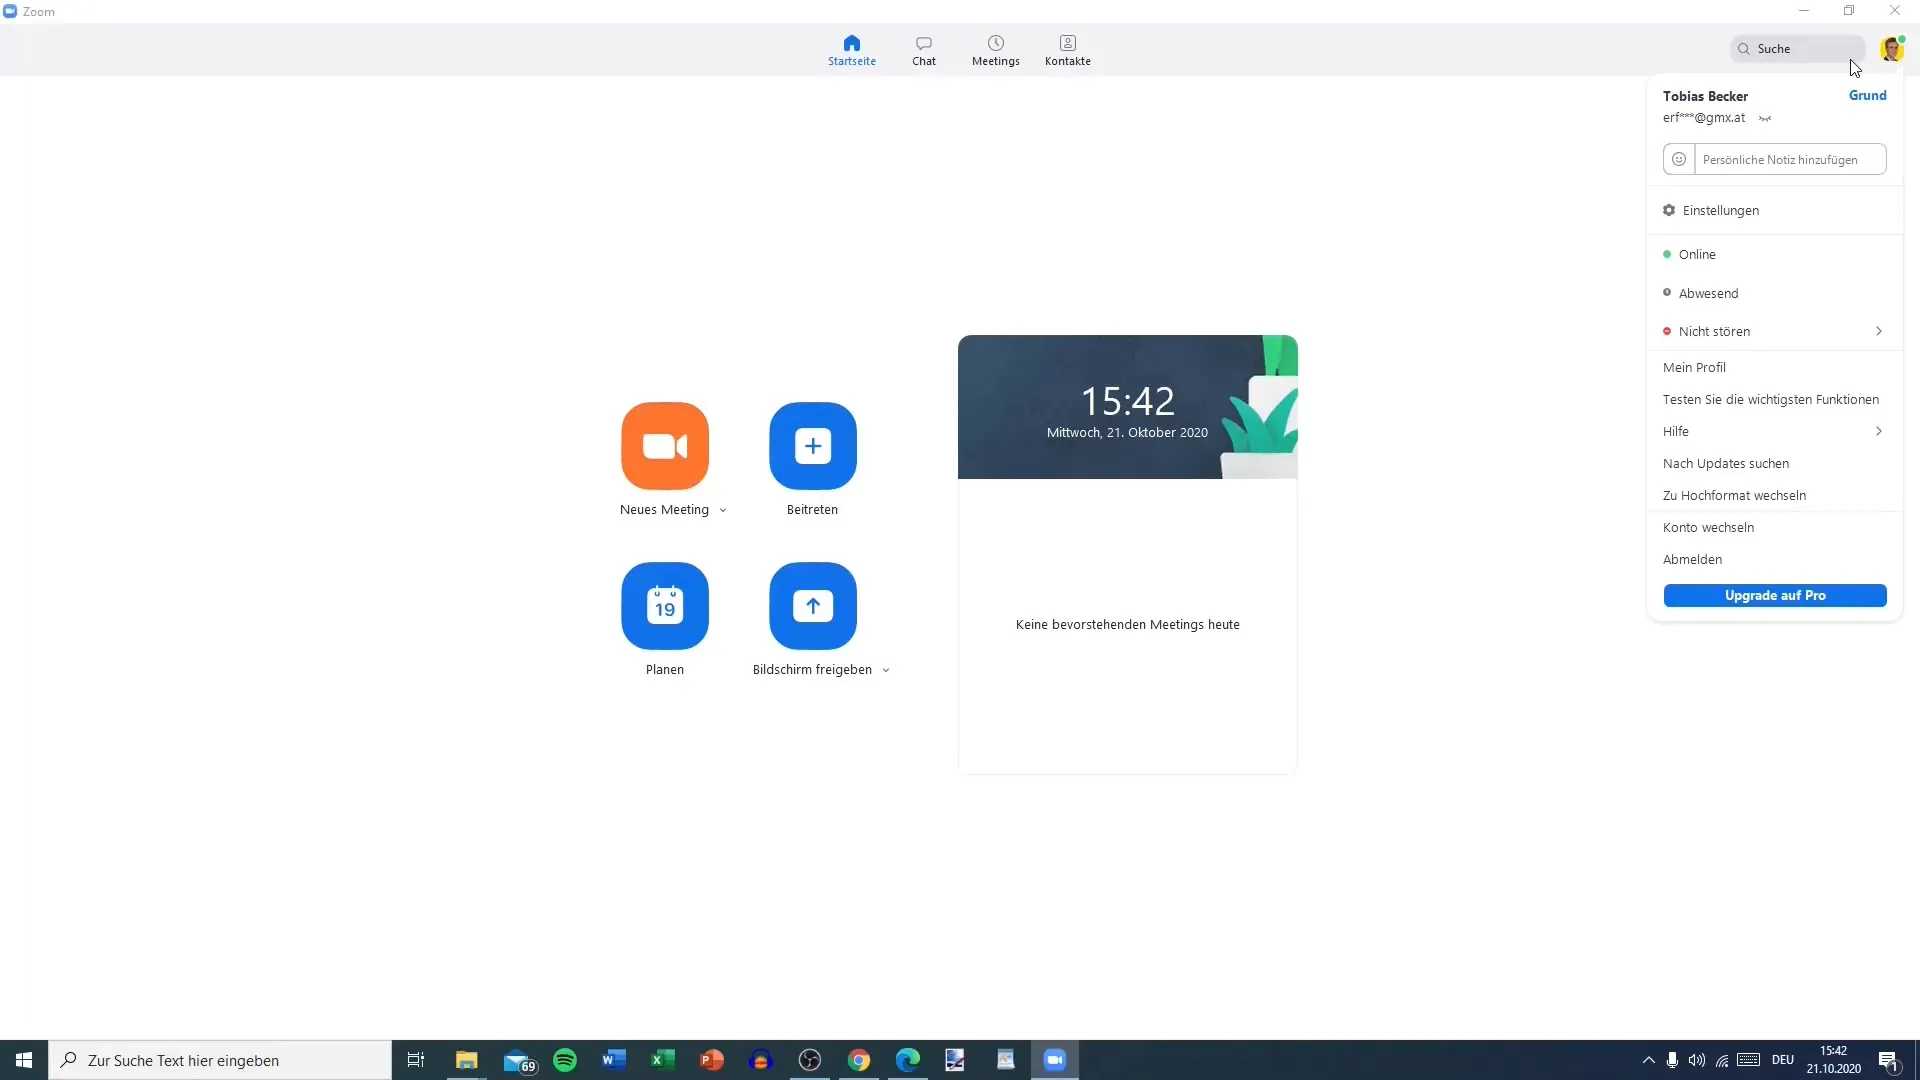
Step 2: My Profile
Click "My Profile" to be redirected to the browser. Here you will find numerous settings that you can adjust. This primarily includes your personal meeting ID, which is needed for instant meetings. This ID is confidential and should not be shared publicly. Additionally, the section provides an overview of your license type, which applies to a maximum of 100 participants.
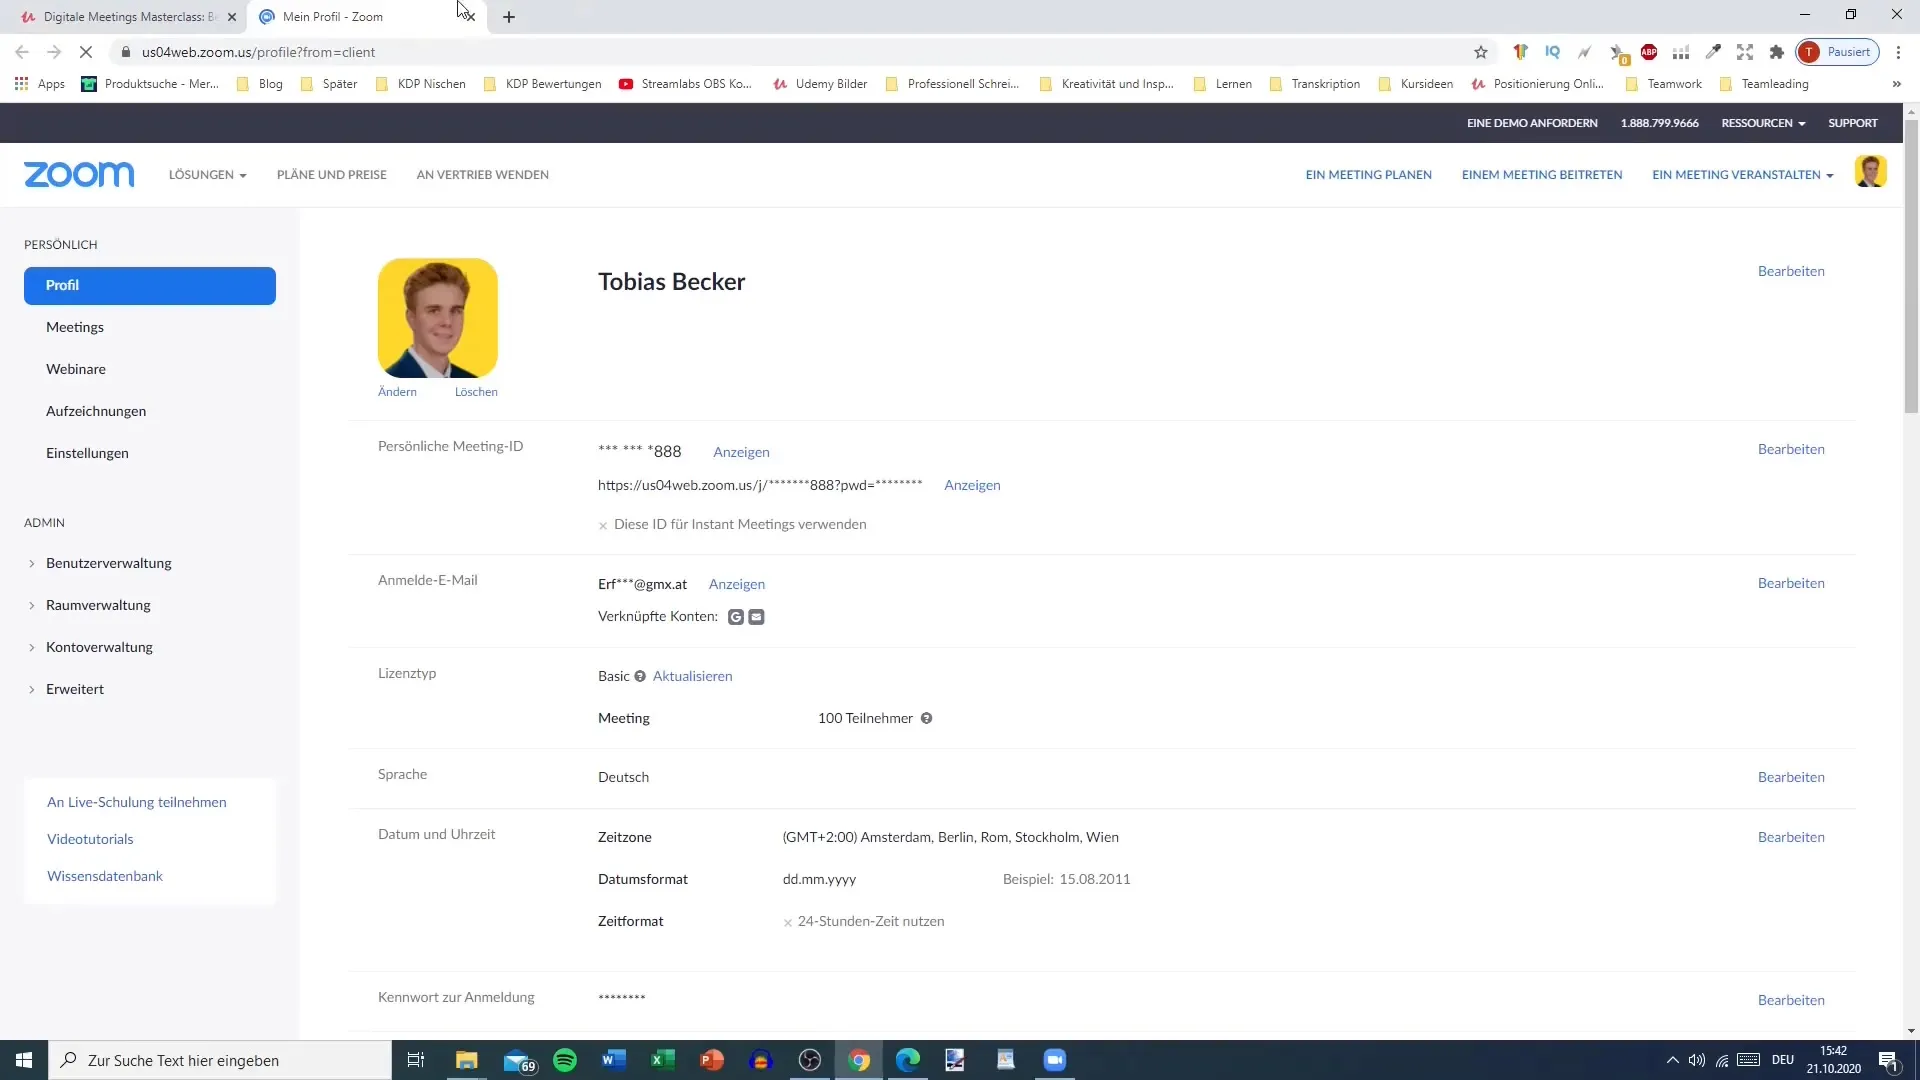
Step 3: Editing account information
You can change your account information by clicking "Edit." Here you have the option to change the date format, time zone, and language settings. Be sure to regularly save your changes.
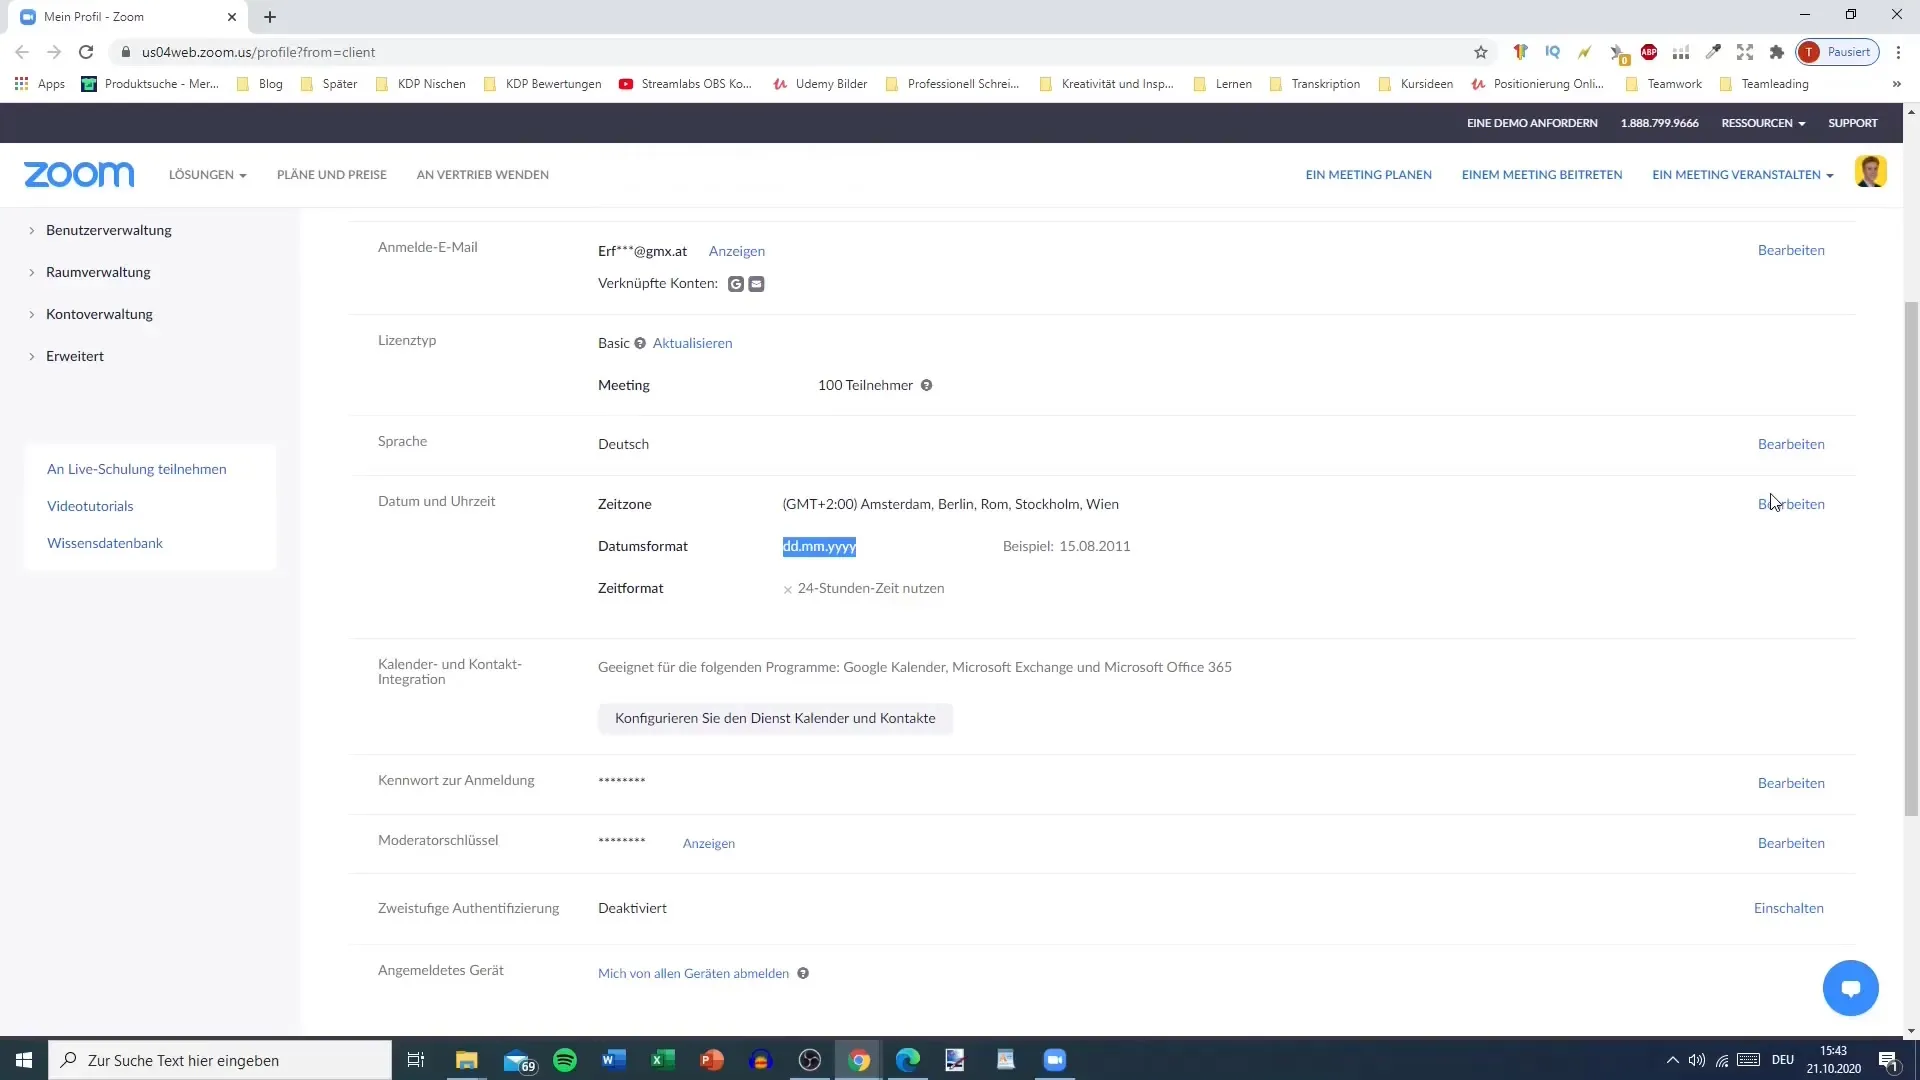
Step 4: Synchronizing with other applications
In this section, you can also synchronize your contacts and calendars to keep track of meetings. This is especially useful if you use Office products like Outlook or Google Calendar.
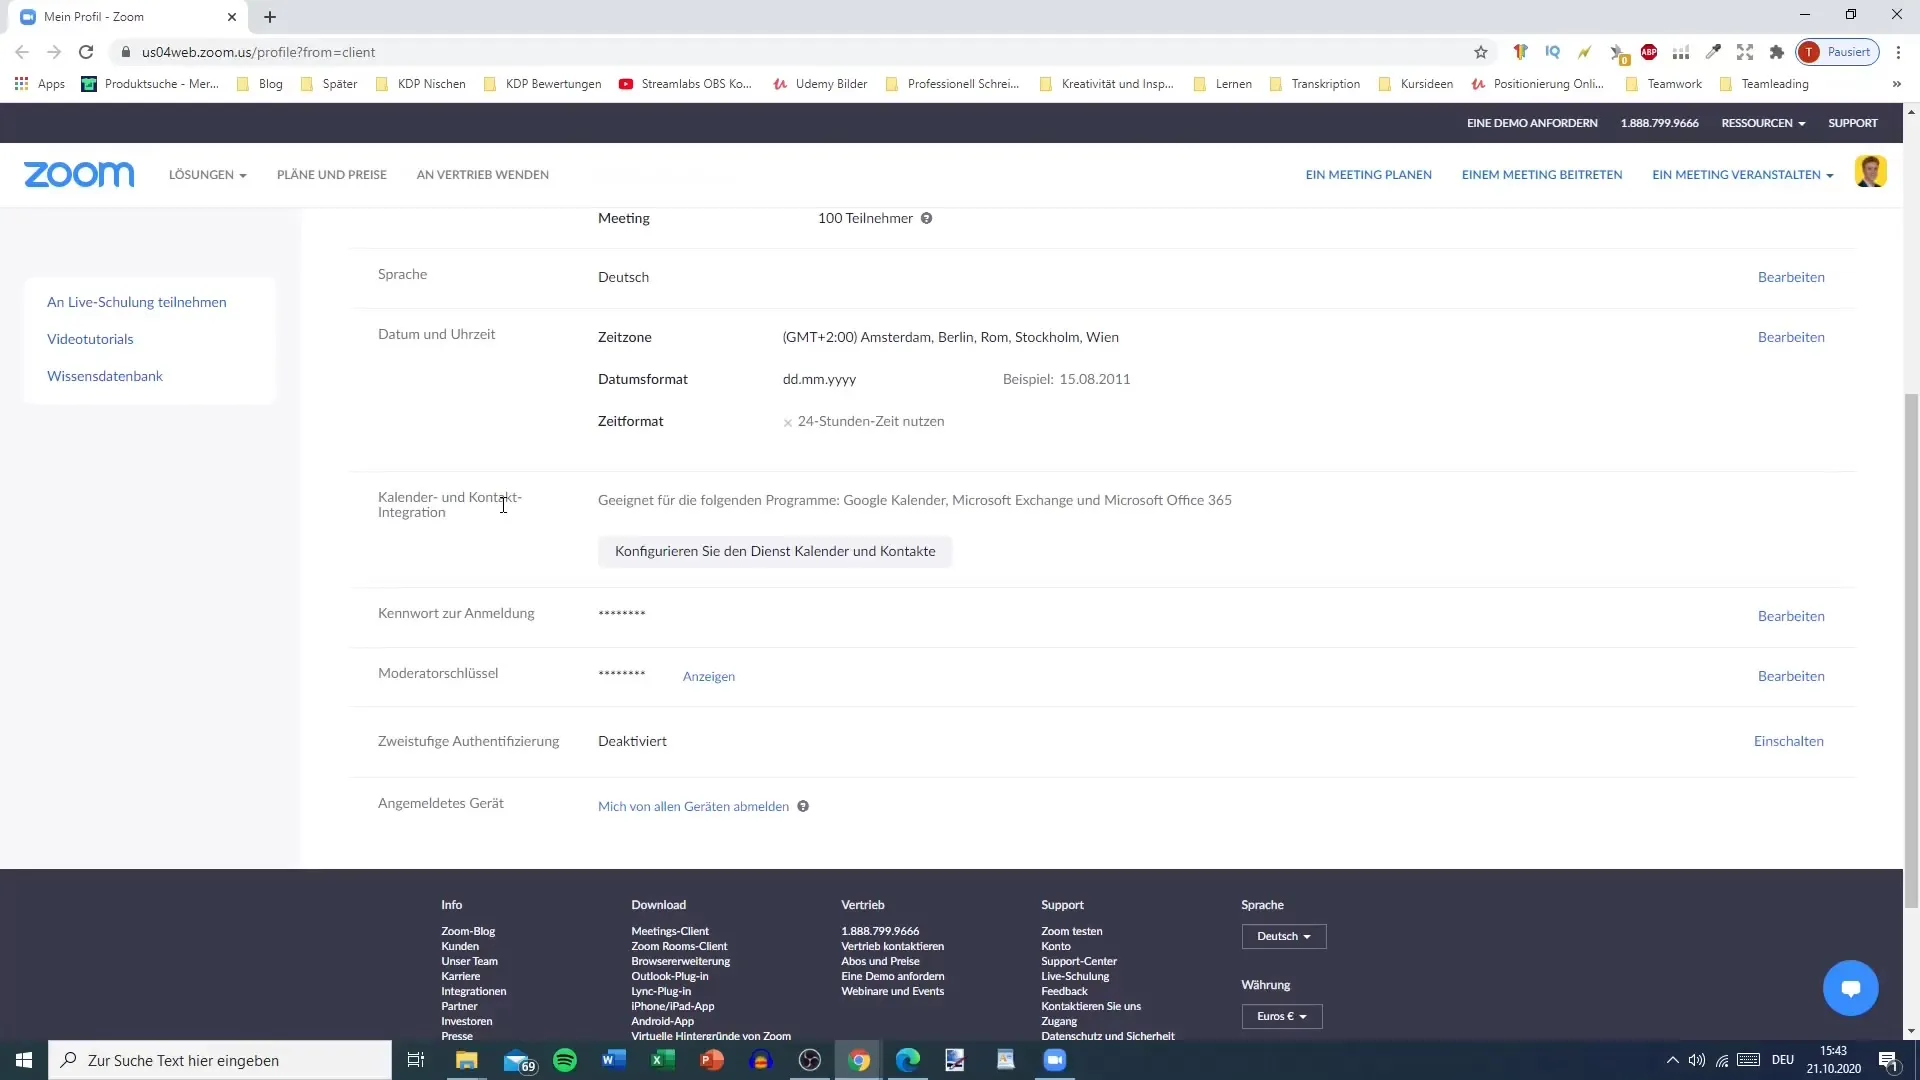
Step 5: Security options
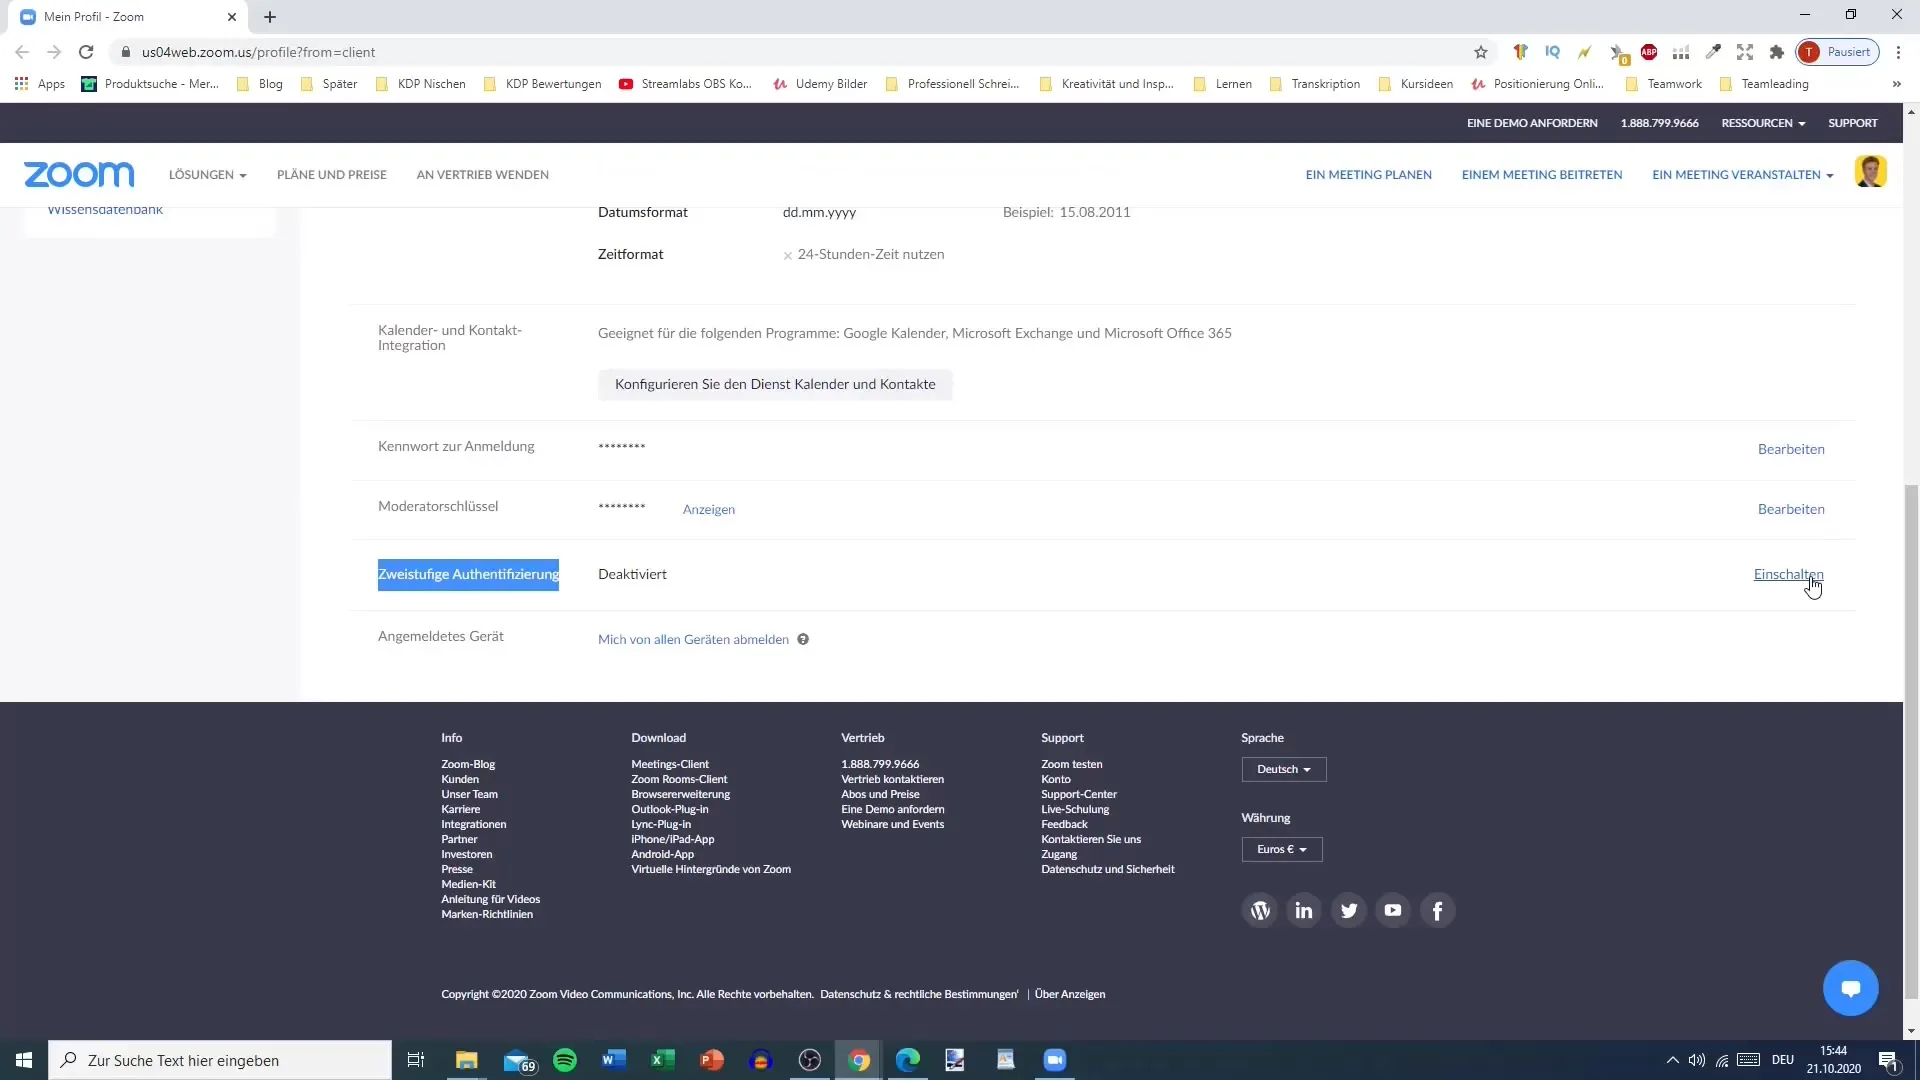
An important setting is implementing two-factor authentication. With this feature, you gain additional security, as you need two different login methods. You can also log out from all your devices if you want to ensure that no one can access your account.
Step 6: Access to meetings and webinars
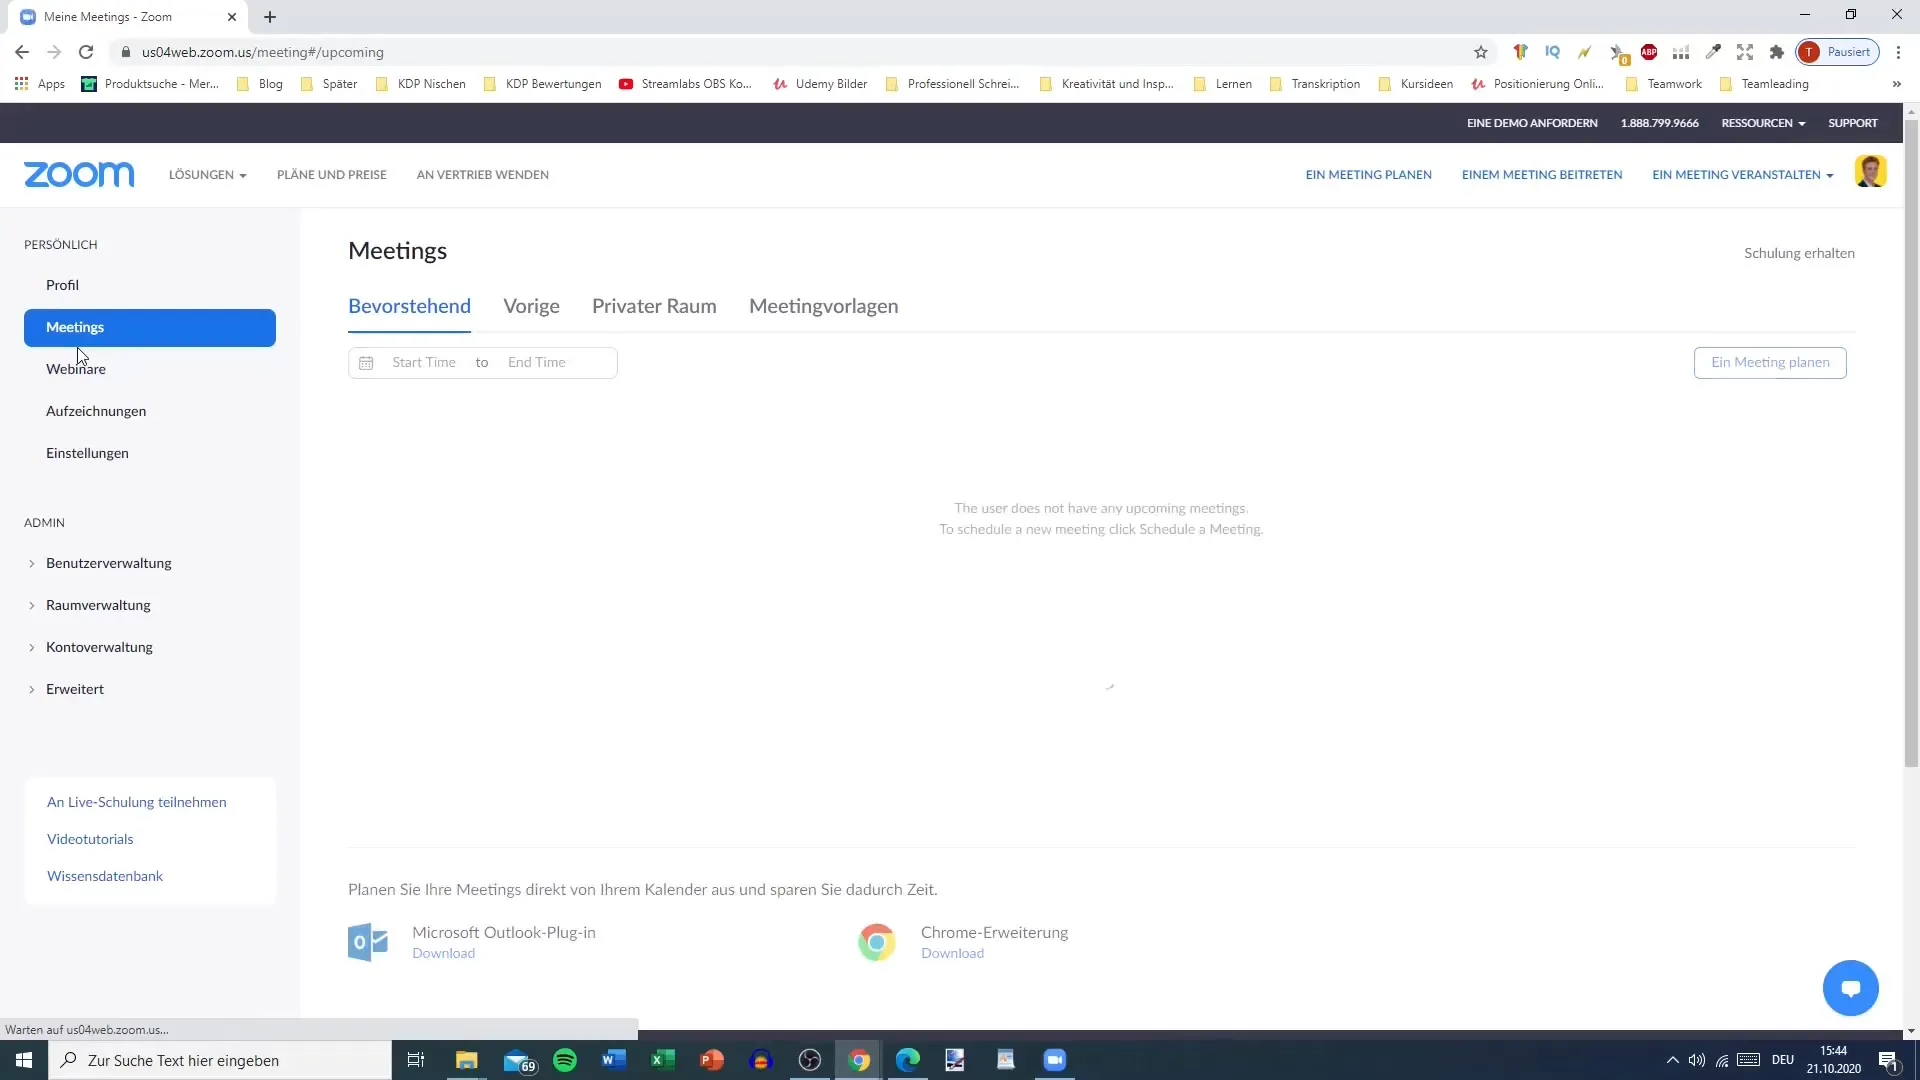
In the next section, you can manage meetings, webinars, and recordings. Here you can see which meetings you have scheduled and how to join them or create new meetings.
Step 7: Meeting settings
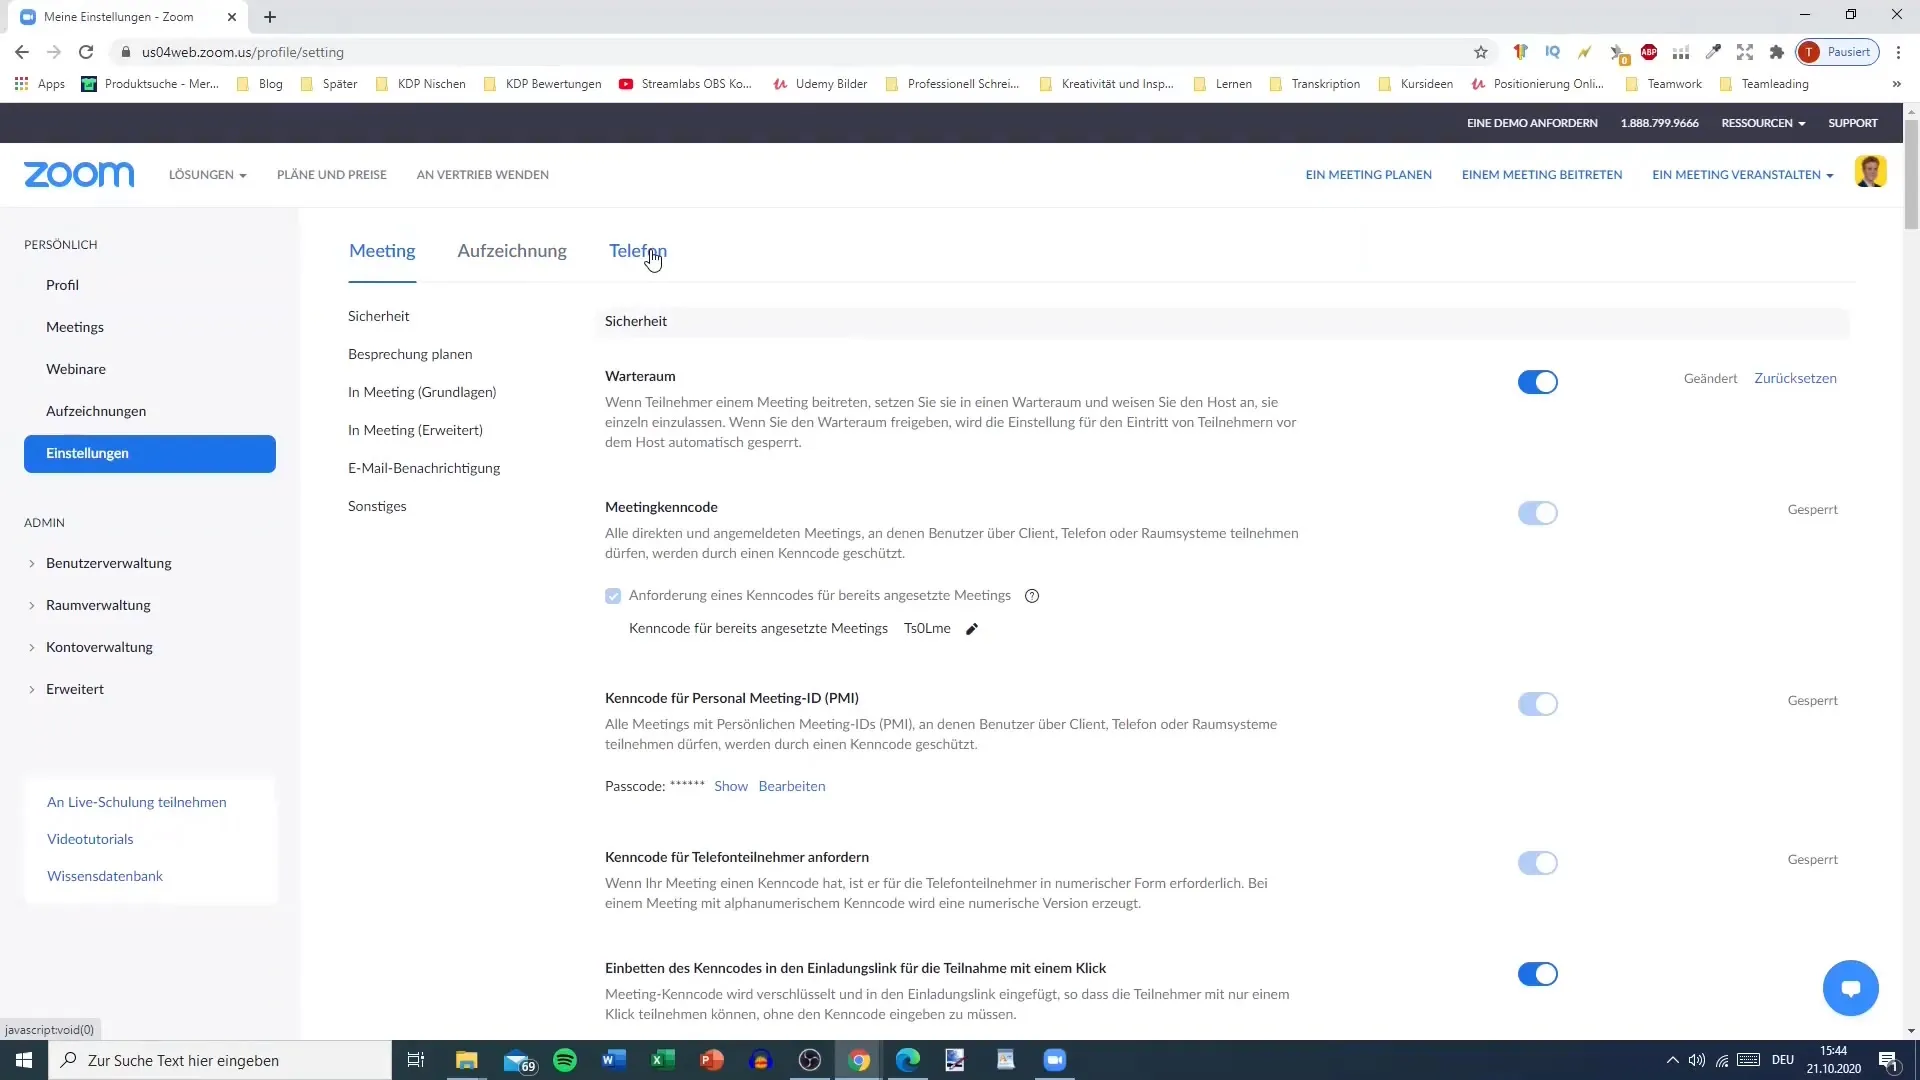
In the meeting settings, you can adjust whether there should be a waiting room for new participants. You can also enable host video and set permissions for participants, such as whether they can share their screen during a presentation.
Step 8: Chat and participant options
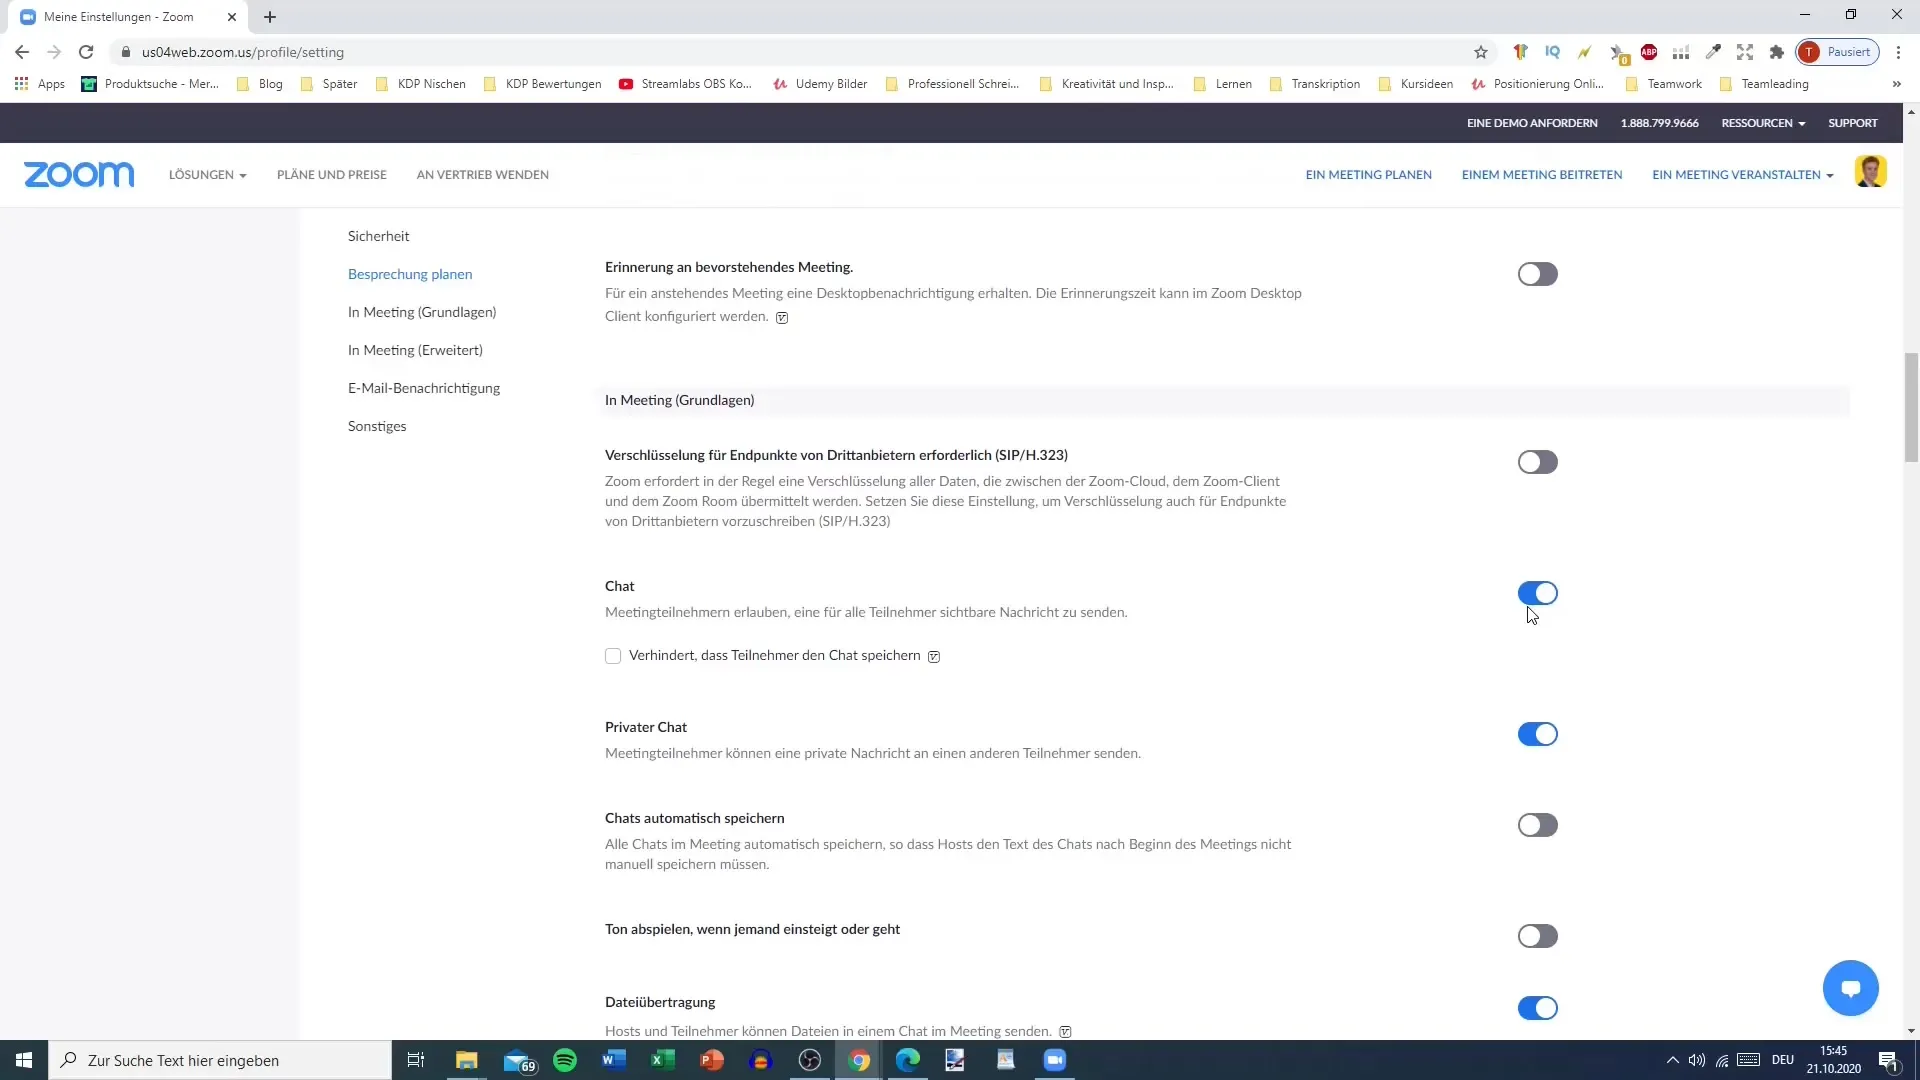
Decide whether participants are allowed to send messages to each other in the chat and whether private chats are permitted. This can be very useful for exchanging specific information during a meeting without other participants seeing what is being discussed.
Step 9: Recording and phone settings
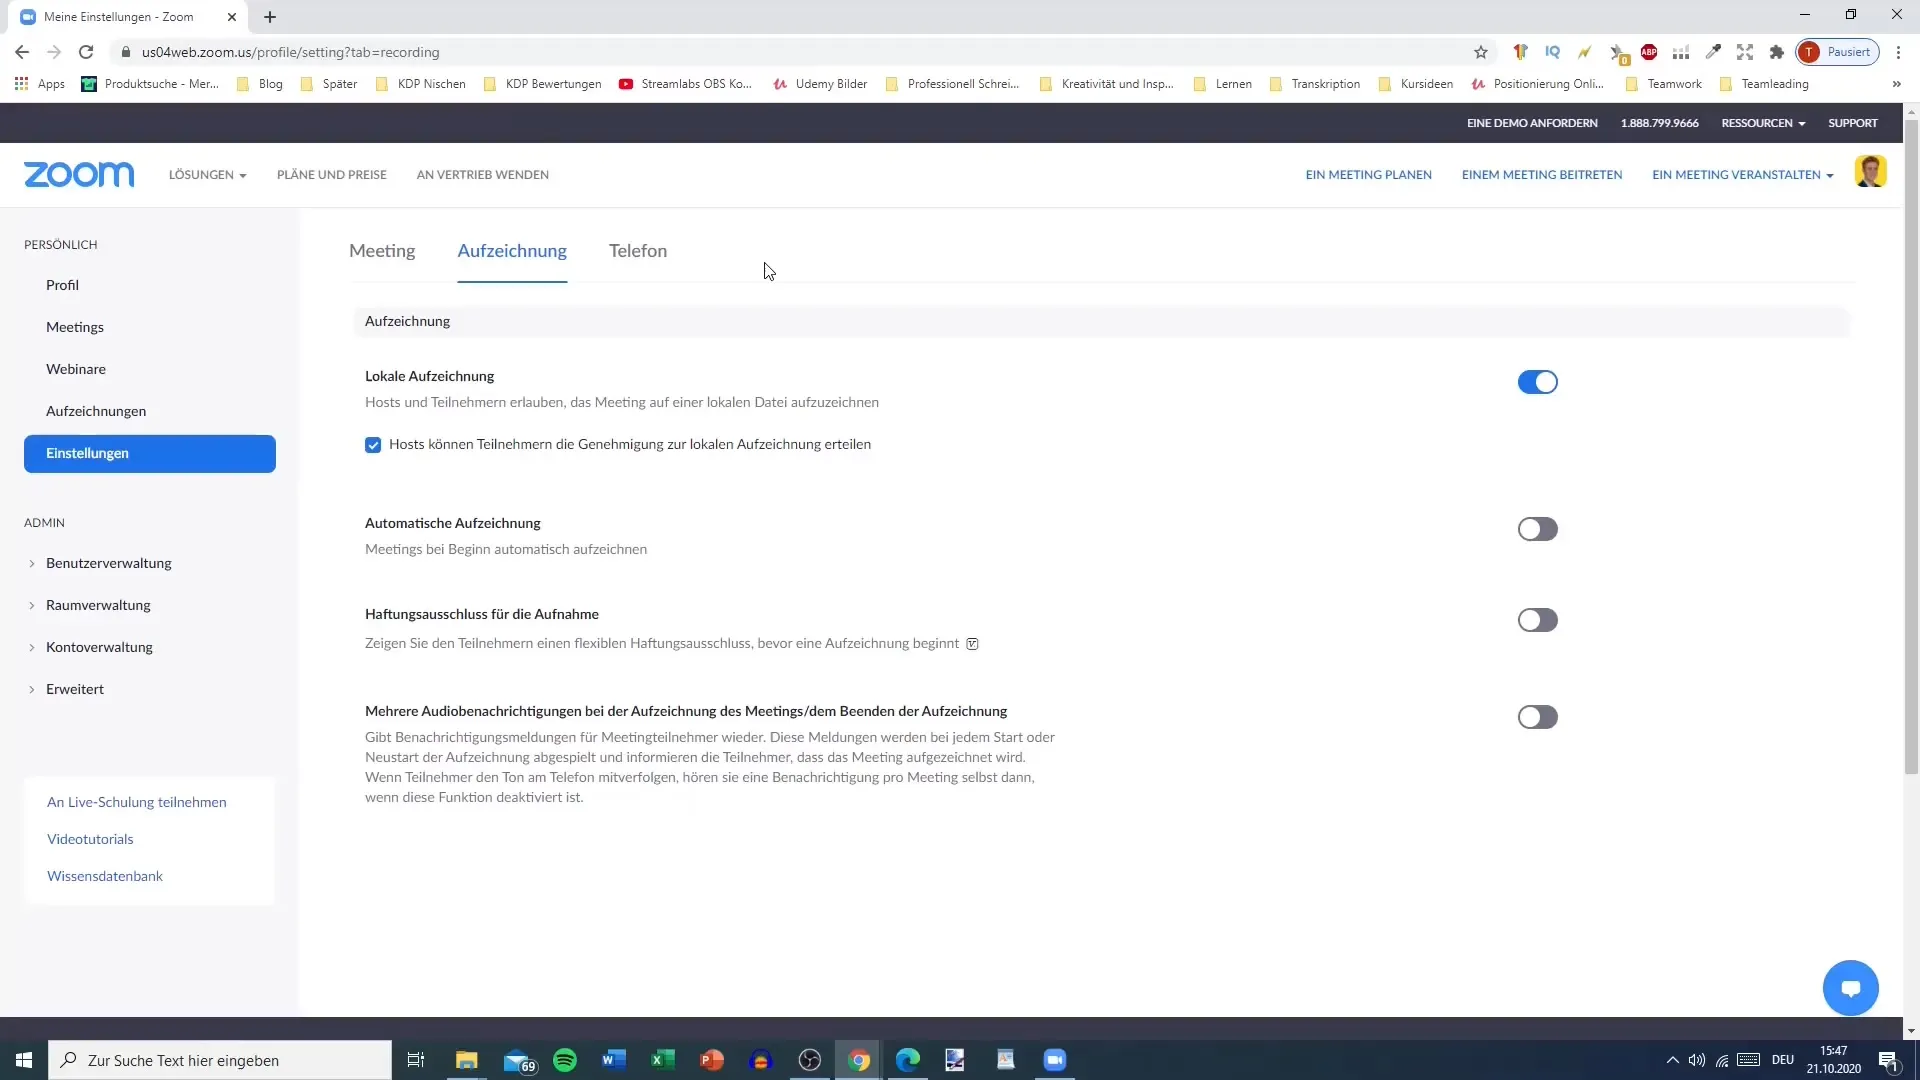
You can specify whether you or the participants have the option to record meetings. Additionally, it is important to check the phone settings. Here you can set how calls are integrated into your meetings.
Step 10: Managing admin rights
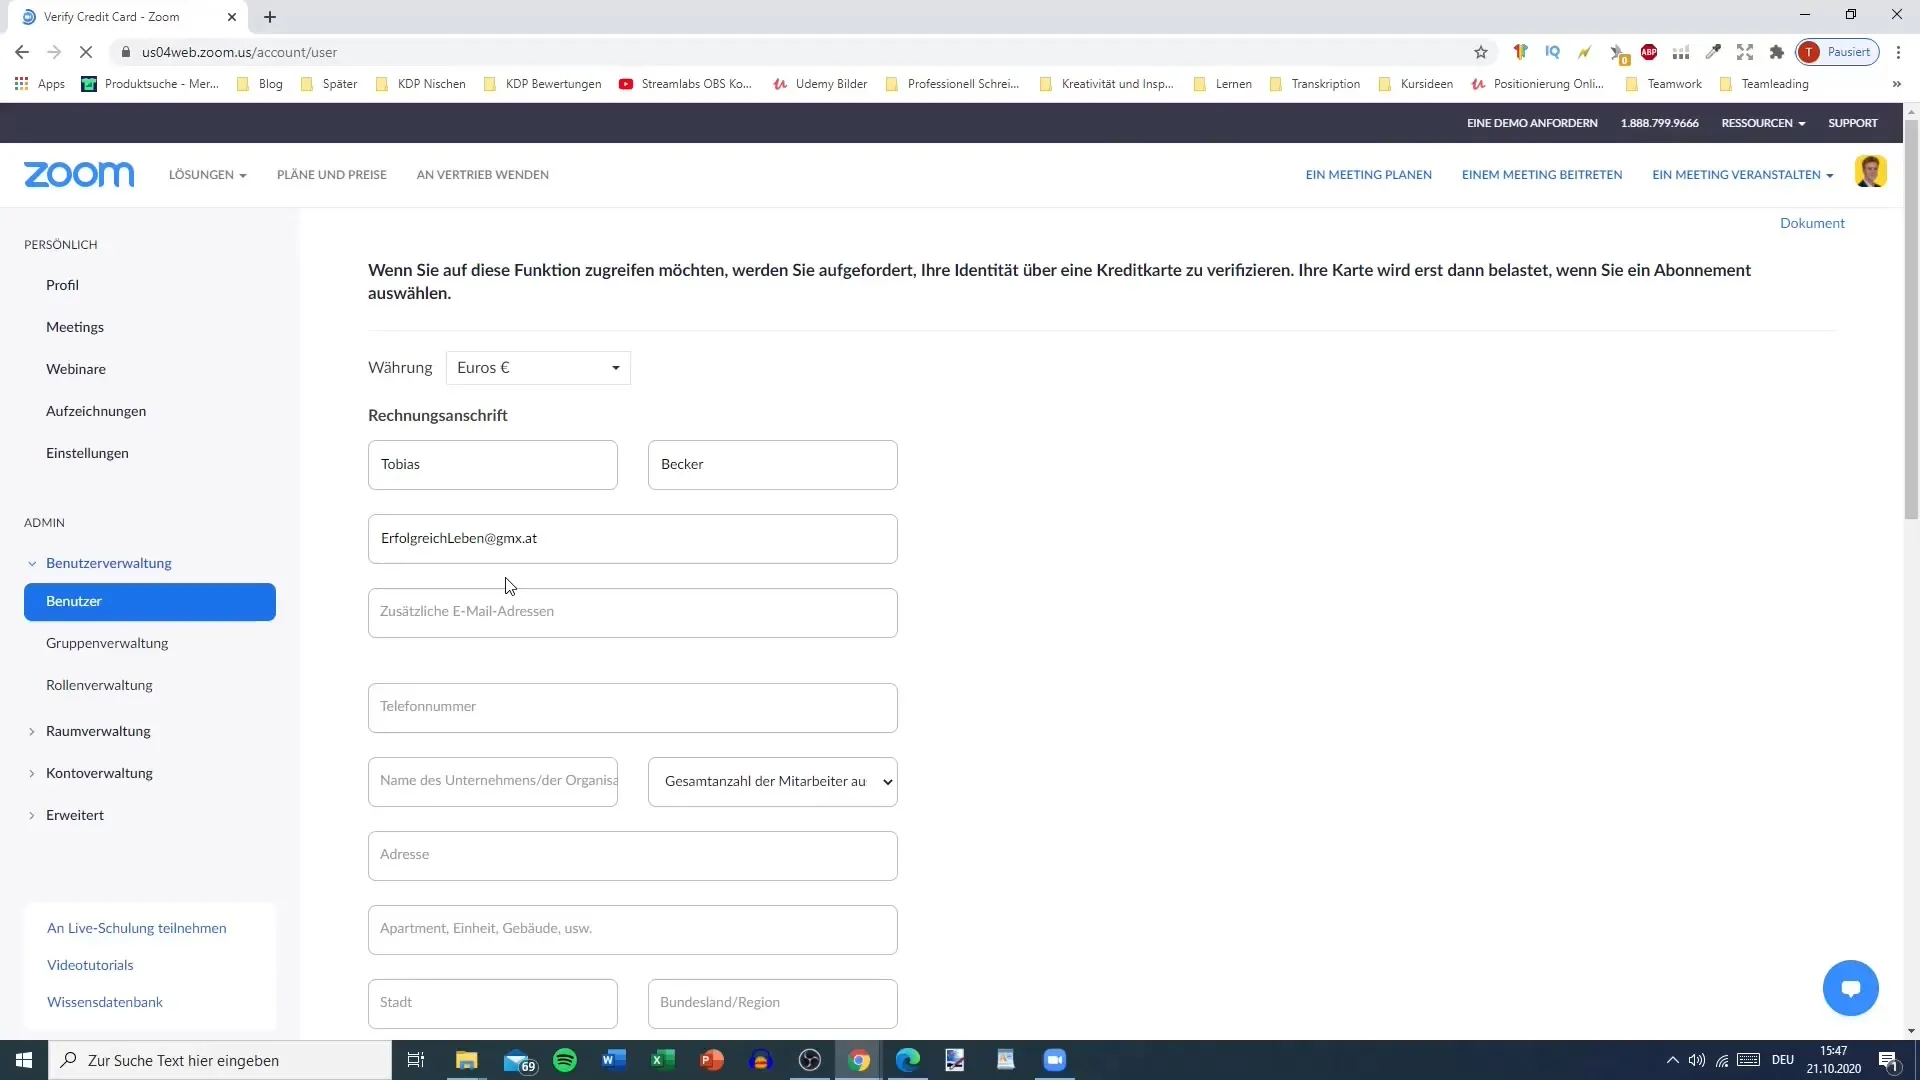
If you are an administrator, you can manage user, group, and license management. Here you can also set payment methods for your plans if you are using a paid account.
Summary – Zoom Account Settings: A comprehensive guide
In this tutorial, we covered the important aspects of Zoom account settings, including adjusting your profile, security options, meeting settings, and managing user rights. By properly configuring your settings, you can ensure that your meetings run effectively and securely.
FAQ
How do I sign in to Zoom?Go to the Zoom website and click "Sign In."
Can I use my Zoom account on multiple devices?Yes, you can log in with your account on multiple devices.
What do I do if I forgot my password?Use the "Forgot Password?" feature on the login page to reset your password.
How can I control my meeting participants?You can set the permissions for participants in the meeting settings, including access to chat and screen sharing.


