In this tutorial, we focus on the basic elements and shapes in Canva. Whether you want to create graphics for social media, presentations, or other projects, understanding and utilizing the various features in Canva can help you create visually appealing designs. We will go through the available elements and show you how to effectively use them.
Main Insights
- Canva offers a variety of shapes and elements that you can use for free.
- You can adjust the size, color, and transparency of the elements to customize your design.
- The search function helps you quickly find specific graphics and design elements.
- Be aware of watermarks, as some elements may incur a cost if you are not using the Pro version.
Step-by-Step Guide
Step 1: Getting Started with Canva
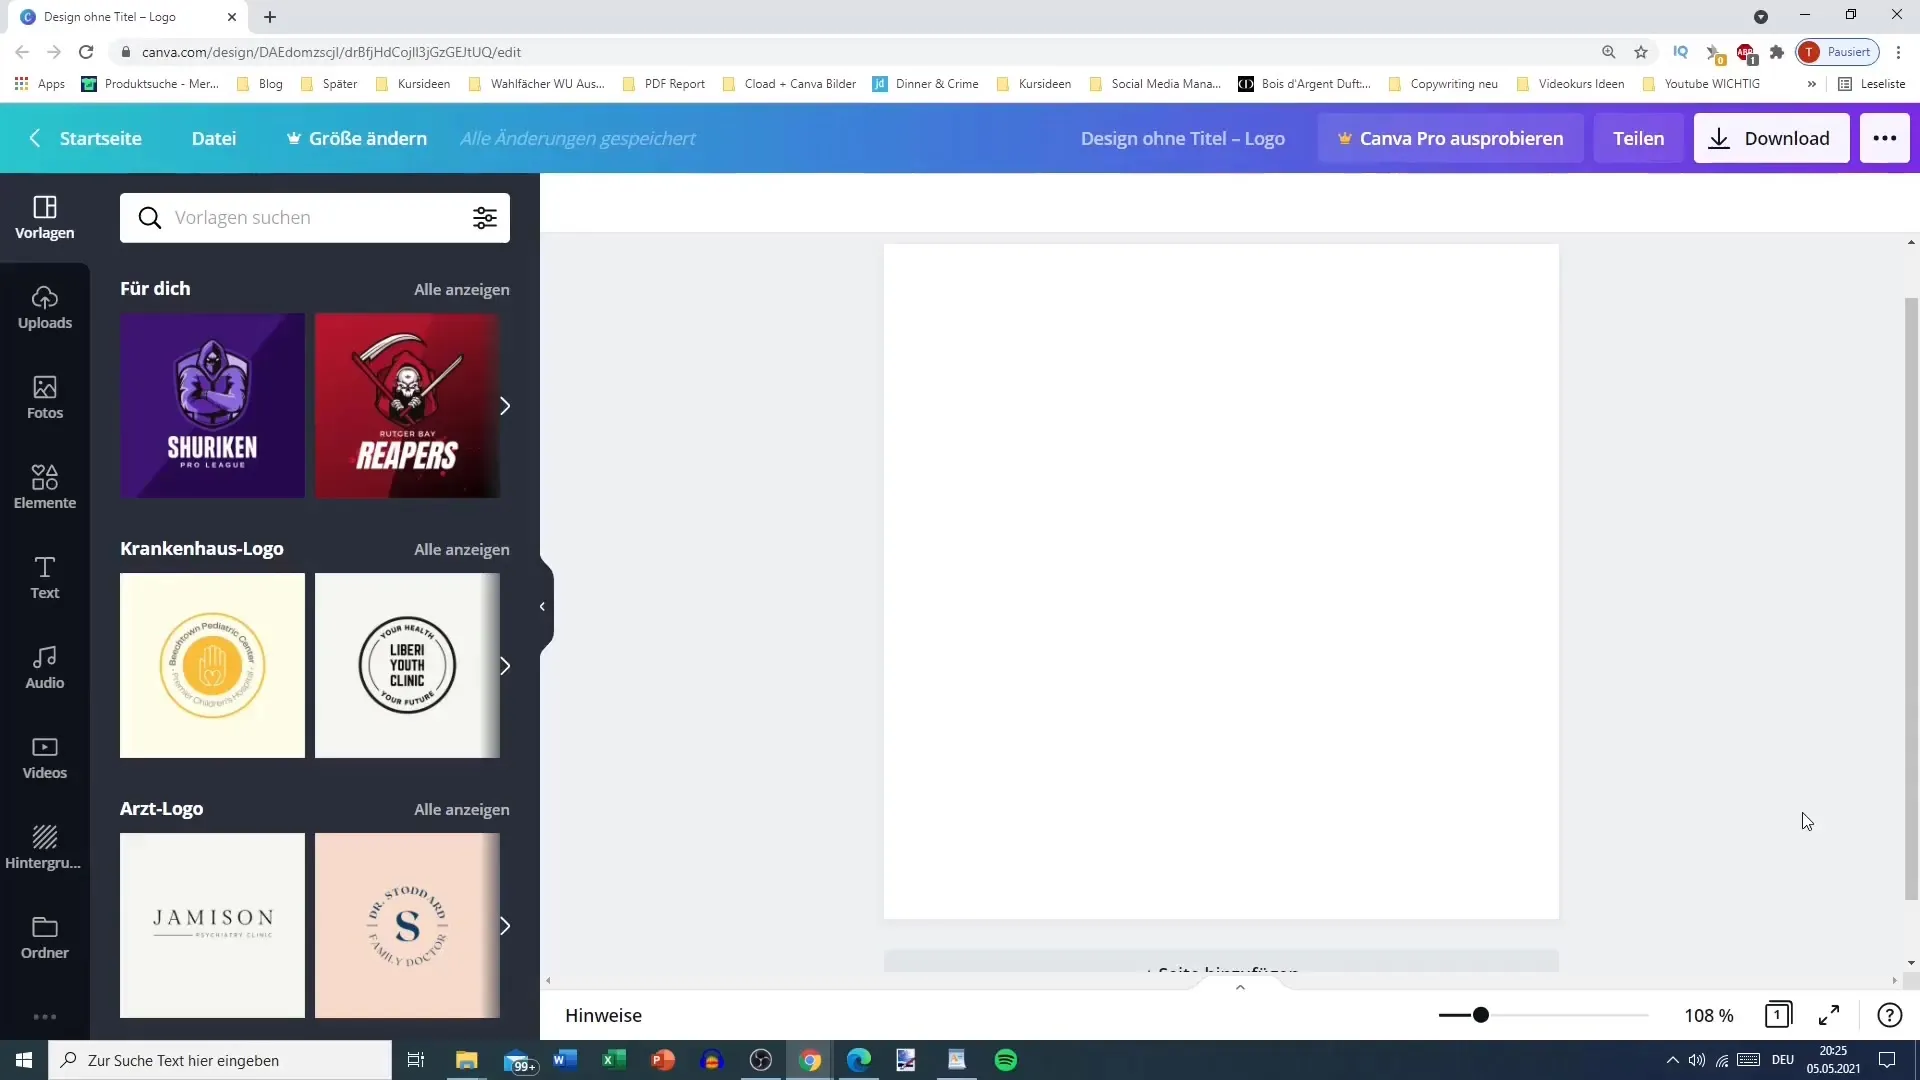
To get started with Canva, open the website canva.com and sign in. You can choose a template to start your designs. In this tutorial, we are using a logo-oriented template.
Step 2: Finding the Elements Panel
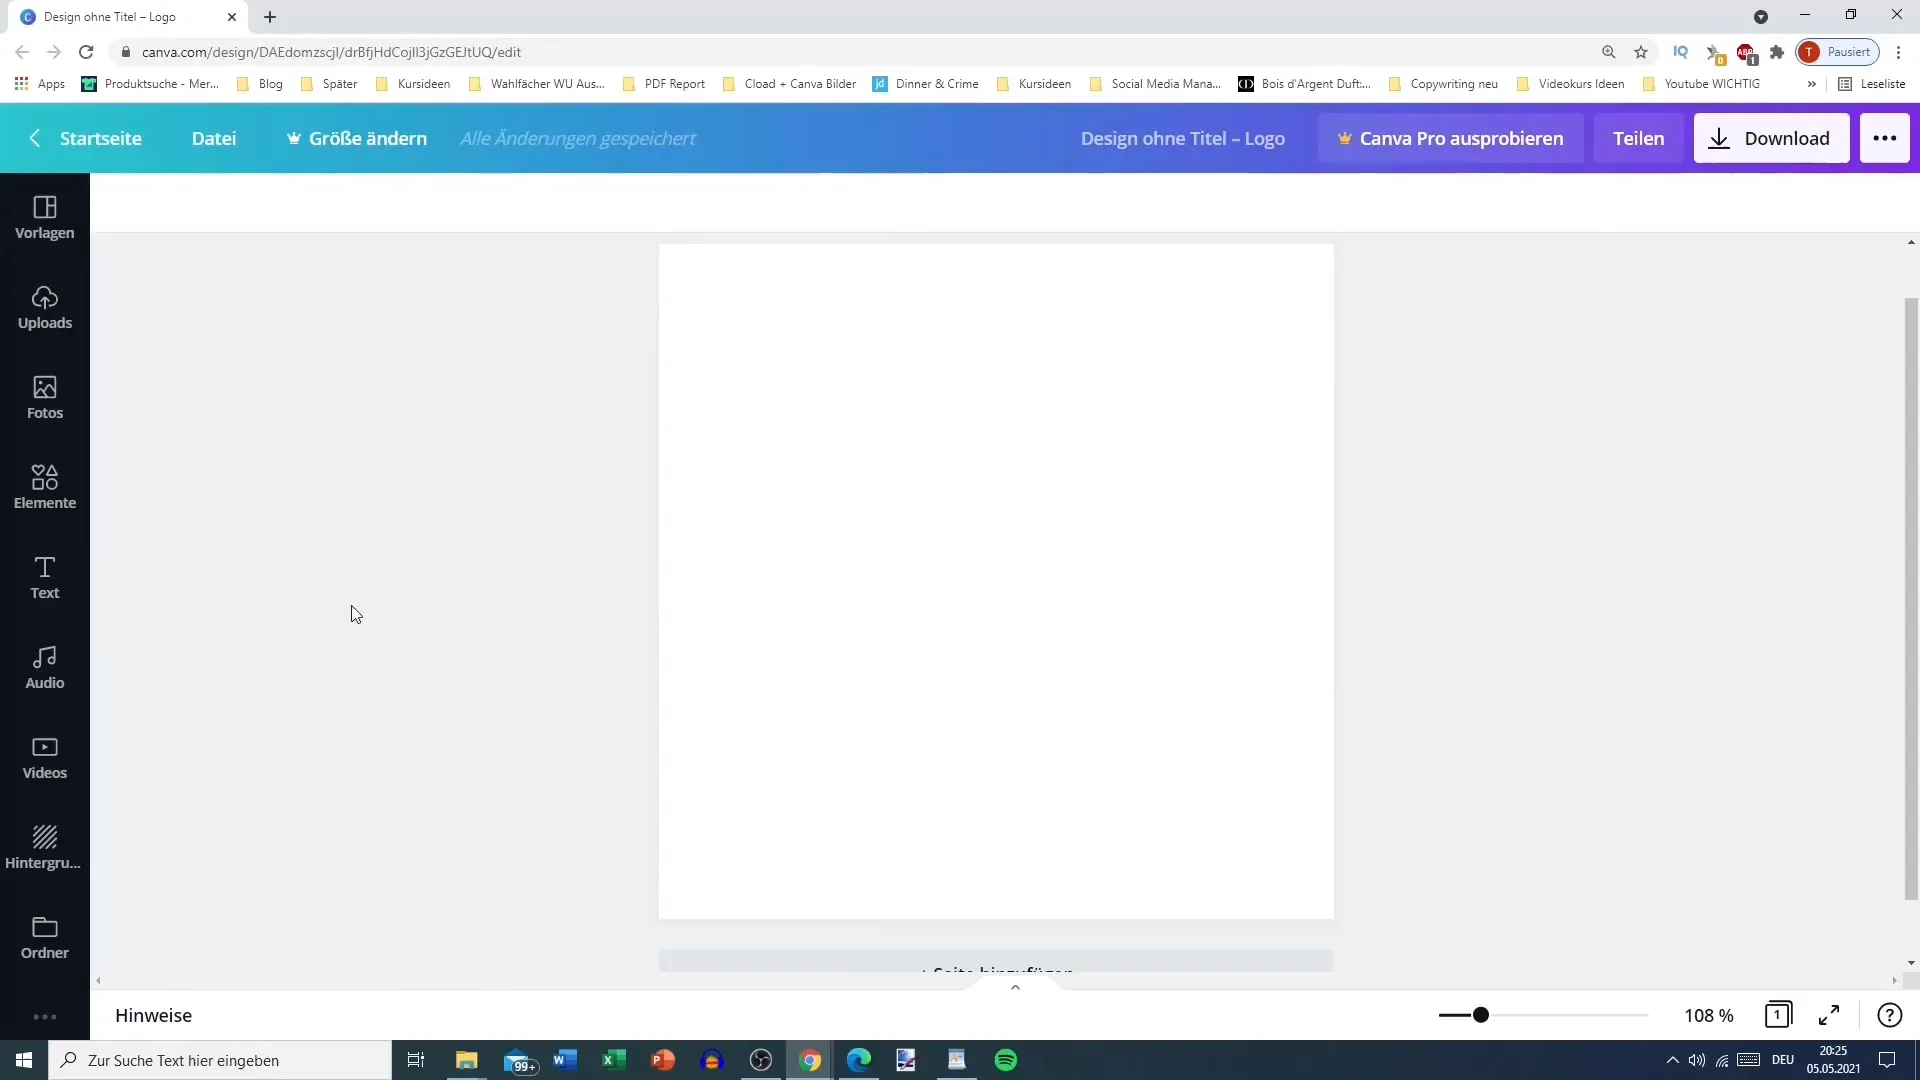
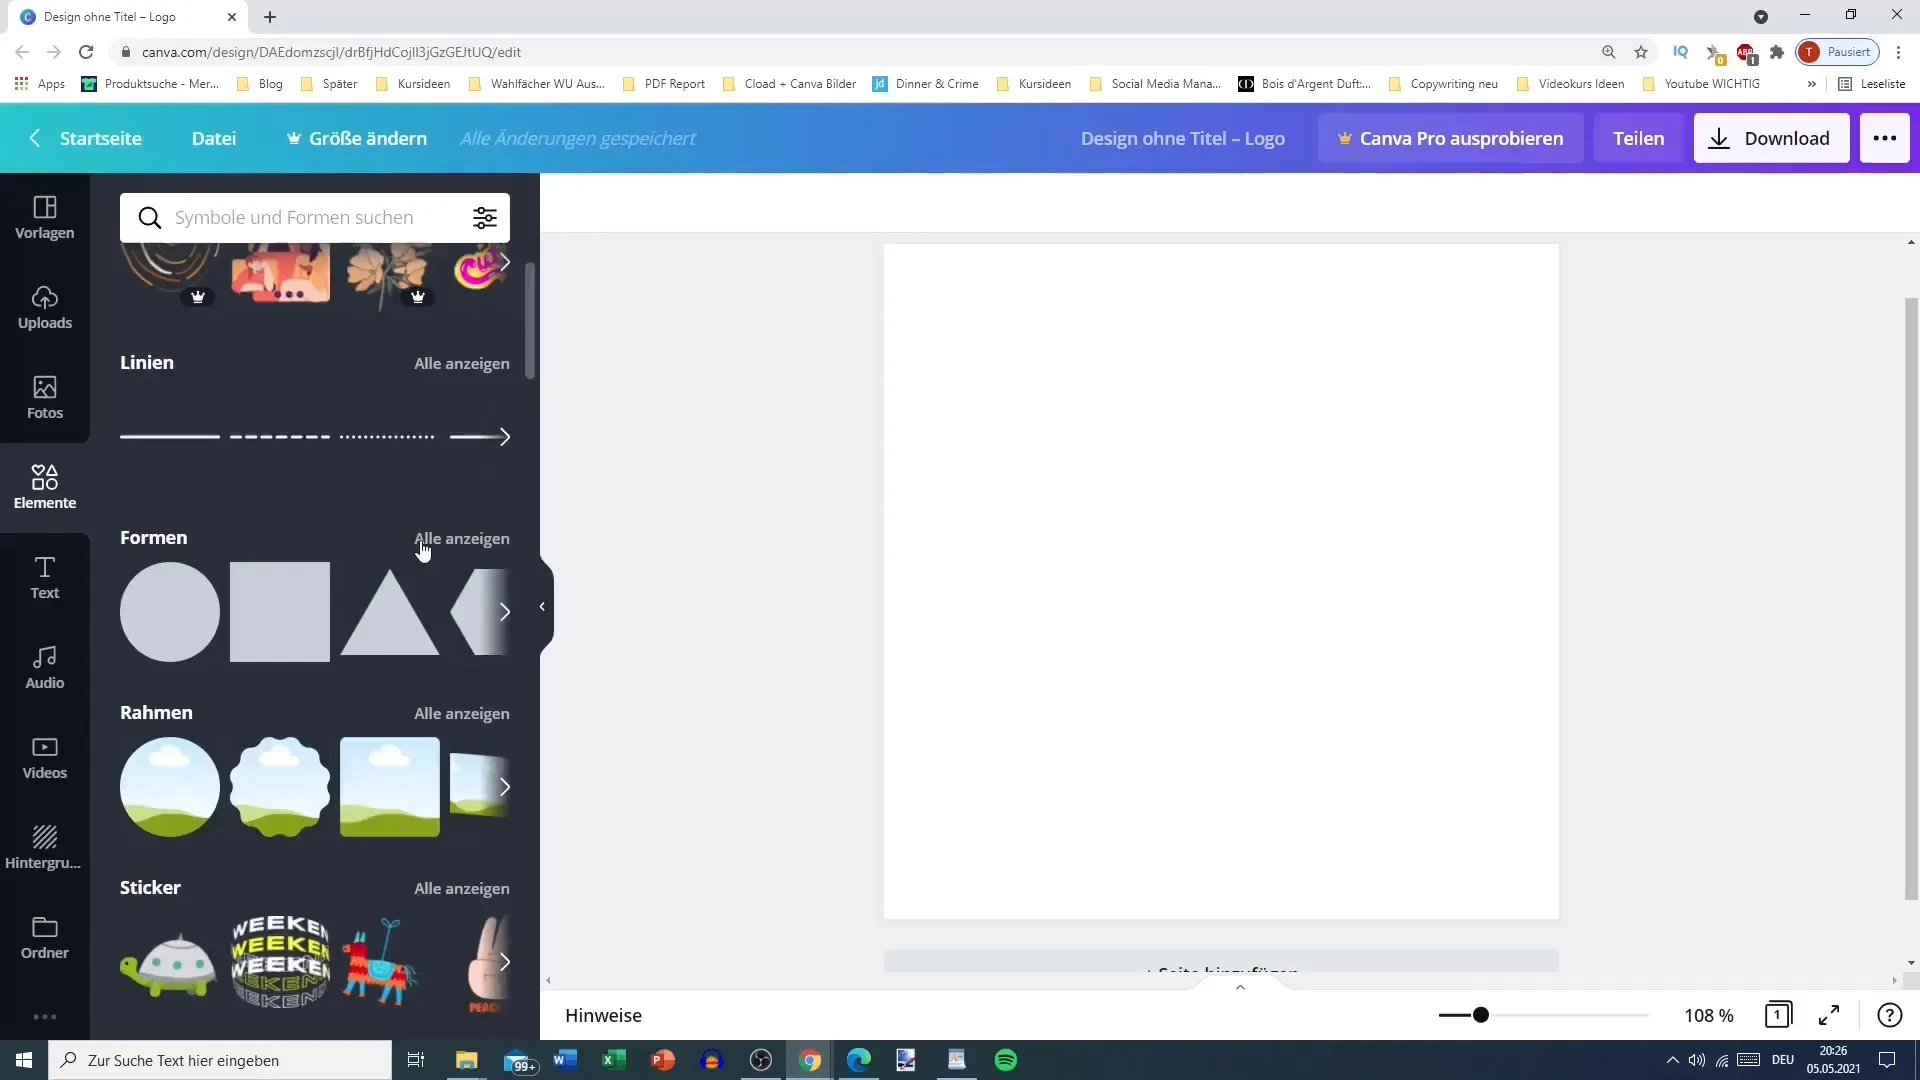
However, the elements panel may be collapsed. Make sure to click on "Elements" to display the list of available elements. Here, you can find various categories such as lines, shapes, and frames.
Step 3: Selecting Shapes
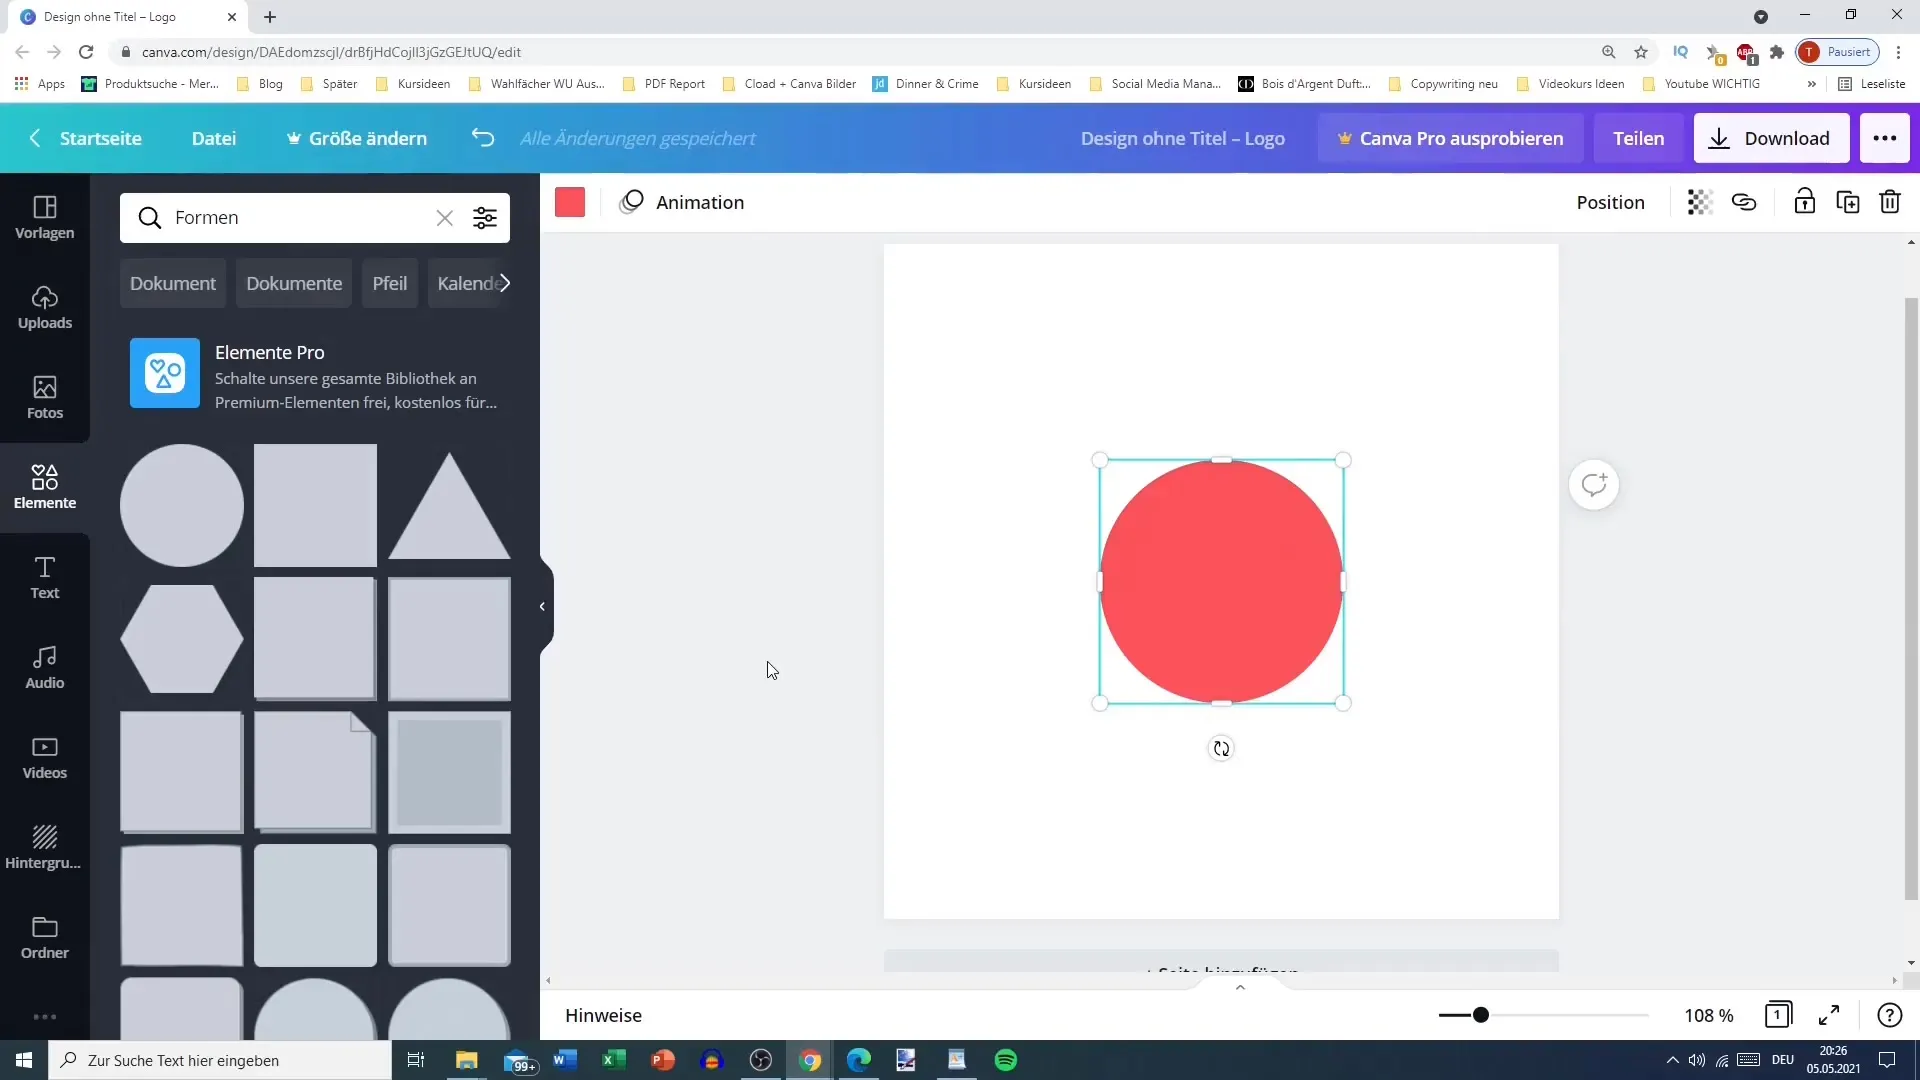
Click on "Show all" under Shapes to explore the different shapes. You will find classic shapes like circles, rectangles, triangles, and more. Choose a shape like a circle to add it to your design.
Step 4: Customizing Shape
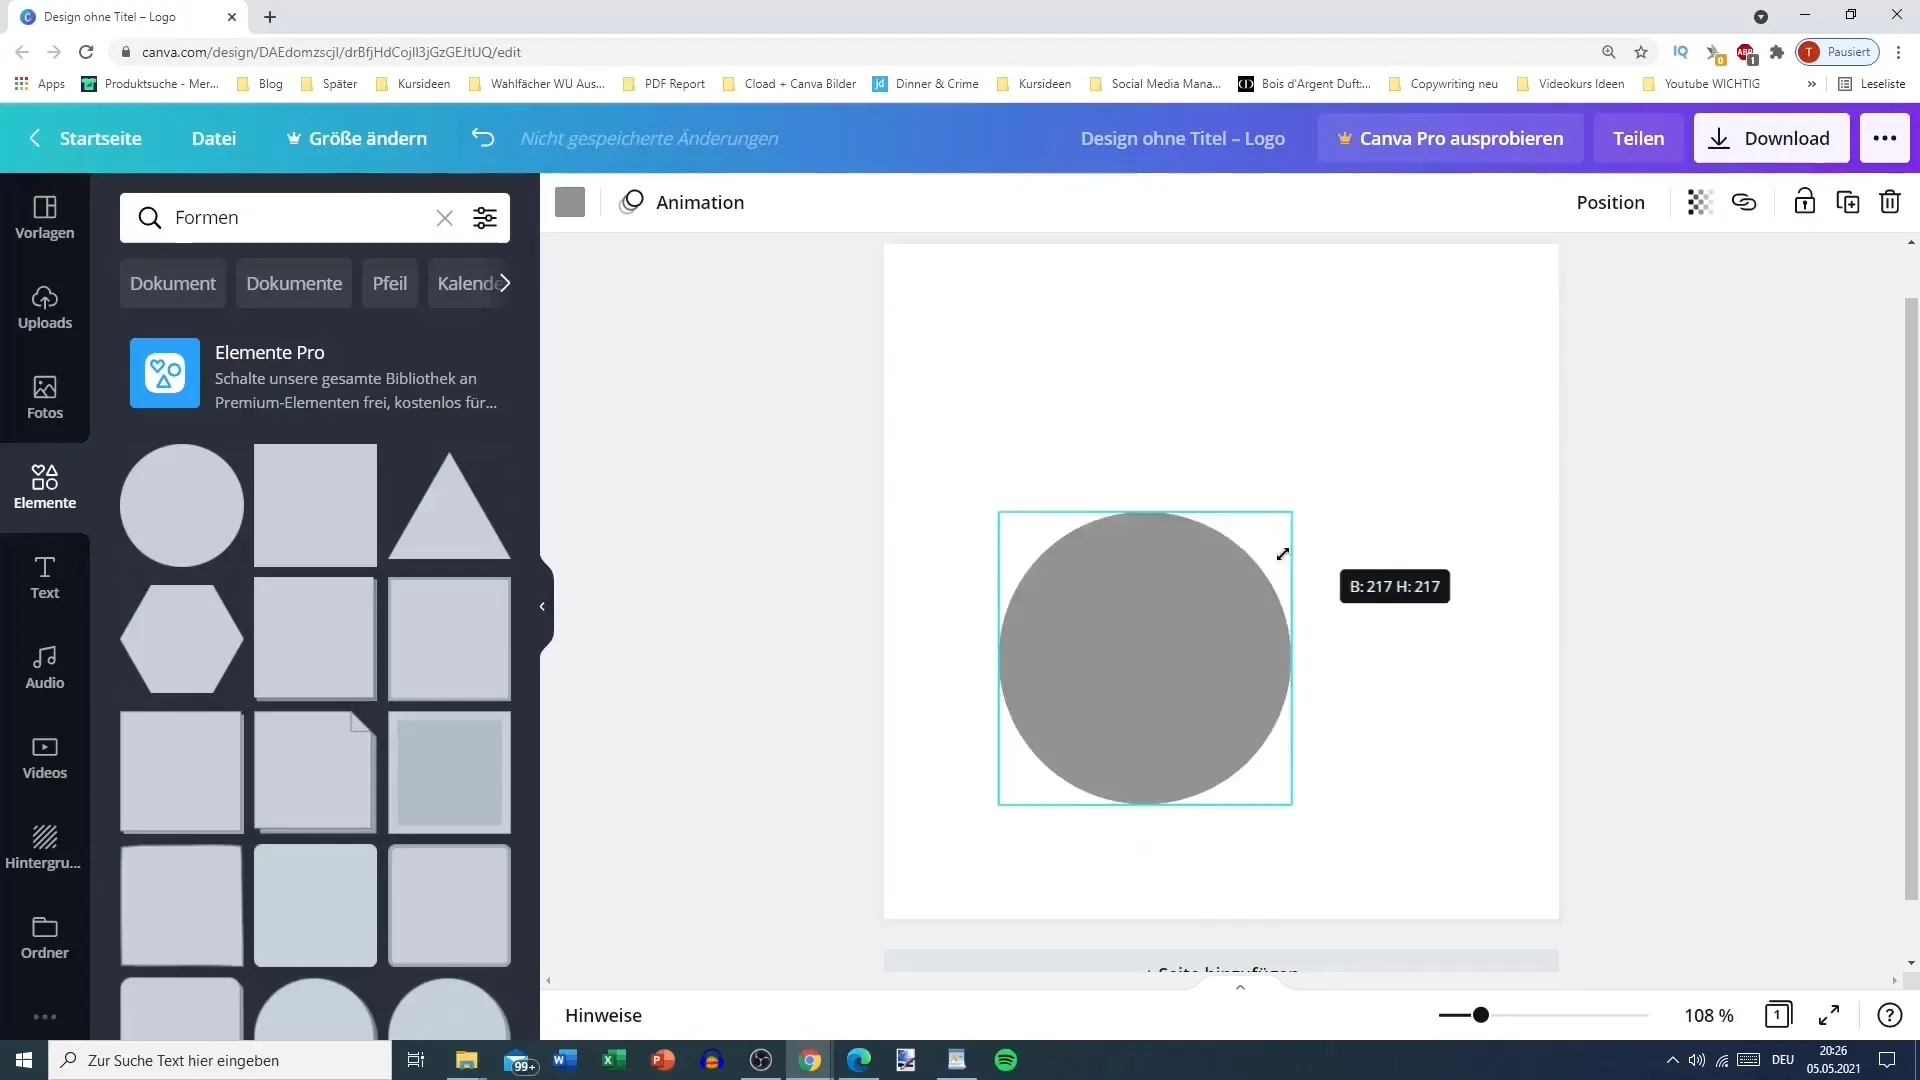
You can make the shape larger or smaller and easily move it. Make sure to use the guides to center the shape. When you release the mouse, the guides will disappear.
Step 5: Changing Color
To change the color of the shape, click on the color swatch. You can choose from various colors or customize your own colors, giving your design an individual touch.
Step 6: Adjusting Transparency
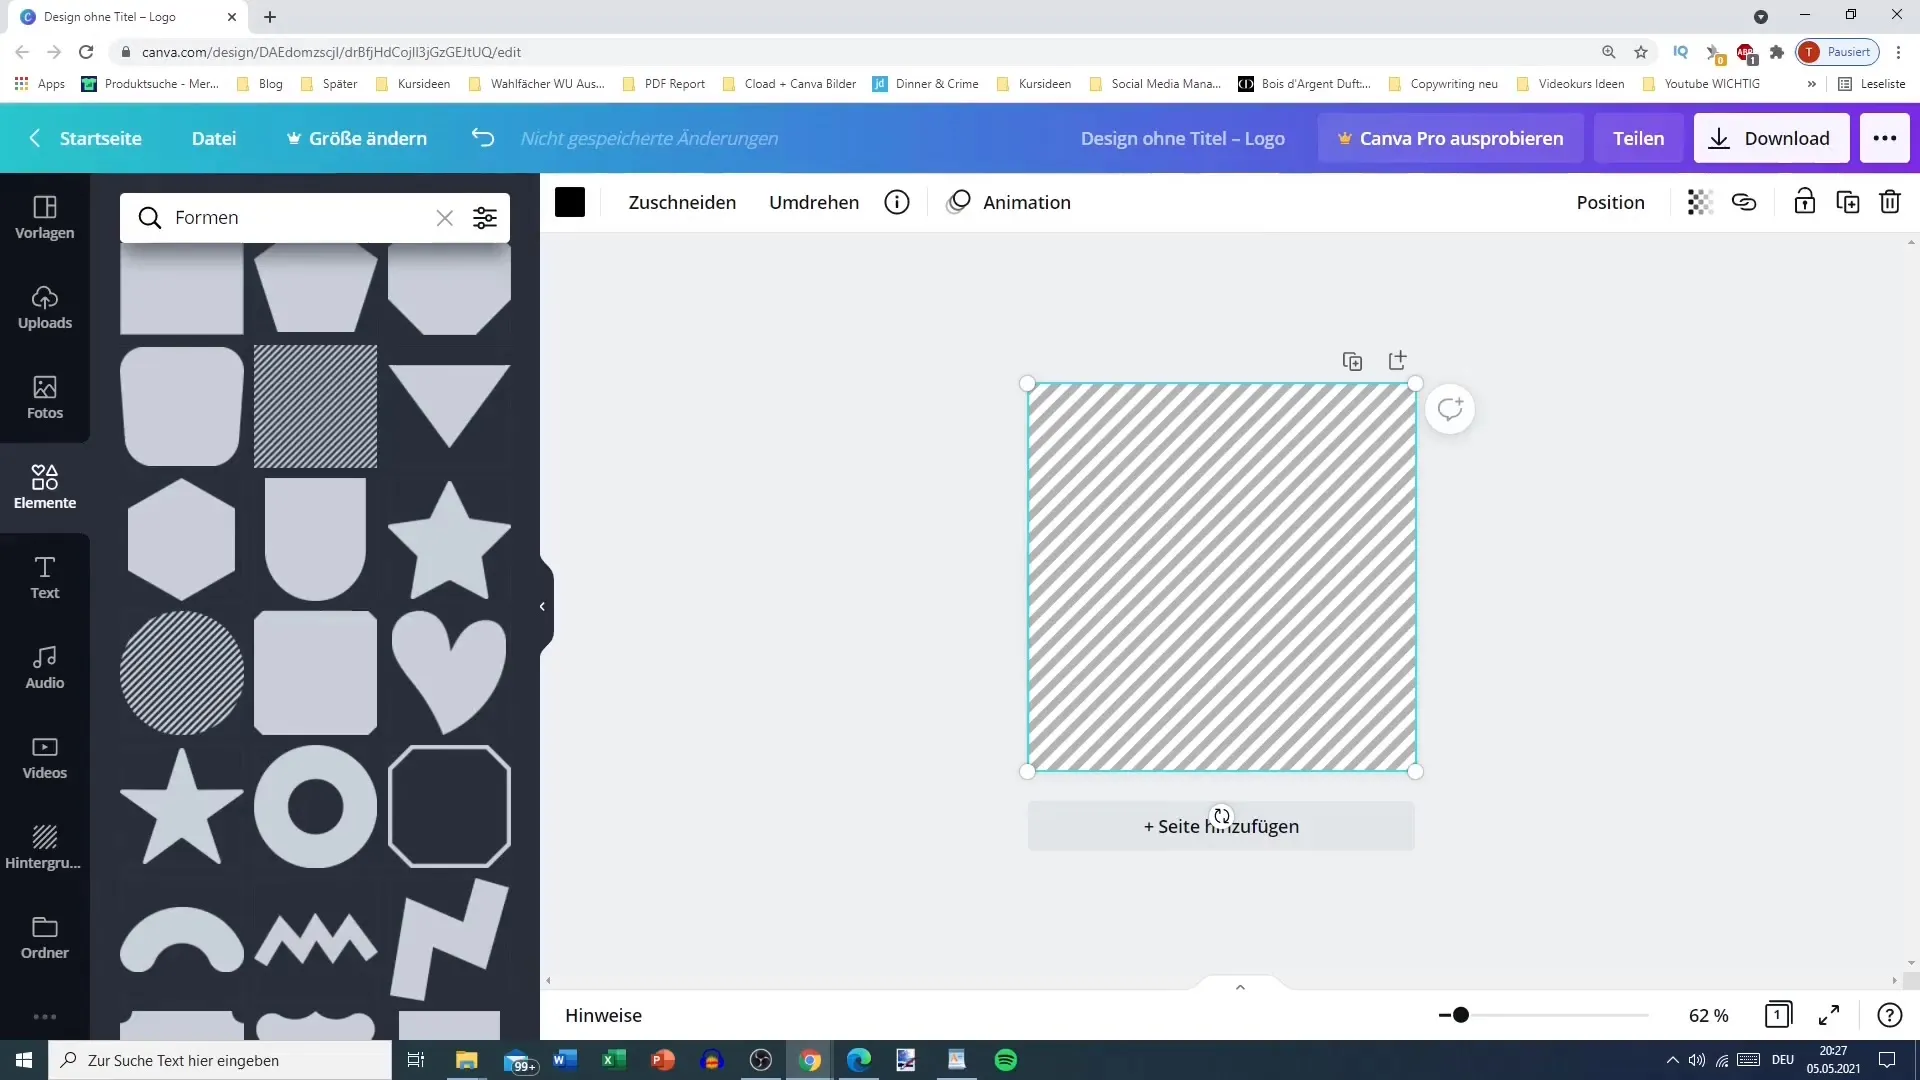
To change the transparency of an element, click on the shape and adjust the transparency slider. This way, you can create a transparent background, for example.
Step 7: Exploring More Elements
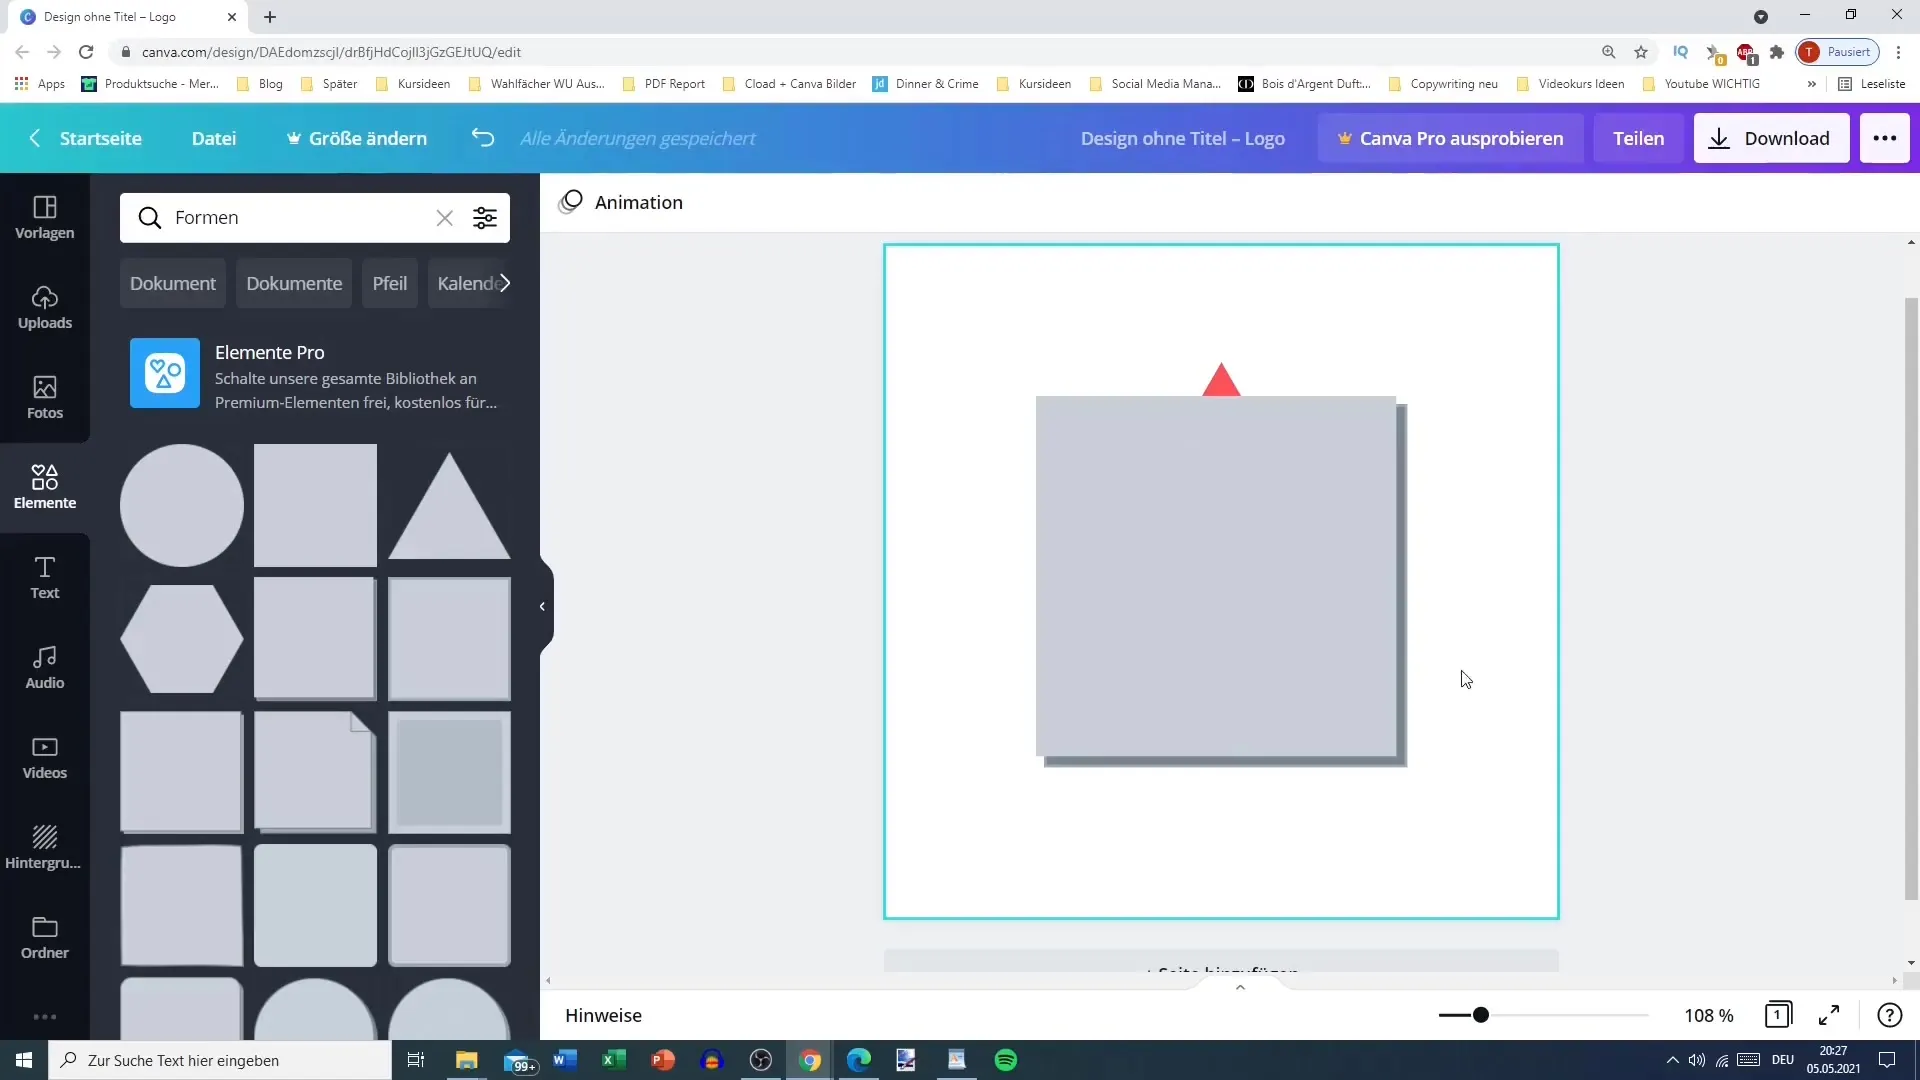
In addition to classic shapes, there are also more complex elements. Browse the list and discover heart shapes, shadow rectangles, or oval elements that can add a creative touch to your design.
Step 8: Editing Lines
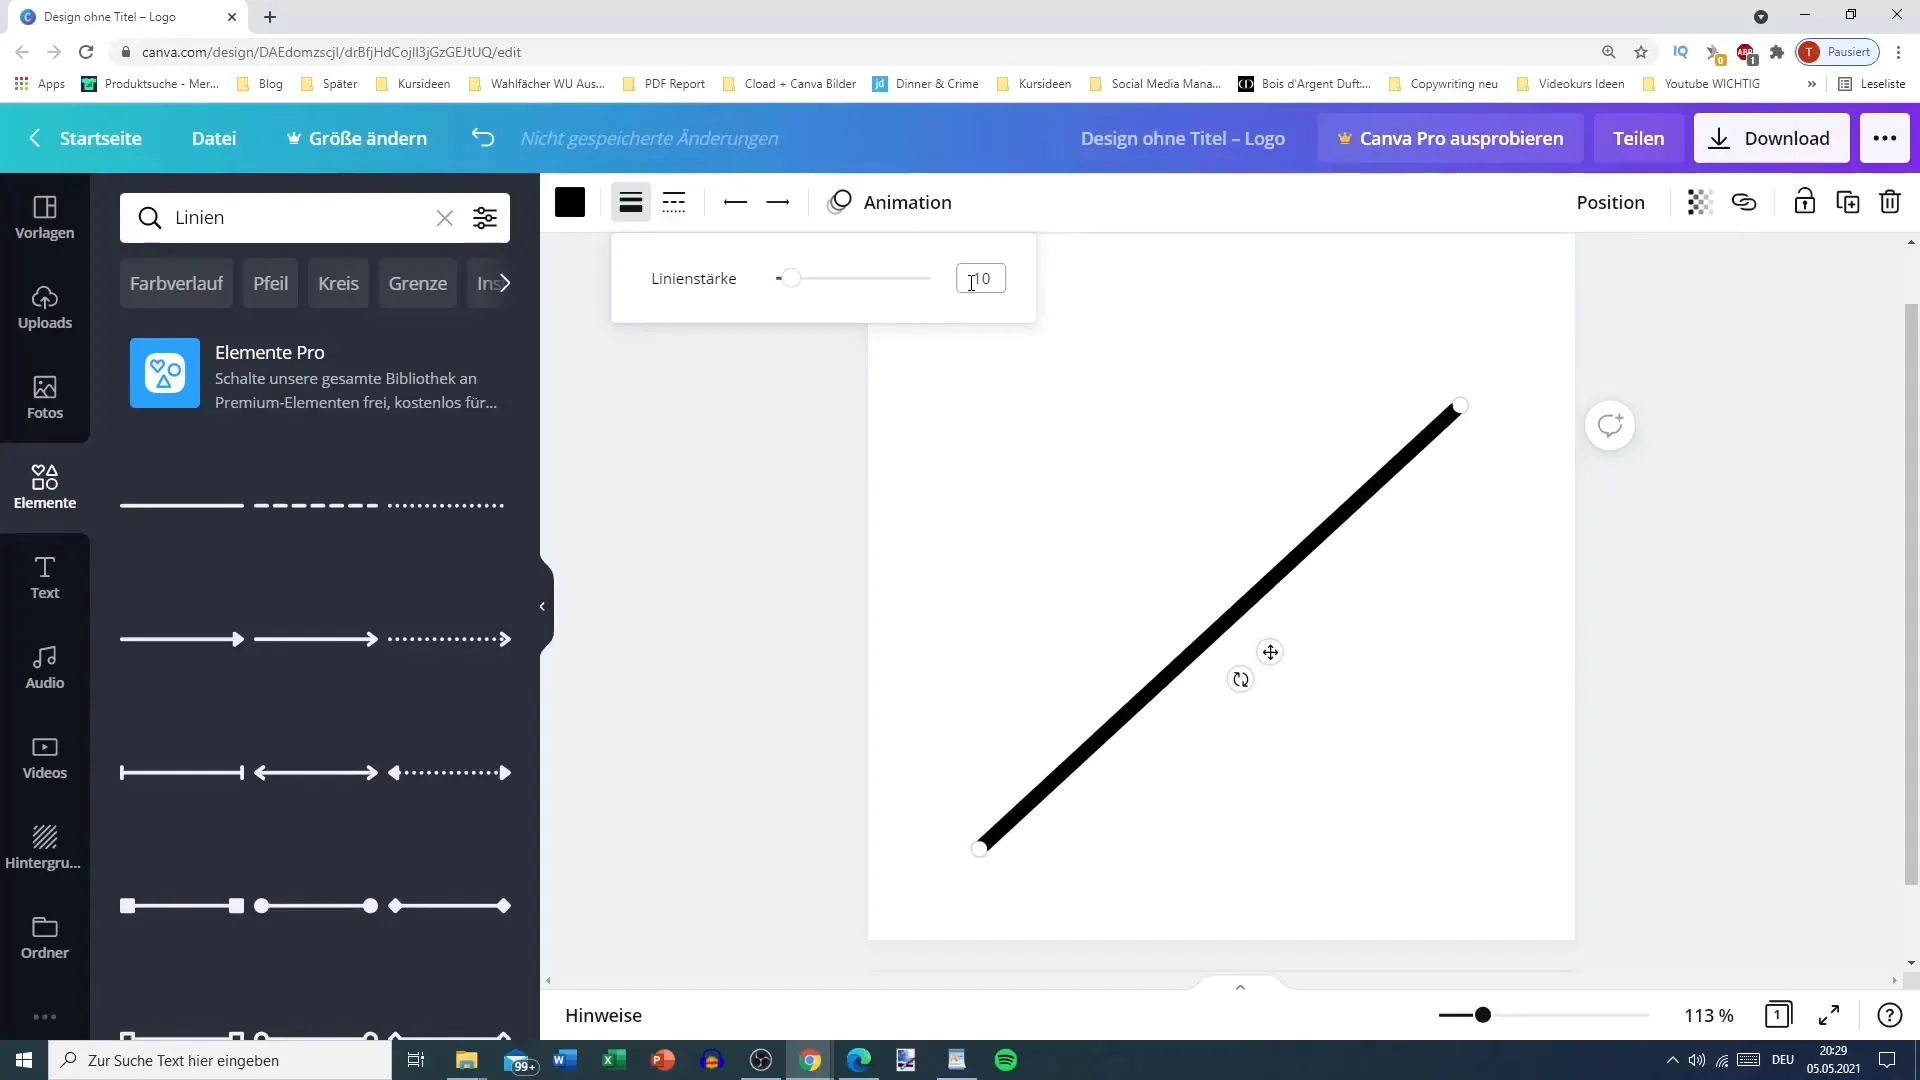
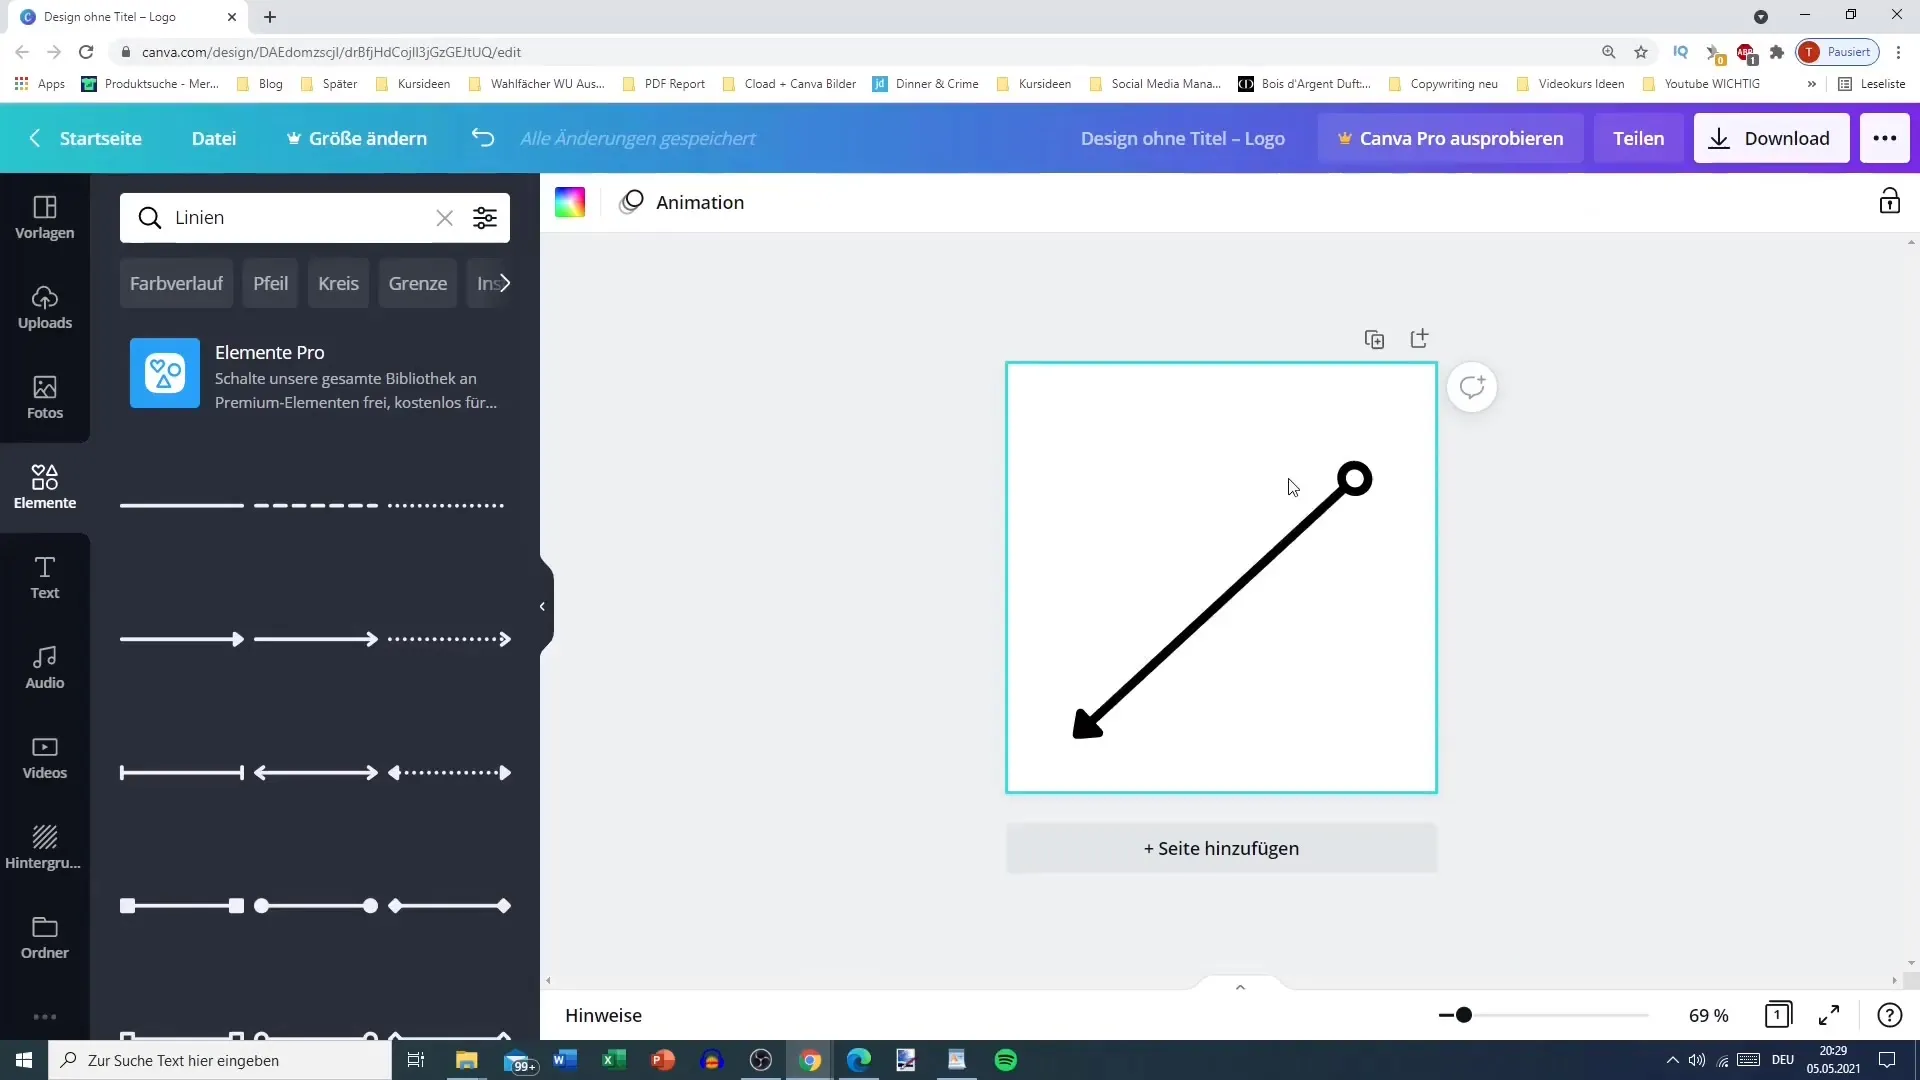
Go to the lines section where you can adjust the thickness and style of the lines. You can choose between solid, dashed, or dotted lines. Experiment with different styles to see what you like best.
Step 9: Adding Arrows
If you want to create a connection between elements, you can add arrows. These can also be found in the element list and are easy to customize.
Step 10: Search for Specific Elements
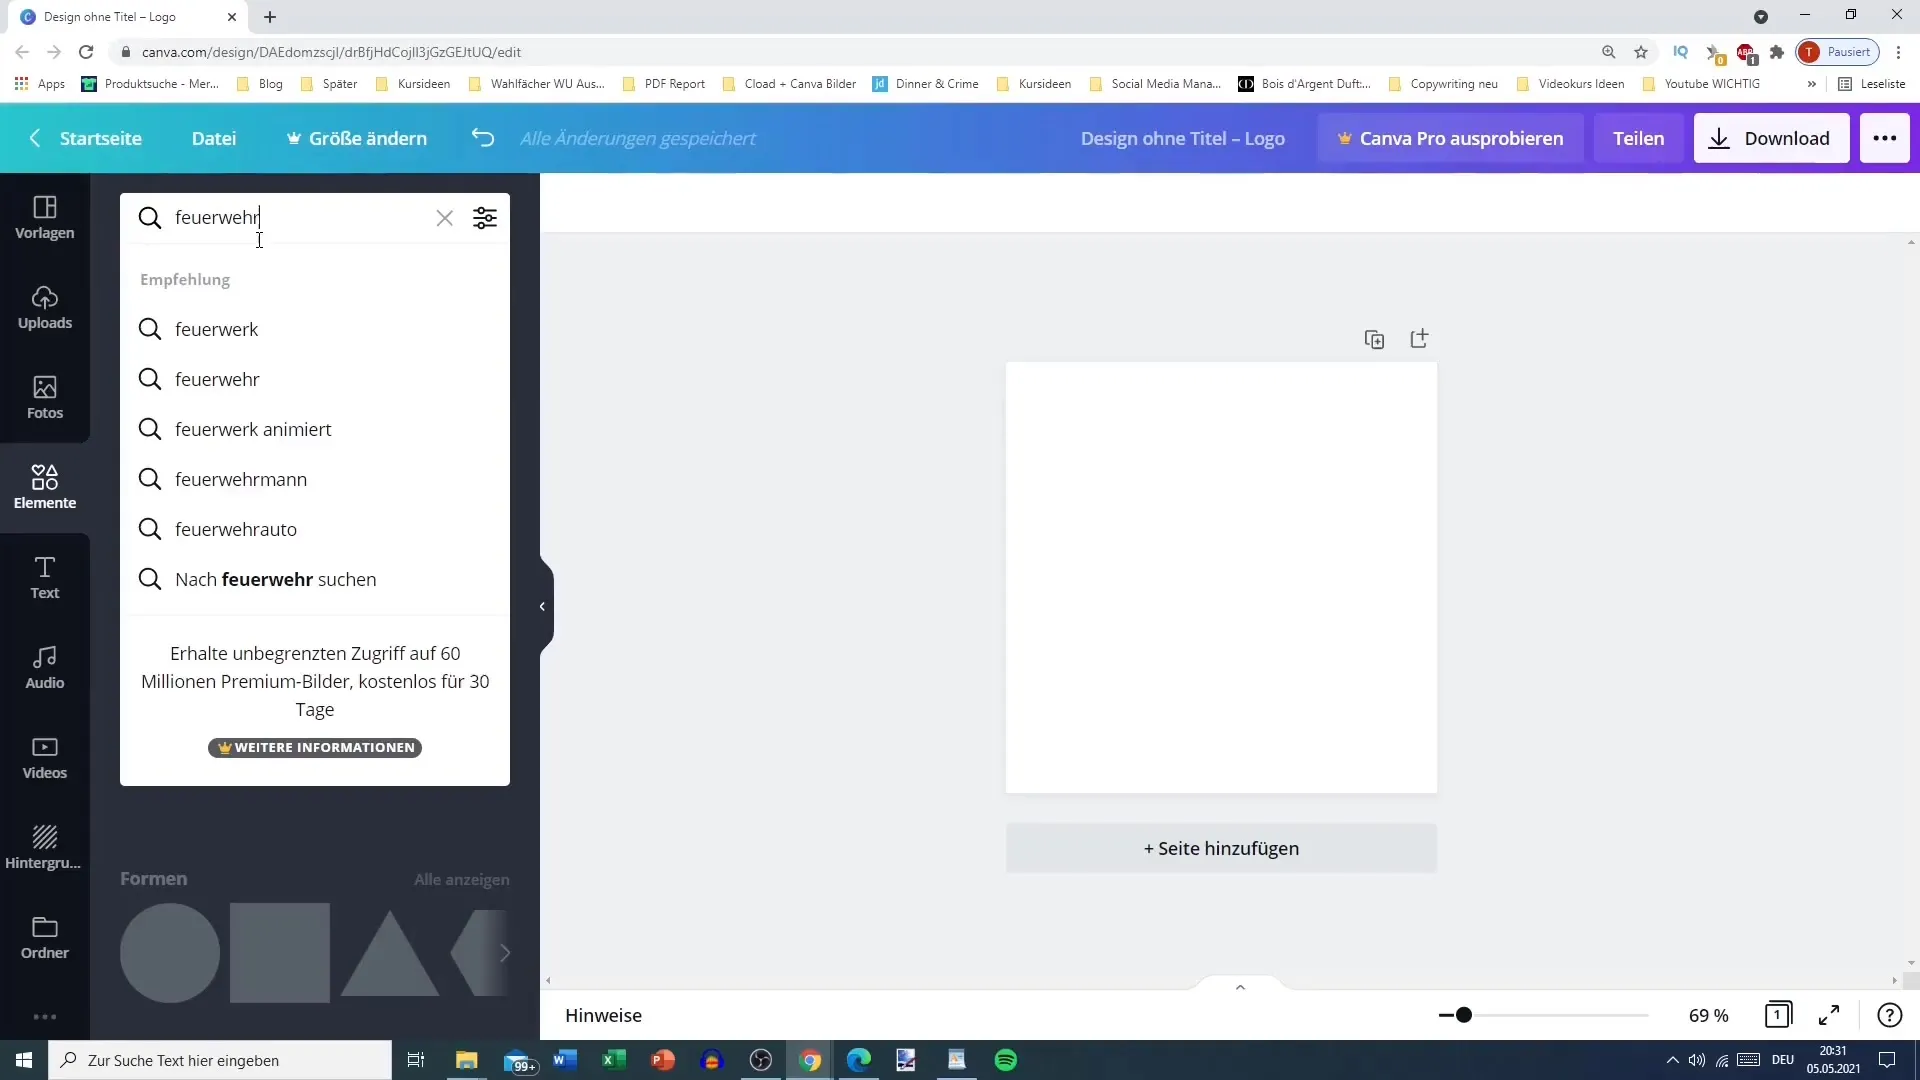
Use the search function above to specifically search for elements like "fire department." This allows you to find specific, thematic graphics.
Step 11: Consider Watermarks
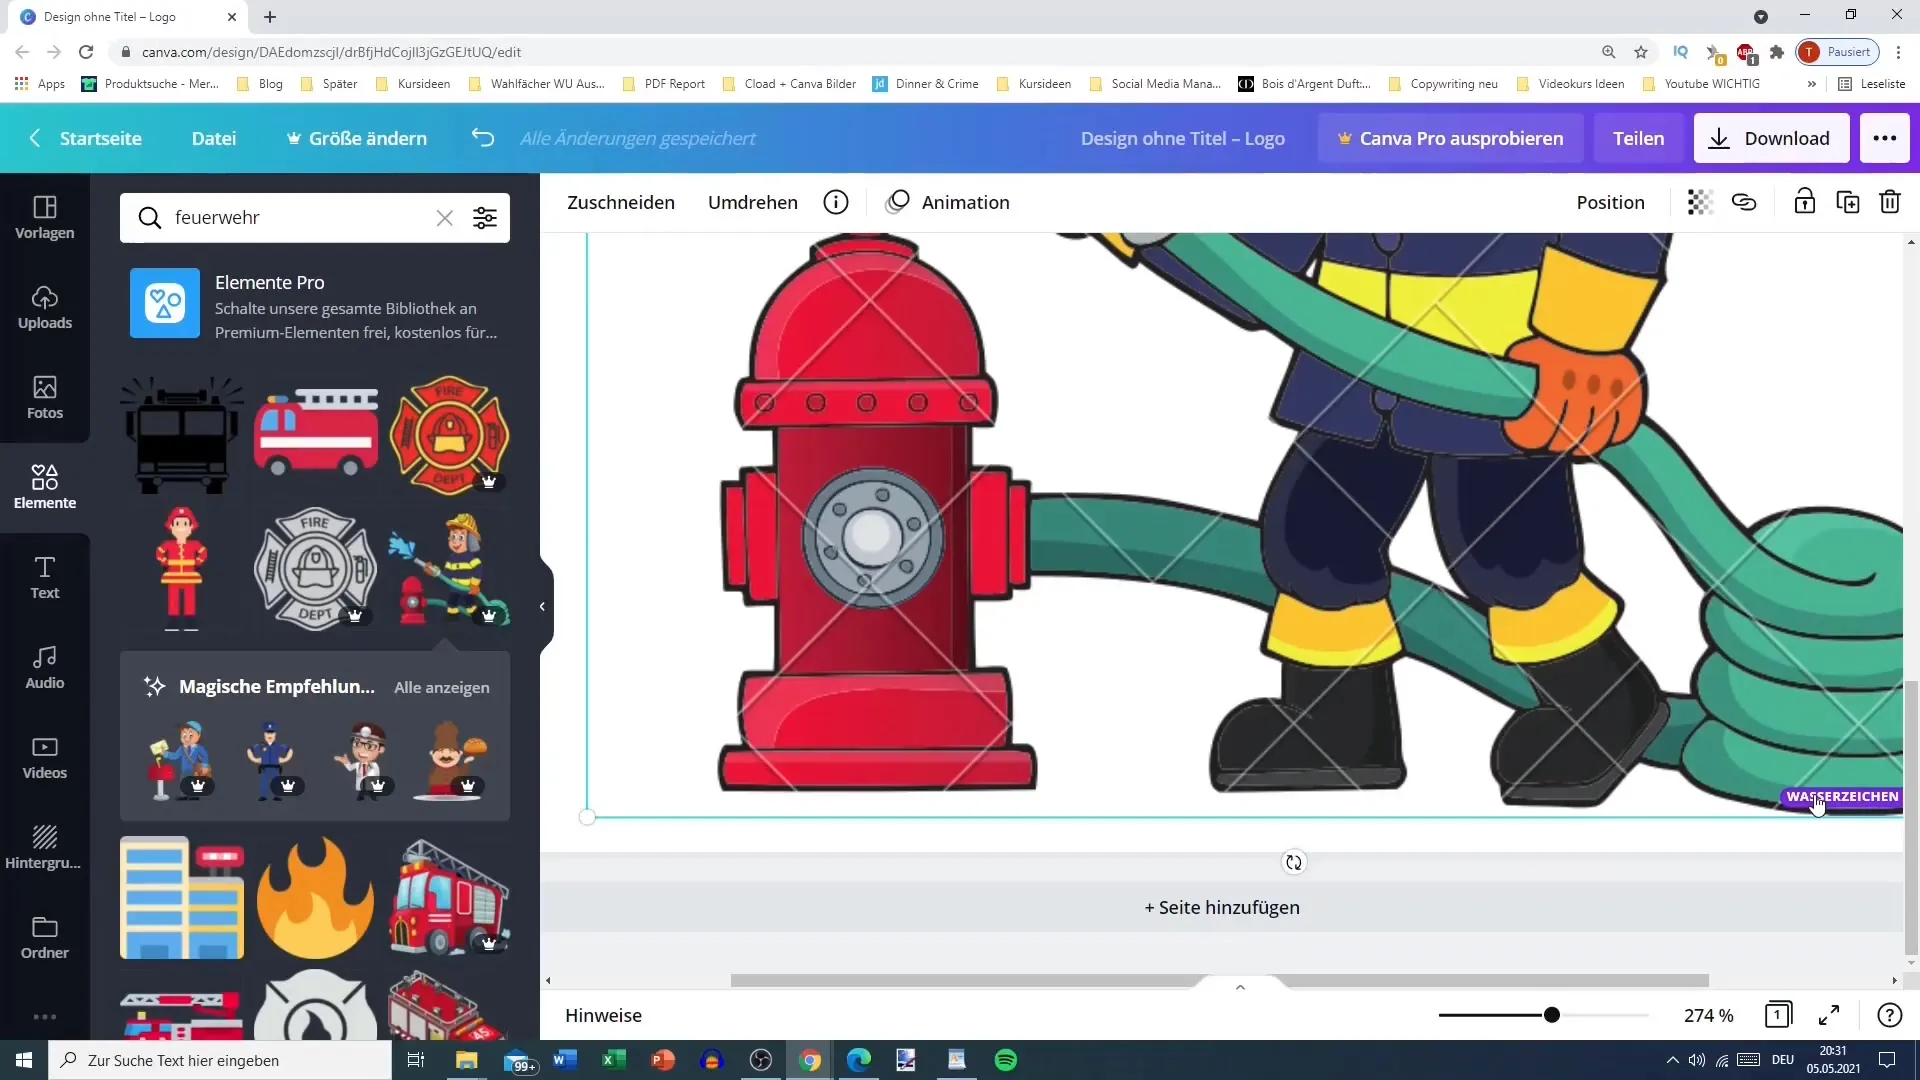
Be aware that some graphics have watermarks indicating that they are paid unless you have the pro version. This means that you may need to pay a fee to use these graphics.
Step 12: Use Recommendations
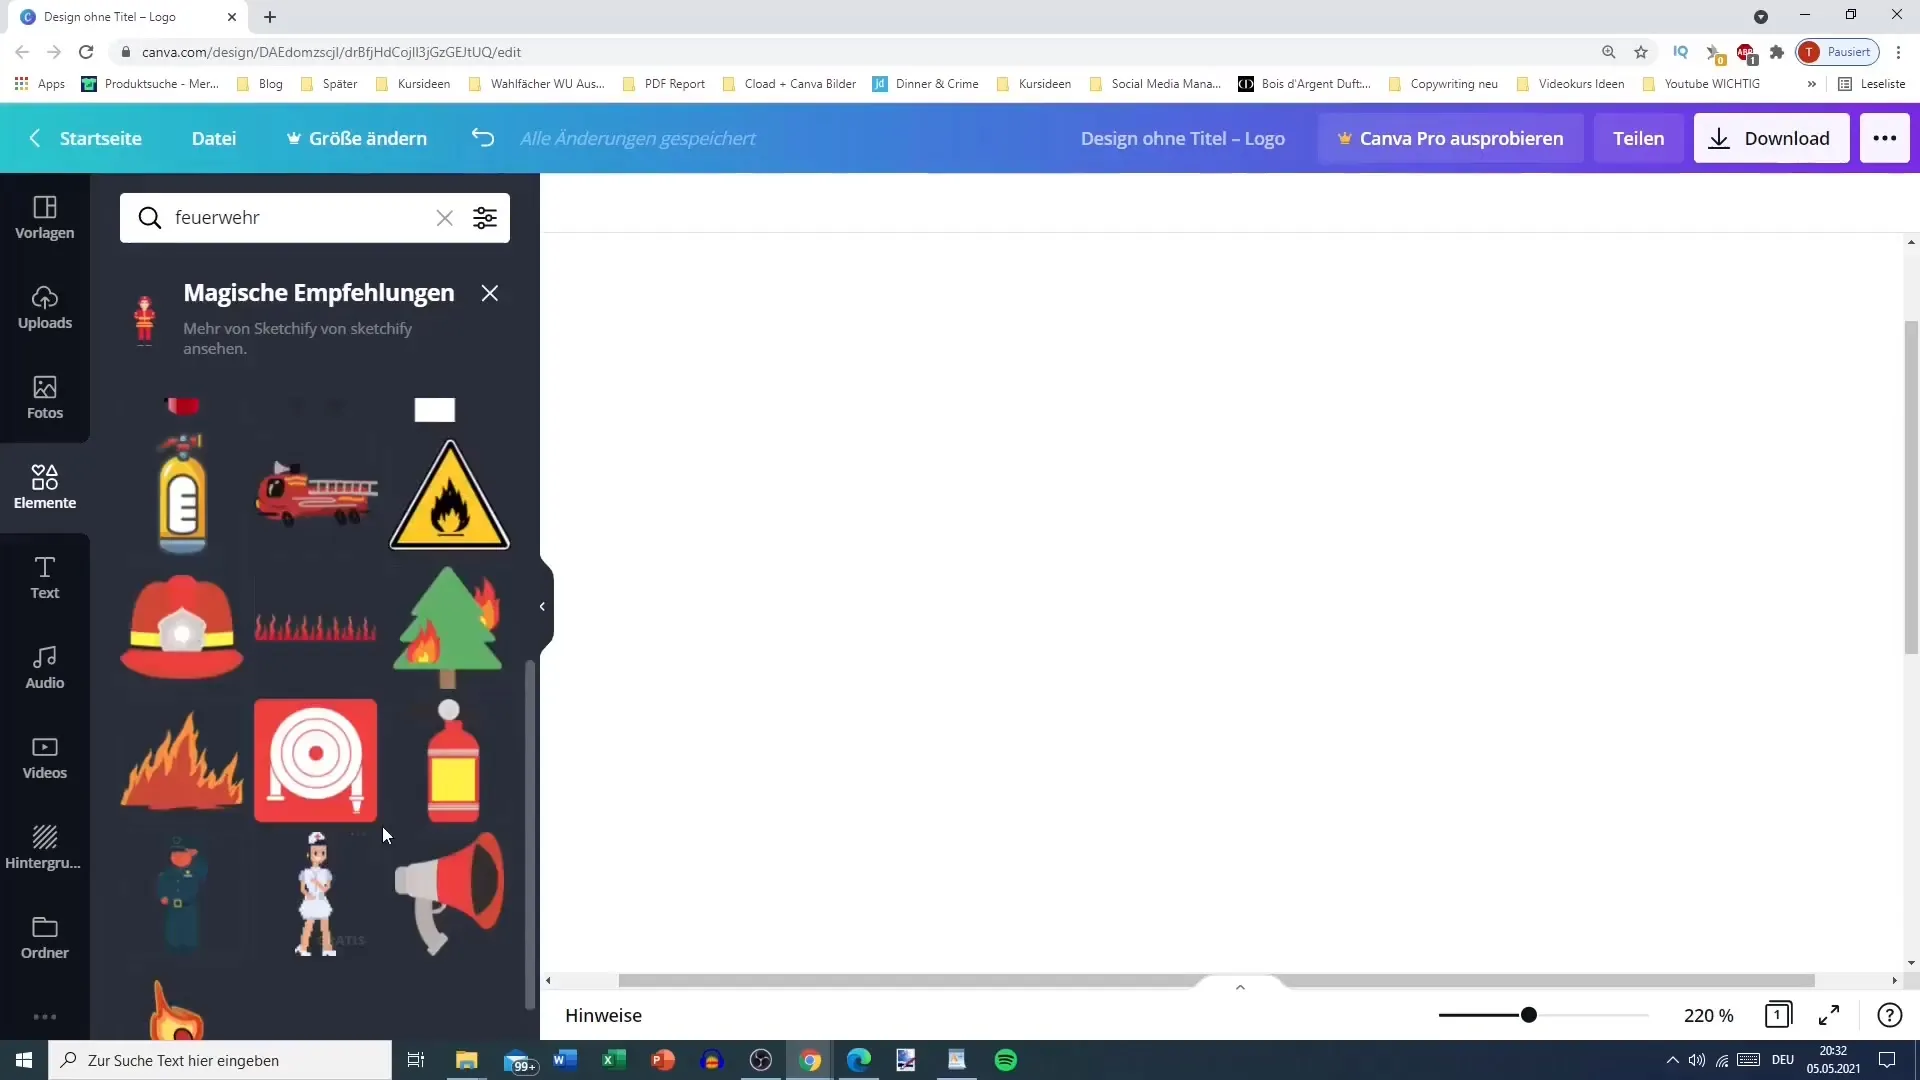
As you scroll through an image or element, Canva will show you recommendations suggesting similar free or paid elements. This is a great way to gather more ideas for your design.
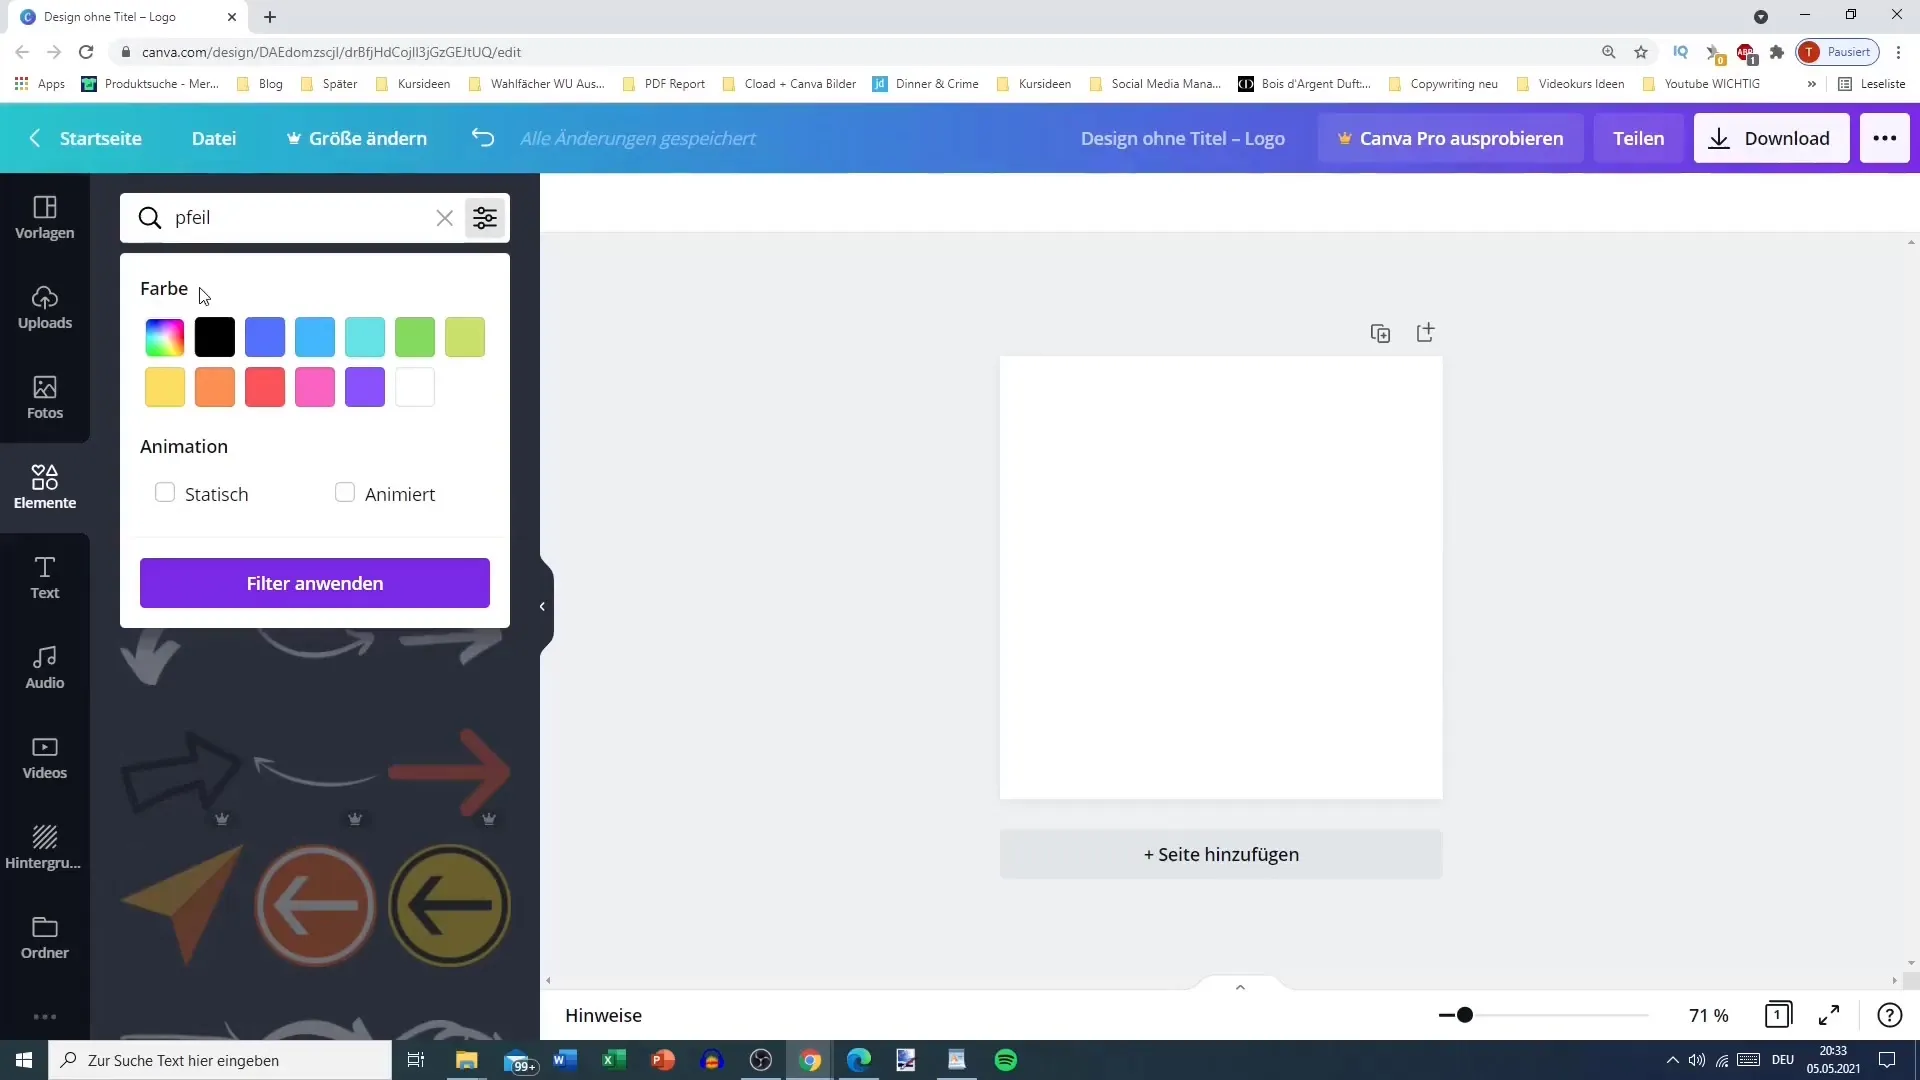
Step 13: Use Filters
Use the filter option to display only specific colors or animated status elements. This makes it easier to find exactly what you are looking for.
Summary
In this tutorial, you have learned how to use the various elements and shapes in Canva to create appealing designs. From customizing sizes and colors to using the search function for specific graphics – these steps will help bring your creative ideas to life.
Frequently Asked Questions
How can I save my created designs?You can save your designs by clicking on "Download" and selecting the desired file format.
What colors are available in Canva?Canva offers a wide range of colors that you can choose from or customize using the color palette.
Can I use animated graphics?Yes, in Canva you can select and use animated graphics by using the filter option.
