Table is not equal to table. In Excel, you can use various design options to capture the attention of your audience. One way to enhance your presentation is with slanted headings. In this tutorial, you will learn how to format headings at different angles in a few simple steps, thus enhancing your data presentation.
Main Insights
- Slanted headings in Excel give your table a professional look.
- Make sure the length of the text in the cells remains appropriate.
- Use line breaks to make long texts more readable.
- The height of the cells must be taken into account to ensure a clear overview.
Step-by-Step Guide
Step 1: Highlight the heading
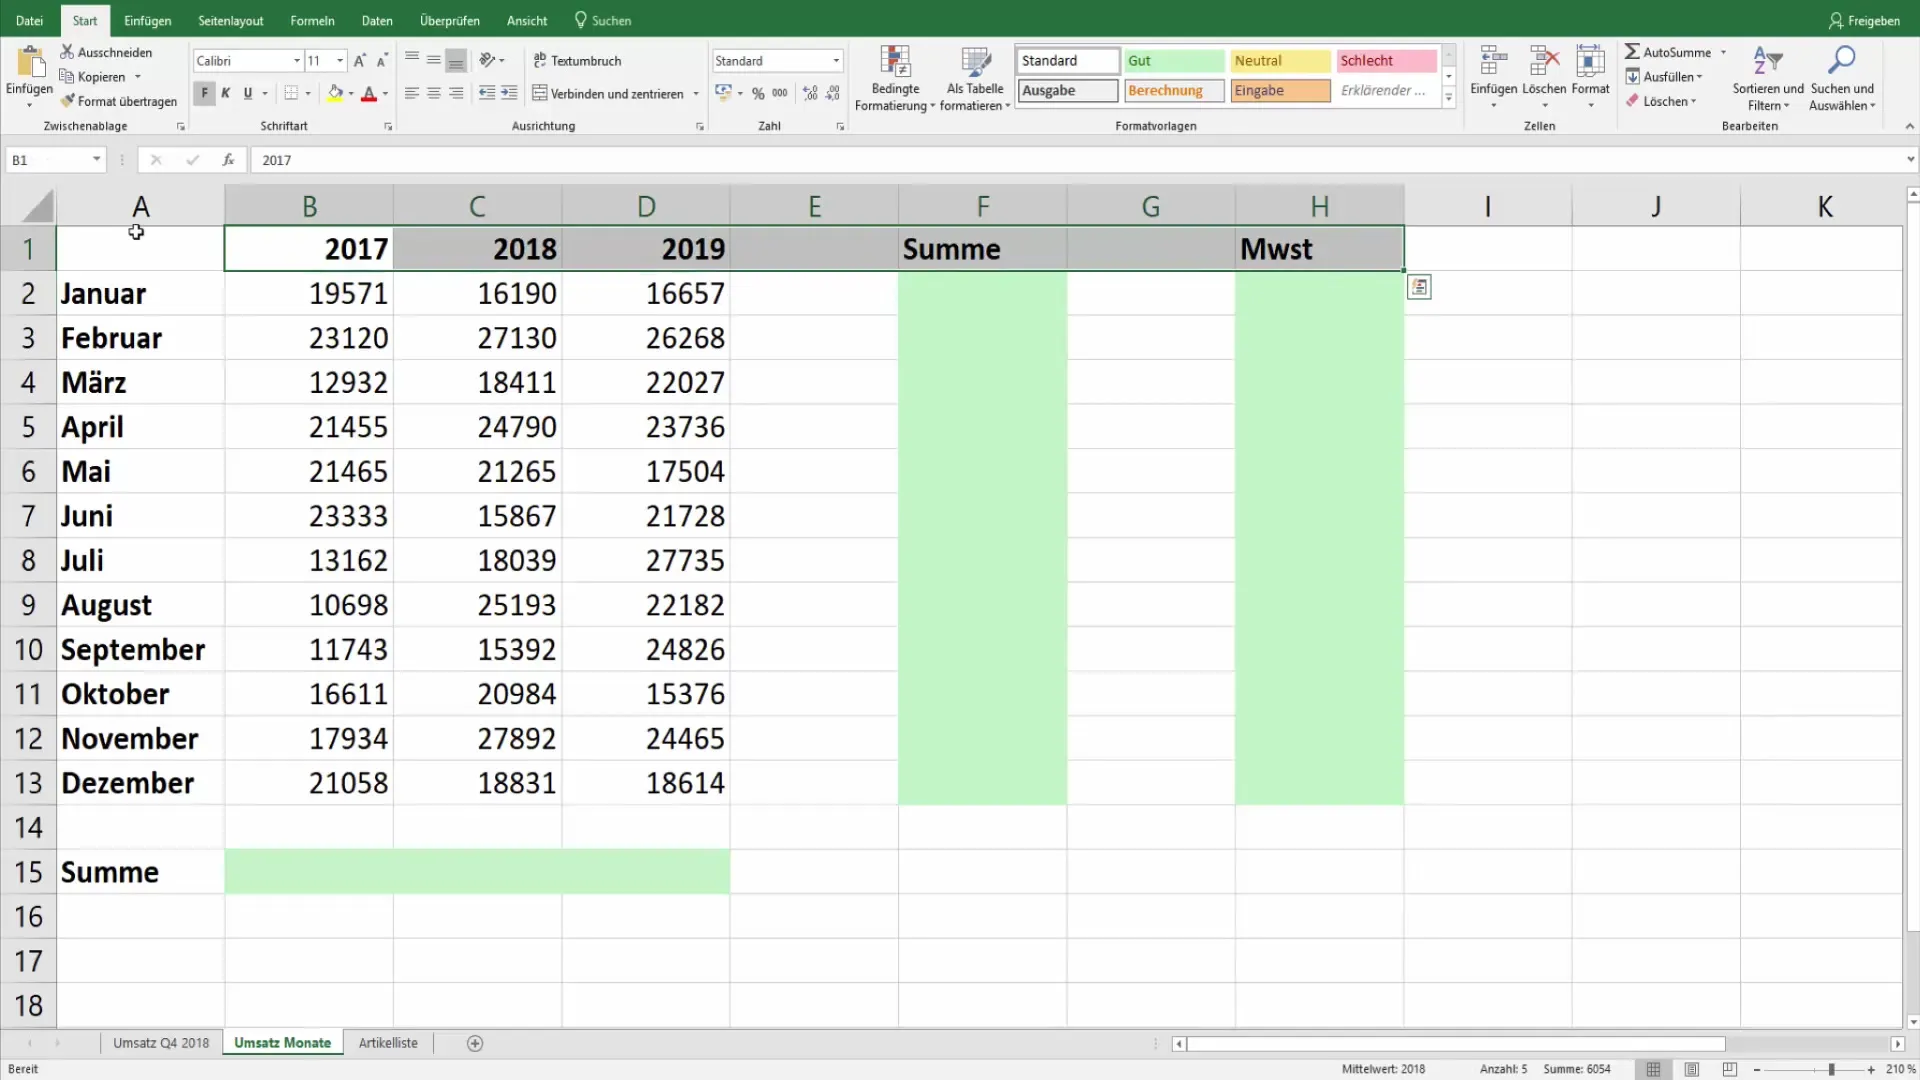
To create a slanted heading, first select the cells that contain your headings. This usually refers to the first row of your table.
Step 2: Open the Home tab
After highlighting the headings, go to the "Home" tab in Excel. There you will find various customization options for text alignment.
Step 3: Format text alignment
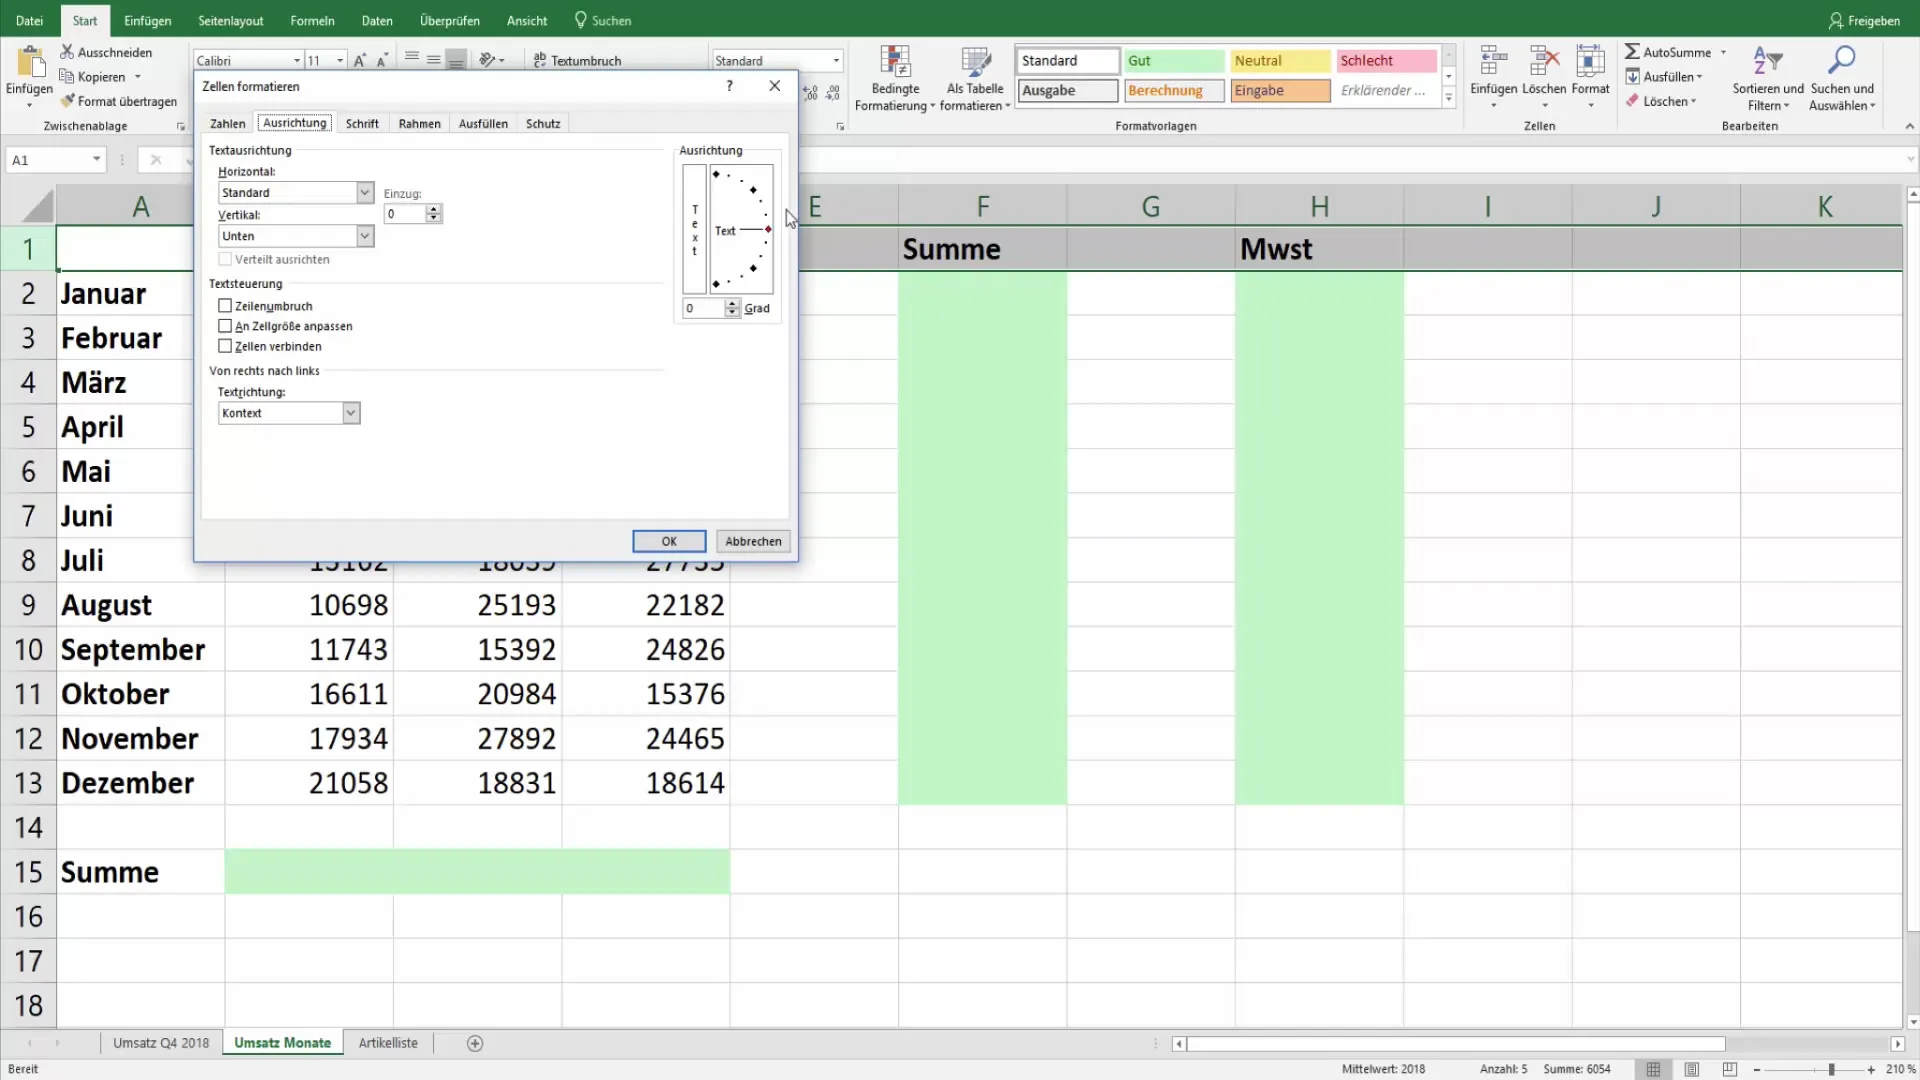
Under the "Text Alignments" menu, you have the option to change the alignment of your heading. Here you can decide how slanted you want the text to appear.
Step 4: Select the angle
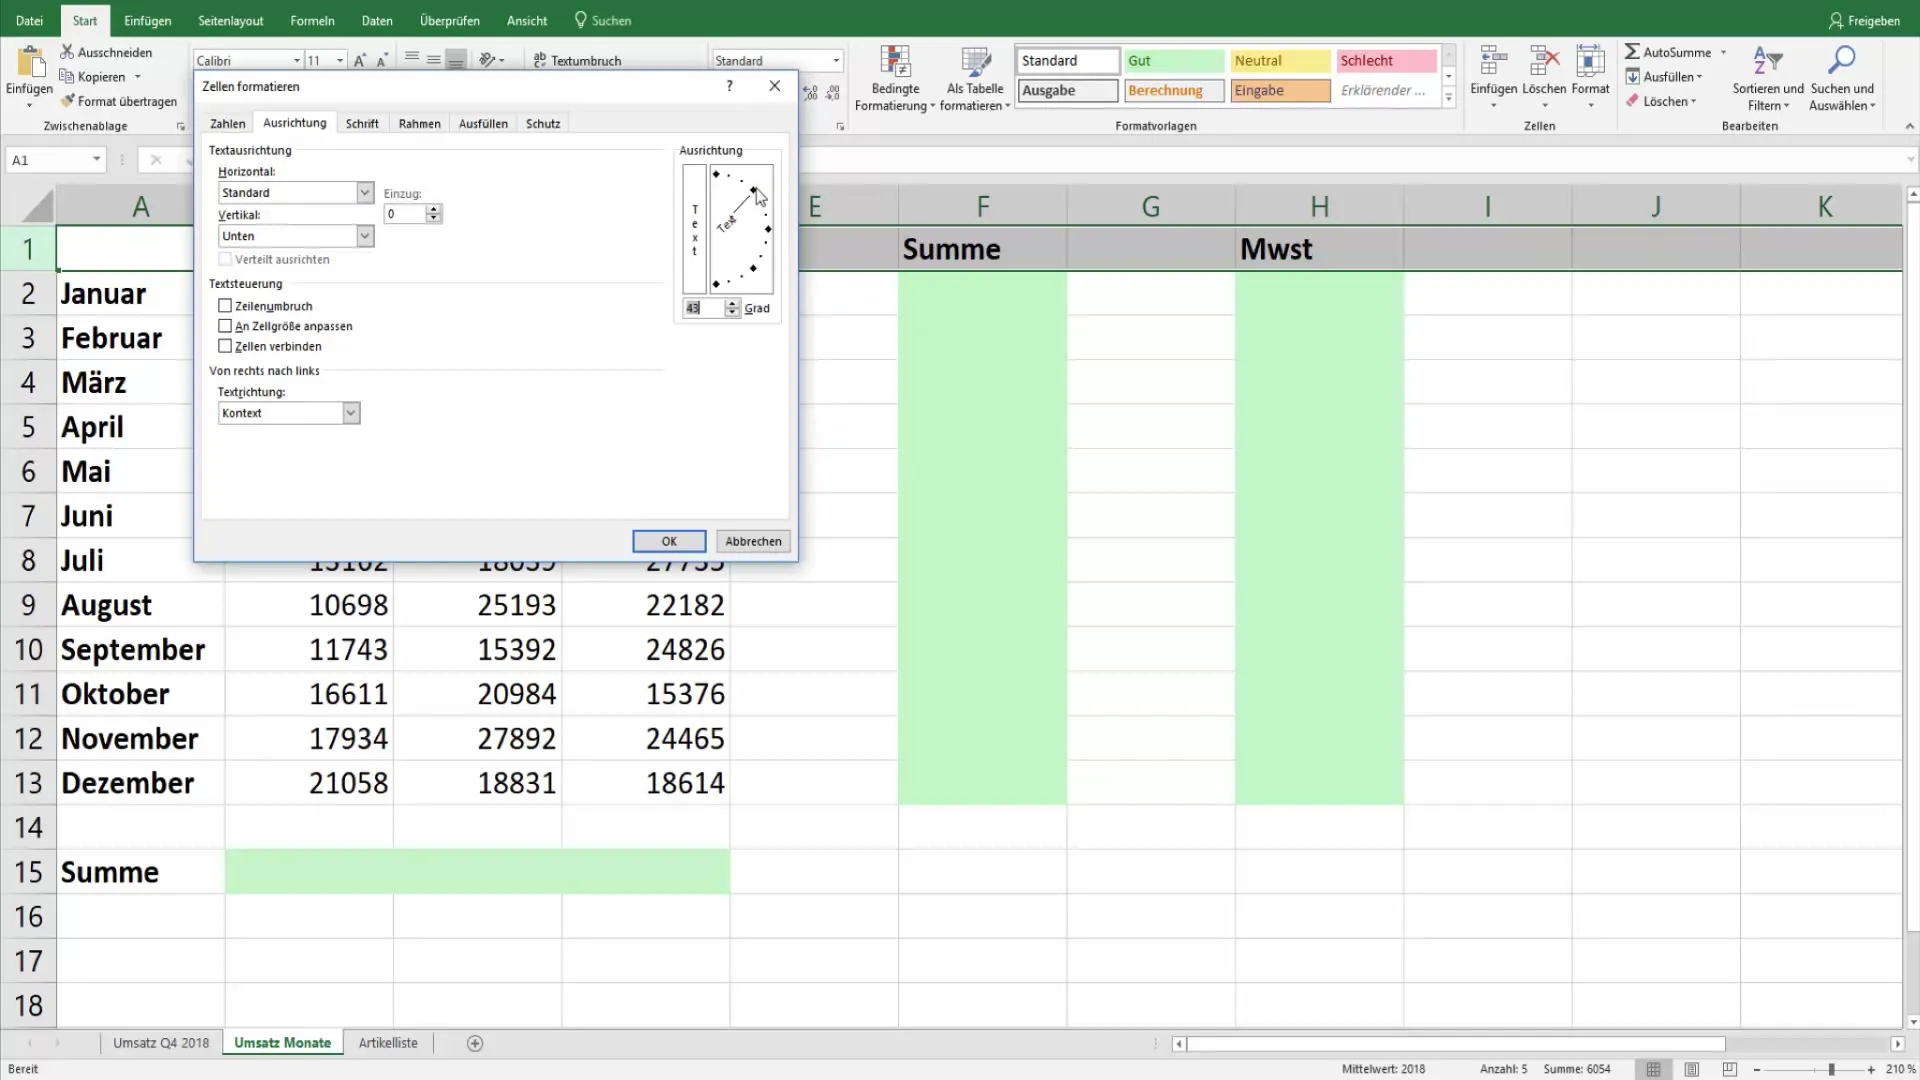
Set the angle to 45 degrees. This ensures an appealing slanted representation of the heading, which not only looks visually appealing but also efficiently utilizes space in your table.
Step 5: Center the heading
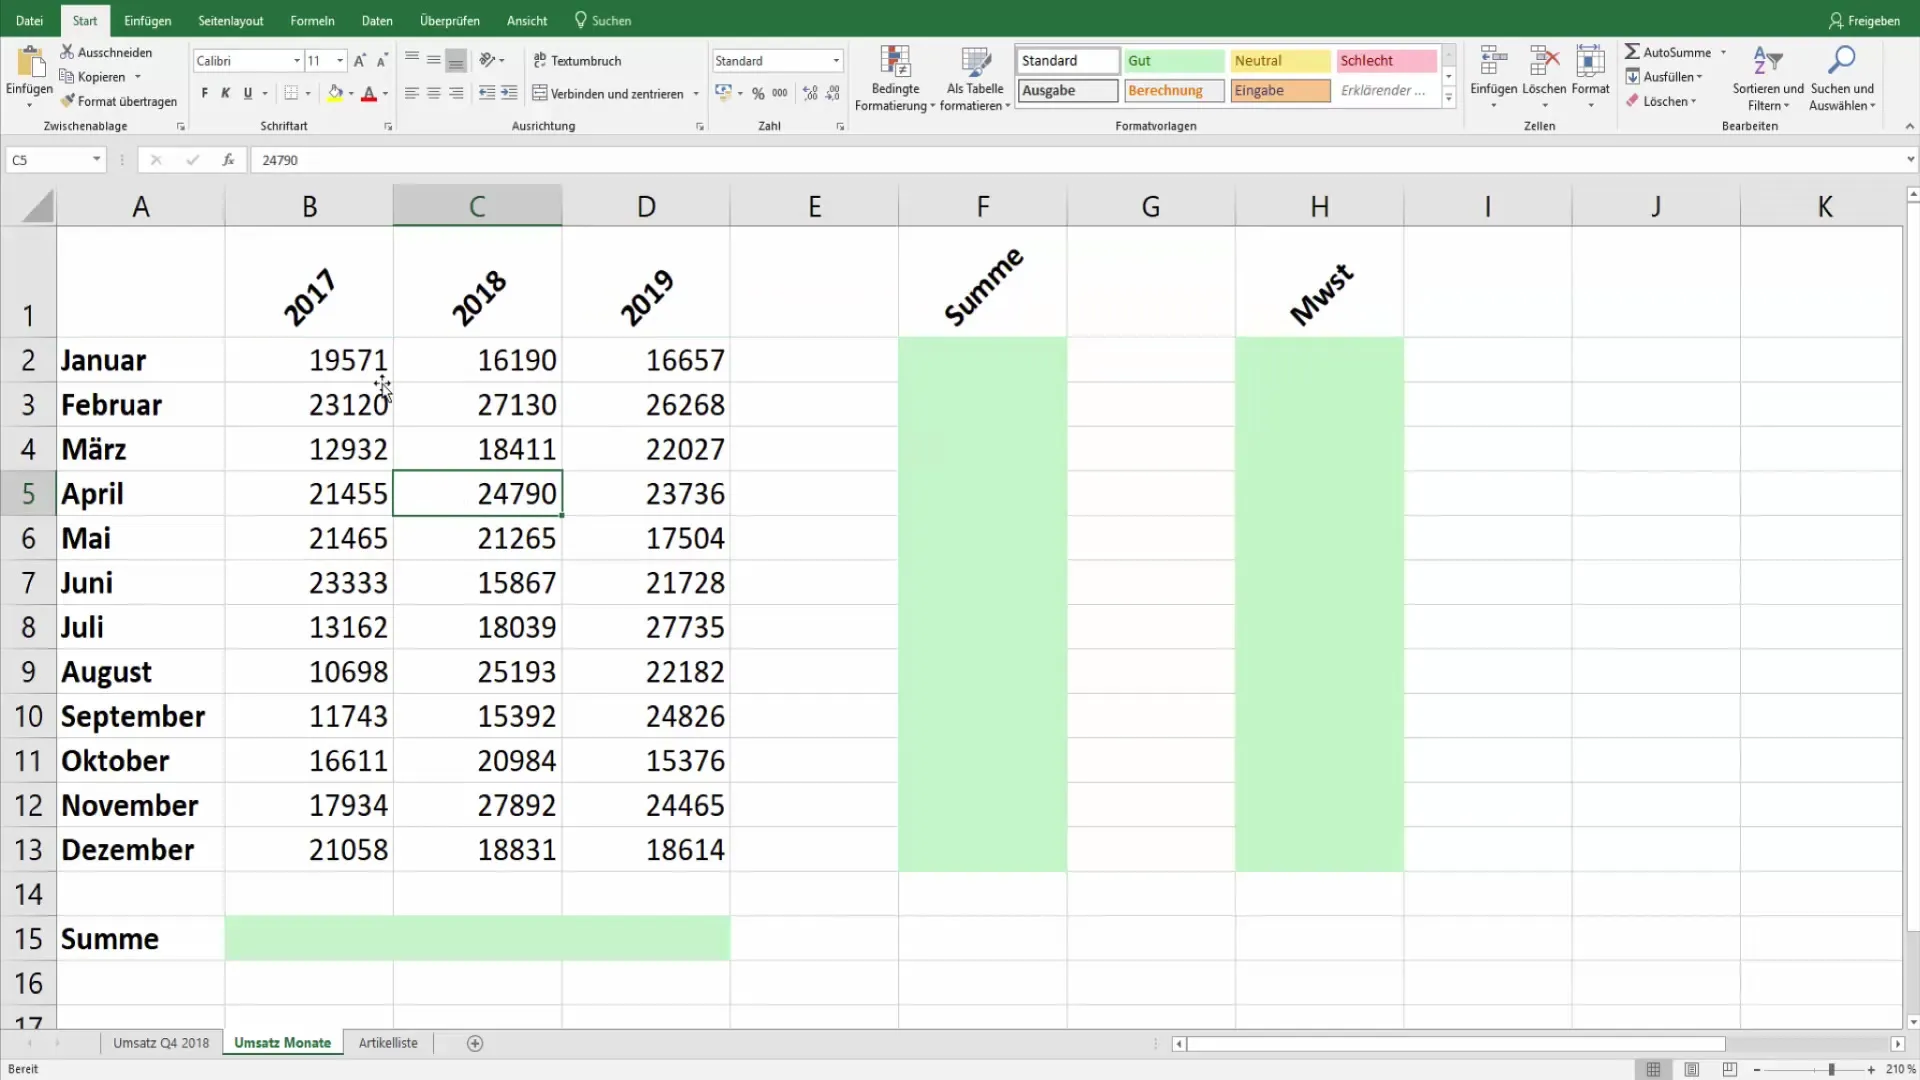
To improve clarity, you should then center the highlighted cells. A centered heading not only looks tidier but also draws the viewer's attention.
Step 6: Consider text length
When entering your heading, make sure the text is not too long. Overly long texts could hinder the readability of the table. In this case, you could work with line breaks, for example.
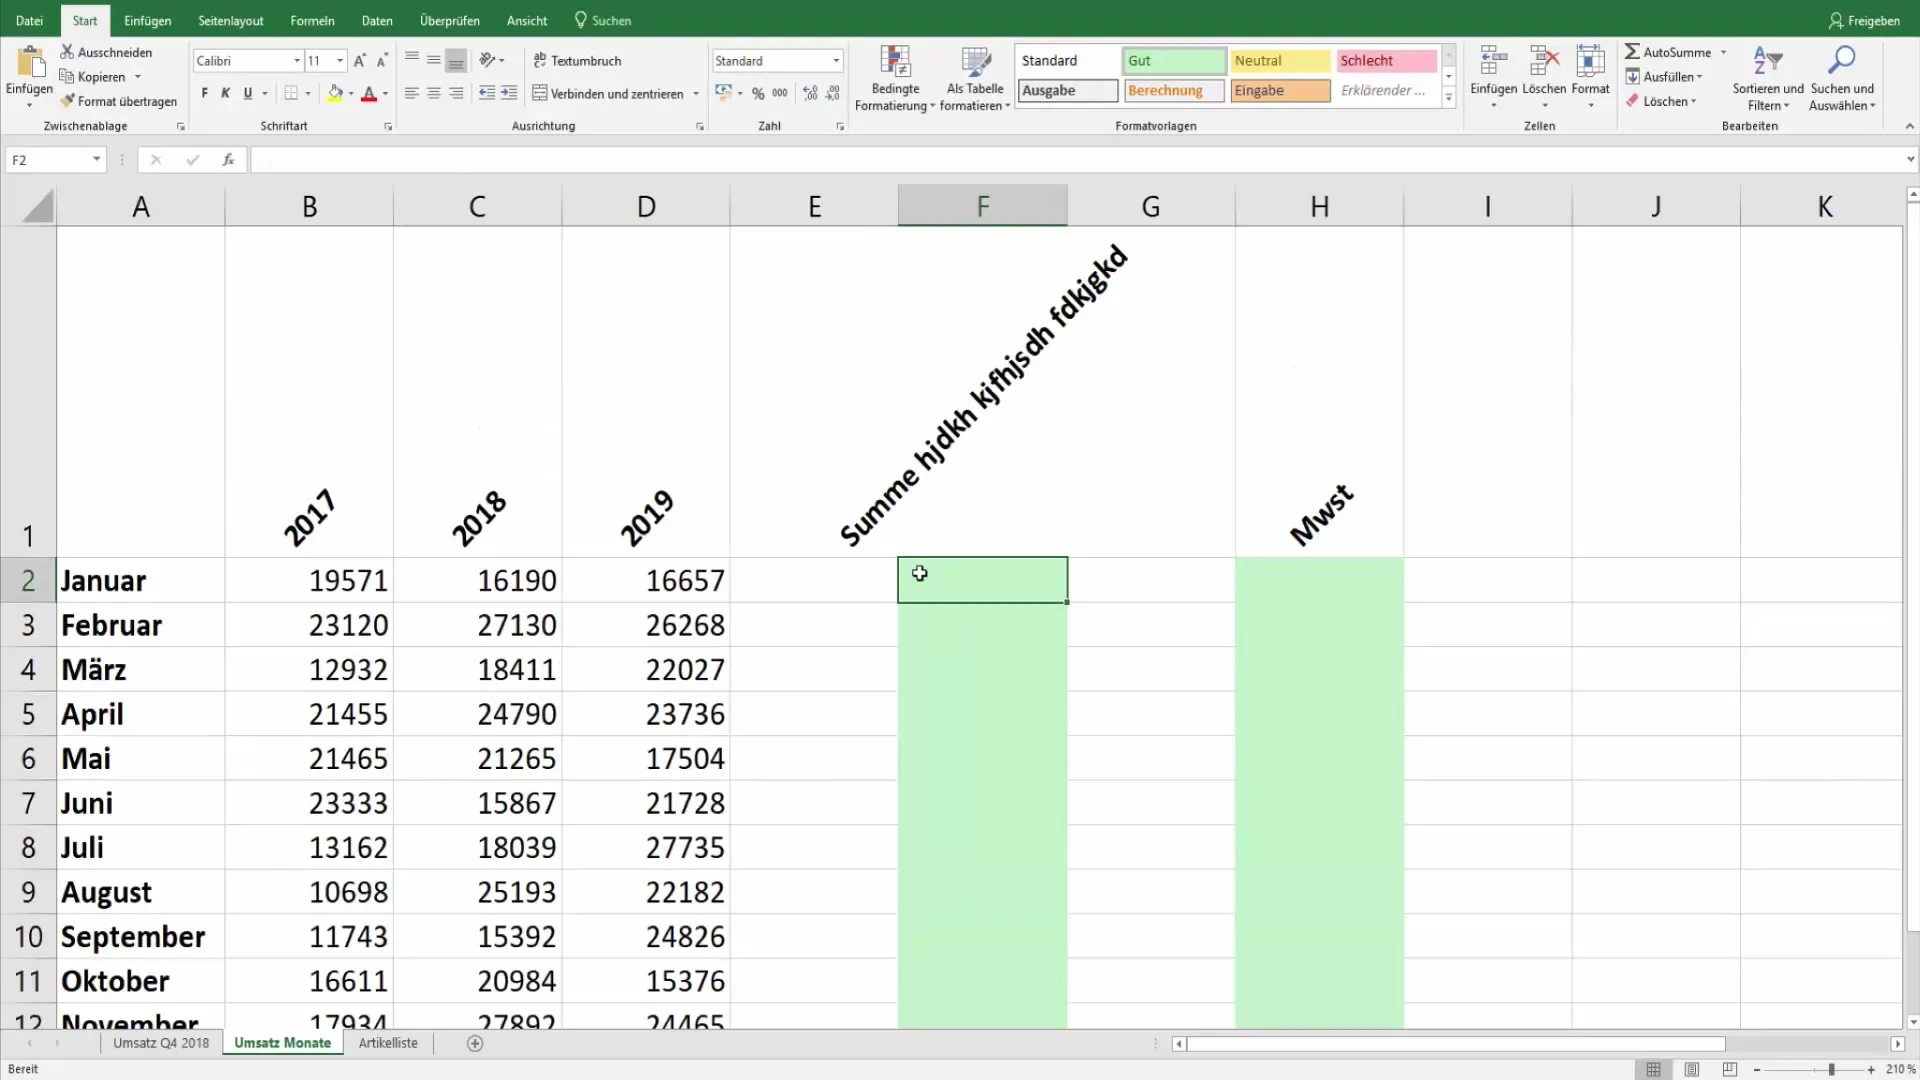
Step 7: Add line breaks
To add line breaks, simultaneously press the "Alt" key and the "Enter" key at the point where the break should occur. This will help you keep the heading concise and clear.
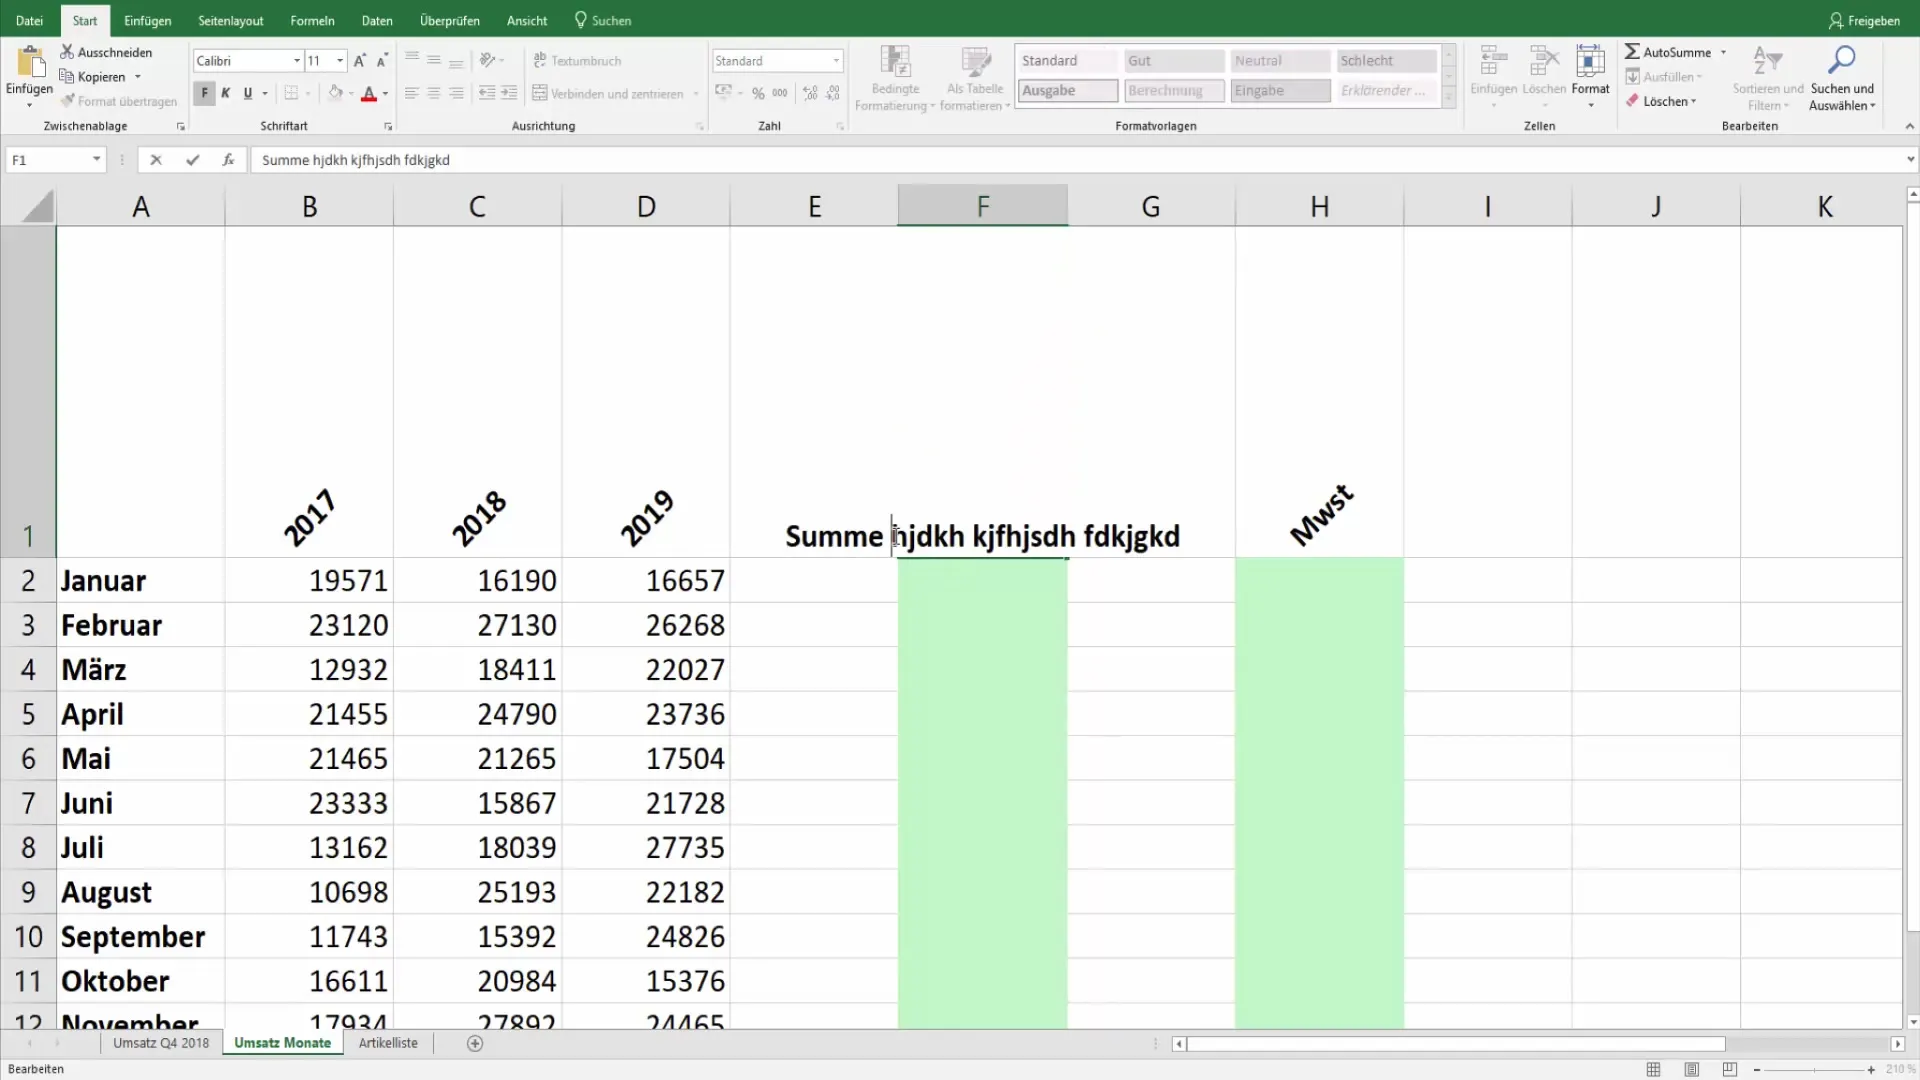
Step 8: Activate text wrap
Another way to make long headings legible is to activate text wrapping. This ensures that the text is displayed in multiple lines within the cell without disrupting the layout.
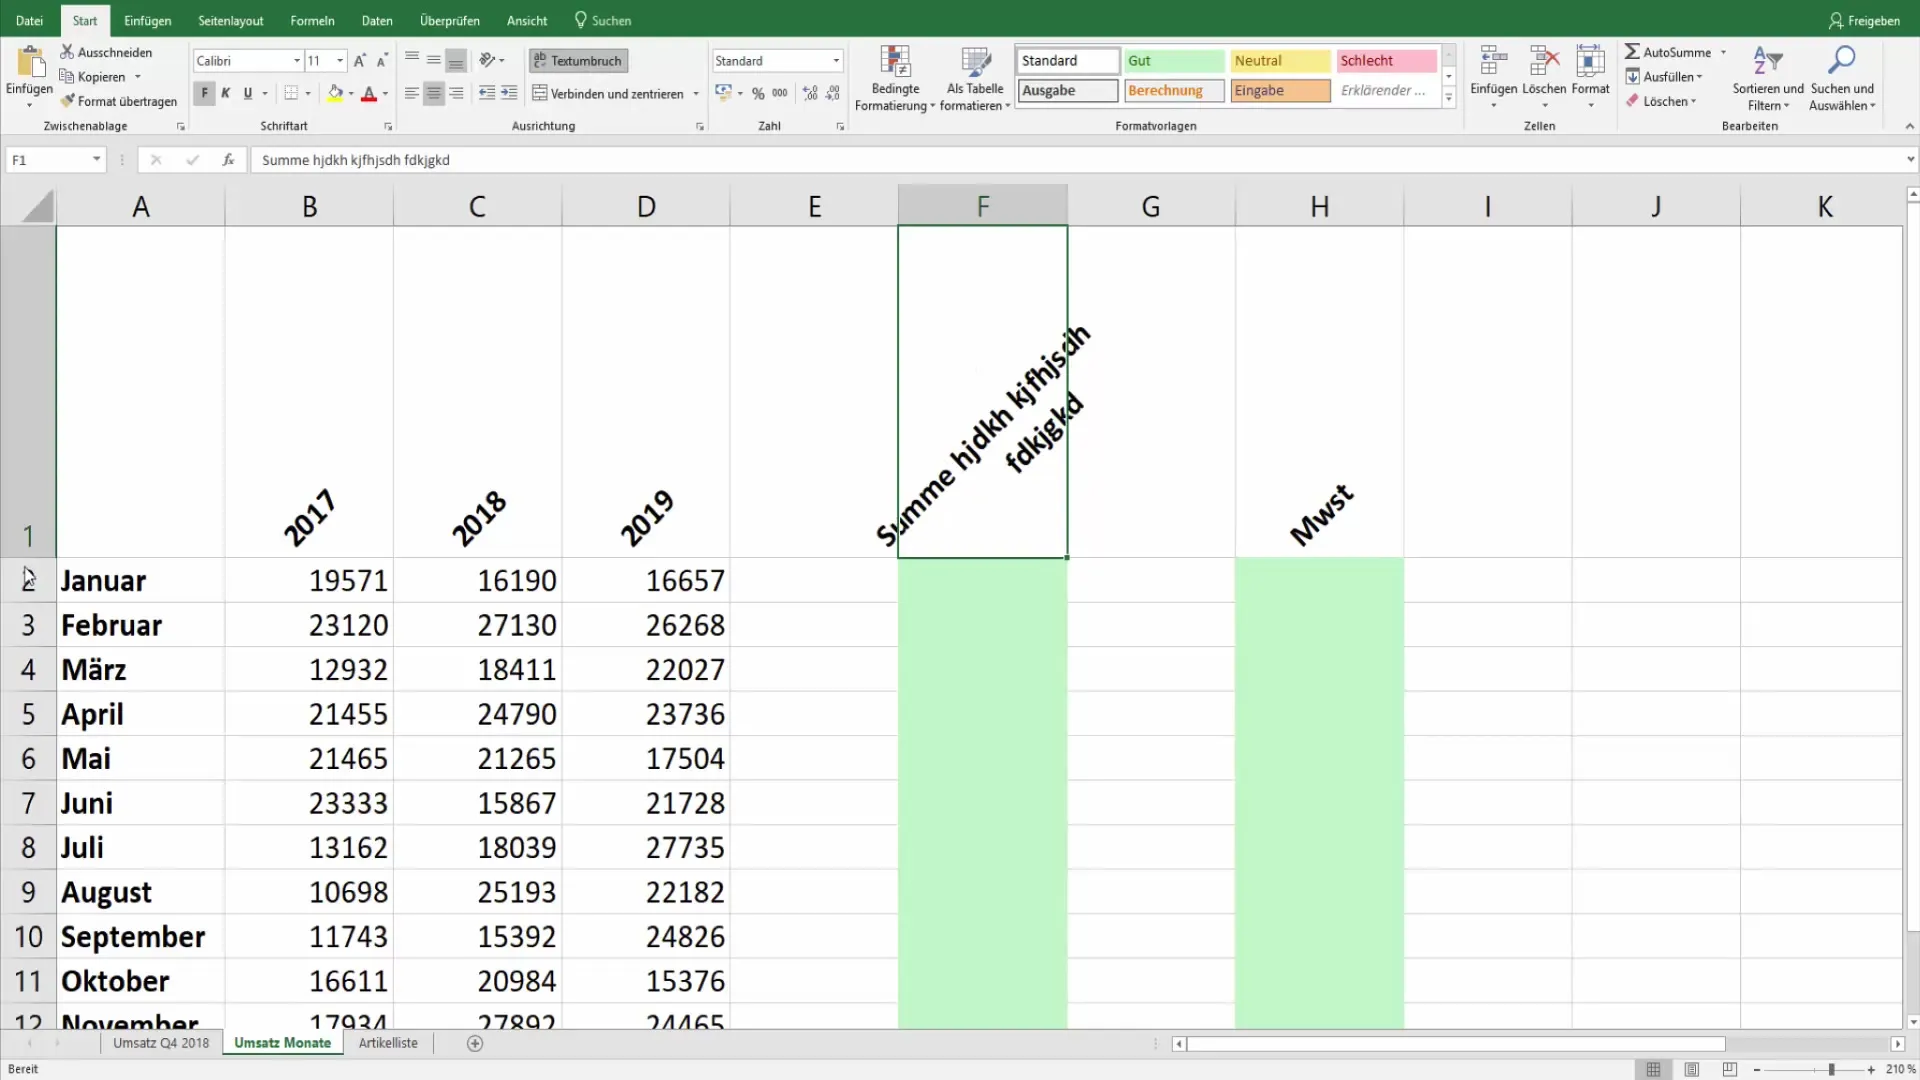
Step 9: Adjust cell width
If the text still does not fit optimally within the cell after activating text wrapping, you can adjust the cell width accordingly. Make sure the cells are not too narrow to ensure good readability.
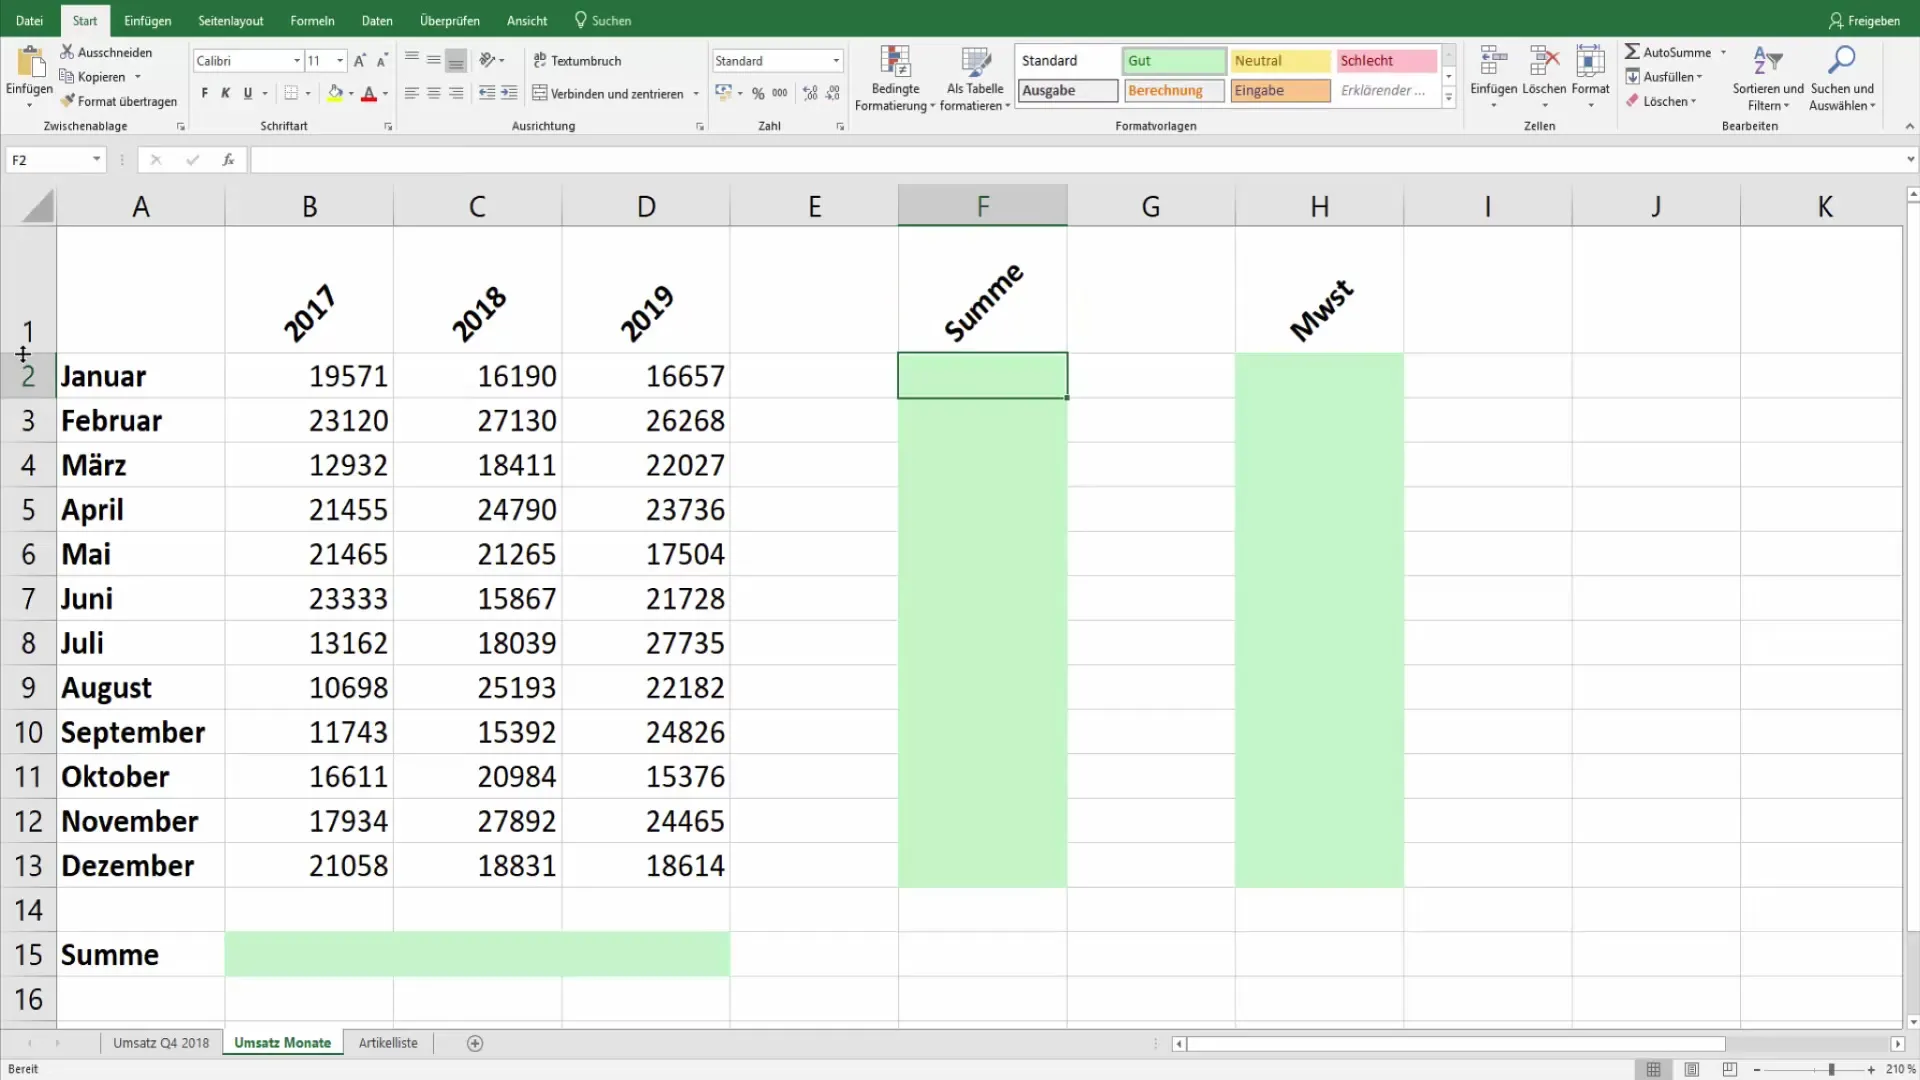
Step 10: Adjust vertically and diagonally
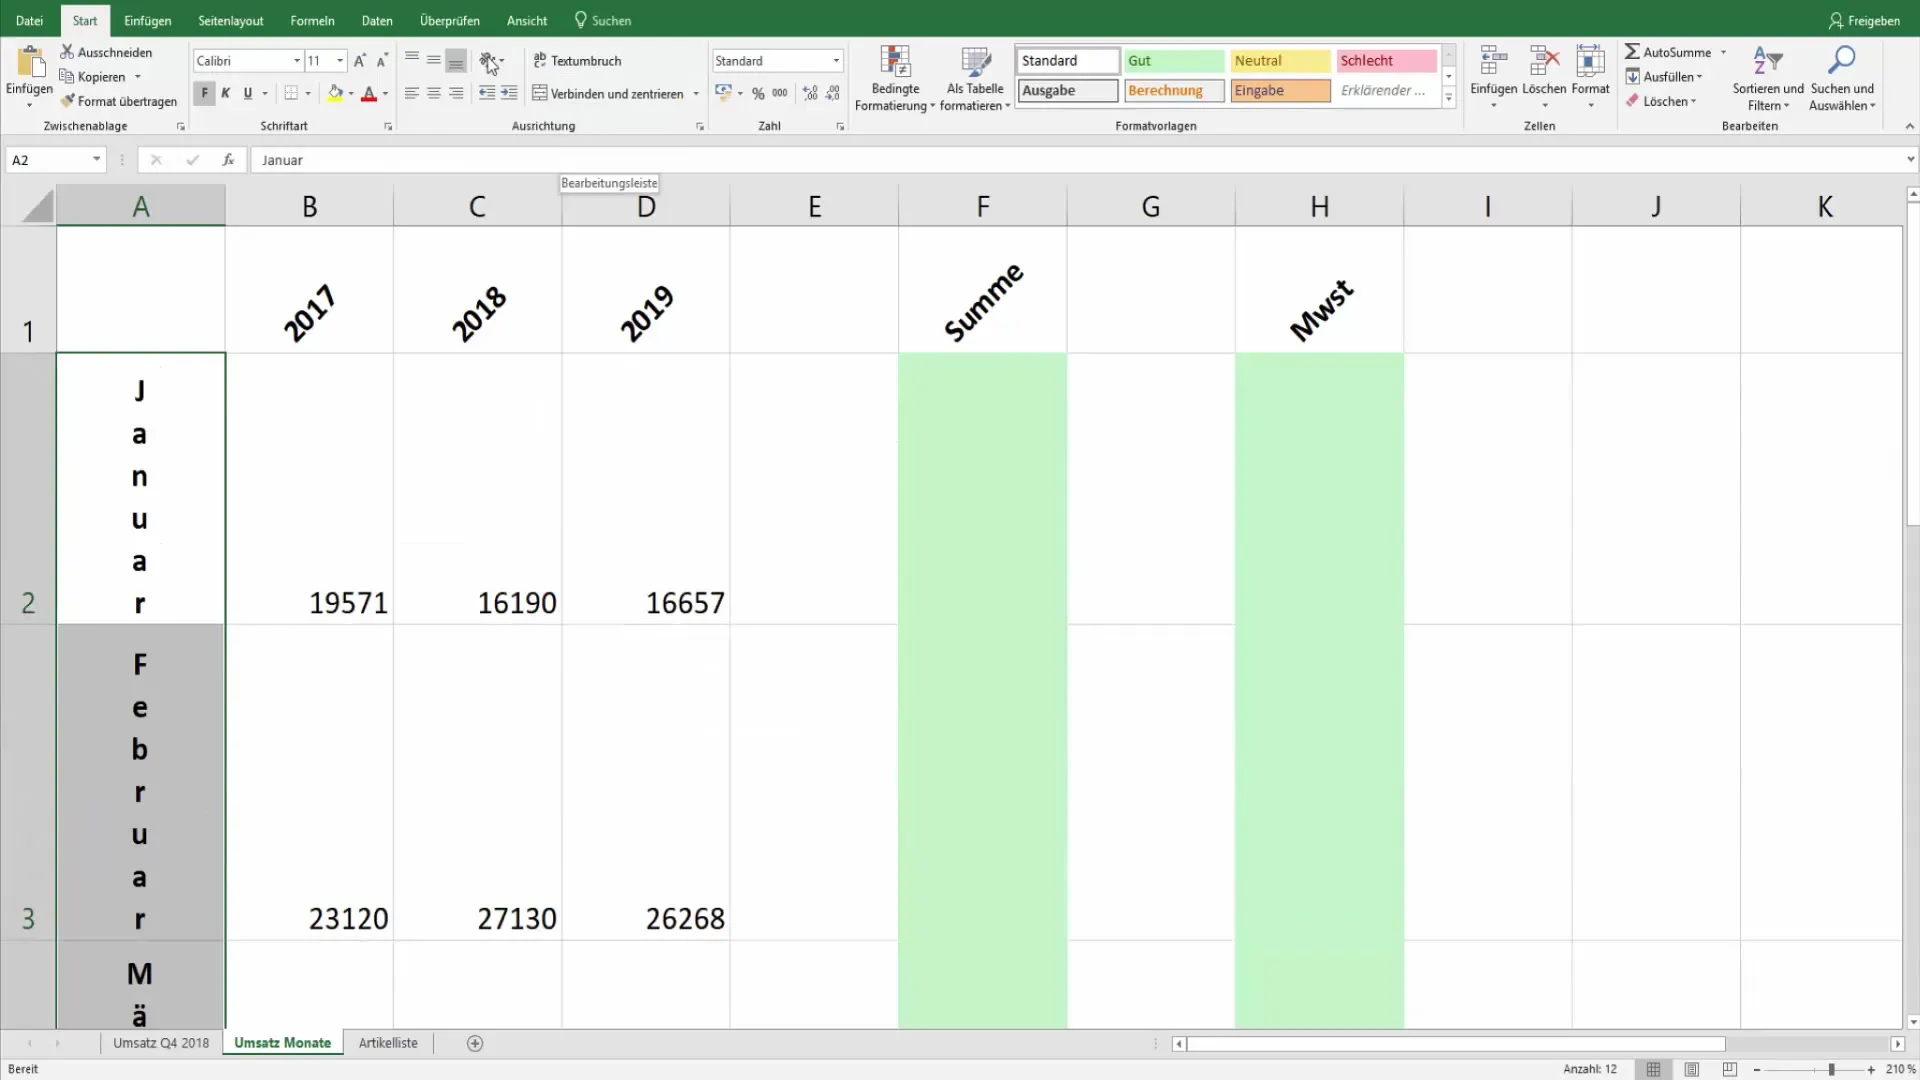
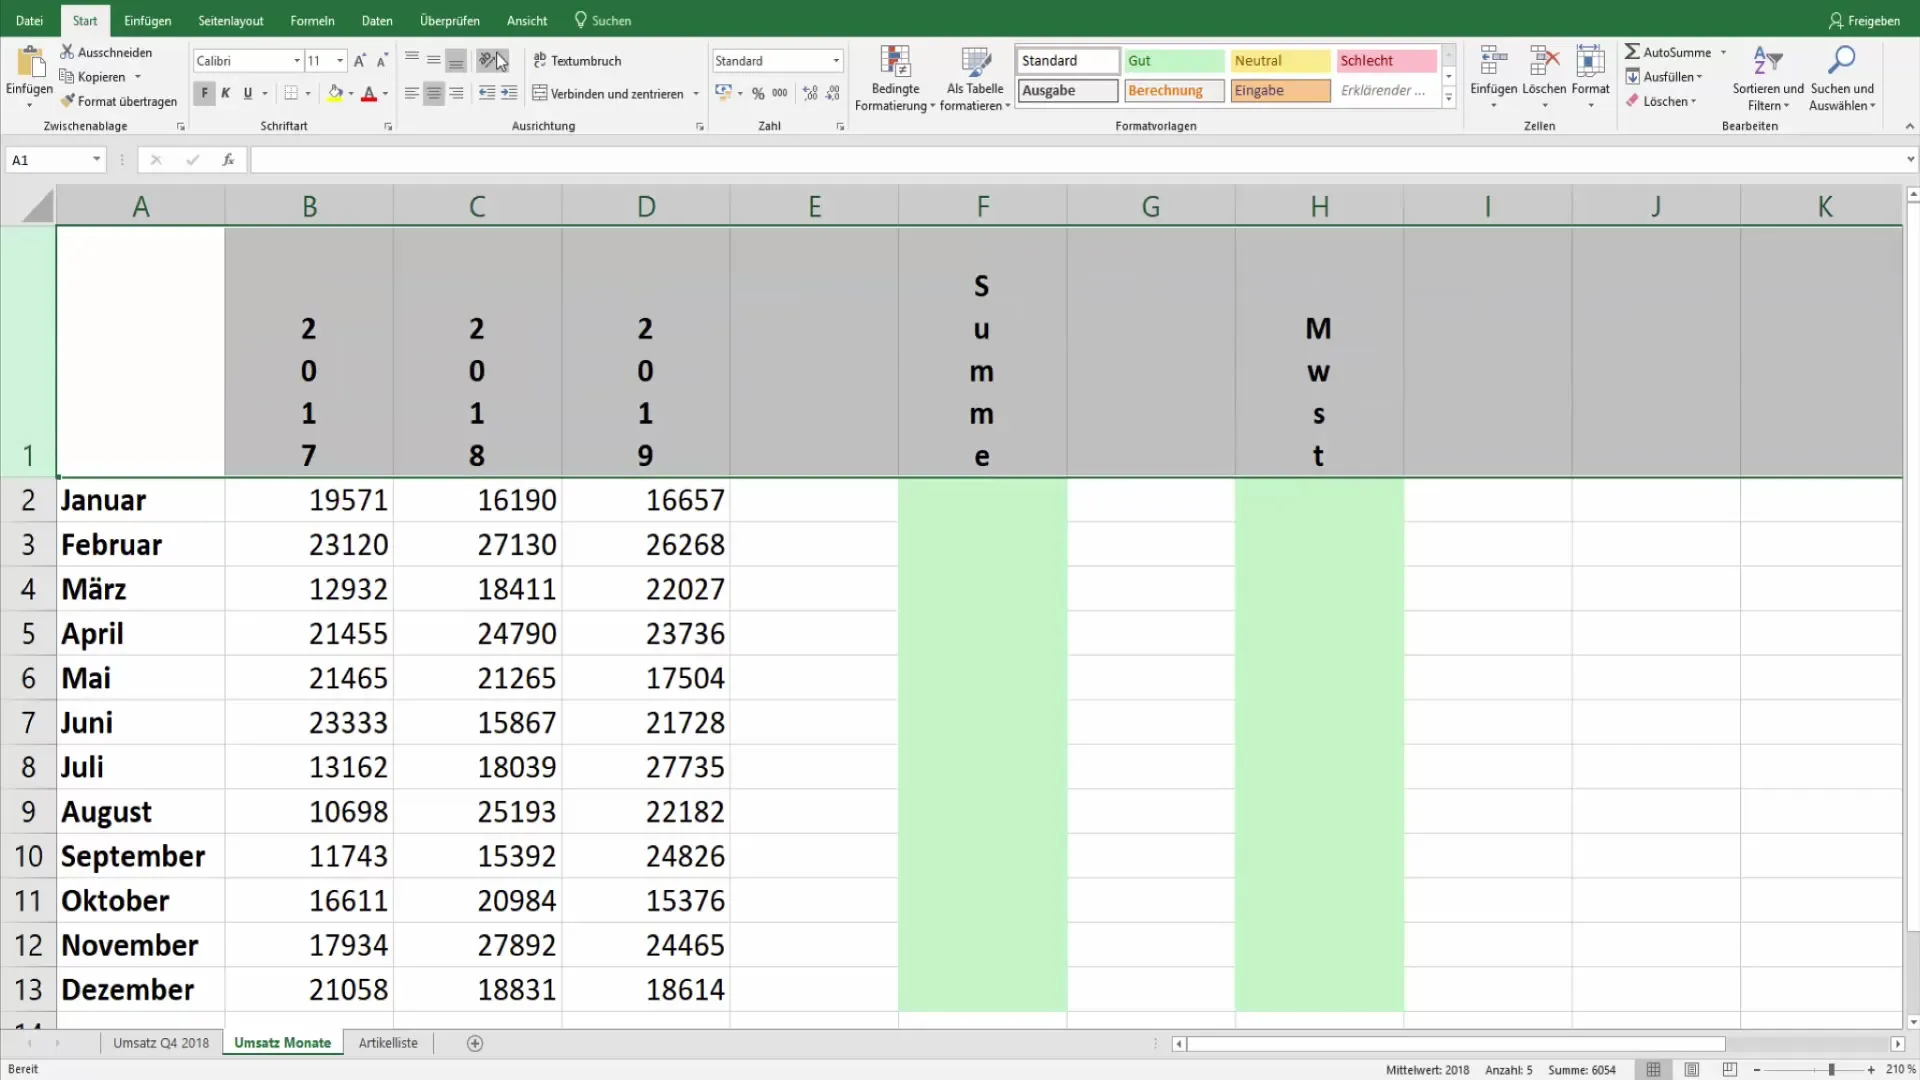
If you want to try a different perspective, you can also align the text vertically or at different angles. These adjustments can be helpful but should be used sparingly to maintain clarity.
Step 11: Adjusting the Cell Height
When working with vertical text, make sure to adjust the height of the cells. Otherwise, you might not be able to see important information or parts of the text anymore.
Summary
In this guide, you have learned step by step how to create and format slanted headings in Excel. This small but significant adjustment can give your tables a professional and appealing look as long as you pay attention to text lengths and cell heights.
Frequently Asked Questions
How can I slant the heading in Excel?Select the cell of the heading and go to "Home" > "Text Alignments" to adjust the alignment.
What should I do if my text is too long?Use line breaks with "Alt + Enter" or enable text wrap to make long text more readable.
Is it possible to change the alignment at different angles?Yes, you can adjust the angle of alignment freely, 45 degrees is a popular option.
What happens when I use vertical text?Make sure to adjust the cell height, as vertical text may require more space and can affect readability.


