Inserting and editing tables in Word can significantly enhance your documents. Whether it's simple lists or more complex calculations - with the right handling, you can create a clear and structured presentation of your data. In this guide, you will learn how to effectively use and customize tables in Word.
Key Insights
- You can create tables in various ways - from simple to complex Excel tables.
- There are numerous customization options for the layout and structure of your tables.
- Through seamless integration with Excel, you can perform calculations and data analysis directly in Word.
Step-by-Step Guide
Step 1: Table Creation
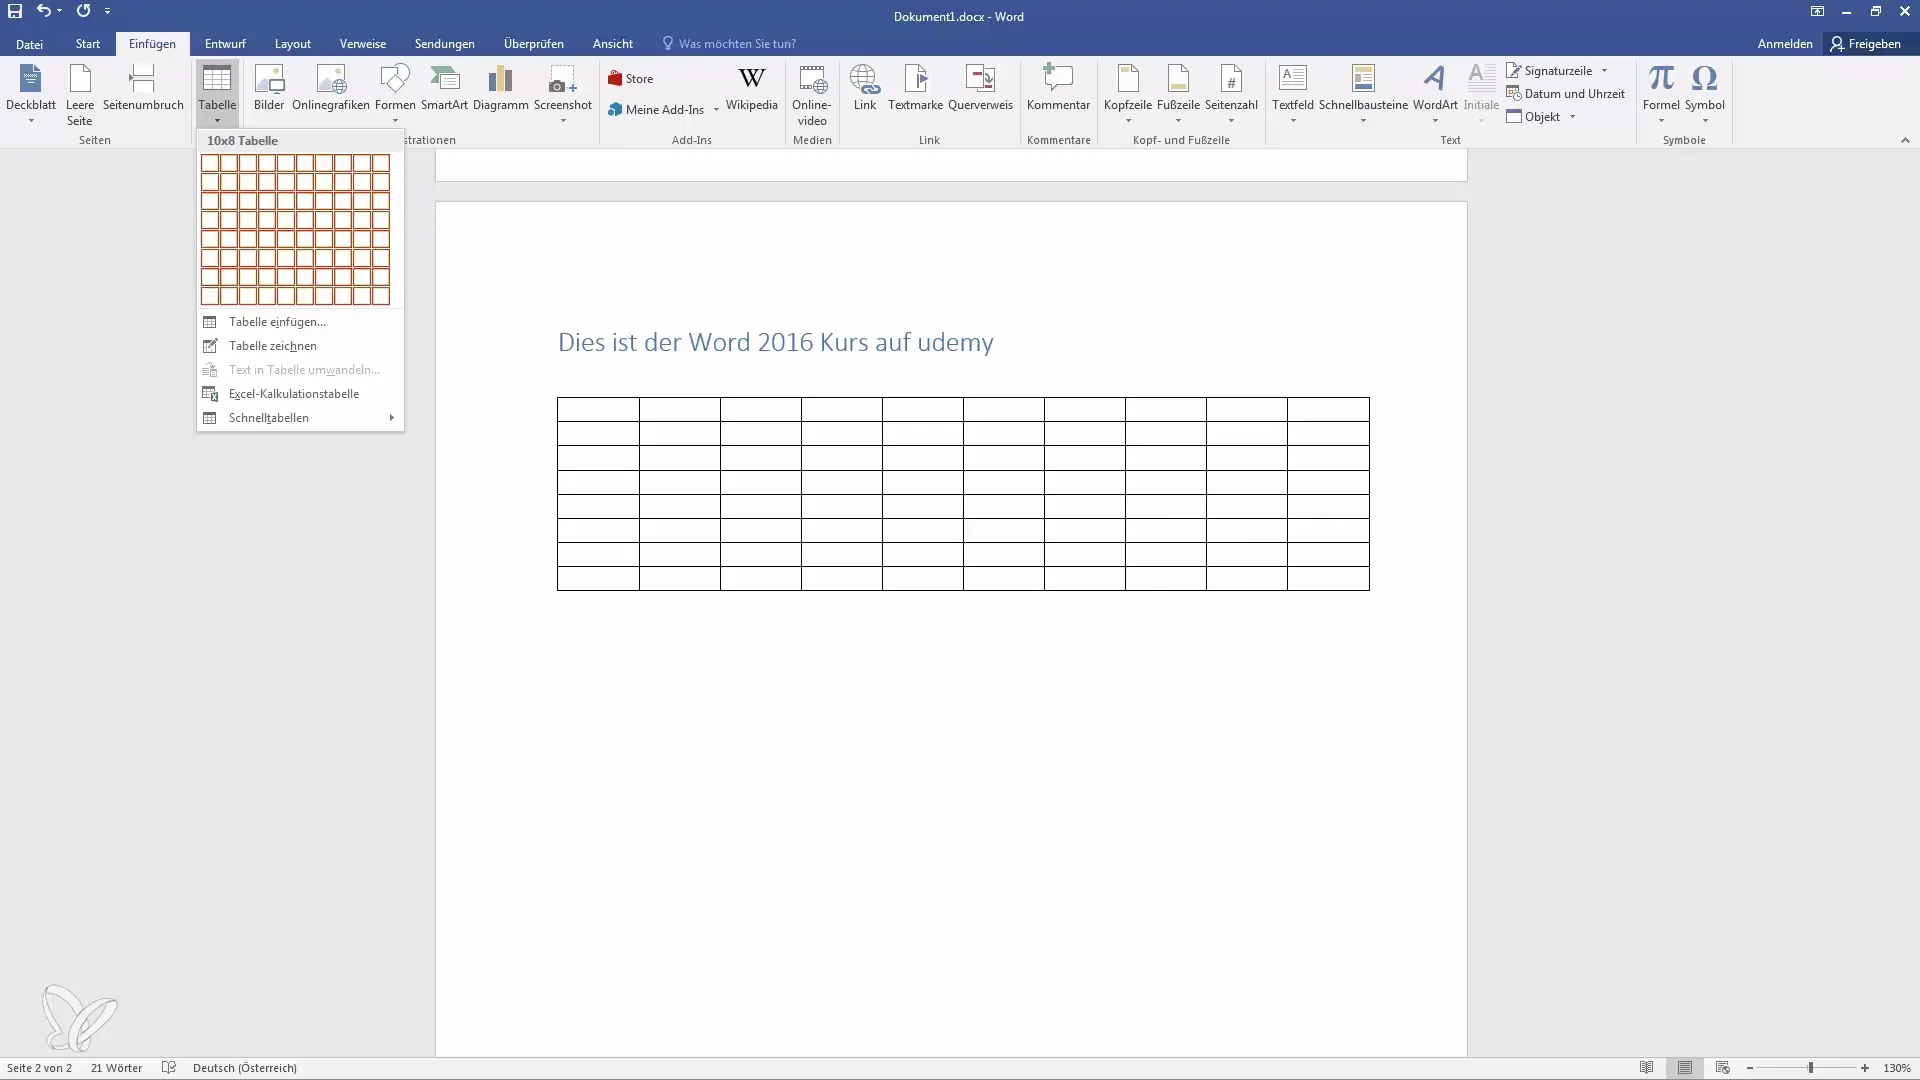
To insert a table into your Word document, go to "Insert" and then select "Table." You will see various options to quickly adjust the size of your table.

Here, you can decide how many columns and rows you need using the small boxes. You have the option to generate a table of up to 10 x 8 cells. If you need a specific number of columns and rows, you can also select "Insert Table."
Step 2: Drawing a Table
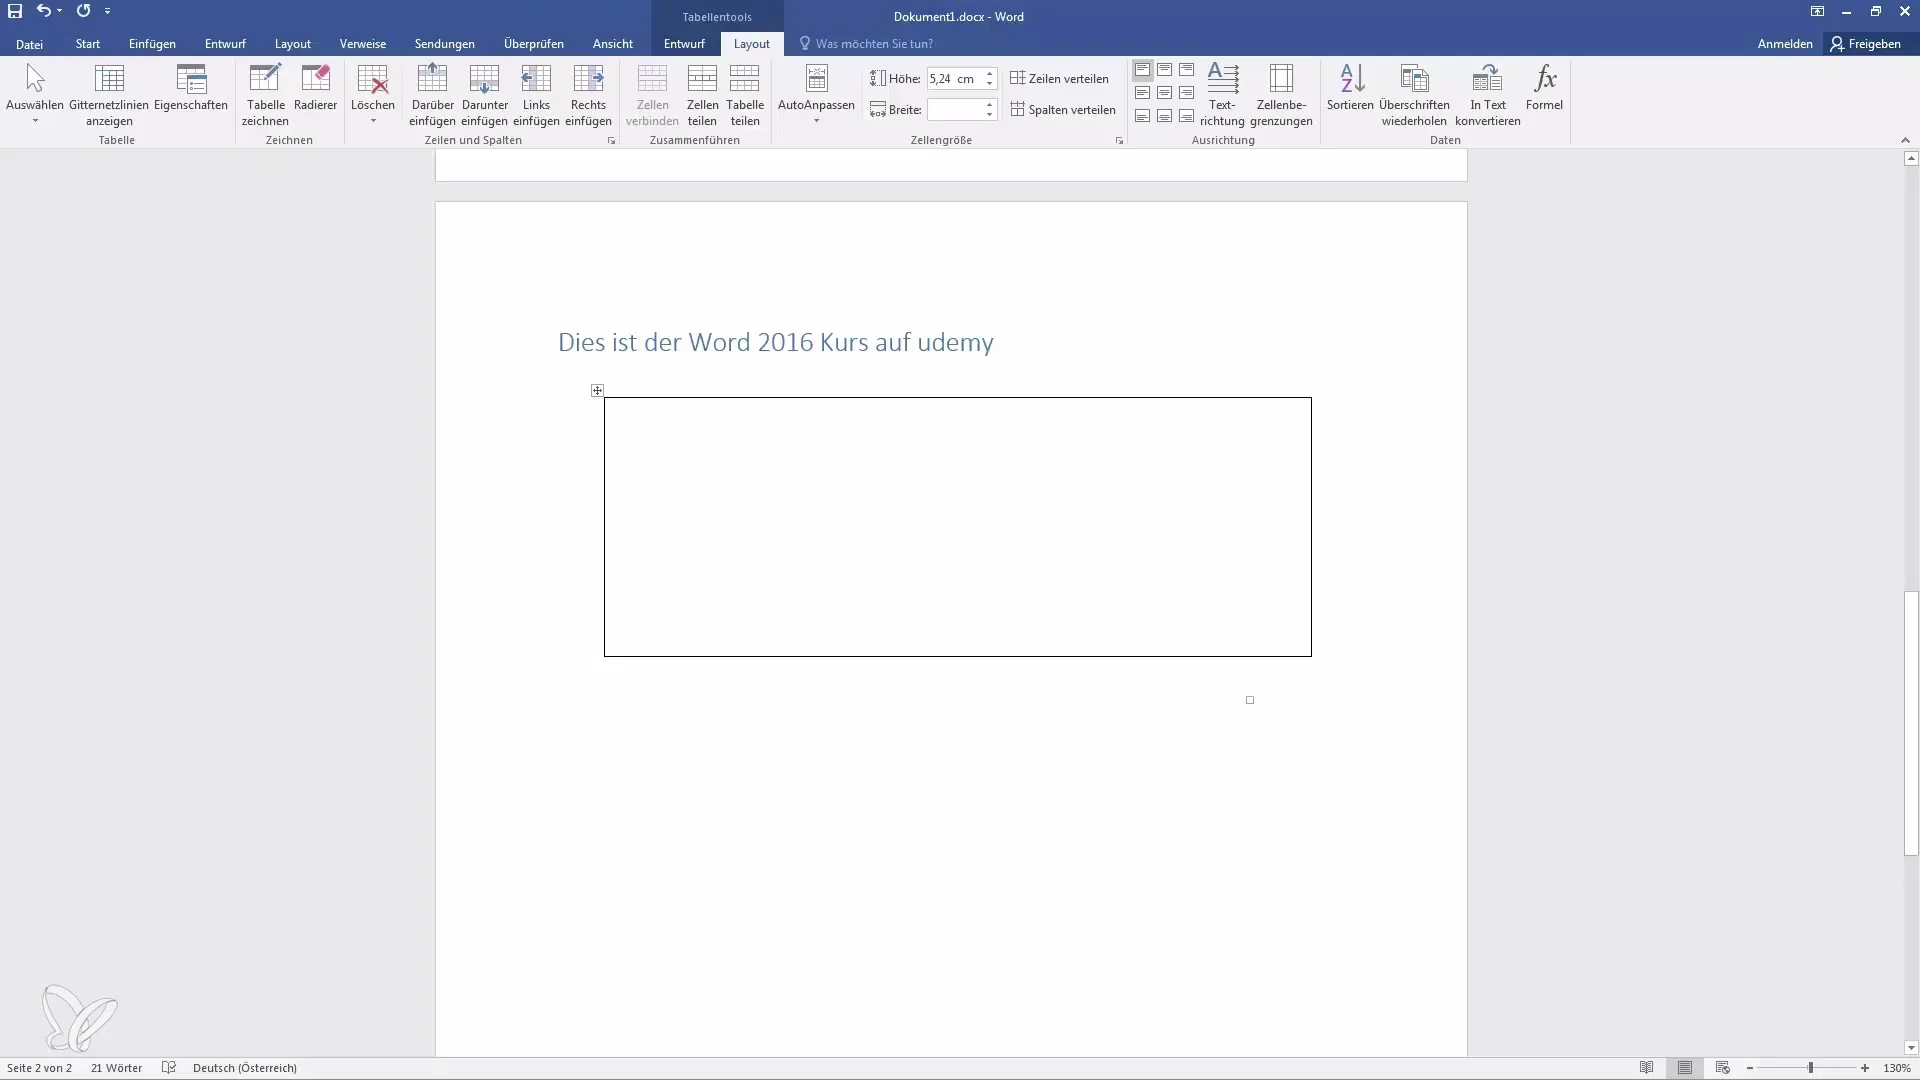
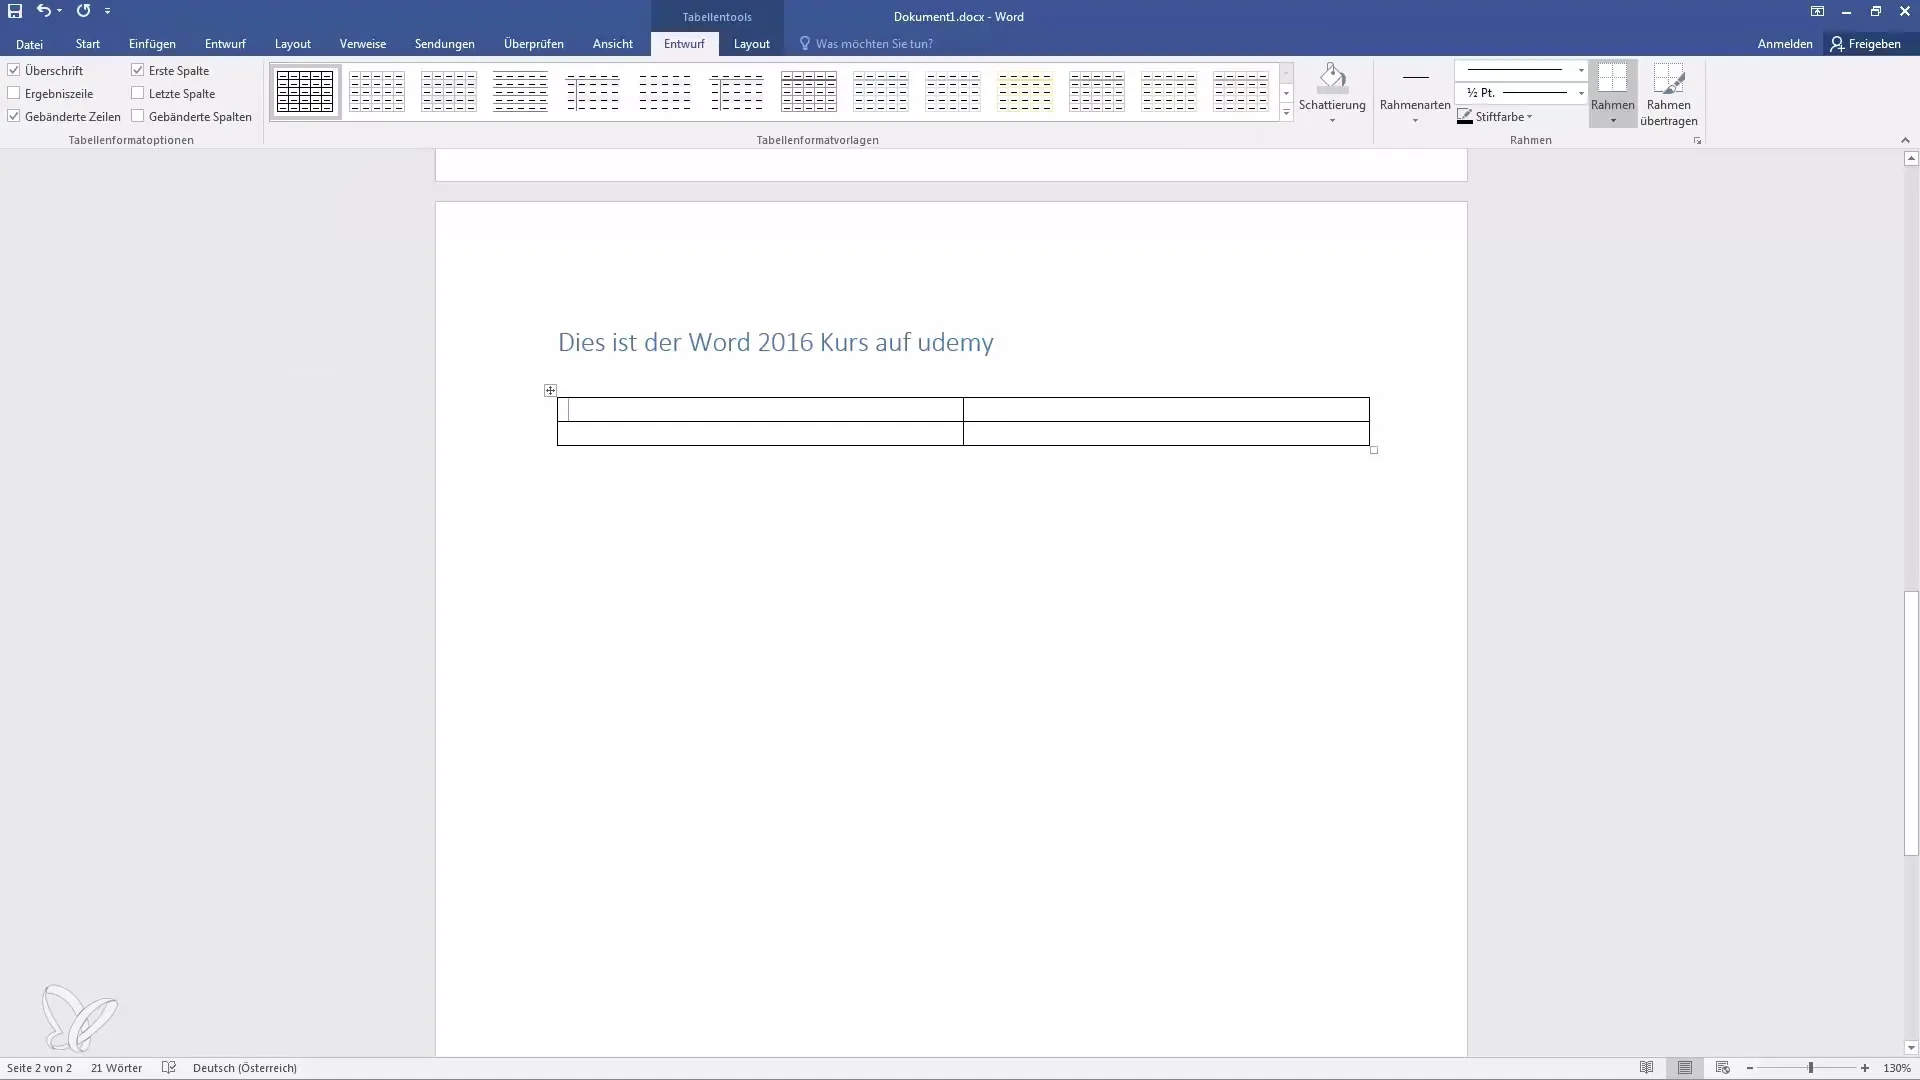
If you want to create a more personalized table, you can choose "Draw Table." This gives you the freedom to design the table according to your preferences by simply drawing the desired areas.
To delete a table that has already been inserted, you can click on the corresponding symbol next to the table and remove it.
Step 3: Inserting Excel Tables
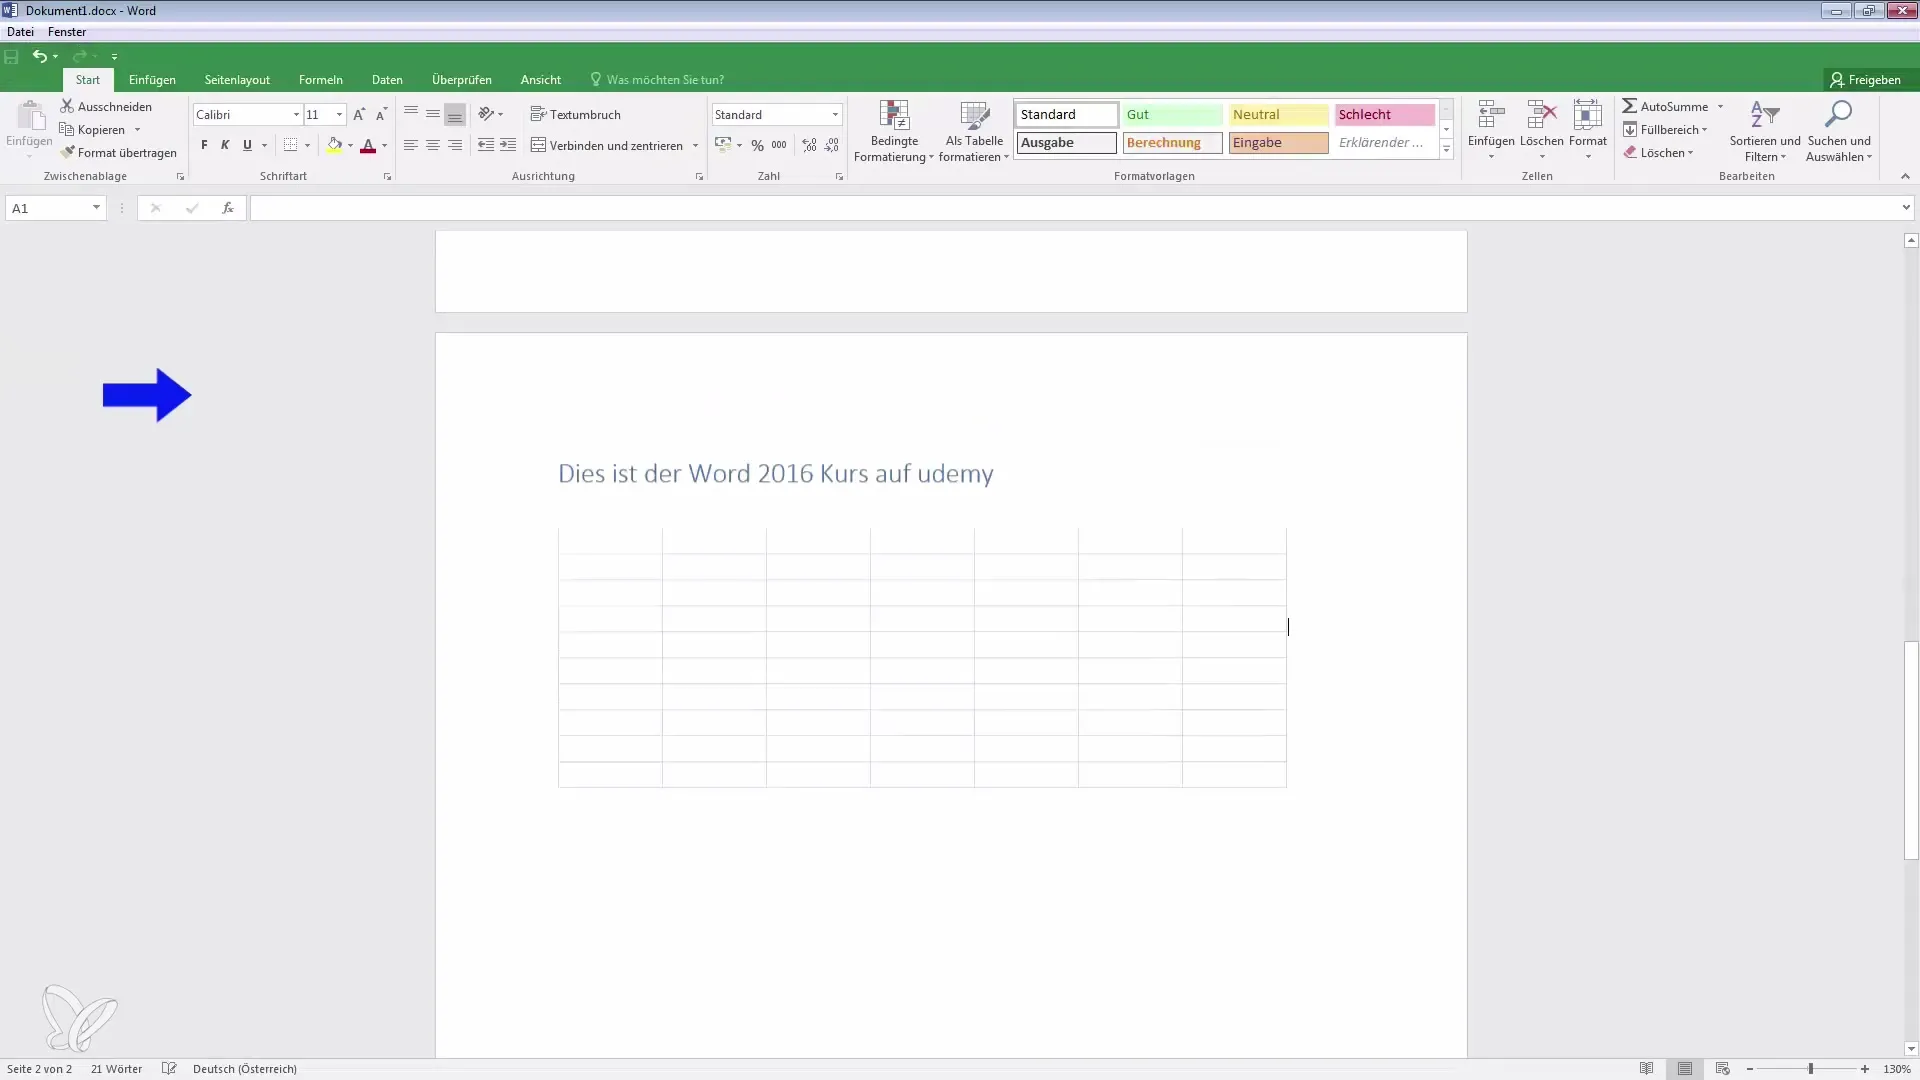
If you want to perform calculations or organize data in an Excel environment, go to "Tables" and select "Insert Excel Table." This opens an Excel window within your Word document.
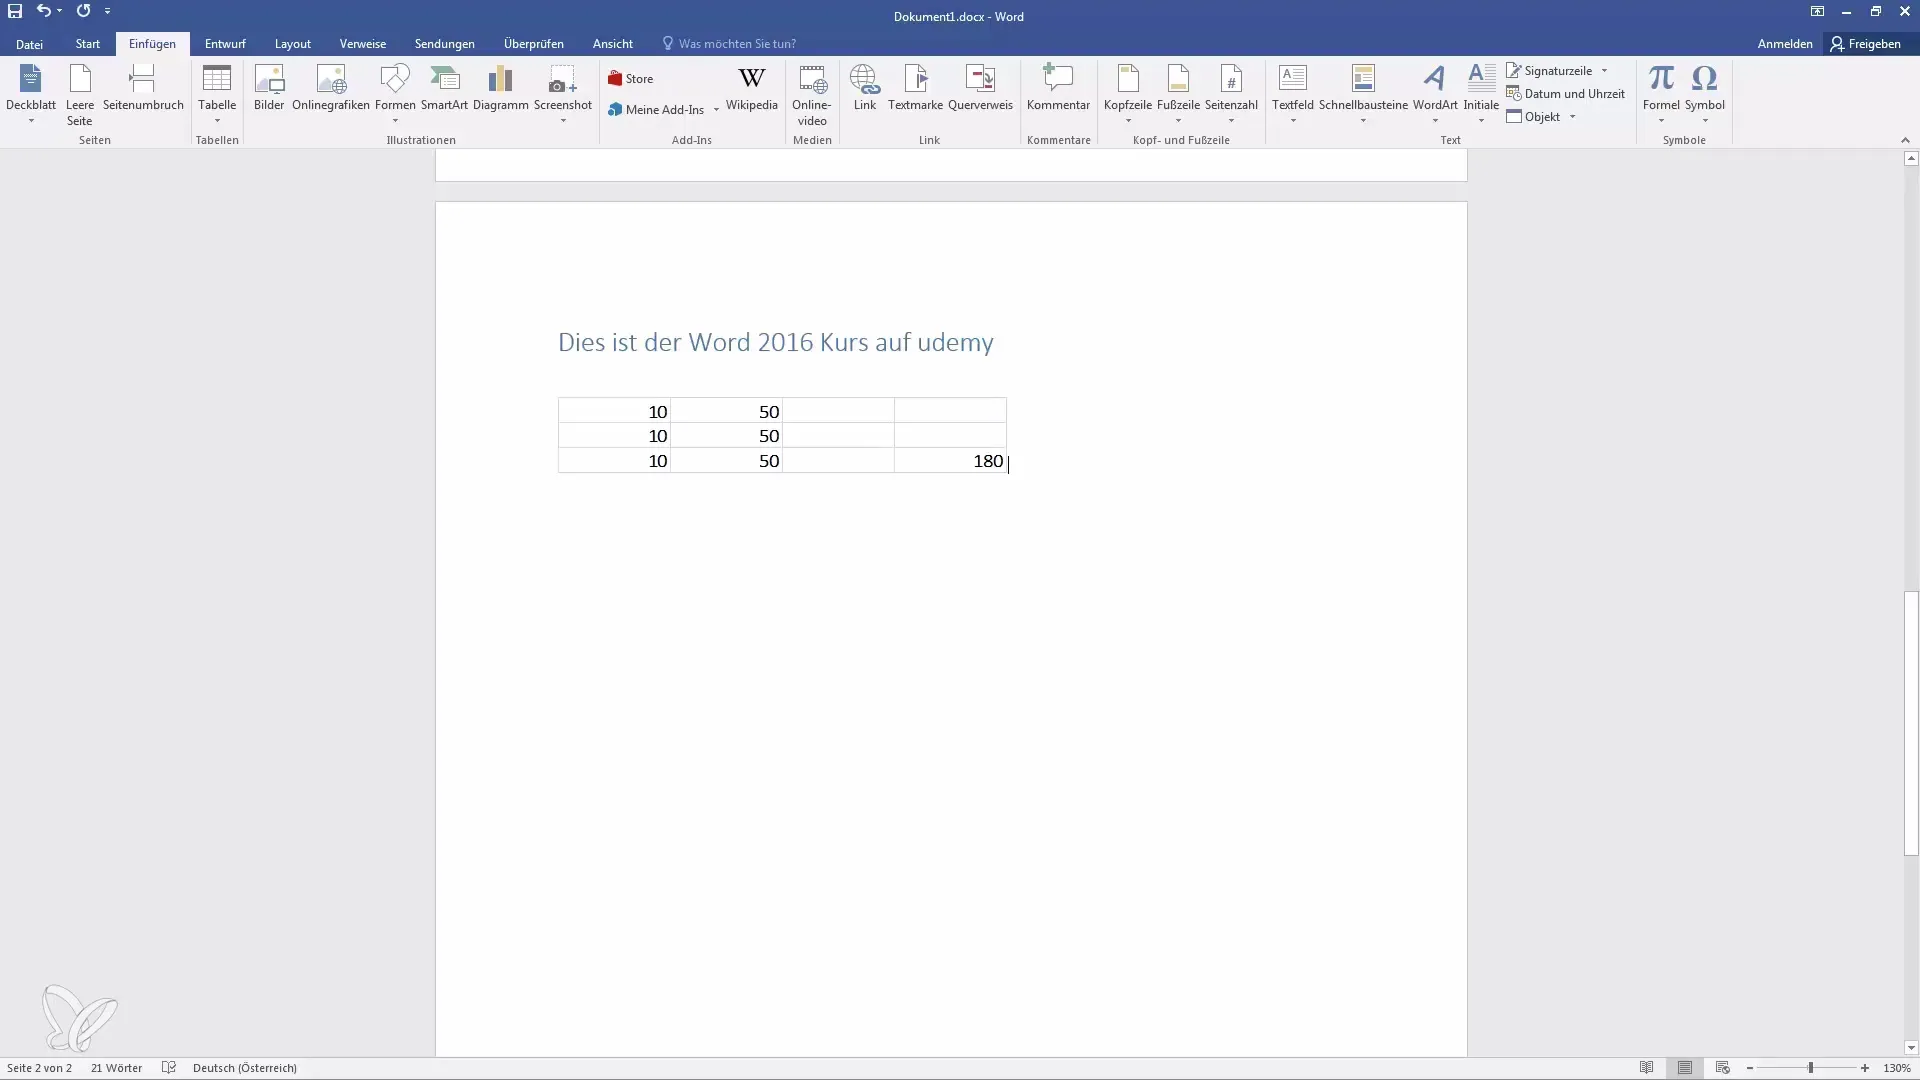
Here you can input the required data. After entering values, you can use Excel functions like sum to analyze your data. You can also make changes by clicking on the table to open the Excel application.
Step 4: Using Quick Tables
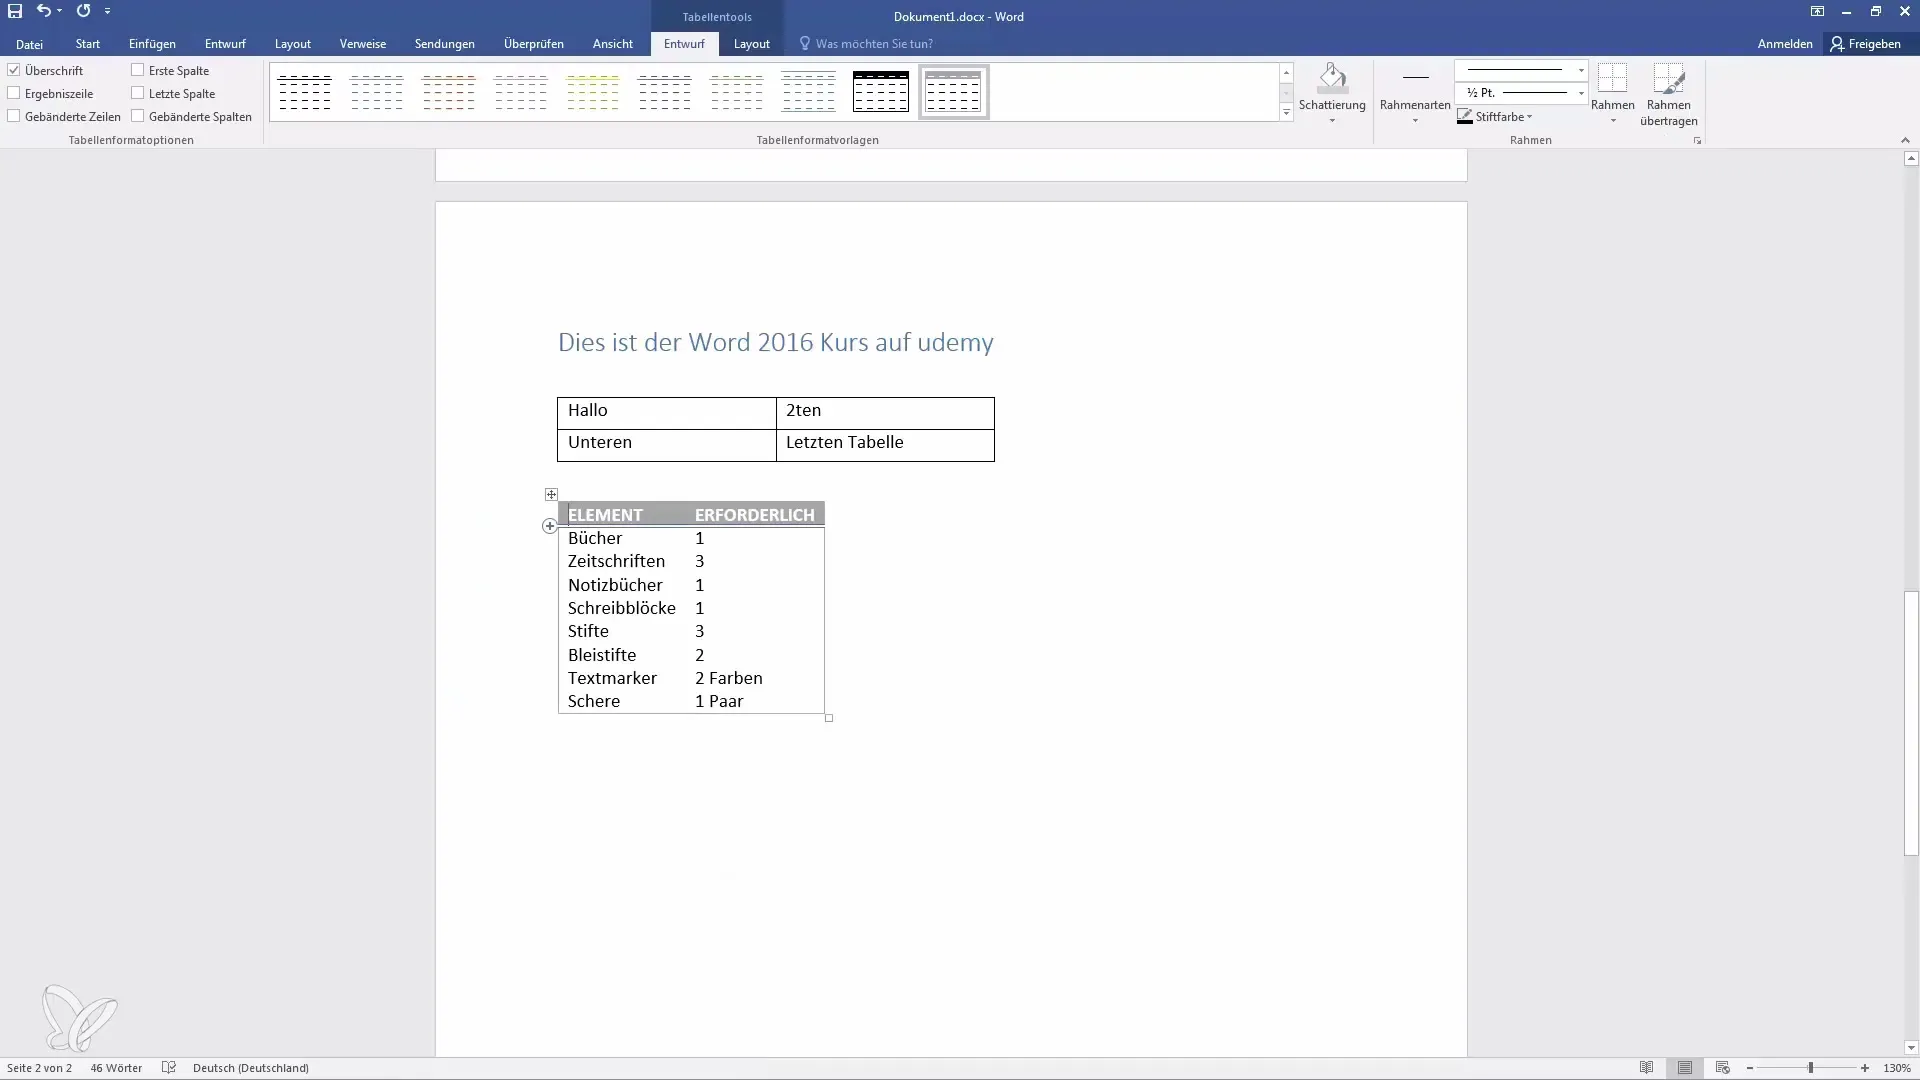
Word also offers the option to use pre-formatted "Quick Tables." Select "Quick Tables" from the Table tab and learn more about the provided templates.
These templates are useful if you want to quickly use a table of existing formats, such as for calendars or lists.
Step 5: Table Design
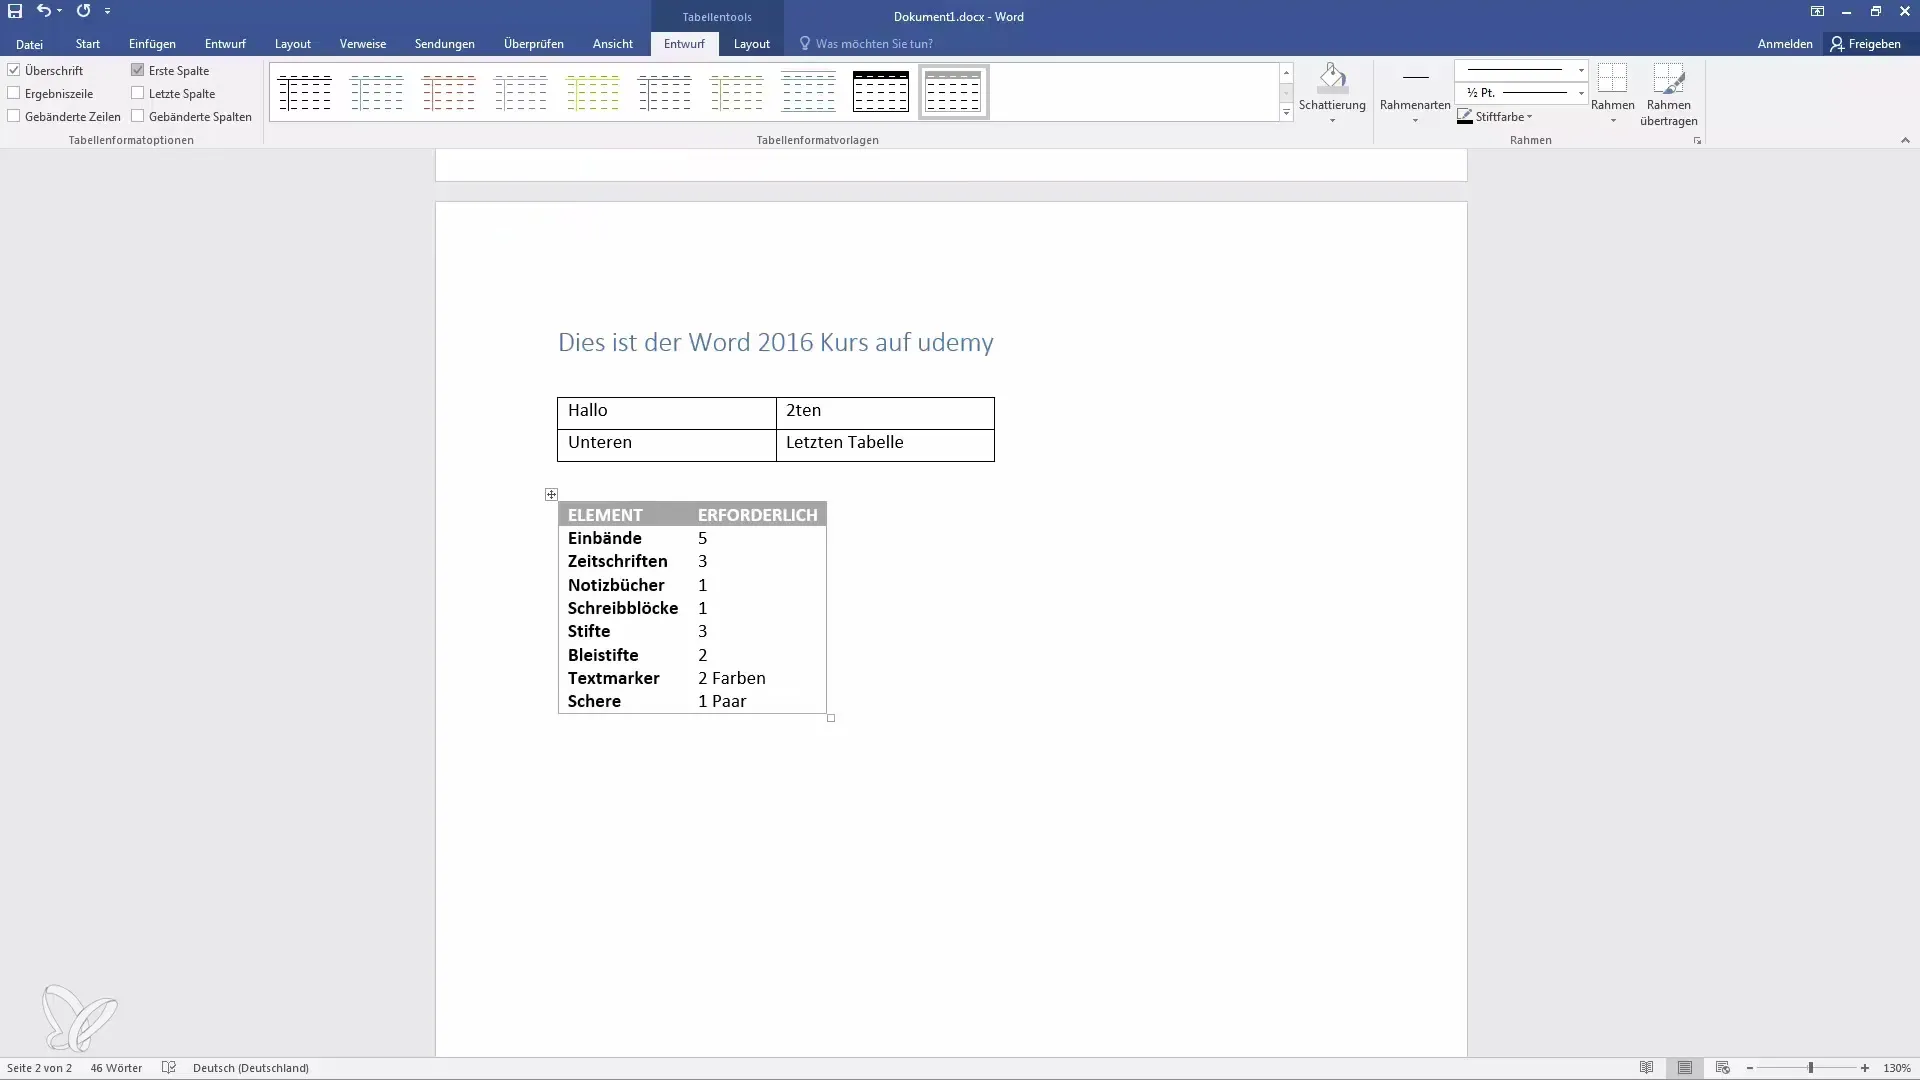
Once your table is inserted, you can customize it. Click on "Table Tools," select the "Design" section, and adjust the colors and styles of your table.
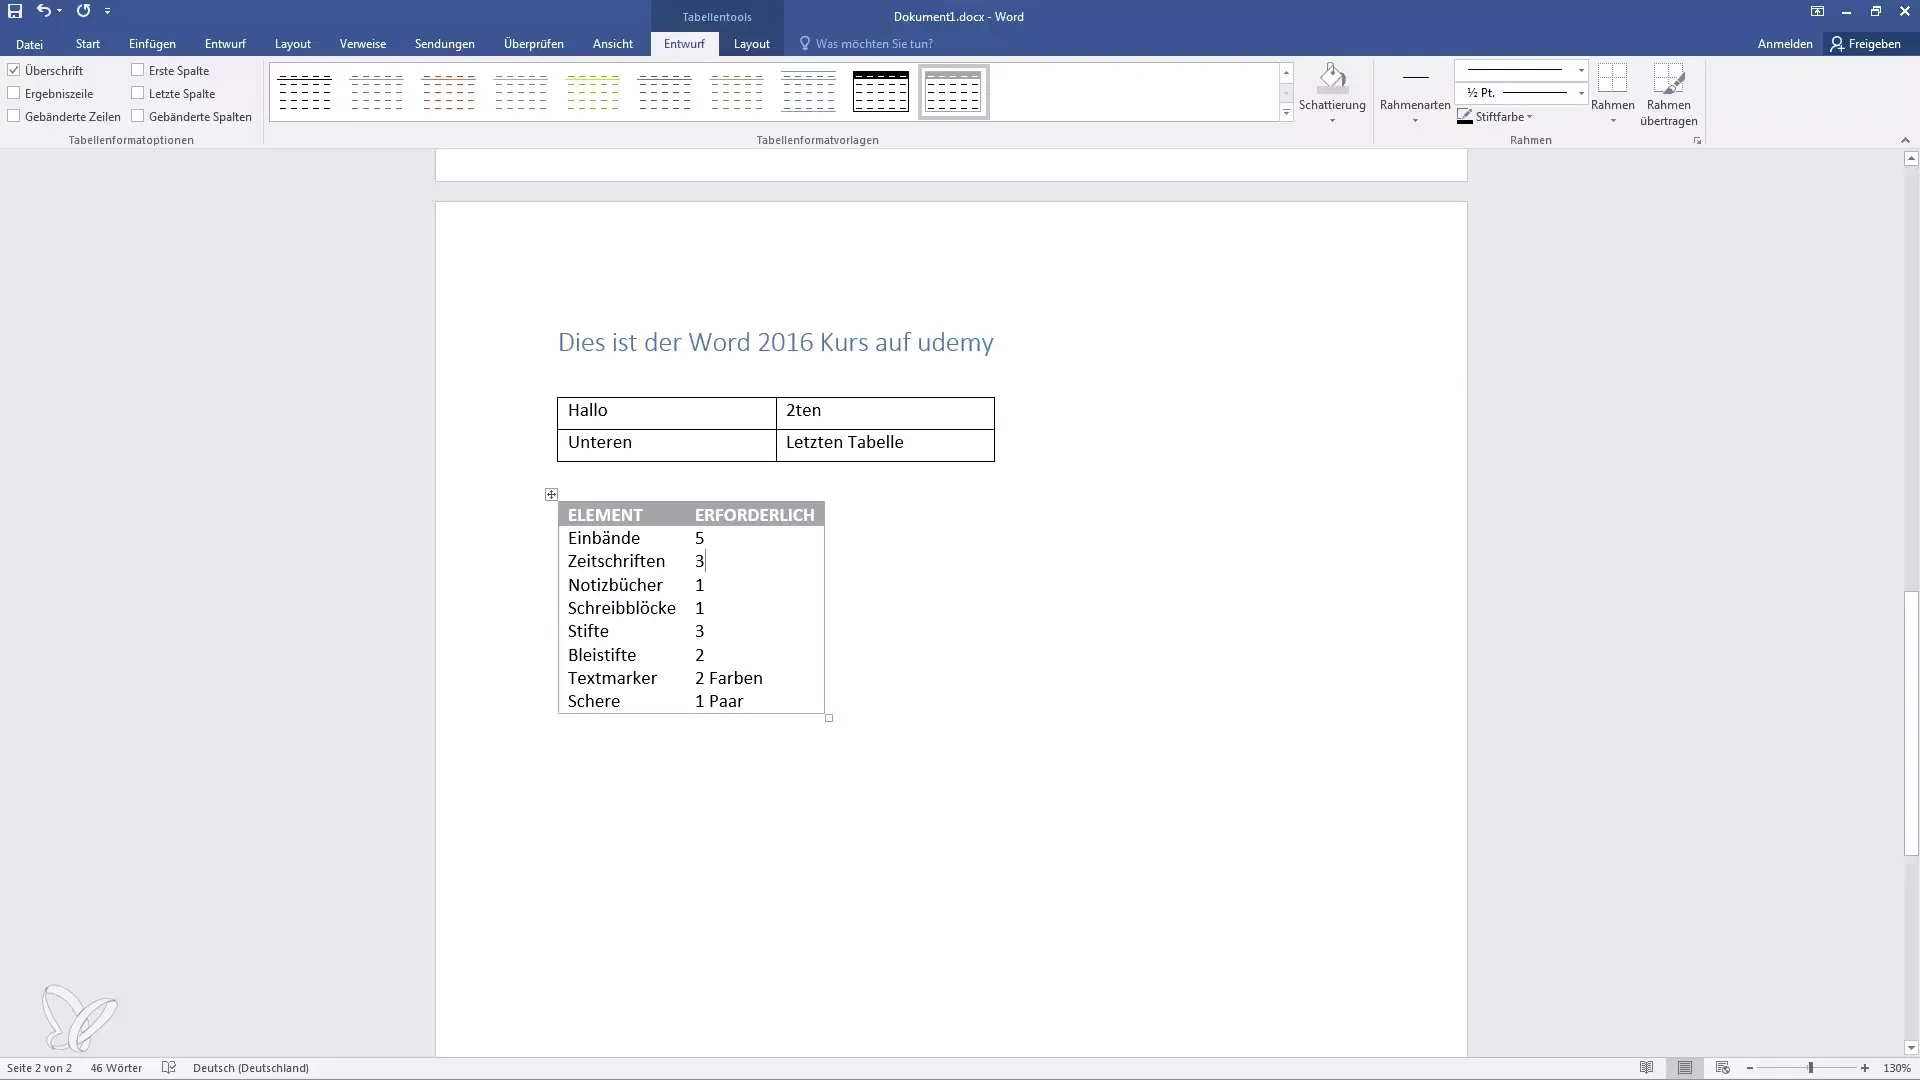
You can customize the header rows, integrate additional data, or add design elements like sums.
Step 6: Customizing Table Borders
You can create or customize borders around your tables by selecting the desired cells and choosing the border style.
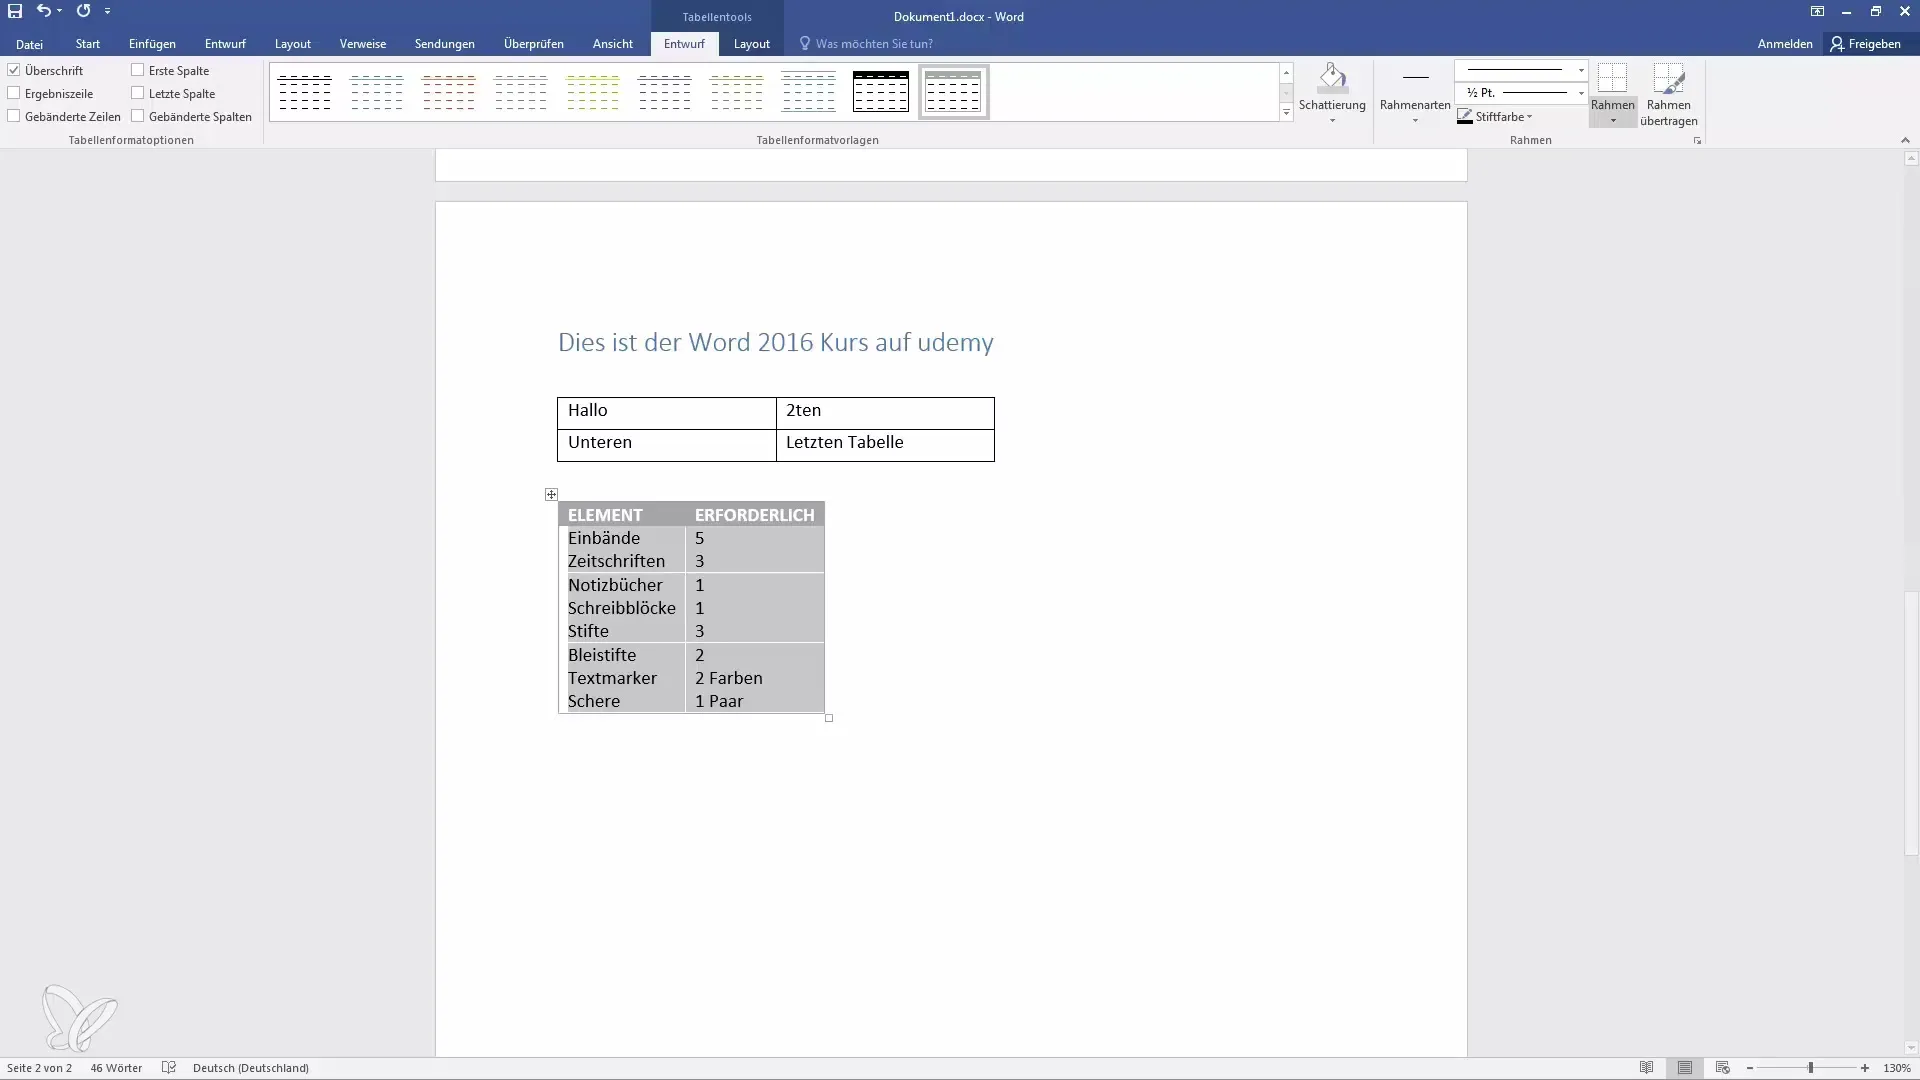
This way your tables will look more appealing and professional. To make full use of the document width, you can automatically adjust the table width or change it manually.
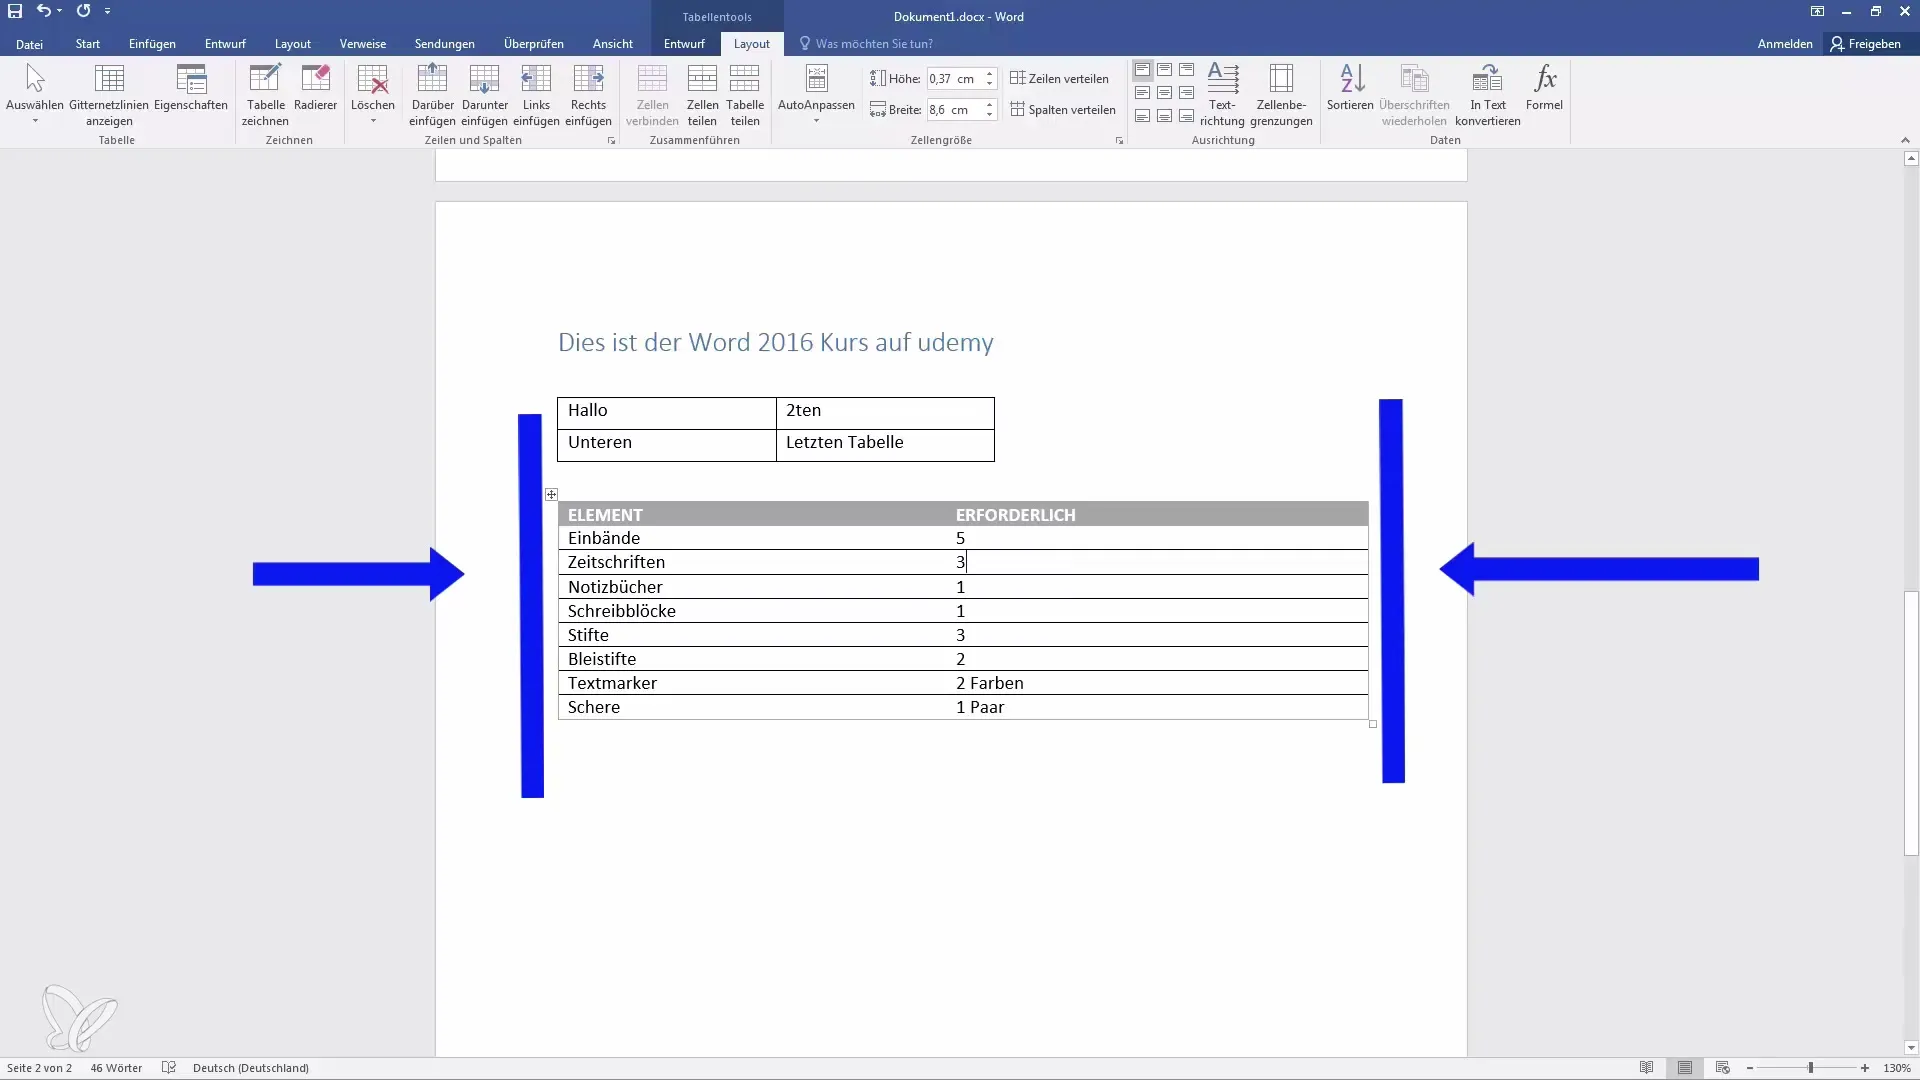
Step 7: Inserting or deleting rows and columns
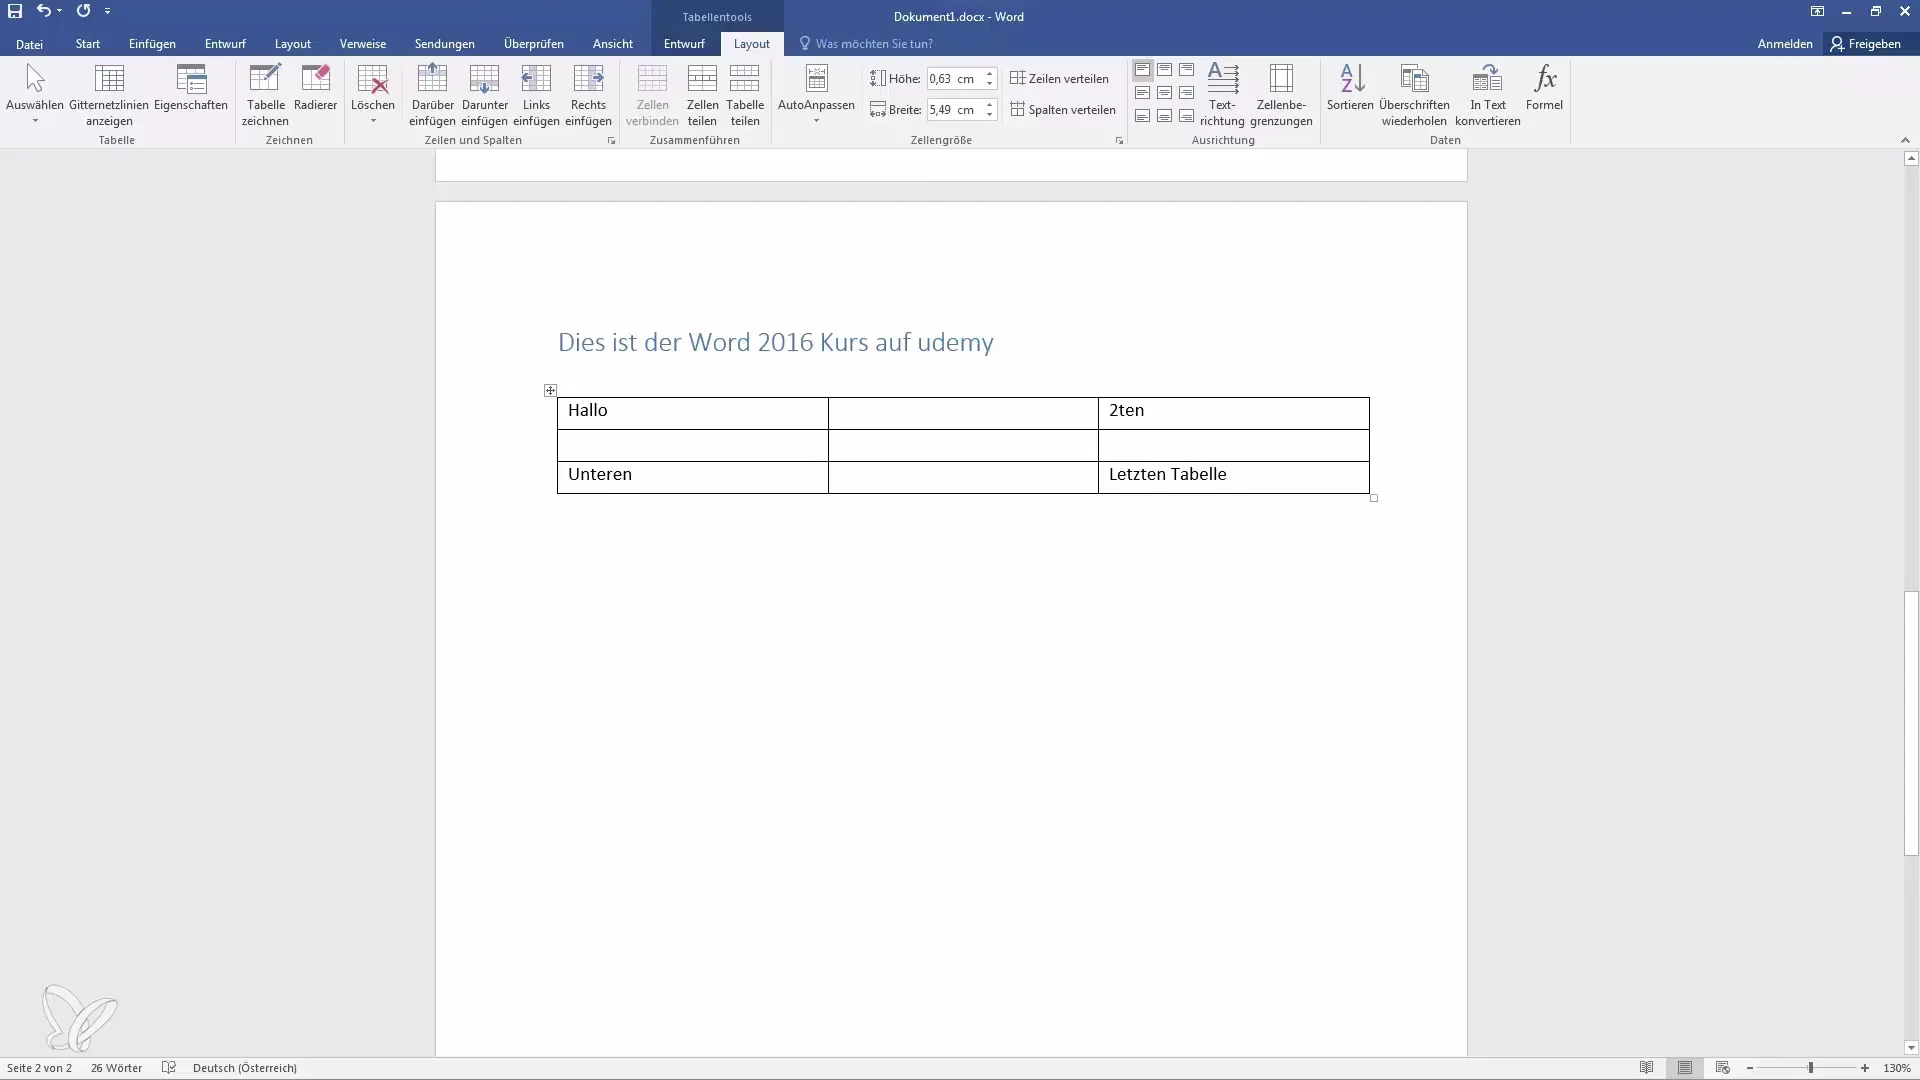
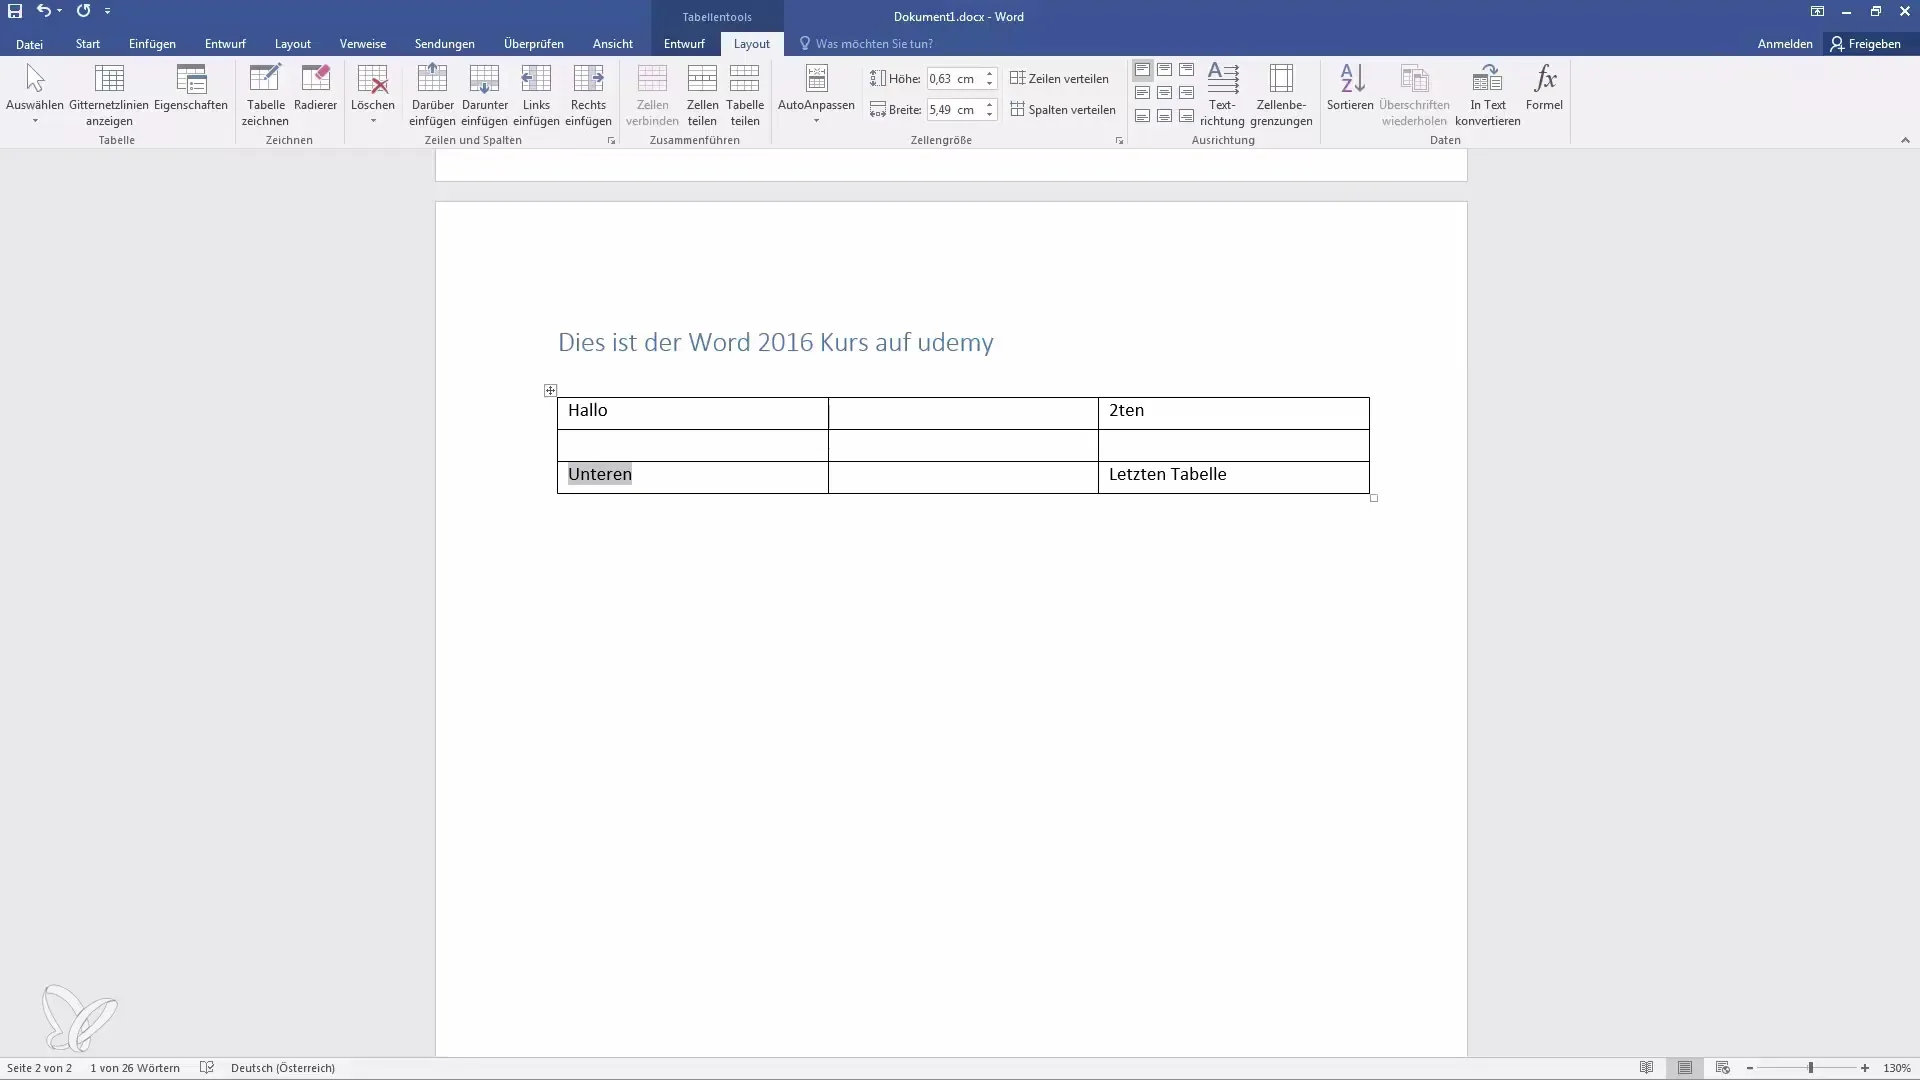
To add more rows or columns, go to "Table Tools", select the rows or columns, and choose the corresponding "insert" function.
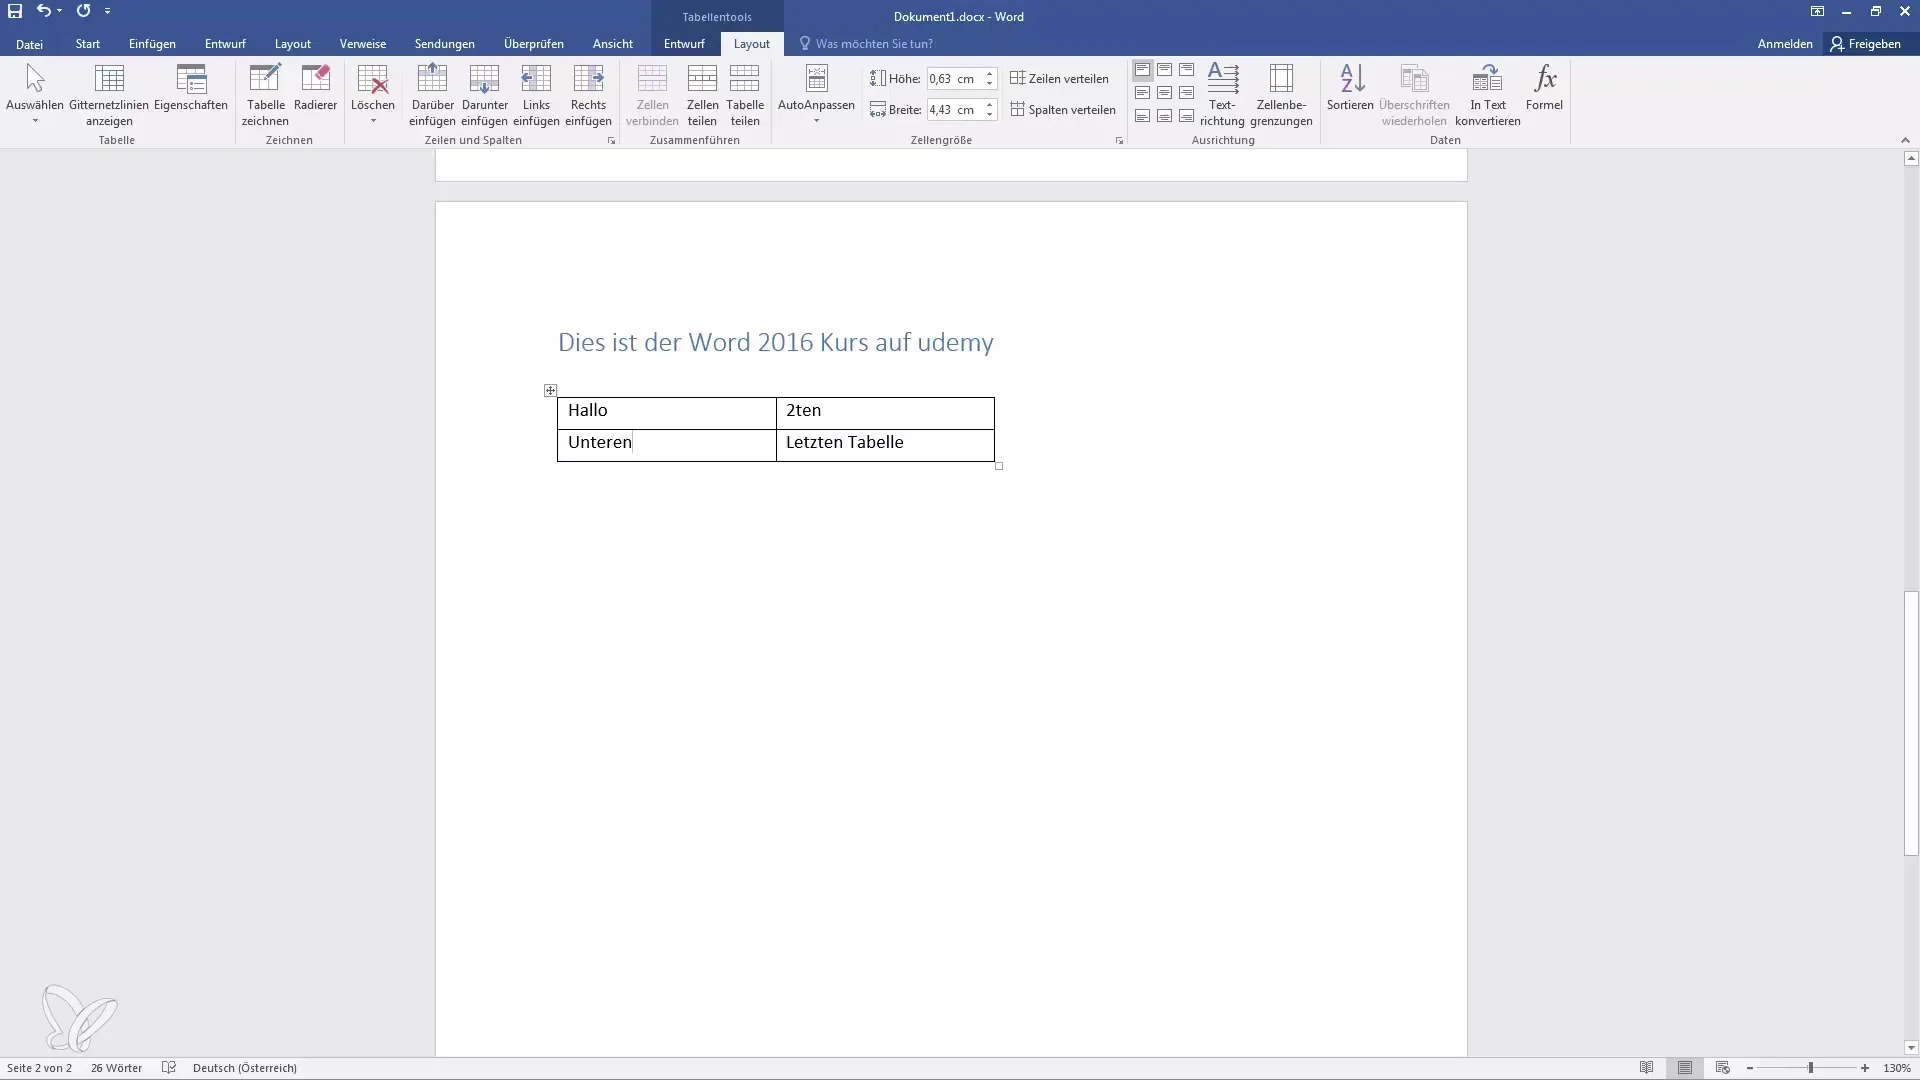
This way, you can flexibly adapt to the needs of your document.
Step 8: Using formatting options
Within the tables, you can also adjust the different fonts and paragraph styles to customize the appearance of the table to your style.
Summary
In this guide, you have learned everything important about inserting, adjusting, and deleting tables in Word. Whether simple tables or integrated Excel calculations - with these steps, you can design your documents clearly and professionally.
Frequently Asked Questions
How can I insert a table in Word?Go to "Insert" and choose "Table" to insert a table.
Can I insert Excel tables in Word?Yes, you can insert an Excel table to perform calculations within your Word document.
How can I adjust the layout of a table?Use the "Table Tools" and choose "Design" to change the layout of your table.
How do I add rows or columns?Select the desired row or column and go to "Table Tools" to choose "insert."
Can I use preformatted tables?Yes, Word offers the "Quick Tables" option with pre-made formats that you can use.


