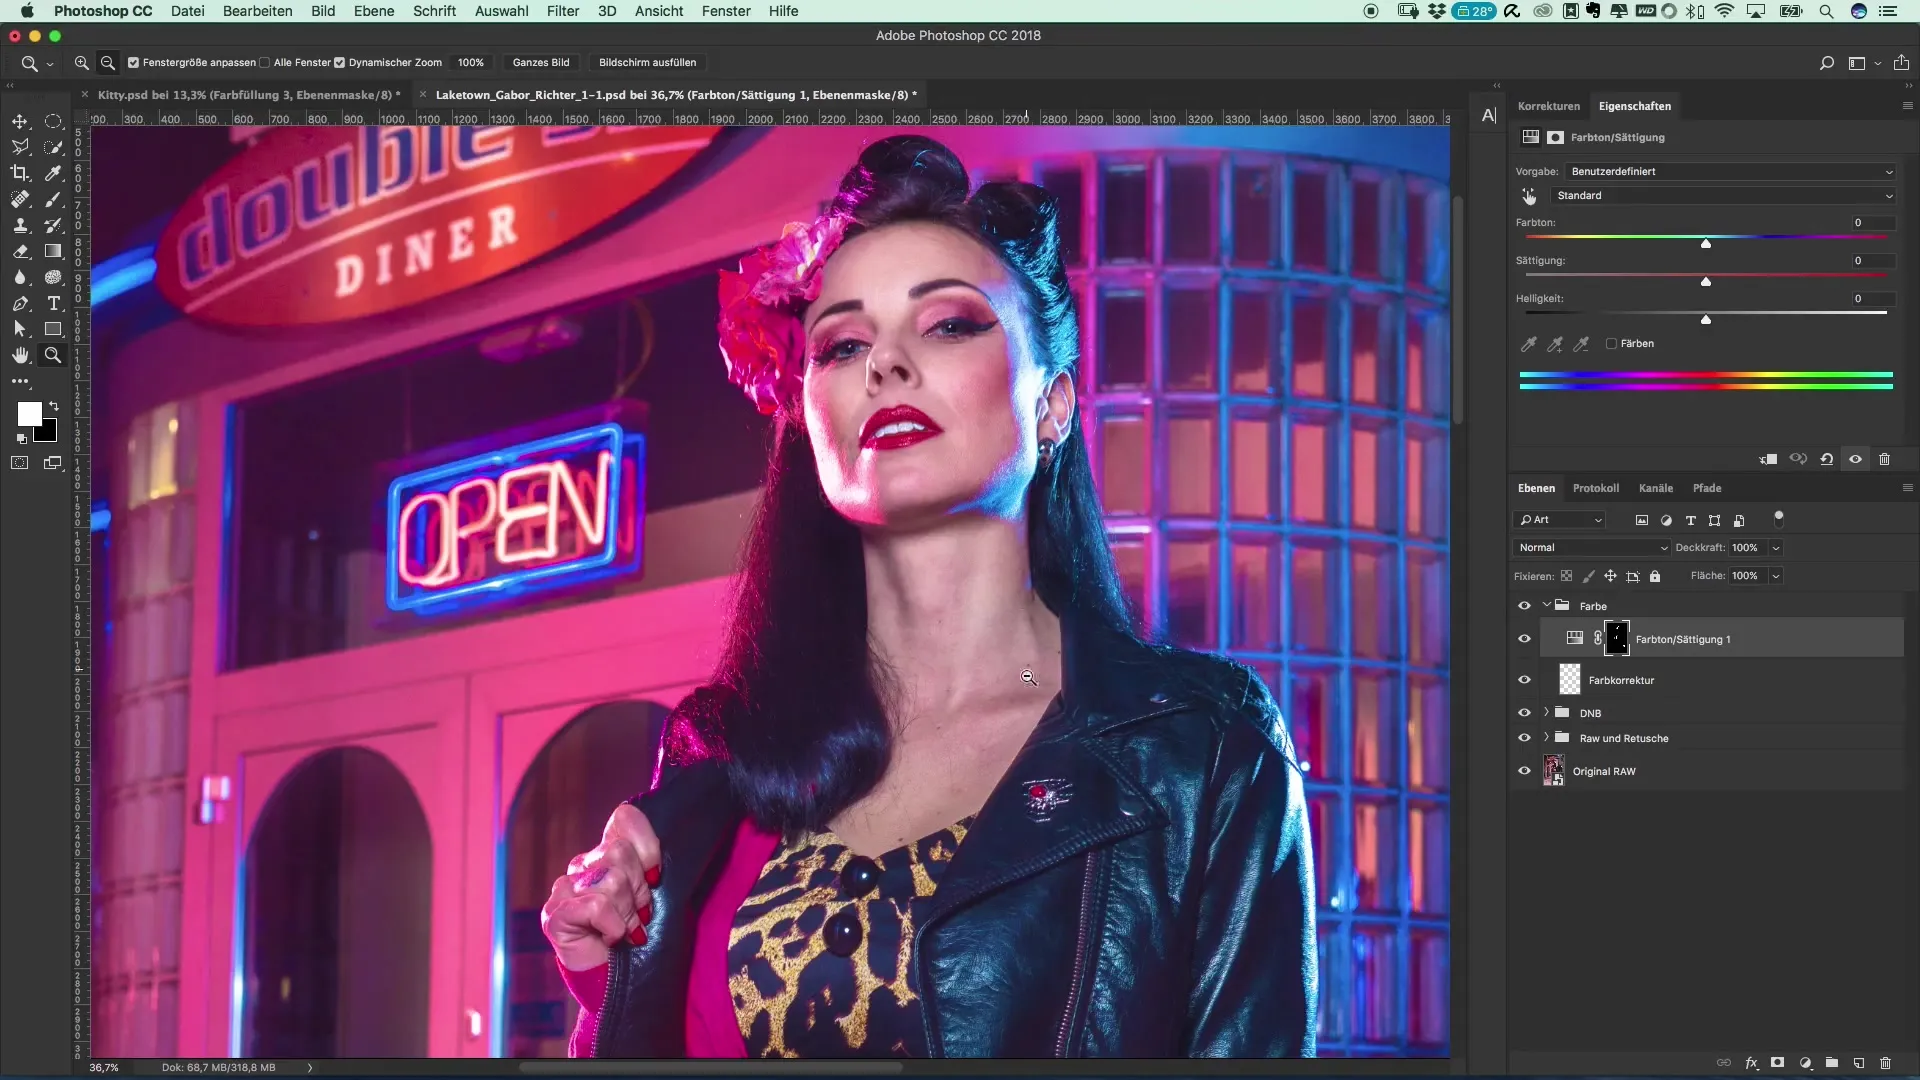
The game with colors can be the decisive element for the visual impression of a photograph. In this tutorial, I will show you how to specifically edit and adjust colors in Photoshop to achieve the desired result. In the case of our subject, it is about setting targeted color accents that support the atmosphere of the image. Let’s find out together how you can enhance your portraits with the right color.
Main insights
- The choice of colors can significantly change the mood of an image.
- With adjustment layers and the right mix of filters, you enhance the visual impact.
- Patience and subsequent adjustments are crucial for the final result.
Step-by-Step Guide
First, we will look at the color selection and the lighting conditions that were not optimal during the shoot. However, we can correct many things in Photoshop.
Step 1: Select Color and Create First Adjustment Layer
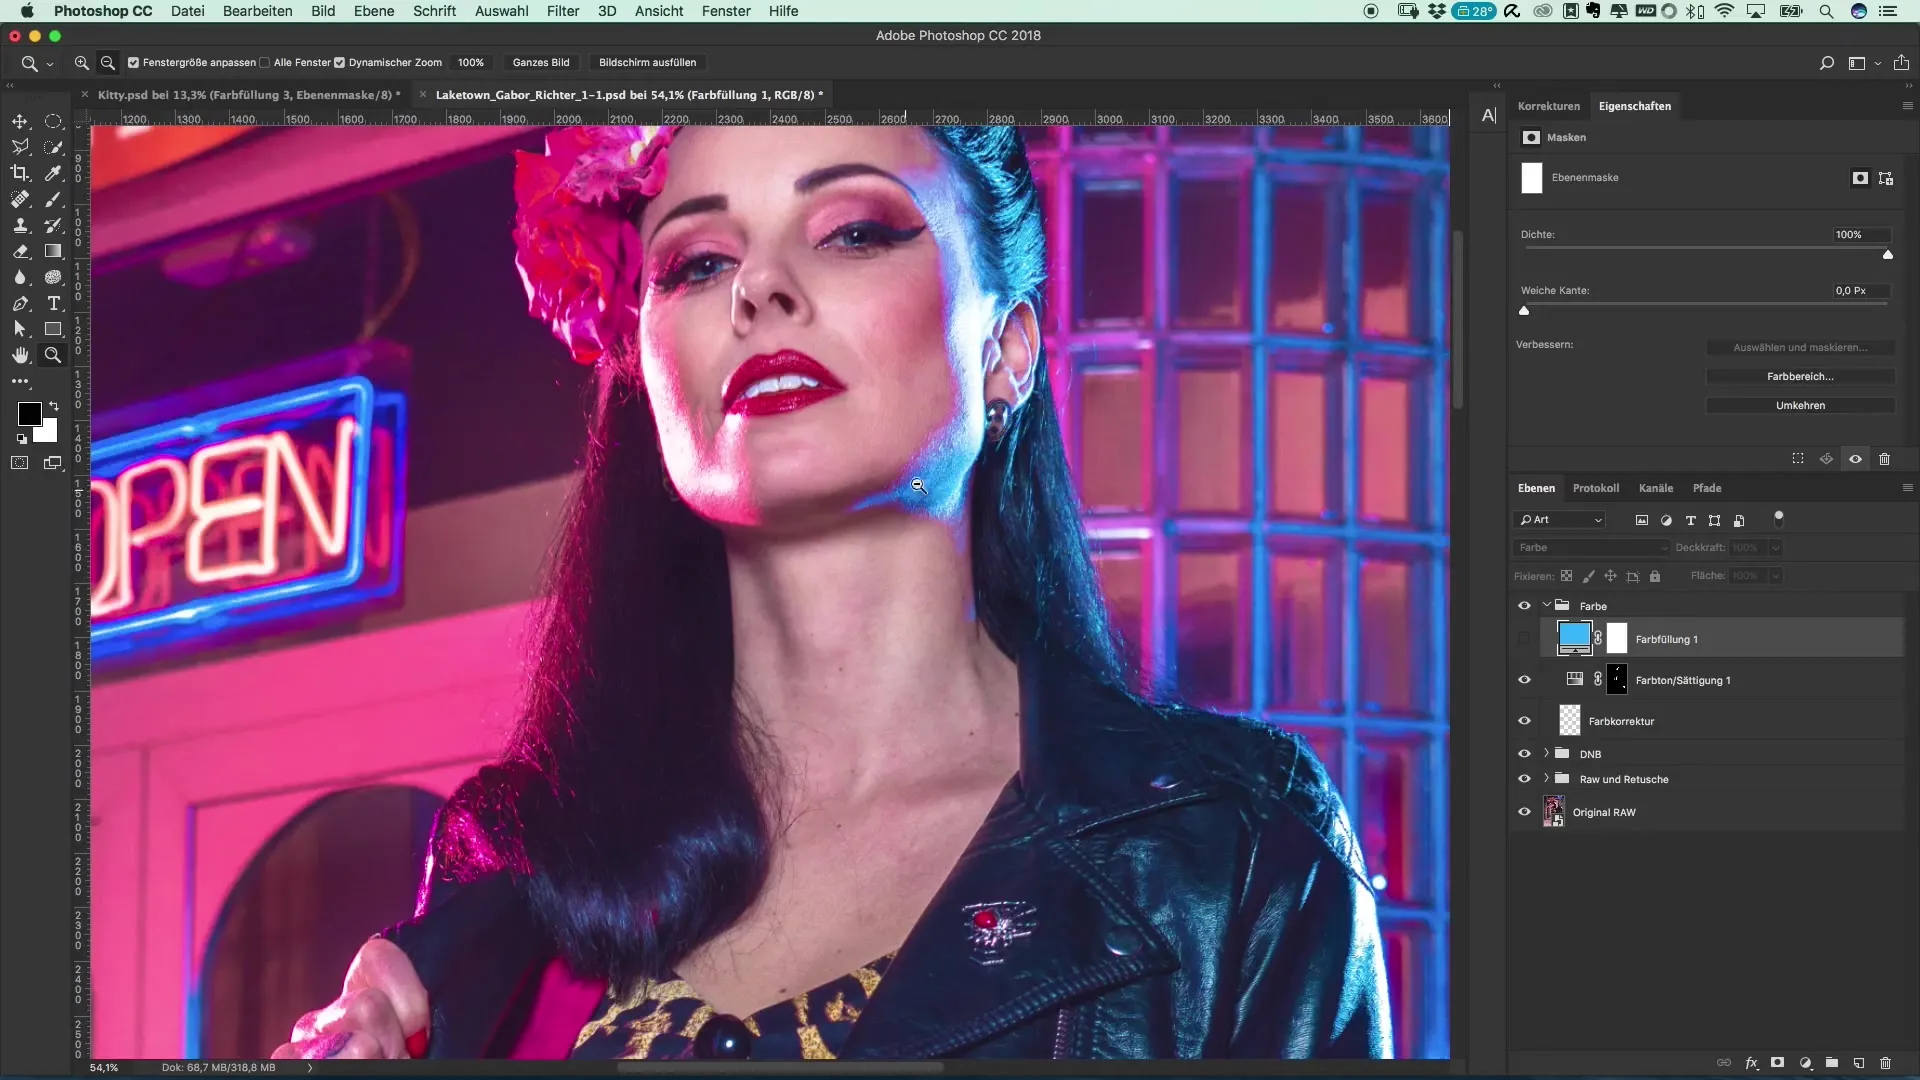
First, you will select the base color for your image. Start by creating a new adjustment layer in Photoshop, specifically a color fill. You will initially be offered the color black, which you do not need right now. Leave the layer hidden. Now you will select a color of your own that looks good on the image.

Step 2: Choosing the Colors
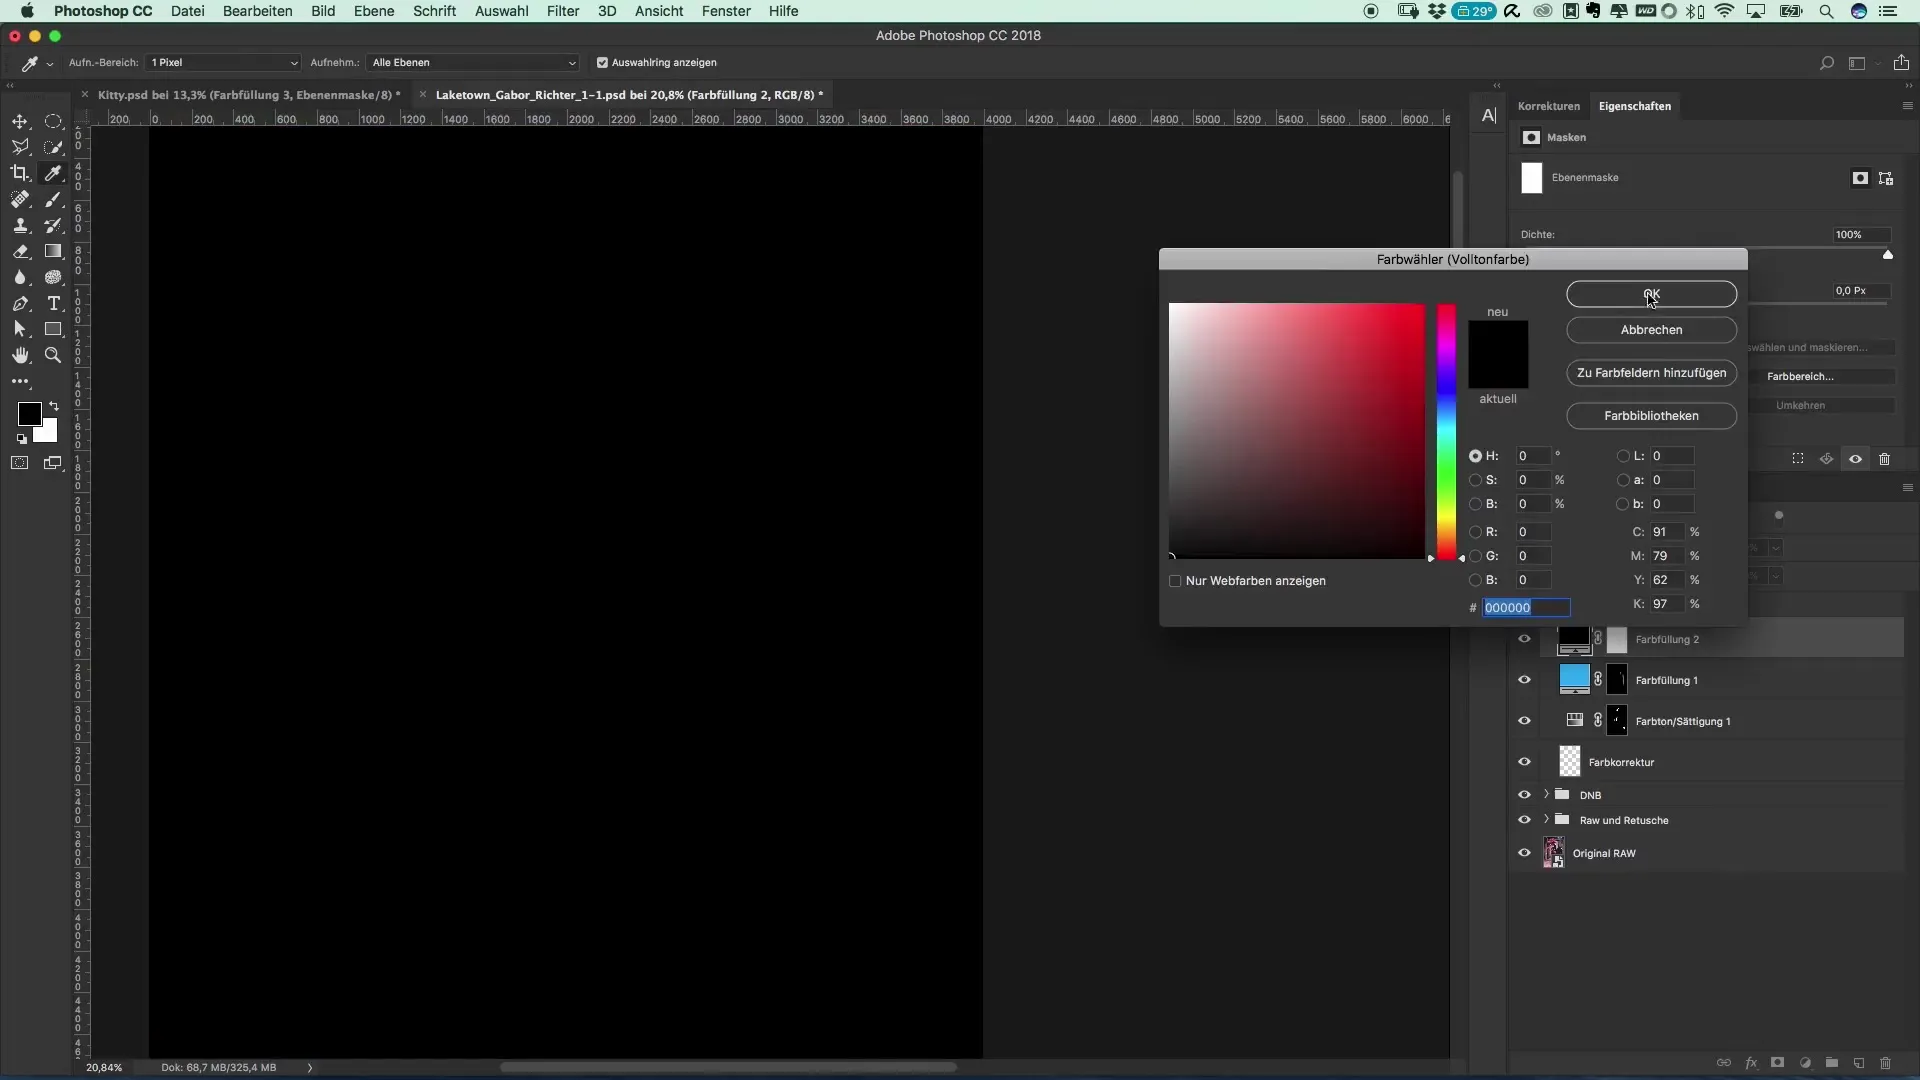
To choose the right color, double-click on the color fill and select a solid color. Be careful not to select the overexposed areas, as they do not contain any color. Choose a pleasing shade of blue that you like.

Step 3: Change Blending and Method
Now that you have selected the color, reactivate the layer. You now have a uniform blue on your image, which may not have the desired effect. As the next step, you should change the blending mode. Select the option "overlay". Hopefully, you will like the result better.

Step 4: Color Adjustment
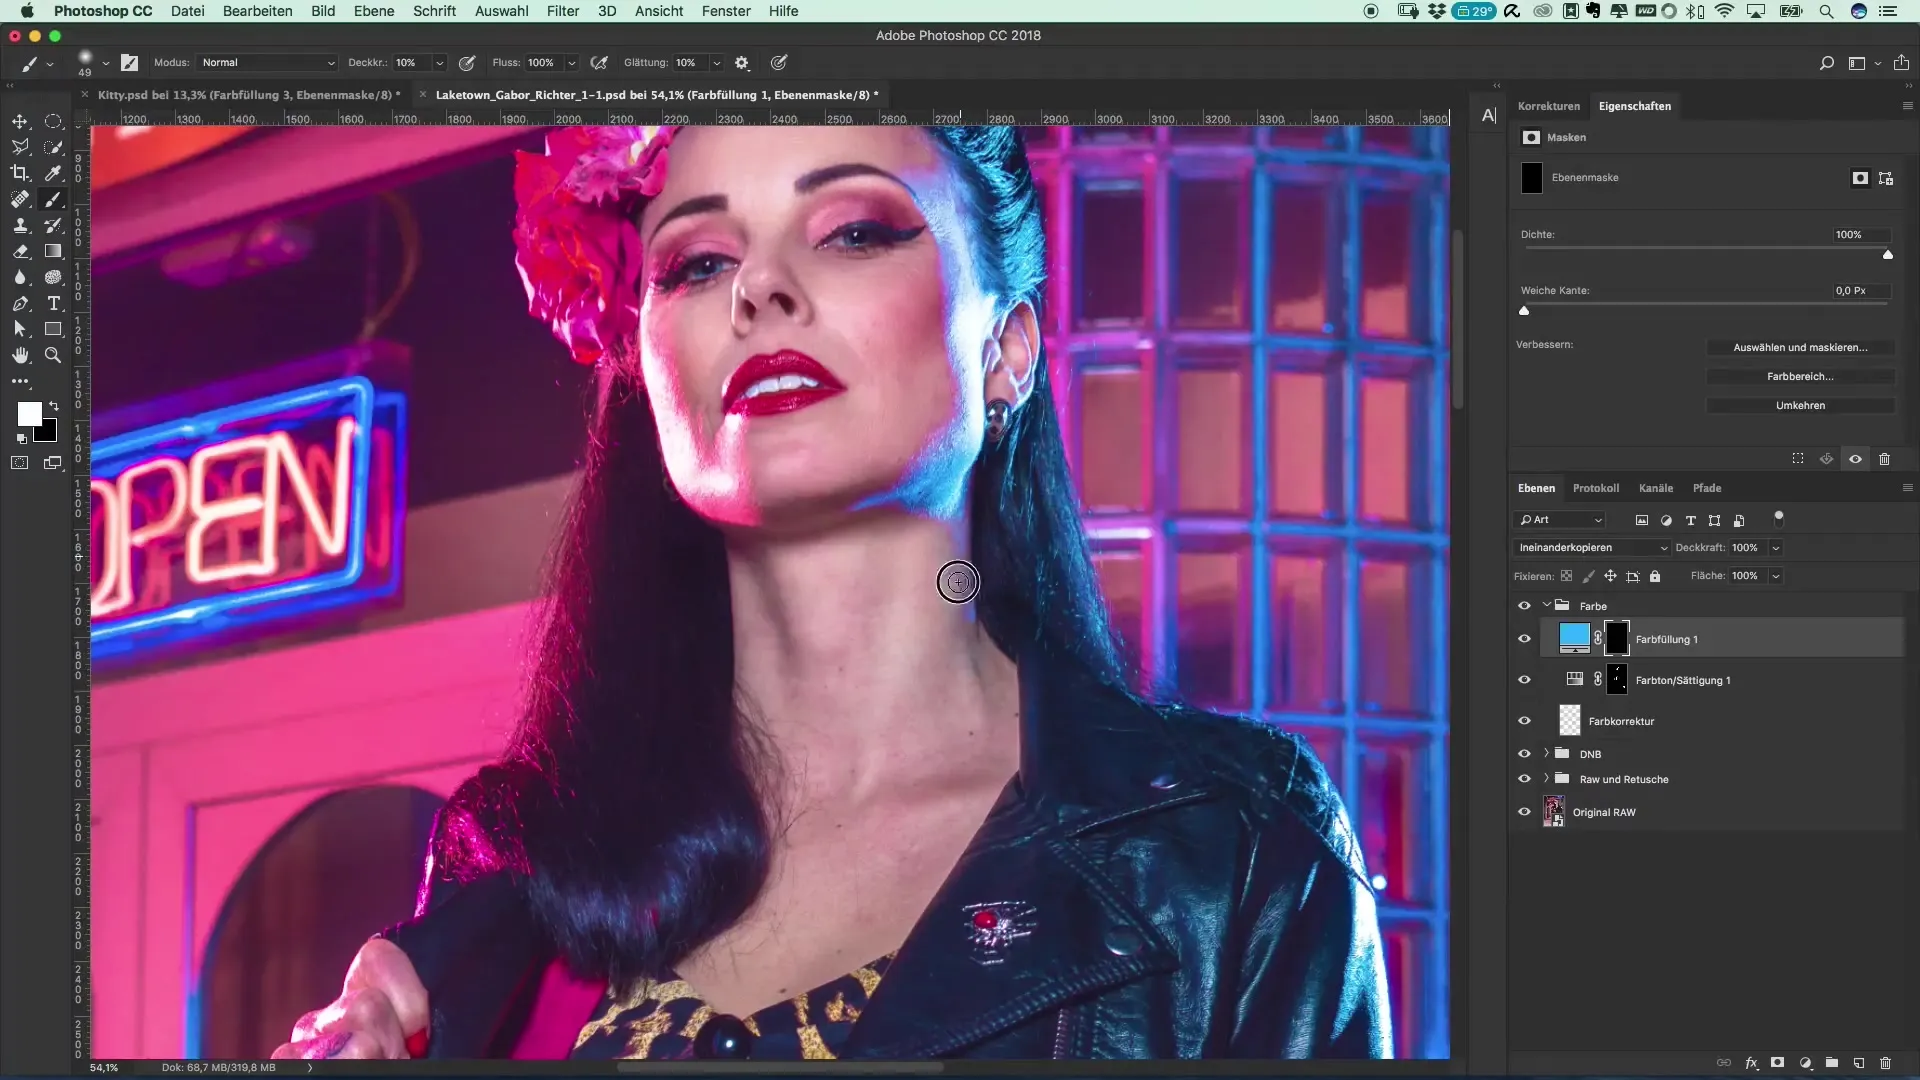
To achieve the perfect hue for your image, now use your brush tool. Reduce its size and select an appropriate opacity of about 10%. Now brush over the areas where you want to apply the color. Repeat this step multiple times to create a uniform tone.

Step 5: Additional Color Changes
Once you are done with the blue, you can also consider adding more accents to the image. This means you can intensify the blue tone for the jacket or other areas of the shot as well. It can look nice to bring some color into the hair.

Step 6: Editing Other Hues
Next, we will move to the other side of the image, where you want to apply a magenta color. Repeat the steps, but this time select the appropriate magenta color. The same method as before should be used here.

Step 7: Finalizing and Corrections
Check your image after the color adjustment. You have the option to make corrections at any time, for example, if the chosen magenta color does not look perfect. Reduce the saturation or adjust the colors in the adjustment layer. Remember not to finish your image immediately. Let it settle, go have a coffee or watch something, and then come back to make final adjustments.

Summary – Popular Movie Posters and Cinema Effects: The Style of Riverdale
Working with colors deliberately in Photoshop can fundamentally improve the presentation of your portraits. By creating adjustment layers and skillfully using colors, you can create an unforgettable atmosphere. With patience and the right technique, the most impressive results are achievable.
Frequently Asked Questions
What are rim lights and why are they important?Rim lights add color and depth to the face and can support the image dramatically.
How can I create a new color layer in Photoshop?Go to "Layers" > "New Adjustment Layer" > "Color Fill".
What should I do if I don’t like the color?You can change the color selection and adjust the settings at any time.
How important are blending modes in Photoshop?Blending modes determine how colors interact with each other and are crucial for the final look of your image.
Can I also adjust colors afterwards?Yes, you can make adjustments at any time as long as the layers are active.


