If you want to enhance and create a more harmonious look for your photographs, color corrections are an effective means to achieve that. Particularly, the combination of cinematic styles like in the popular “Riverdale” offers you exciting approaches to put your subjects in the right light. In this guide, we will show you how to make targeted color corrections to remove unwanted color casts and achieve an aesthetic overall image. The following steps are easy to implement and require no special knowledge in image editing.
Key insights
- Color adjustments can significantly enhance the overall image.
- Removing color casts from the face contributes to harmonizing the subject.
- A structured color correction ensures a professional result.
Step-by-step guide
Preparing color corrections
To improve the colors specifically, you should first categorize the color corrections into their own group. Create a new group and name it “Color.” This structure helps you keep track of your adjustments and allows you to make further corrections later.

Create an empty layer
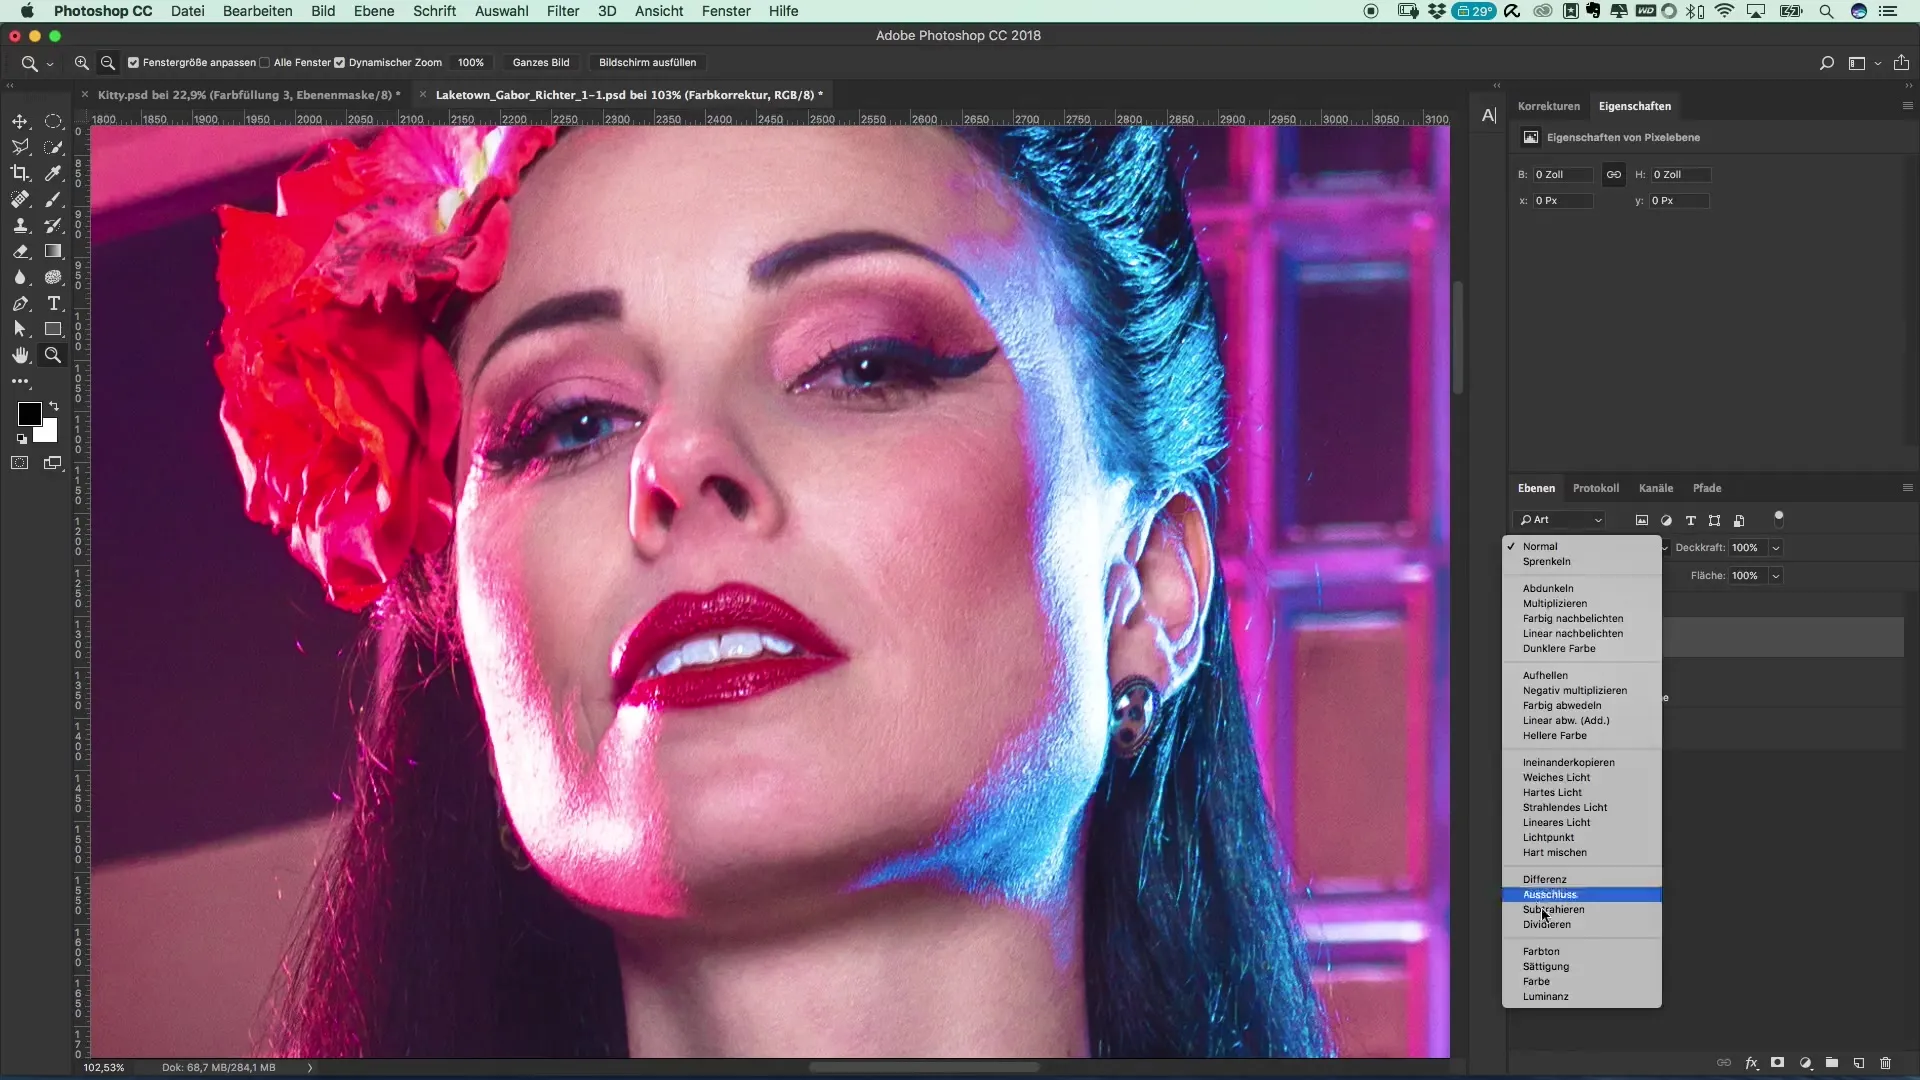
Now focus on creating a new empty layer that you call “Color Correction.” Set the blending mode of this layer to “Color.” With this new layer, you can now apply corrective painting techniques to adjust the hues precisely.
Set the right brush
To perform color corrections visually appealingly, select a brush with about 10% opacity. You will notice that a higher opacity can initially be beneficial because it helps you see the results more quickly. Set the brush size to about the size of the nose to ensure precise application.
Pick up the hue
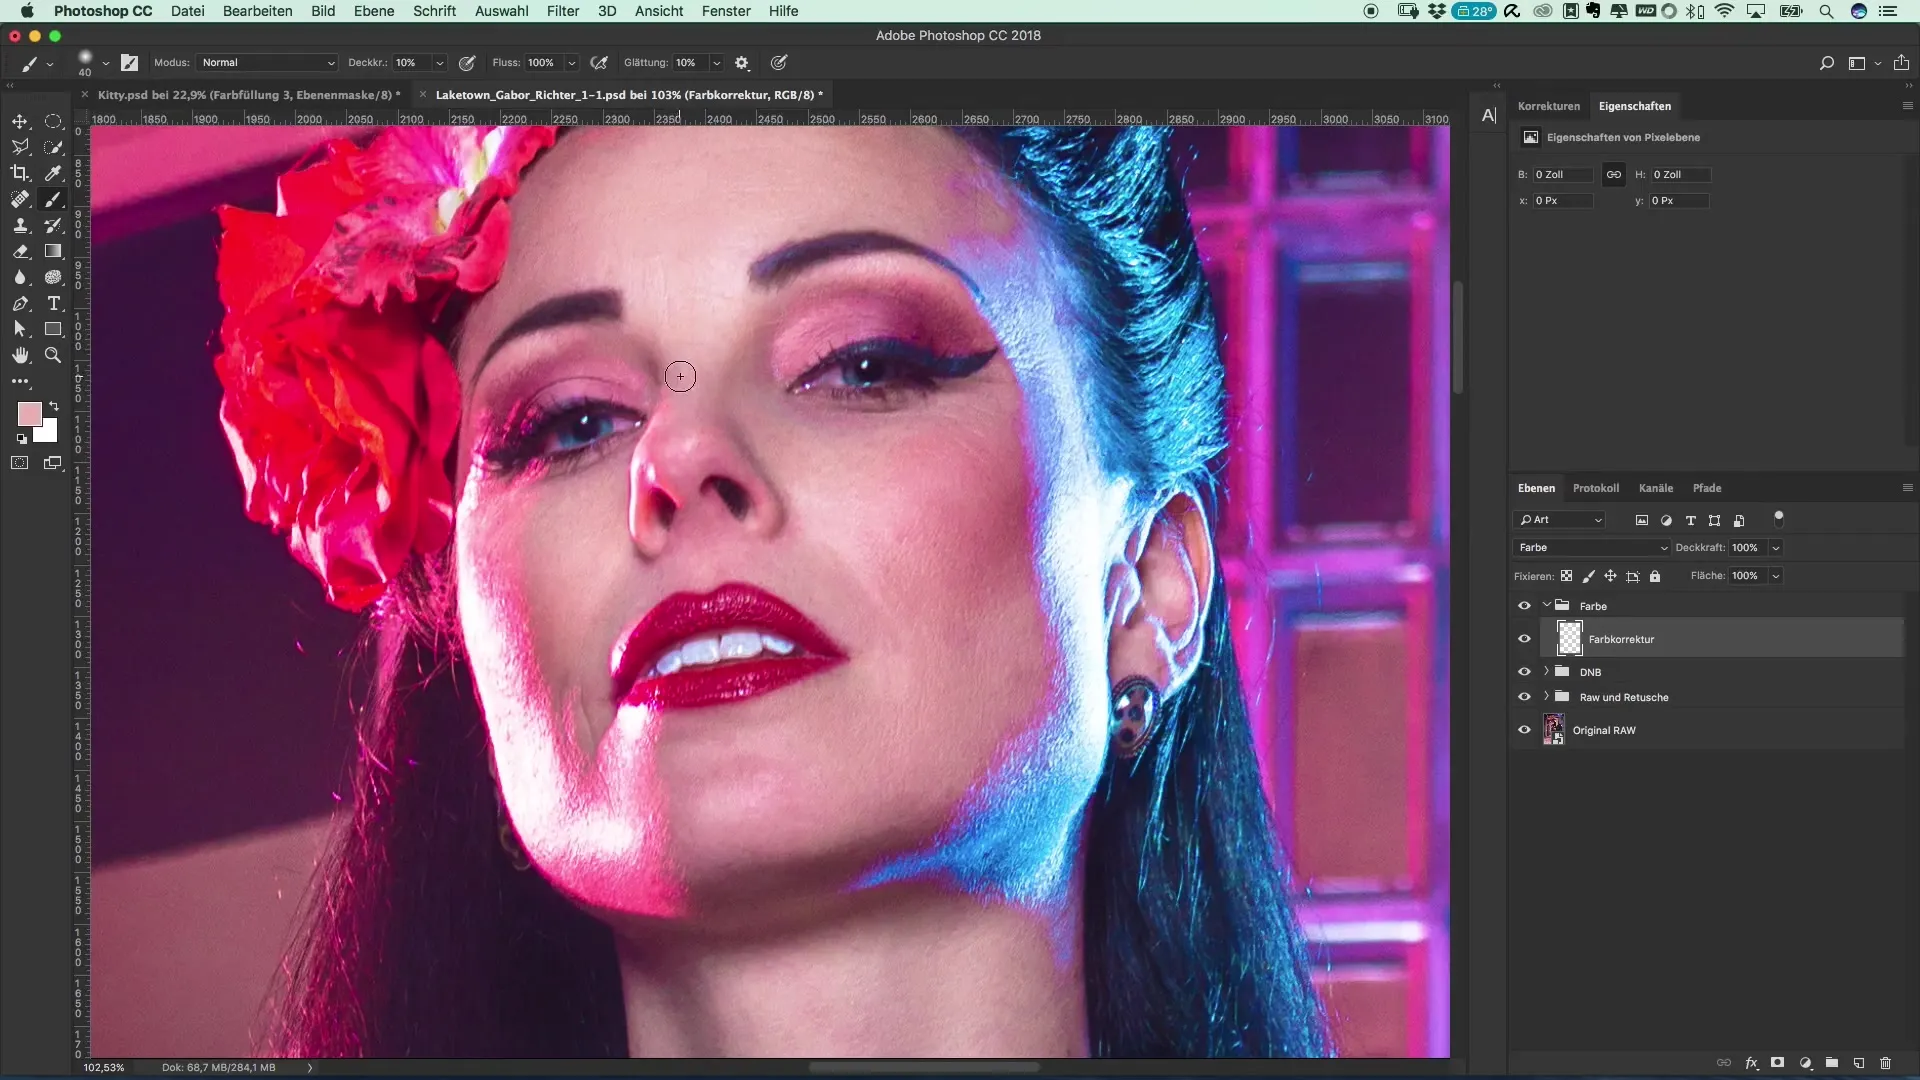
The next step is to hold the Alt key and use the eyedropper to select a reference color. Choose a color from the facial area that appears harmonious to you and best fits the desired look. Start applying these colors to the corresponding areas by brushing over the selected spots multiple times to achieve an even result.
Focus on the face
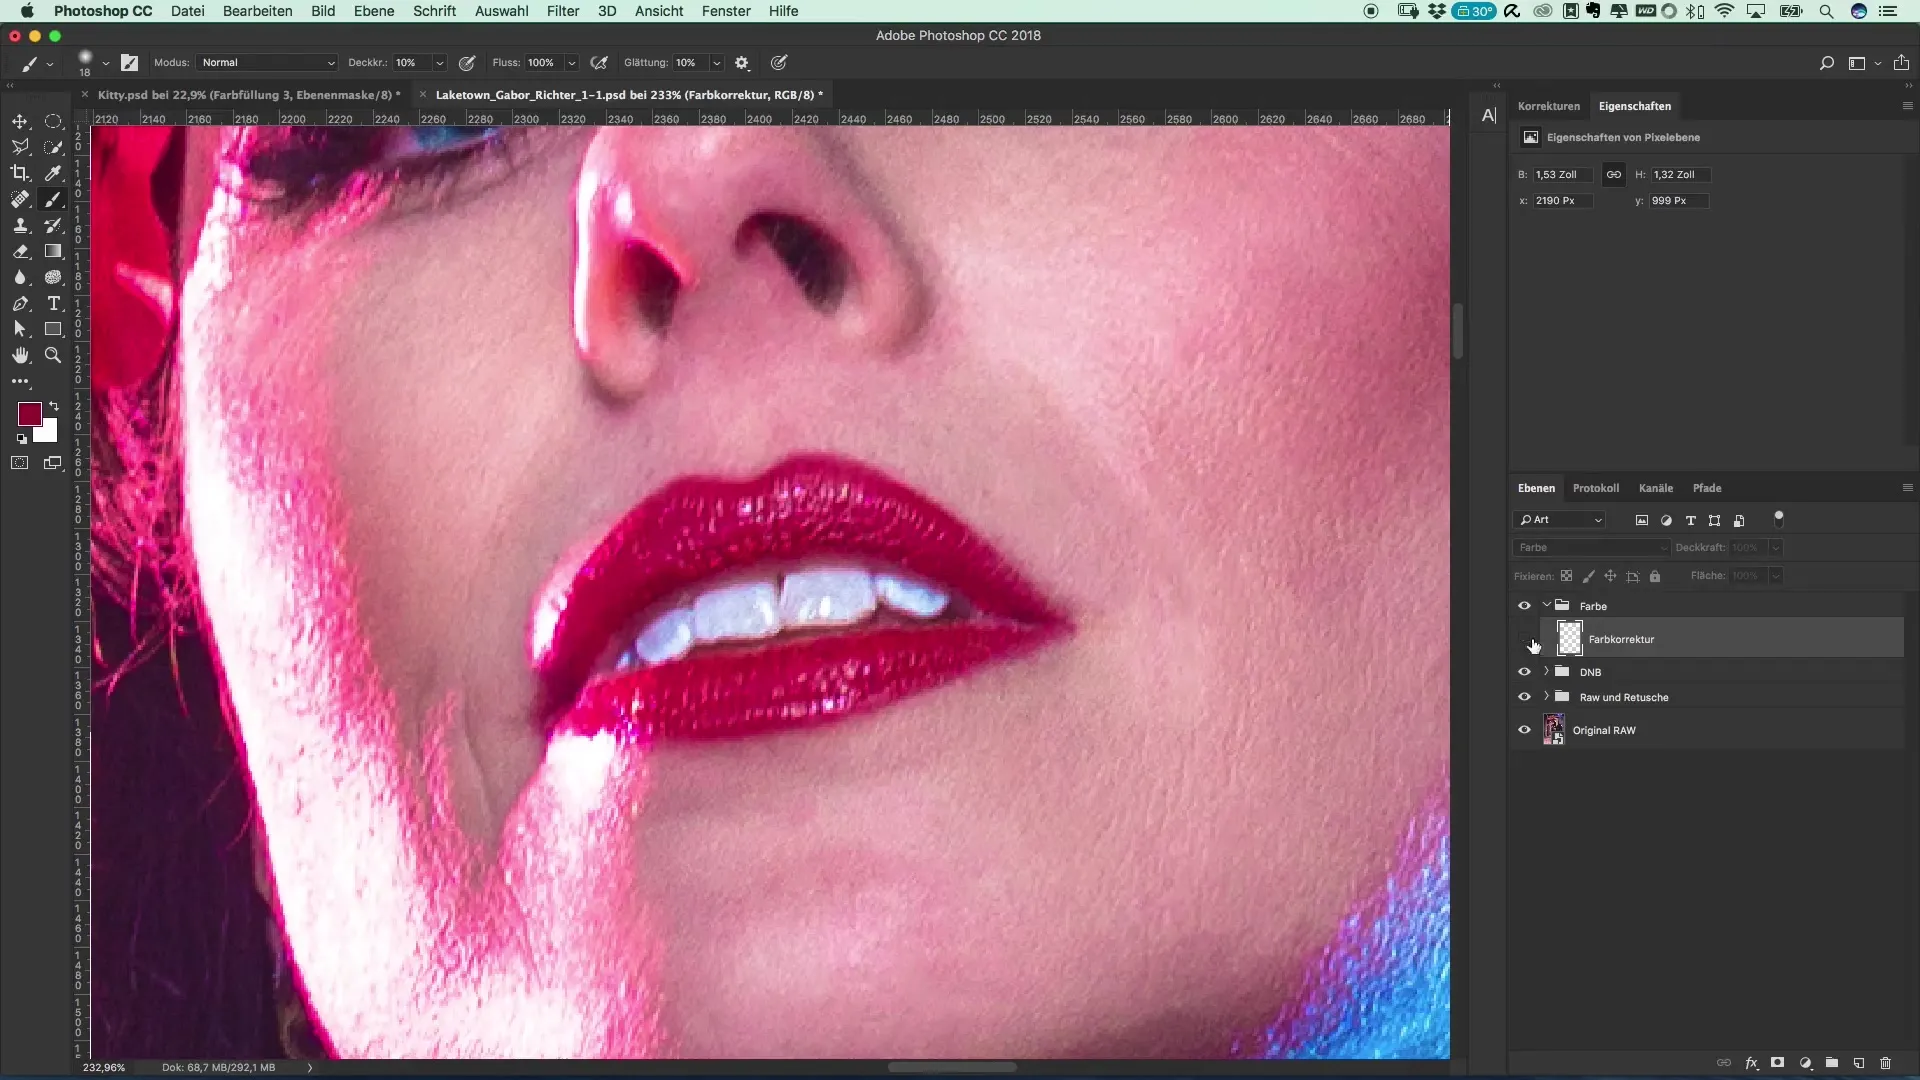
Now it’s important to also look at other areas of the face. Make sure to direct your attention to the lips and eyebrows. For example, choose a soft red tone for the lips to avoid overstating them while simultaneously reducing red circles under the eyes to achieve a fresher look. This can be done by painting over the critical areas until the desired color harmony is achieved.
Reduce unwanted red tones
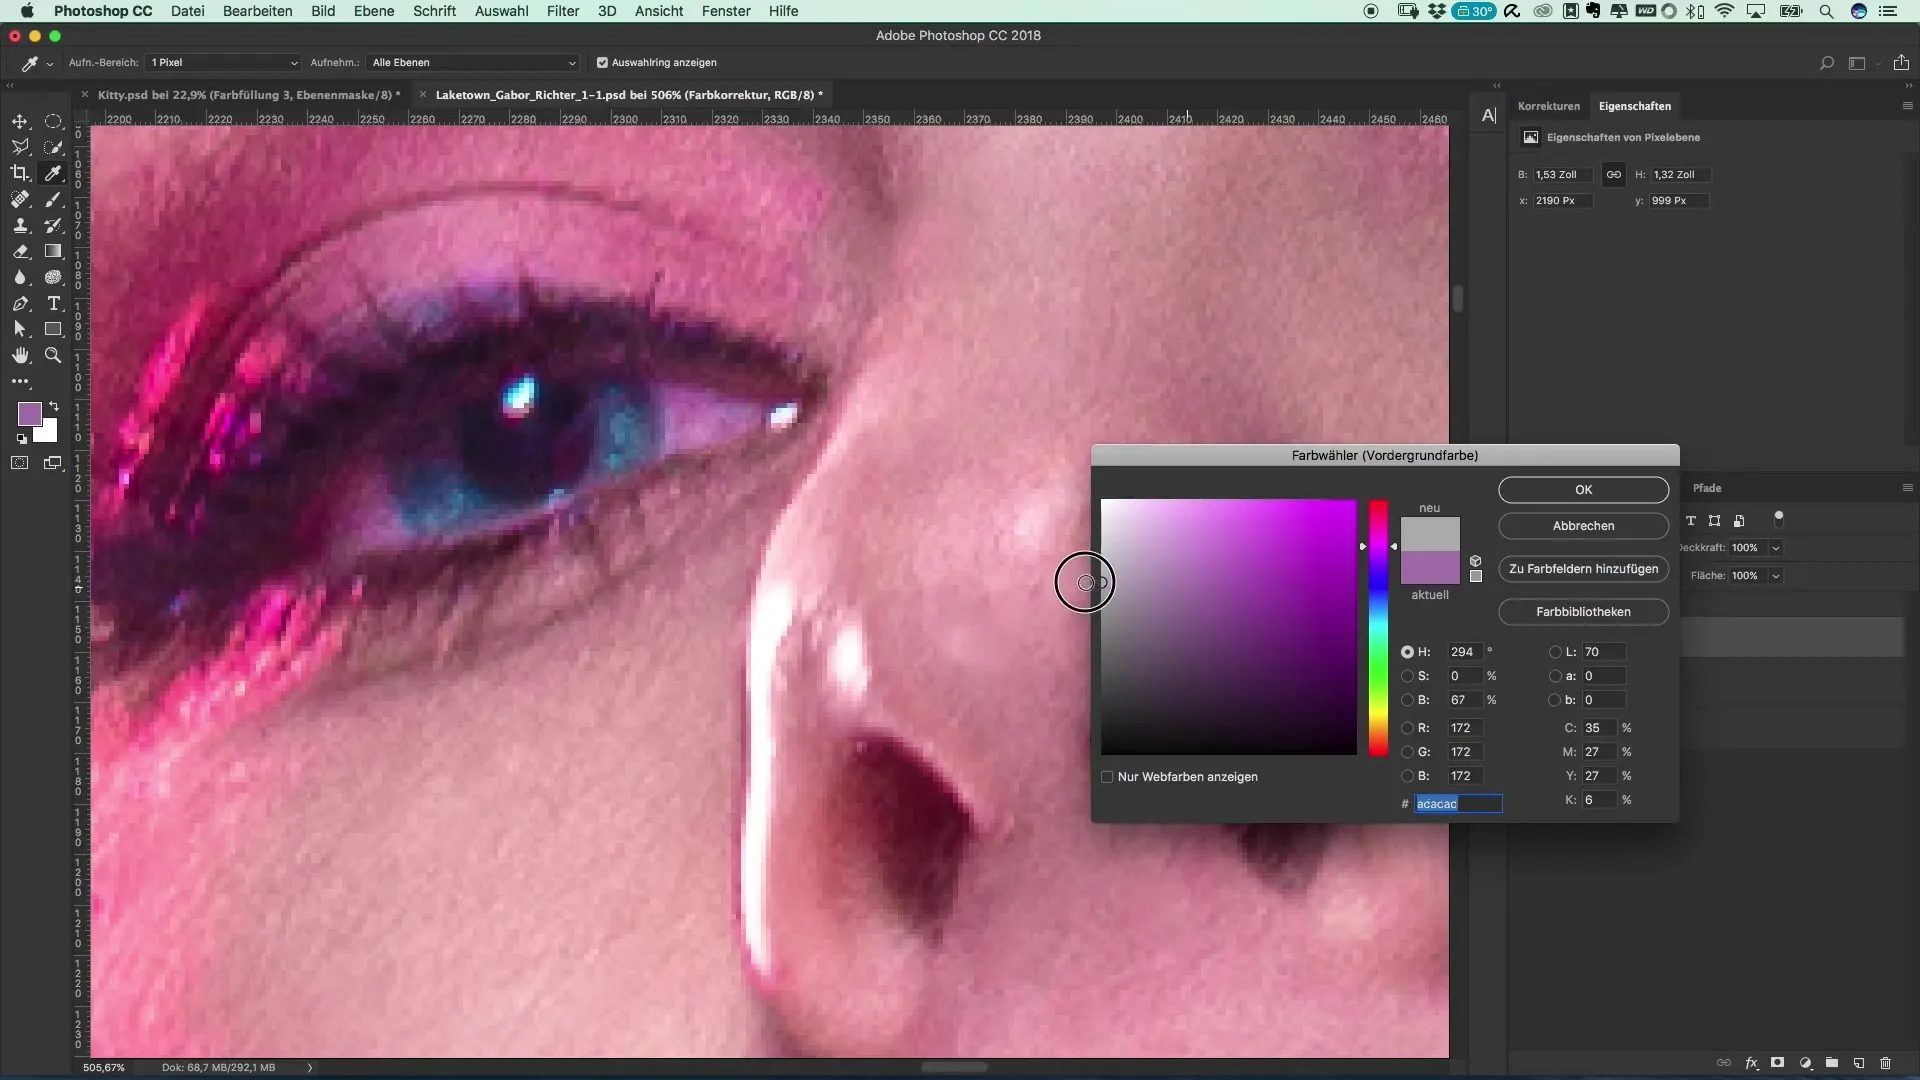
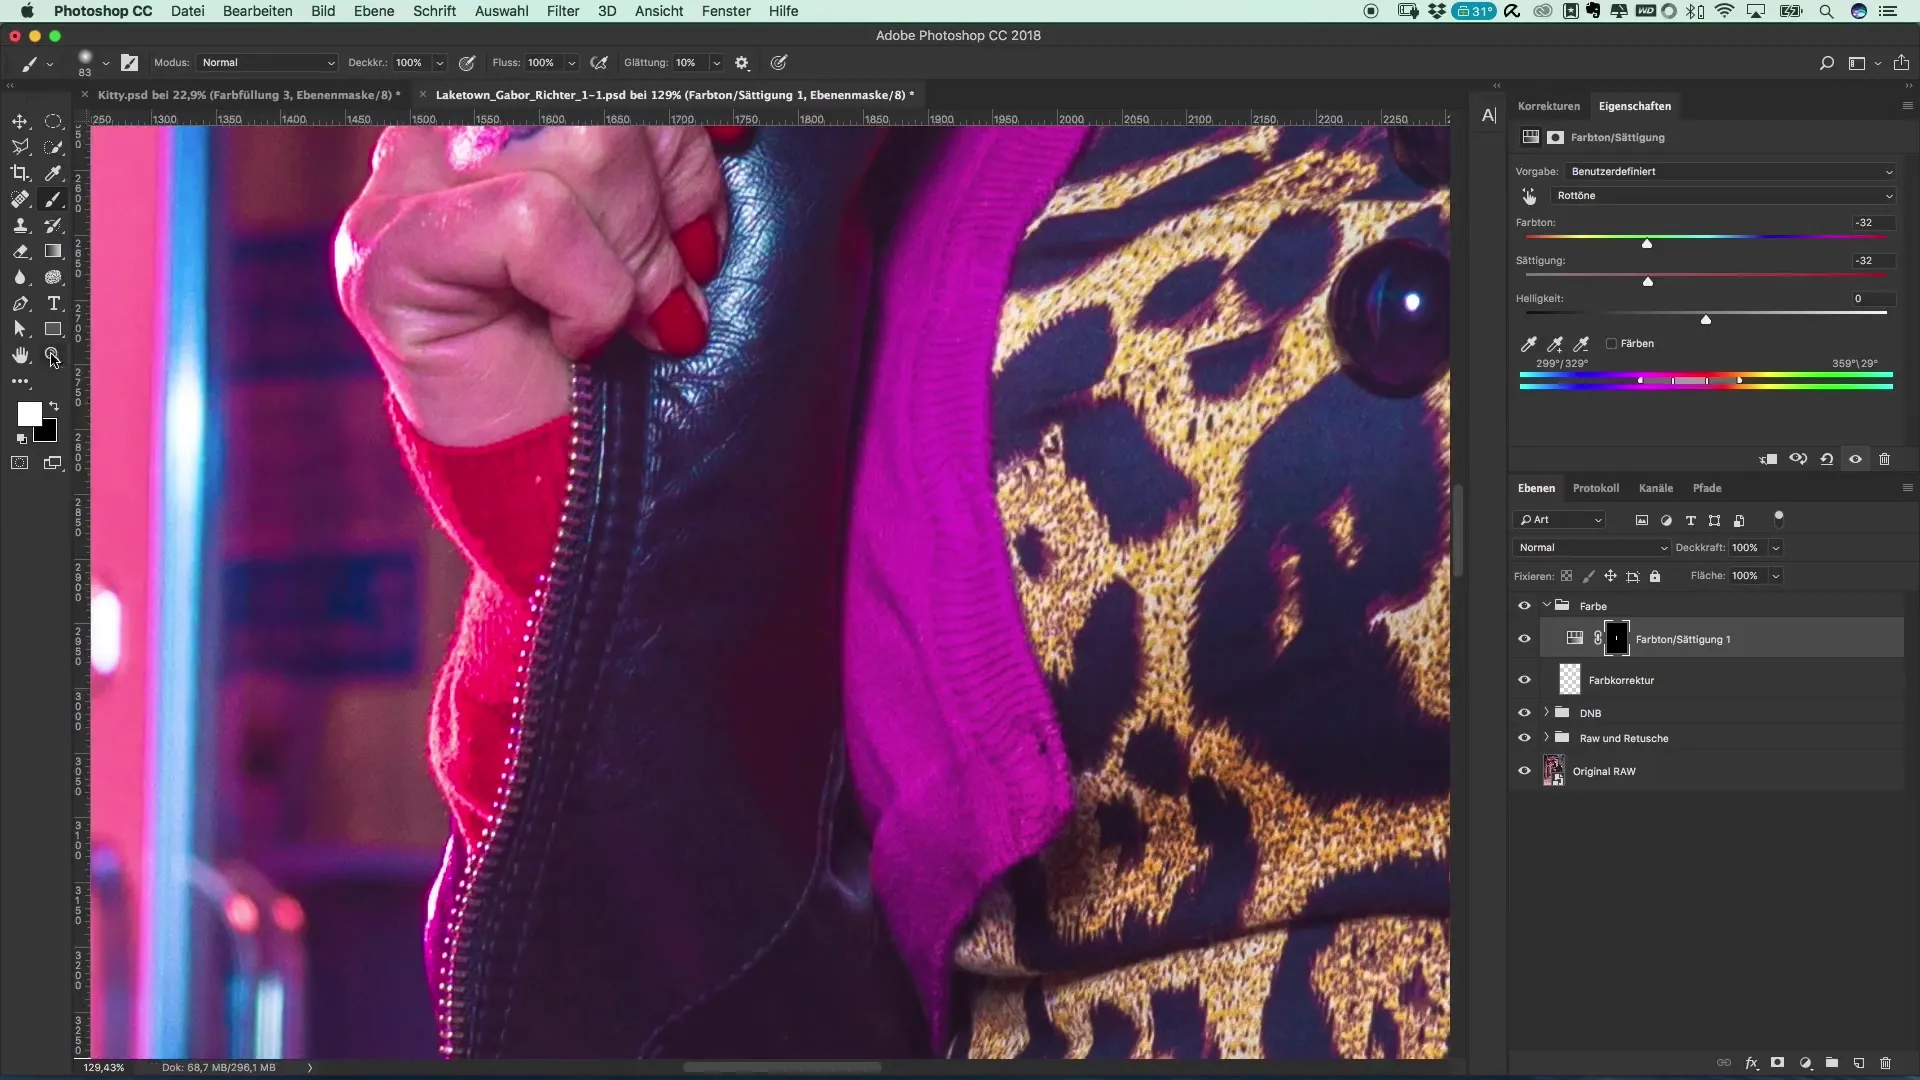
If you notice that the eyes look very red, choose a less saturated hue to soften these reds without completely eliminating them. The goal is to create a natural color palette by reducing saturation while maintaining brightness. Carry out these color adjustments thoughtfully to avoid exaggerated effects.
Final corrections
After you have made all color adjustments to the face and lips, take your time to review the overall effect and make small corrections. Revise the hues where necessary, ensuring they lead to a harmonious overall image. Pay particular attention to the contrasts to emphasize the cinematic style.
Summary –
In this guide, you have learned how to refine and harmonize the appearance of photographs with targeted color corrections. Through a structured approach and conscious selection of hues, you achieve an impressive result that brings more cinematic language to your work.
Frequently asked questions
How do I remove unwanted color casts?Remove color casts through targeted color selection and adjustment of saturation.
How can I adjust my lip color?Choose a subtle, harmonious color from the face and gently paint it over the lips.
Why should I adjust the brush opacity?A suitable opacity allows for more precise adjustments and a more natural result.
How do I find the best reference color for the face?Look for a color from a neutral area of the face to promote natural tones.
How can I specifically adjust the eye color?Use a less saturated hue and reduce the saturation to make the eyes appear more natural.


